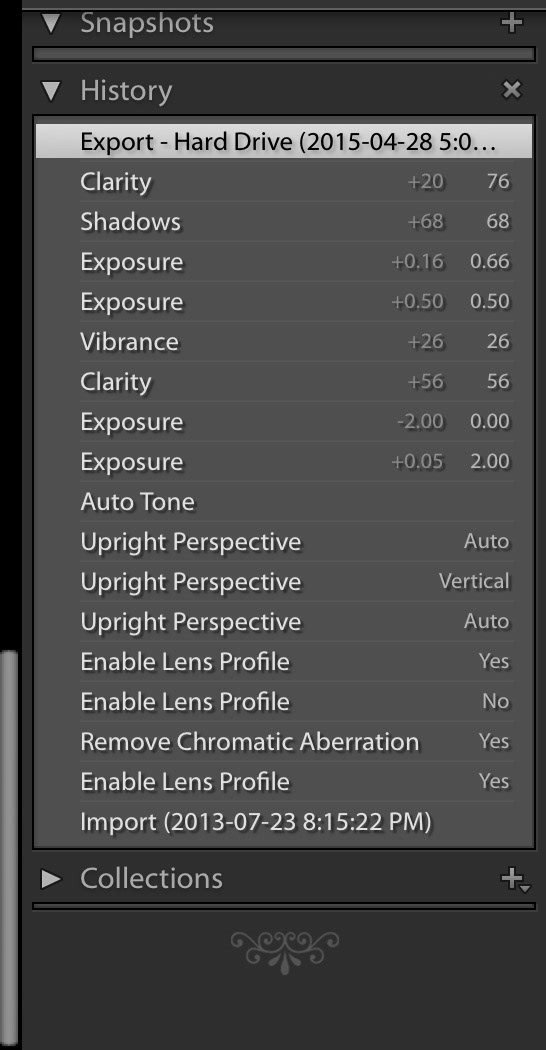
I was browsing my image catalog today and came across this image from the Don Valley Brickworks, shot back in 2006, (well before I had started shooting RAW for everything). I've always liked the image, but it was shot on an overcast day and was a bit on the flat side. So I thought I would use Lightroom to beef things up. I managed to boost the color and contrast with little difficulty (history steps are below) but then I got to thinking; I wondered if I could process this image so it looked like a black and white image shot at dusk or night time, right within Lightroom.
That's what this tutorial is about.

The first thing I did was to create a virtual copy for my b/w conversion. Then to jumpstart the process, I used a Black and White conversion preset. Presets are great for getting started, but I find that even after applying a preset, I tend to tweak things further.
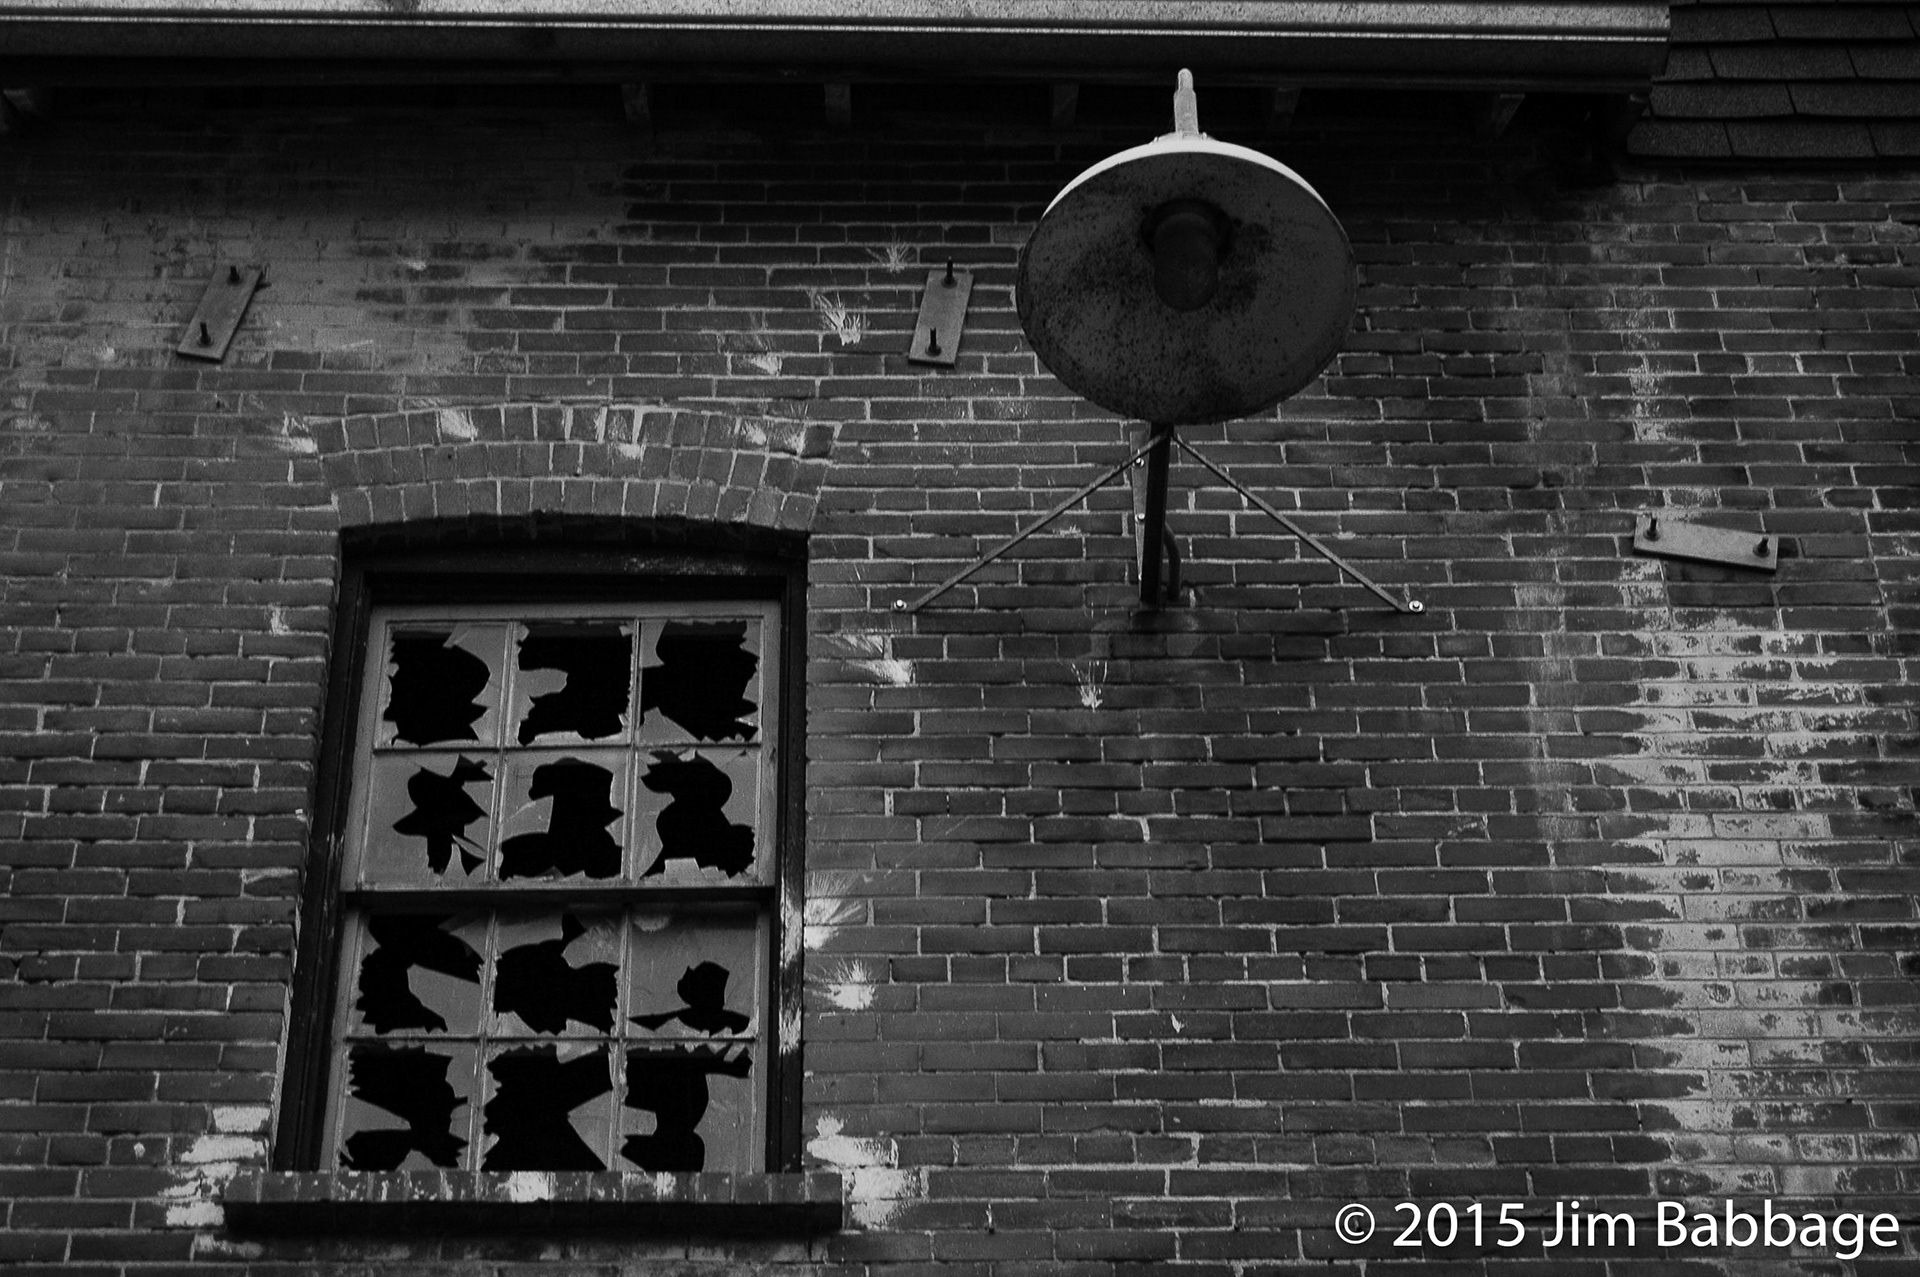
My next step was to add a couple radial filters. The first one encompassed the entire lampshade. I increased the feather to 100% and then maxed out the exposure setting. For a bit more oomph, I also increased the shadow values too. I wanted the shade to look lit up.
The second radial filter was simply to blow out the lightbulb a bit more. I wanted to retain some detail, but make the bulb look like it was really switched on.
Those two radial filters did help, but there was still more work to do. The overall image was too bright.

Sooo, I created another virtual copy and reduced the overall exposure by nearly two stops. NOW, it was looking like dusk.

But of course, it was TOO dark. At least overall too dark. By adding a third radial filter though, and adjusting the exposure, postion, angle and feathering, I was able to make part of the wall and window appear to be lit by the light. Note how I stretched the filter beyond the bottom edge of the photo.
Lightroom CC/6 came in very handy for this because this latest version of the software allows me to use a brush to edit existing filters, both radial and linear. I used this new feature to paint out any effect the new radial filter was havng on the "light source".
The final steps for added realism and mood were to use the Adjustment brush to paint a bit of brightness into the bottom left part of the window frame. This adds a bit more depth and realism. Lightroom CC was very helpful here as well, because I can now easily reposition brush effects by dragging the anchor pin, just as I can for Linear and Radial filters.
I also duplicated the lampshade radial filter in order to further brighten the light. I did adjust the values for that duplicate so that the shade was brighter, but not over exposed.
Adding some grain and a squarish vignette polished things off and gave me a more gritty, film-noir feel.
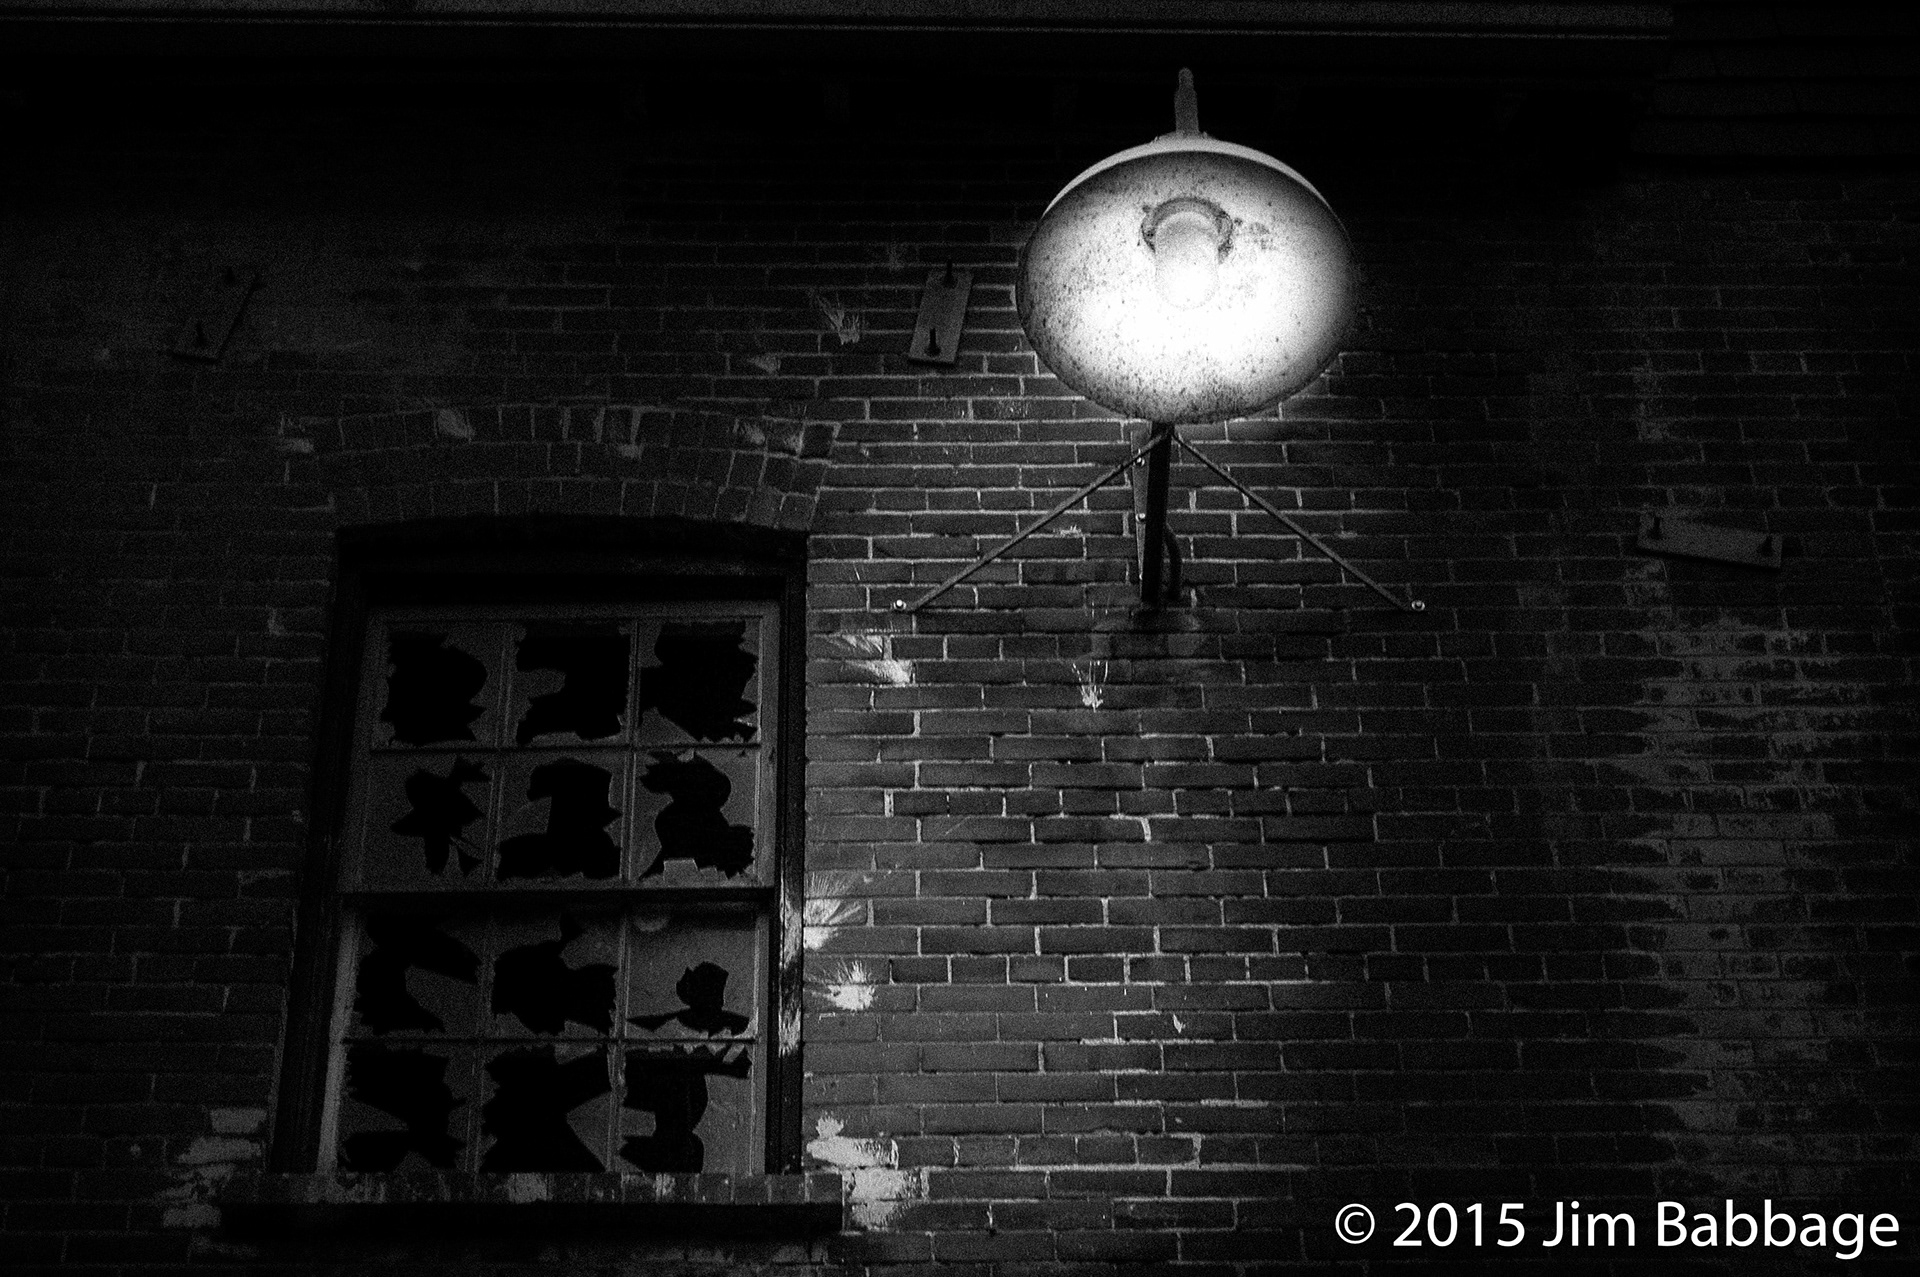
Virtual copies were the keys to success in this project; I was freed up from losing a look or effect that I liked, and this in turn encouraged me to experiment further and have some fun with this image. All within Lightroom CC.