Removing Visual Distractions with Lightroom Generative AI
We've all got that photo. The one with that really annoying element - a fence post, traffic sign, bright spot, even a person - that makes the image less impactful. Heck, we probably all have many of those photos. I know I do. Sometimes you just can recompose to get rid of that element, but sometimes not. Sometimes it's photobomb - intentional or not - and then the moment is gone and there is no way to recapture that moment.
In the "modern" past, we relied on simple cropping when possible or Photoshop tools like the Clone Stamp, Patch tool, Dodge and Burn and then amazing AI features like Content Aware Fill or Content Aware Move. But there are times when those tools aren't up to the job; the area that requires fixing can't be seamlessly blended with other existing pixels, or it's time-prohibitive to try and make it work.
That's where Firefly and the Generative Fill/Remove features in Photoshop and Lightroom come in very handy. In this latest edition in my series on practical Generative AI for photographers, we'll look at the new functionality in Lightroom to remove distracting elements.
For each example, I've also included Edit Replays. You can create these recordings using Lightroom Mobile, and then download them or share them via social media.
Removing Small Distractions
The standard Remove tool is very helpful from dust and spot removal, and other issues that don't have a lot of detail. But when it comes to areas with lots of detail, he results can be unsatisfactory.
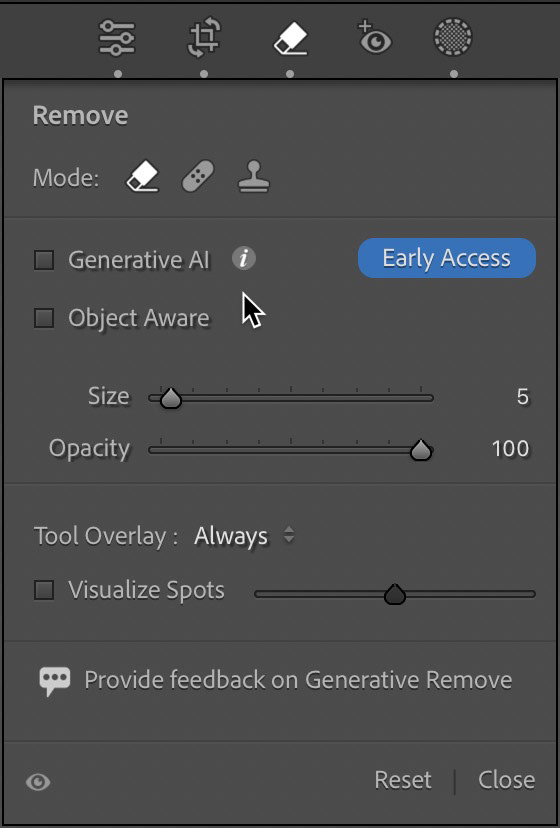
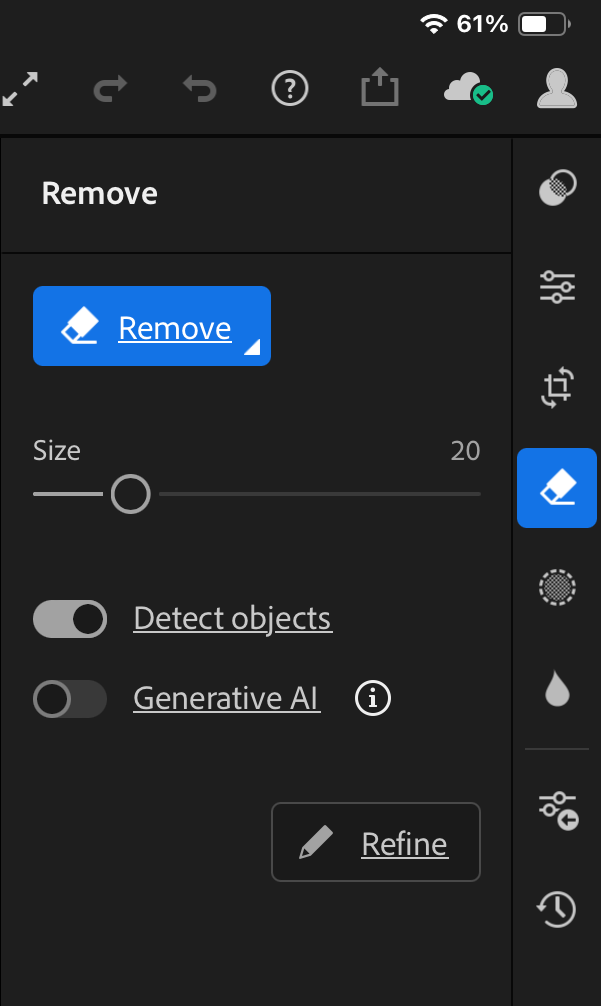
(Left) The Remove tool in Lightroom Classic; (right) The Remove tool in Lightroom Mobile
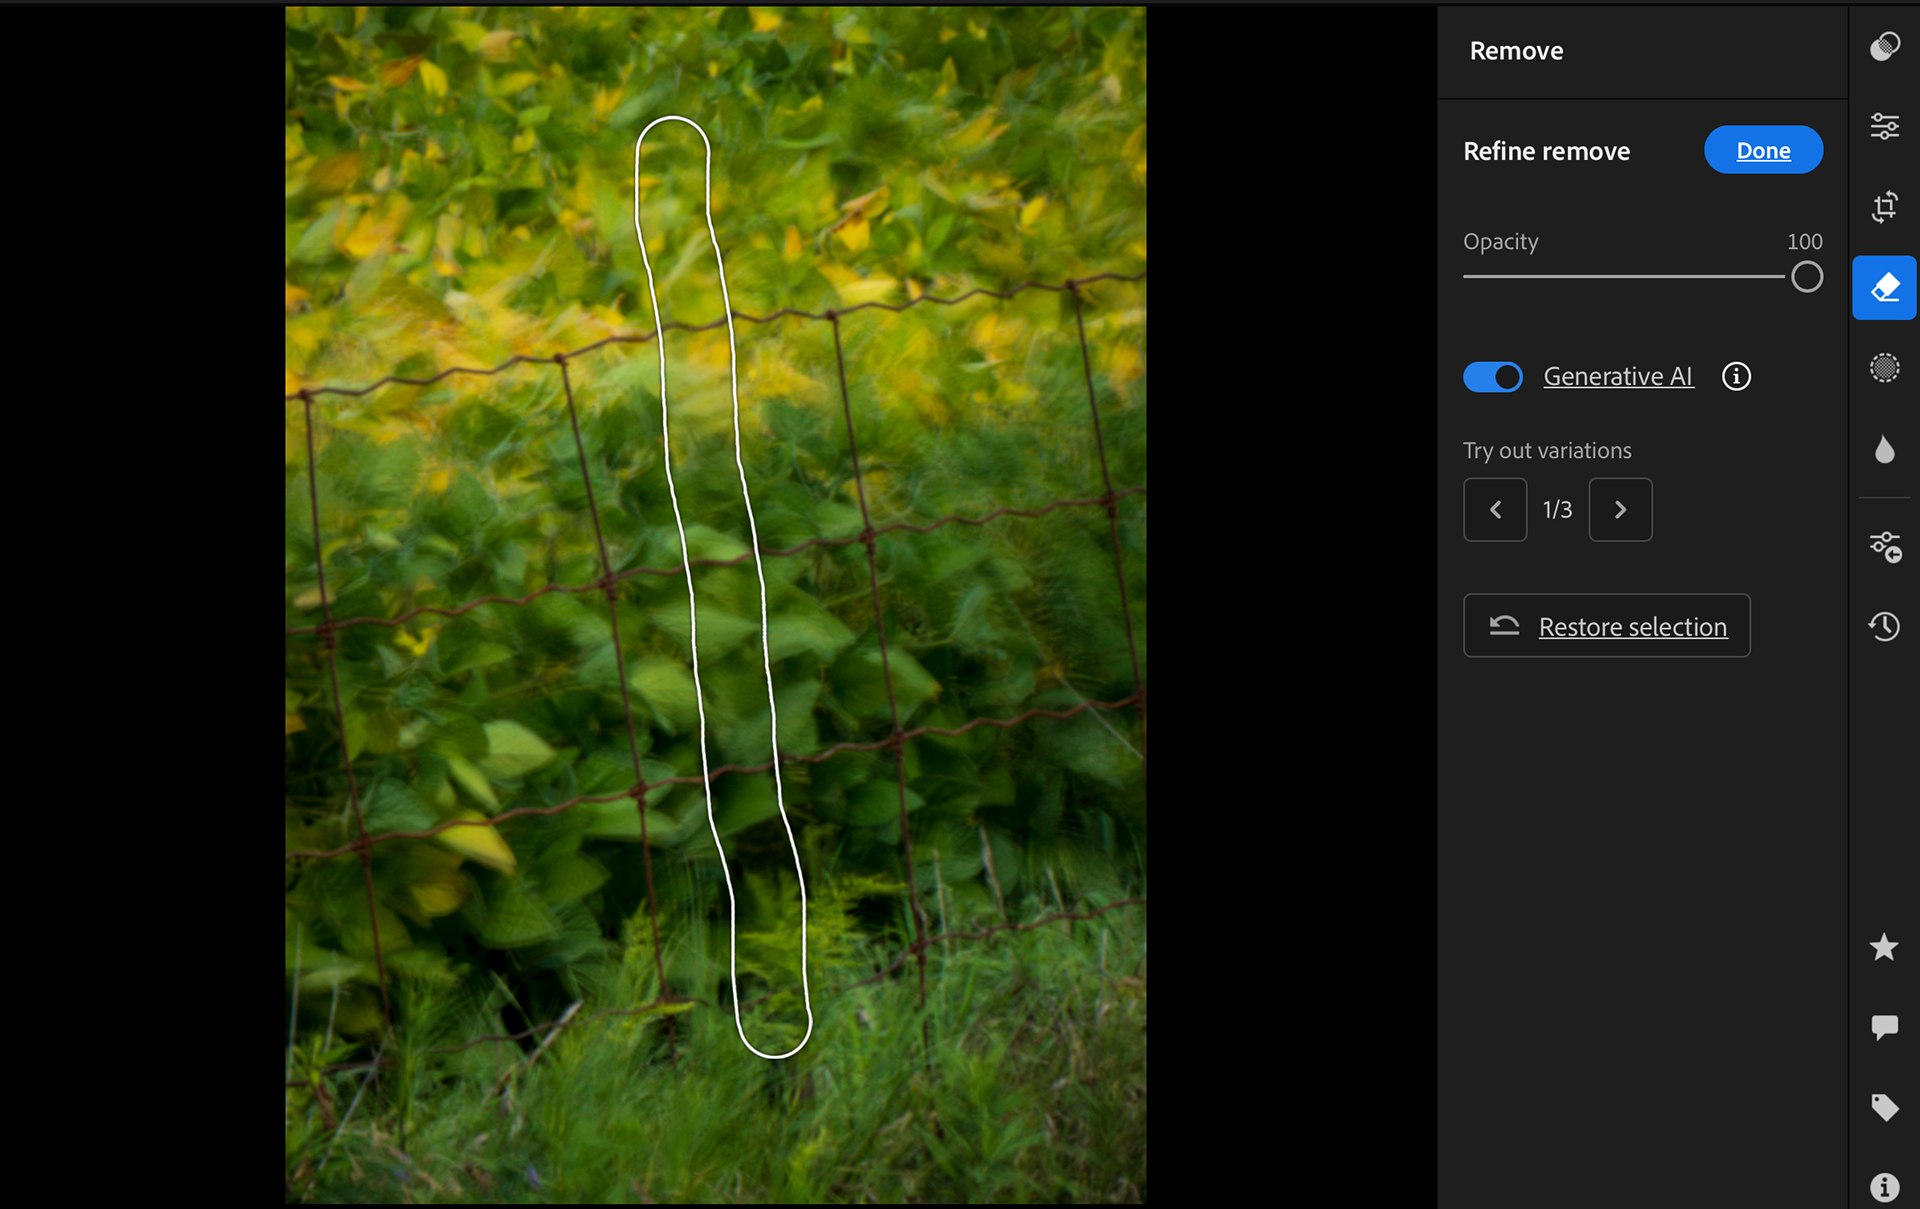
In the two examples below, I used Generative Remove to eliminate distracting objects. In the early morning shot of the river, The frame for a boat canvas was sticking out of the reeds. The boat was obscured by the reeds, so the metal frame had no context and was distracting.


Before and after applying the Remove tool using Generative AI.
The Remove tool on it's own did not produce satisfactory results.
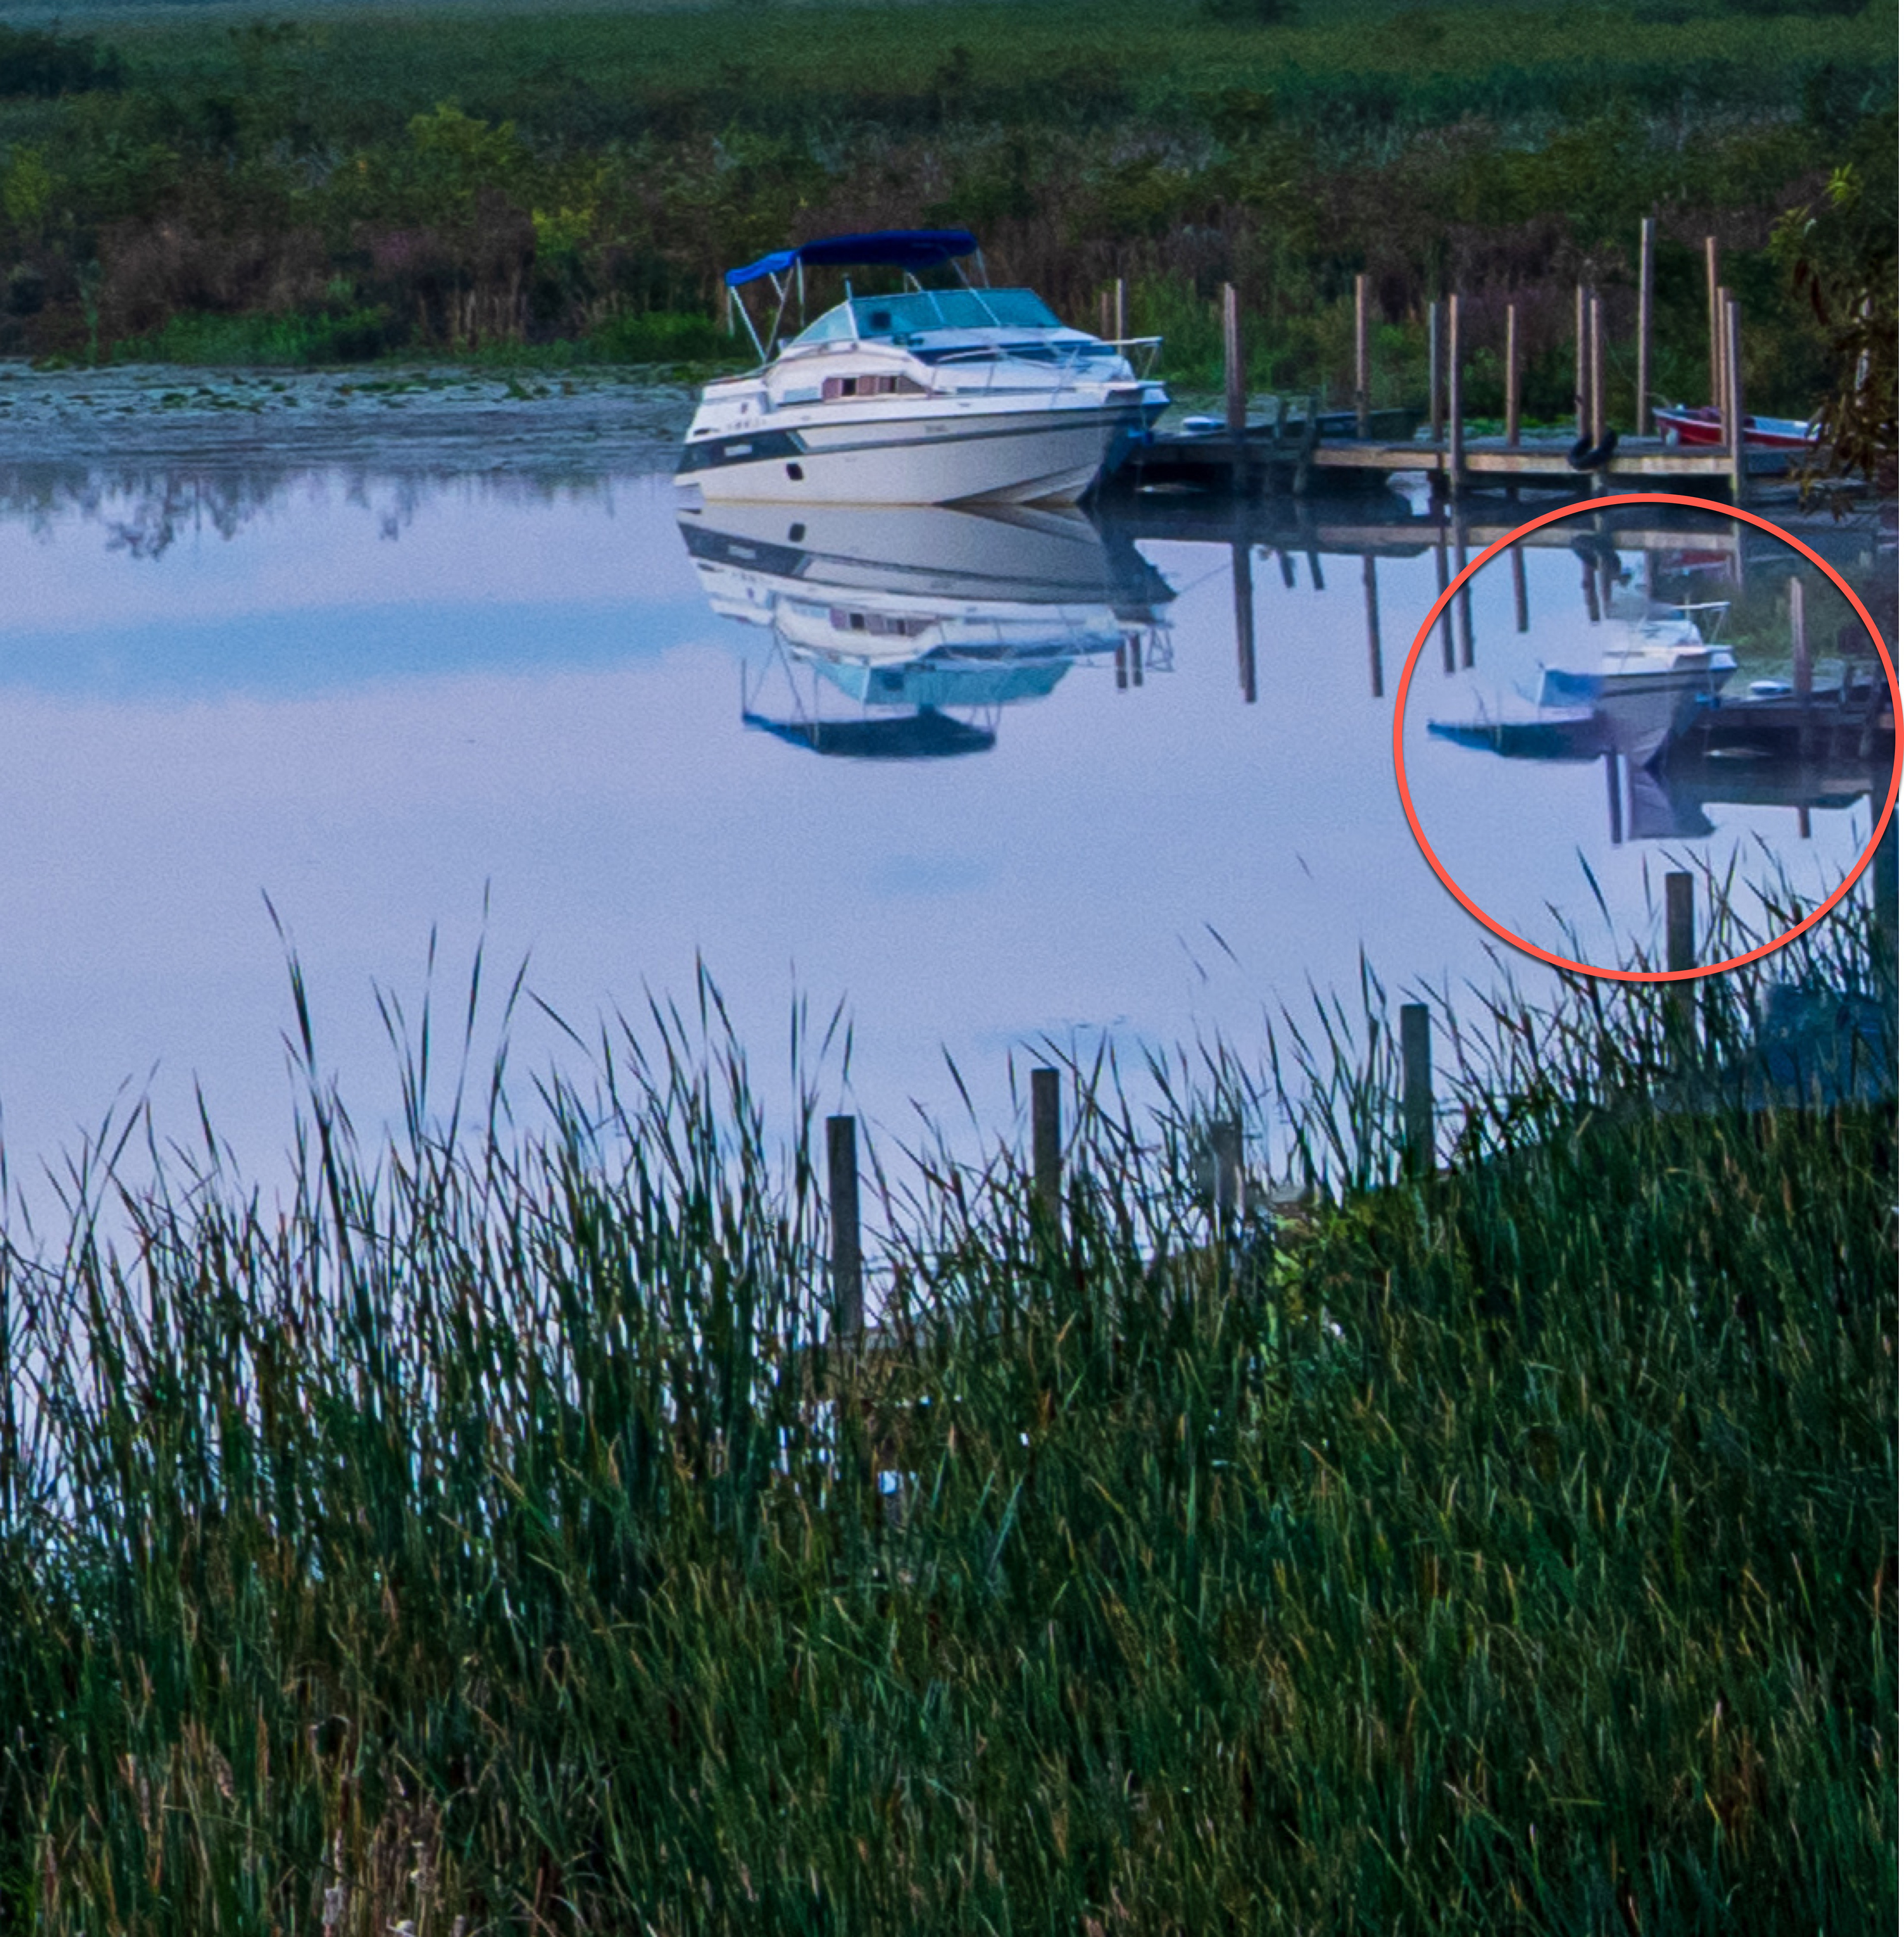

The Remove tool alone (left) couldn't blend the detail area of the reads with the water, while Remove with Generative AI (Firefly) produced much more seamless and realistic results.
Arguably, I could have cropped the image, but that put the boat in the background very close to the edge of the frame. Likewise, recomposing the shot on site had other framing issues.
Out of genuine interest, I also brought the image into Photoshop and used generative Expand to extend the canvas, in order to give the boat a bit more room on the right. Even without text prompts, I got decent results (when generating a segment approximately 350x3800px), but the resolution was still not quite where I wanted it to be, even after applying Refine Image to the expanded portion, when viewed at 200%. To get results I liked, I ended up expanding the canvas in the traditional way and then using the Marquee tool in conjunction with Generative Fill. This is a process I have covered in detail in other articles in this series.


Before and after extending the canvas in Photoshop, using Generative Fill (Firefly). Basic Content Credentials are also created when exporting from Photoshop. This step is optional if you are not generating an entire image in Photoshop, so make sure you enable Content Credentials before you start editing...a habit I still have to get into.


Even after multiple refinement actions, using just the Remove tool on the metal post would leave me with additional steps in Photoshop (or Lightroom) to clean up unwanted artifacts. Using Gen AI Remove in Lightroom resolved the issue immediately.


Removing Larger Distractions
There are times when the scene in front of you is photo-worthy, but man-made elements interfere with the naturalness of the landscape. The nearly panoramic view of Rice Lake and the Indian River wa captivating, save for the manicured lawn in the foreground and the very bright rooftop of the building in the middle ground.
The lawn is easily resolved with simple cropping, but the building... that is a whole other level of detail. Using the basic Remove tool on this area would be challenging/frustrating, due to the level of detail in that area. My attempts to blend the area in Lightroom using just the Remove Tool were unsuccessful. I ended up with overly blurred pixels in some areas and out of scale, cloned elements.
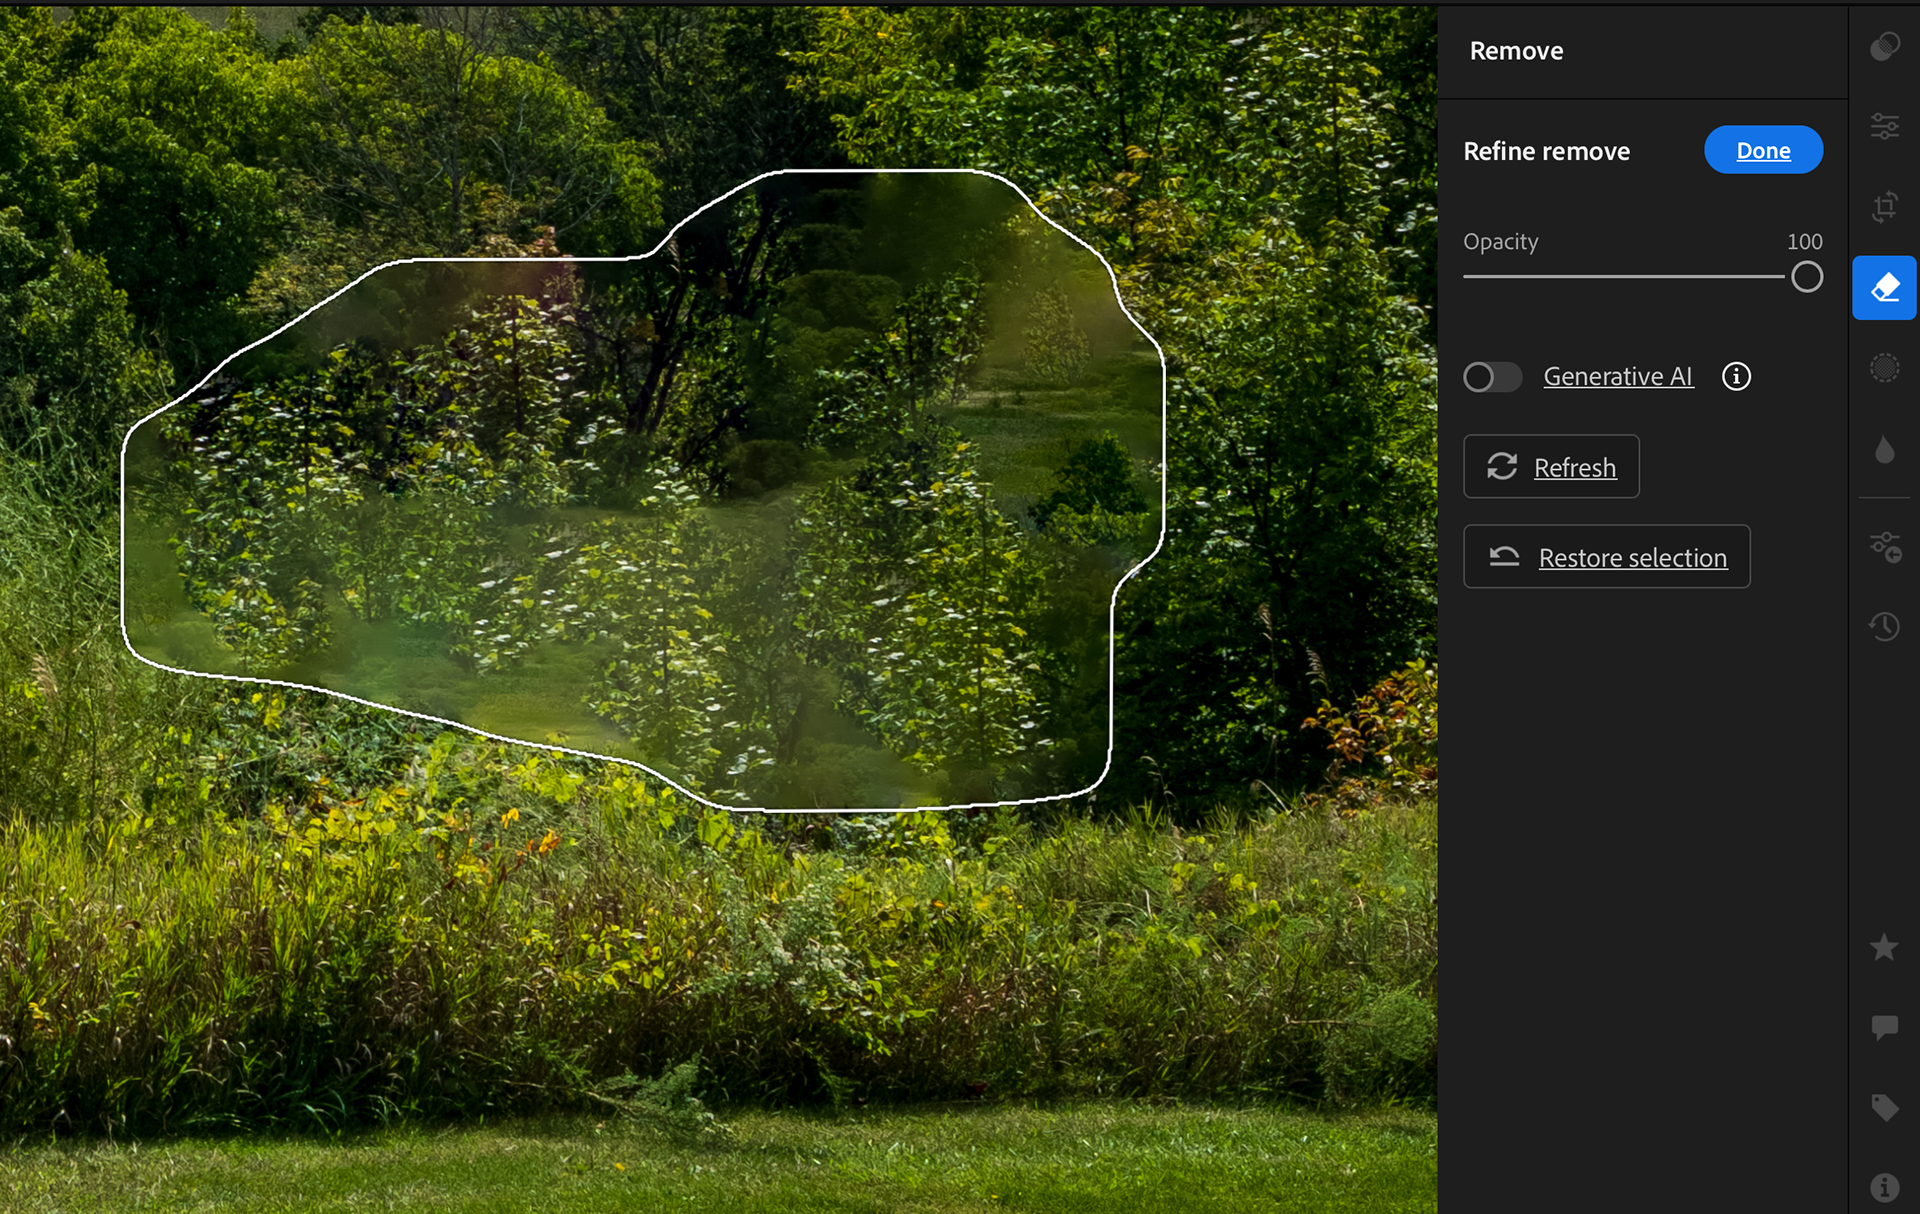

End result using the standard Remove tool (above) was not satisfactory.
Using the Remove tool with Generative AI produced significantly better results on the first generation.
Best Practices
When Using the Remove tool, either in its standard form or with Generative AI, keep these recommendations in mind:
- Zoom in to the are you are cleaning up. Yes, it's sounds like common sense, but all too often, especially when using mobile devices, it can be overlooked. Zooming in will ensure you know the quality of the replacement pixels and how well they blend - or don't.
- Always try the standard Remove Tool first to see if it does the job. It's generally faster, and you won't consume any Generative Credits making the fix.
- Object Aware can be useful for obvious objects in the scene and can save you from having to paint over a large area with the tool, but if you find that too much of your image is being selected, disable the setting and just use the brush itself.
- If you're not happy with your first result using either Standard or Gen AI replacement, remember you can choose Refine for either version of the tool. For the standard tool, Refine shuffles through a series of potential replacements, using pixels from the current image. For Gen AI, each time you click Refine, you get three new variations to choose from. Note that these new generations could cost Generative Credits.
- Make use of the Snapshot tool or Virtual Copies in Lightroom Classic or the Versions tool in Lightroom Desktop/Mobile. to capture your settings at a specific point in your edit. This makes it easy to jump back and forth between major changes in your image.
Wrap up
I hope you have found this new installment interesting and useful as you make your way through this new AI digital landscape. Remember, how much - or how little - you employ Gen AI based features into your workflow will always depend on you, but it's always good to know what is possible.
Cheers!


