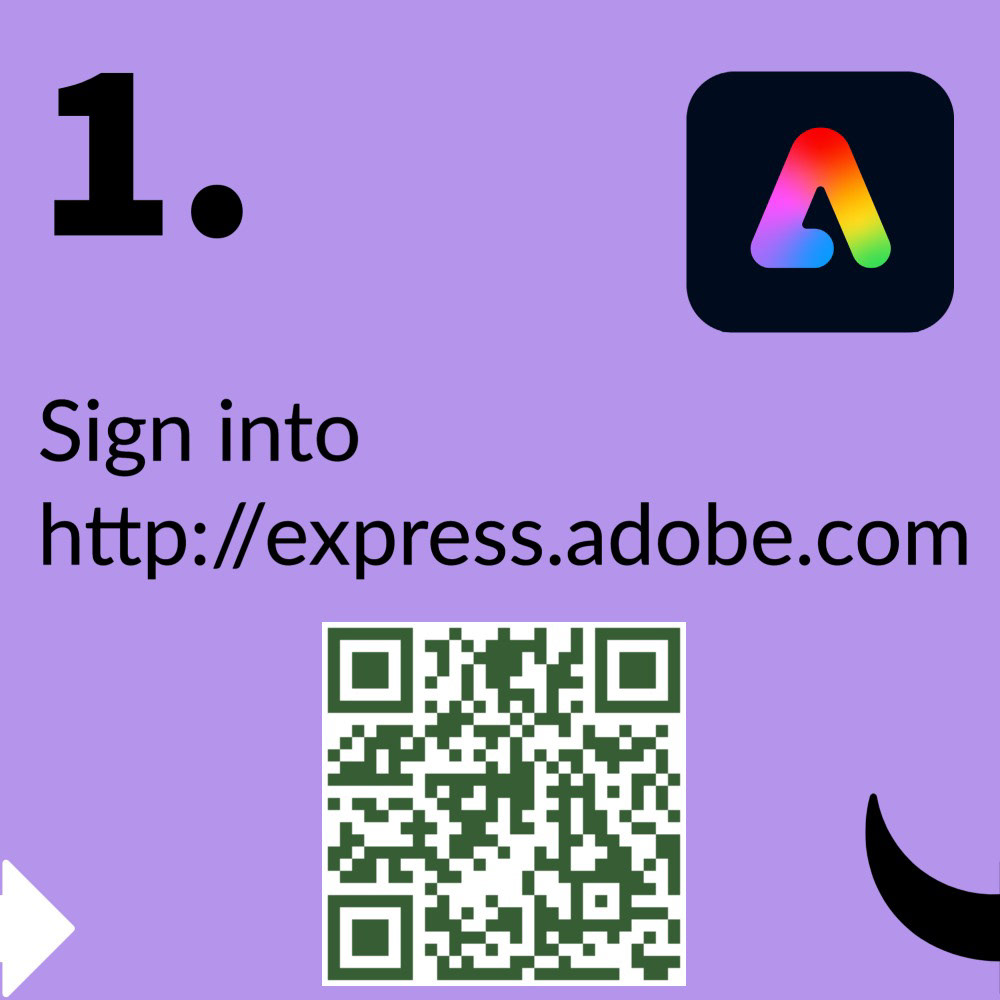
Create Quick How-to Image Carousels using Adobe Express
A few months back, Adobe Express began supporting multiple pages - or artboards - for graphic projects. This has simplified several aspects of how I use Adobe Express:
- centralize social media graphics for a campaign in a single project up to 30 pages/artboards
- create and consolidate different aspect ratios for posts
- create image carousels
This capability, combined with the ever-growing collection of Quick Actions, has significantly increased my productivity AND creativity.
Productivity has increased because it's now so easy to duplicate projects and then store them in the same location. If you're a prolific creator of content on Adobe express, you KNOW that it can be challenging and time-consuming to find projects you created a few days or weeks ago. the new multi-page support lets me keep everything (up to 30 pages) in ONE place.
Creativity has increased because I spend less time organizing my projects and can focus on creating new content. Hmm... I guess you could argue that is also a productivity issue. I call it a win, regardless.
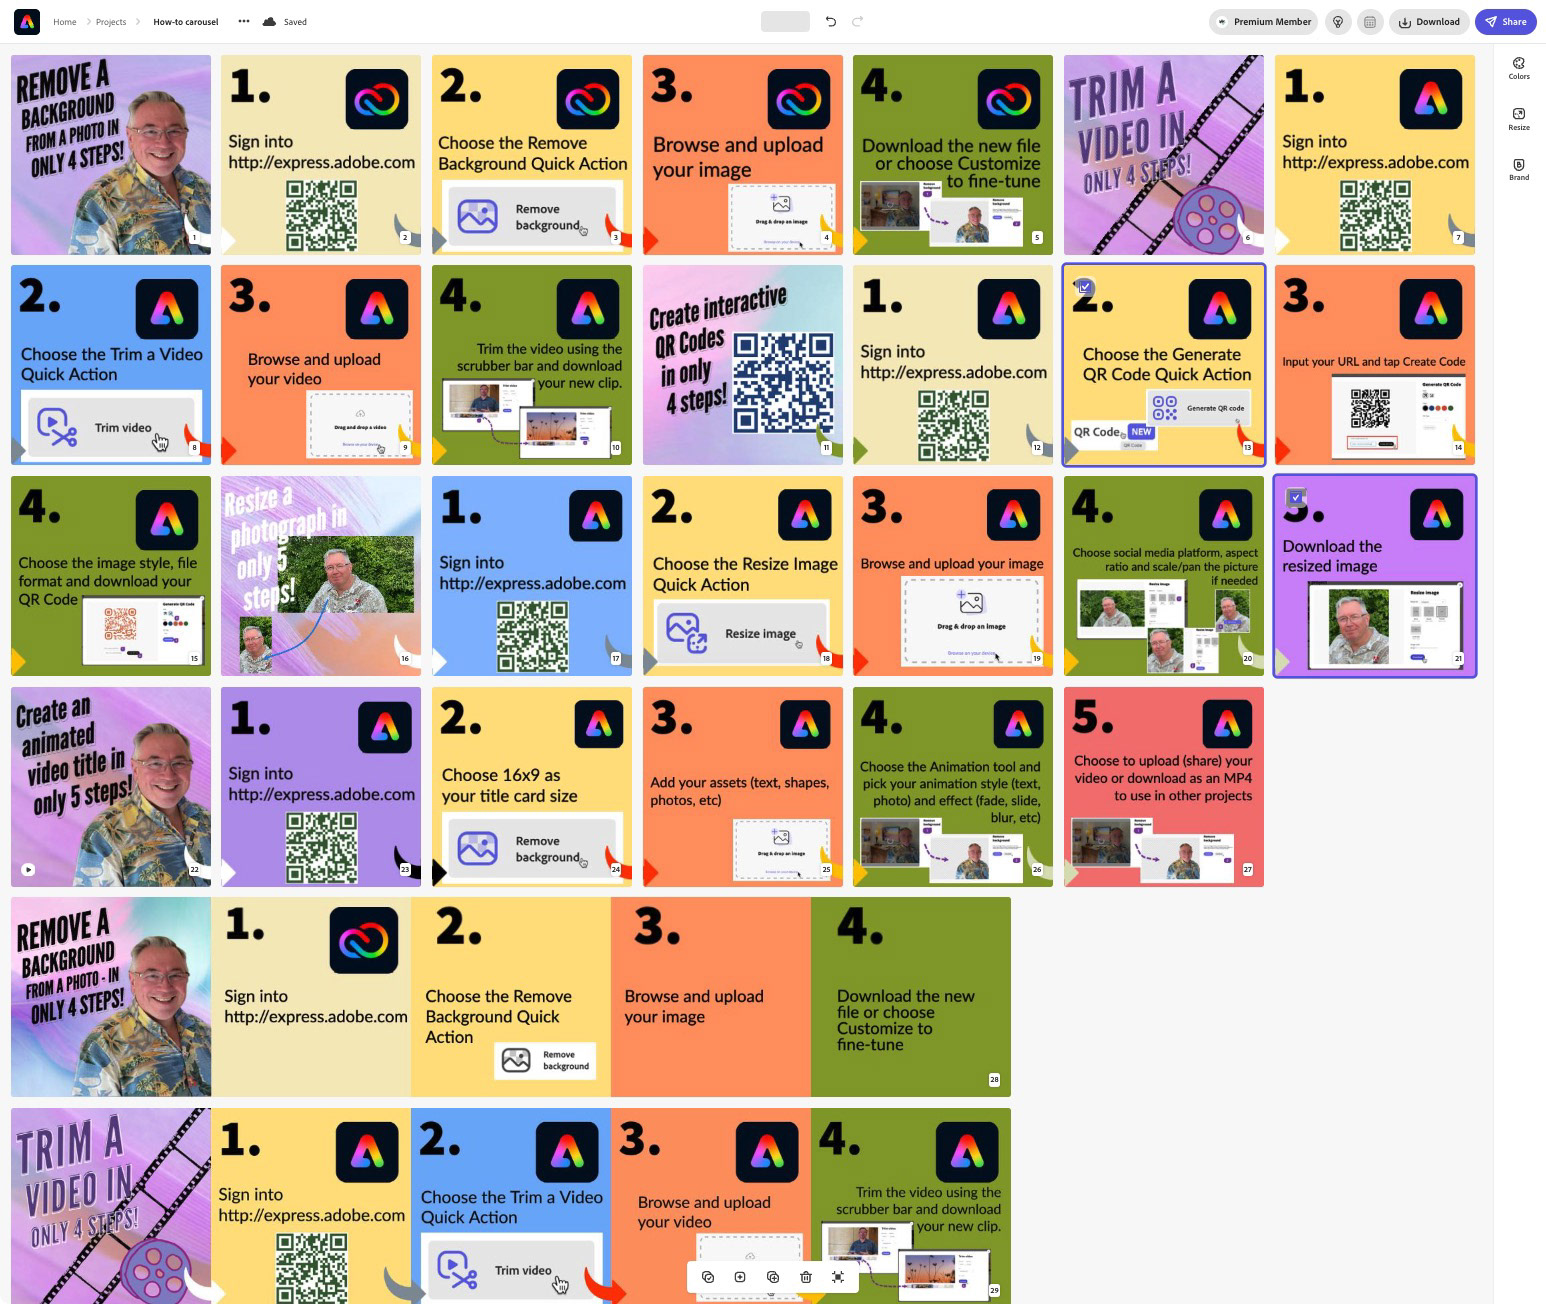
Screen shot showing the 30 separate artboards that are all part of one awareness campaign project I created around Adobe Express Quick actions.
The Set Up
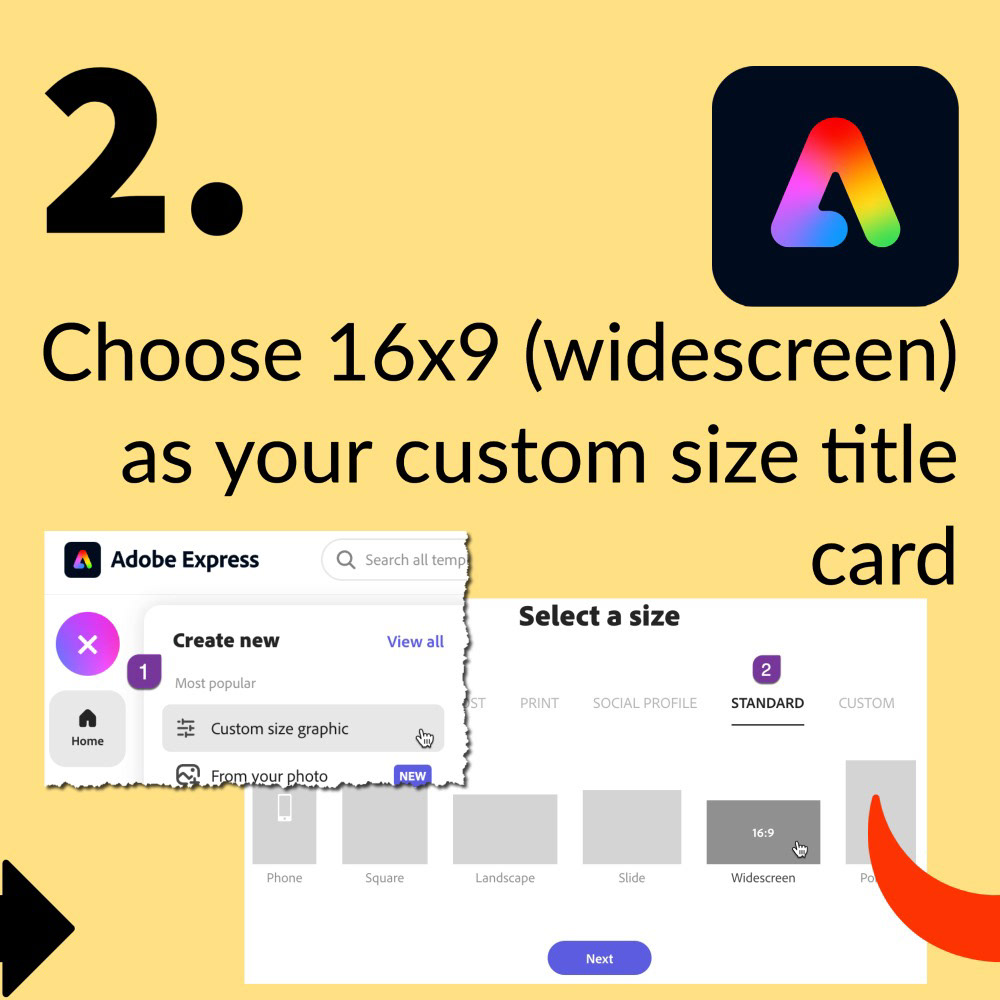
Initially, I began this project as a one-off carousel, creating a custom-sized graphic 1000x5000 pixels in dimension. I used the Layout tool to change the one box to a graphic with five empty cells, then added my content for one of the carousels. Creating the overall 1st design in this manner was helpful because I could see the entire layout.
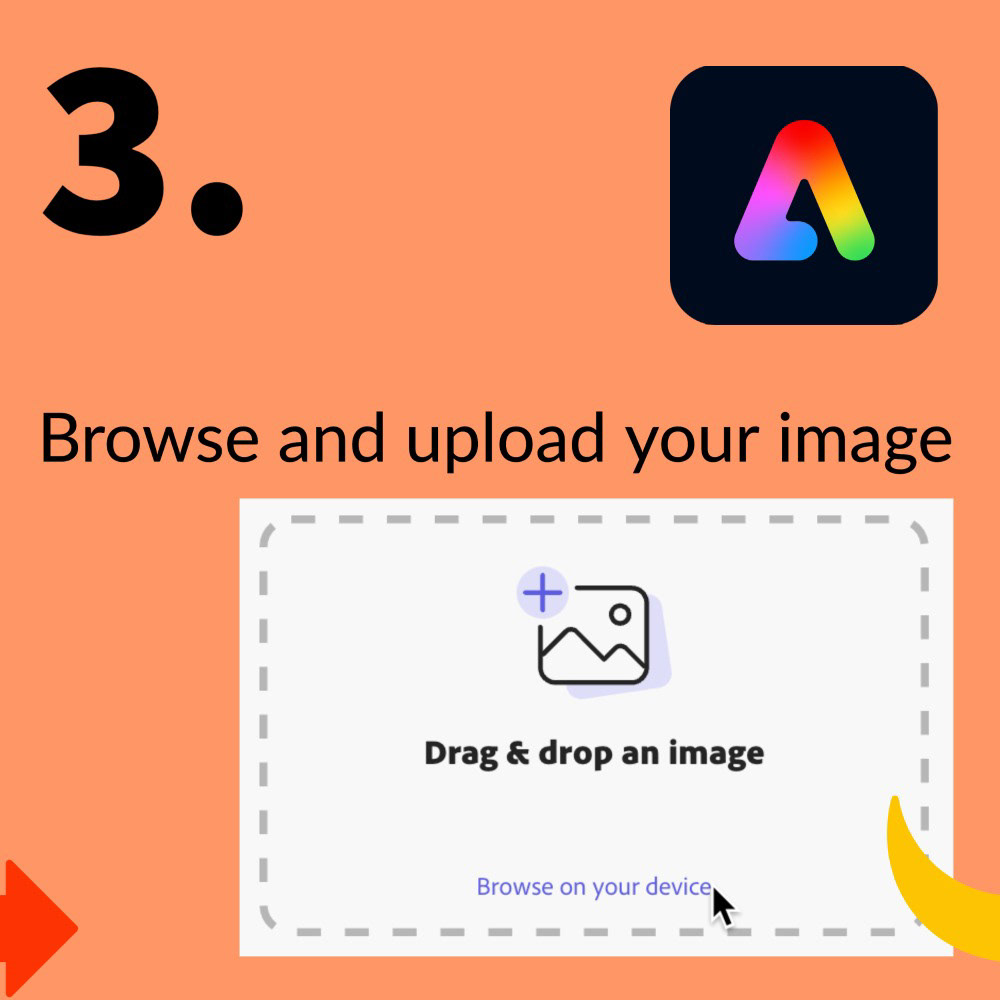
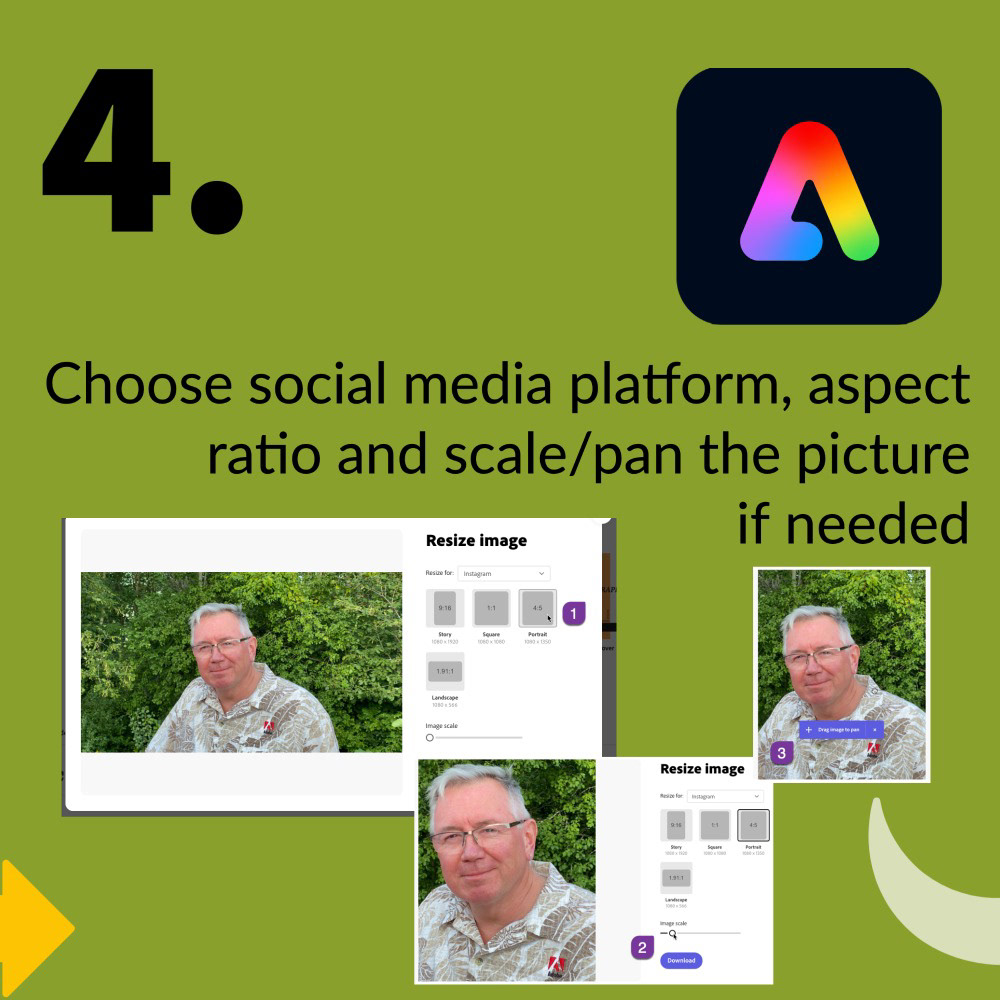
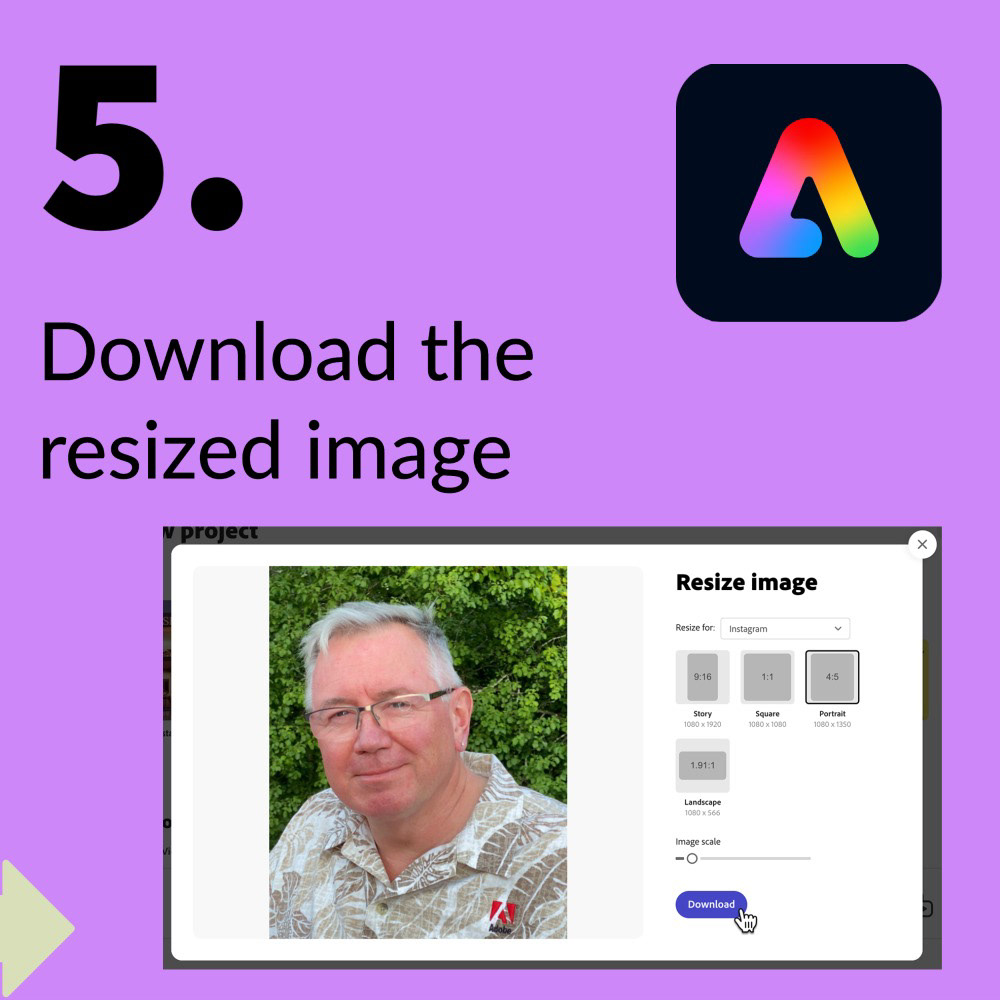
I found a suitable arrow in the Adobe Express Shapes to act as a connector from page to page, and then added my other graphics, which often included screen grabs of the Express interface. In under 30 minutes, I was done. I intentionally kept each image simple, clear and easy to read.
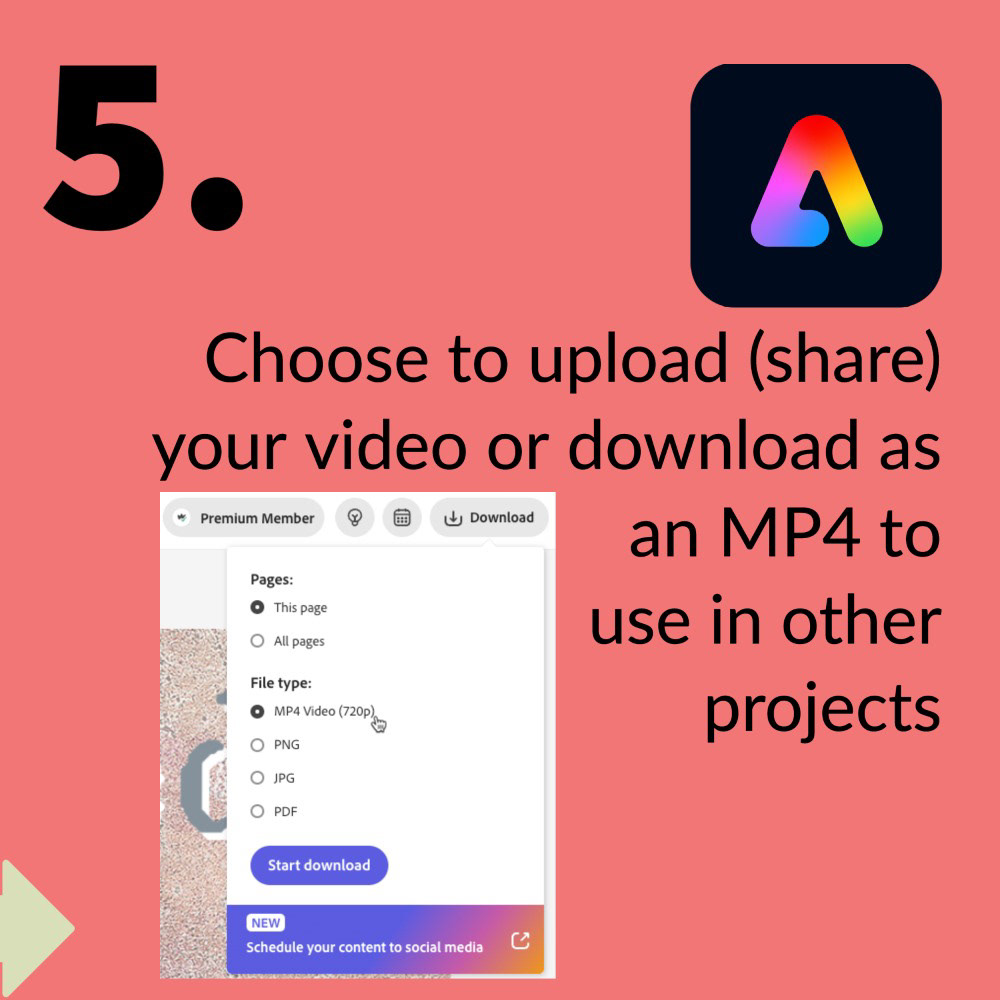
However, downloading this project would give me a single image. Because I wanted this to appear as a carousel in my Instagram feed, I would need to cut up the layout.
I could have opted for downloading large solid graphic and then placing it into an Illustrator document that contained the desired number of artboards in the correct configuration (an option if I didn't want to manage multiple pages in my Express project), but I wanted to see how easy it would be to do everything inside of Adobe Express.
So instead, I chose to create a multi-page Express project, with each page being one of the carousel images.
In the same project I created a new page, using my own custom dimensions (1000x1000).
Switching back to the original page, I then copied all the assets from the first cell of my first page. (You can Shift+Click to select multiple objects in the web app, or choose Select Multiple in the mobile app.)
I switched to the new page and pasted the objects onto the canvas. I did have to reload my background image as that element could not be copied.
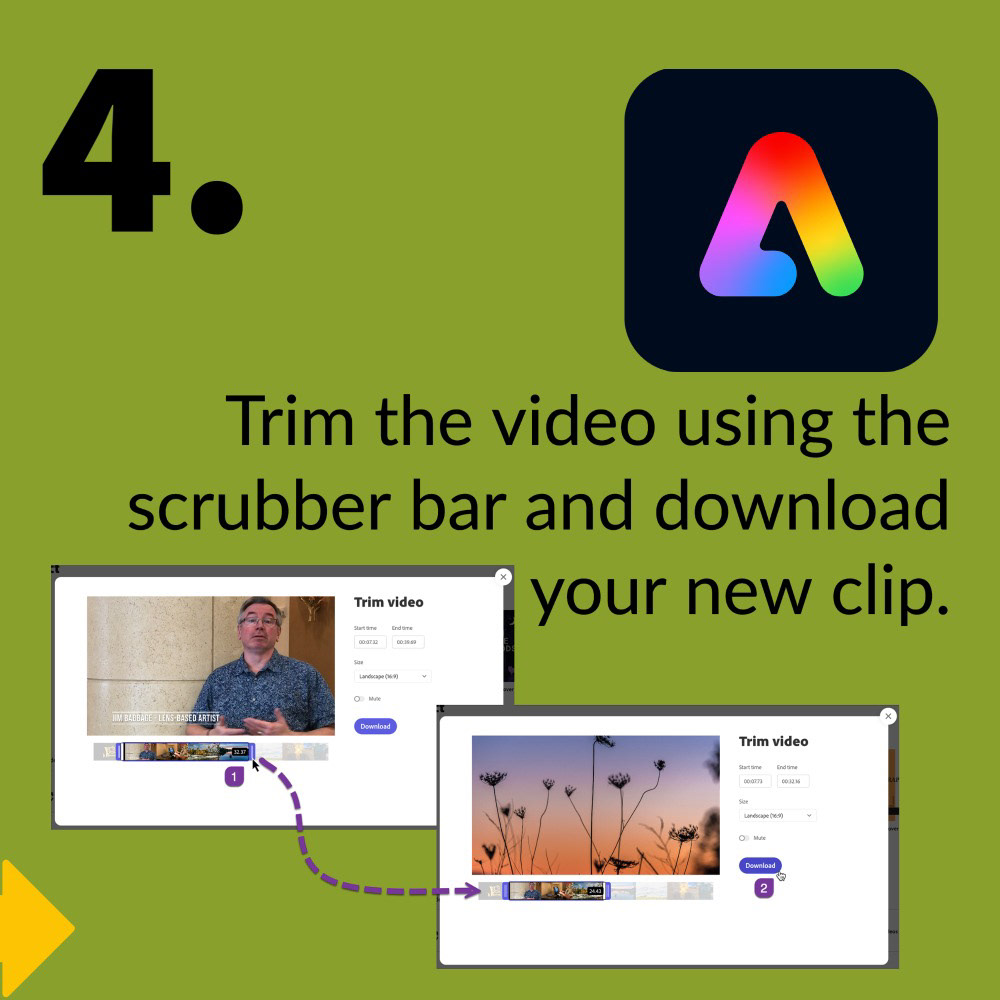
I positioned my objects so they were a close match to my original design (Express does not offer the same kind of pixel-level control like Photoshop, Illustrator or InDesign - there are no rulers, just Smart Guides). The challenge for me was the connecting arrow; because it sat between the main graphics, the arrow had to line up perfectly from image to image so that the carousel looked seamless.
Note: there could be a certain amount of eye-balling and you might have to download your series to check that everything aligns properly I know I had to do this with my first carousel and ended up making minor corrections to the position of my arrow connector.
Then I repeated the process with the second cell of my original design. Now, this may sound like a tedious process, but here's where the fun begins.
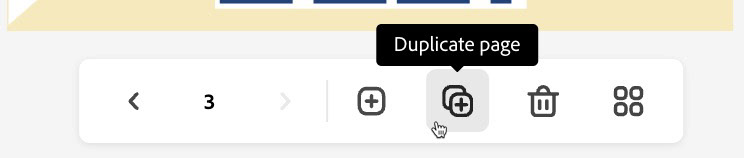
After positioning all my elements for my first how-to step, I simply clicked the Duplicate Page tool. This icon is found below your canvas area in the web browser or at the top of the screen in the mobile app. Duplicating the page makes it easy to build out the basis for your other carousel images; you simply edit each new duplicate to create your story.
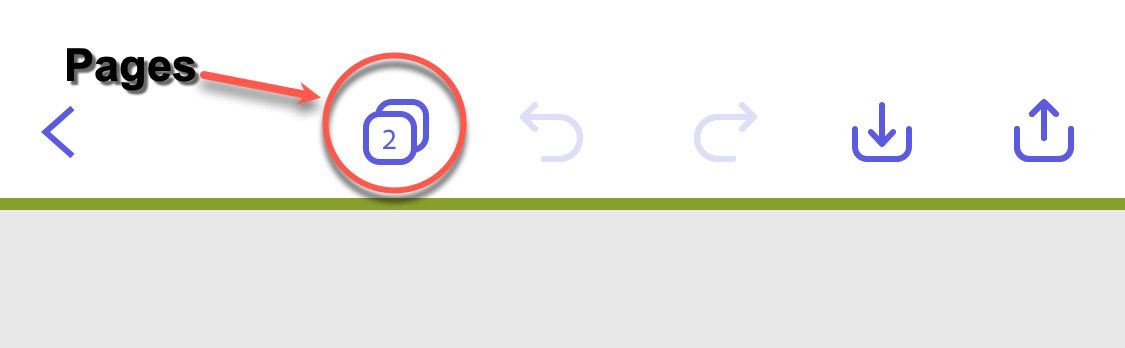
In the mobile app, tap the pages icon to access page options like Add, Duplicate and Resize.
This process was so easy to do, I decided to replicate it, creating several How-To carousels, with the plan to push one live each week for five weeks.
The Results
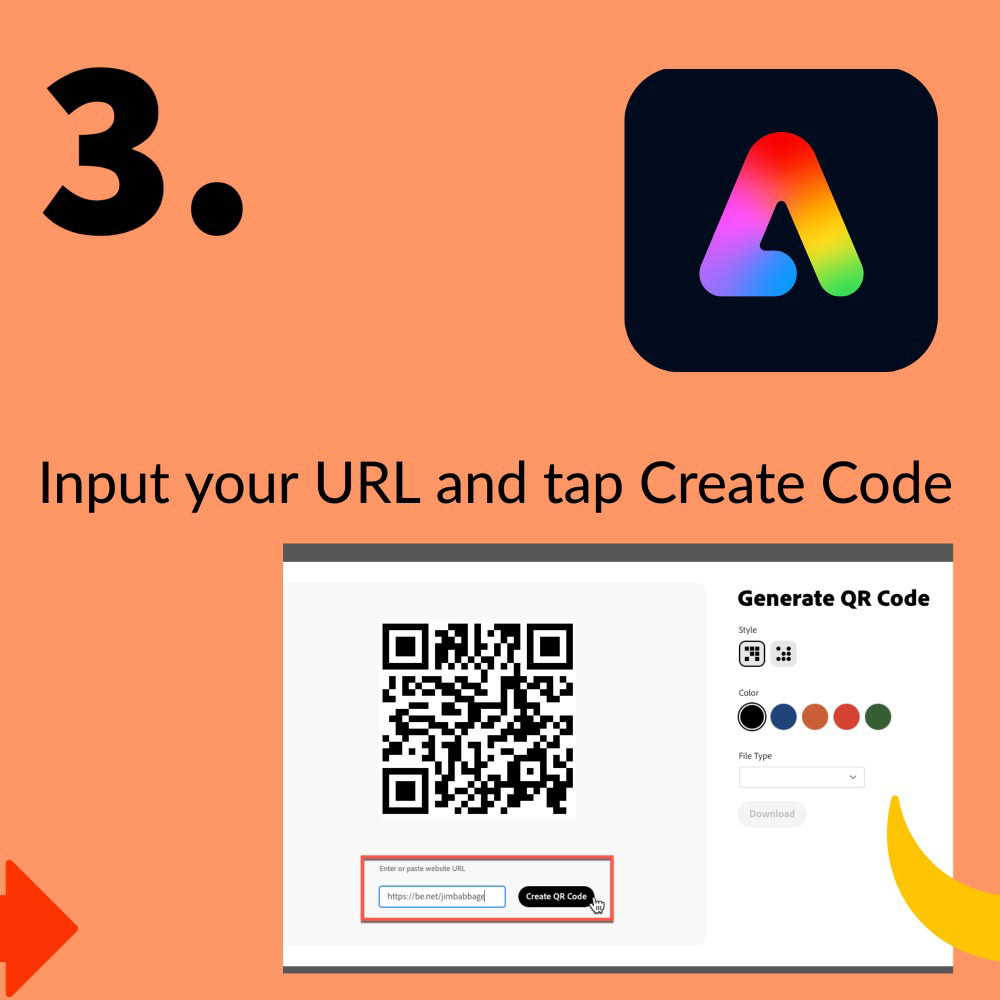
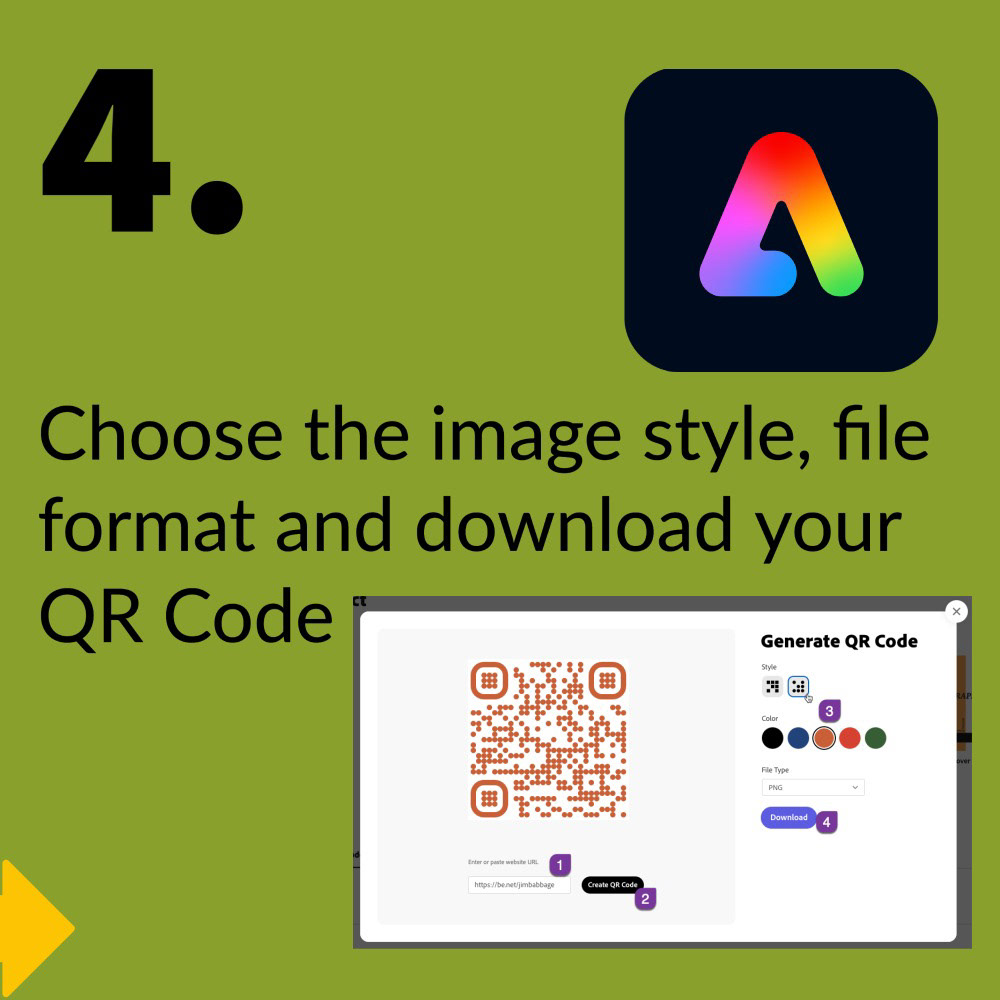
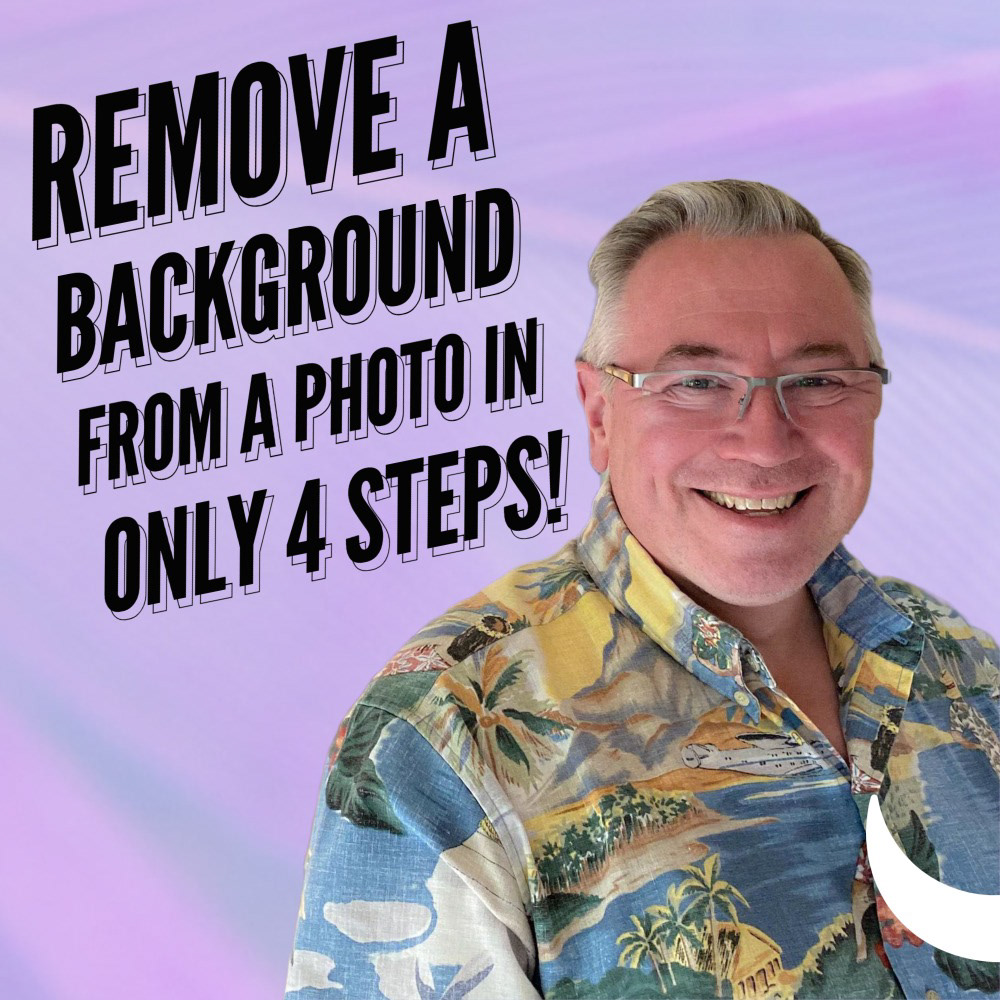
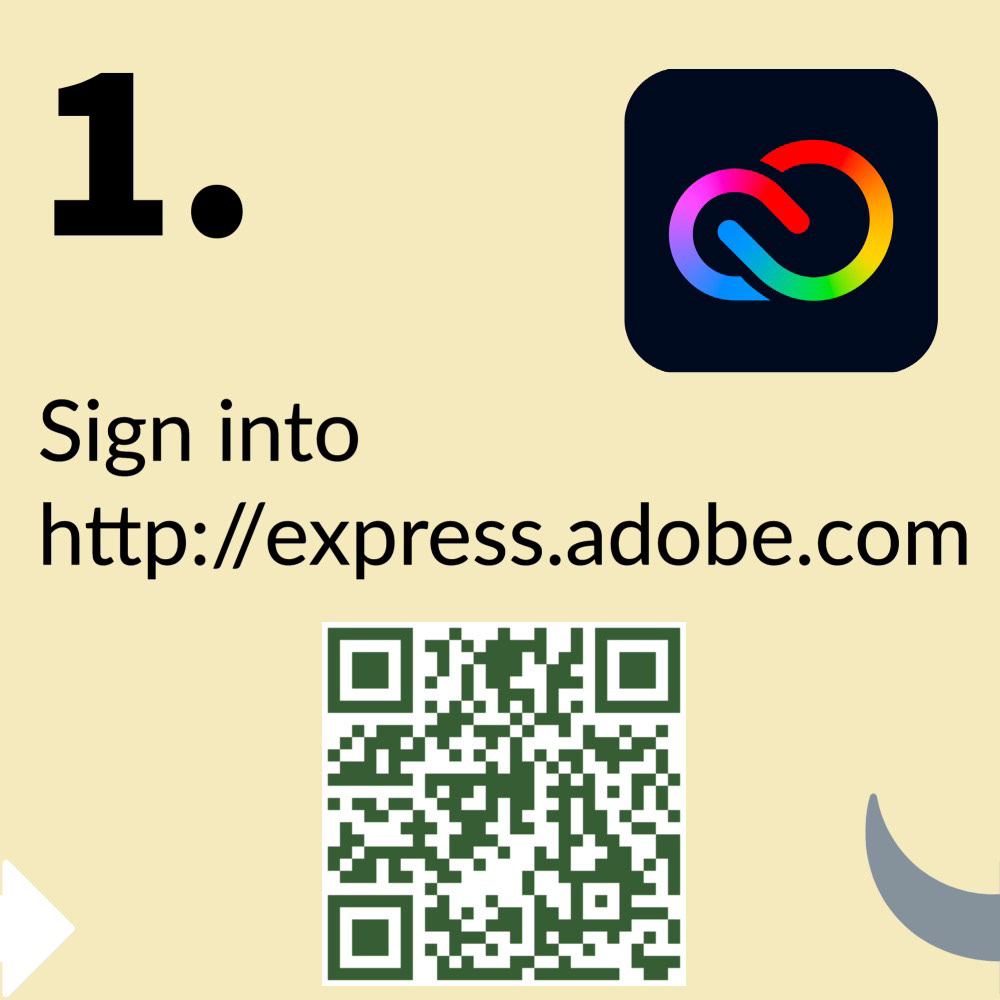
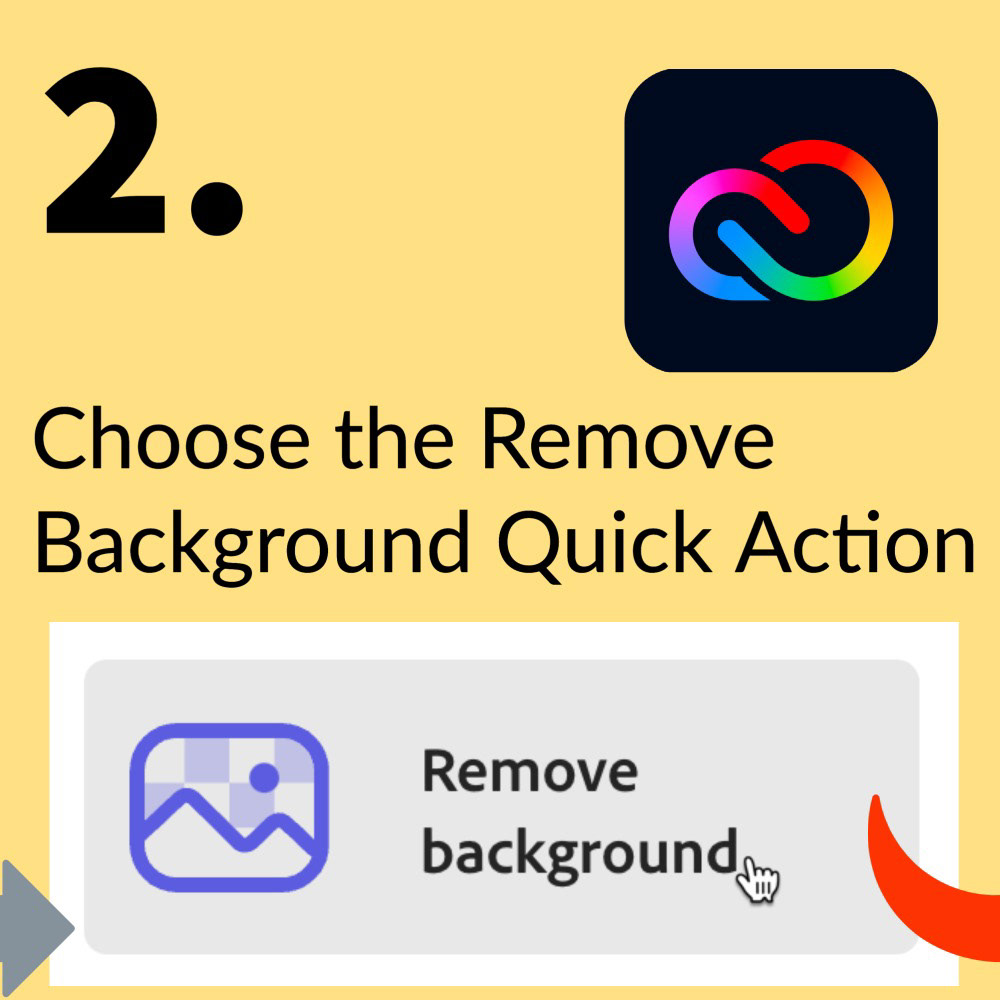
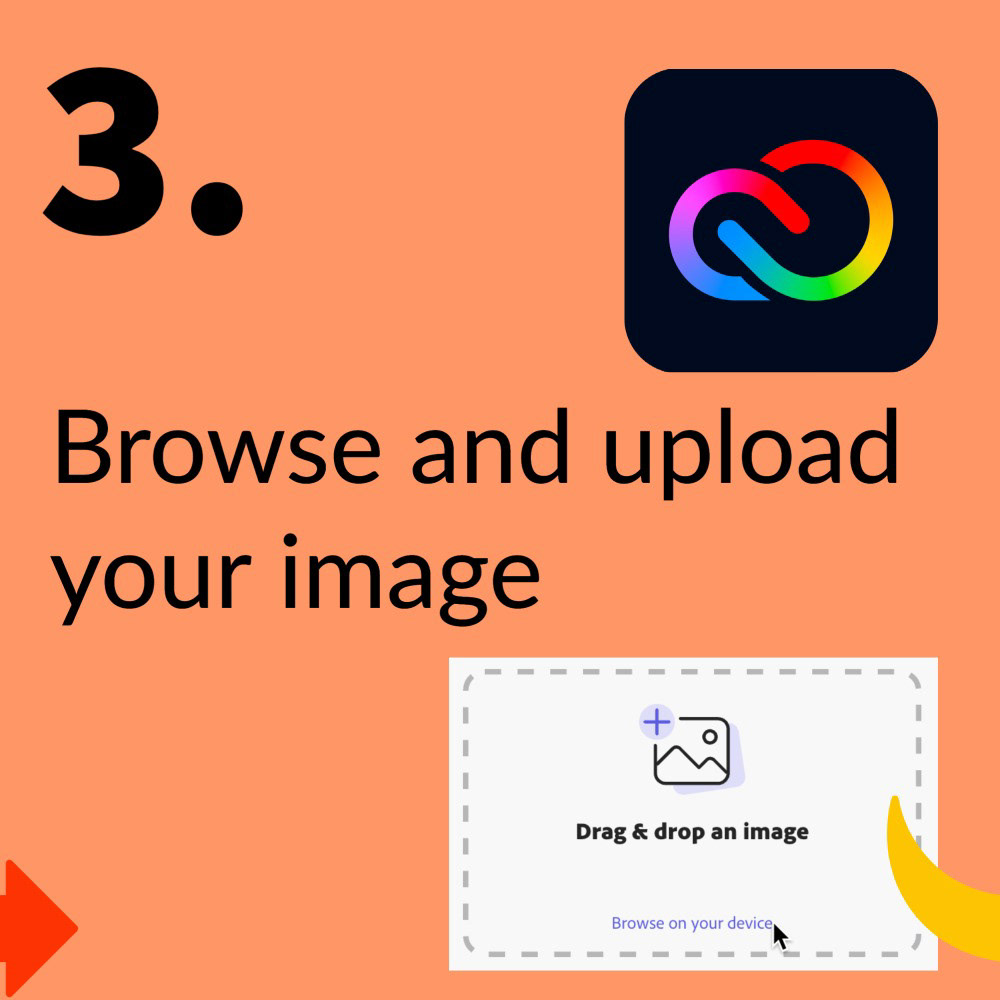
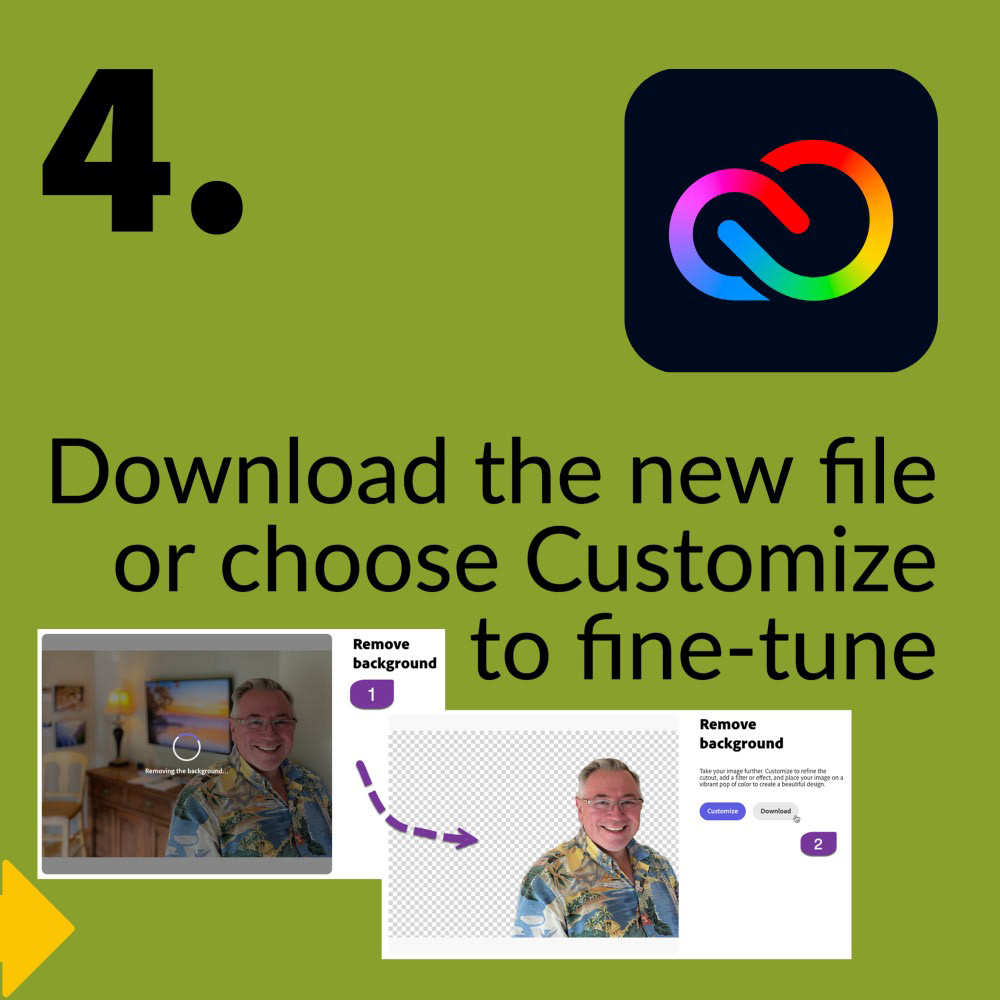
Below are my completed carousels. when viewed on Instagram, they create a seamless interactive slideshow experience from one step to the next.
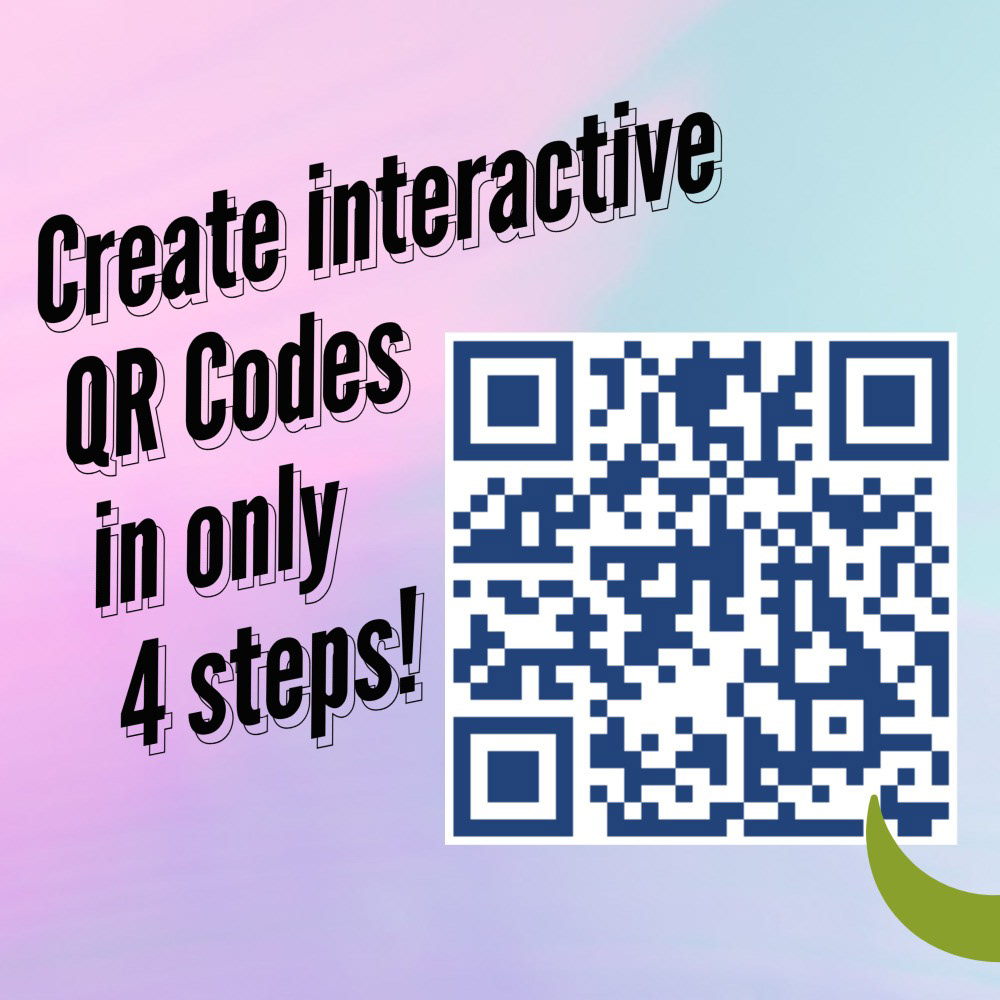
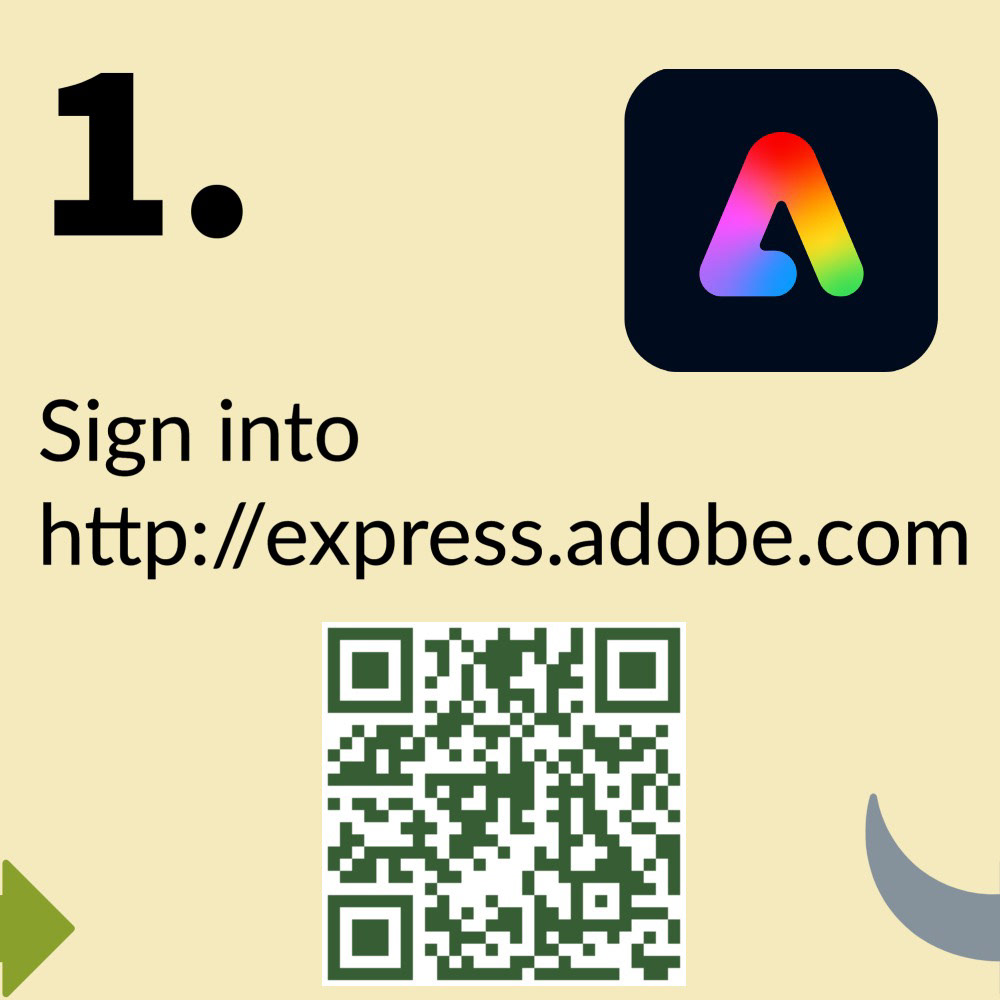

View this carousel at https://www.instagram.com/p/Cly922EuxyH/, or - better yet - visit me in the Instagram app @jimbabbage.
View this carousel at https://www.instagram.com/p/ClouBGyOHT4/, or - better yet - visit me in the Instagram app @jimbabbage.
View this carousel at https://www.instagram.com/p/CmEx_NYOHSt/, or - better yet - visit me in the Instagram app @jimbabbage.
View this carousel at https://www.instagram.com/p/CmXDJkpu2ZE/ or - better yet - visit me in the Instagram app @jimbabbage.

View this carousel at https://www.instagram.com/p/Cm95ZR8JvPO/ or - better yet - visit me in the Instagram app @jimbabbage.
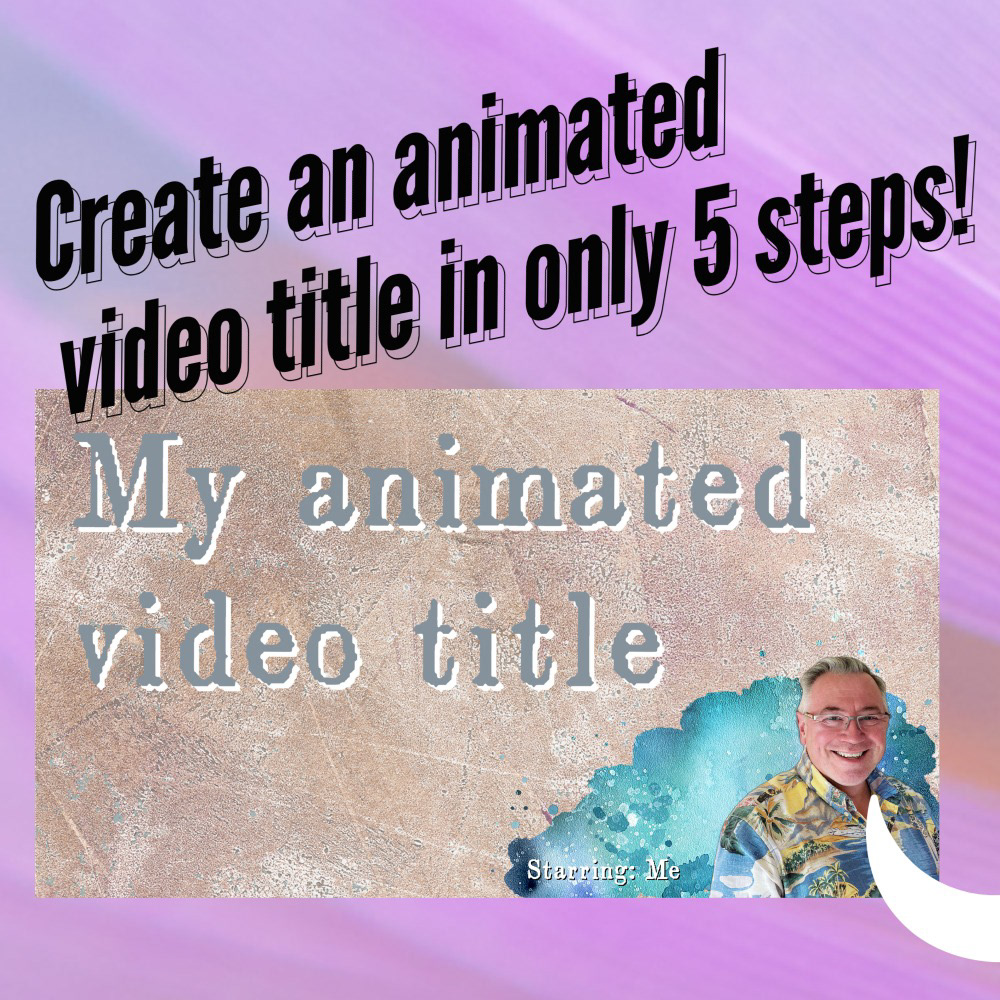
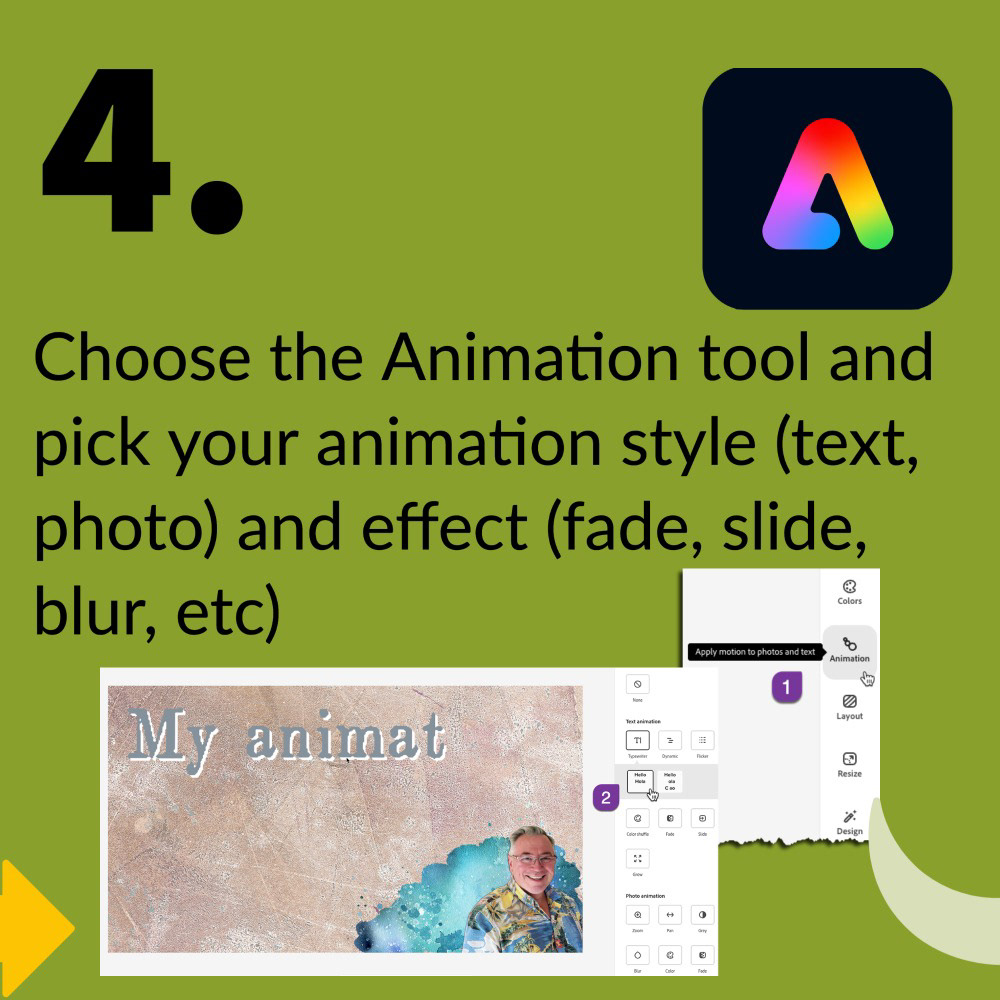
Animated title page created in Express from static elements
Note: If you don't want to deal with the multiple artboards in Adobe Express, you can create one graphic at the desired dimensions, download the file and then place it in an Adobe Illustrator document with the desired grouping of artboards, and export out the file using the artboards to divide or cut up the document into multiple files.