The Campsite
Using Substance 3D Stager, Painter and Photoshop
Recently, I started experimenting with Adobe Substance Stager, to create photorealistic scenes using stock 3D models and my own original photography. Virtual Photography, if you will. While I am in the early days of my learning curve, I am enjoying the challenge.
In my first project, I focused on adding a couple of wooden rowboats and lifejackets to an early morning photo of the lake near my cottage. While I was pleased with the result. I felt the boats themselves looked a little too new, and I learned that to create that additional realism, I needed to learn how to use Substance Painter.
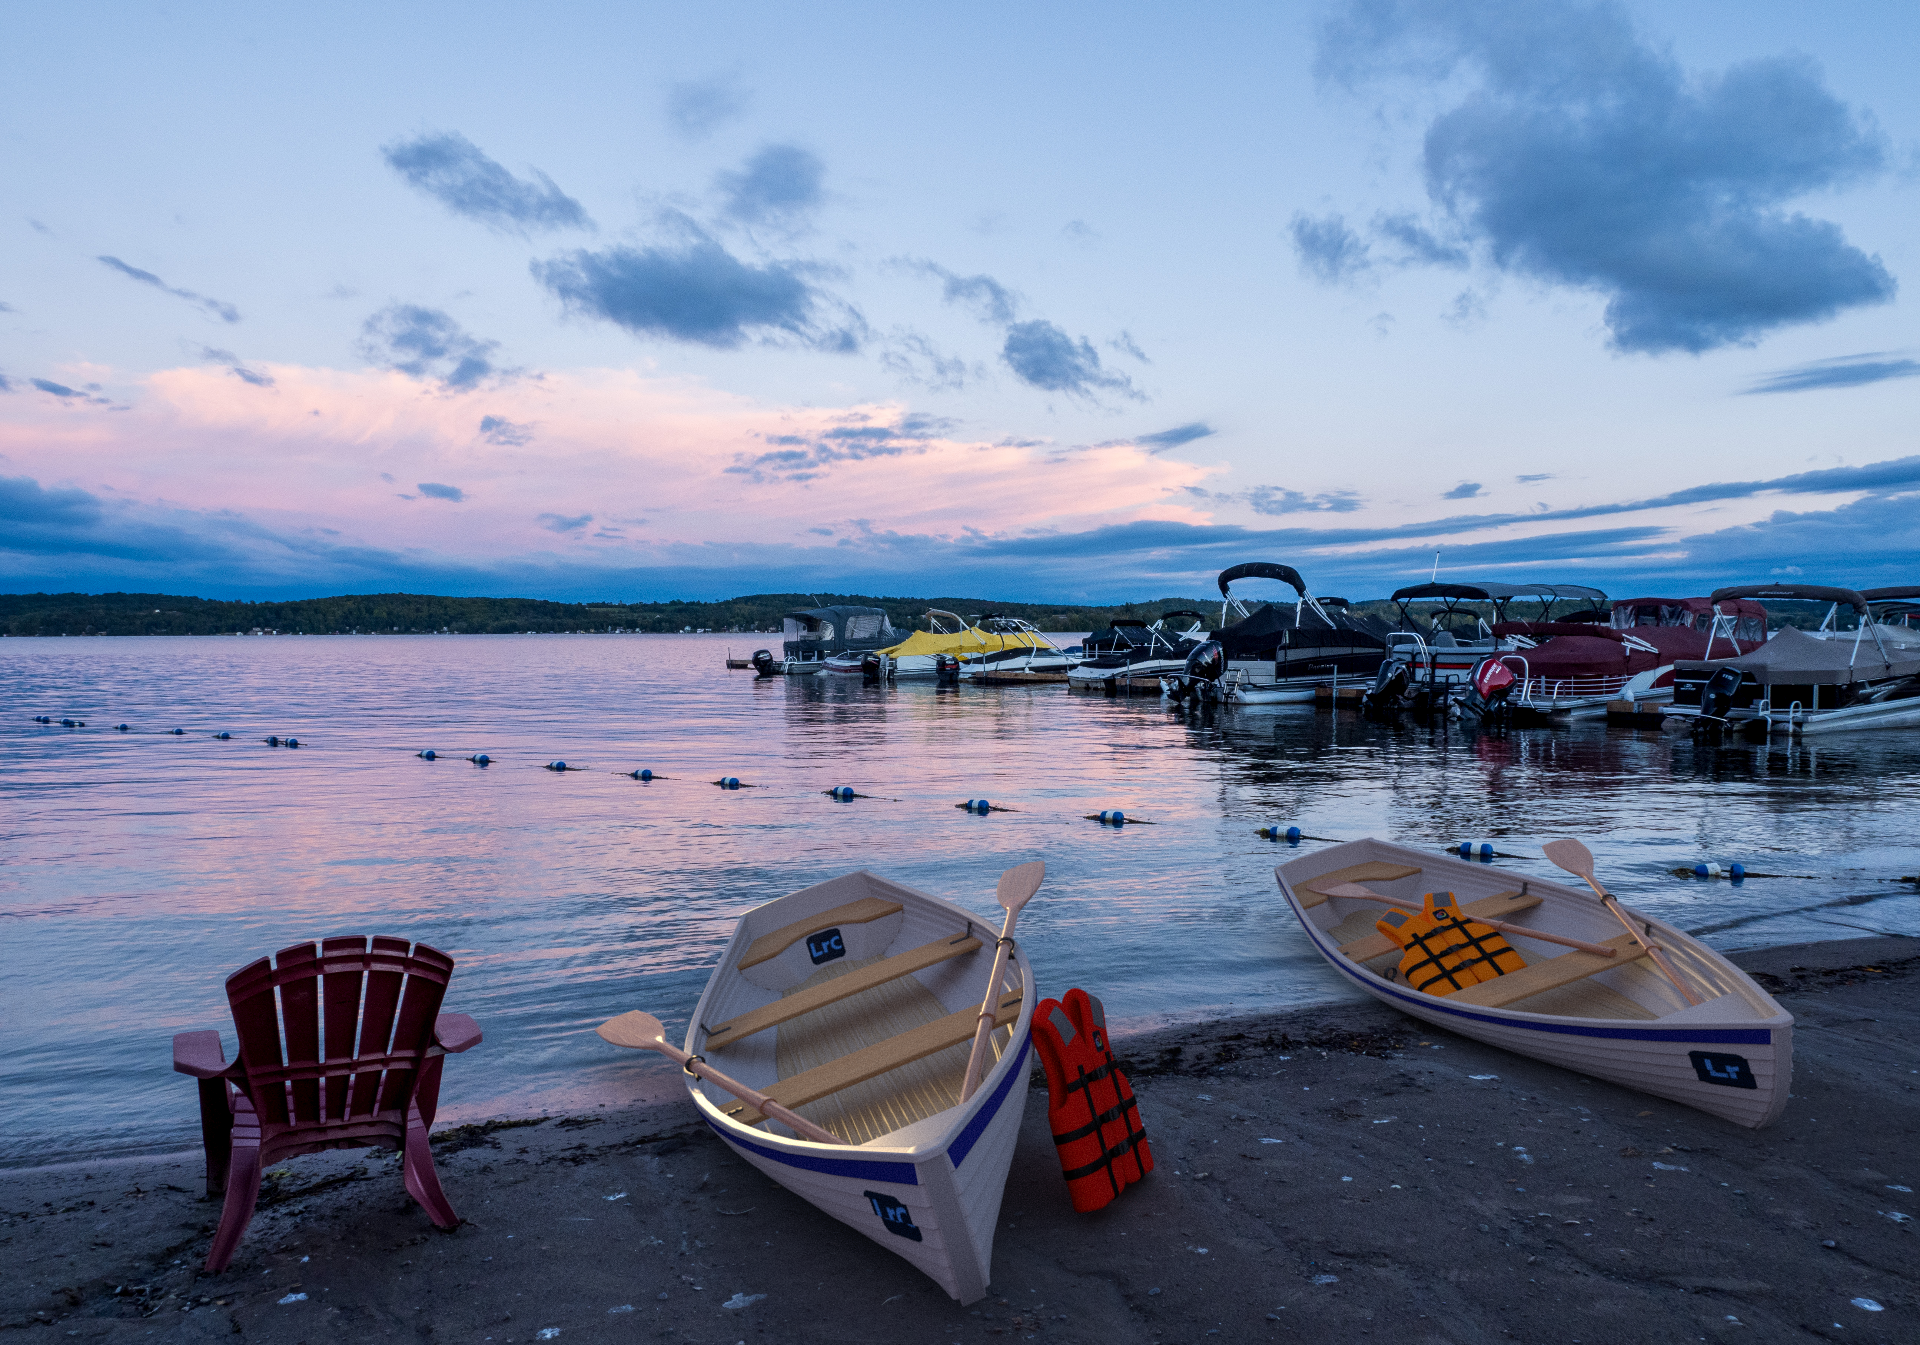
Final image from my first project
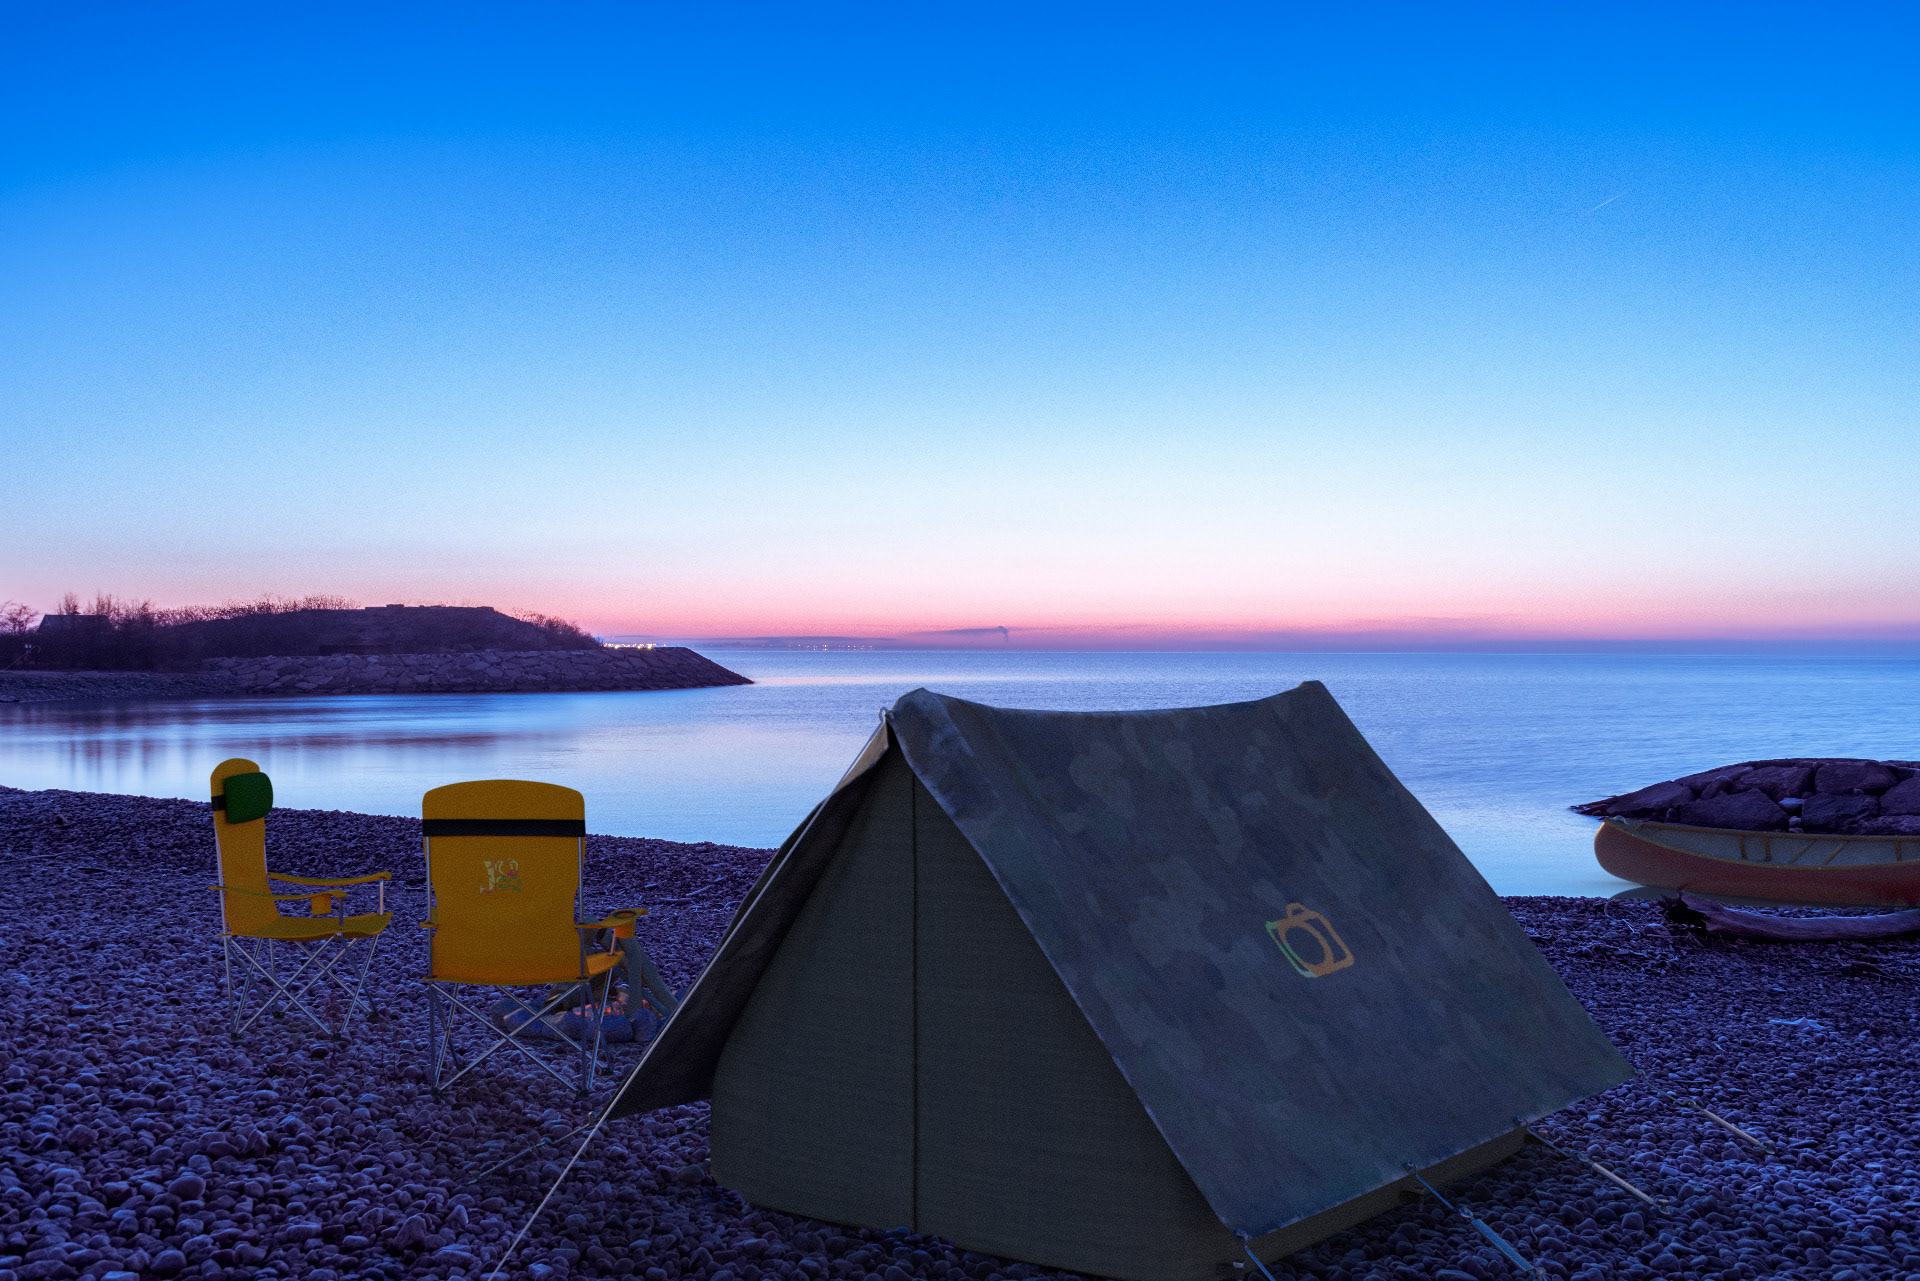
The goal of my second project was to tell a slightly different story - a campsite on the water. Again, I chose a sunrise photo as my background image (background plate). As you can see below, I've included a tent, a campfire, canoe and camp chairs.


Experimenting with camera angles as well as materials available to me within Stager. While I was pleased with the results given my introductory level of experience with Stager, I still felt the scene could look more real.
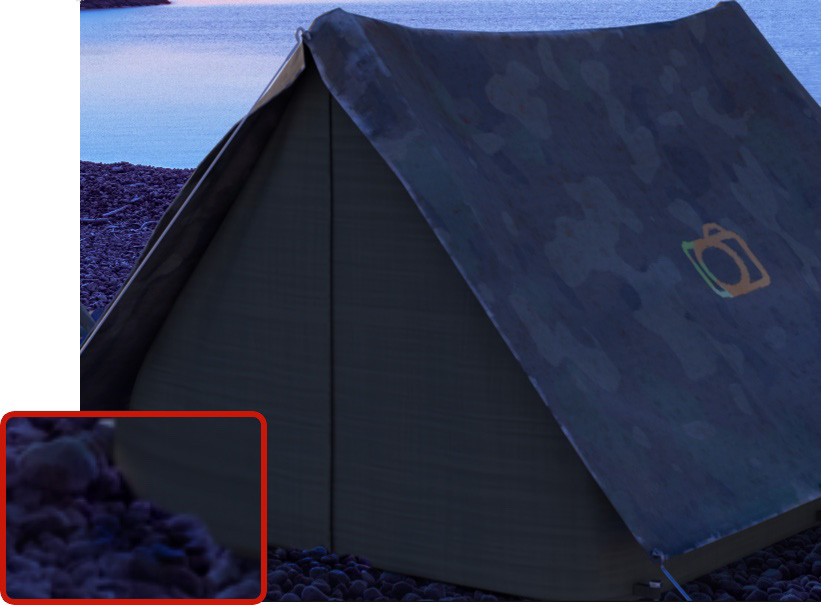
By first bringing the tent model into Painter, I was able to add more realistic materials and even dirt (using a paint layer and a "dirt" brush) to the tent elements. I was able to source some of the materials like the camouflage parametric material online from the Substance 3D Assets catalog. A "parametric material" gives you multiple editable parameters so you can customize the look and feel of the material when it is applied to a 3D mesh.
I painted dirt onto both the tent fly mesh and onto the tent walls itself. And - while I was happy with this angle for the shot - I also enabled the Symmetry option, so the dirt I painted on one side, was repeated on the opposite side.
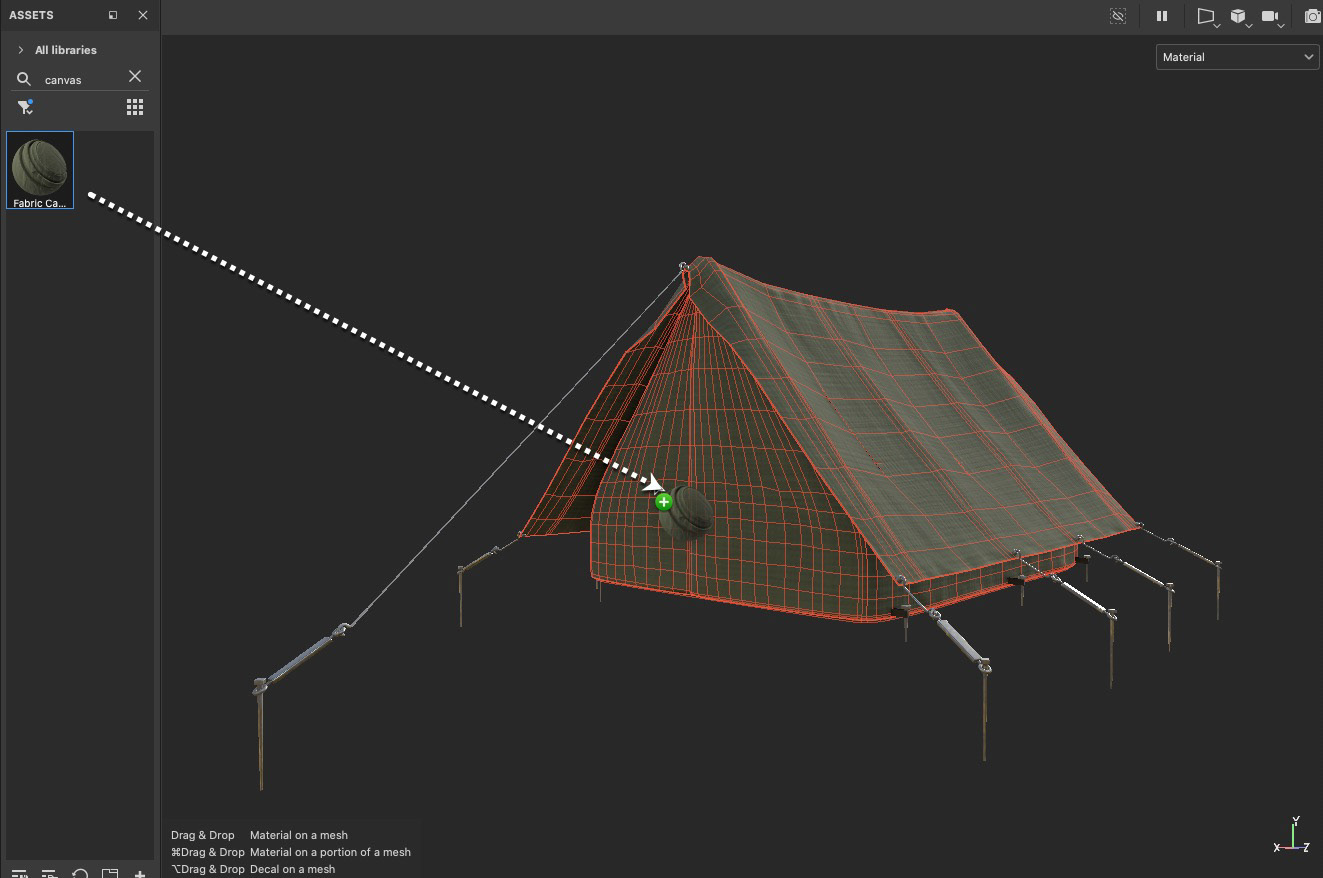
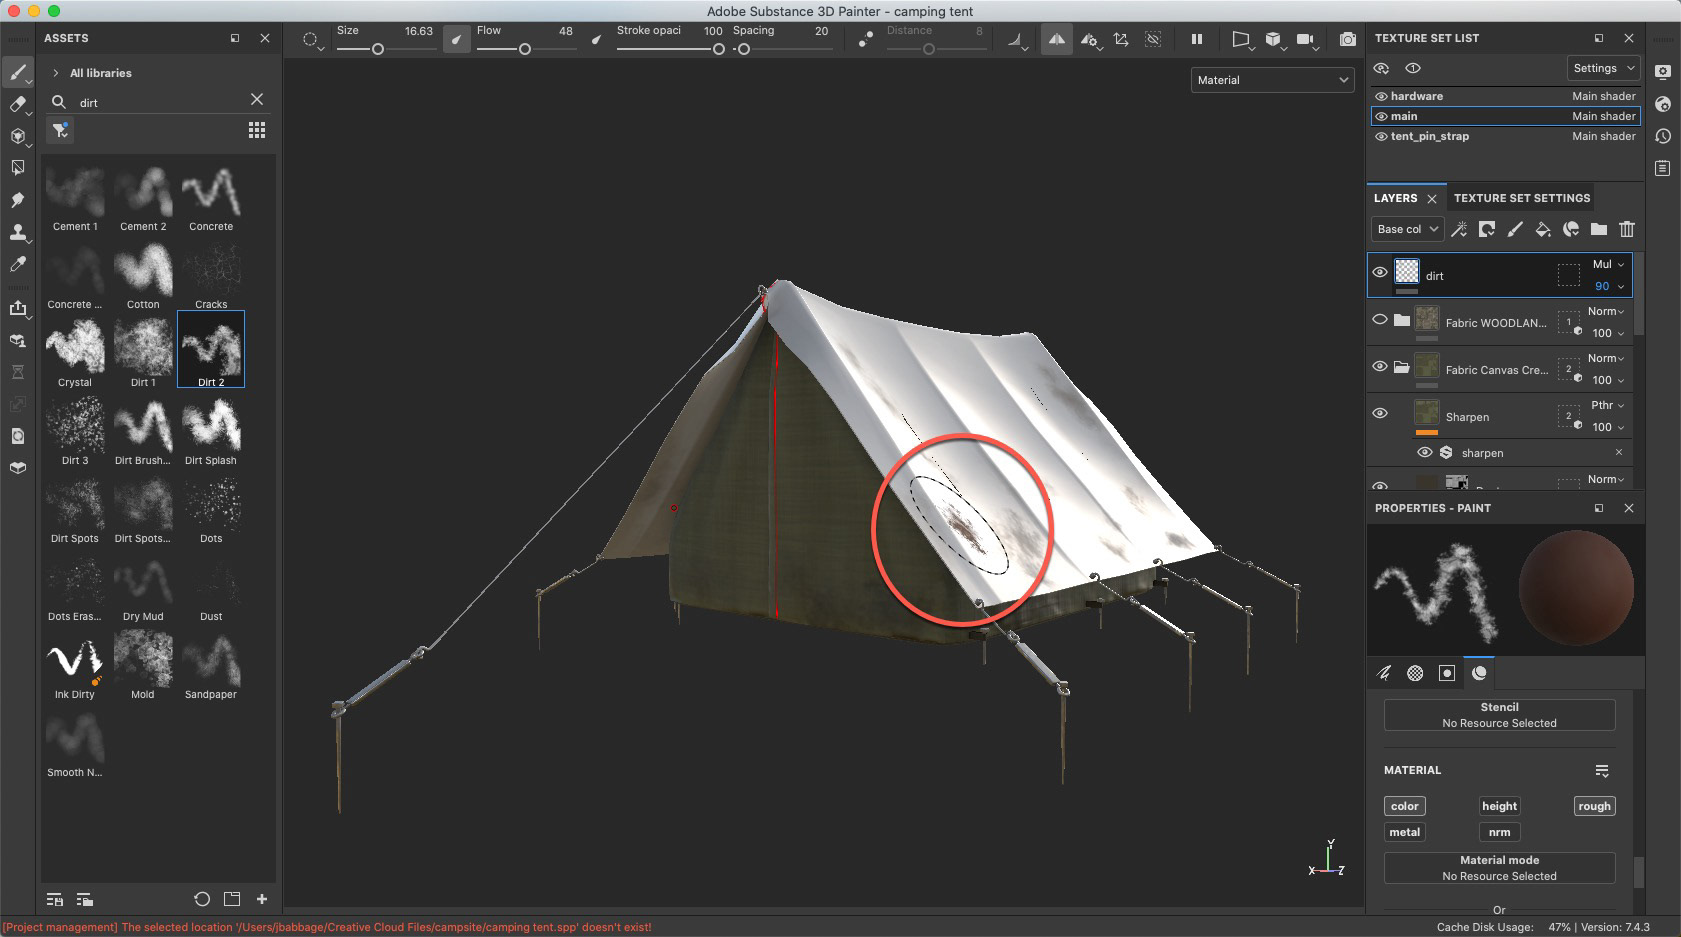
You can drag and drop materials right onto the object (left), or you can target specific parts of the mesh using the Texture Set List panel. Dirt is applied to a special paint layer. You create the layer, select a suitable brush, adjust parameters of the brush and start painting, just like you would in Photoshop. In the right figure above, I turned off the material of the tent fly so you could see how/where I was applying dirt to that part of the model.
Painter and Stager are integrated so that I can directly import an object from Painter right into Stager, either into a new project workspace if no projects are open, or a currently active project. This is a huge timesaver.

(Mis)Treating my Canoe
I repeated this process with the canoe, adding better quality materials and even adding scratches to the outer hull, although those details are lost based on the object's size in the final scene.
Note: In Painter, you only work on one object at a time, unlike Stager where you can have several 3D objects in the project at the same time.
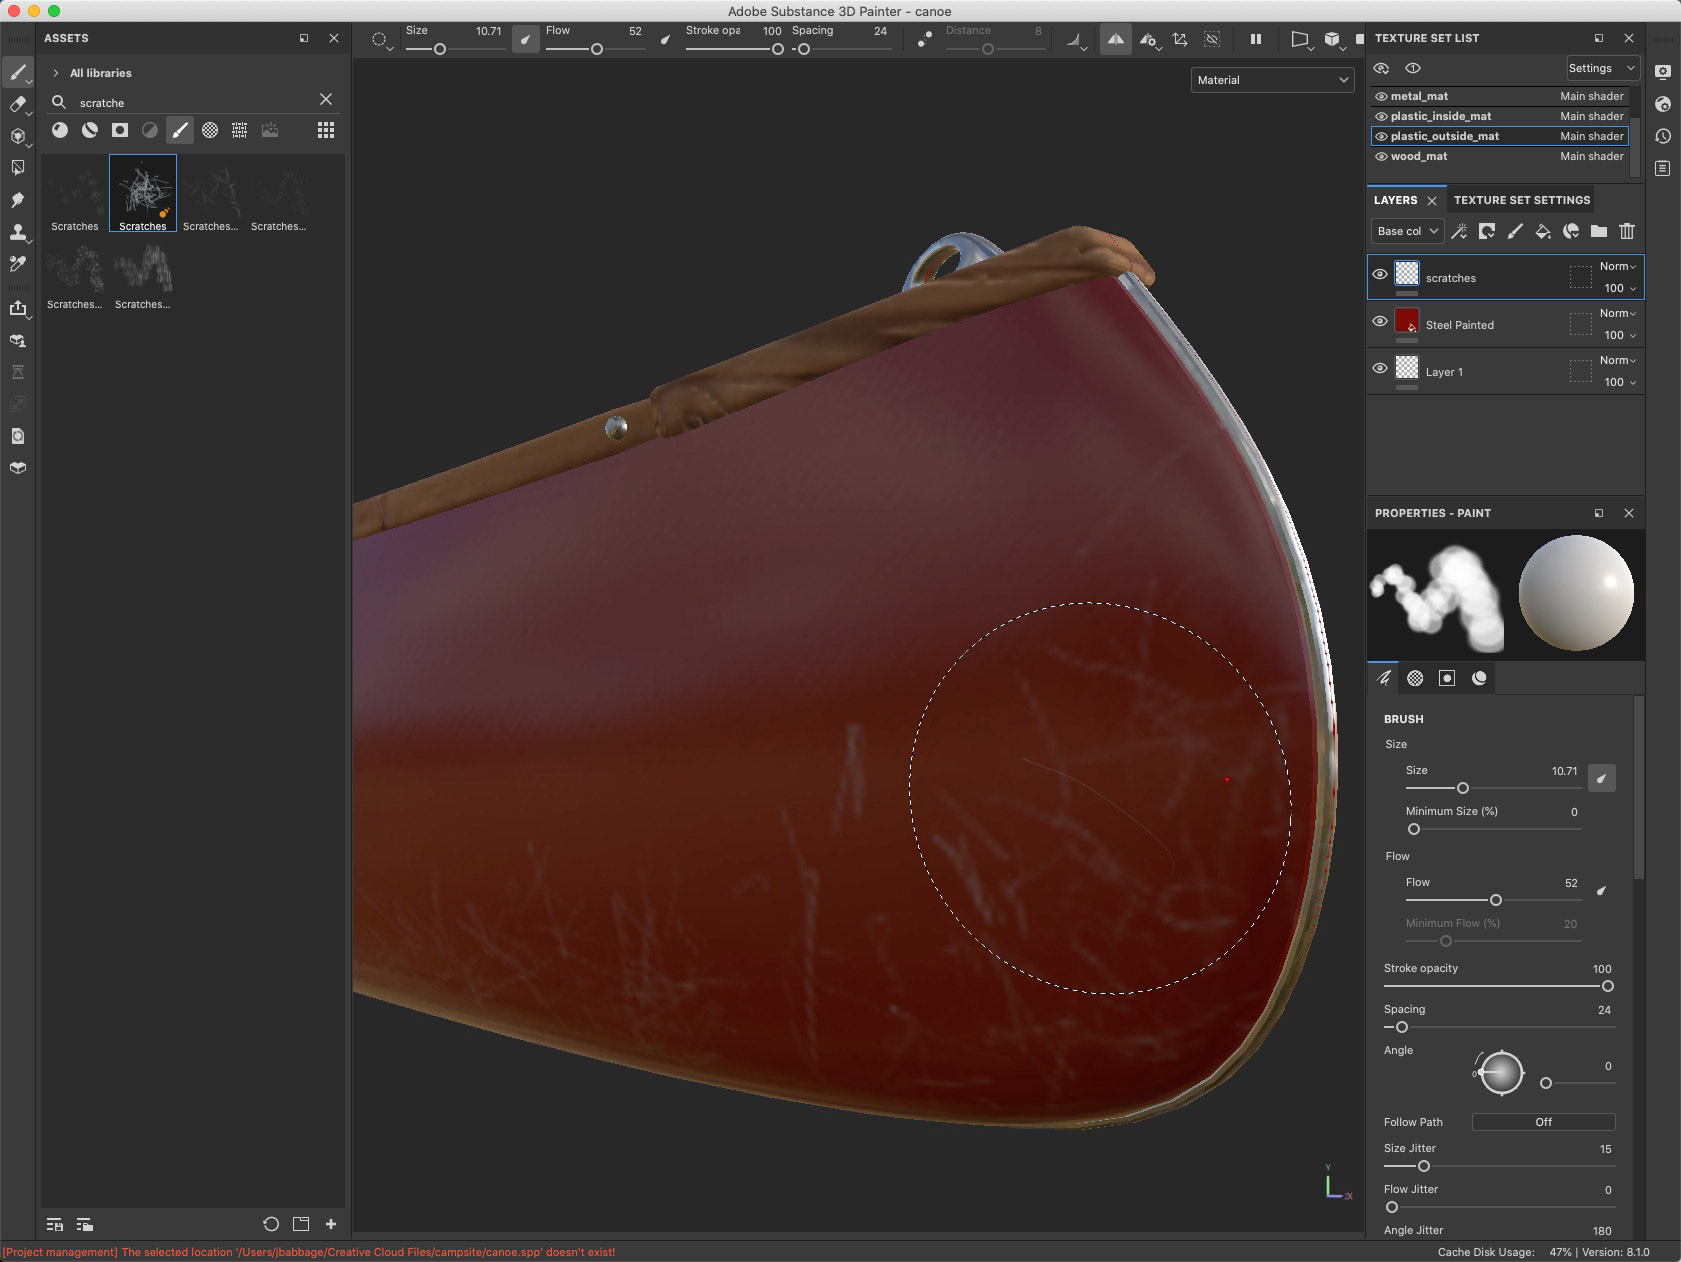
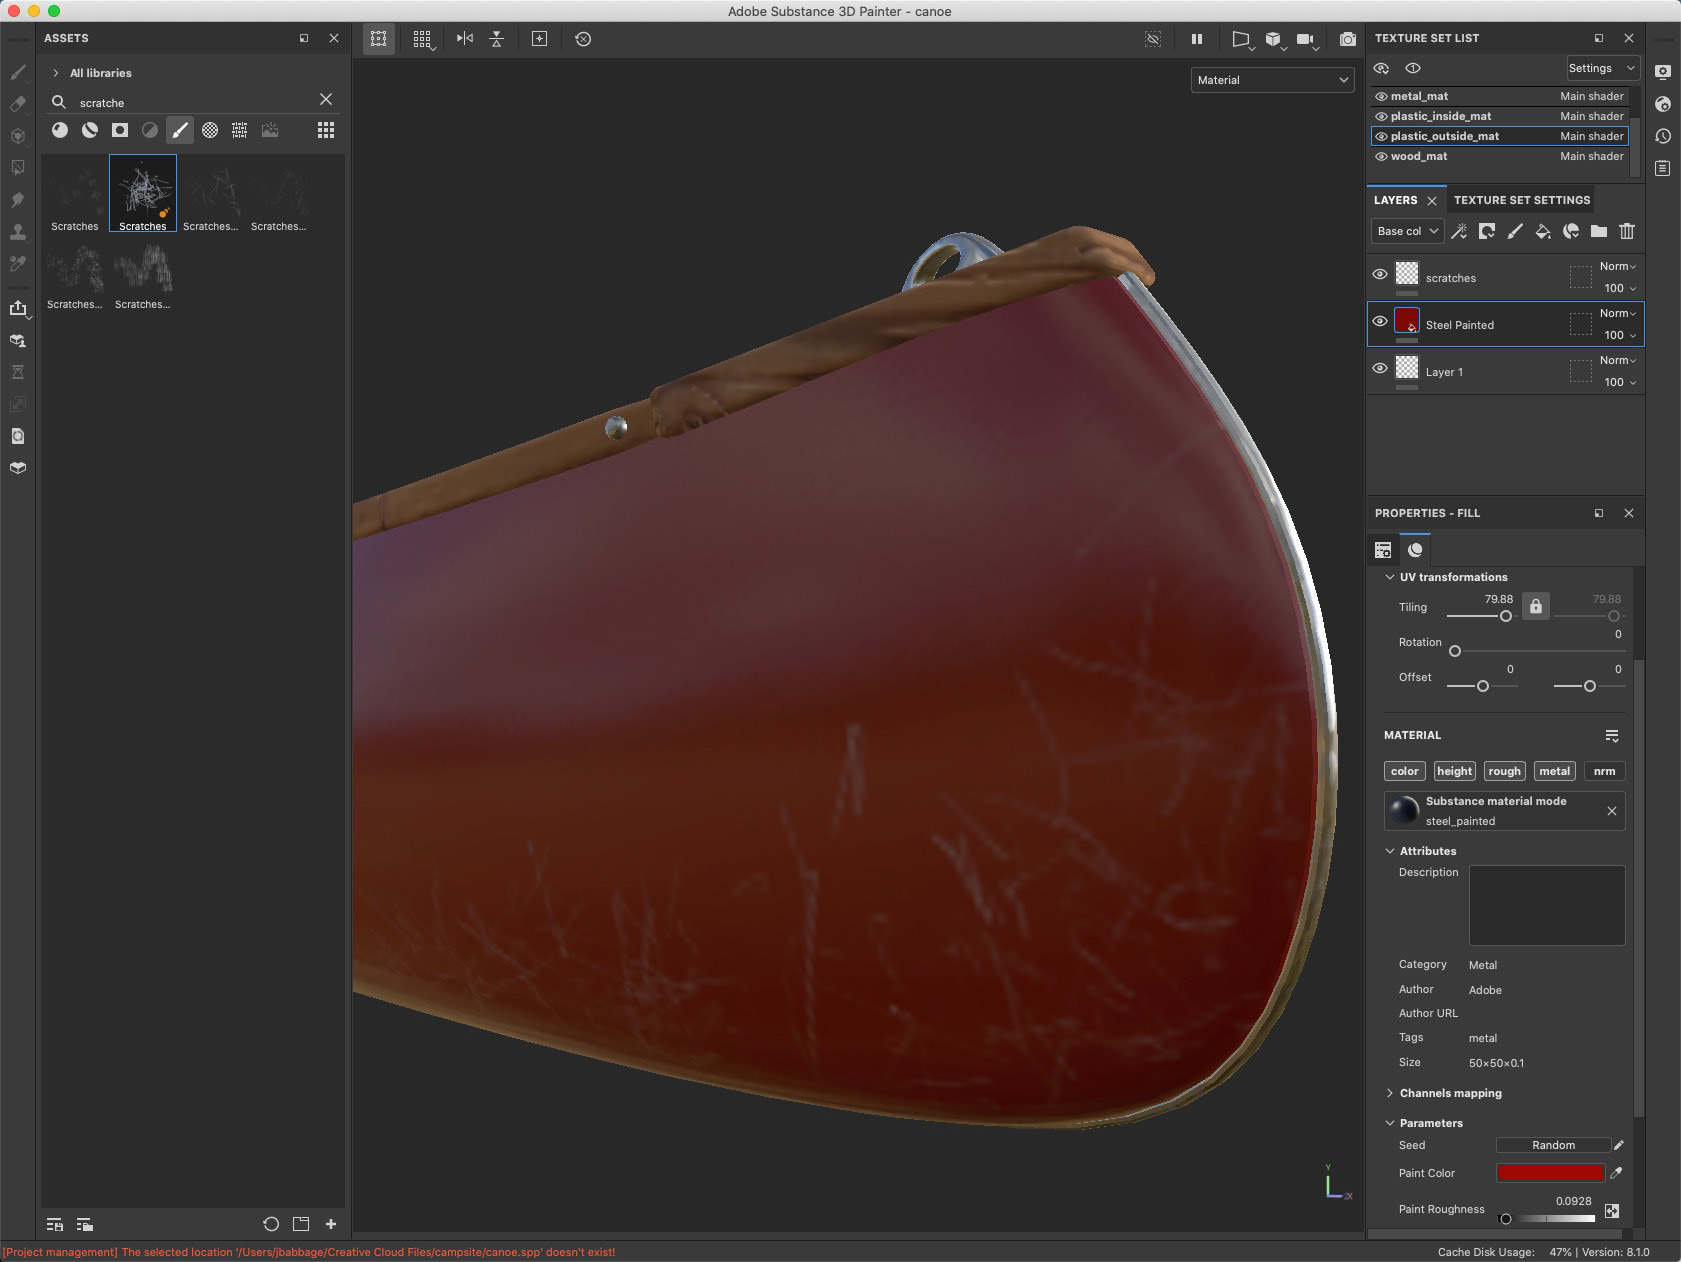
There are a lot of similarities to other Adobe programs, the use of layers, brushes, masks and properties being a few examples. The figure on the left shows a close up of applying a Scratches brush to a paint layer, to make the canoe look more used. I used a Steel Painted material for the outer hull of the canoe, and adjusted the Tiling and roughness parameters to make the canoe appear more like a fiberglas.
Final touches
In Photoshop I made several tweaks:
Canoe Reflection
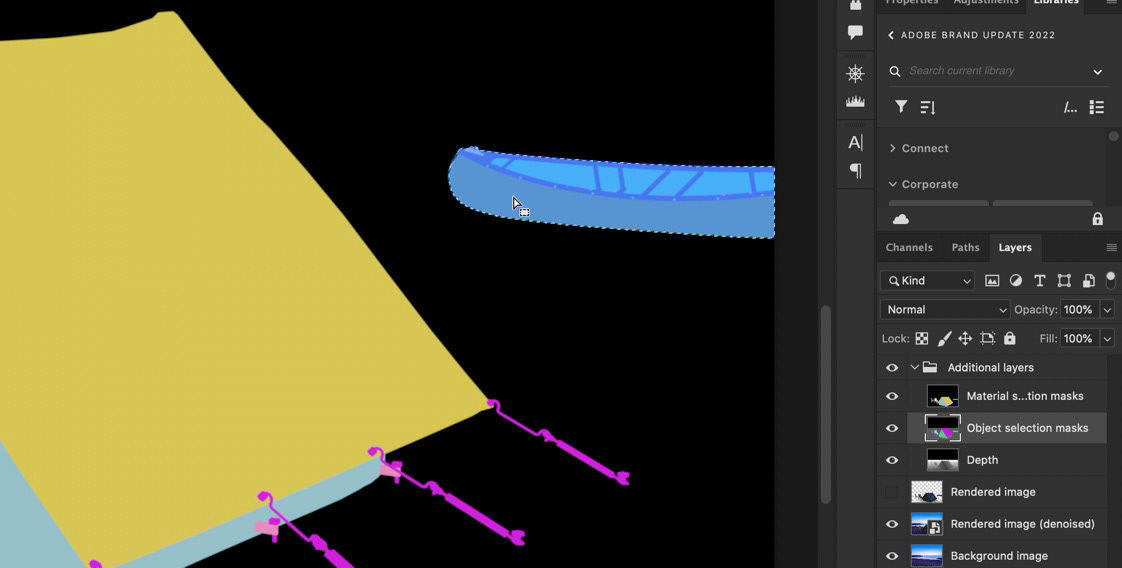
I added in the water reflection of the canoe. A very subtle detail, but the kind of thing that adds to the realism of the final image. I created the reflection by first using the Object Selection masks layer and the Object Selection tool to select the canoe. Then I activated the main 3D layer and with the selection still active, I copy/pasted the a copy of the canoe into its own layer. The combination of the Stager-created selection layer and the relatively new Object Selection tool made this process pretty easy.
The I flipped the canoe upside down and moved the layer under the main 3D layer, repositioning the new layer until the "reflection" seemed logical and realistic. I did end up stretching the canoe a little wider, and even slightly rotating it to get the look I wanted.
Once in position, it was time to mask the reflection so it did not bleed into the shoreline. The Quick selection tool made short work of creating the shoreline mask for me.
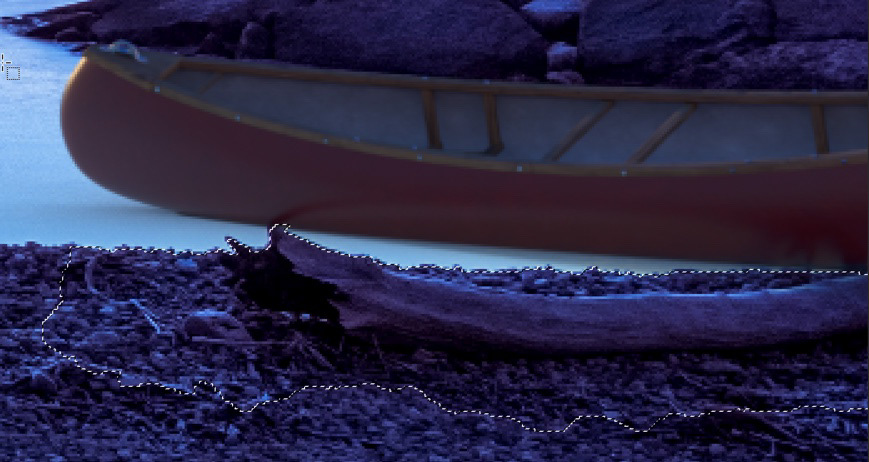
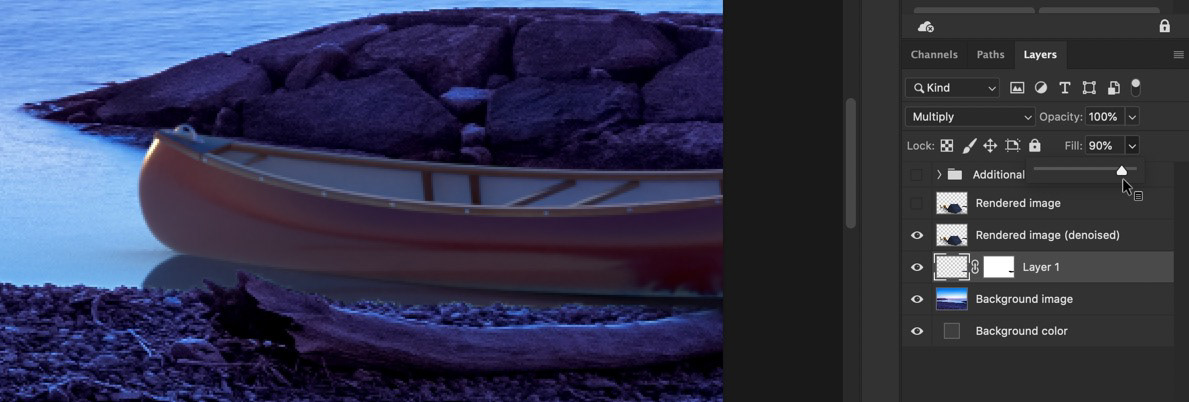
Lastly, I lowered the opacity of the reflection layer slightly and added a Multiply blend mode, so it was not the same brightness as the canoe.
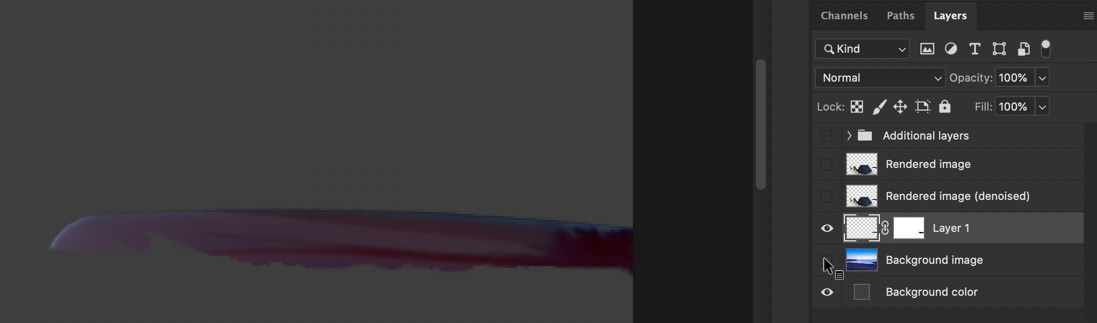
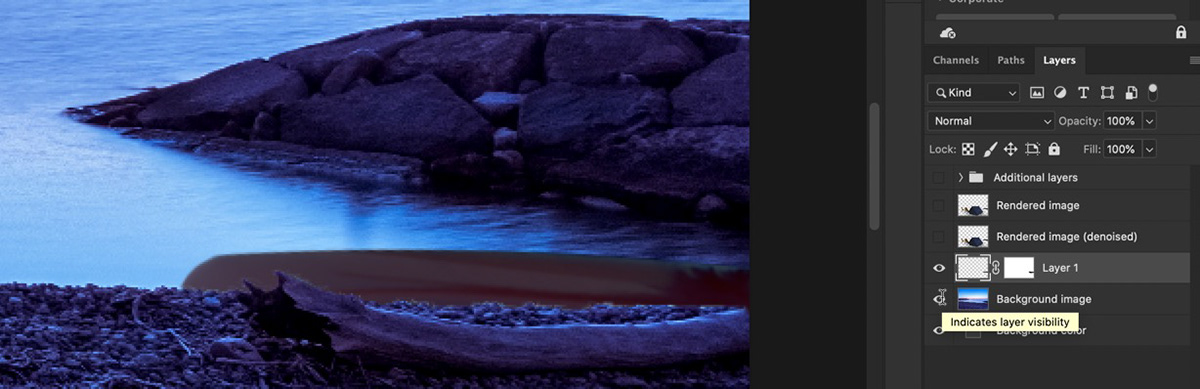
Embedding the Tent
Using a new masked layer of the background scene I exposed some of the rocks around the edges of the tent, so it had more of a feeling of being part of the scene, rather than just sitting on top. This was a little challenging as shadows created by Stager are part of the single 3D object, so when I used the brush over the rocks, it exposed a much brighter pile of rocks. I did some burning in and also contrast and brightness to help blend the brightnesses.
In hindsight, I should have tried selecting and moving the shadows to their own layer, so I could mask the tent and rocks separately rom the shadow. At this time, Stager does not build out the shadows as a separate layer. Can you say, "Wish List?"

Lastly, I added a low level of grain to the 3D elements and an overall slight Noise filter application to better help the 3D objects blend with the original photograph.
Wrap up
While there is doubtless more I can do, applying these basic steps in Painter and Photoshop have taken my Stager composite and final rendered image up a few notches on the realism scale. And also keep in mind, most of this is very new to me; I am doing things very much much on a trial-and-error basis. There are likely better/more efficient workflow options. But if I can do it, so can you!
And as an added bonus to it all, I'm finding the process fun!
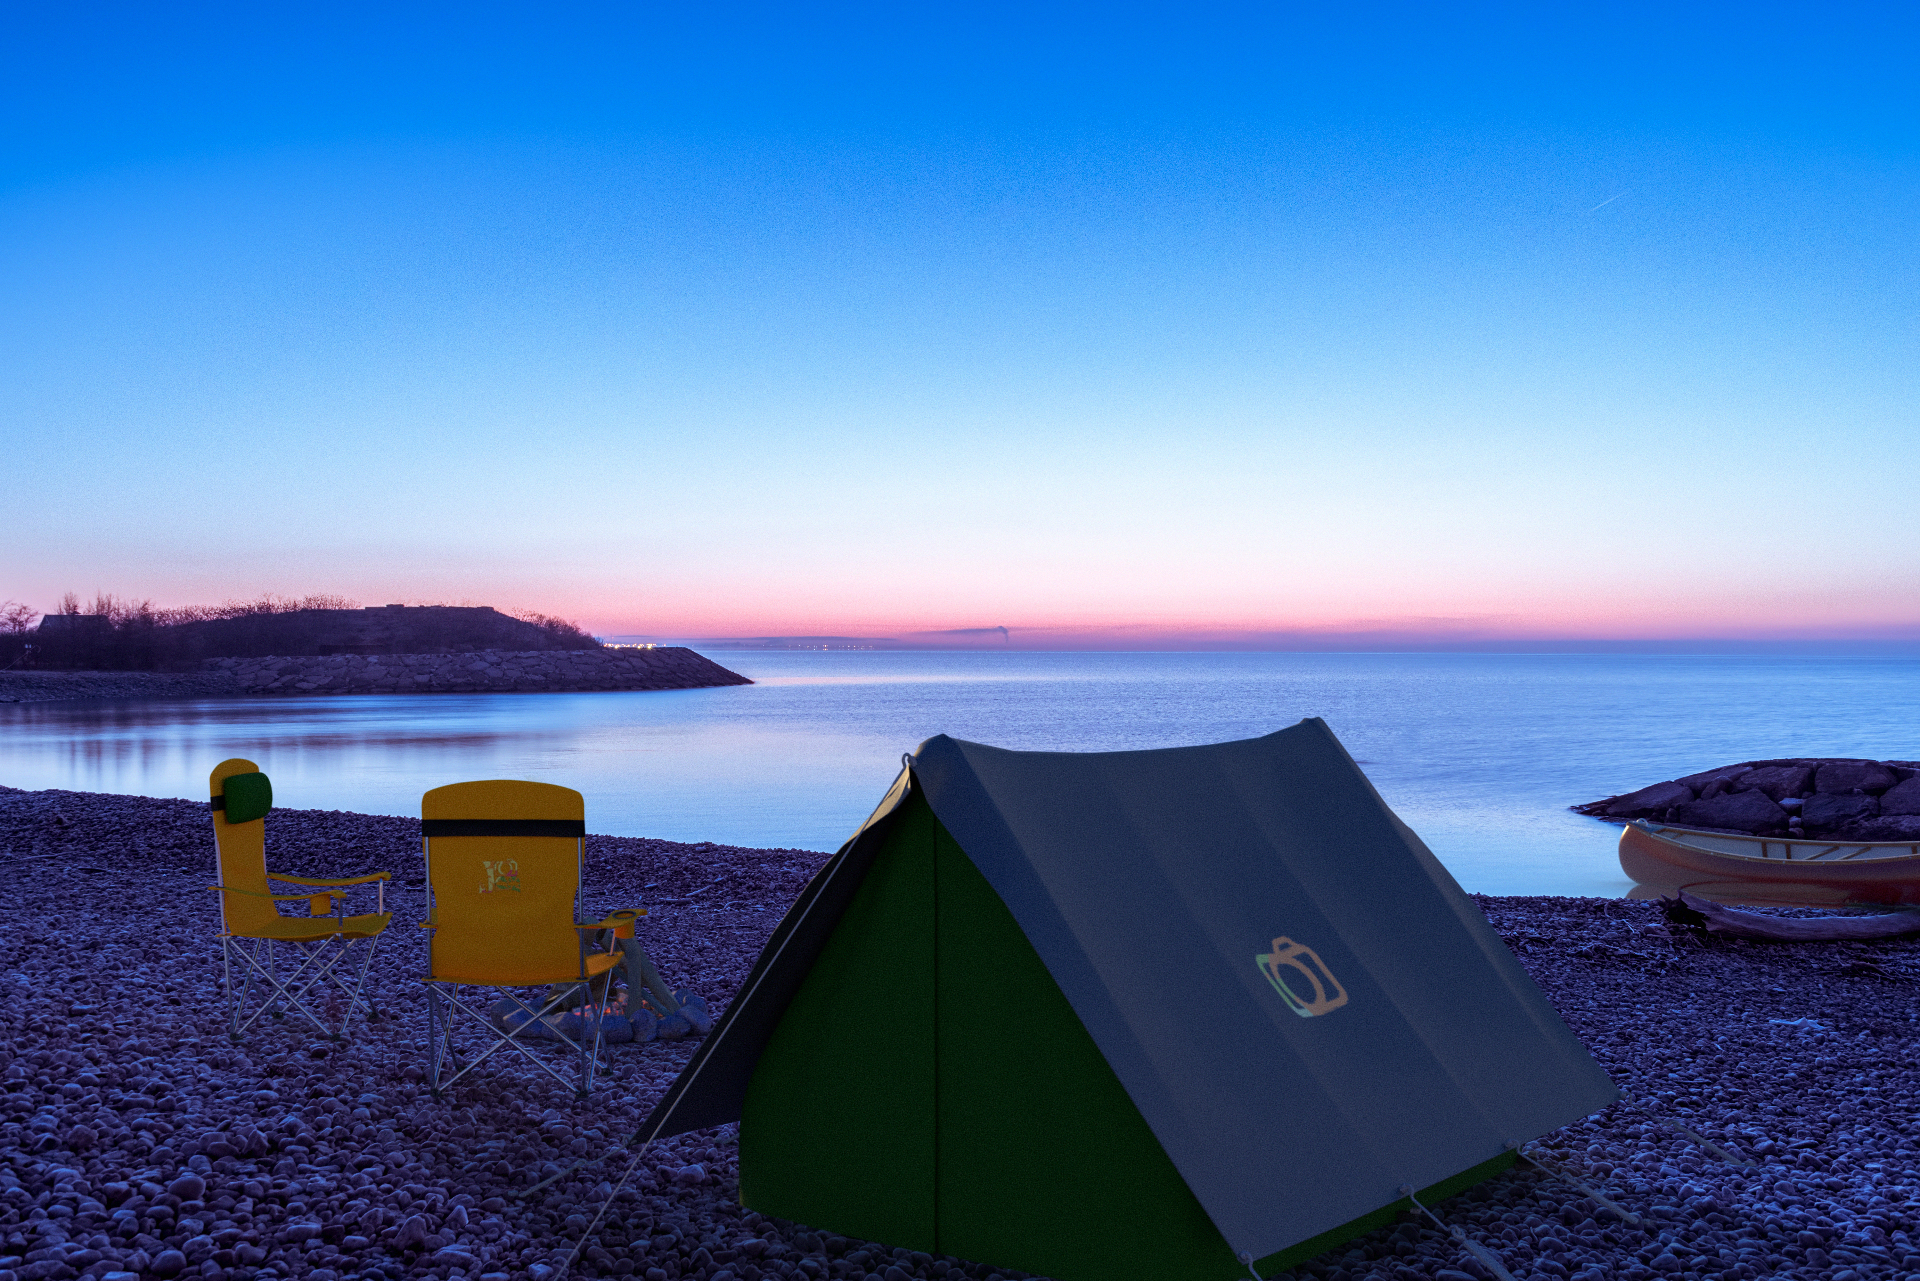

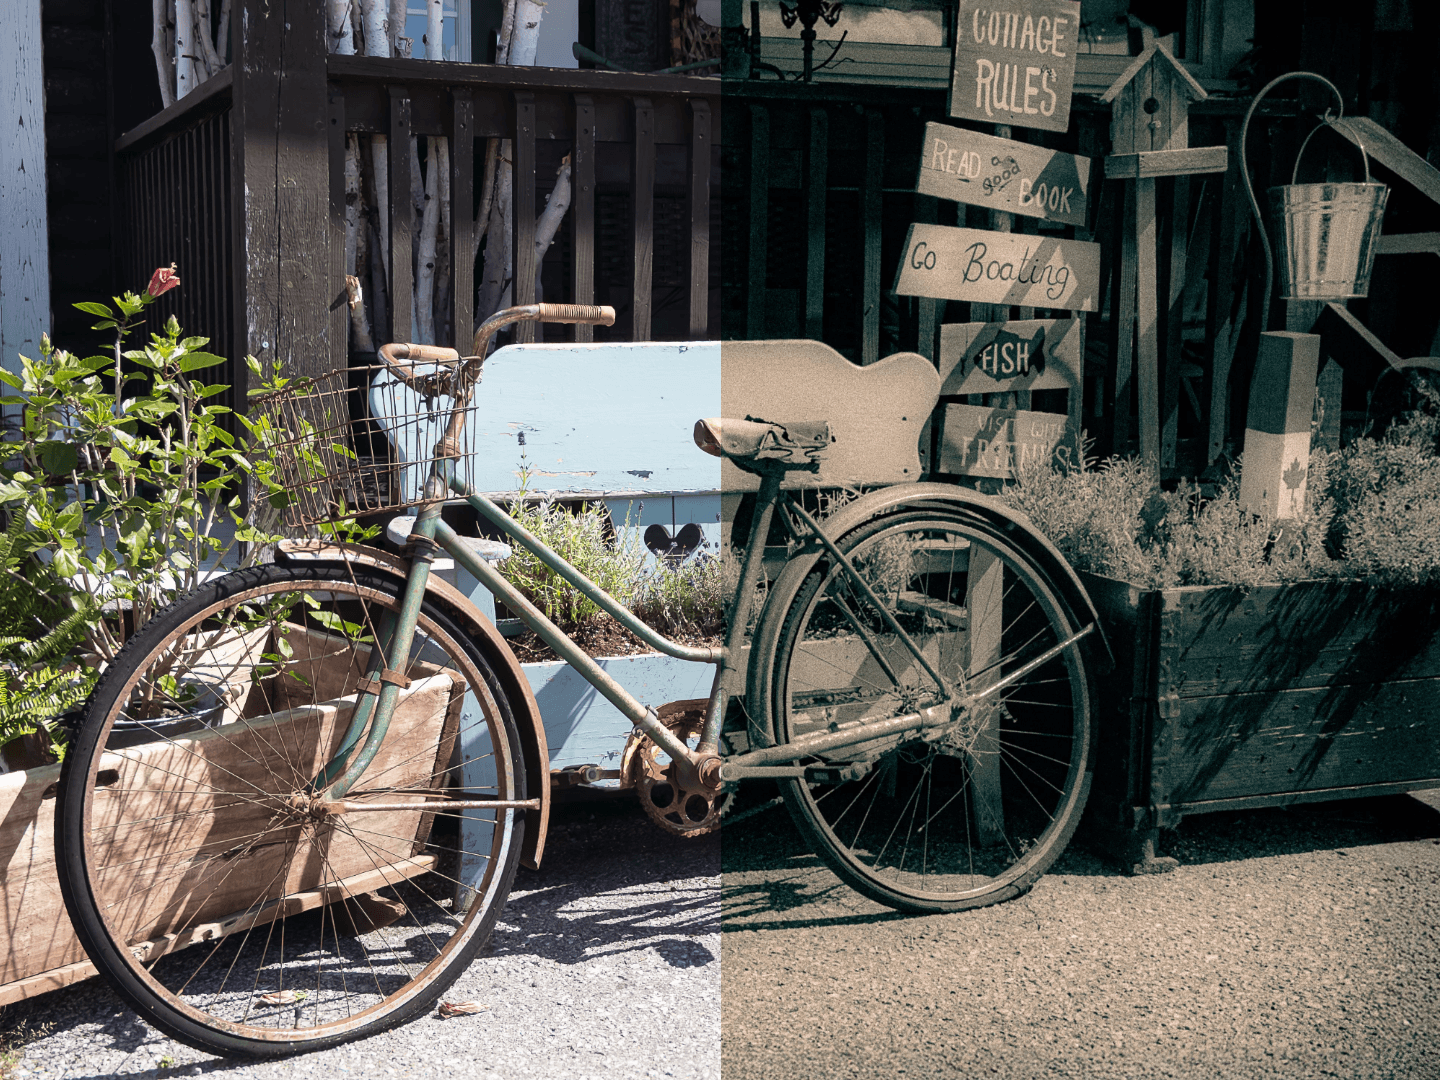
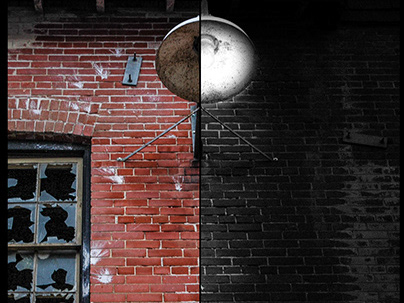
A final before and after.
Until next time!