Creating a Video Montage & B-roll Clips for Stock
For 2023, I'm making a point of shooting more video footage when I go out to take pictures, both for personal and professional use. My Adobe Stock collection is primarily still images and - considering that video pays much better - I'm hoping to create some attractive b-roll to add to my offering on Adobe Stock.
Definitions
Before we go any further, here are some basic definitions and a fun little infographic about camera movements.
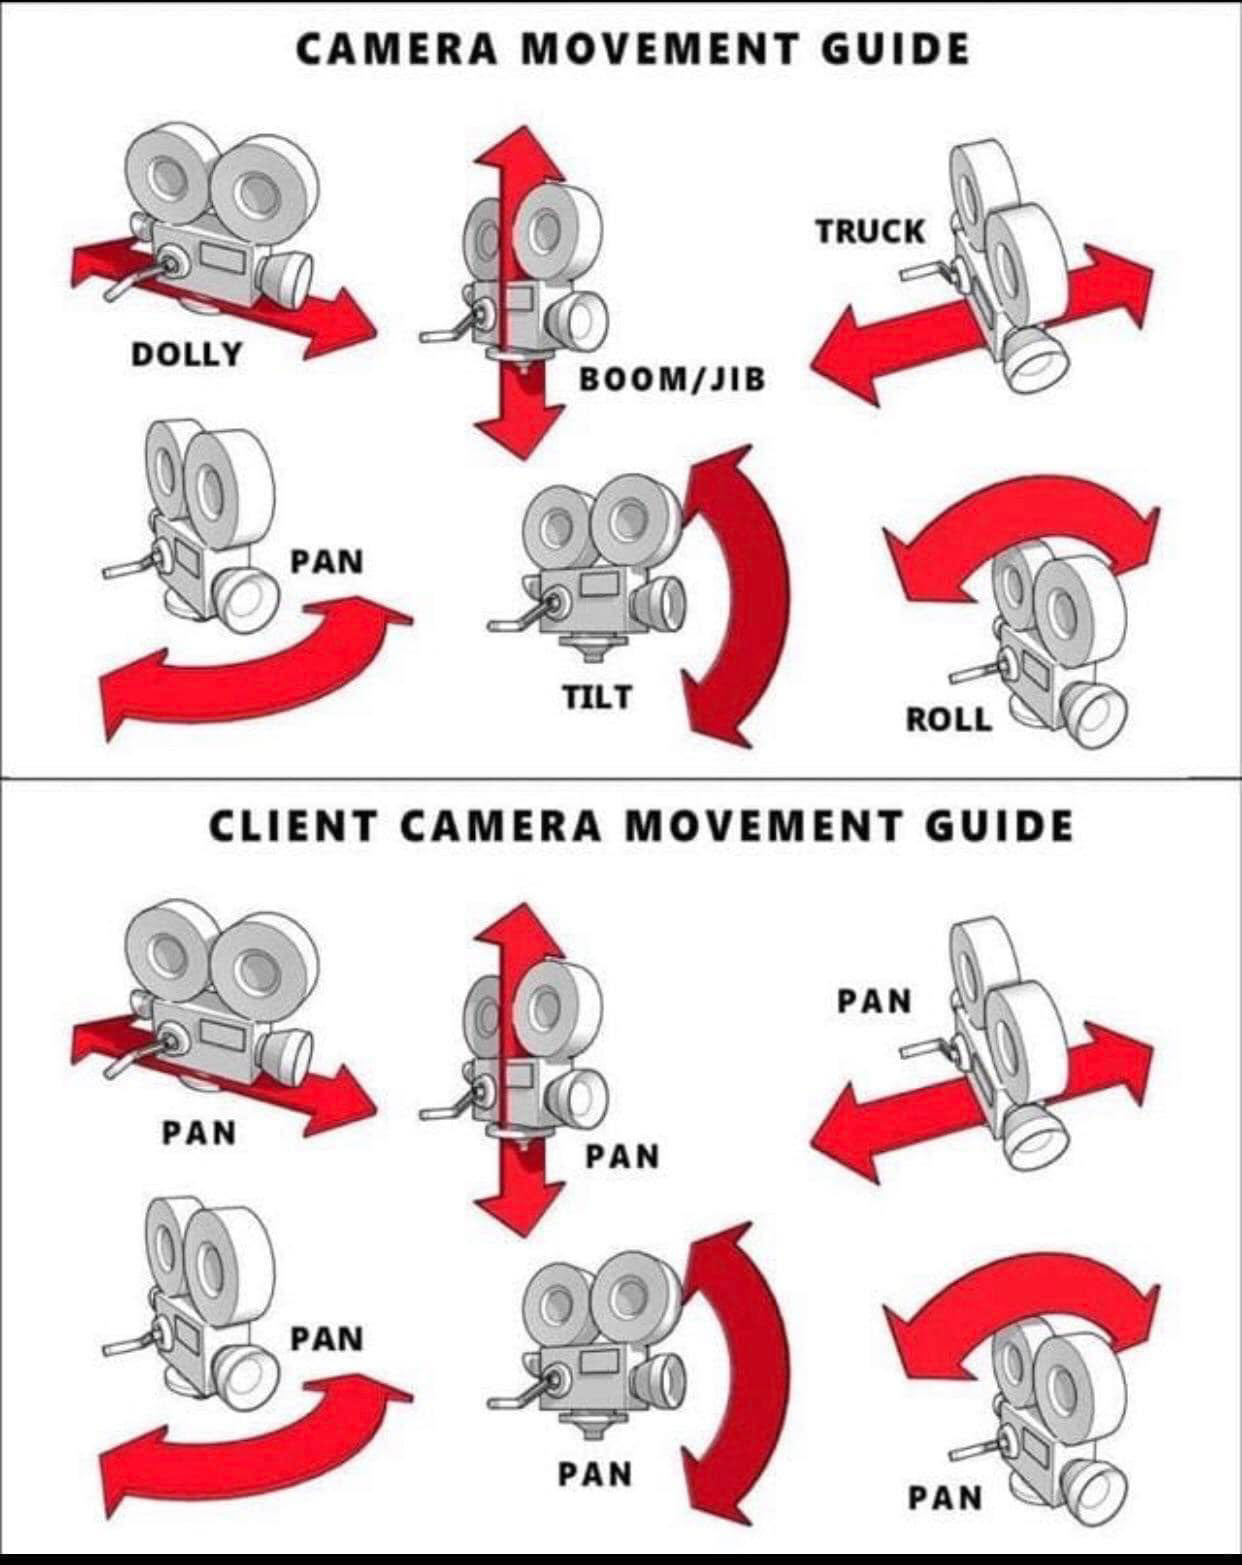
Boom/Jib: Boom/jib shot is a vertical up or down movement of the camera
Truck: Camera moves side to side, often thought of as panning
Pan: Camera swivels left to right or right to left on a stationary axis (usually a tripod)
Dolly: Camera moves forward and back through the scene
Flyover: Overhead truck shot
Rough Cut: A rough cut is the first edited version of a film, usually without sound, music, or titles
Trim: The act of shortening a clip on the timeline
Track: A linear section of the editing timeline
Clip: A media asset (video, audio, motion graphic) that is added to the timeline
Sequence: A clip or series of clips and/or static images added to the timeline.
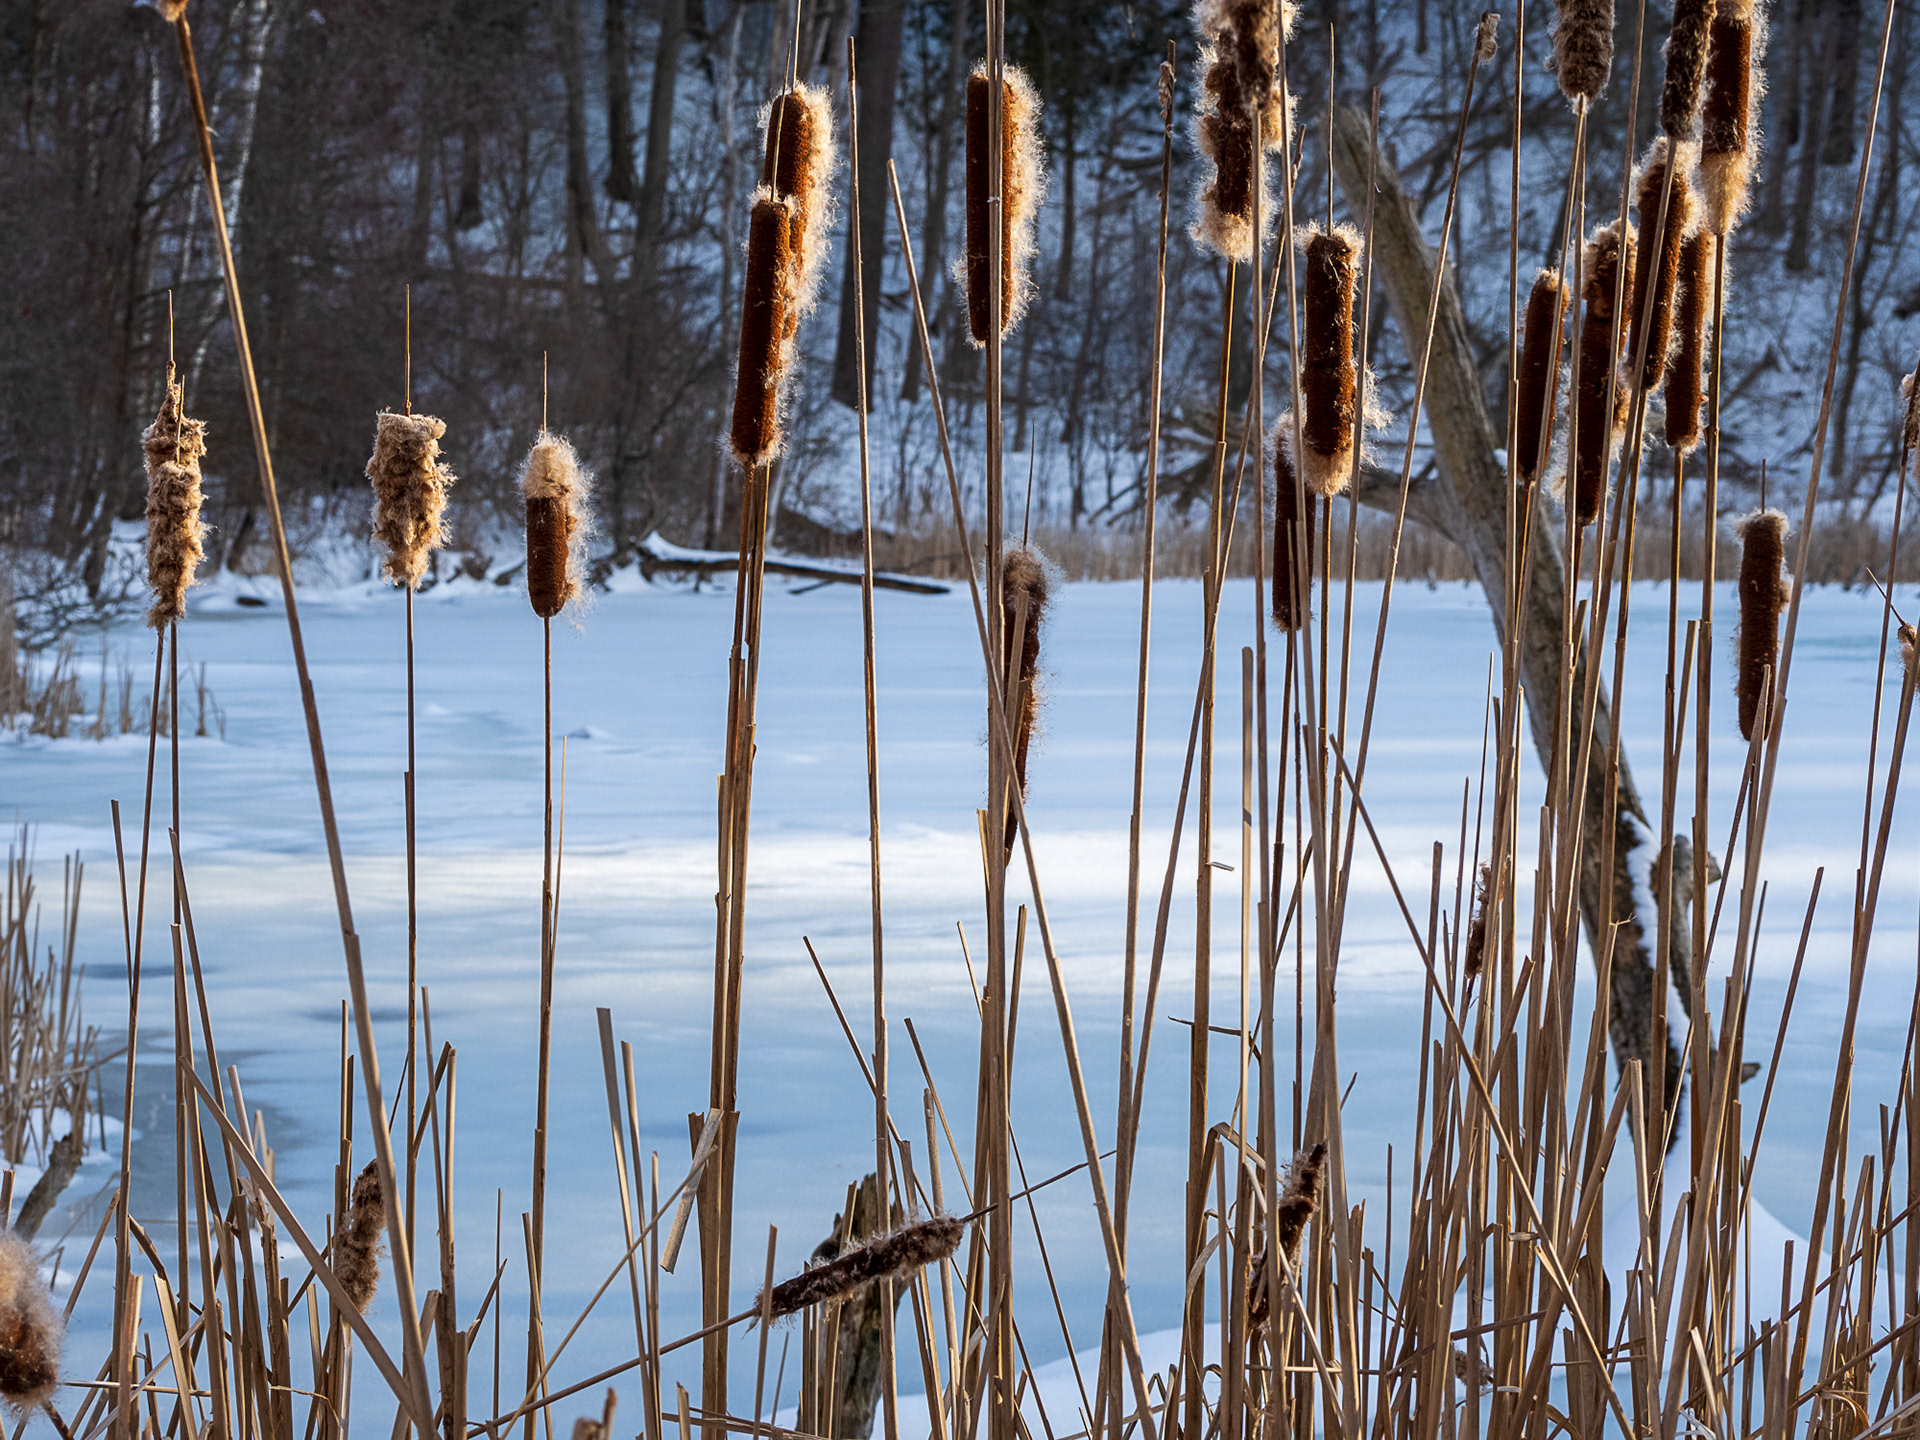
On a recent mild but beautiful winter's day, I decided to start this initiative with a location shoot of a nearby green space. I packed my Olympus EM5 Mark III, my Manfrotto 055 tripod and my latest acquisition, my Moza Slypod Pro.
Tech Note
This is the second slider in my inventory. I do have a more traditional slider that I bought a few years ago and while it's great for horizontal and slight pitch angles, I learned quickly that it was not designed to do vertical or steep angle climbs. It also takes more time to set up, and isn't particularly convenient when one wants to go walking with the camera (See this article for more detail, where I used this Andoer slider with great success).
At 32" collapsed, the Slypod Pro isn't particularly small, either, but it's very self-contained and comes with a ball head, tripod base and integrated Arca Swiss quick release plates, so it is super fast to set up in the field. The fact that it is also a monopod is an added benefit. The battery life is no slouch either; my photo session lasted over two hours at around 3 degrees C, and I consumed less than 20% of the battery during that time.
My initial impressions and testing of the Slypod Pro will be available soon, but suffice to say, this field trip - my first true real-world test of the tool - would prove out that I made a good purchase.
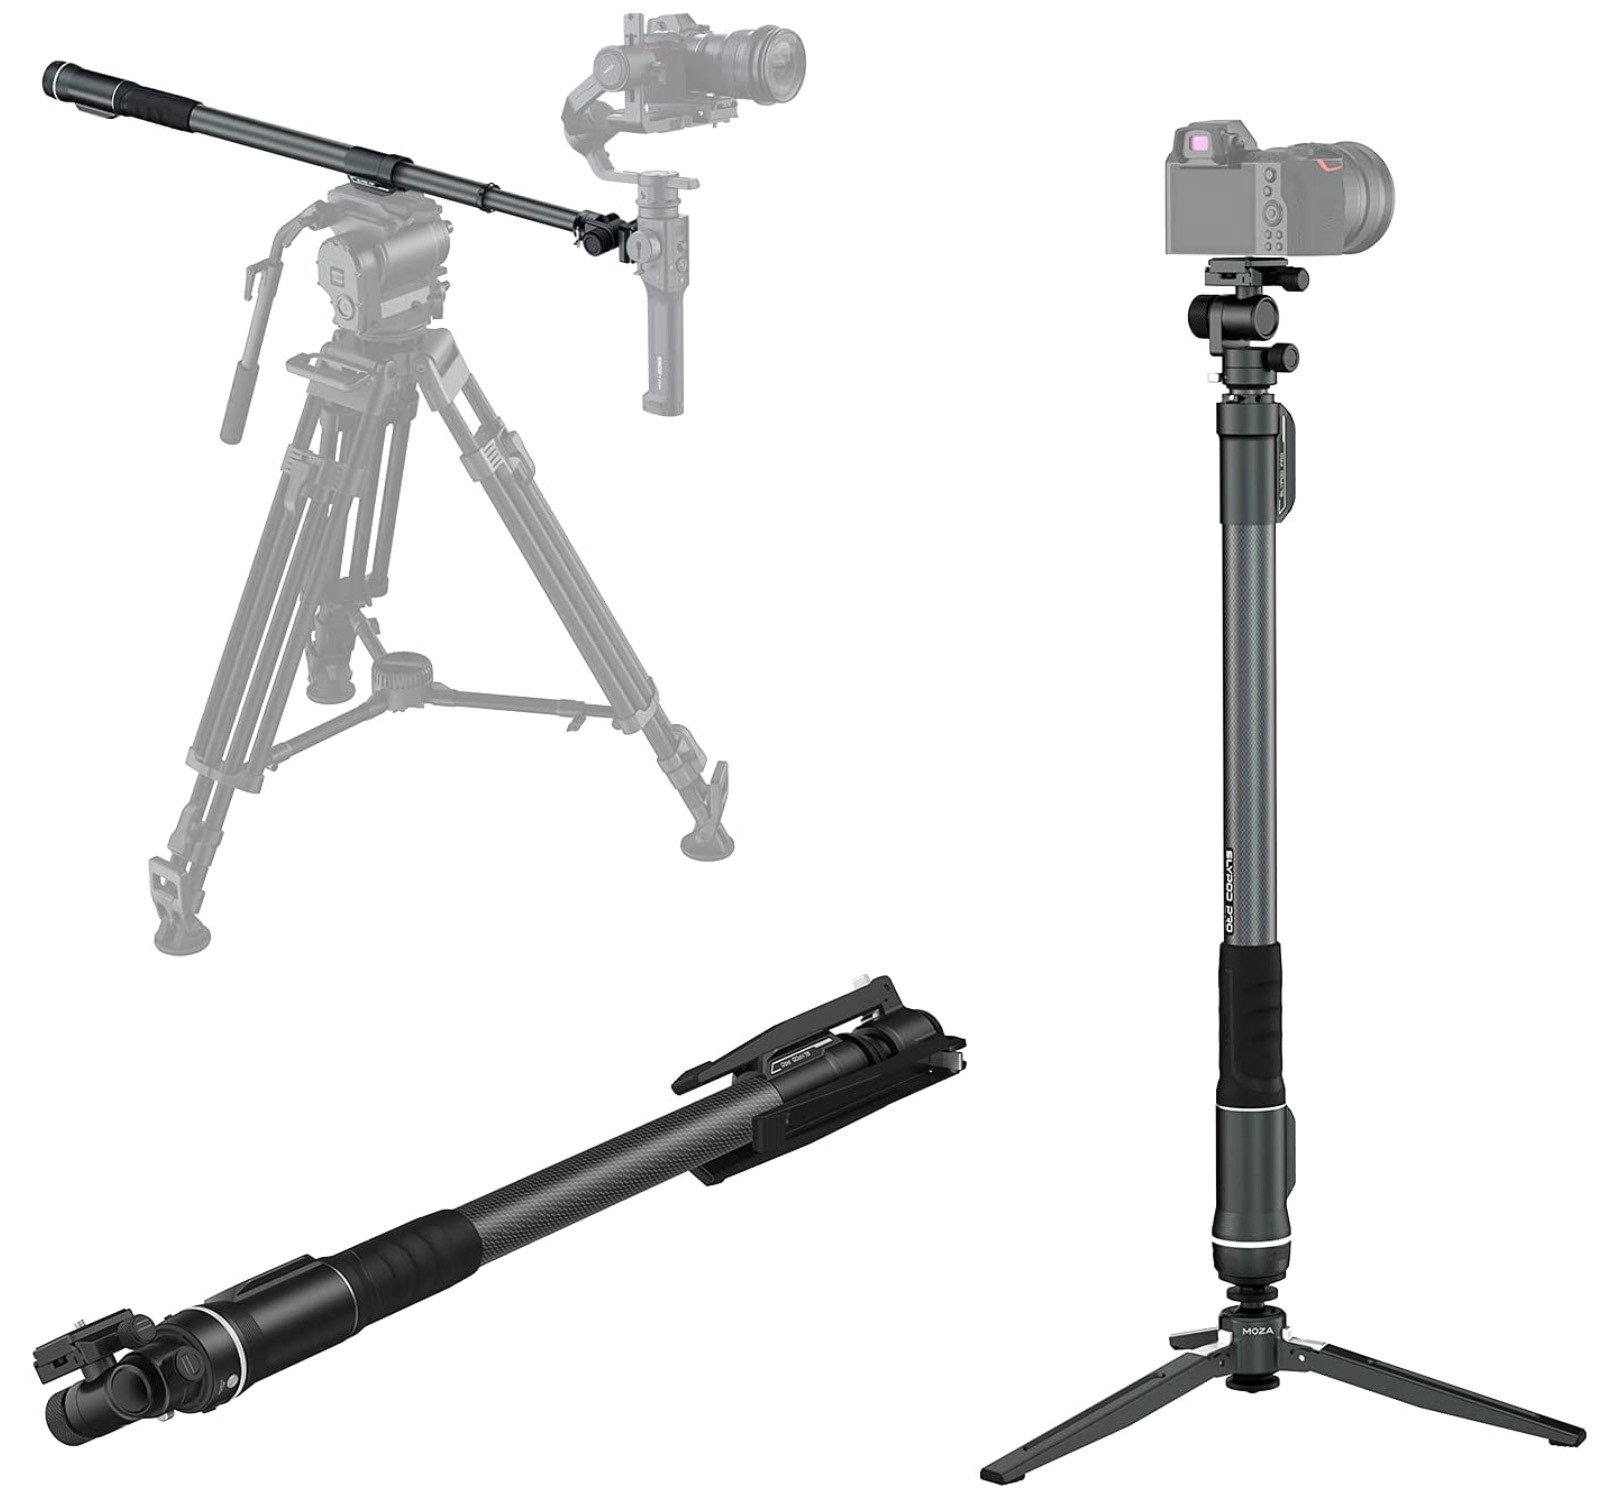
Product Image courtesy of Gudsen Moza web site.
Location, Location, Location
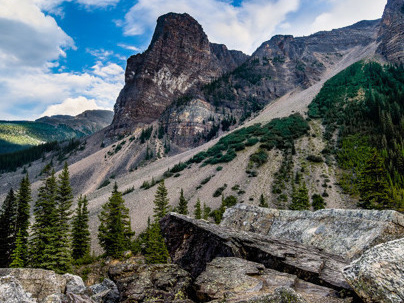
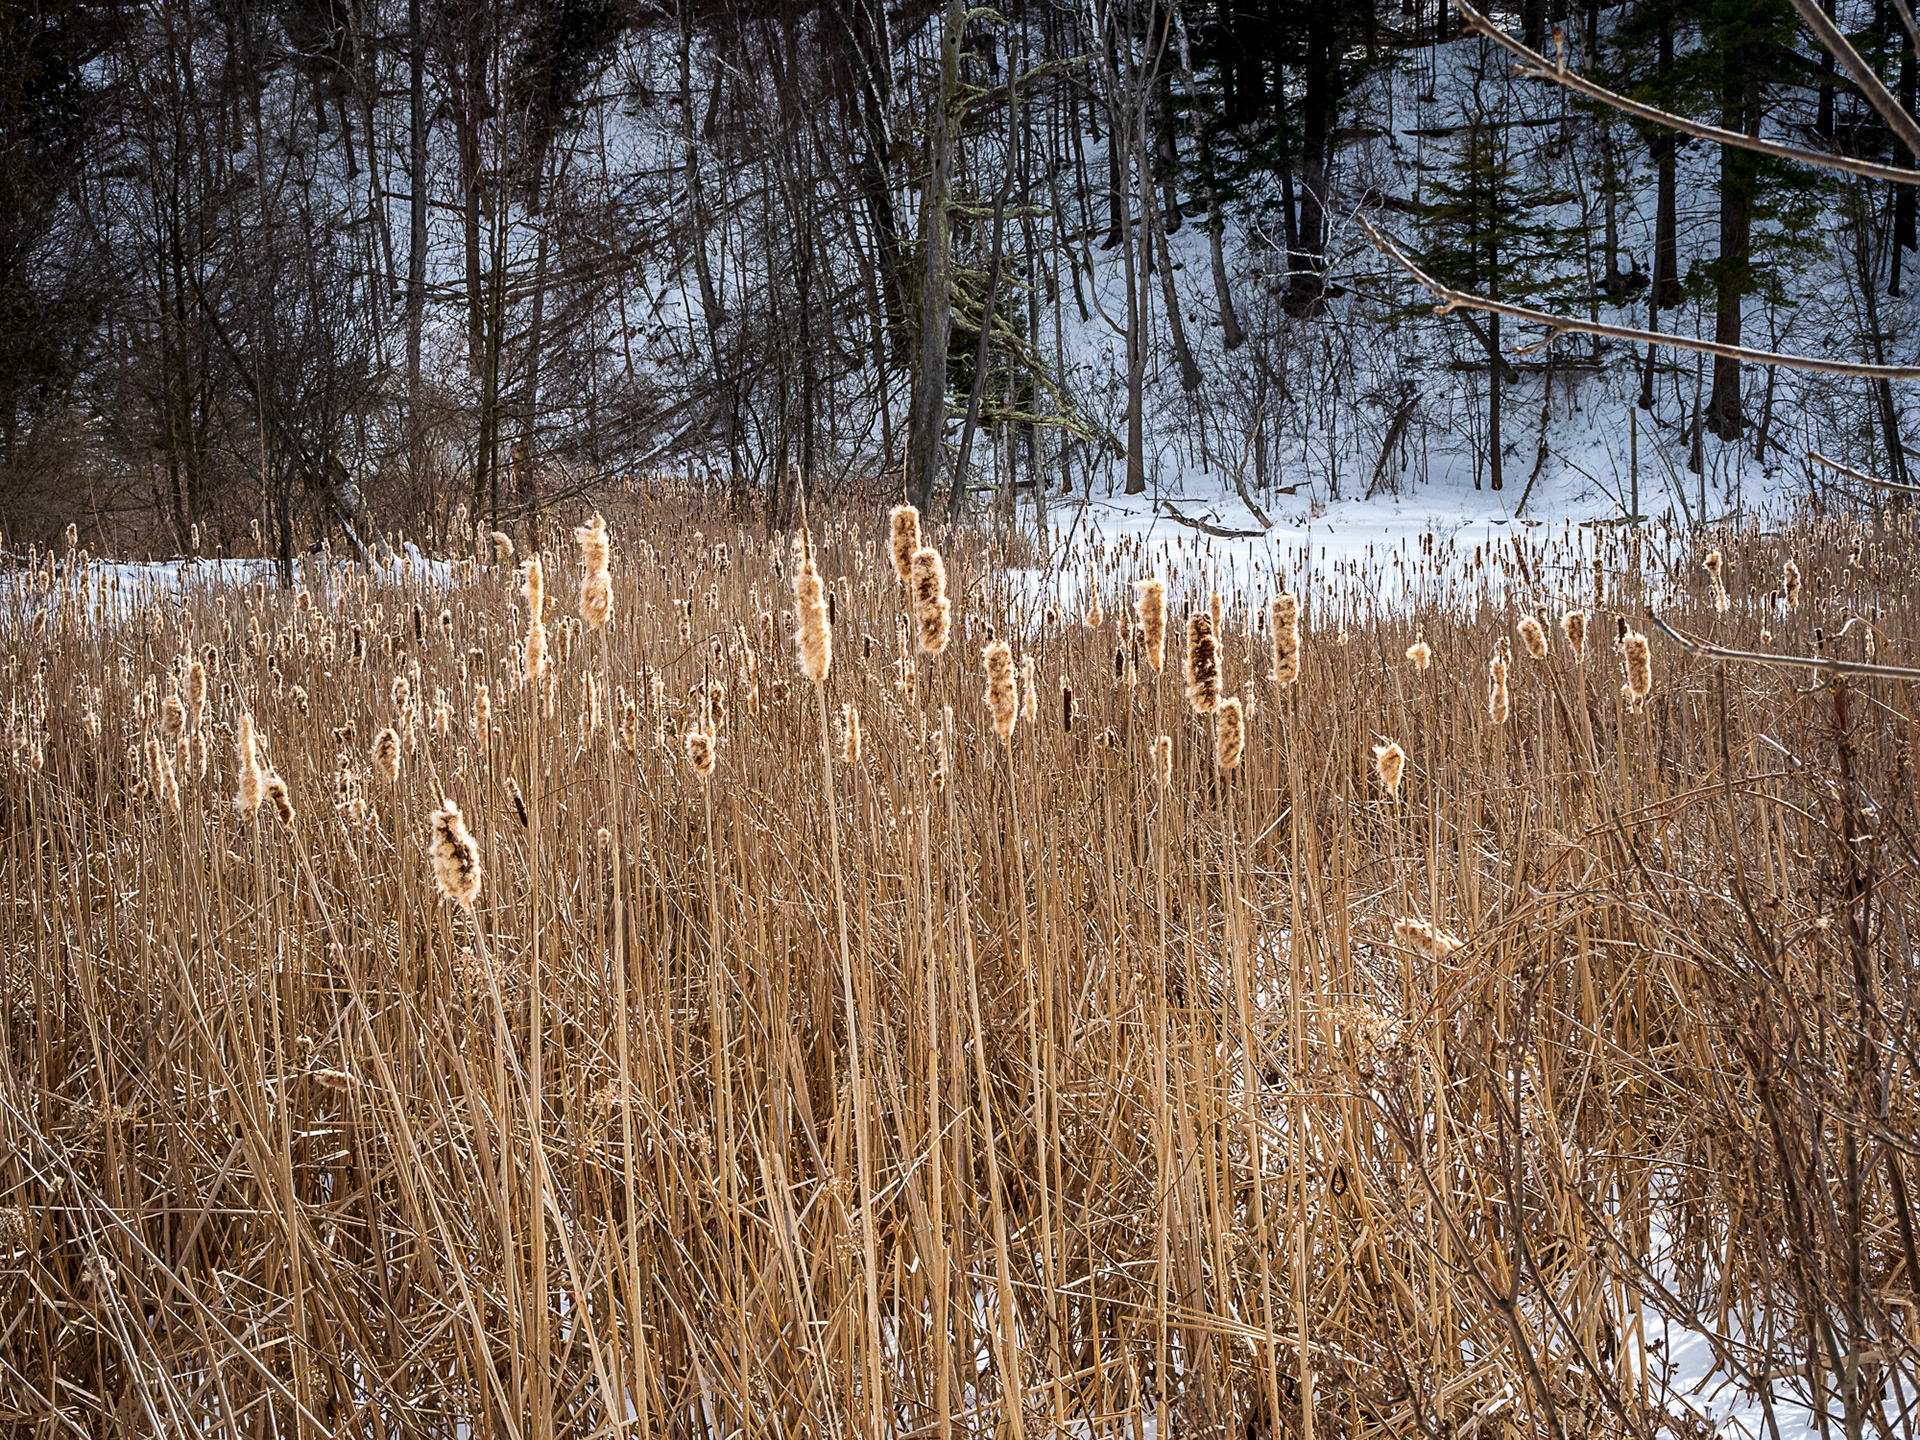
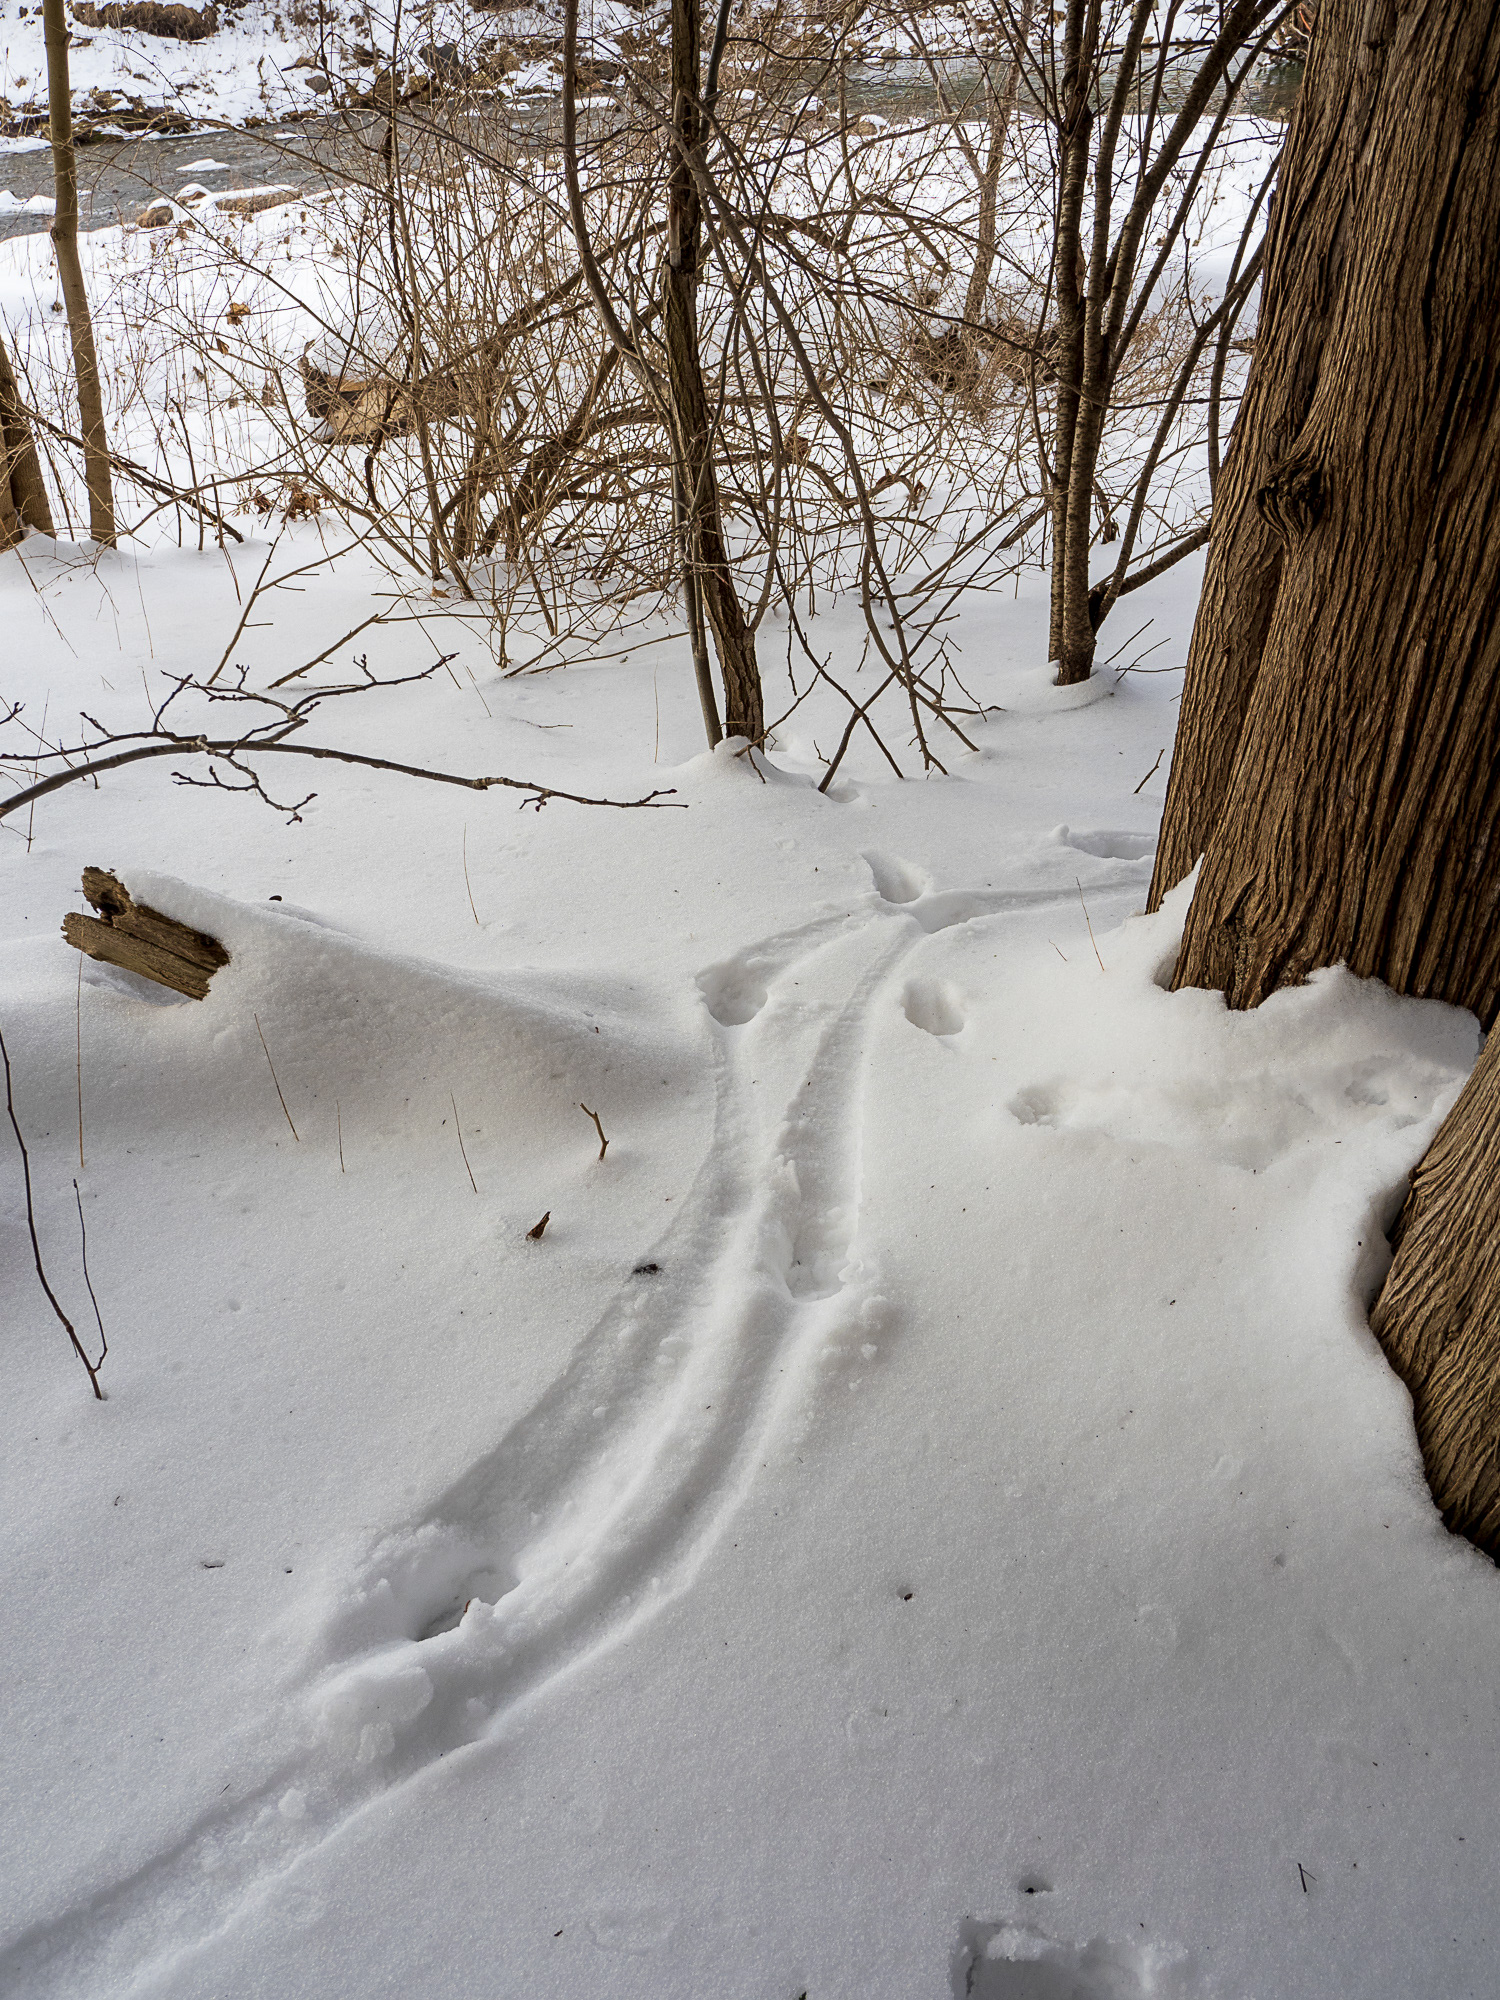
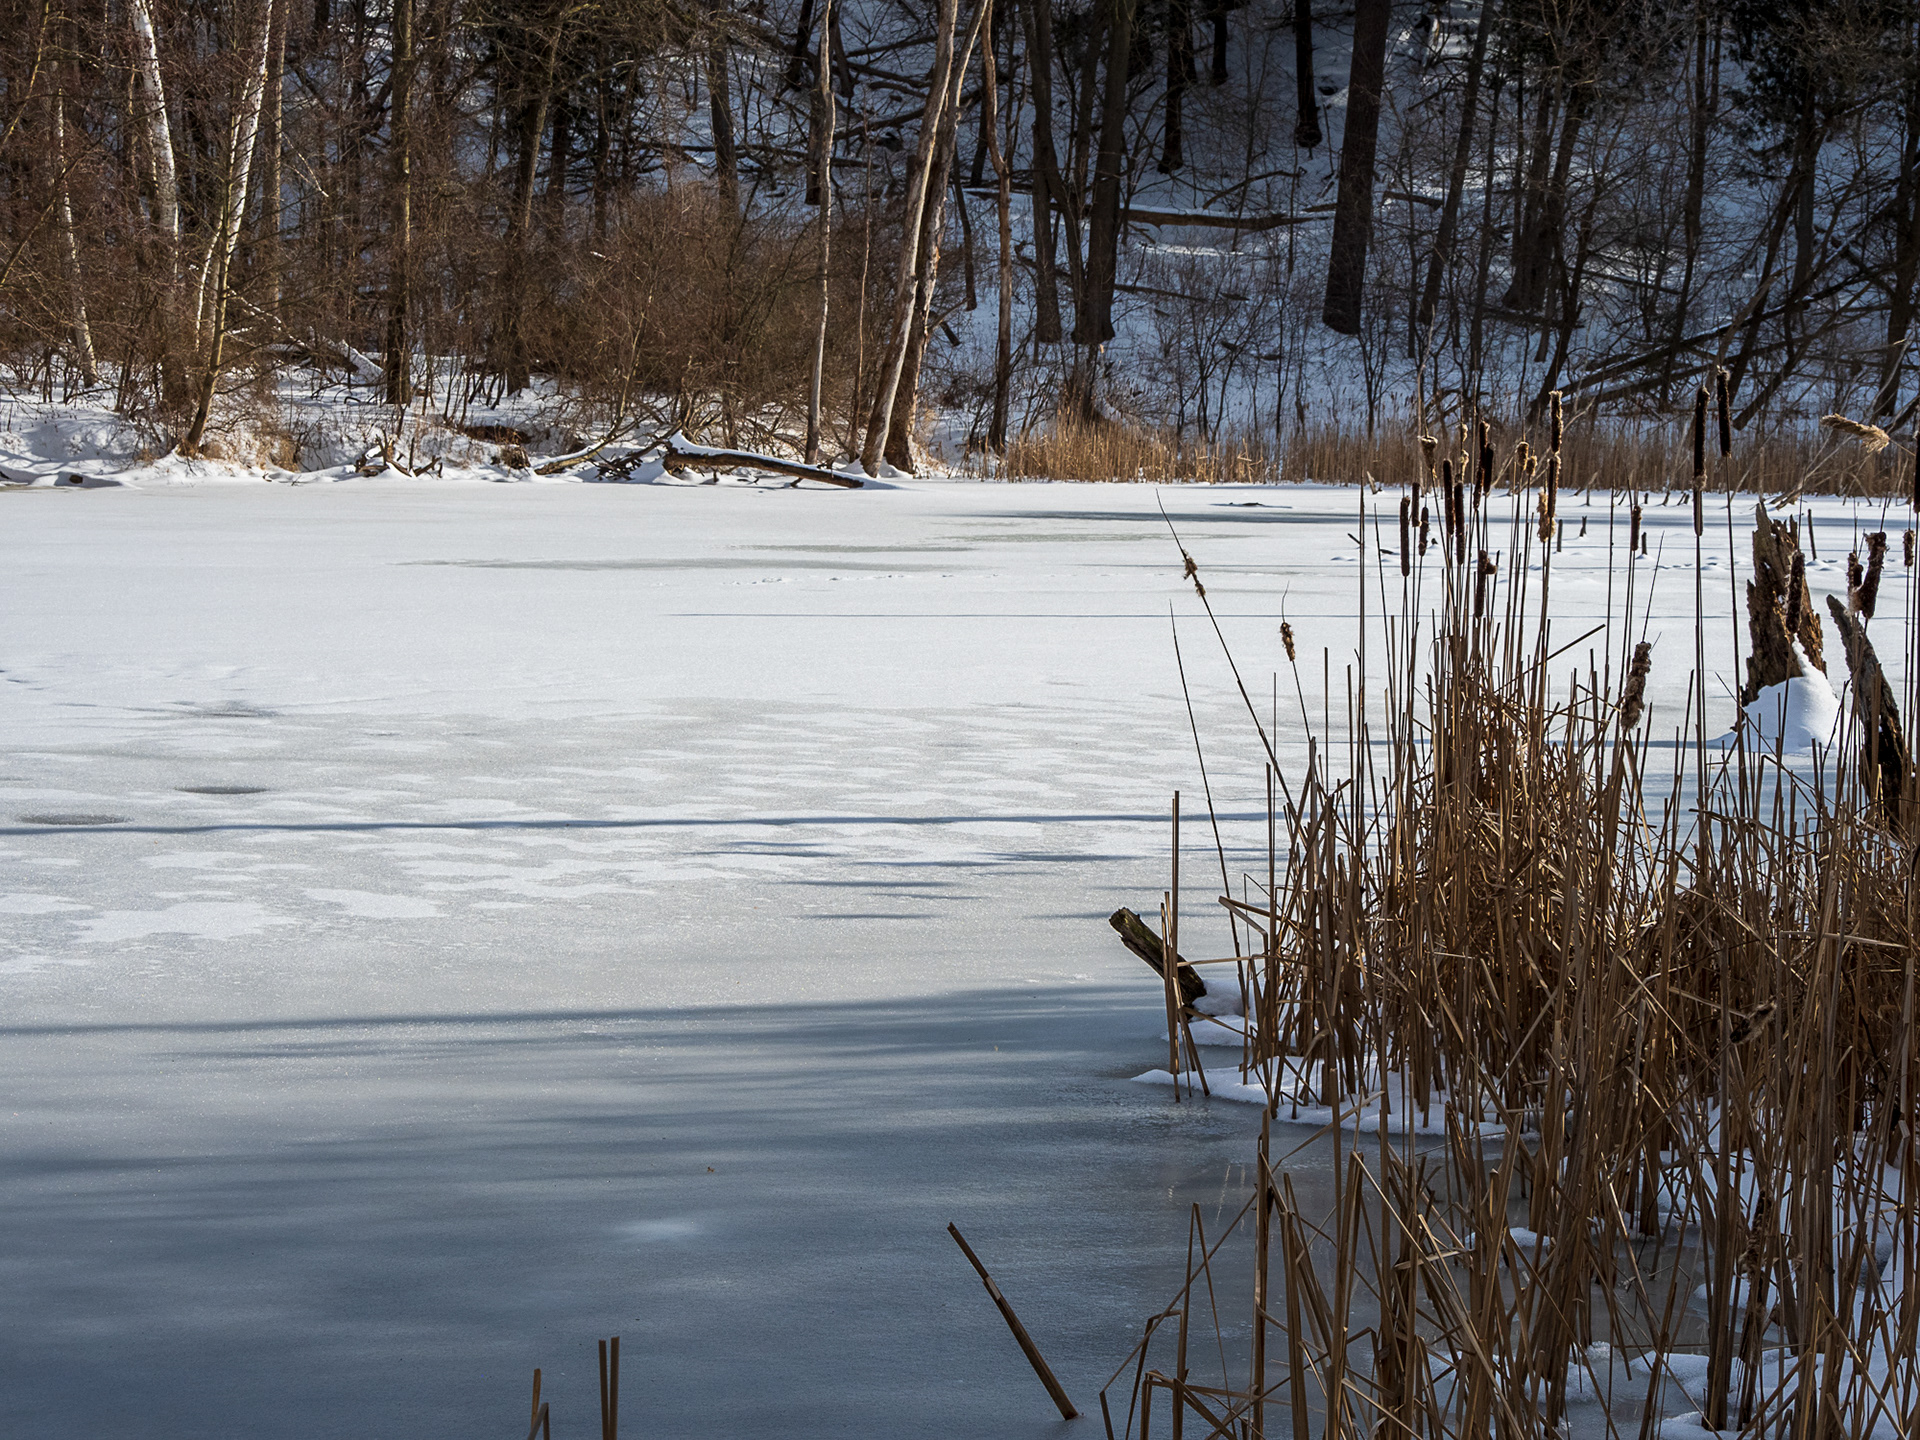
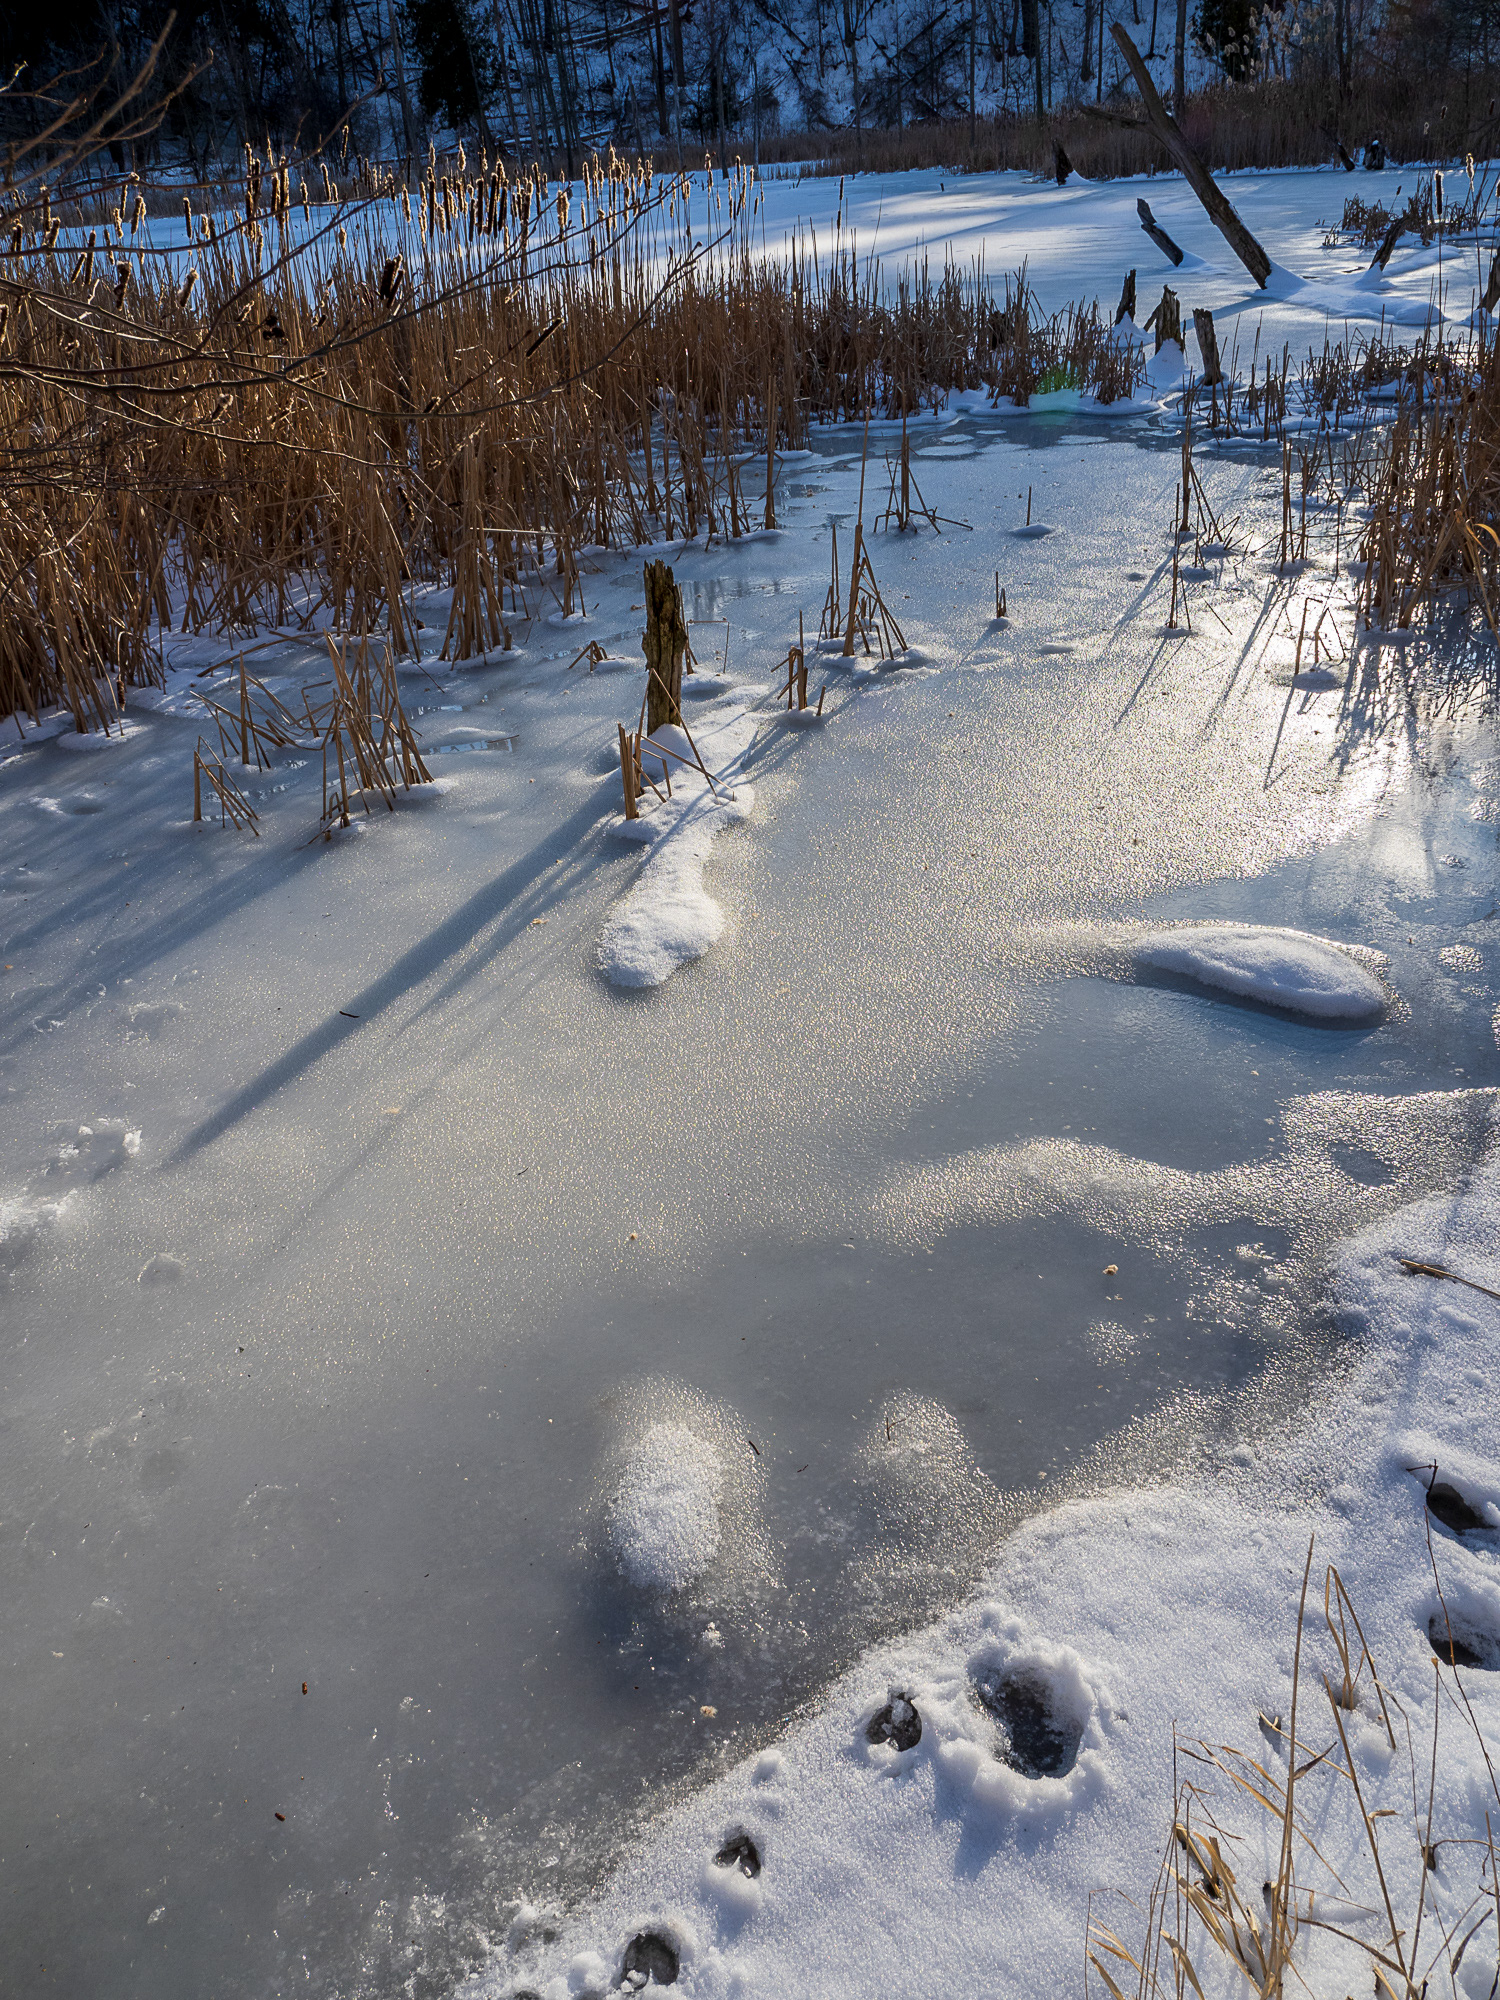
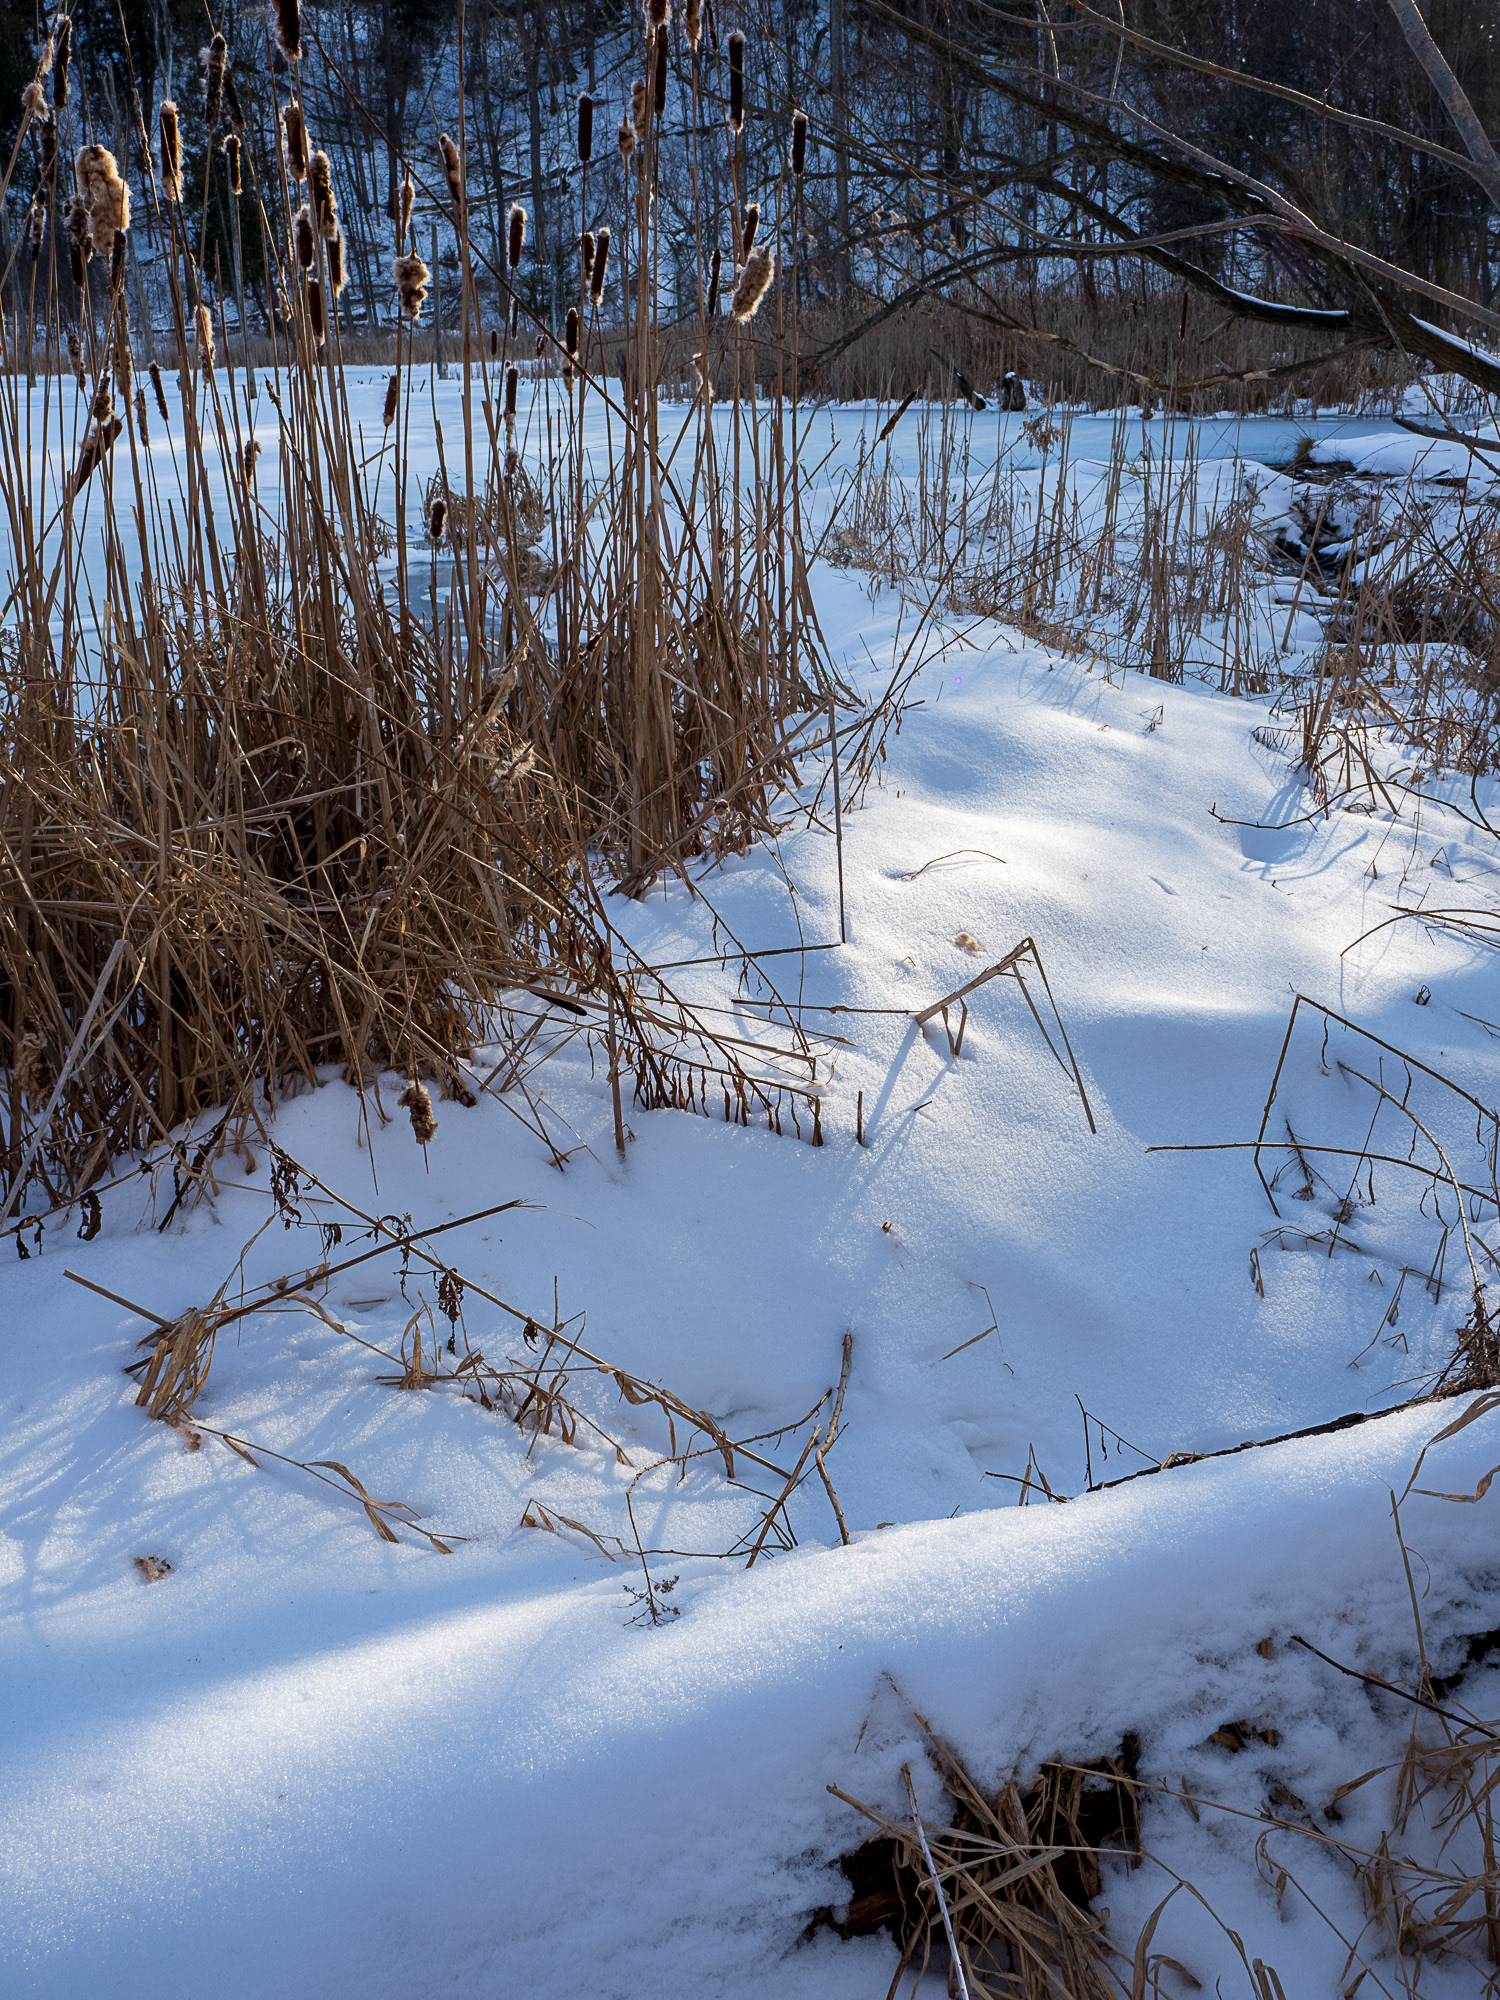
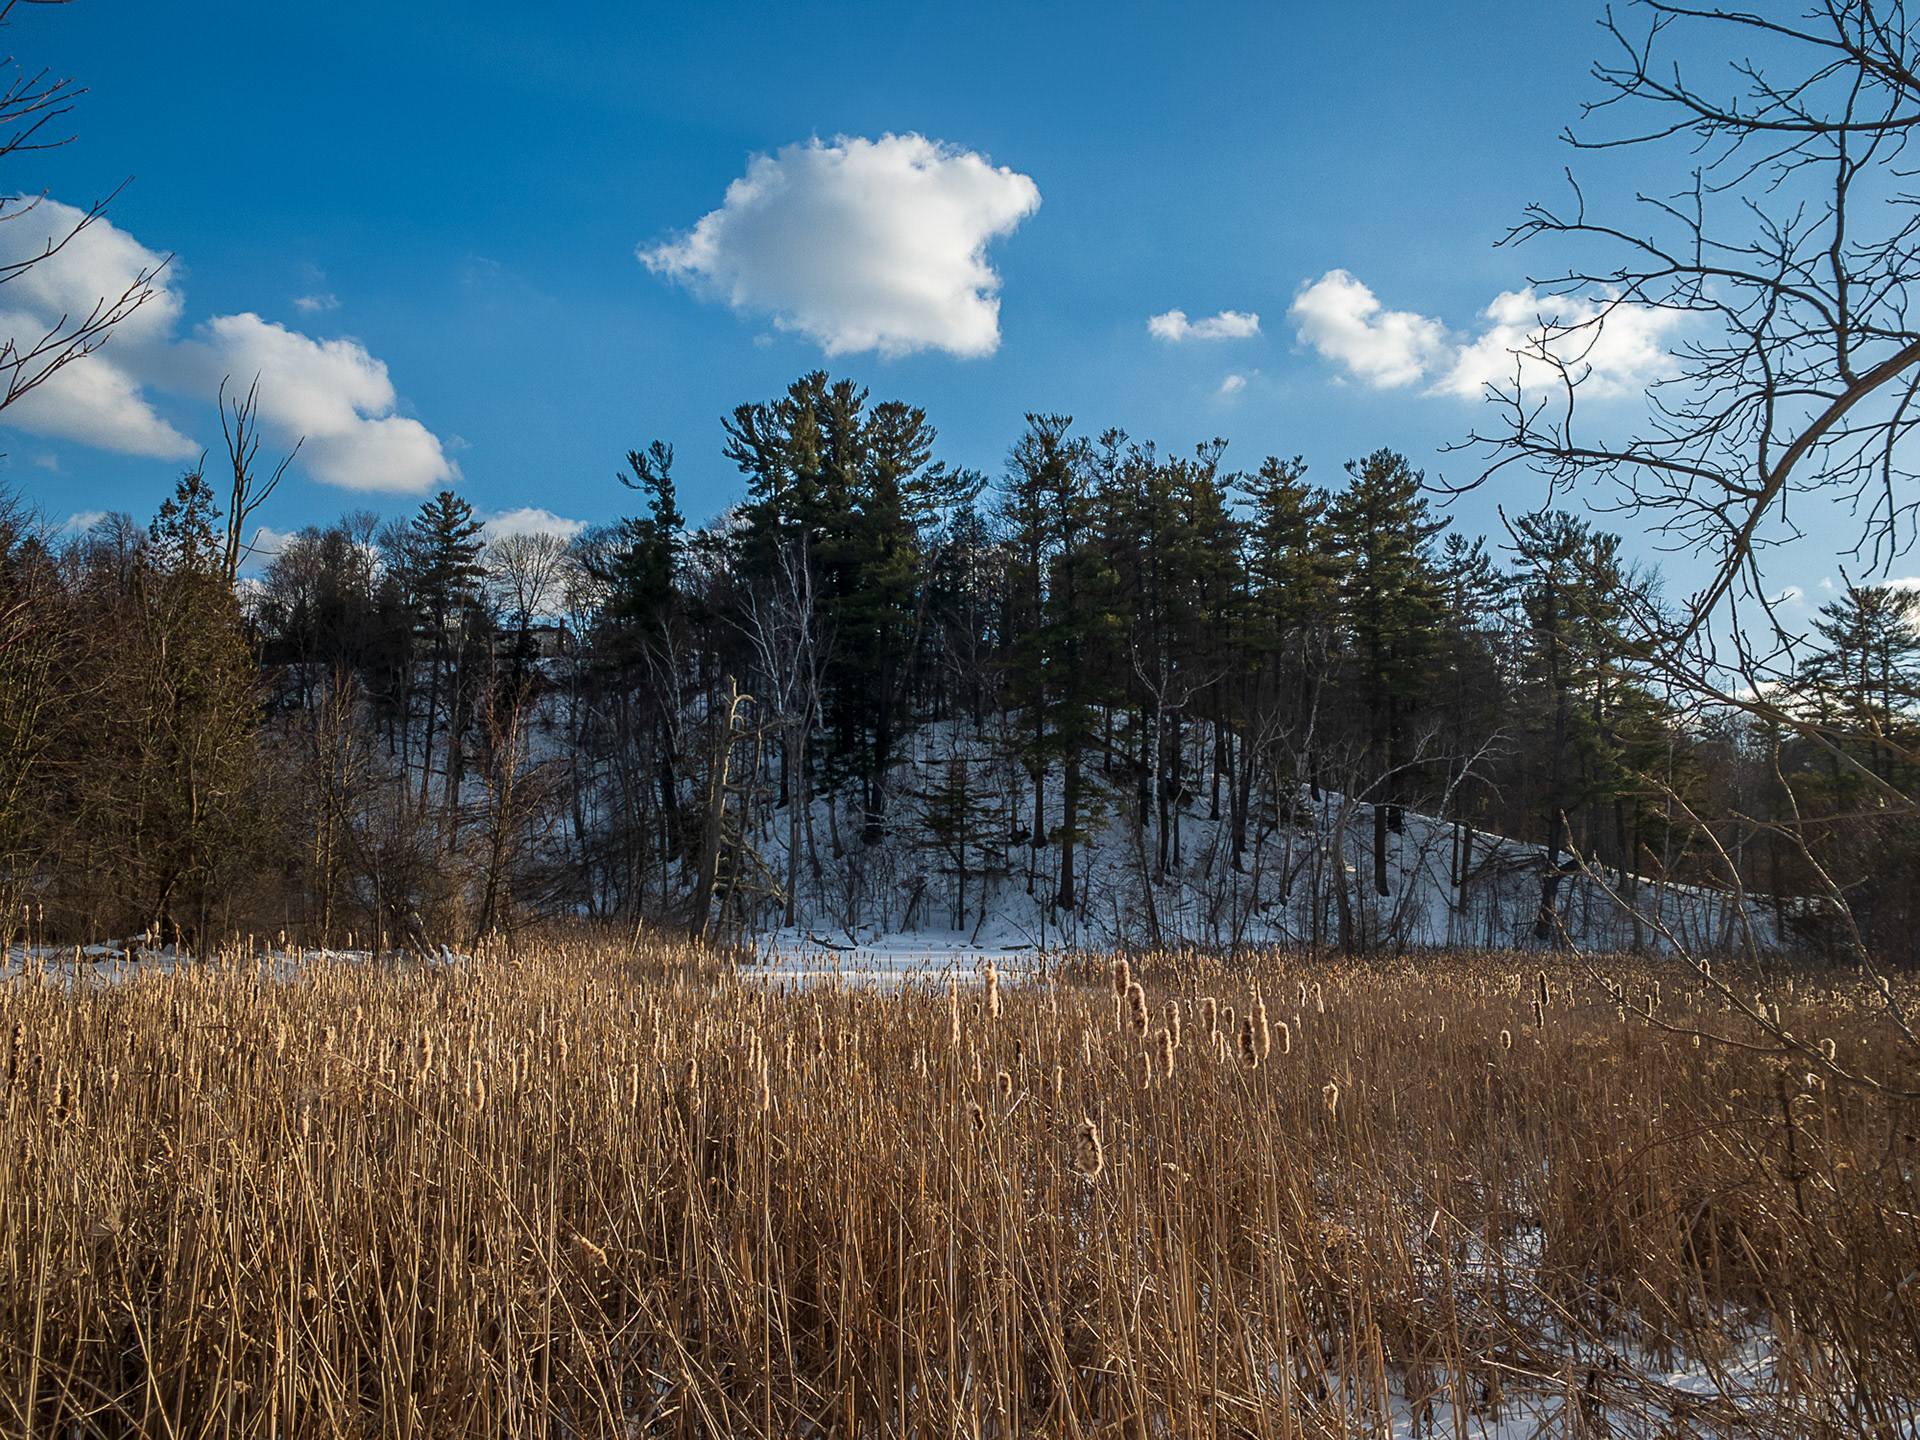
My intended destination - Highland Creek off old Kingston Road - was not far from a parking lot, so I didn't have to slog gear any great distance. Within a couple hundred yards of the car, I had my first set up; a small wetland area.
I'd photographed this spot many times, but never done any filming (because, honestly, I never thought to film anything).
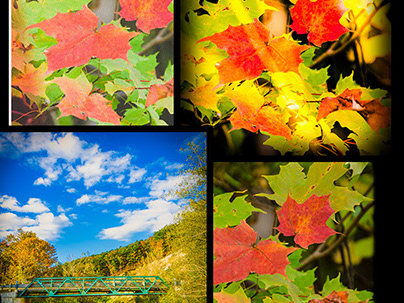
I was also capturing stills on both my mirrorless camera and my phone as I moved through the park.
I'm pretty sure most of my footage was captured within a 1500-metre radius of my entrance to the park. I discovered many more opportunities to capture video than I first anticipated.
I decided to start with a boom shot of the bullrushes, gradually revealing the marsh.
I had this shot set up and ready to go in under 5 minutes.
Note: A boom shot is a vertical up or down movement of the camera
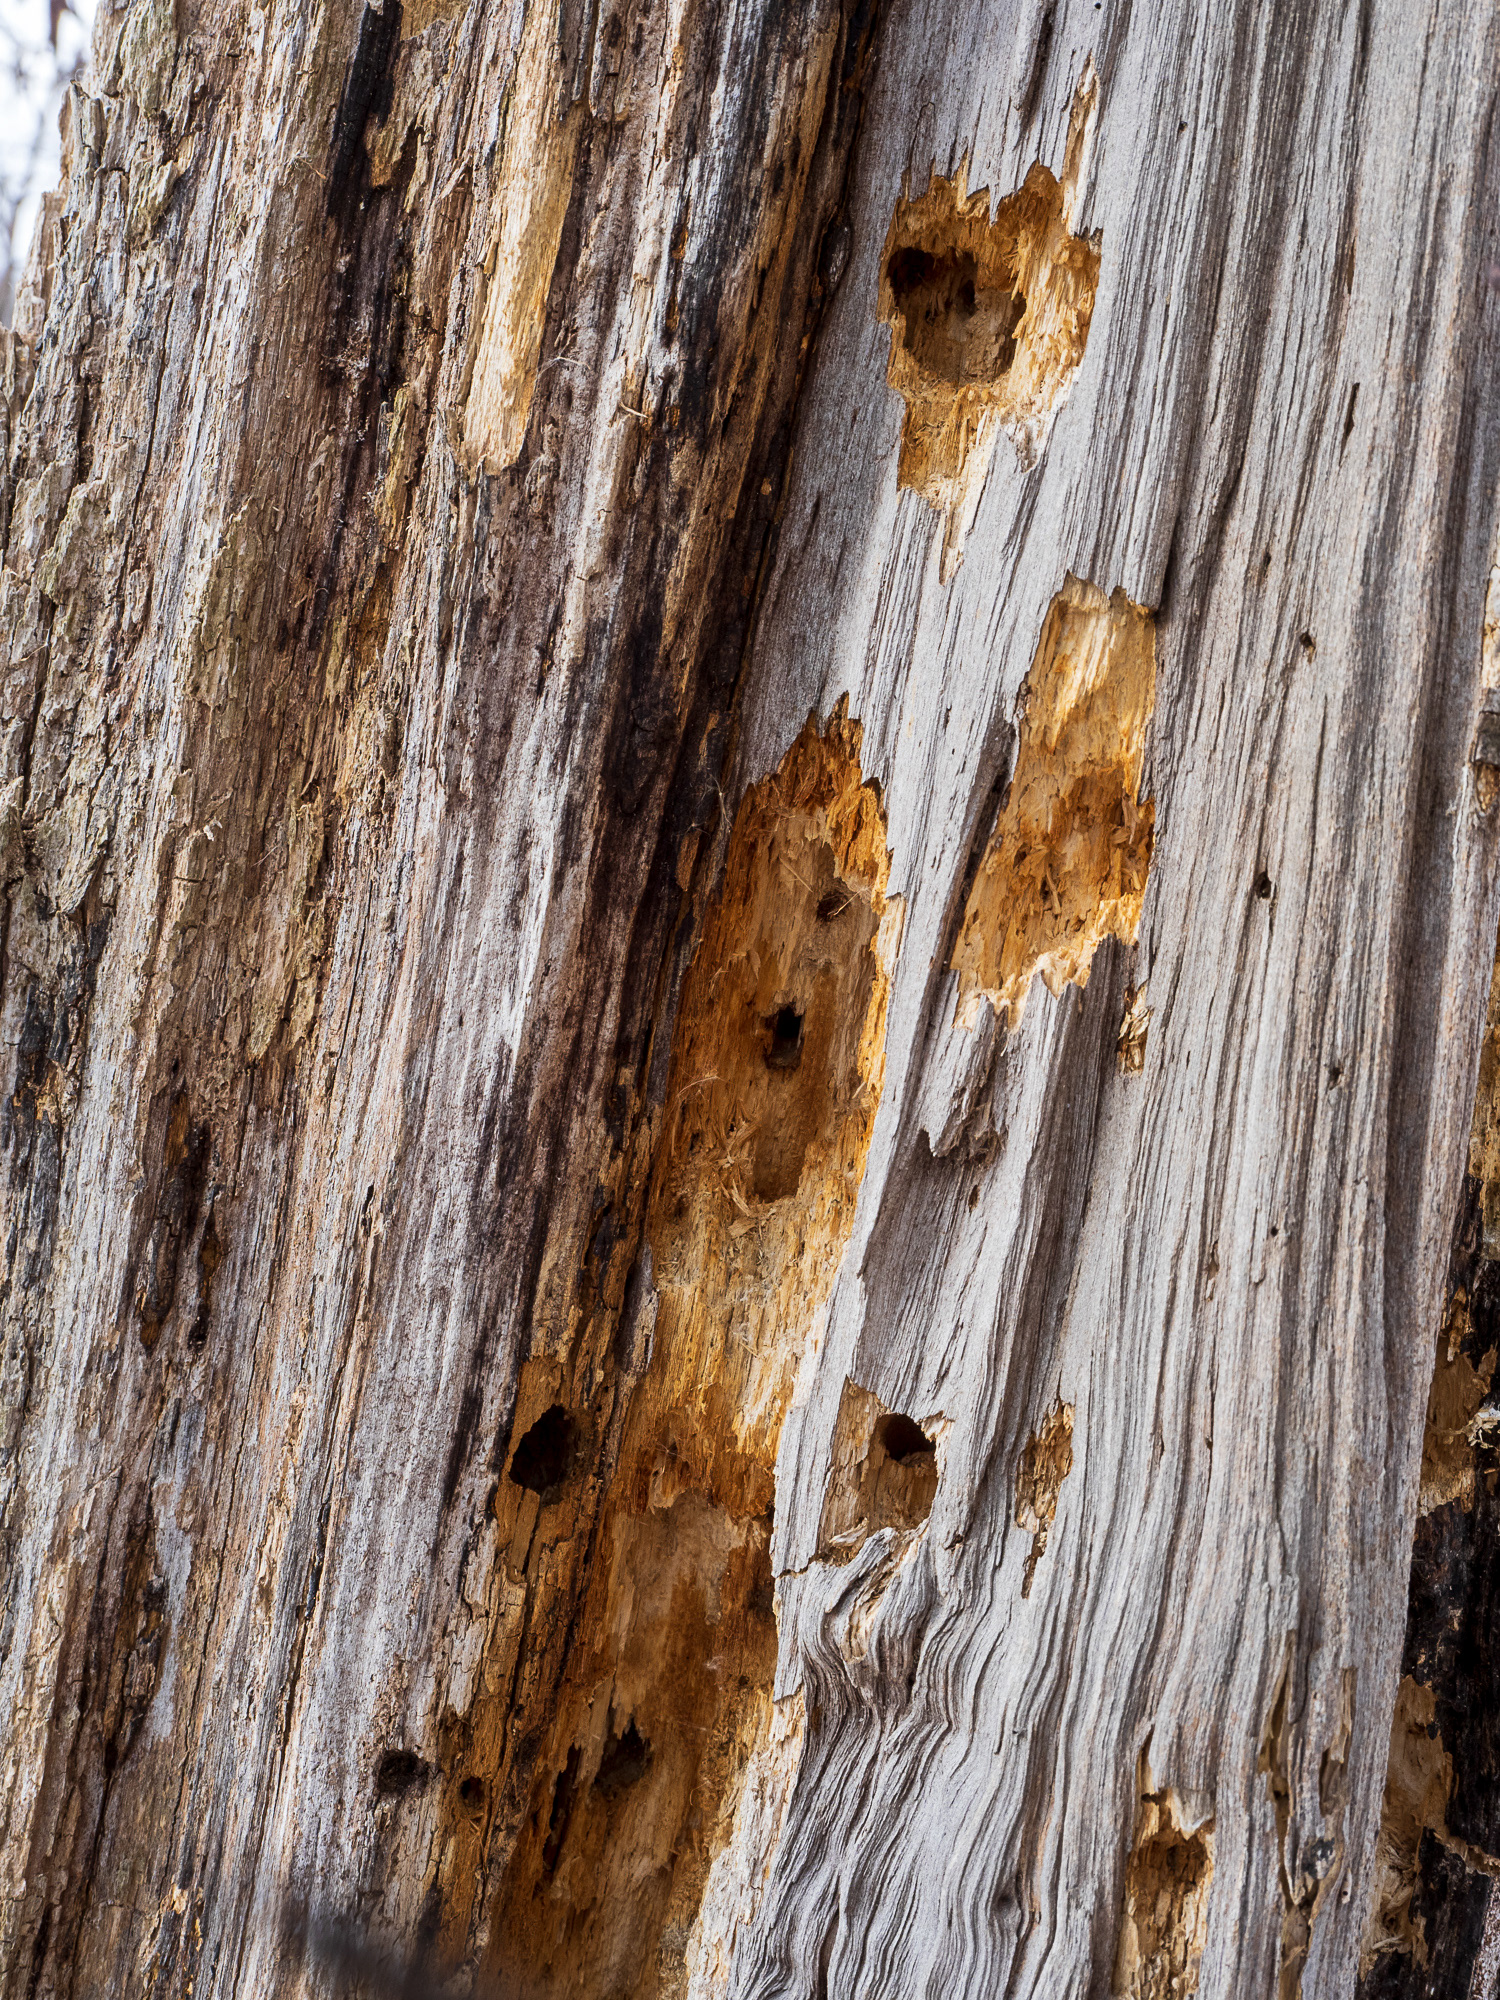
In each location, I tried my best to get something that would be visually appealing for video.
The Slypod made setting up the camera movement shots quick and easy. Within minutes I was ready to frame and test my compositions. This is key for me; if I had to spend too much precious time setting up and tearing down to move to each location, I wouldn't have shot as much and likely would have gotten tired of the whole process. And the slider would end up sitting in its storage bag more often than not. That equals a waste of money.
As it was, shooting some good quality moving video didn't make much longer or cause more fuss than setting up my tripod normally would.
One thing I learned early on in my budding video efforts; shoot more than you need and then trim it down the the bare minimum for the final deliverable. Most of my shots ran anywhere from 40 - 60 seconds in length as raw footage.
I used the Moza mobile app to control the Slypod Pro. The app is very easy to use, and super helpful because it means you don't need to touch the monopod start the move.
Picking my Shots
This was a pretty laid back shoot, which is my generally my style. Beyond choosing a location and time of day, I don't typically plan anything else. But I had done some reading ahead of time and also watch several tutorials on using the slider to get some inspiration.
I knew I want to capture boom, truck and dolly shots, experiment with parallax/reveal shots and maybe try some overhead flyover views. It was up to me to find suitable scenes. Overall, I feel I was successful in my choices.
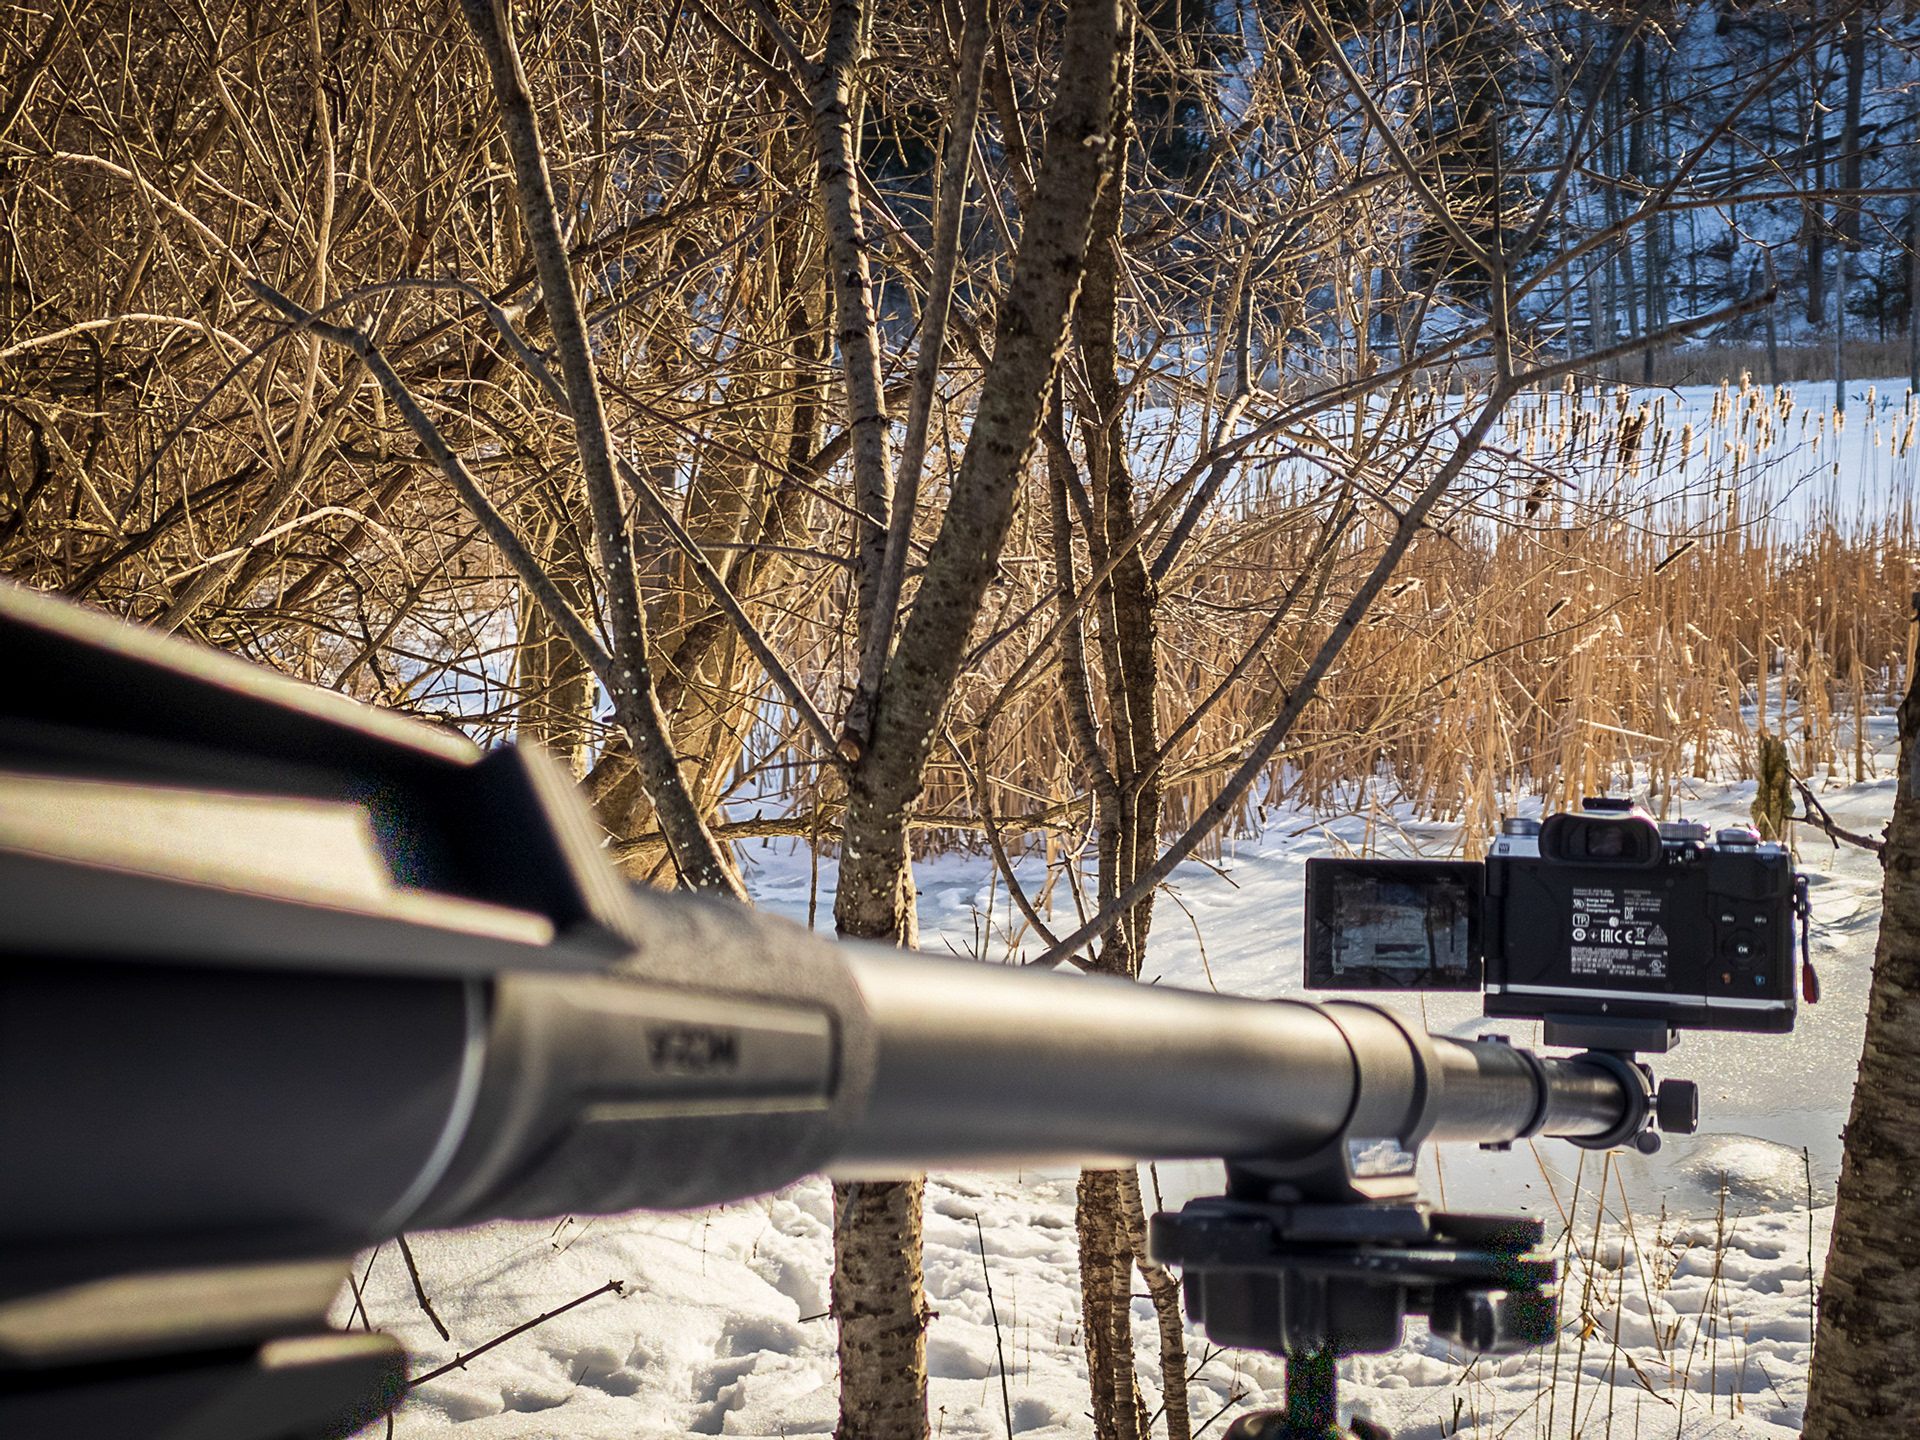
Slypod Pro and Olympus EM5 Mark III in action
The breeze that day was a mixed blessing in that it added some much need subject movement, but on a couple of my more extreme truck and dolly extensions, it was enough to buffet the Slypod slightly, making for some slightly shaky footage.
This is not fault of the equipment; if I had used two tripods to brace the Slypod, things would have been fine. The Slypod Pro comes equipped with two integrated Arca Swiss quick release plates for stability, one at each end of the main post of the monopod. I just didn't want to lug two tripods with me.
Minor shake like this can easily be cleaned up with Premiere Pro's Warp Stabilizer effect.
Along with video footage, I often captured stills at the same locations. Sometimes I made the photos right from the camera rig, sometimes handheld.
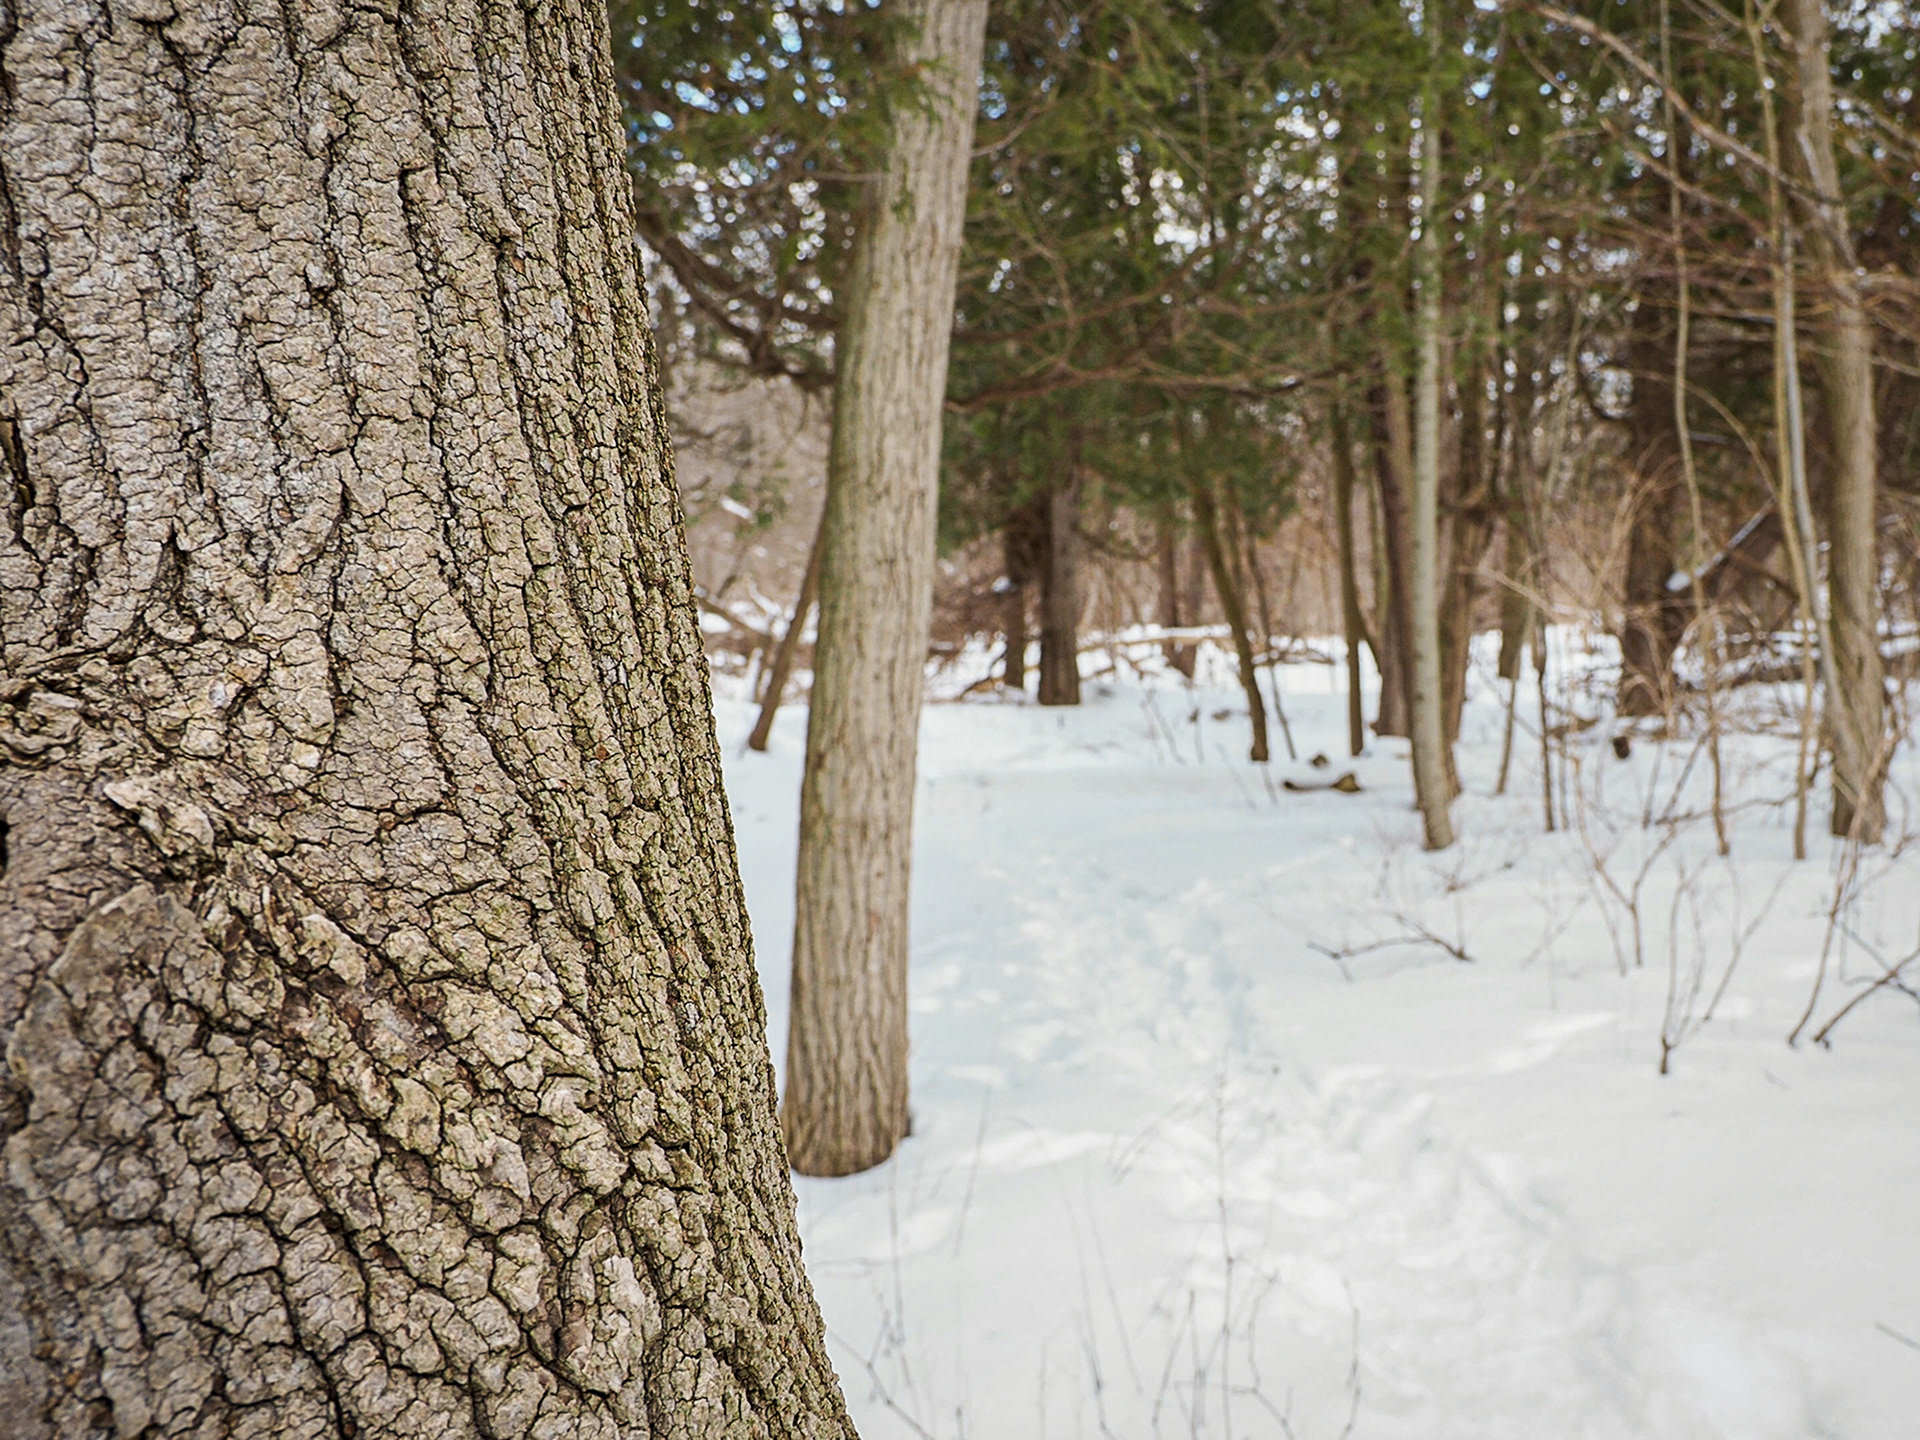
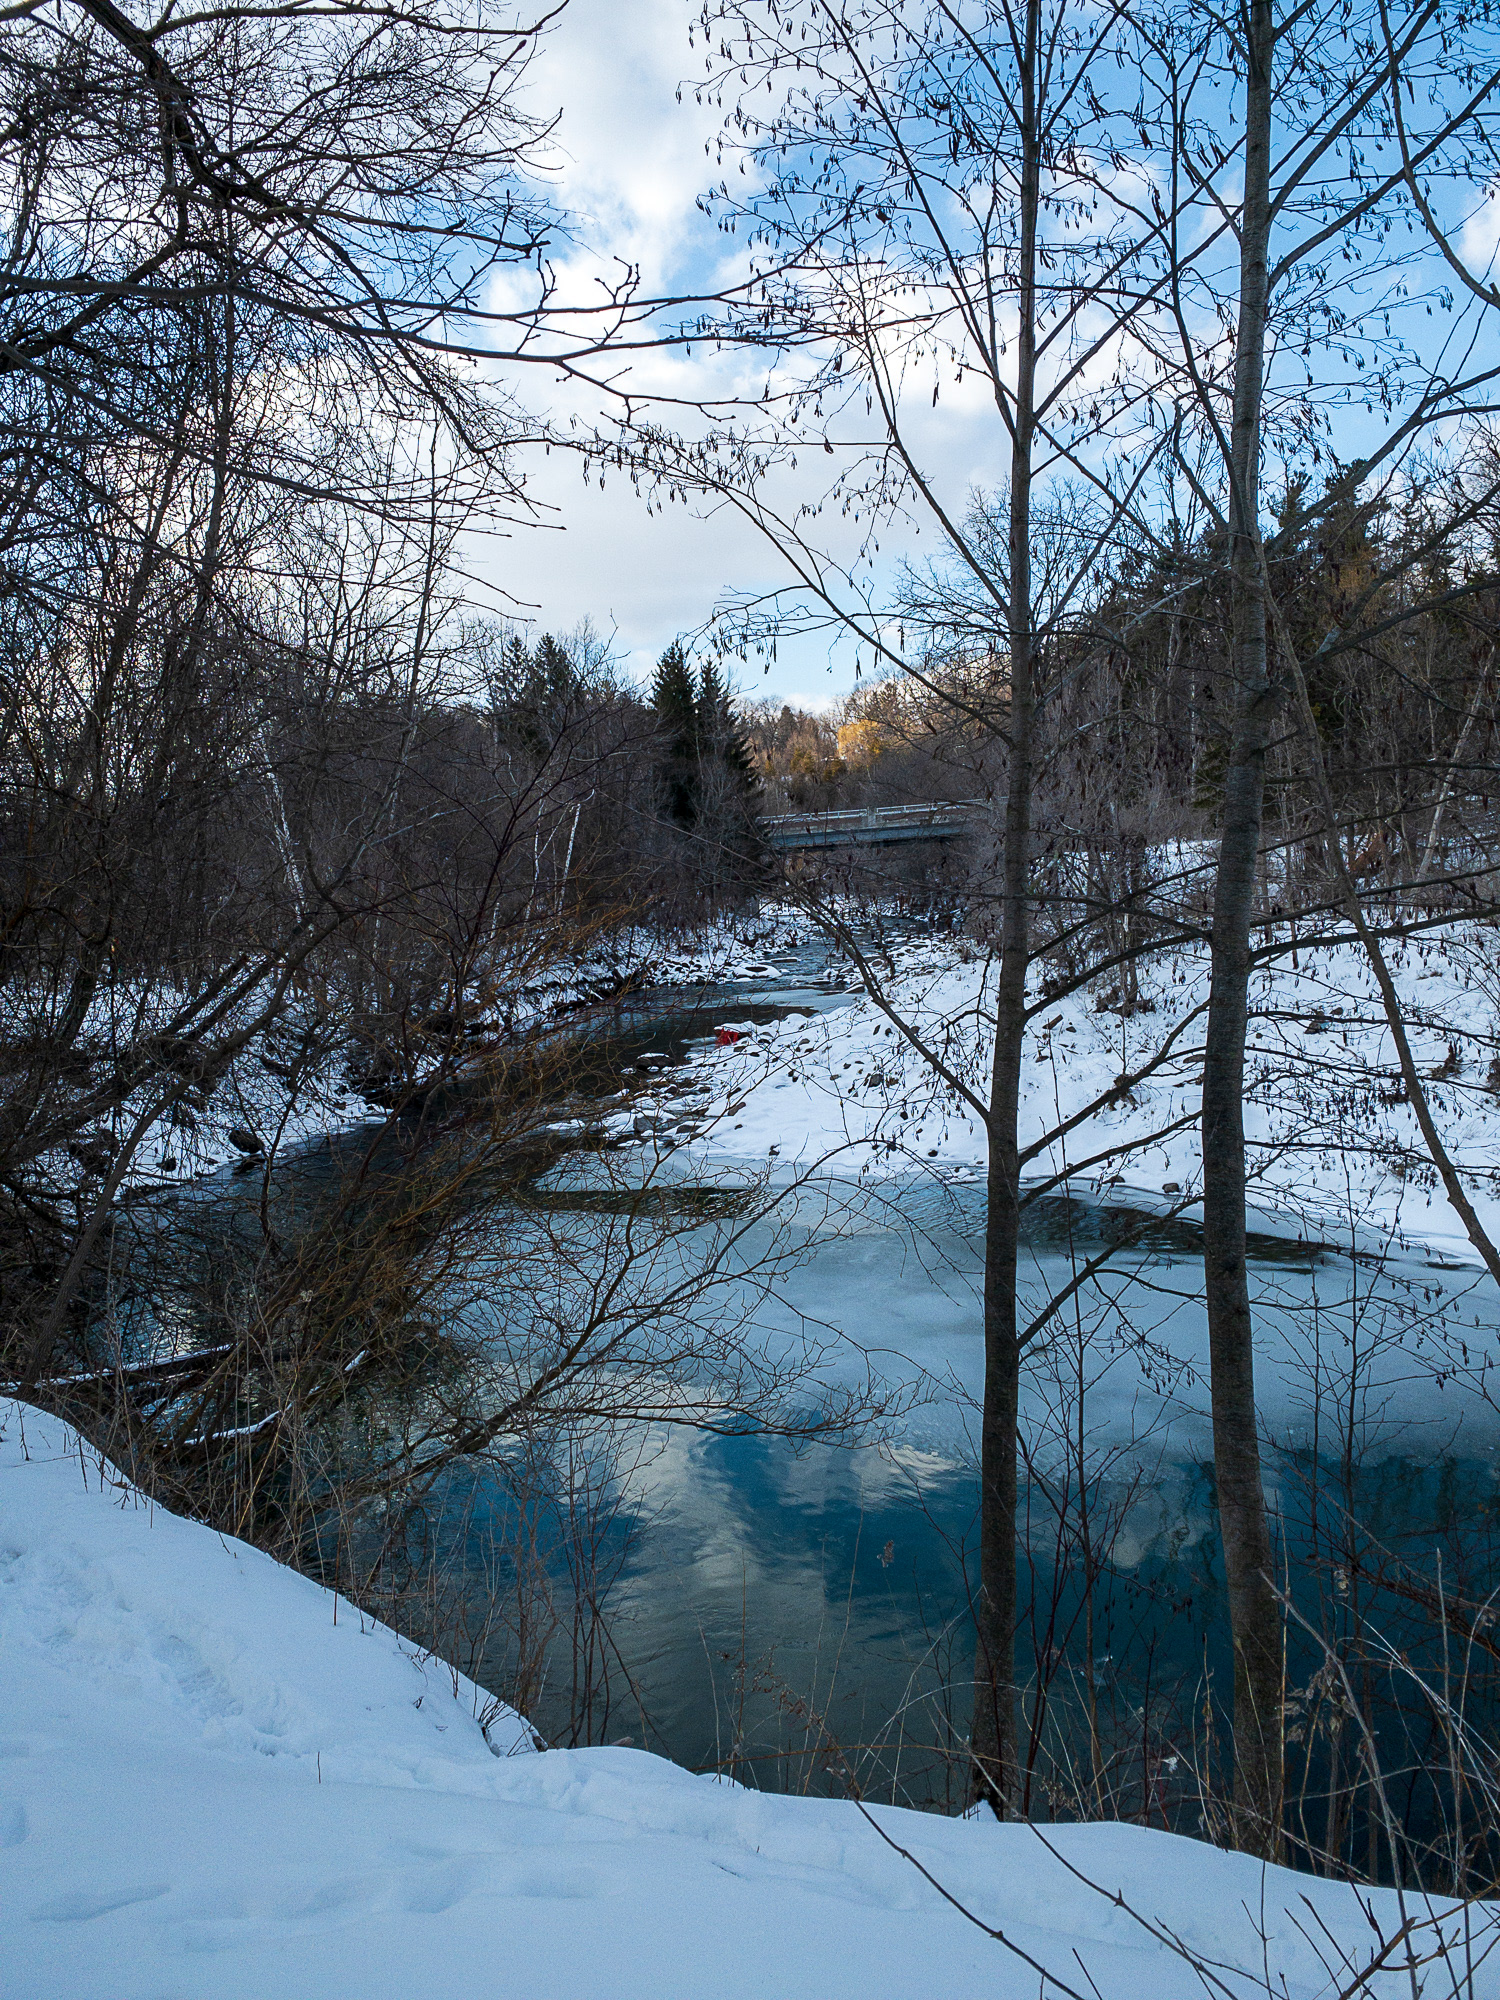
Three hours simply flew by as I moved from spot to spot. Even when I decided to call it quits and head back to the car, the light was so interesting in places that I simply had to stop and capture more footage and stills.
Editing the Footage
When I got home, I first imported the videos and stills into Lightroom Mobile on my iPad. That might seem to be a odd place to begin, but my intention was to preview the footage in Lightroom and then also at least do a rough-cut ingest of the footage into Premiere Rush on my tablet.
I'm also set up so that anything imported into Lightroom mobile is automatically synced at full resolution with Lightroom Classic.
Rush - Simplicity and Power
Rush is a deceptively powerful non-linear editing tool for video production. You won't be cutting your next 60-minute documentary on it, but for short 1 - 5 minute films, it's quite capable.
Rush includes a wide range of controls as well as built-in assets like motion graphics effects and music.
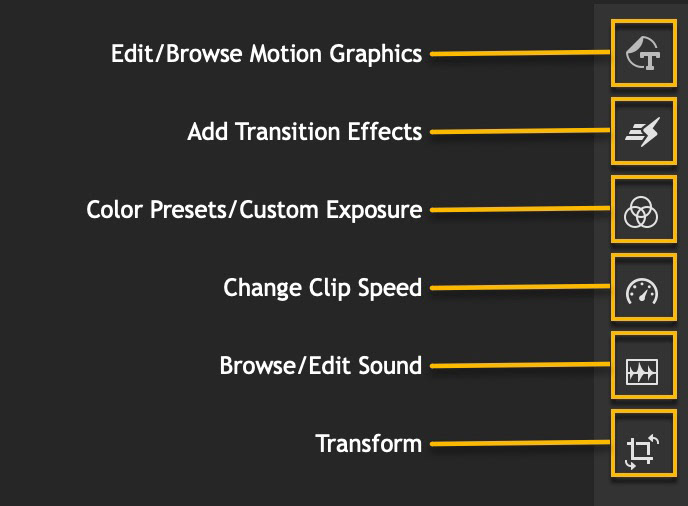
Control at your fingertips, without an intimidating interface
First Impressions aren't Always Last(ing) Impressions
When I first viewed my footage, I admit to being a little disheartened. The clips were underwhelming at first glance. But I was judging the clips from start to finish - warts and all, as they say - and that was a mistake. The material I wanted was there; I just needed to fine tune the clips to just the right part and right duration.
I decided to press forward and start building my little movie, bringing in each clip to the Rush project, one at at a time. I had over 25 minutes of raw footage (15 separate clips) and didn't want to dump all of that on the timeline at once.
Trim to Fit
As I brought each clip in, I trimmed it down to roughly the segment I wanted. I would, over time, further trim down each of those clips, distilling the footage down to just what was necessary and resulting in a more interesting, dynamic final film. The cliché, "less is more," definitely applies to video editing.
The main timeline track in Rush is great because Ripple Delete/Trim is always on. This means that as I cut, trim or expand a clip, all the other clips snap into place on the timeline, leaving no gaps in sequence.
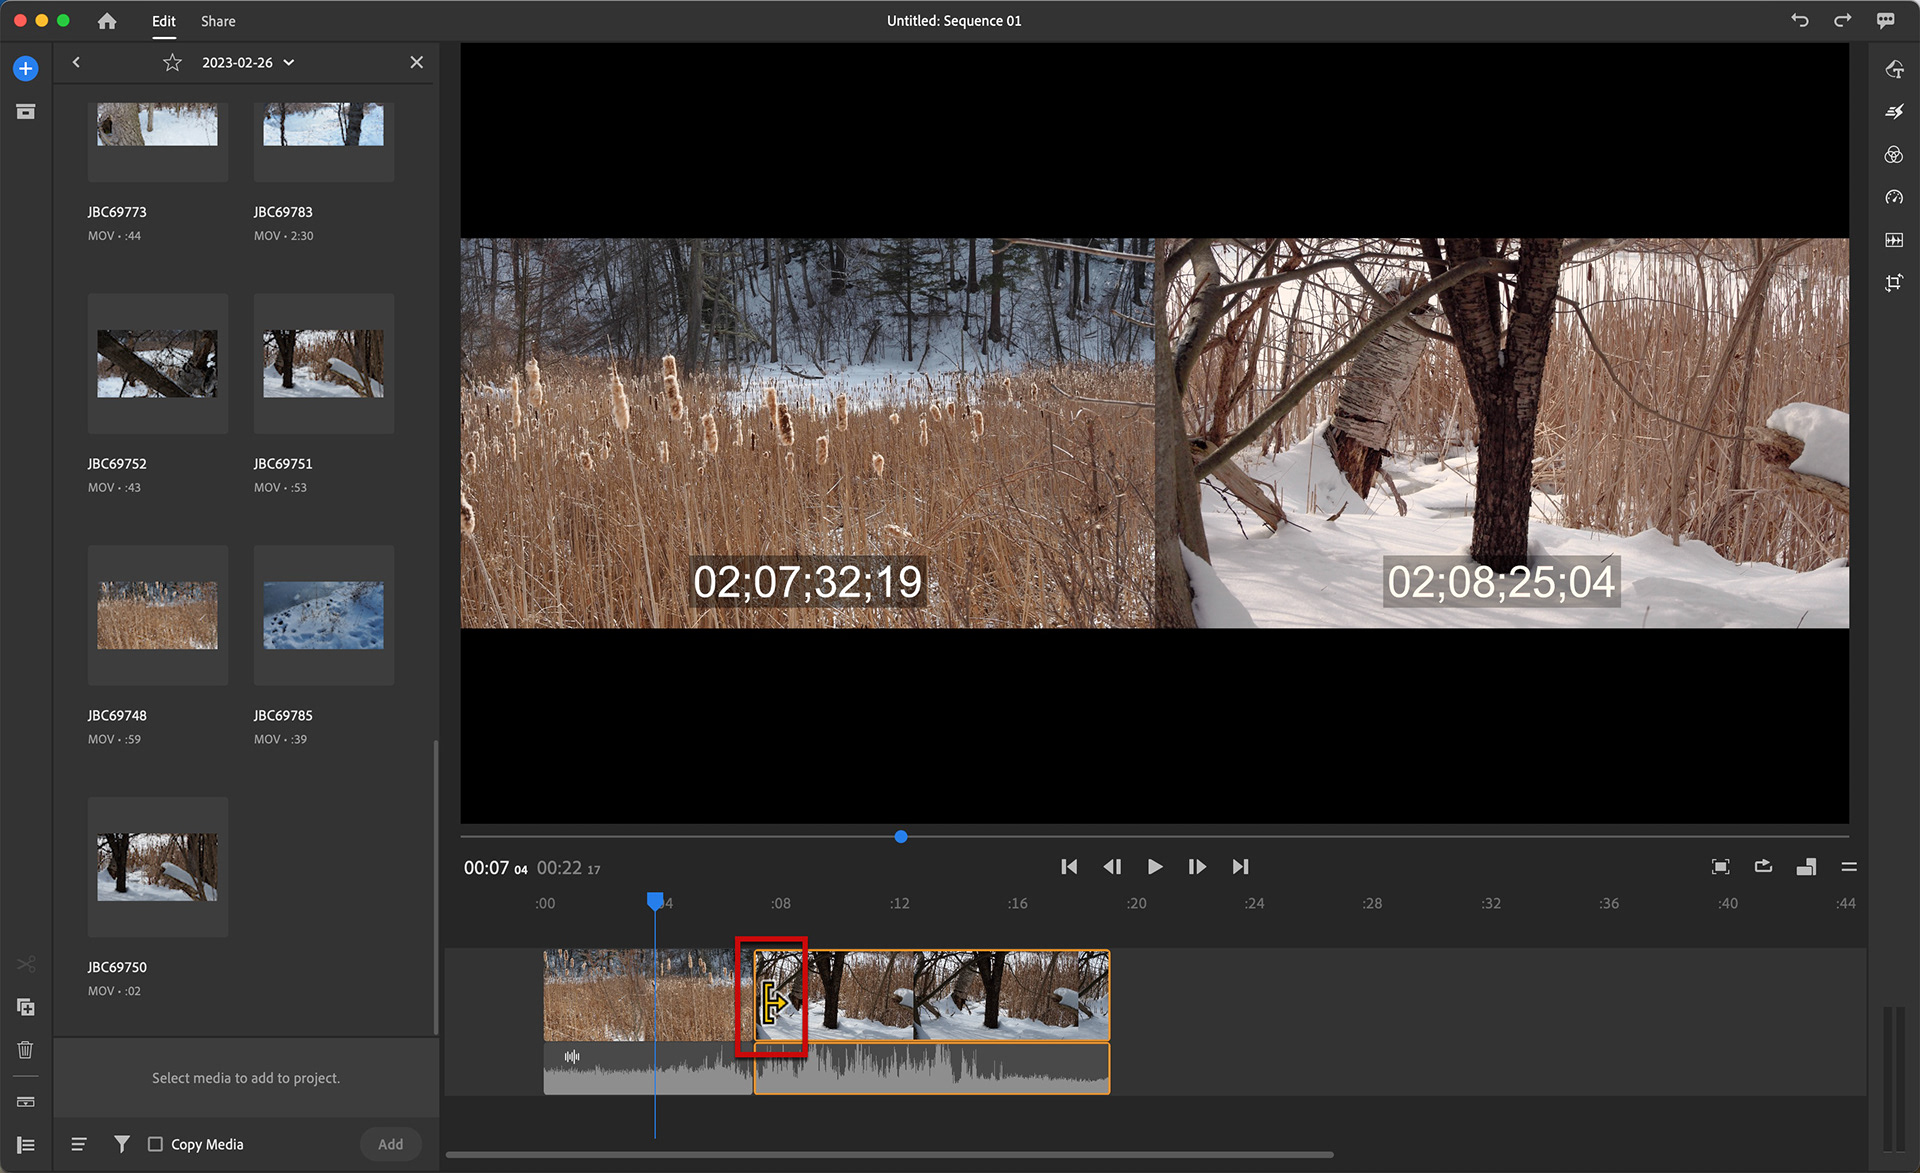
As I drag the trim handle of the second clip to shorten the footage, it stays snapped to the end of the first clip in the main timeline track.
Moving clips around in Rush is as easy as dragging and dropping the clip to a different location on the timeline.
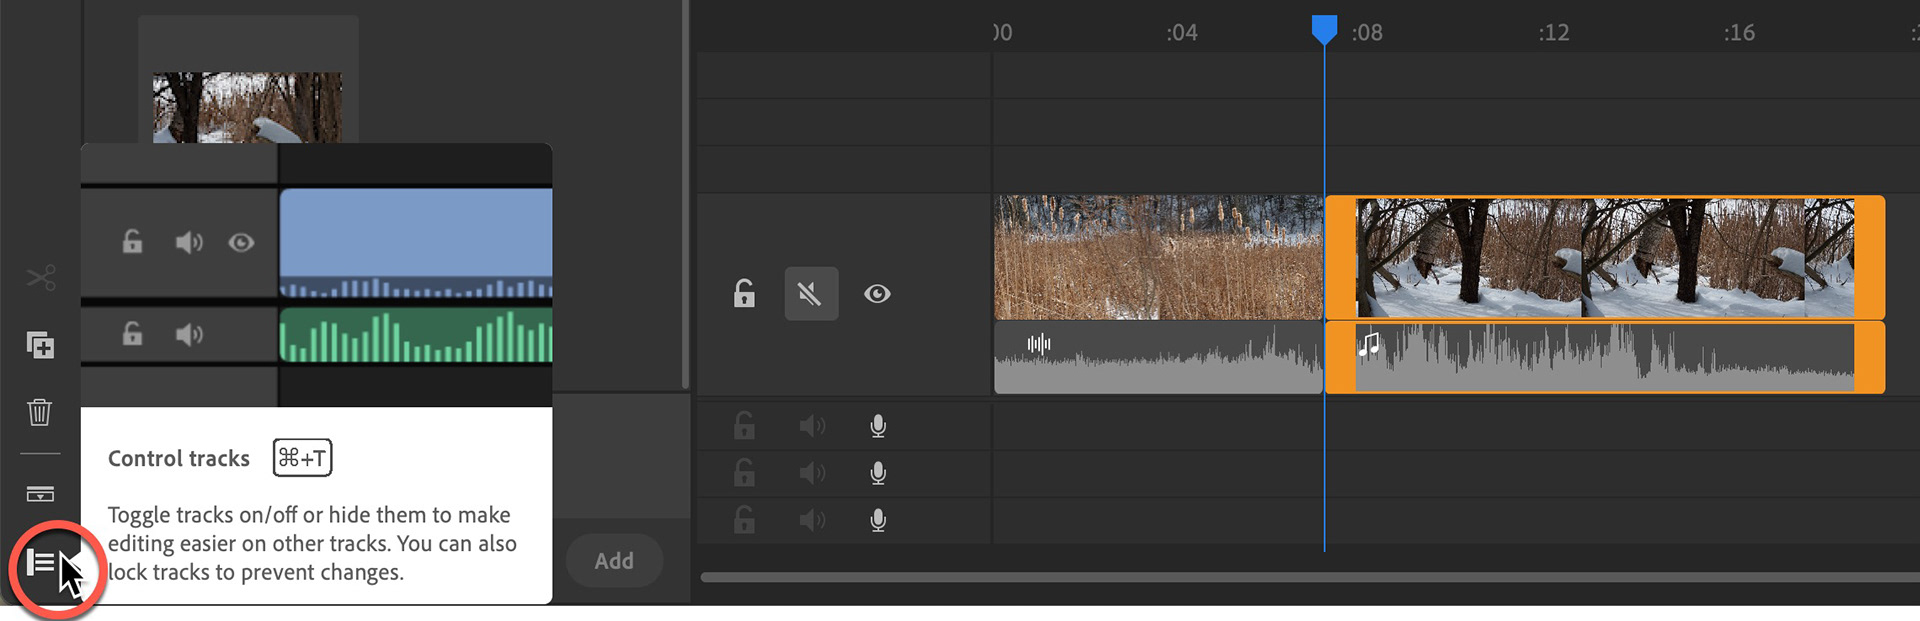
Tip: if your DON'T want your clip(s) to automatically snap to each other, click the Control Tracks button and place them on a track or tracks above the main track; so you can reposition them as you like. This can be helpful for motion graphic transitions, talking head footage etc, as well.
Once my clips were on the timeline and I had trimmed them close to where I wanted them, I took time to add in head-and-tail motion graphics templates (MOGRTs). It's easy to search for free motion graphics right inside of Rush. I start by licking on the Graphics tool (upper right), search for the type and style of motion graphic I want (title, lower thirds, transition, etc) select it and add to the the timeline. By default, the MOGRT will be added at the spot my timeline marker (playhead) is positioned.
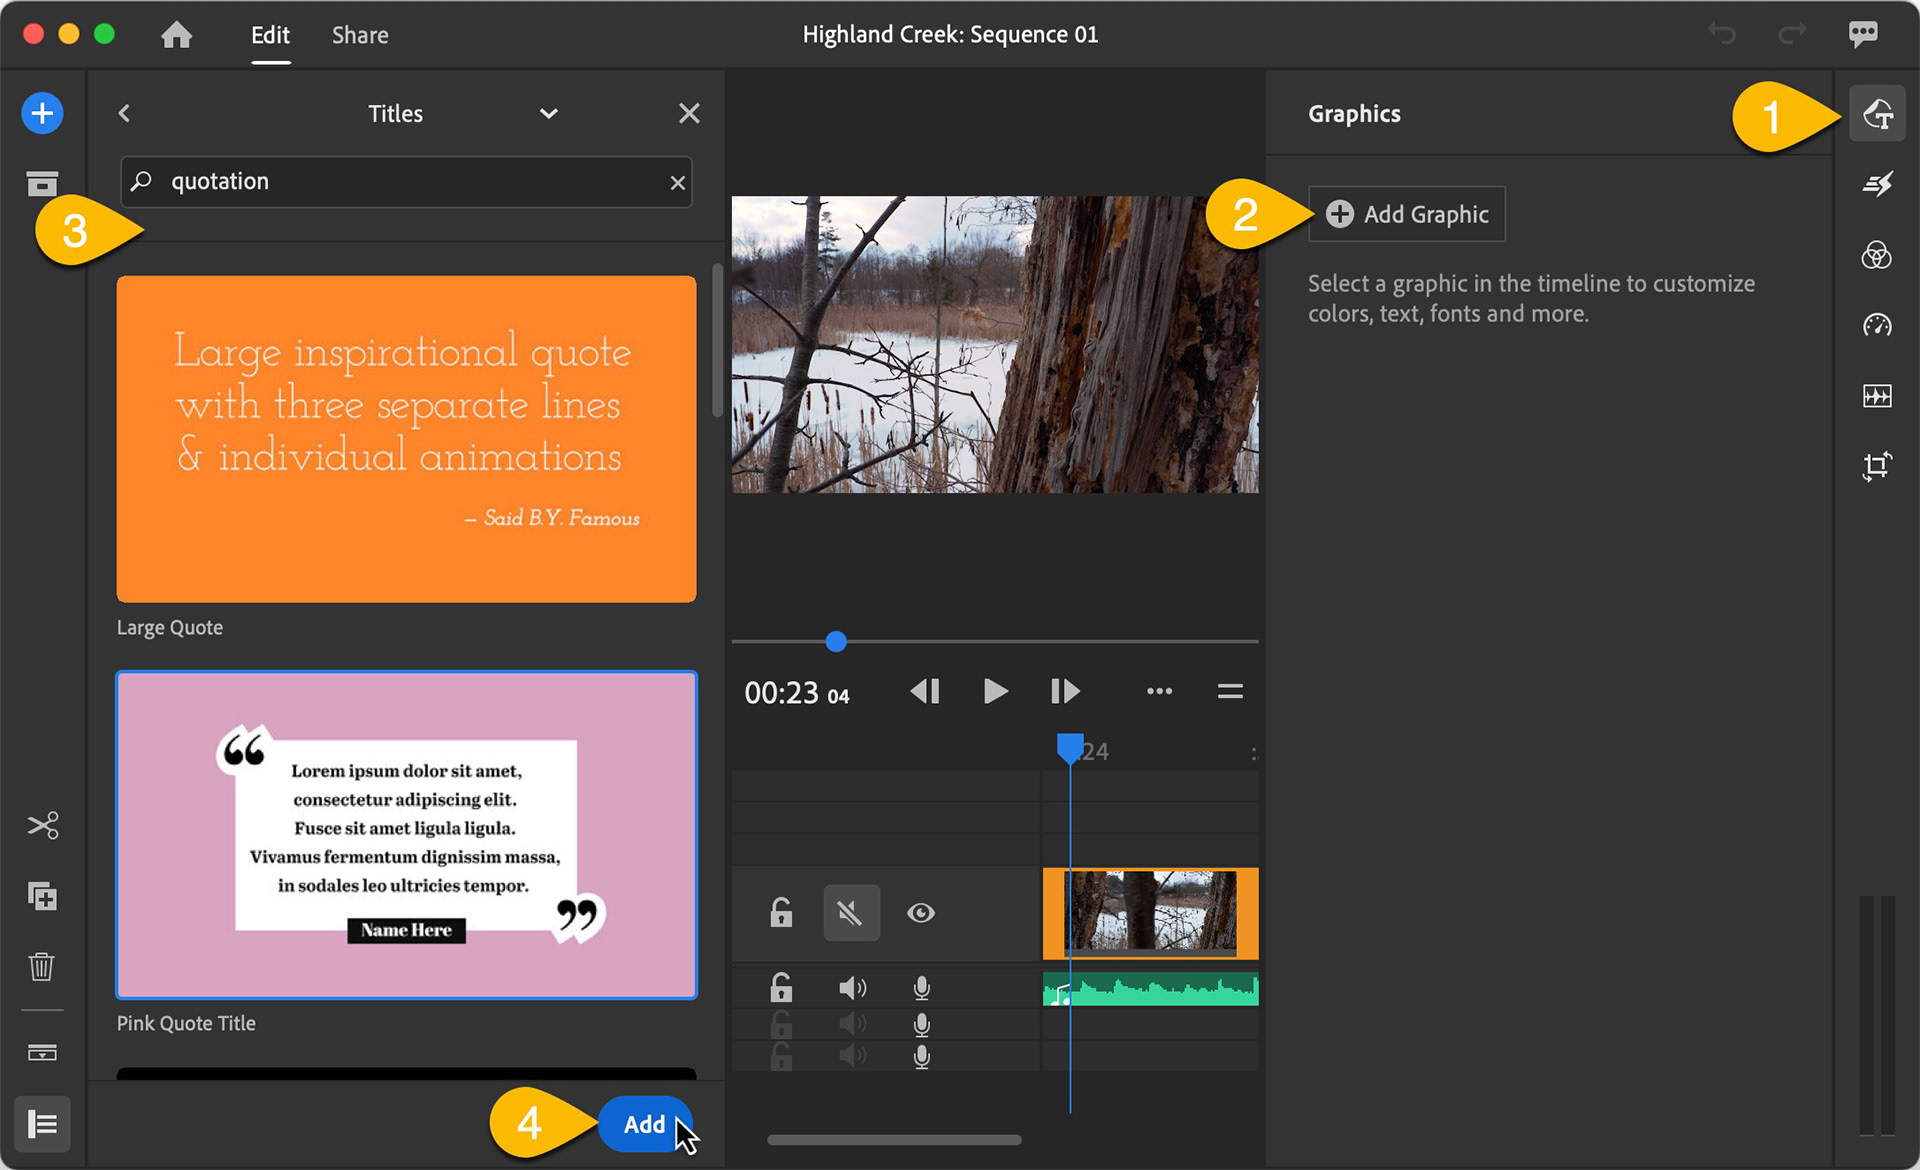
Tip: The MOGRTs included with Rush (and those found - often for free - on Adobe Stock, for that matter) are highly customizable. You can change size, text, color and often graphics that are part of the original template.
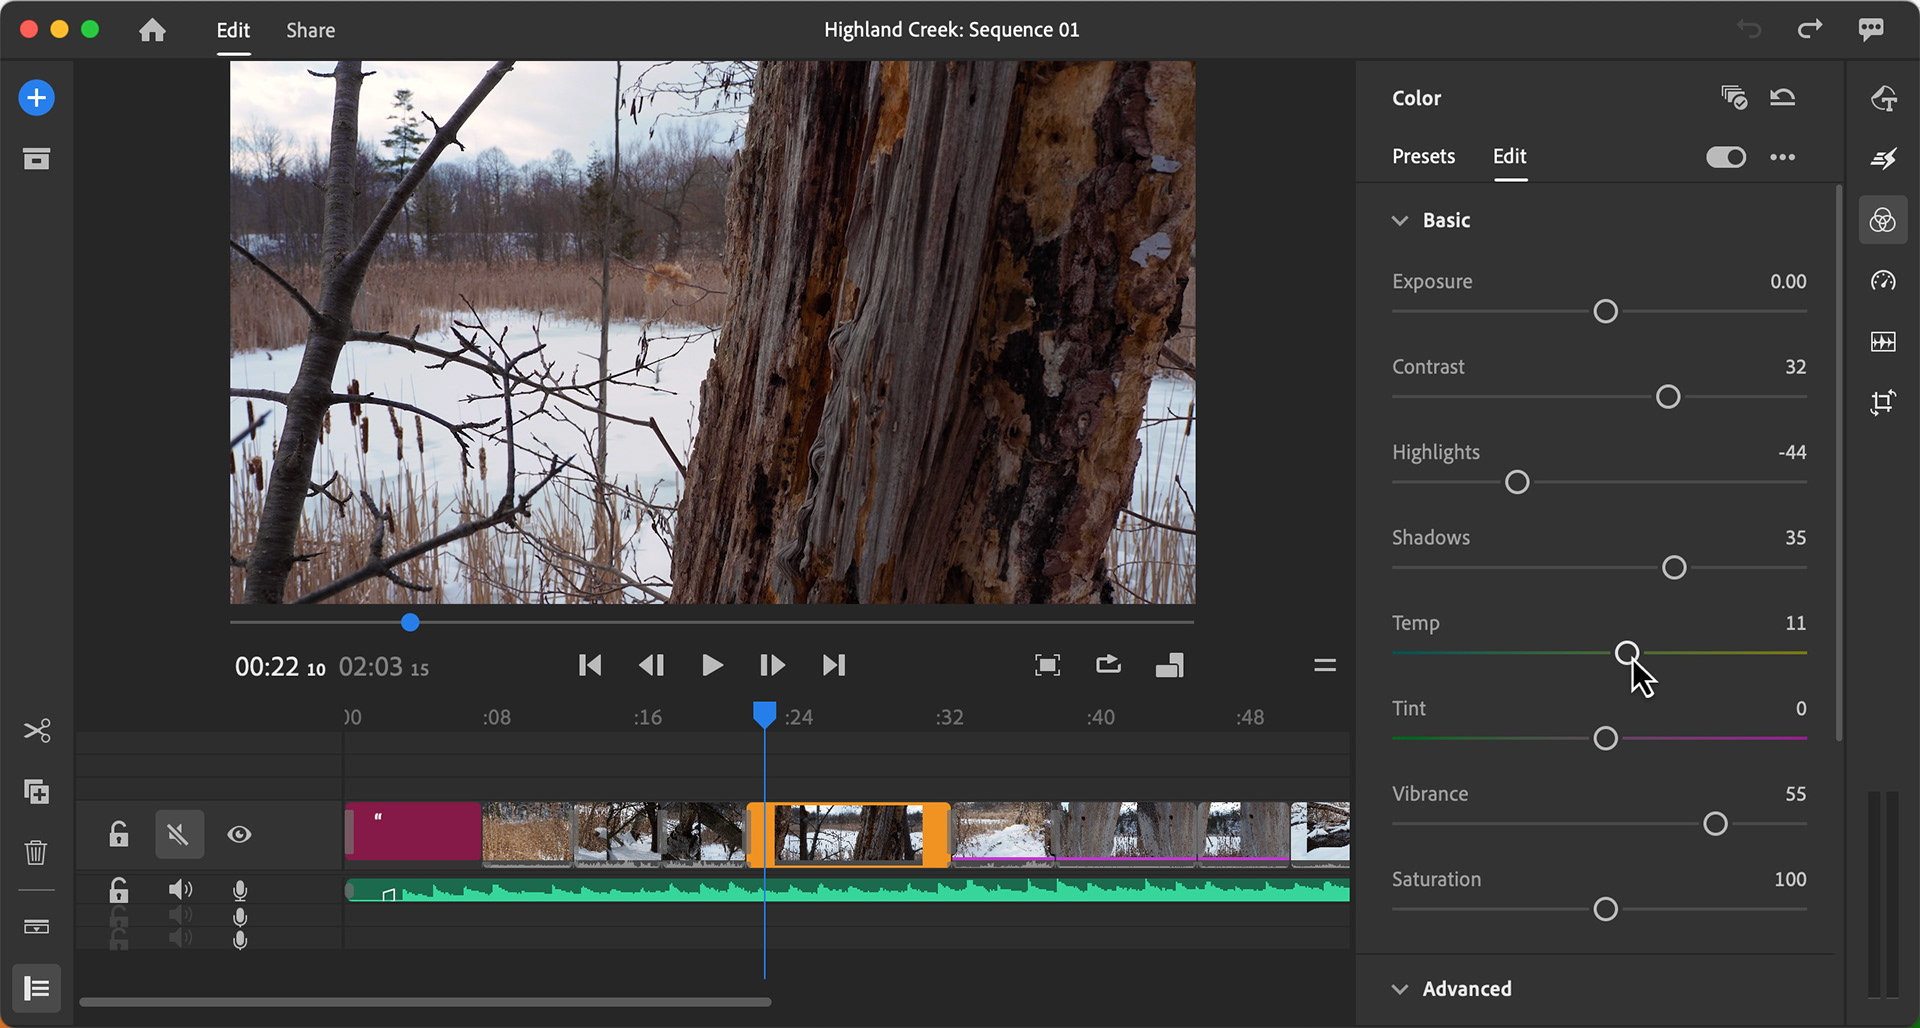
Correcting Color and Exposure
Most of my footage was captured under overcast light. This reduces image contrast and makes everything a little blue - or cooler - in color temperature.
The Color Panel in Rush was very helpful in adjust color balance, contrast and exposure. I you've every used the Basic panel in Lghtroom Classic, or the Light panel in Lihtroom Desktop, you will feel right at home. You can even pick from a collection of presets for instant film-like effects.
Note: You must select each clip independently to make adjustments. You can speed up this process by saving your settings from one clip as a custom Preset, and then apply that custom preset to each clip.
My last step was to find just the right music. I wanted something ambient, a little mysterious and little ethereal. And - just my luck, I found what I was lookint for with the stock music that comes with Adobe Rush, Ironically the track was titled "City," but I think it worked perfectly. I hope you agree; the final project is below.
Highland Creek Montage
Final video montage, edited entirely within Adobe Premiere Rush
Creating Clips for Stock
In the montage above, you're seeing fractions of the footage I shot. For Adobe Stock, I will be reviewing each clip independently and trimming/exporting them as separate video files, anywhere from 6-20 seconds in length.
What Did I Learn?
I learned - or reinforced prior learning - several things on this shoot:
Planning Your Shoot
- Have a plan or at least a sense of what you are intending to shoot. This isn't as much of an issue when your subjects are trees and rocks but can be tedious for humans if they are standing around and waiting for you to figure out what you're doing.
- Bring spare batteries for your camera; shooting video with Live View on your camera will eat through your power.
- Pack what you can carry comfortably - or bring a patient friend/sherpa with you.
Using a Slider
- Moving camera shots ROCK! I can't believe how much more professional my video content appears now that it's not just static footage shot on a tripod.
- Test your compositions - Not always easy on a bright day (hence the popular view screen hoods) so that you know how your camera is going to travel through the scene.
- Beware of obstacles in slider shots - the last thing you need is to damage your camera or expensive slider because it scraped by (or hit) a branch or rock.
Capture
- Consider the speed of your slider. The slider can move faster for distant or wide shots and slower when you have objects closer to the camera.
- Shoot more than you think you need, but don't go overboard, unless you love editing.
- Shoot multiple, shorter clips rather than trying to capture everything in one long take.
- Be patient.
- Wait for the light.- Simplicity is key, be it in the footage you are capturing or the gear you are carrying, especially when you are new to a lot of it.
Editing
- Shorter is better. There's a reason TV commercials are 60 seconds or less. Keep that in mind as you edit your work. Be critical, shaving your clips down to the most impactful seconds.
- Keep transitions simple and consistent. I almost always just use a simple cross dissolve, when I use any transition at all.
Audio
-Bring a good quality external microphone if you want to record ambient sound, or be ready to mute/discard that audio when editing.
- Music makes your footage sing. Adobe Rush comes with some great royalty-free music and sound effects to start with, but there are many resources (including Adobe Stock) for other styles and durations.
Lastly, even if you're just learning, think about how you make a bit of extra cash from your efforts. Consider joining Adobe Stock (or other stock services) to market and sell your work.
I hope you've enjoyed this behind the scenes look at creating video content and video montages
References