Replacing Color to Remove Brand Identity
As some you might know, I am a fairly regular contributor to Adobe Stock (link). Recently in my drives around the Kawartha area near the cottage, I’ve been fortunate to be able to capture not just gorgeous fields of wheat and rye, but also to view the harvesting process. I captured some great images, but quickly realized that to be acceptable for Adobe Stock, I would need to remove branding elements from the machinery. What I didn’t realize at the time, was how far that process would extend.
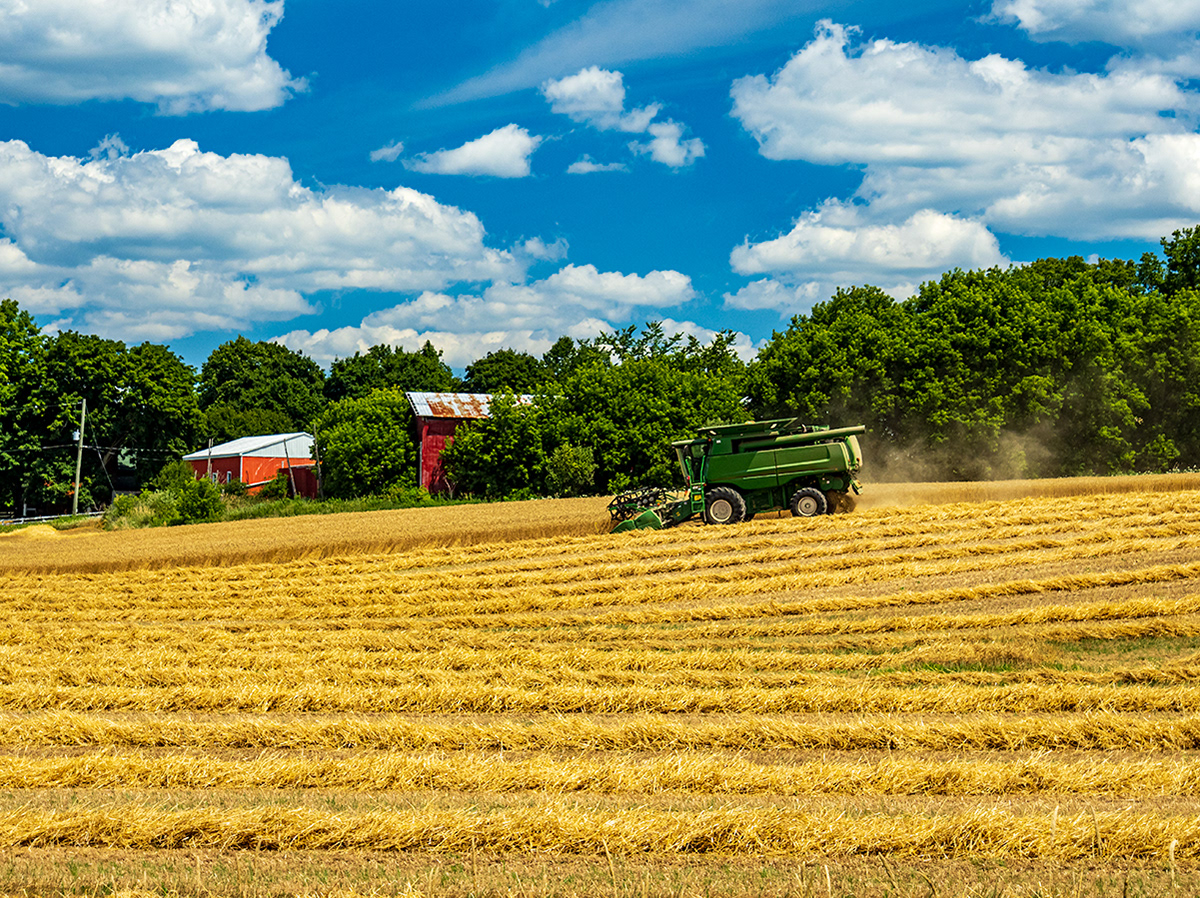
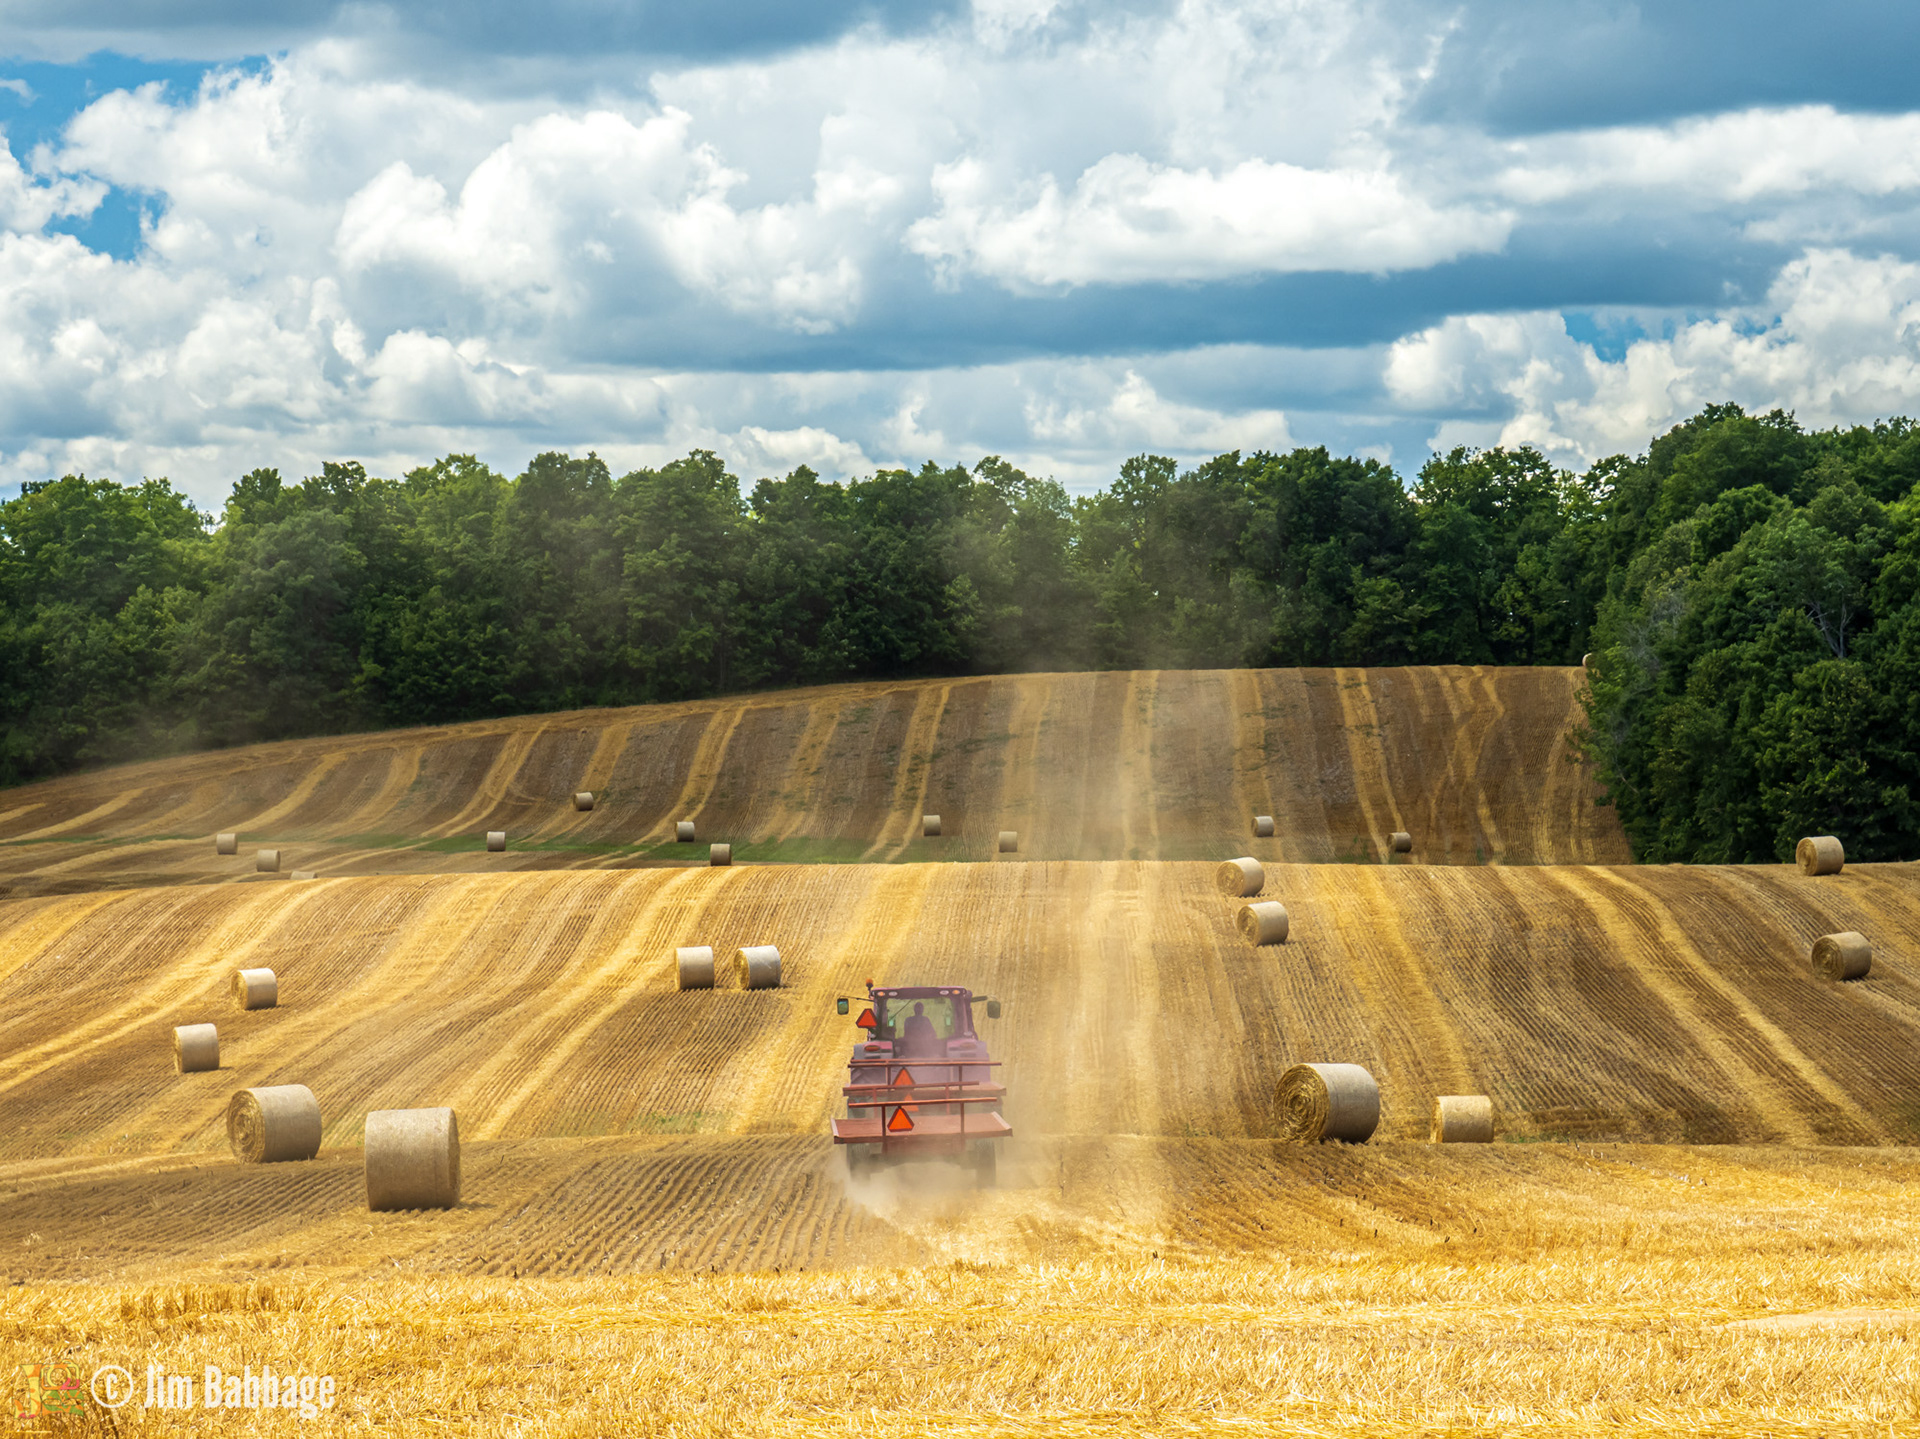
Below is one of the images I was planning to submit. I knew I had to get rid of the yellow stripe and any other markings or logos.

Once I had completed my basic image processing in Lightroom, I moved to Photoshop (right-click on the image thumbnail in Lightroom Classic and choose Edit In > Adobe Photoshop 2020.
My first step was create a duplicate layer, so I always had my original to fall back on.
I used a combination of the Patch tool and the Healing Brush to remove obvious branding marks. I even selected the wheel rims and used Replace Color so they were not the bright “John Deere yellow” and saved the file. I submitted the file to Adobe Stock, thinking that I had covered all the bases.
The Agony of Defeat
A few days later, I received notice that the image was rejected, due to Intellectual Property issues. Digging deeper into the reason, with the help of other contributors and the Adobe Stock Contributor liaisons on the Discord Server, I learned that the green color of the equipment might also be trademarked. As I thought more about it, I had to agree; even when I couldn’t see a logo, if I saw that combination of green and yellow, I knew it was a John Deere product. So removing the visible trademark branding would not be enough.
Back to the Pixel Board
I brought the image back into Photoshop and used a combination of Select Subject and the Select and Mask refinement tool to create a selection around the machine. Then, once again went to Image > Adjustments > Replace Color. Using the eyedropper tools, and the fuzziness slider, I created an accurate selection of the green and then experimented with Hue and Saturation to get a realistic replace colour.

Tip: To help ensure you have all the original color selected, increase saturation greatly to see if any areas are left out in the preview. Note that high saturation typically looks awful. But don’t worry; you will be reducing the saturation to a more pleasing amount before you’re done.
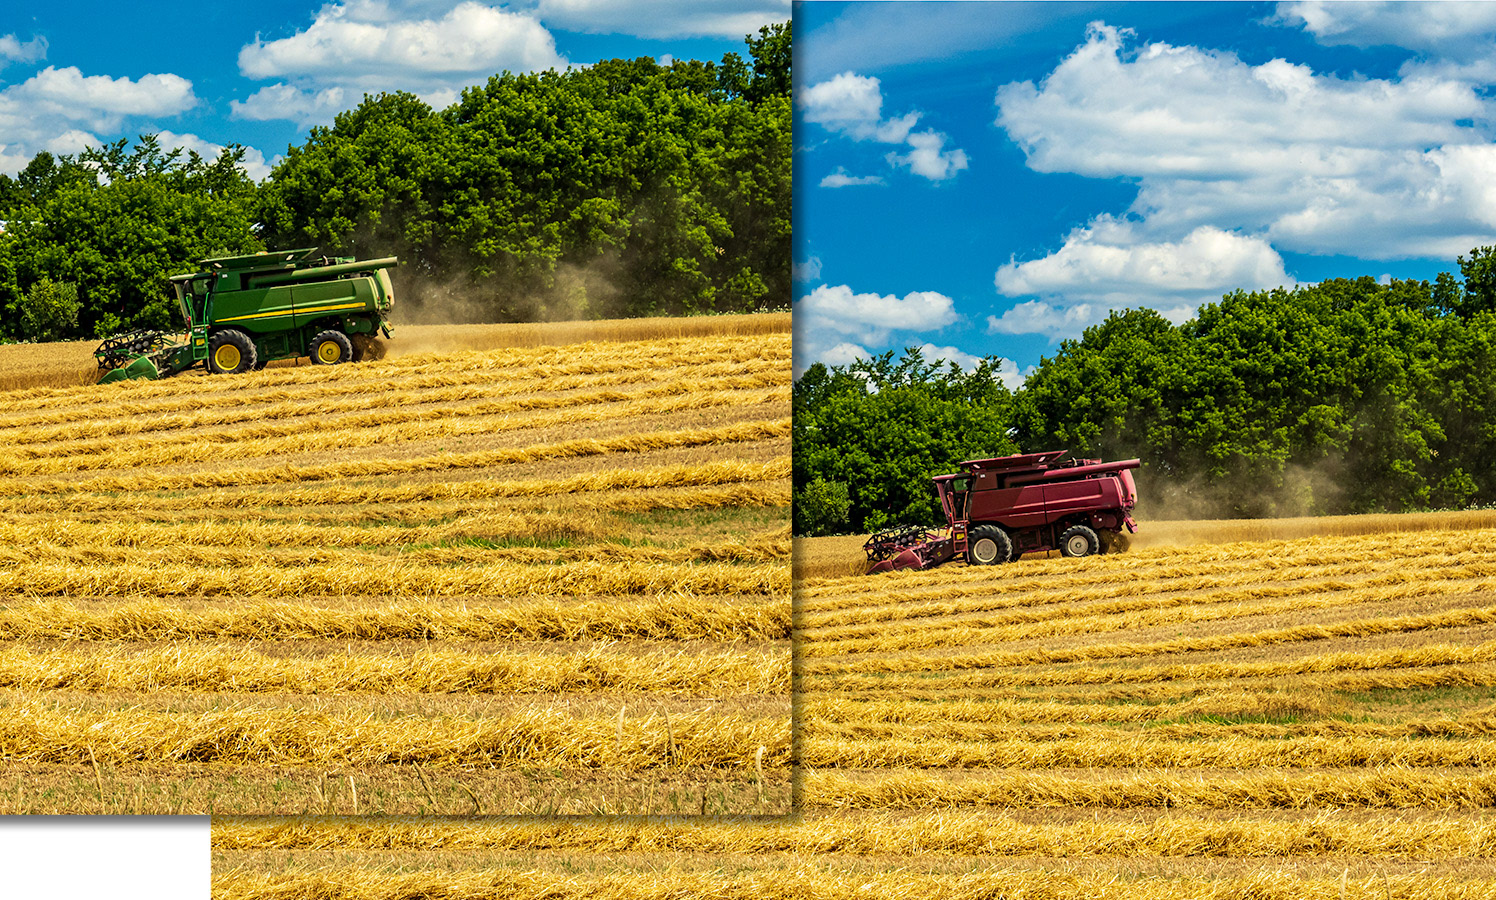
Before and after
When I was happy with the result, I saved the file and then resubmitted the image to Adobe Stock. A few days, later, I received confirmation that the image had been accepted!
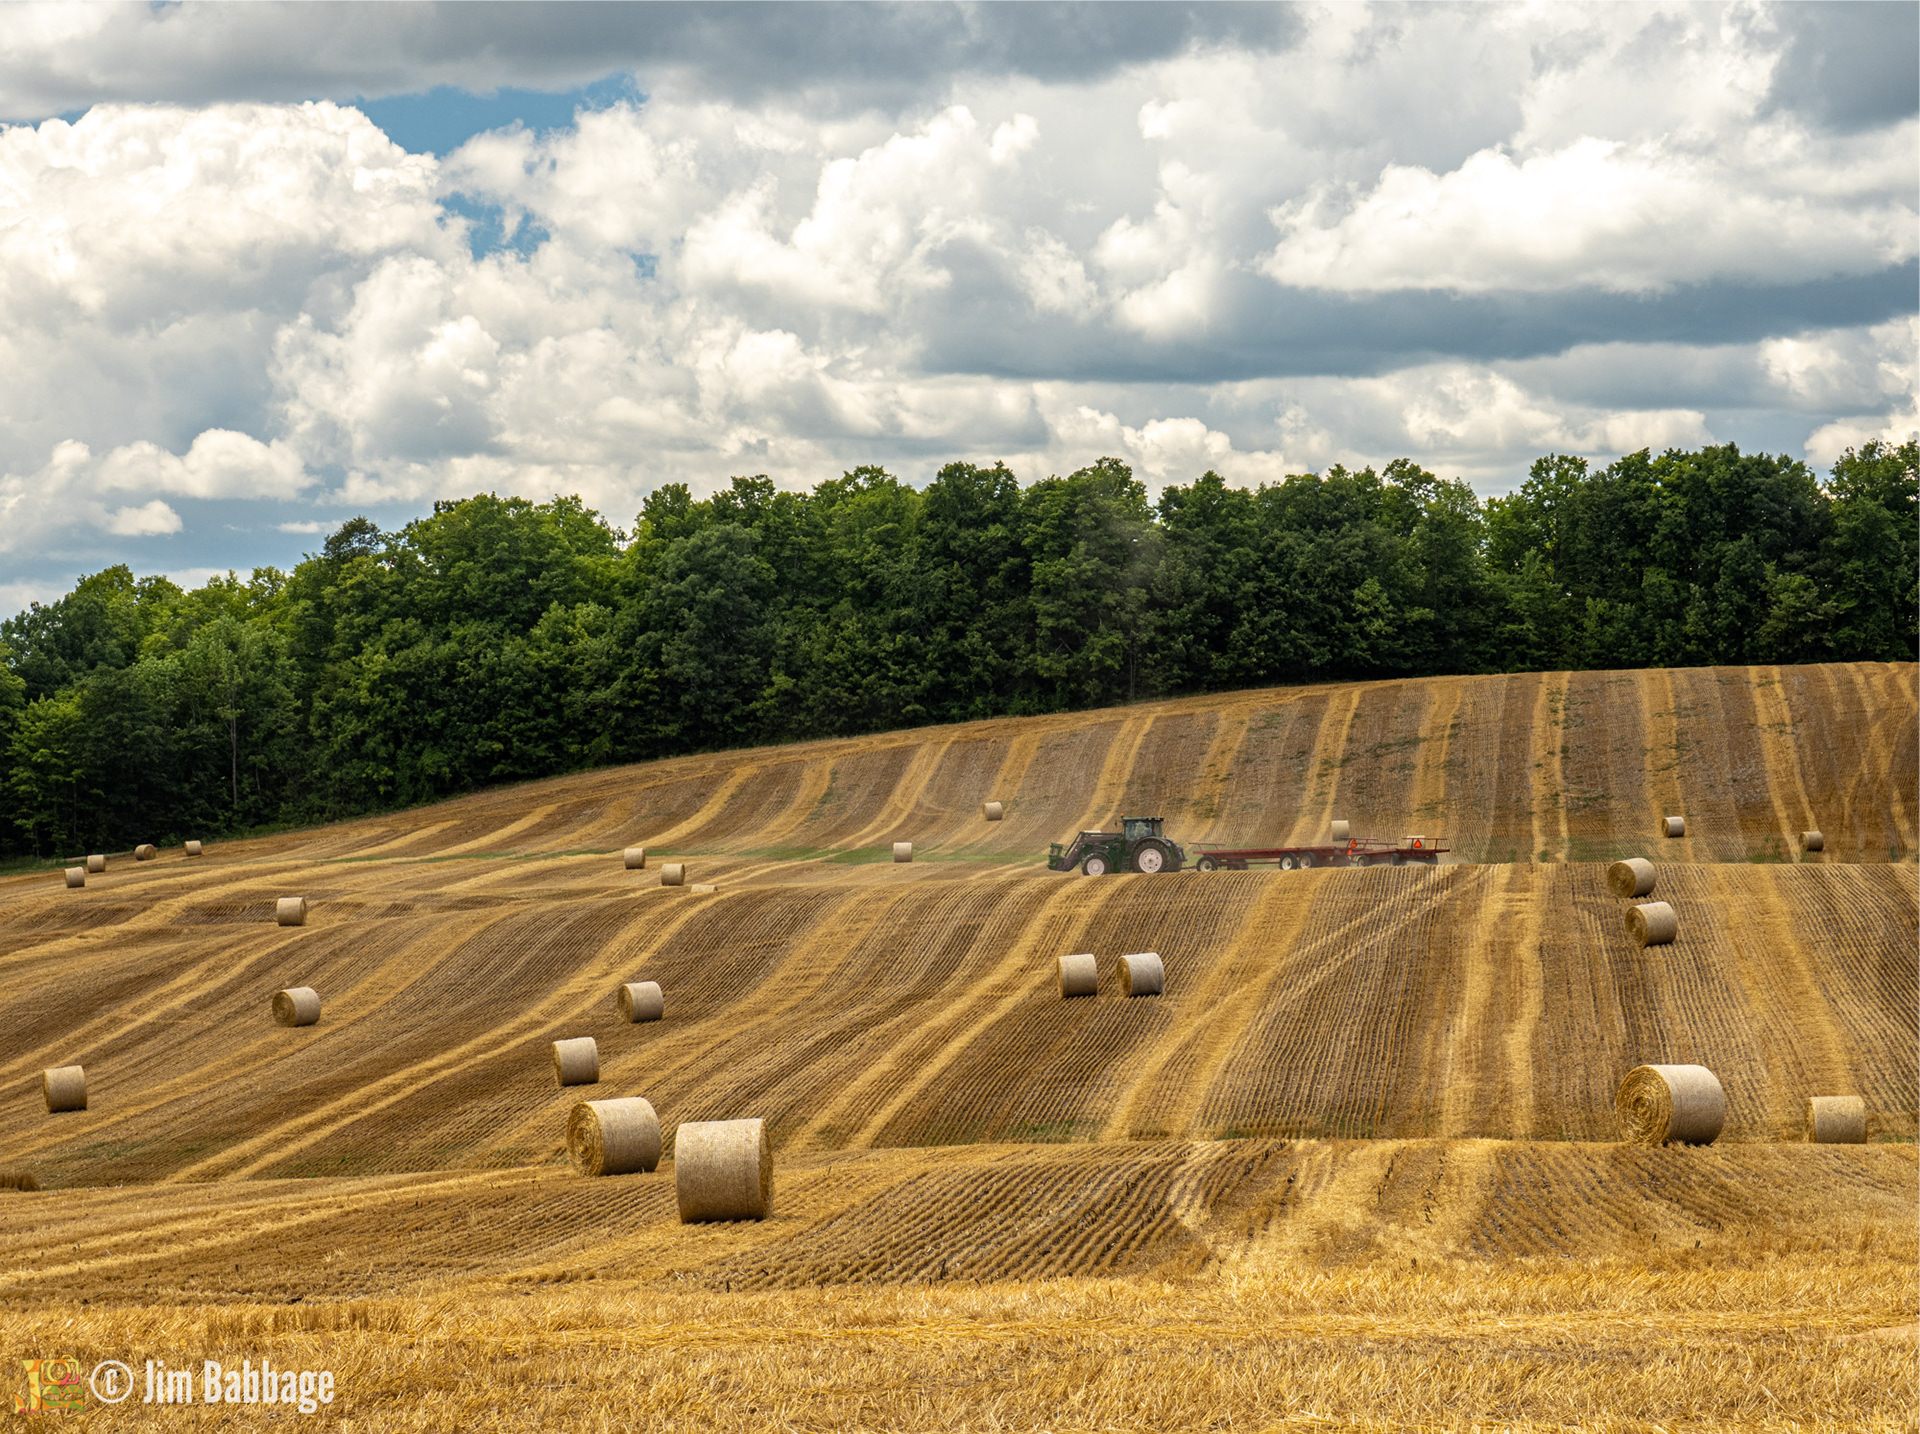
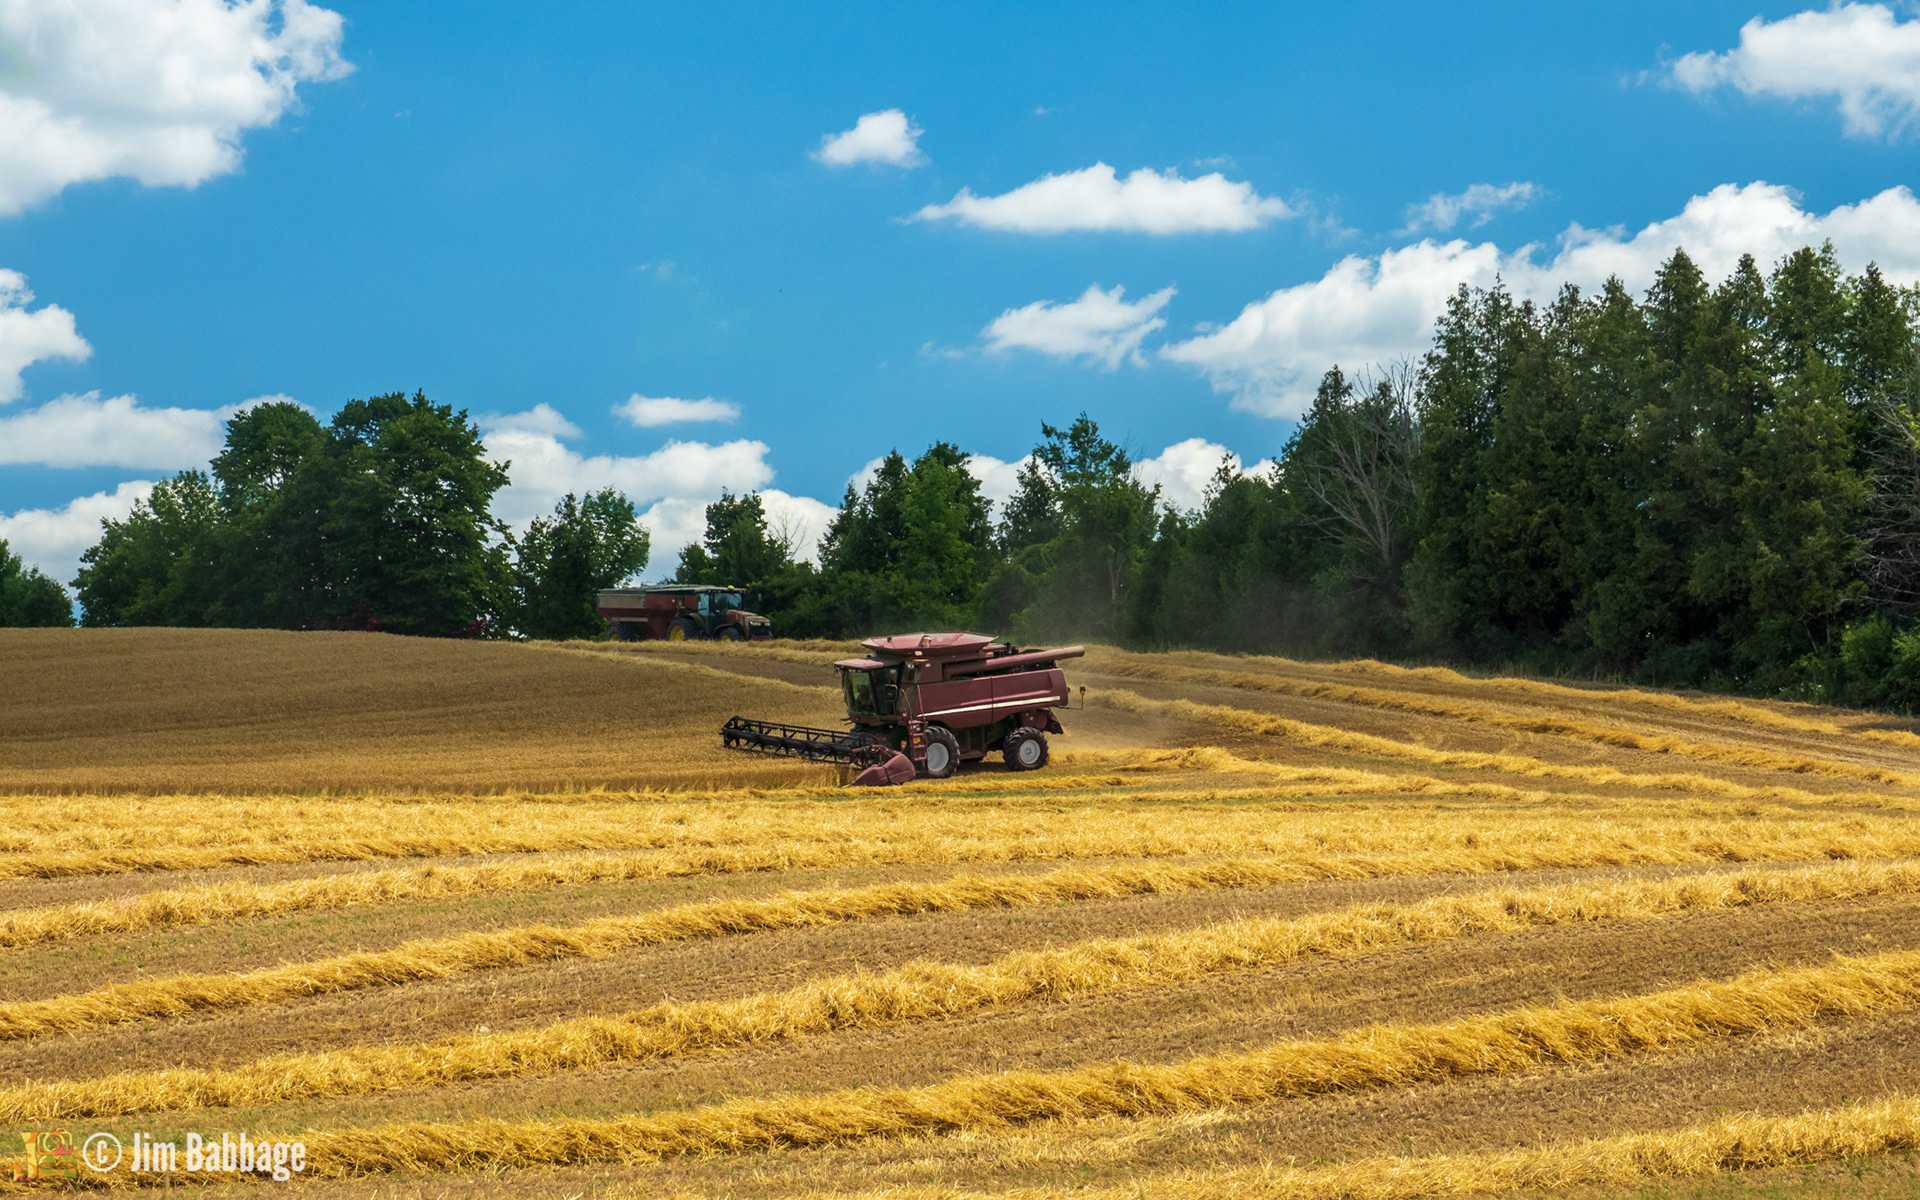
This signalled to me that I could go ahead with this process on other farm equipment shots. I submitted three others, using the same techniques describe above, one of which had two vehicles that required attention. They were all accepted!
Caveats
Accurately replacing color can be a tedious process, especially if you have a complex subject that blends with background/foreground. A green combine in front of a stand of green trees, surrounded by hay dust, wasn’t the easiest subject to tackle, and took a fair amount of time to get right. However, my only other option was to not submit the images. Reshooting this equipment would have been a happenstance opportunity at best and who’s to say the lighting and composition would cooperate next time?
Will the effort pay off? Only time will tell. But, it did give me an opportunity to hone my selection skills; a worthwhile exercise in itself.
Links
To see more of my Stock Portfolio, you can check out the following links:
Adobe Stock Profile: https://stock.adobe.com/ca/contributor/205449780/Jim%20Babbage
Self-Curated Stock Collections: https://jimbabbage.photography/stock-photography
Other Helpful Links
Adobe Stock: http://stock.adobe.com
Become an Adobe Stock contributor: https://contributor.stock.adobe.com/
Guerrilla Marketing with Adobe Stock and Adobe Portfolio:
https://www.behance.net/gallery/88353485/Guerrilla-Marketing-with-Adobe-Stock-Adobe-Portfolio
https://www.behance.net/gallery/88353485/Guerrilla-Marketing-with-Adobe-Stock-Adobe-Portfolio