Lightroom Denoise AI: A Workflow Game-Changer
This month (April, 2023) Adobe dropped a new update to for the Lightroom ecosystem. There are already many reviews on Youtube about the new AI Denoise feature available in Lightroom Desktop (cloud) and Lightroom Classic, with talented Adobe people like Terry White and Julieanne Kost weighing in, and other positive 3rd-party reviews from the likes of Matt Kosklowski, Tim Cooper from National Parks at Night and more.
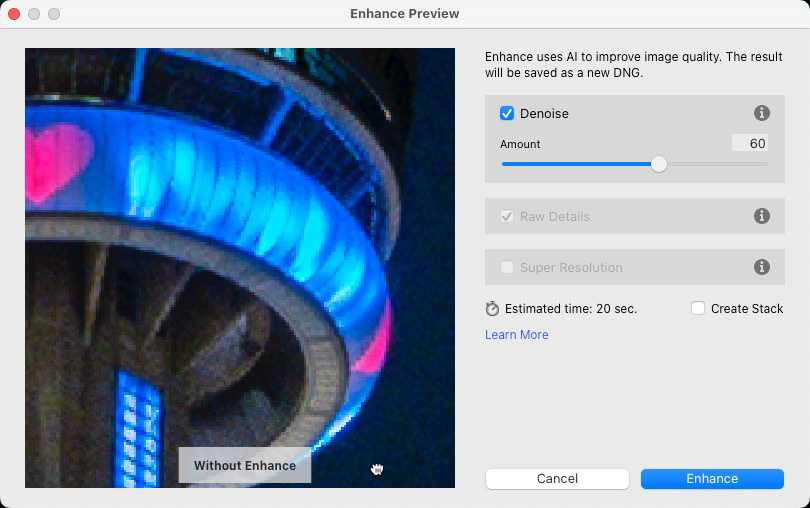
Denoise is part of the newer Enhance features of Lightroom Desktop and Lightroom Classic. It was designed to remove noise with the help of artificial intelligence in photographs taken in low light situations that require High ISO settings. That said, I've even seen subtle quality improvements with lower ISO captures (more on this later in the article). This capability will be a boon to photographers shooting with smaller sensor cameras like Micro 4/3 and APSC-sized sensors, including yours truly.
So, rather than just repeat what's already been said, I thought I'd share my own unscientific testing with my own images.
Spoiler Alert - I'm pretty blown away.
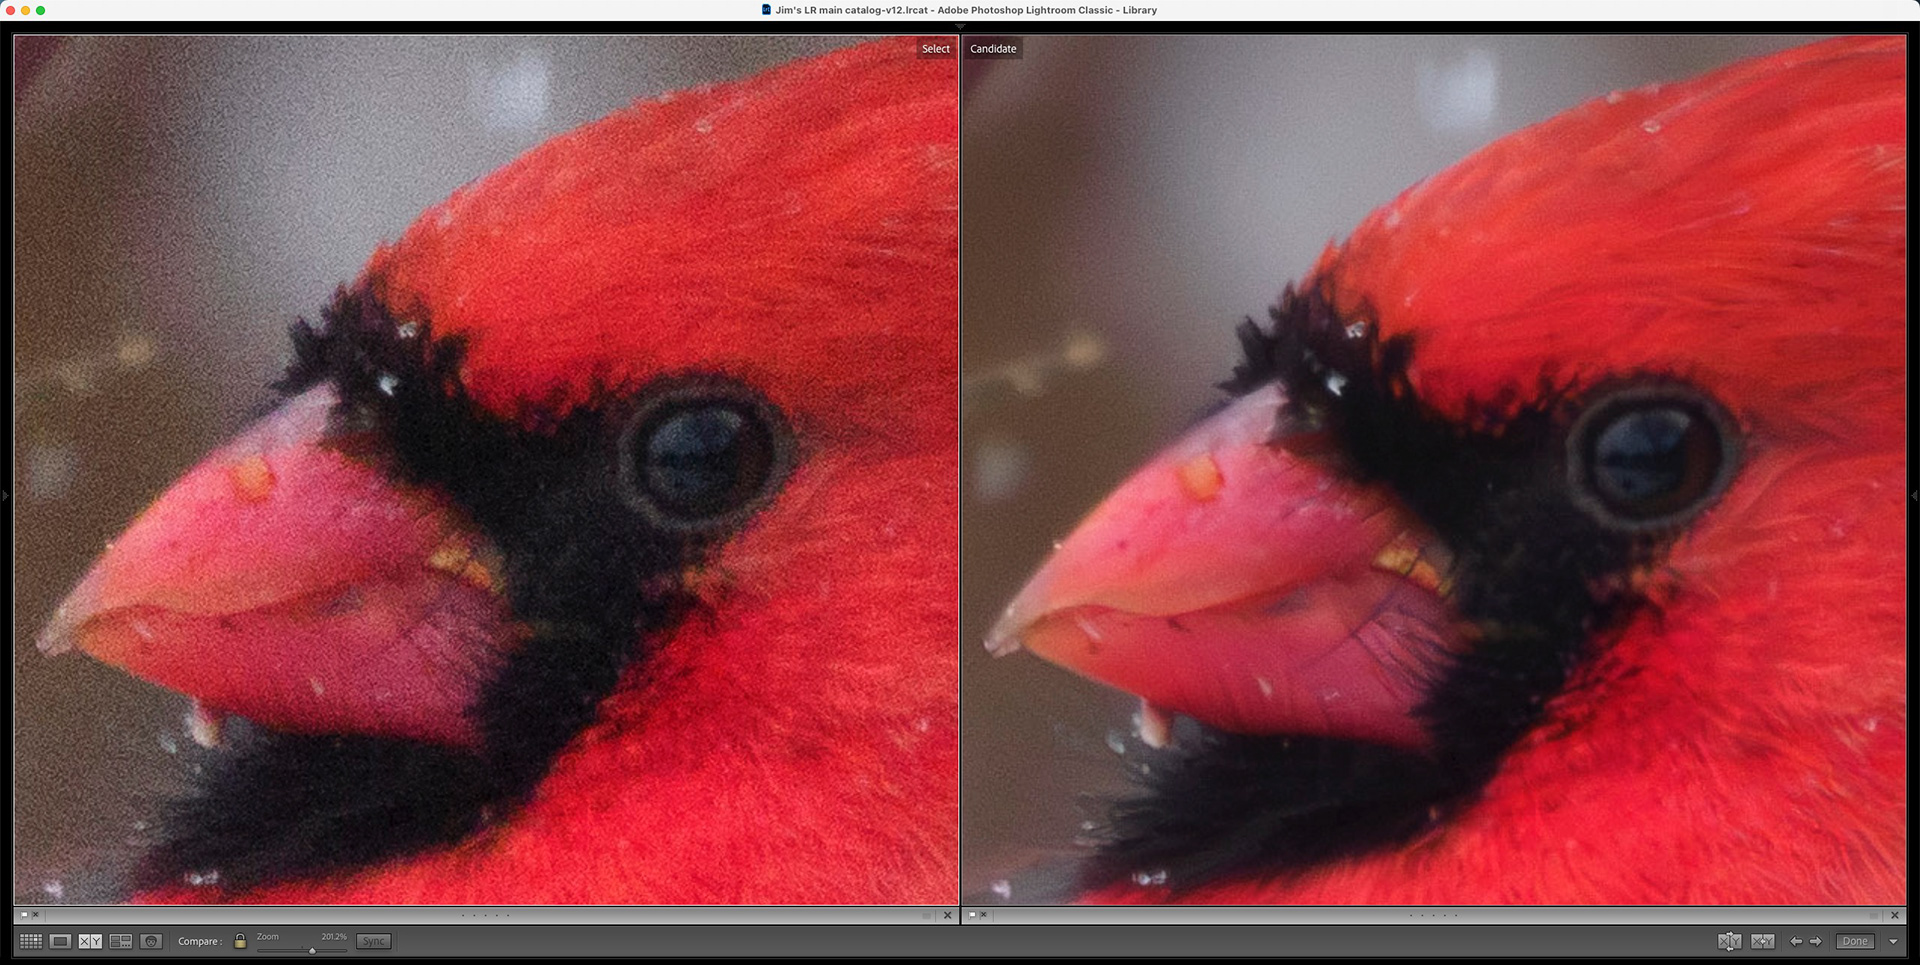
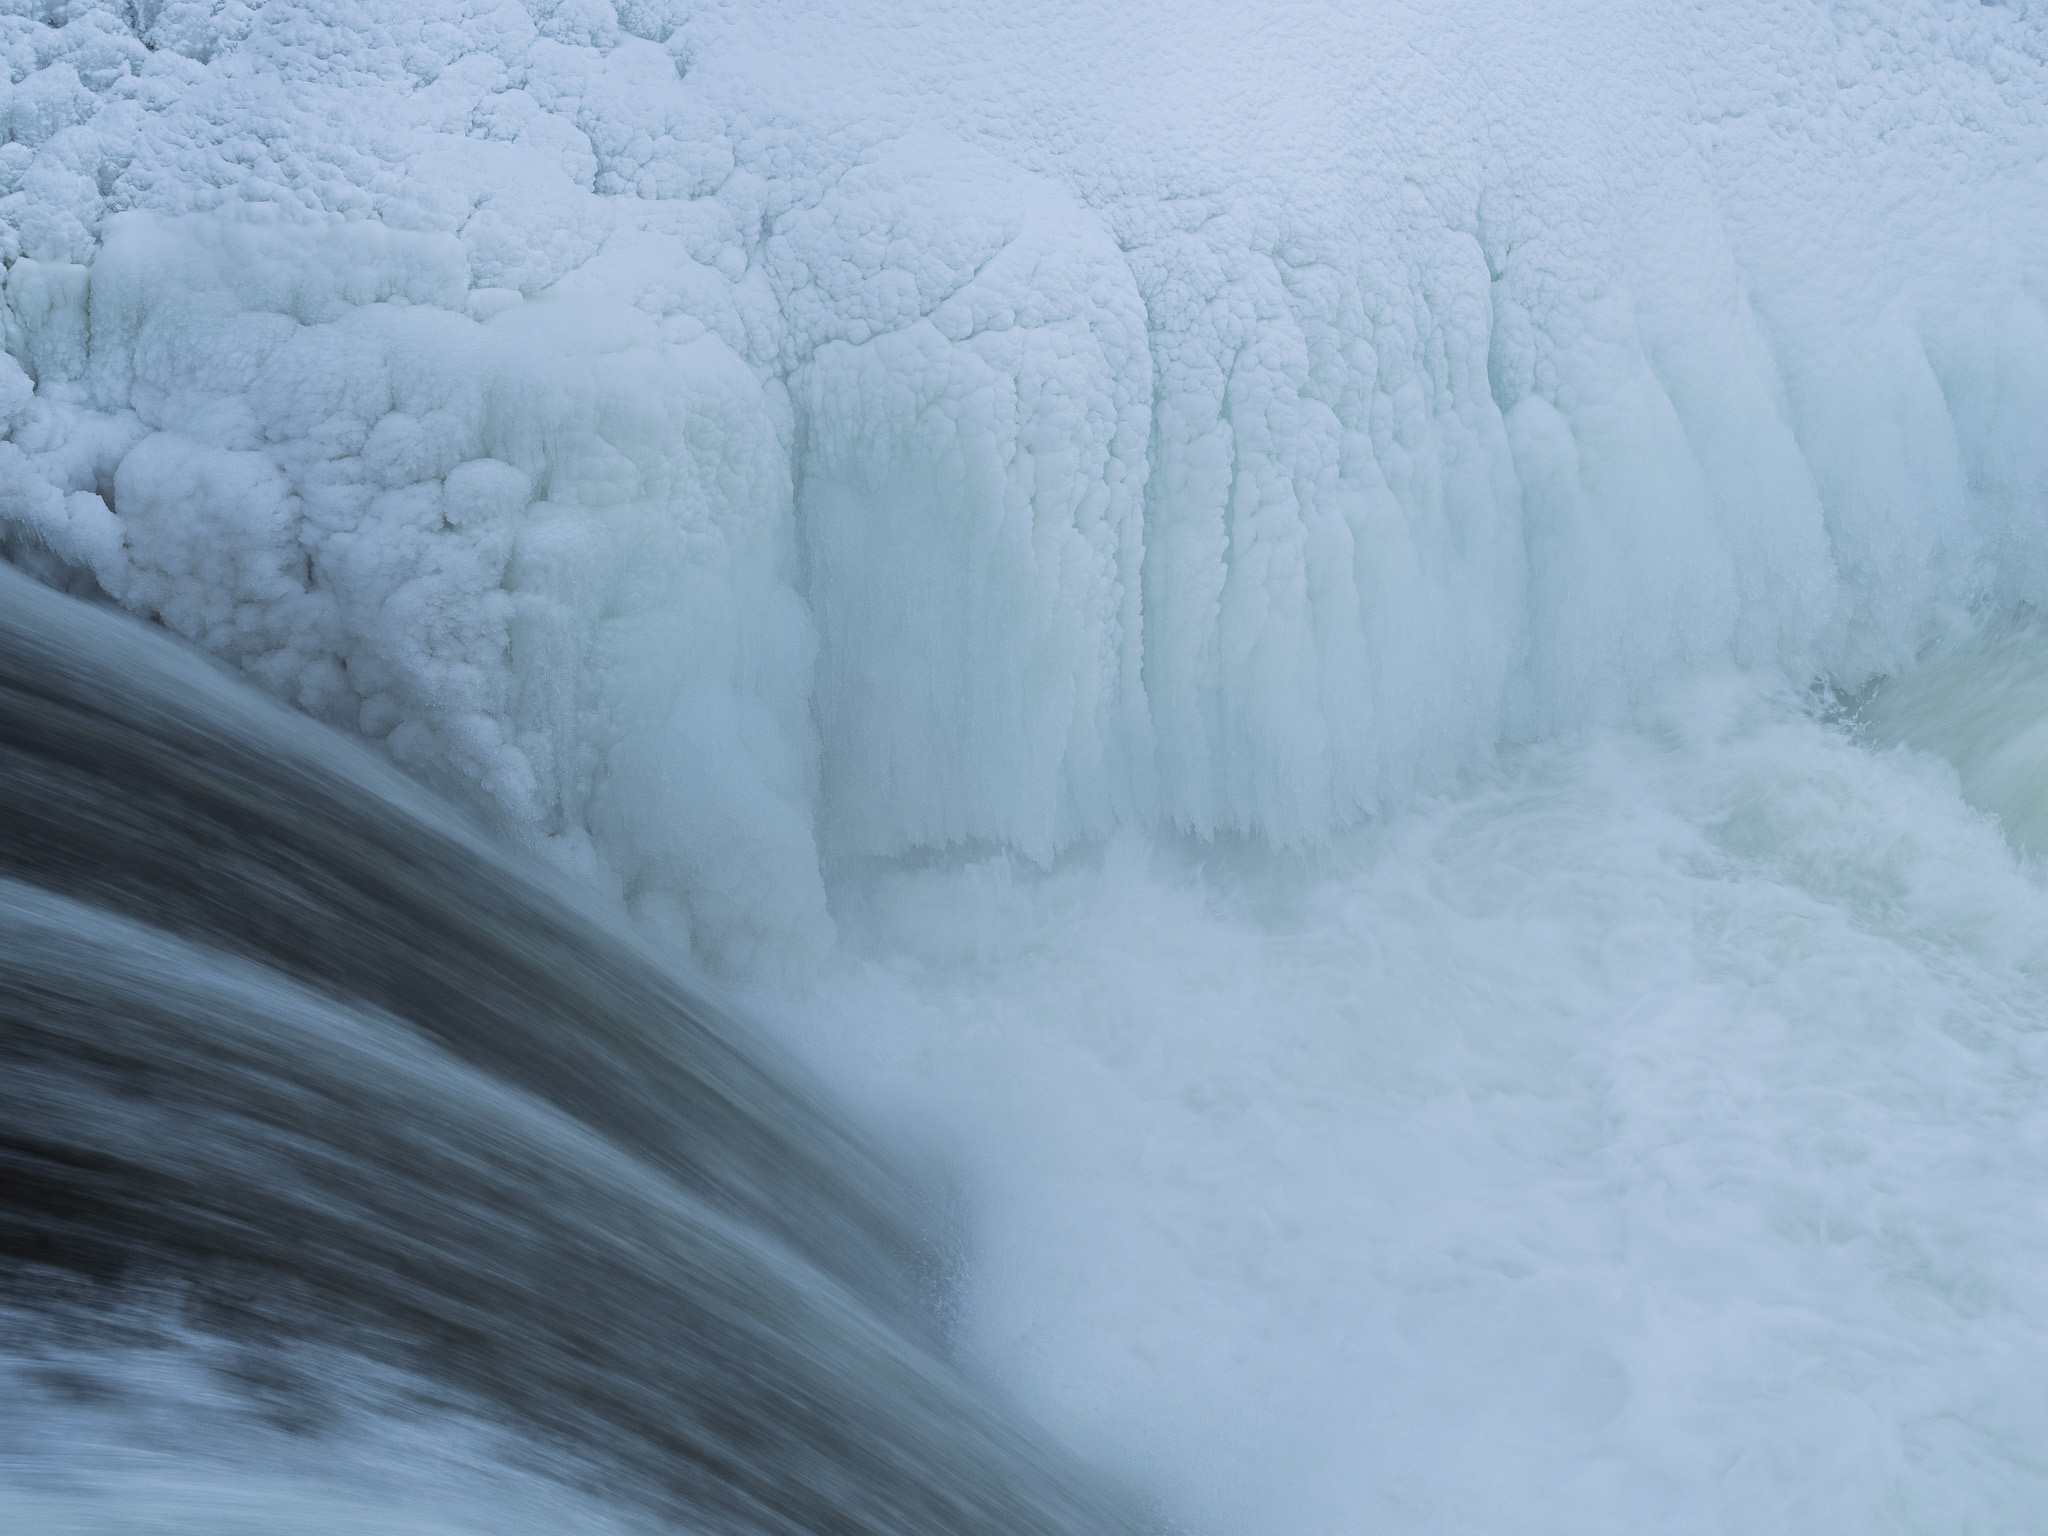
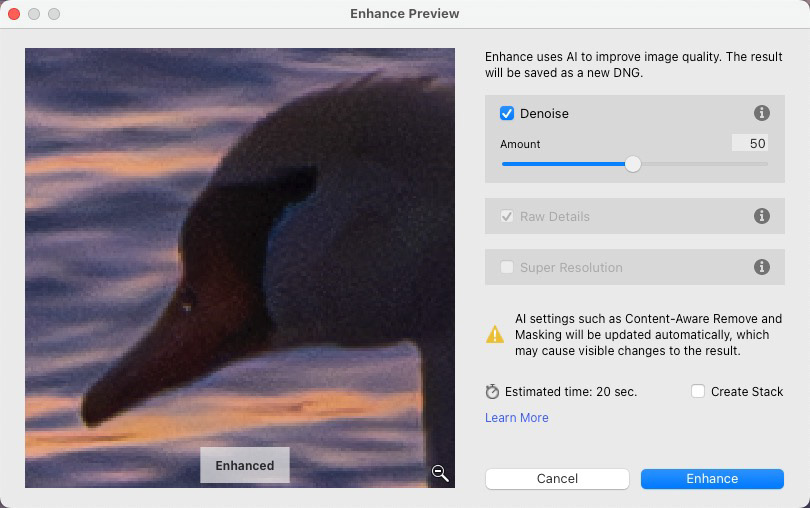
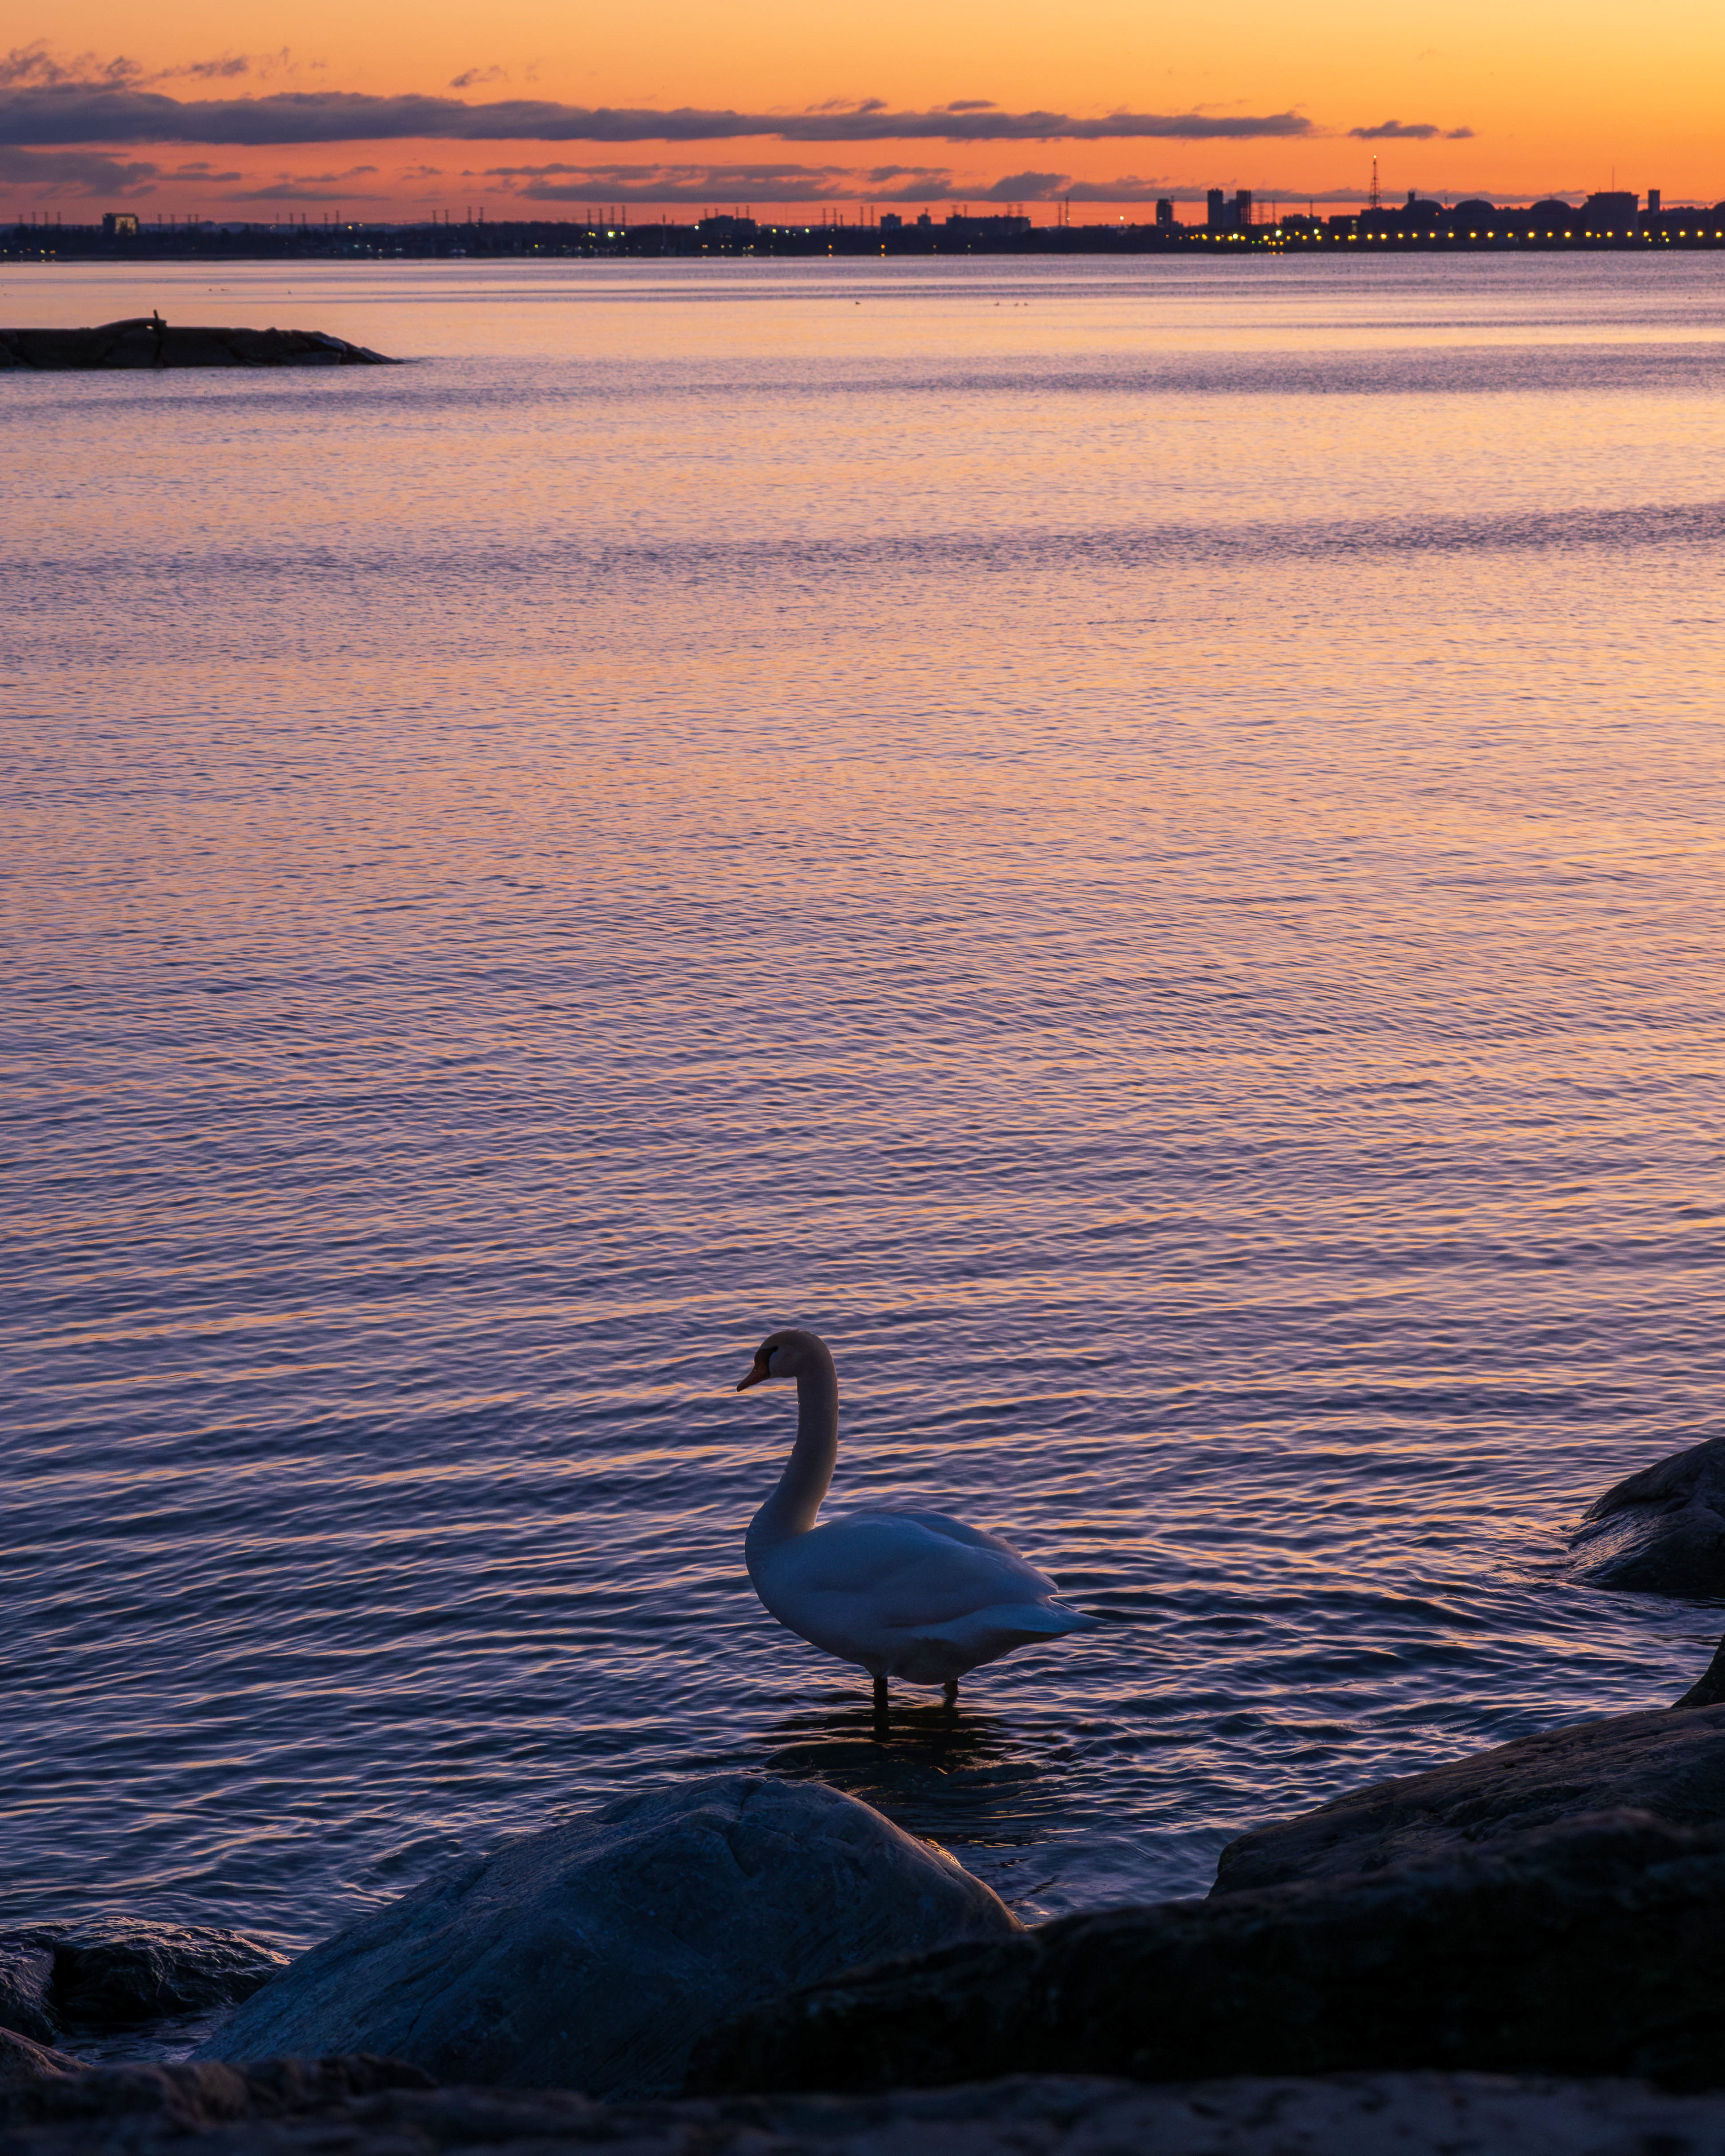
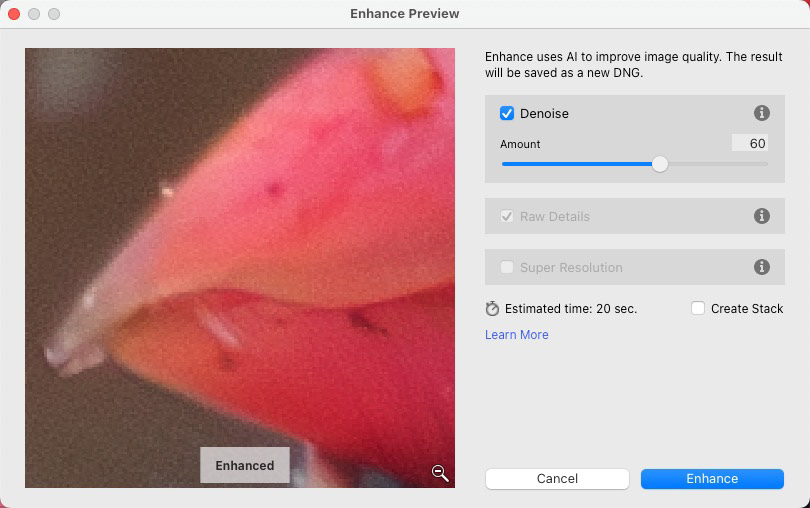
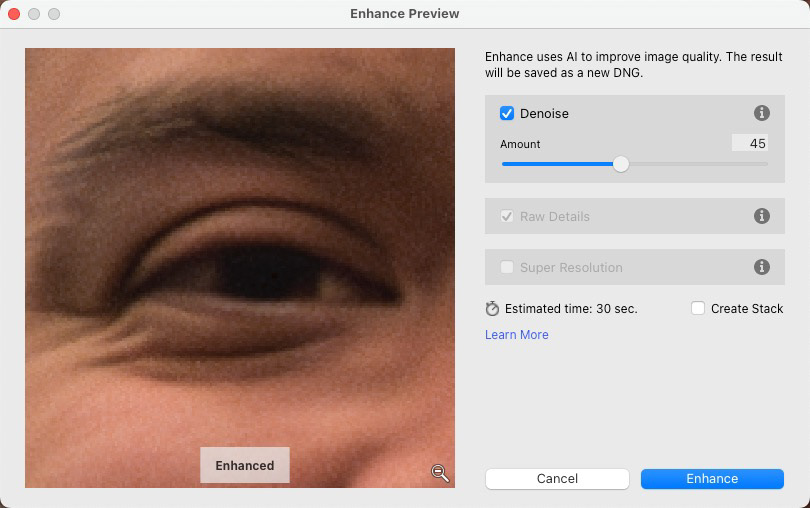
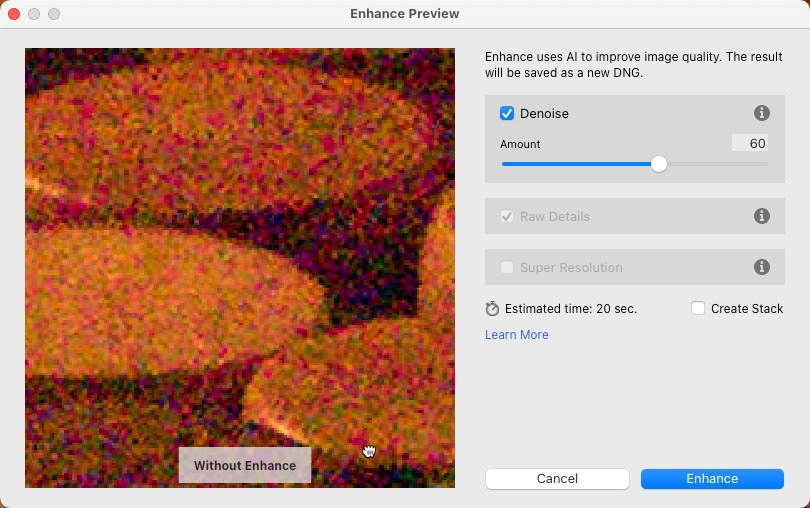
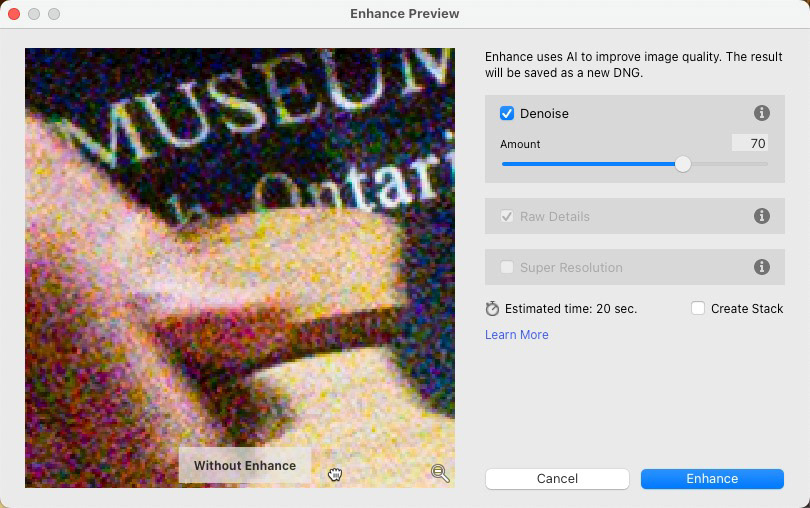
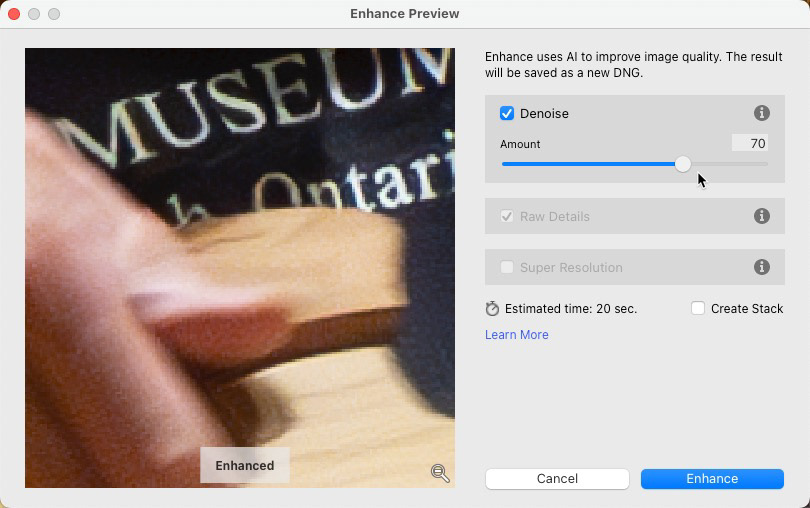
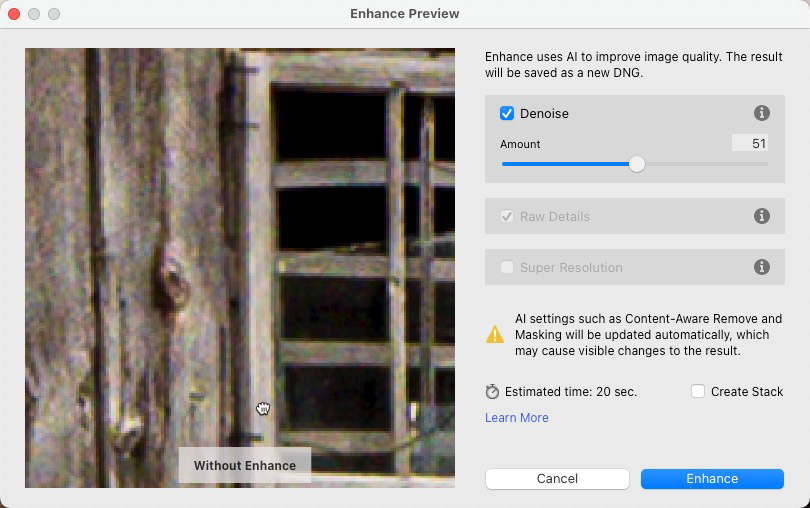
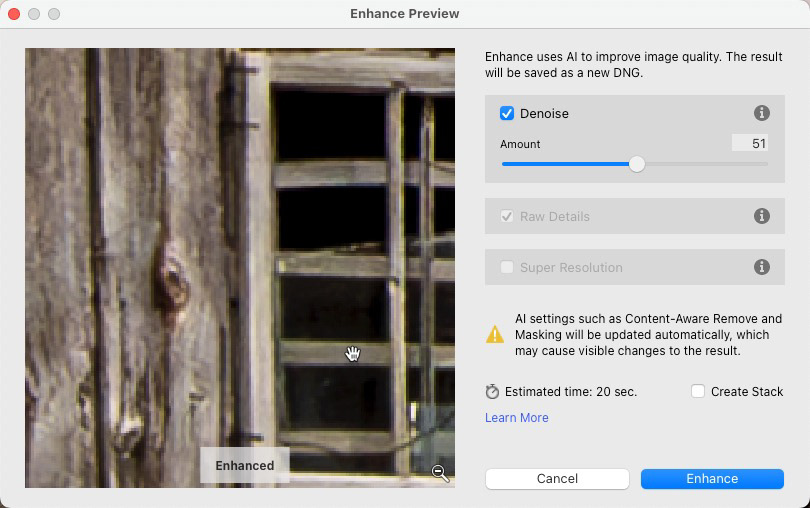
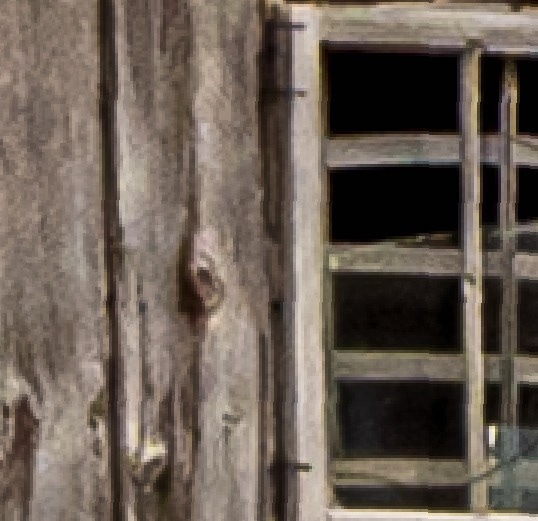
ISO 3200 - Approximately 245% magnification, before and after Denoise applied.
Denoise Examples
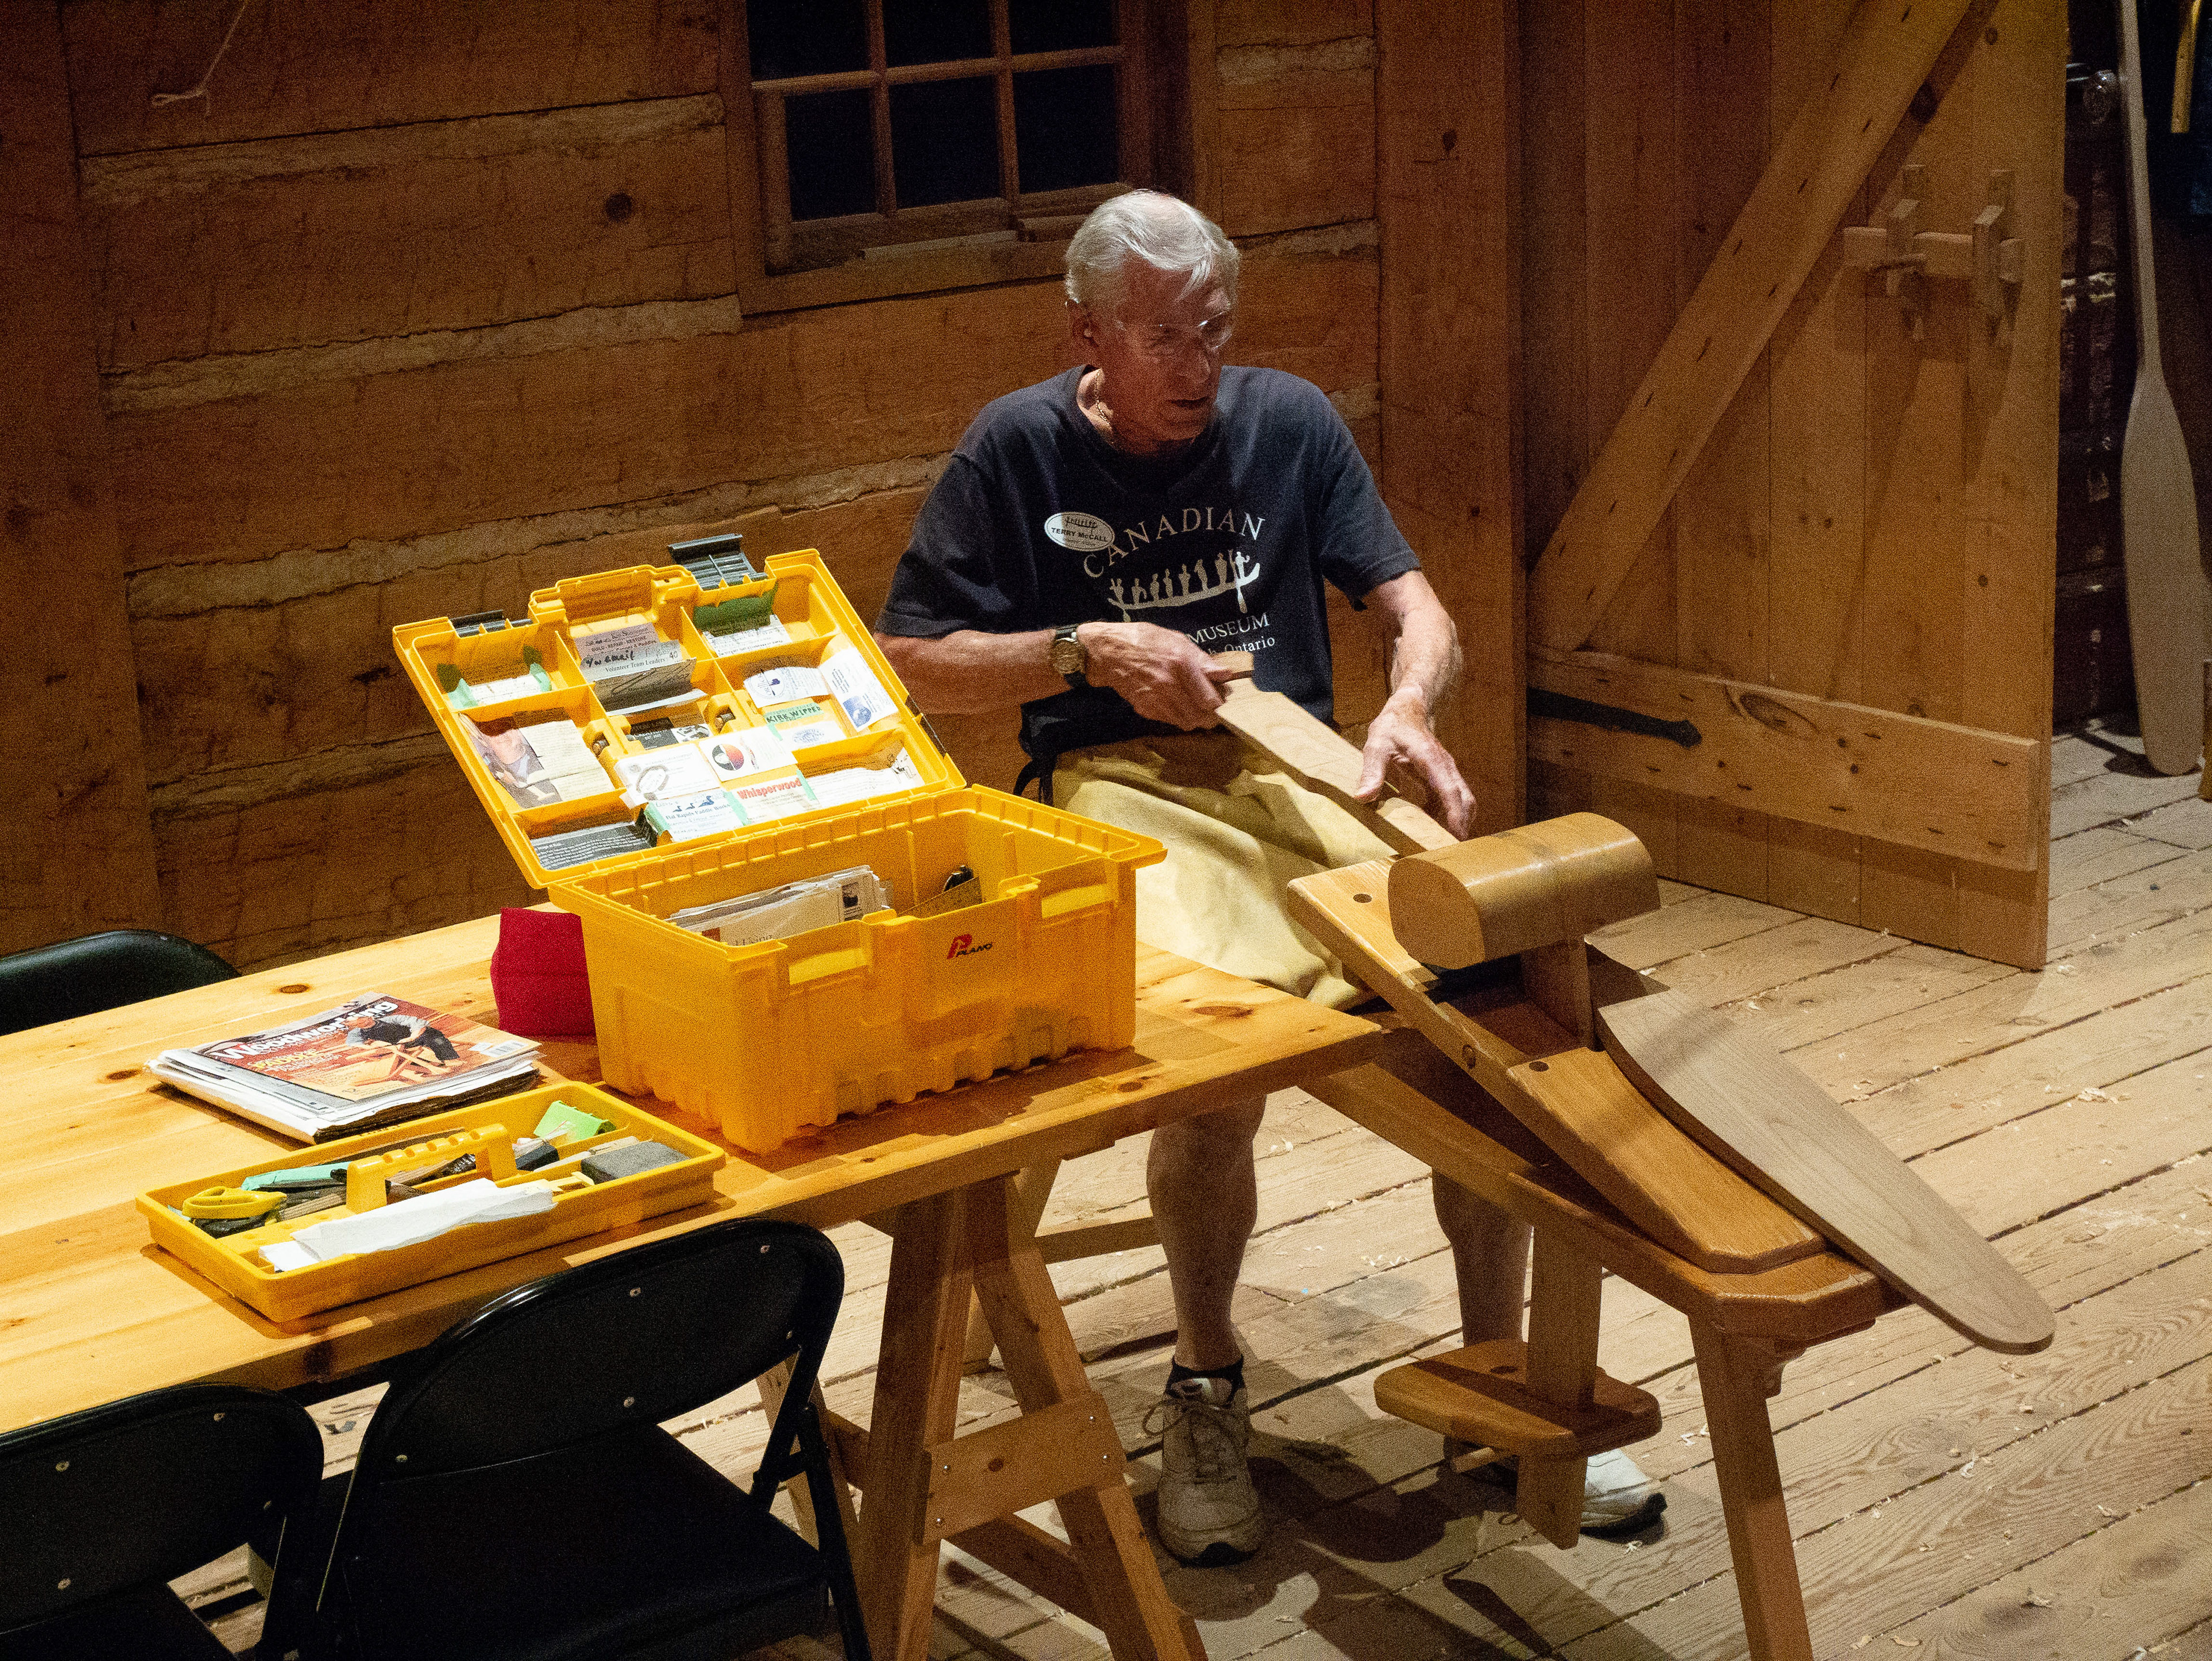
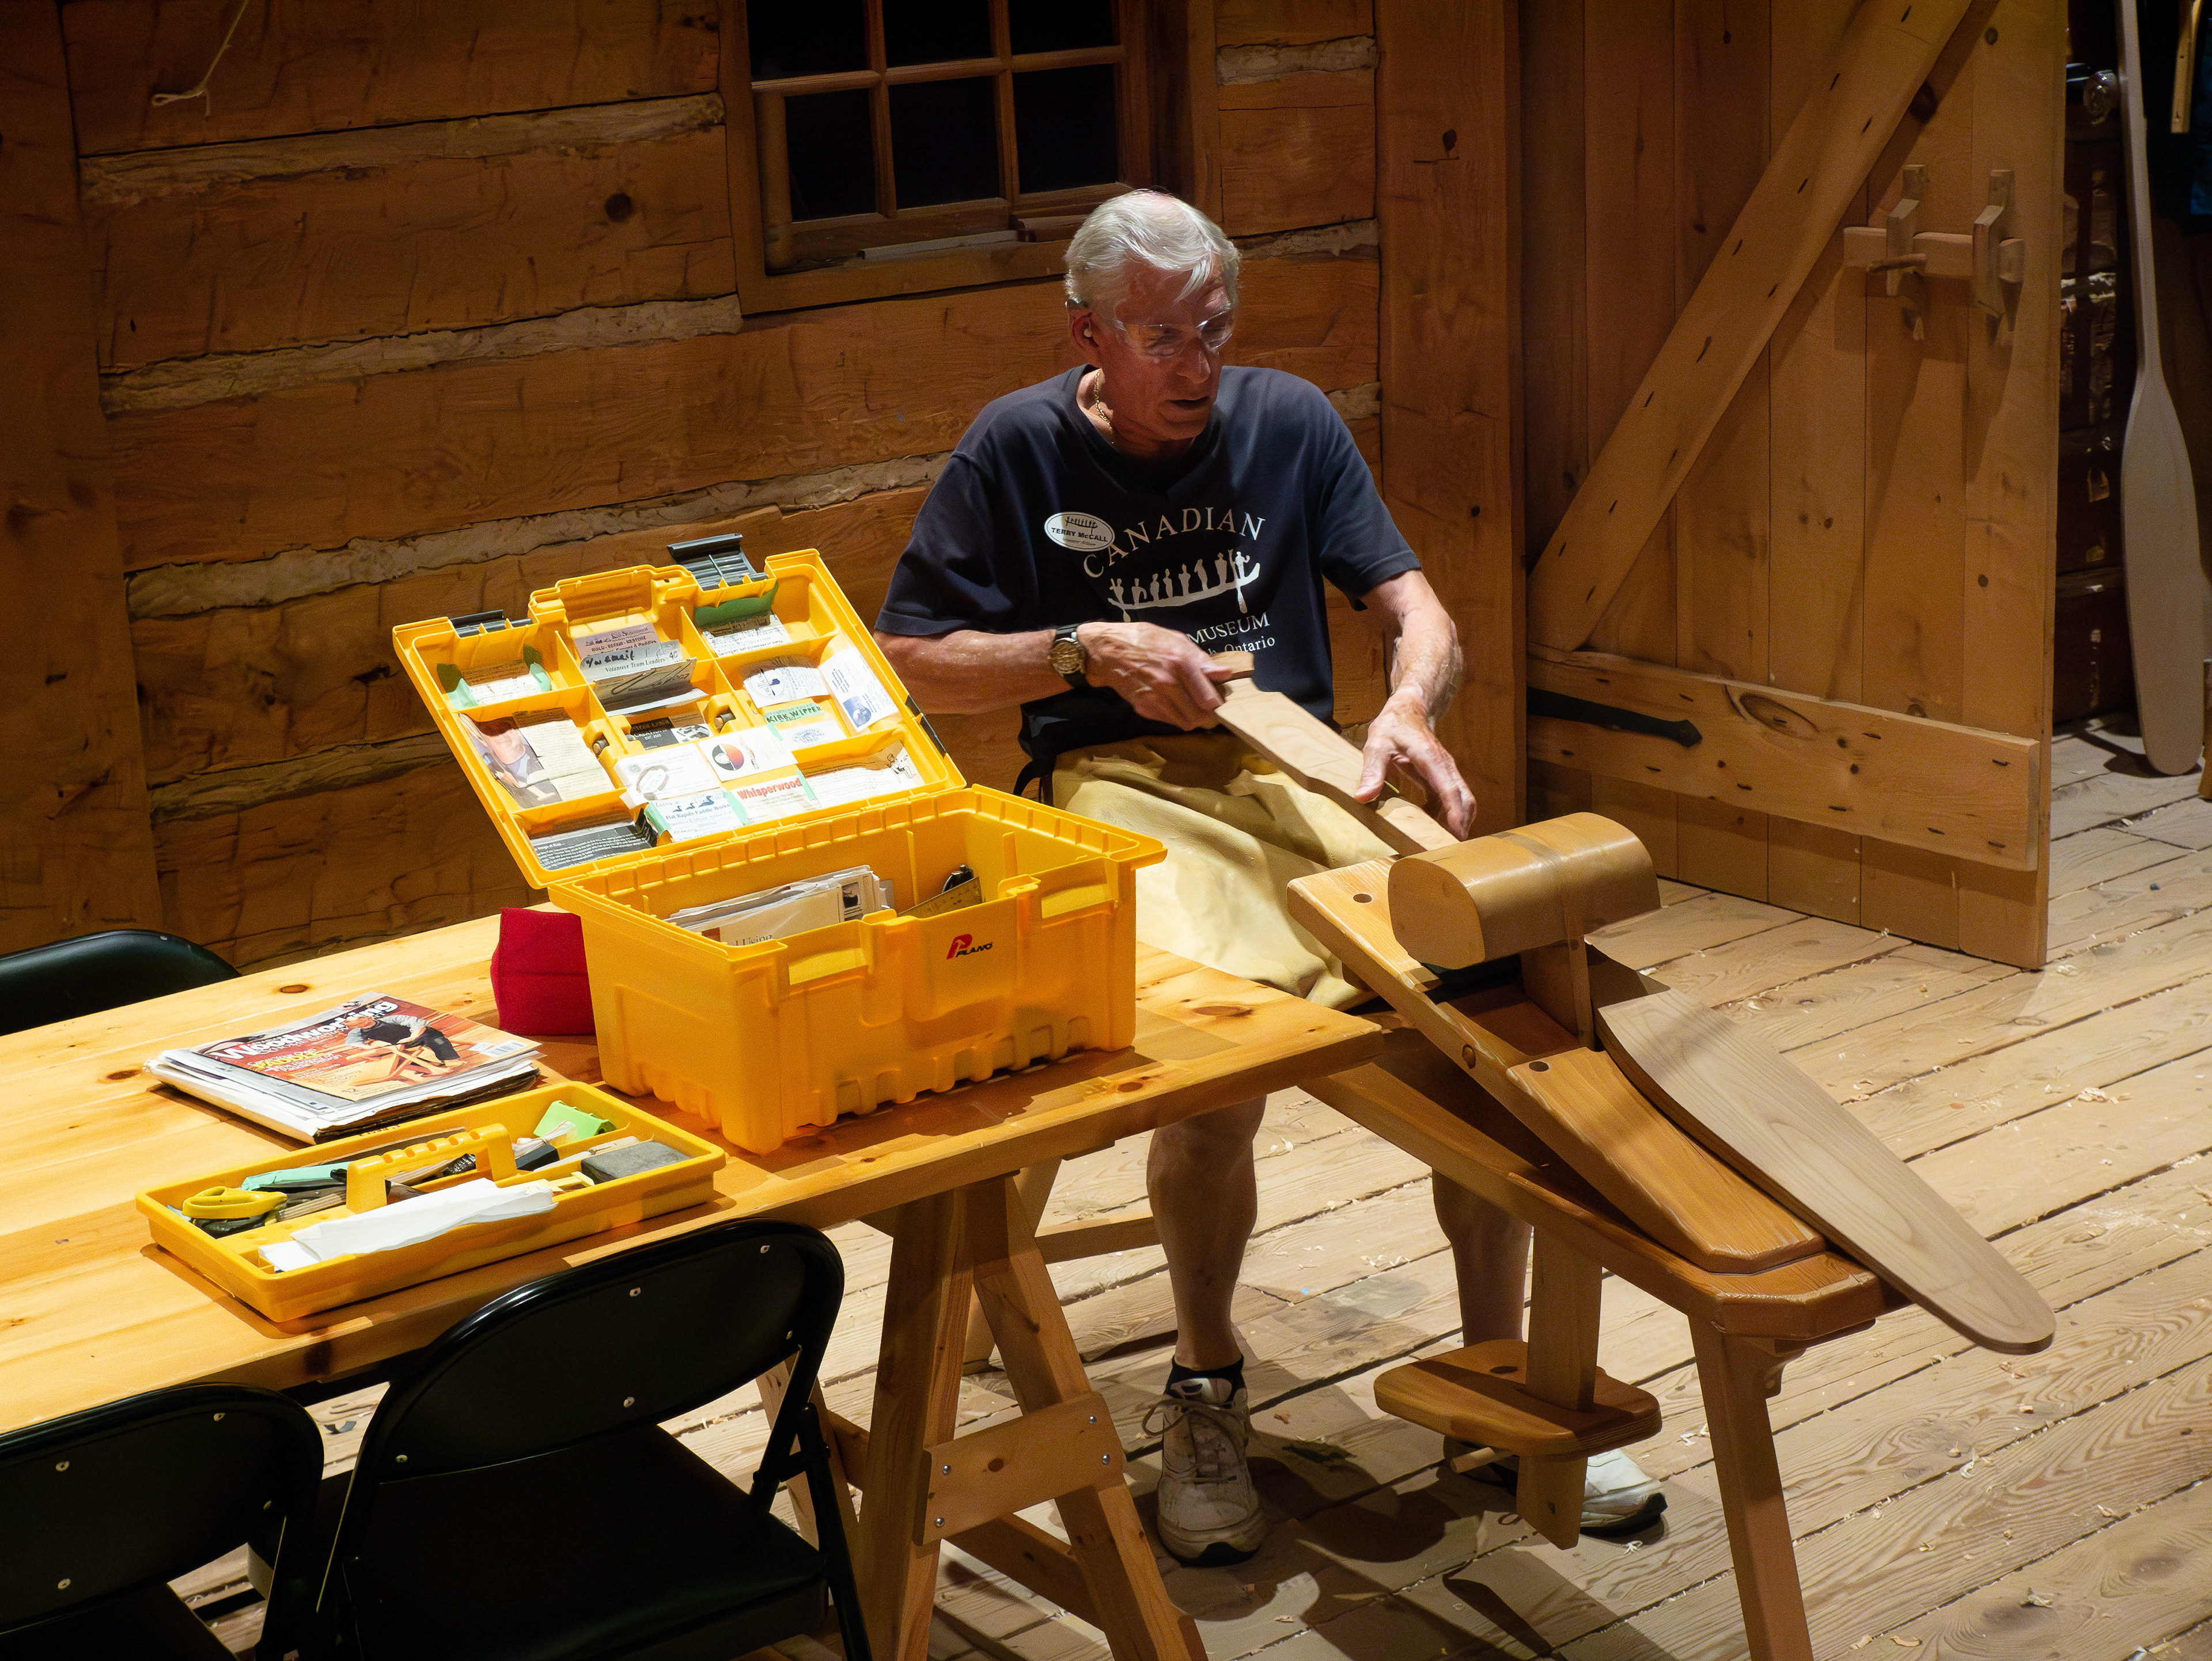
I searched through Lightroom for images ranging in ISO from 400 - 128000, captured specifically on my M4/3 sensor cameras; an older Lumix DMC GF7 and my current Olympus EM5 MARK III. I was fairly selective in my test choices but at the same time I think I chose a good range. In each grid below, I'll show the before/after using the Lightroom Classic UI and also share the images with - and without - AI Denoise applied. I think the images will pretty much speak for themselves.
Don't forget, you can click on the images below to see them enlarged.


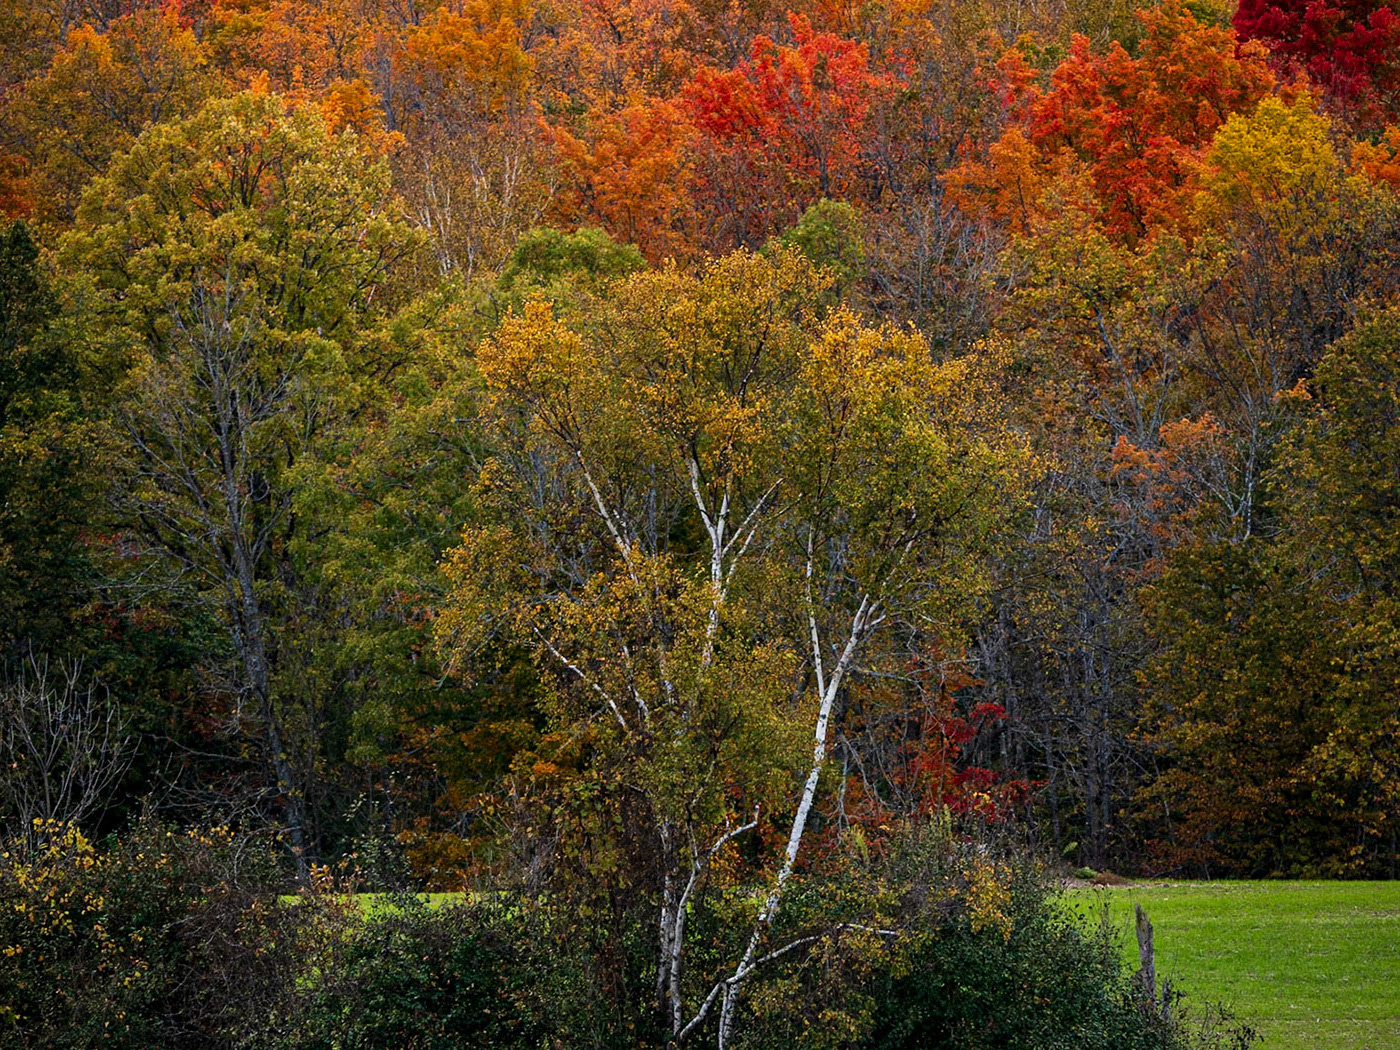
ISO 400

ISO 800
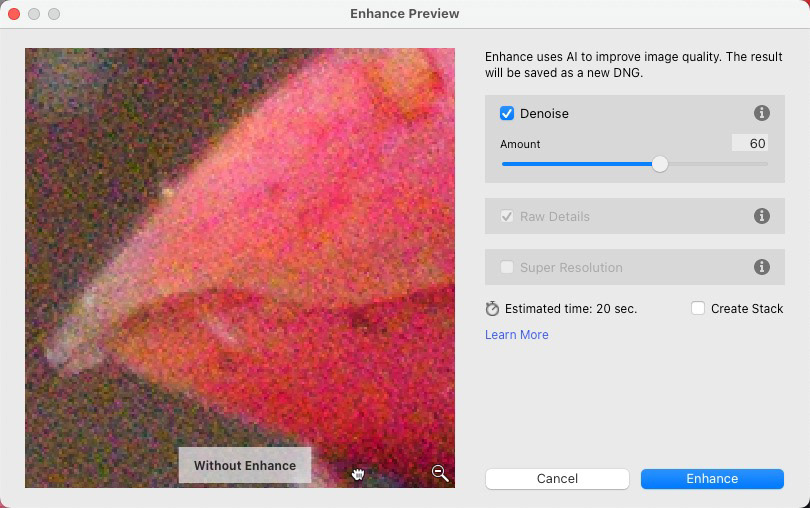
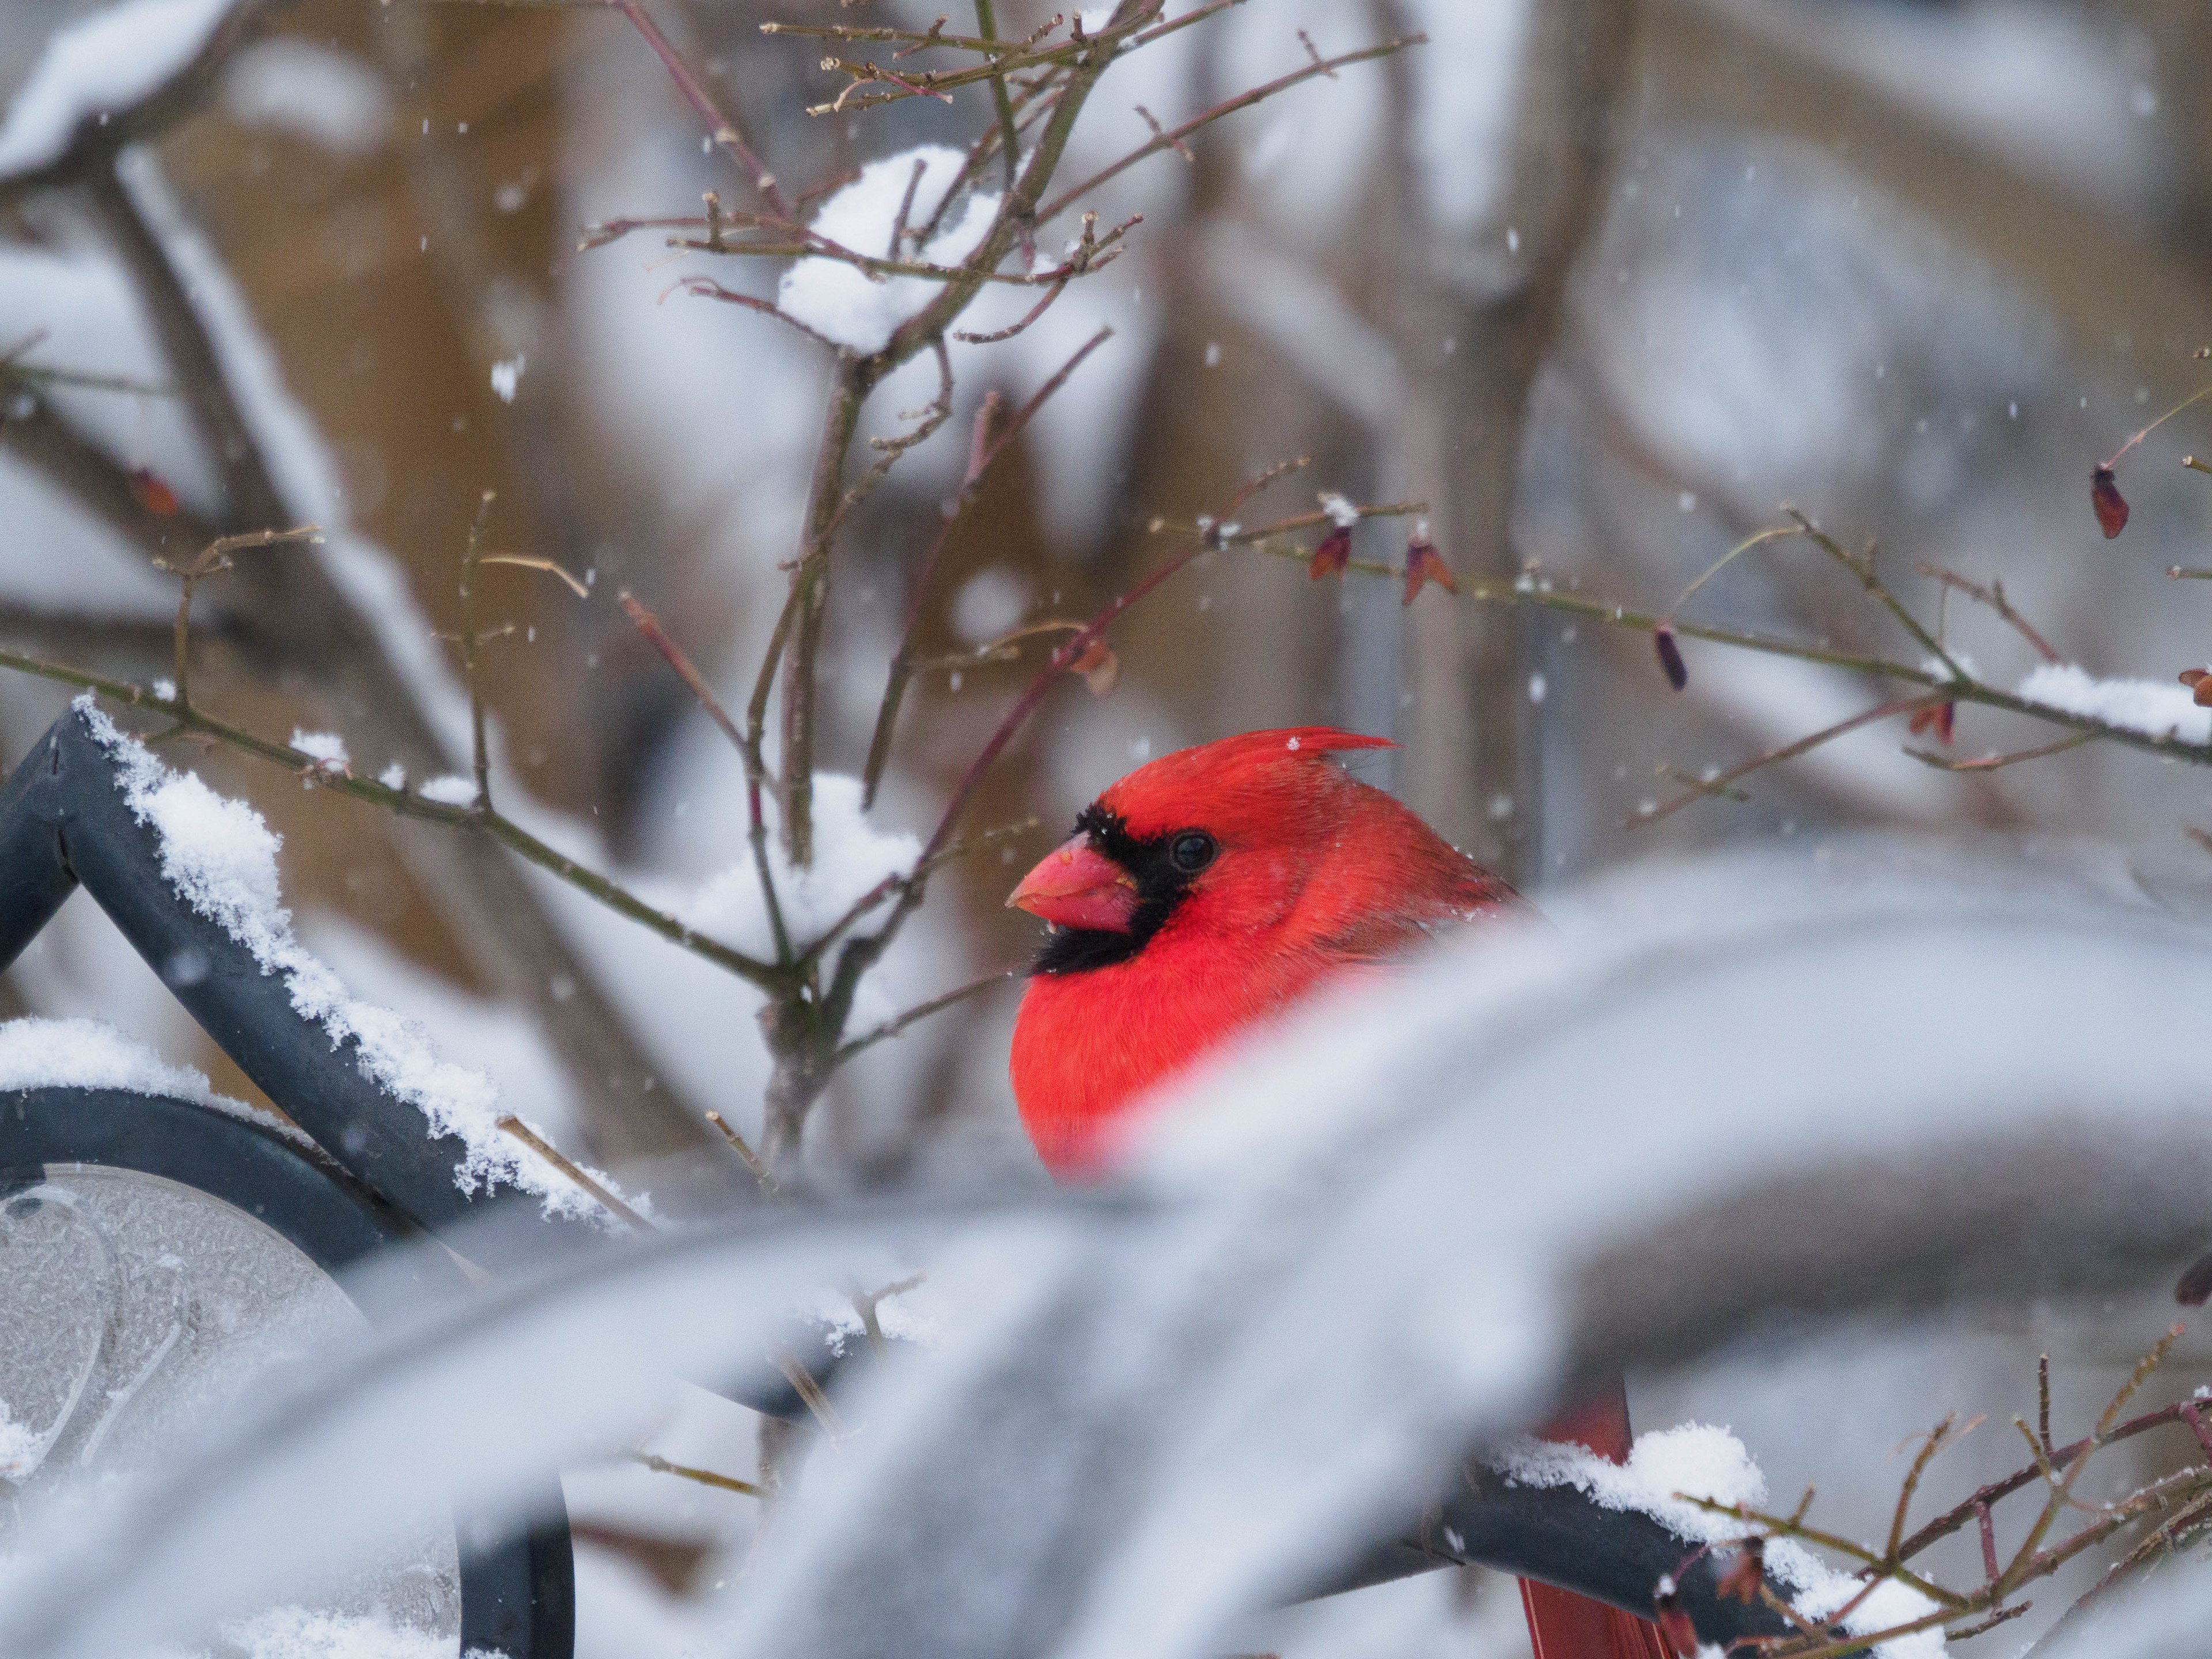

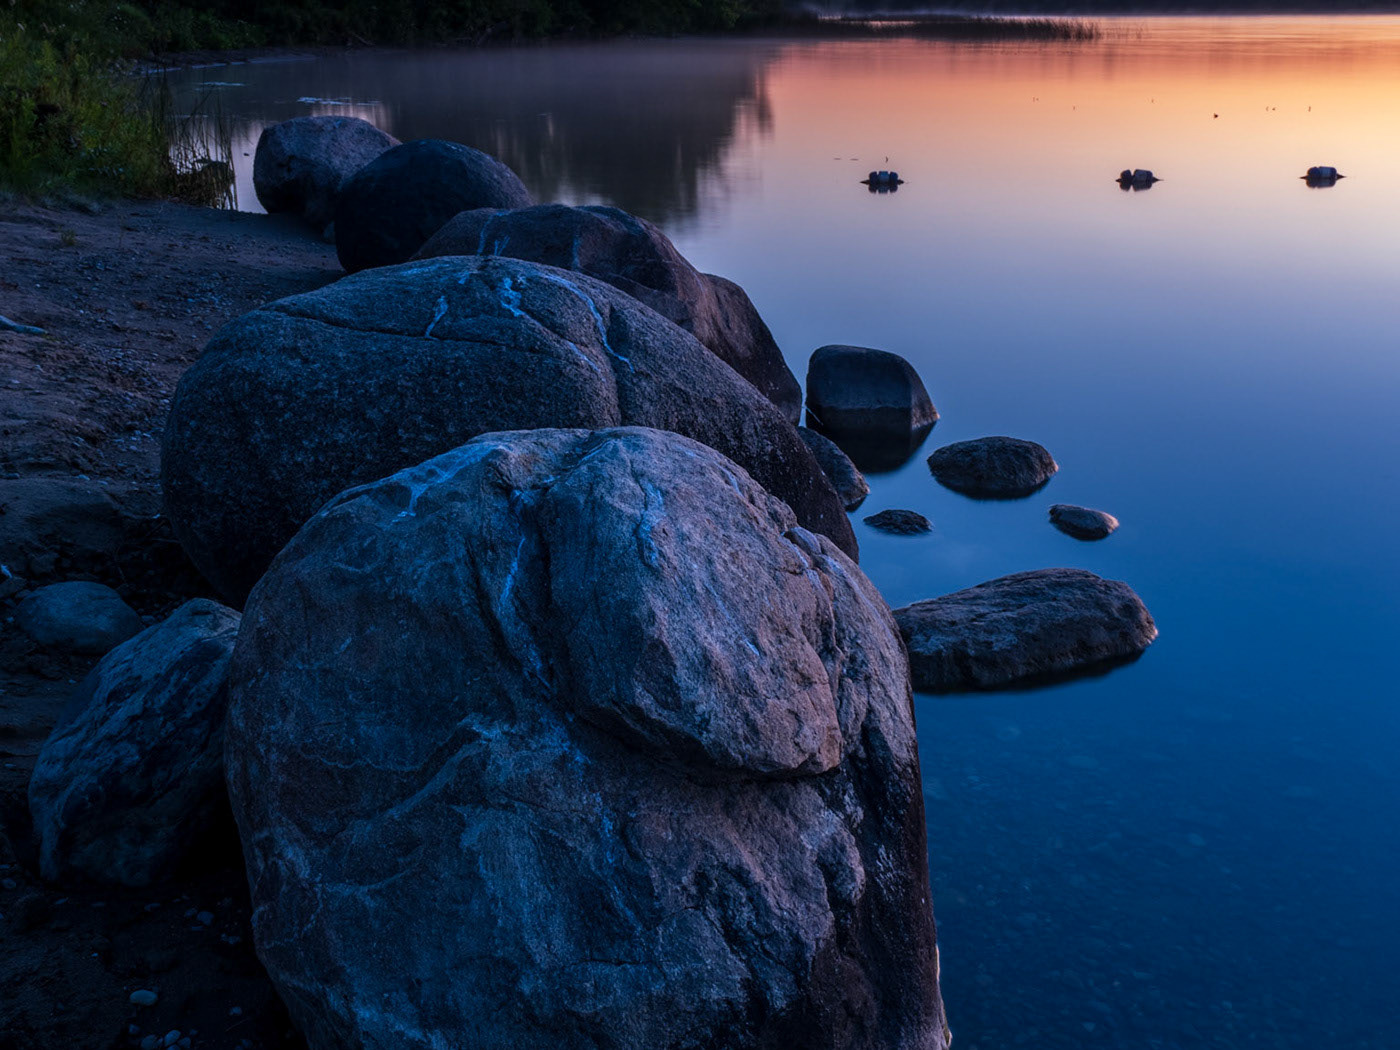
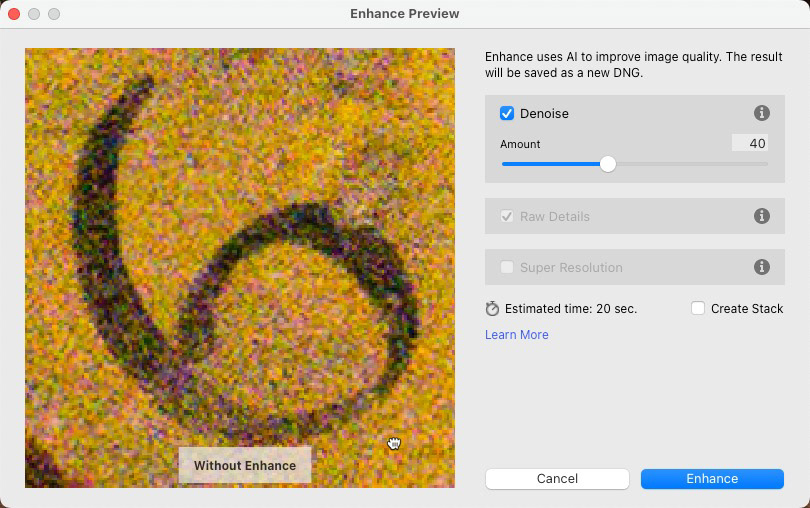
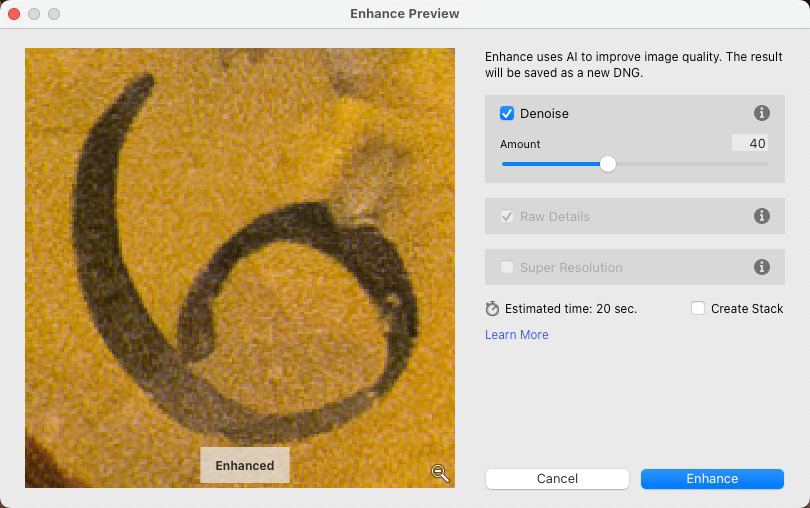
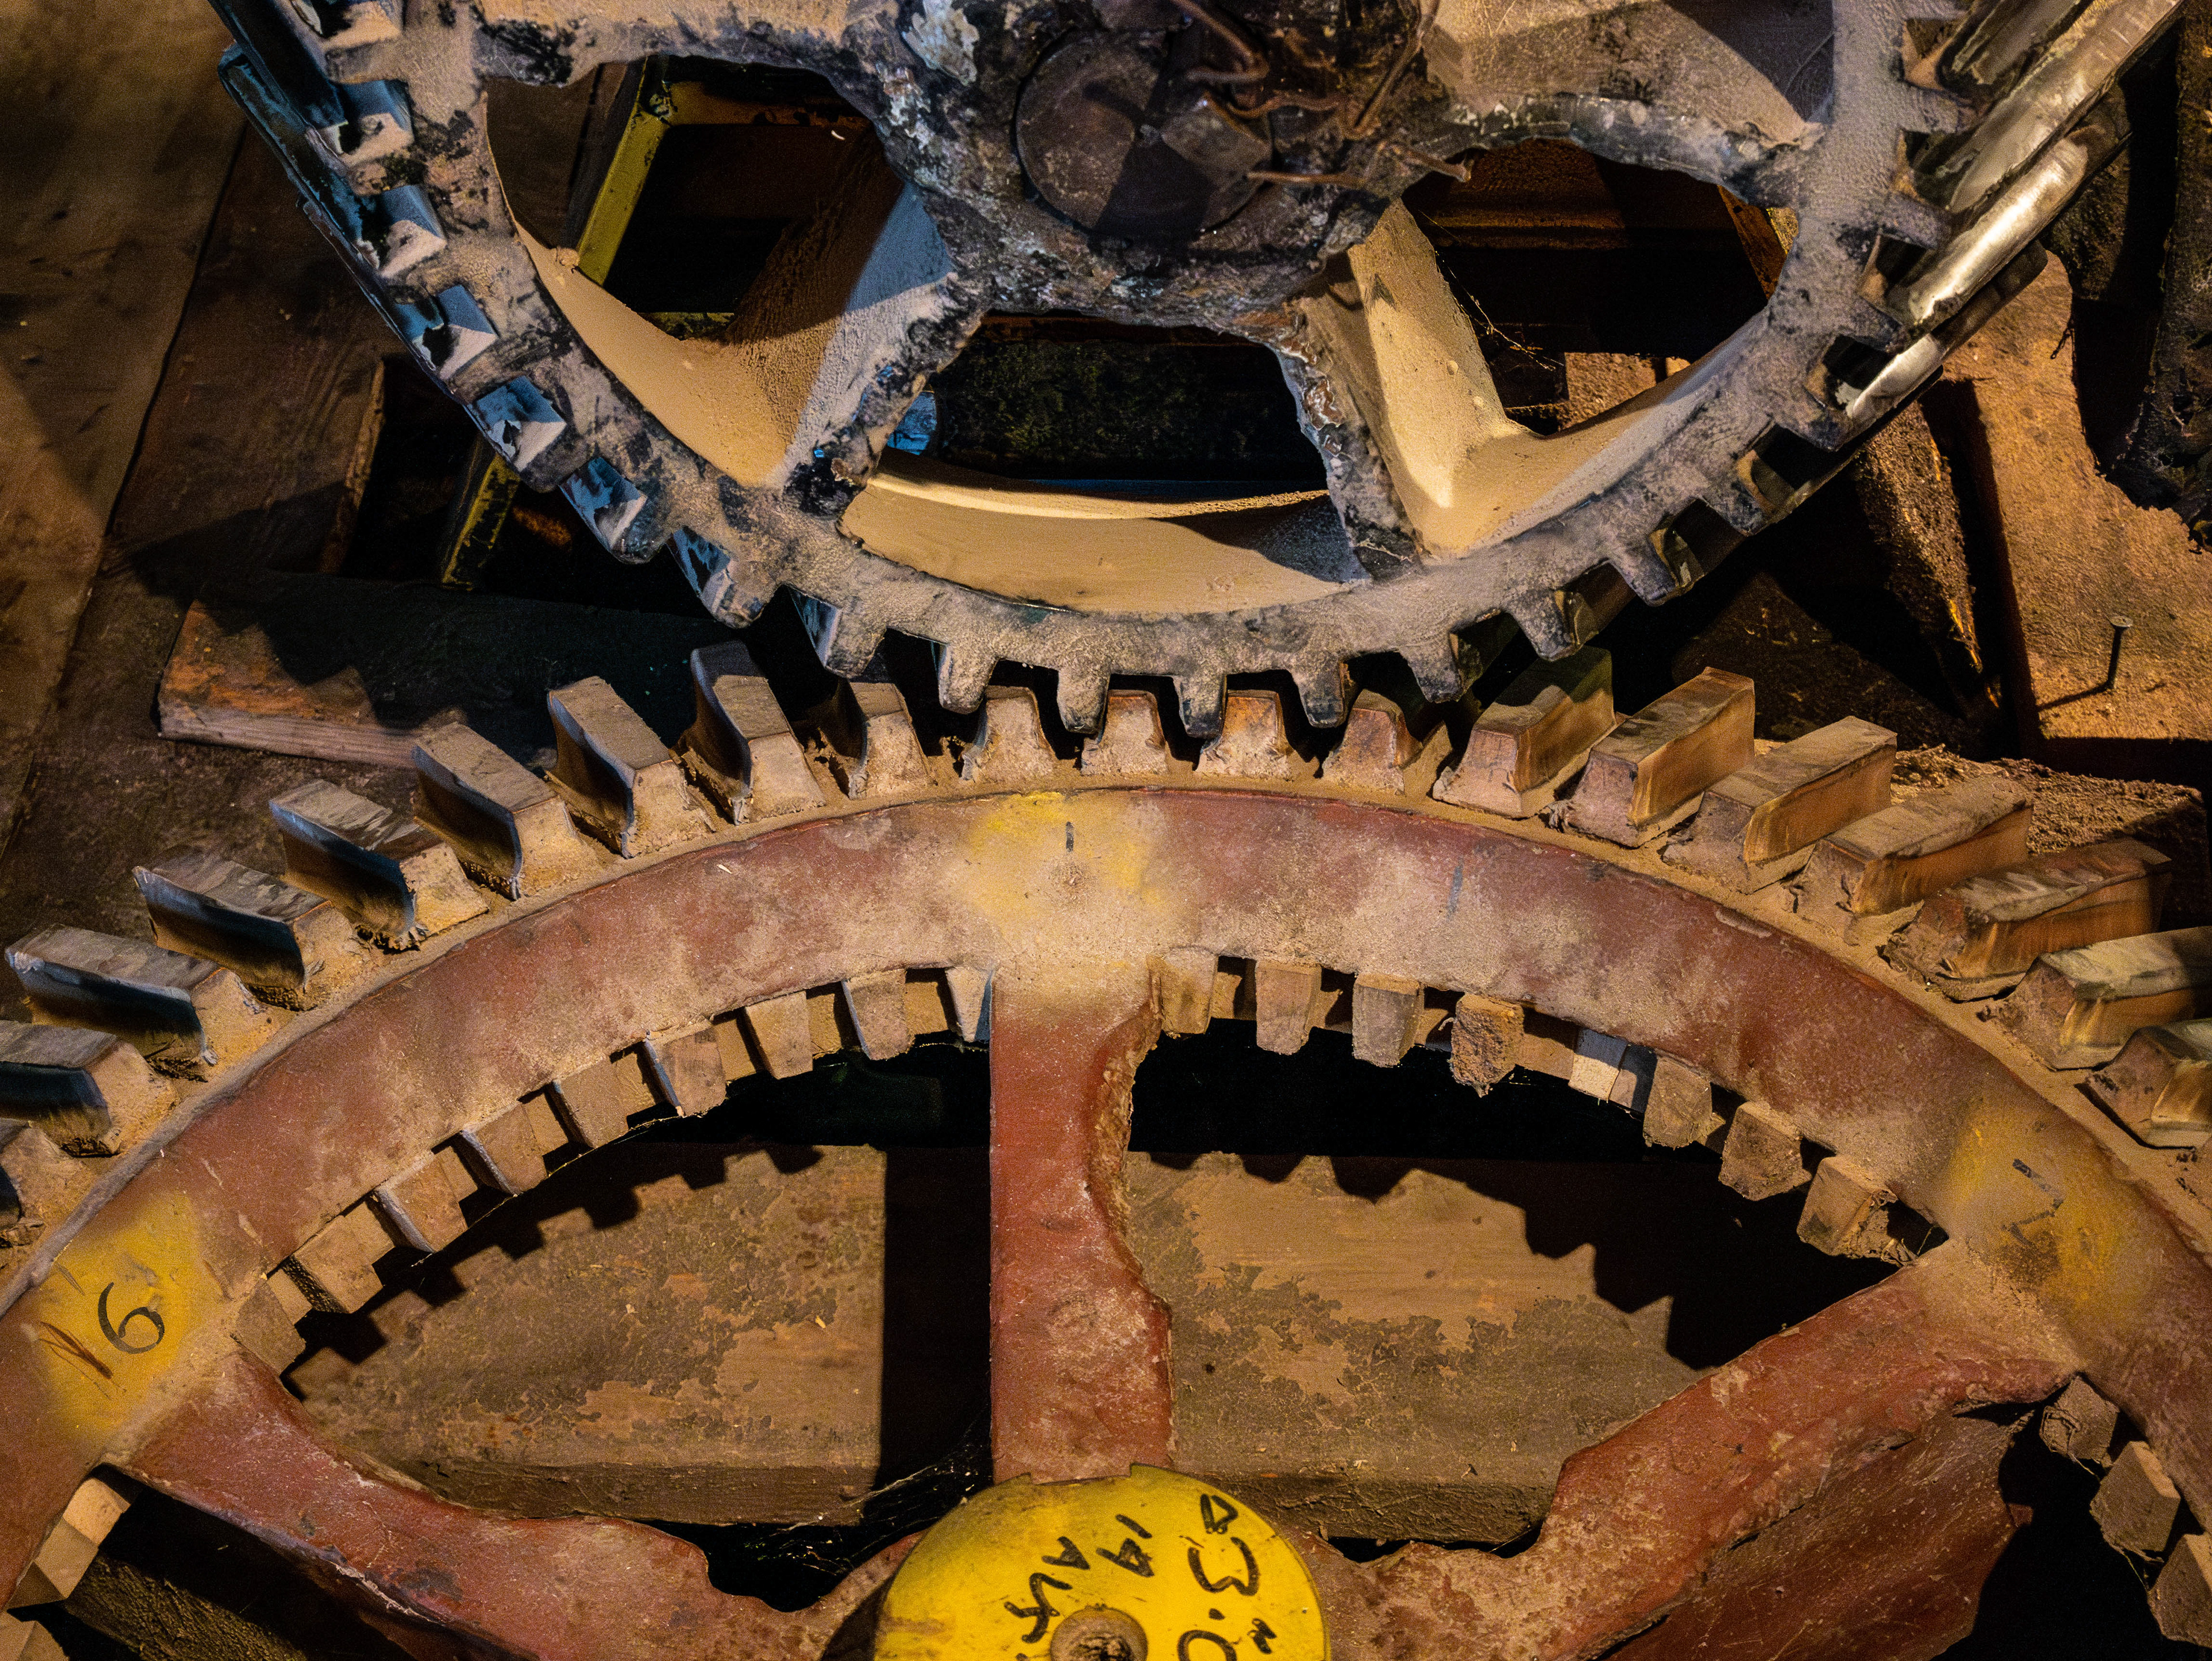
ISO 3200

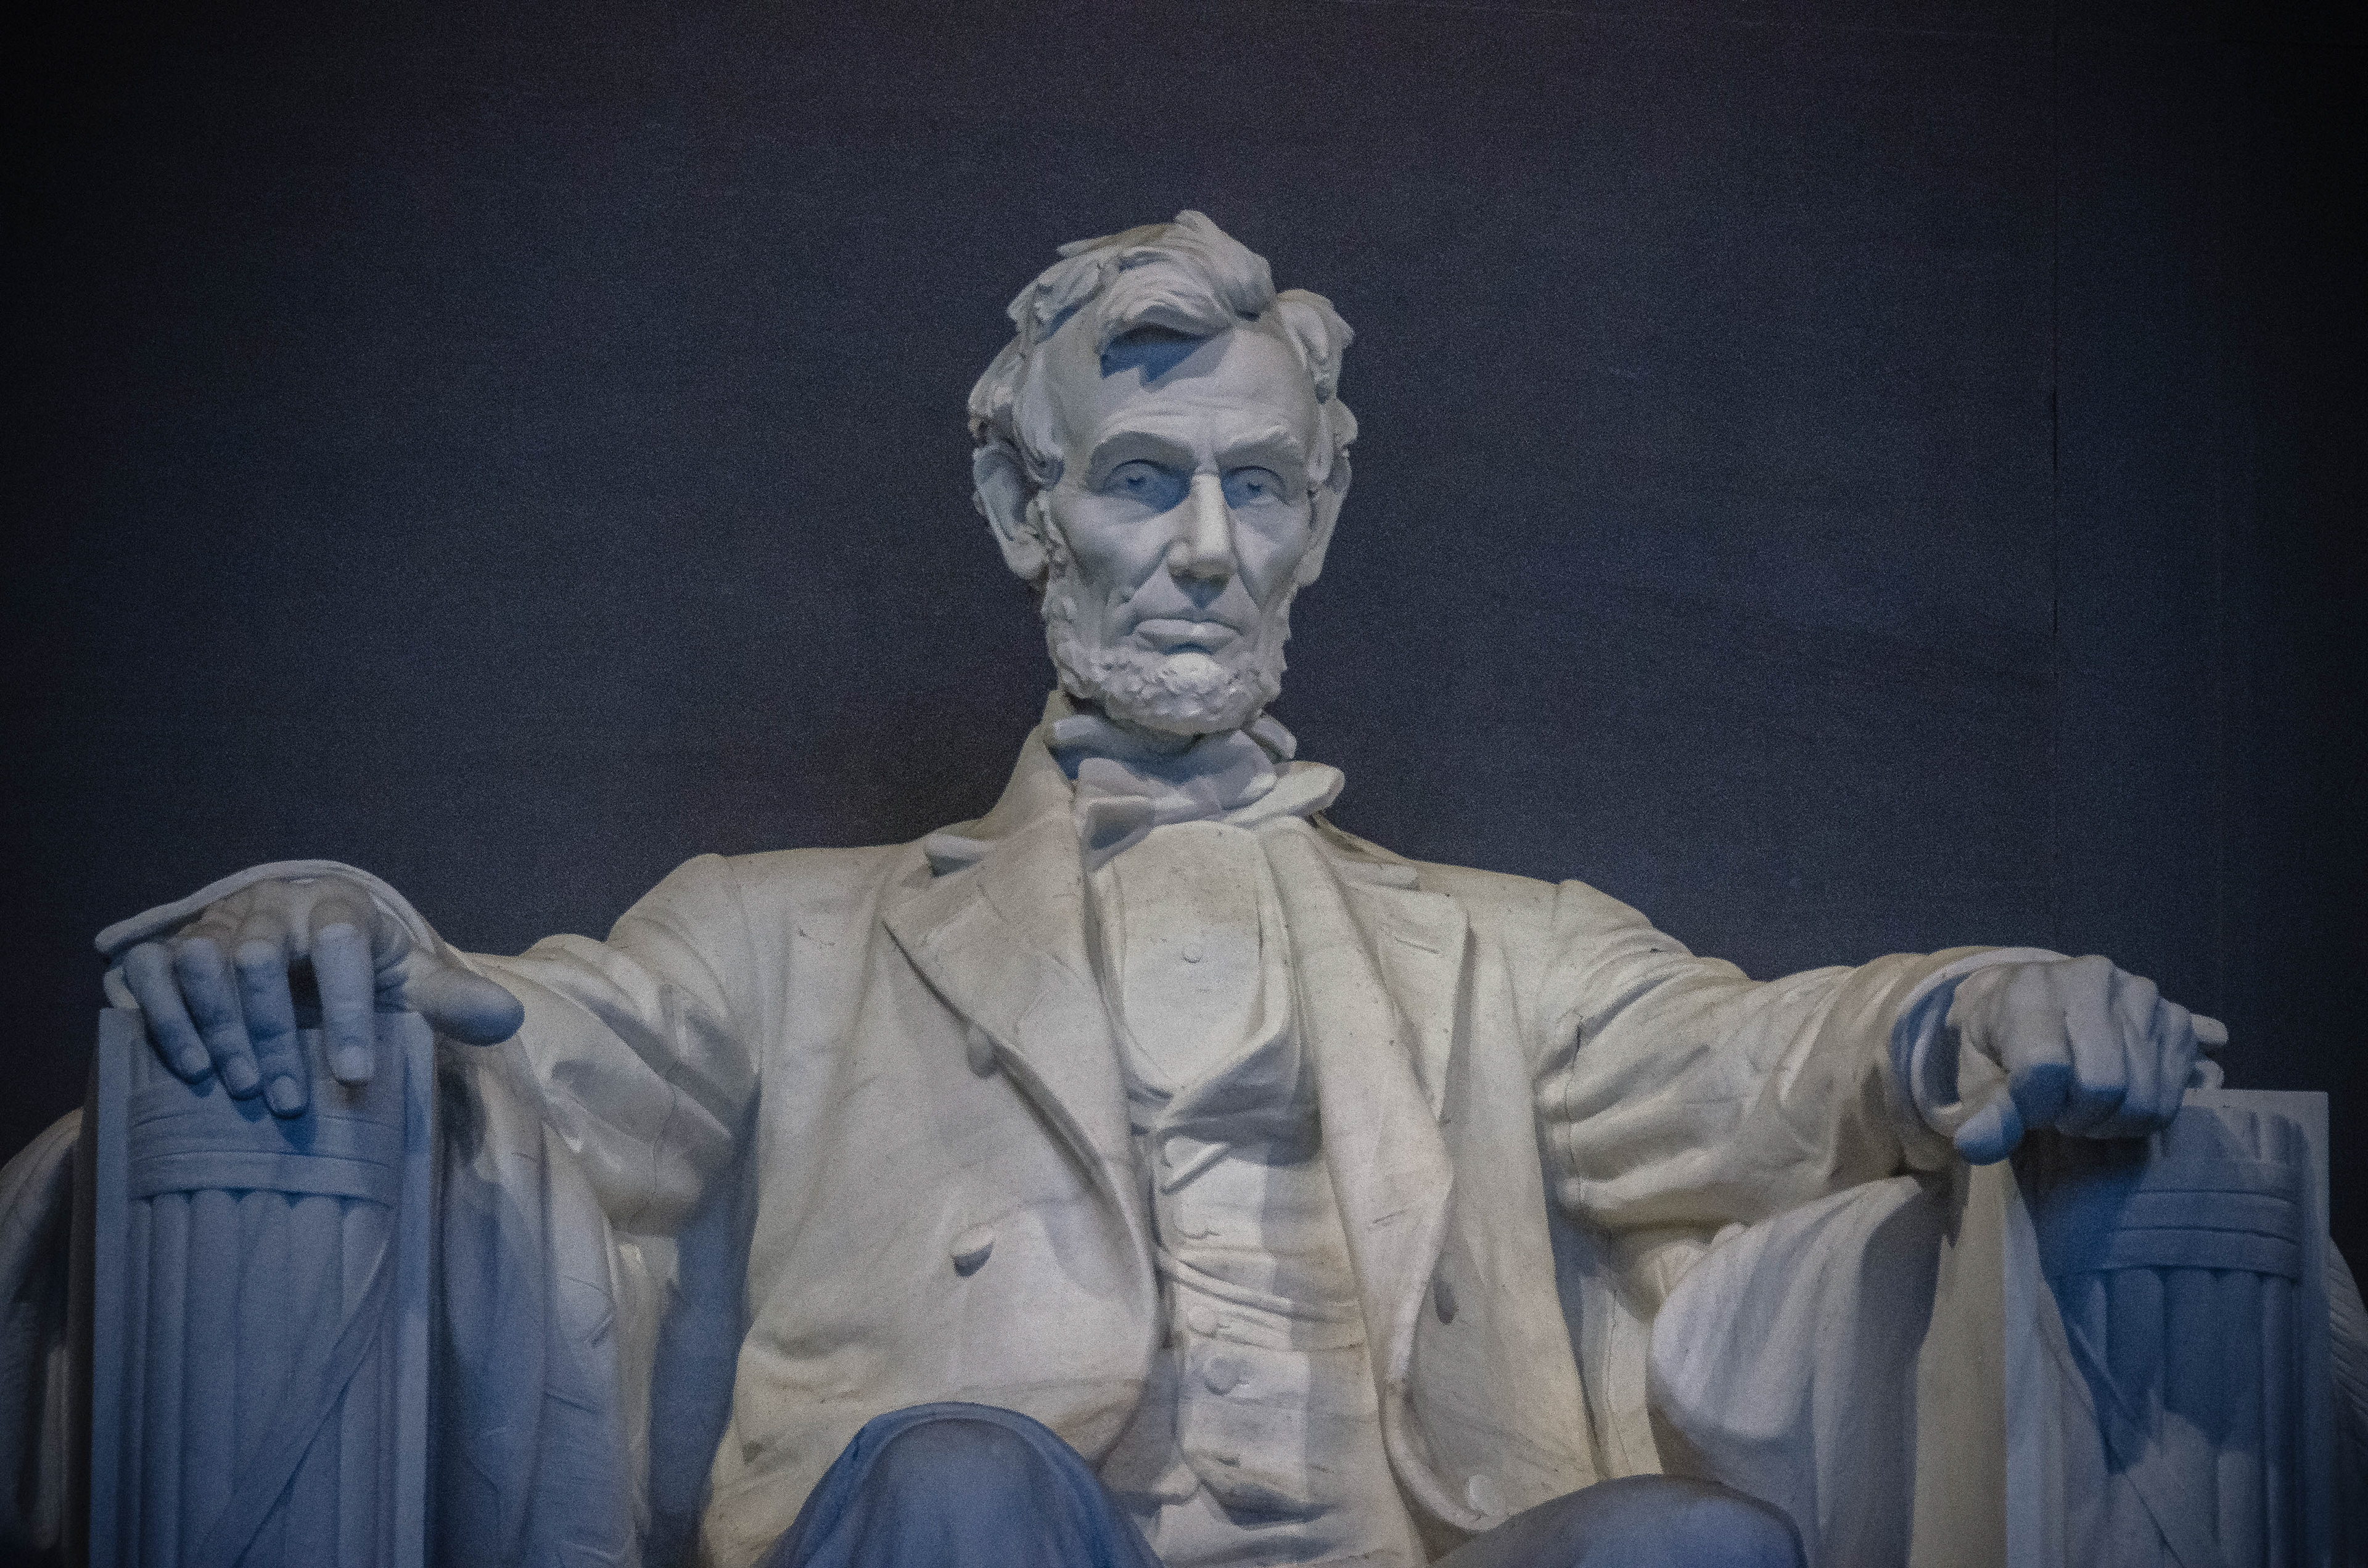
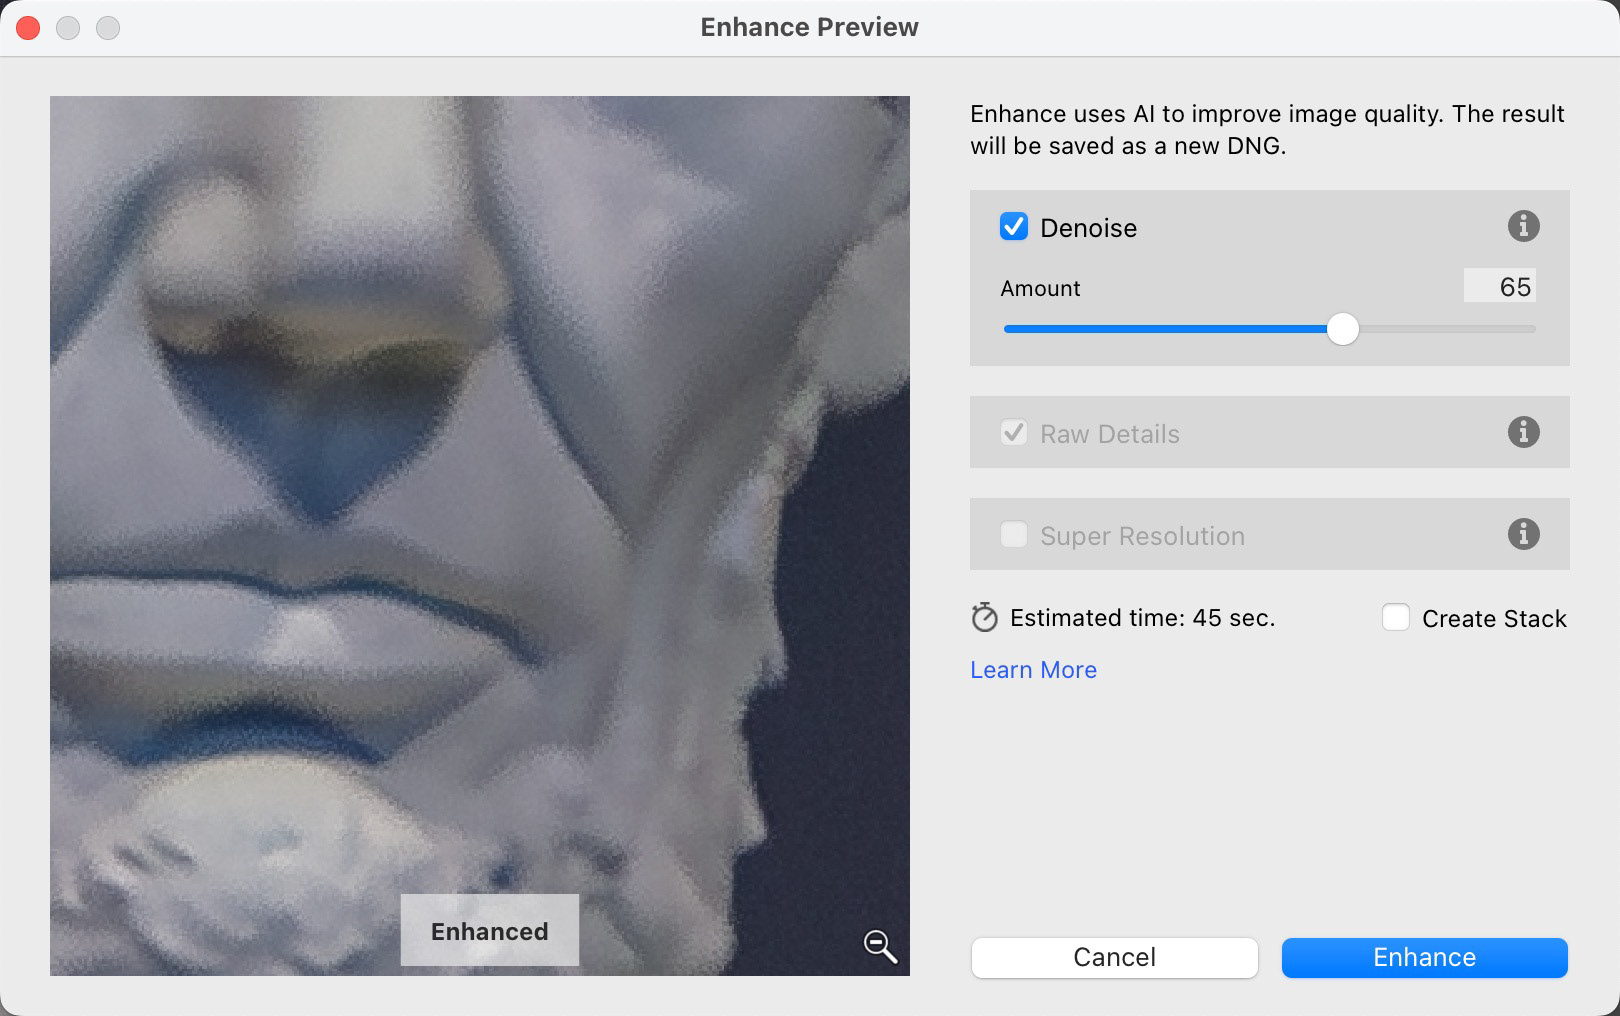
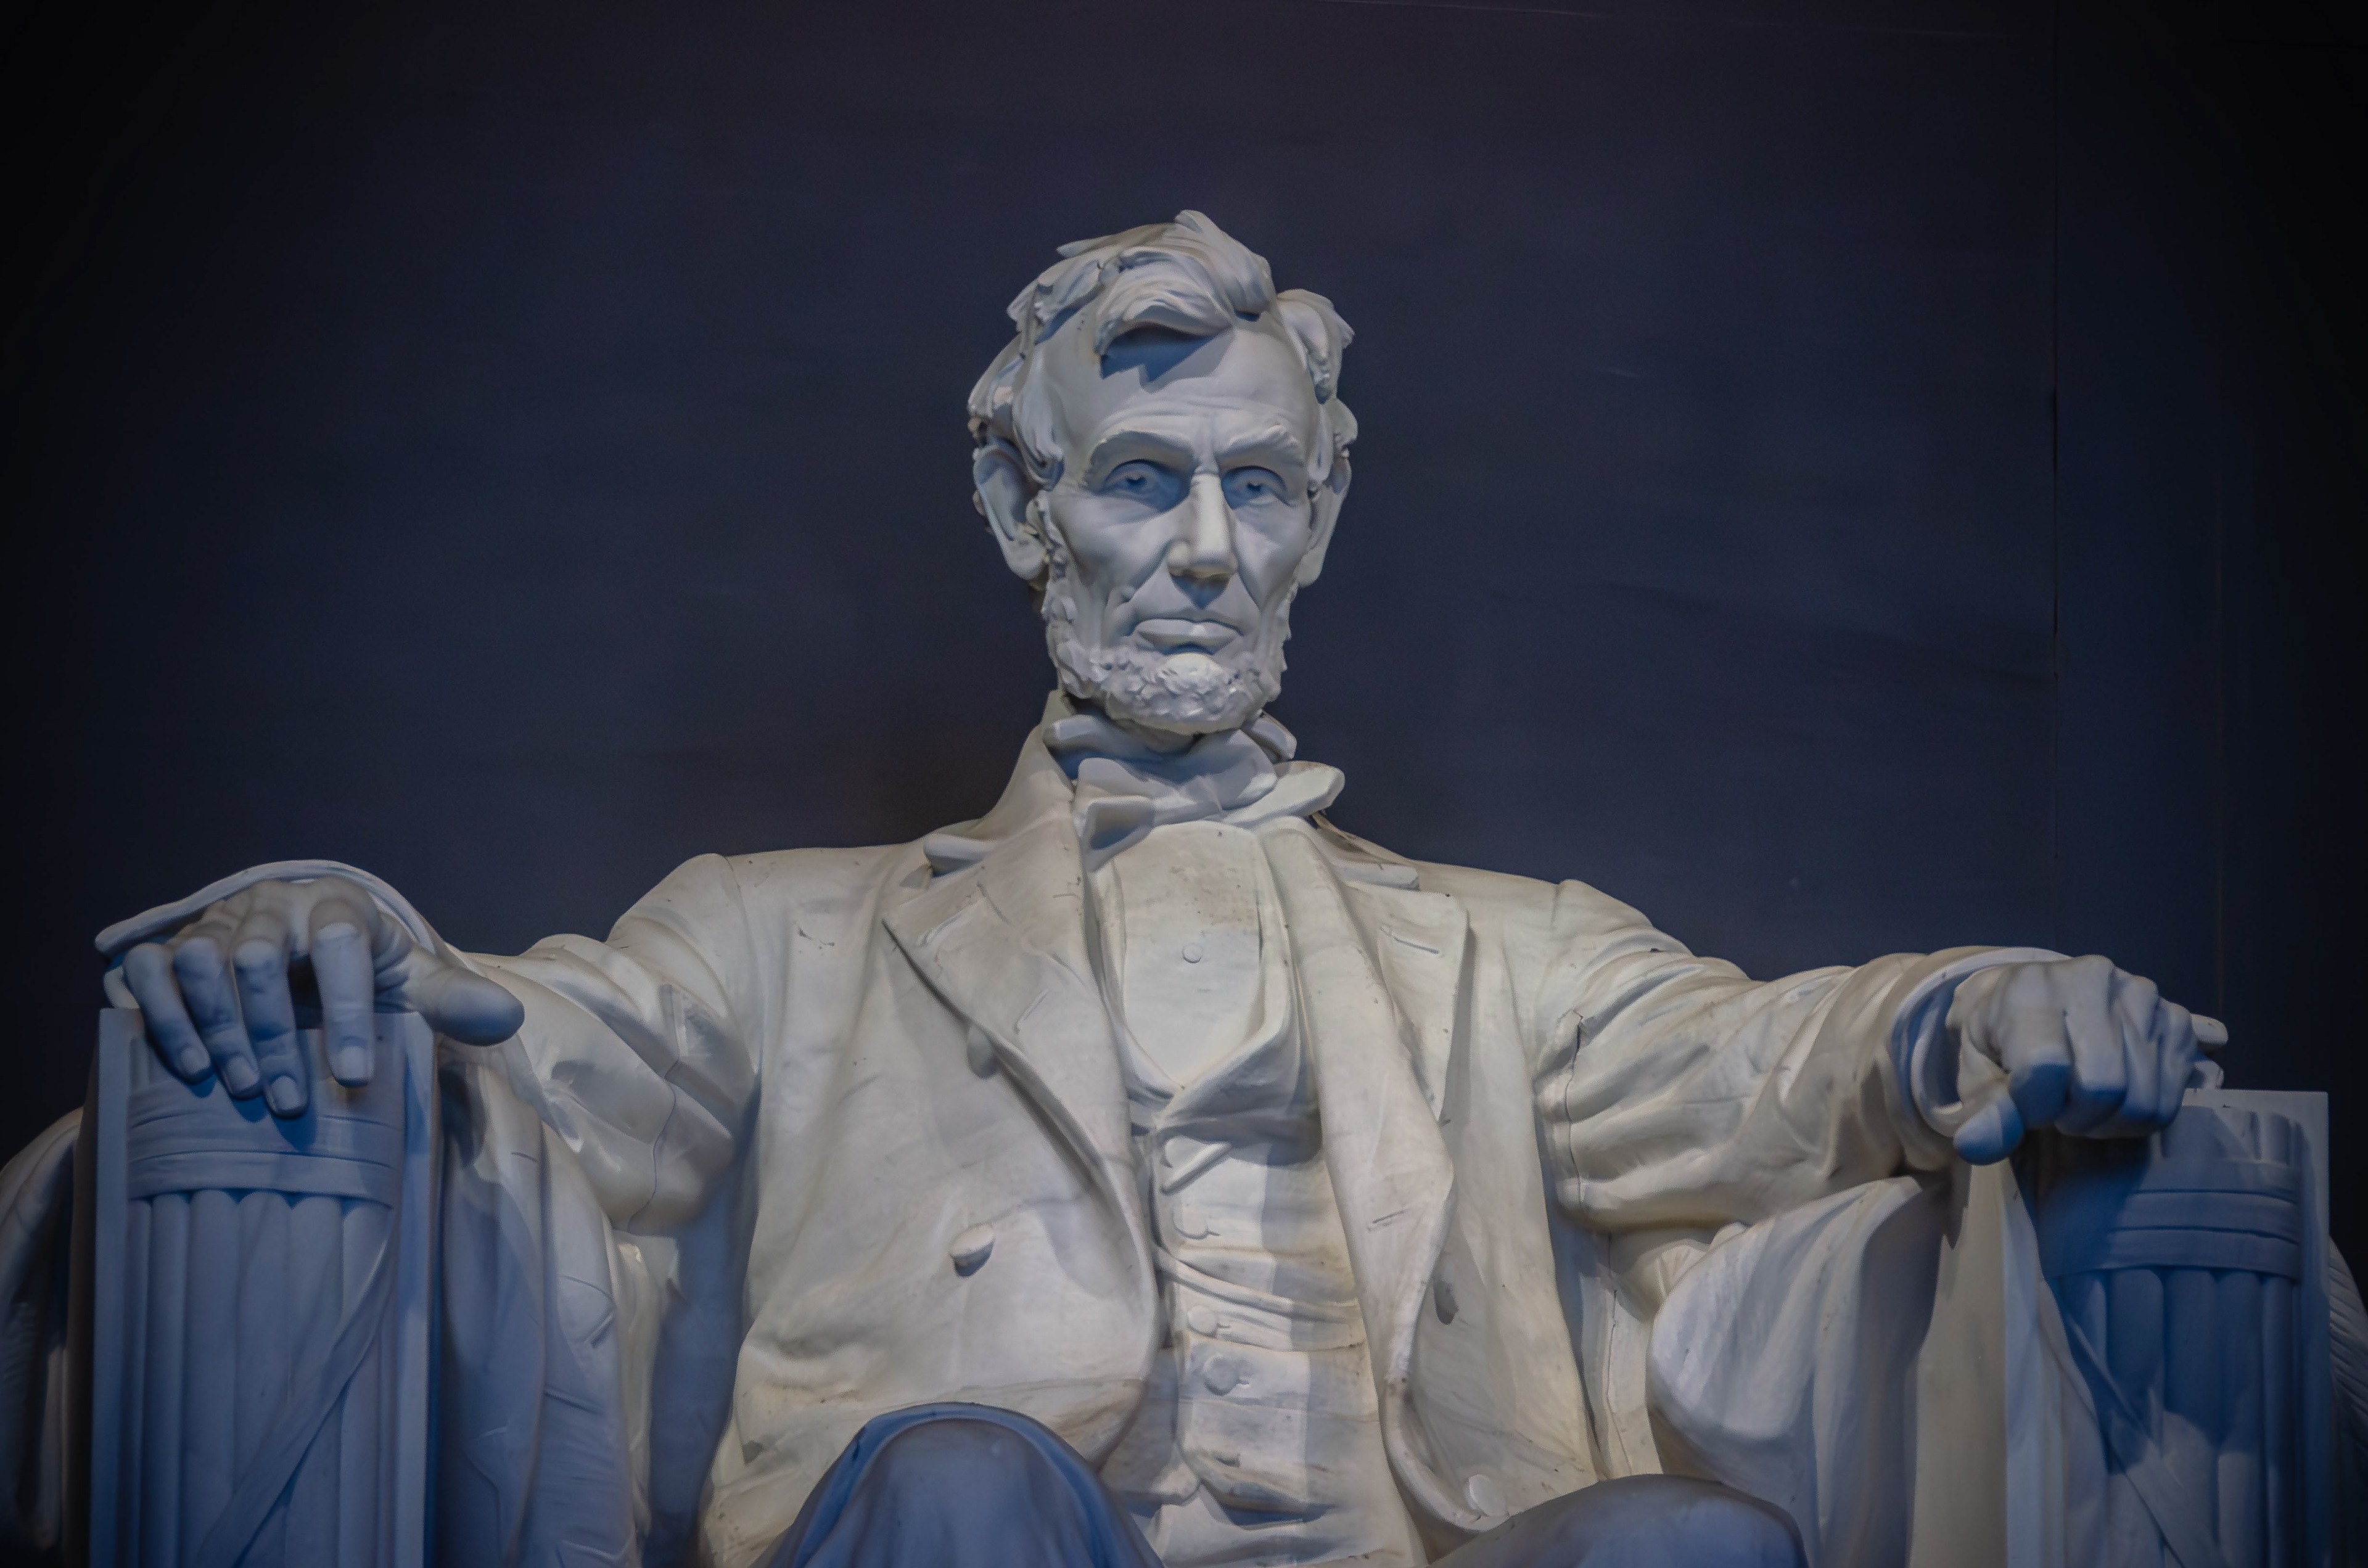
ISO 3200 - and Abe wouldn't lie to you...


ISO 6400
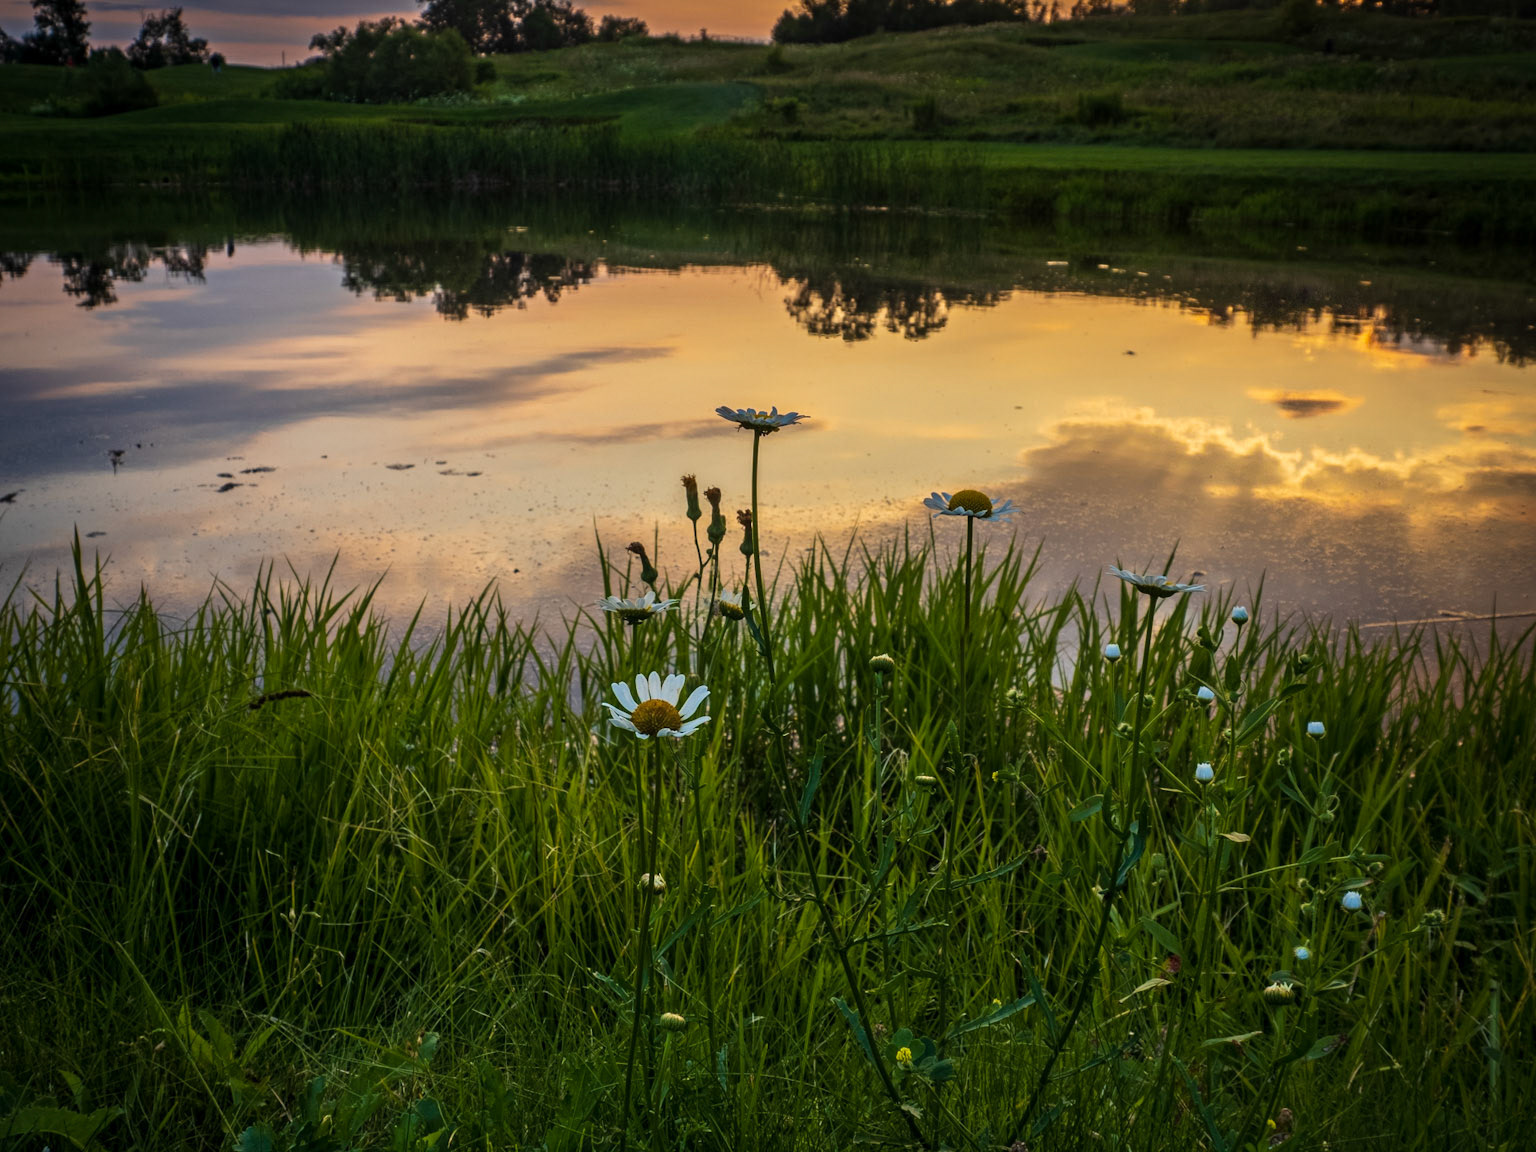
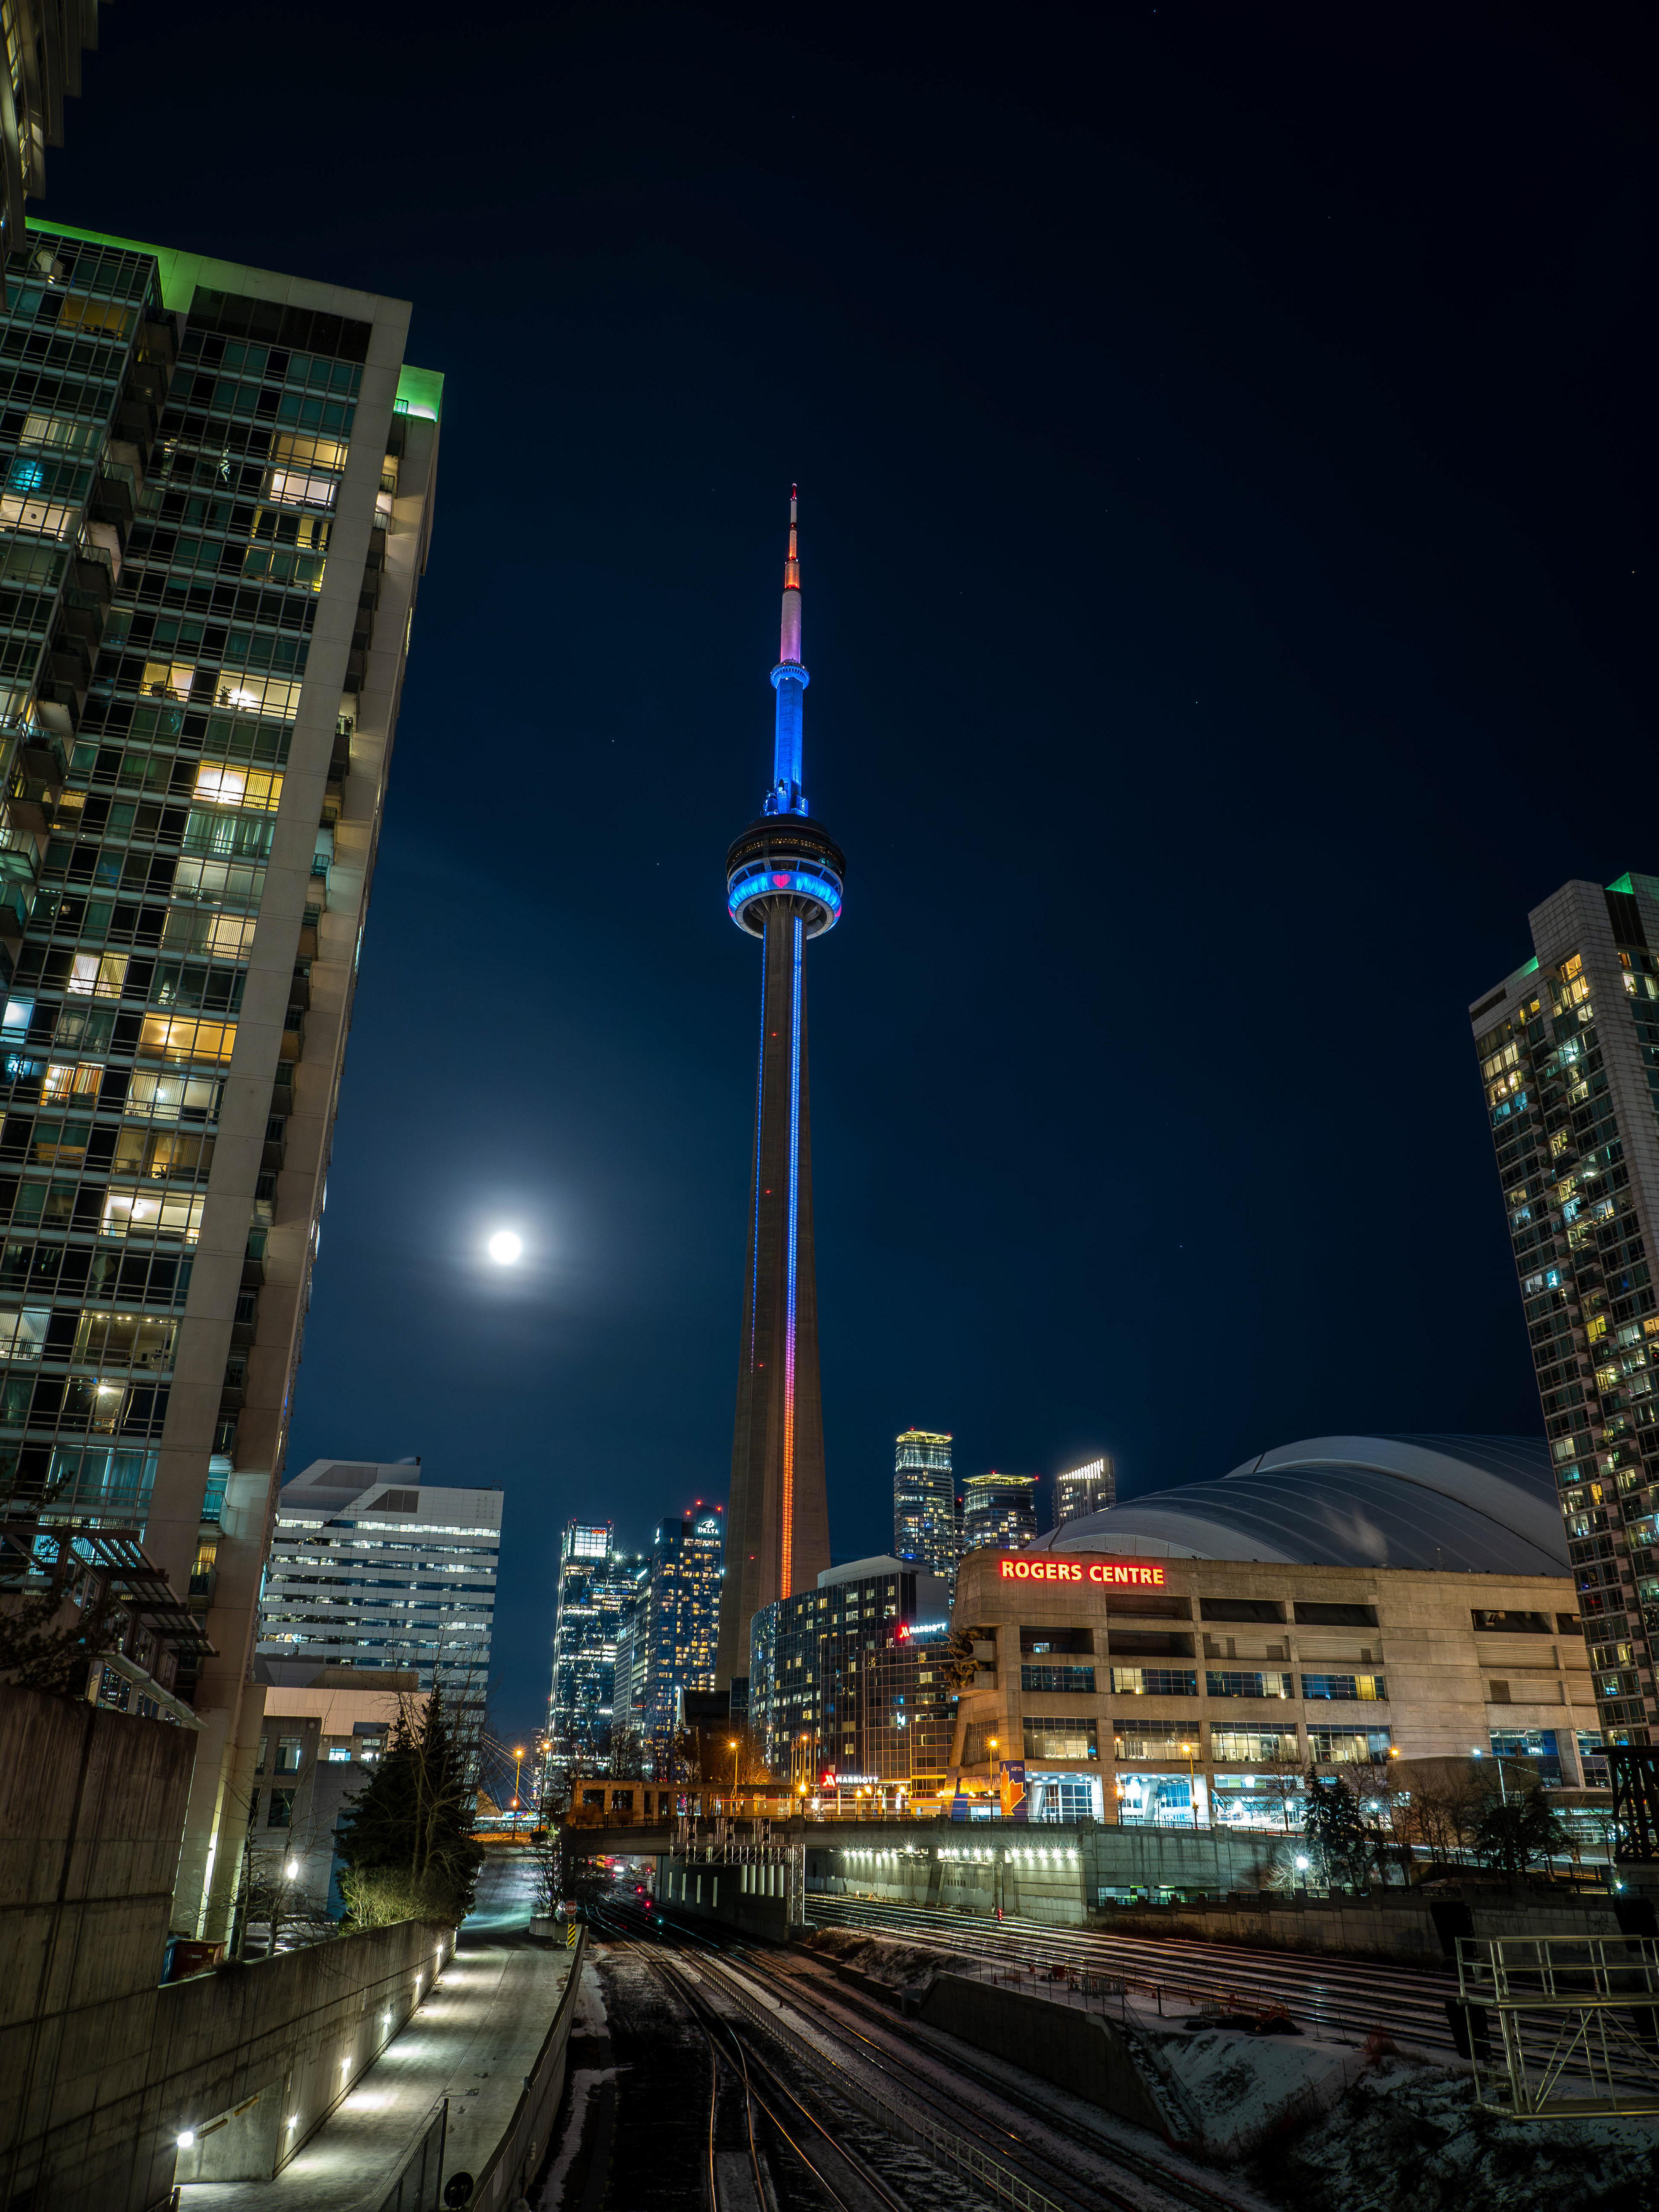
ISO 128000

ISO 128000
ISO 128000
Denoise a Low ISO Image?
I know it sounds a little crazy, but I've read that Denoise also improved low ISO images. This can be beneficial if you're working with images from older cameras/sensors that weren't as adept at handling noise in shadow areas. It's also is big news for me as I typically shoot with micro 4/3 camera these days and the small sensors can be challenged with noise.
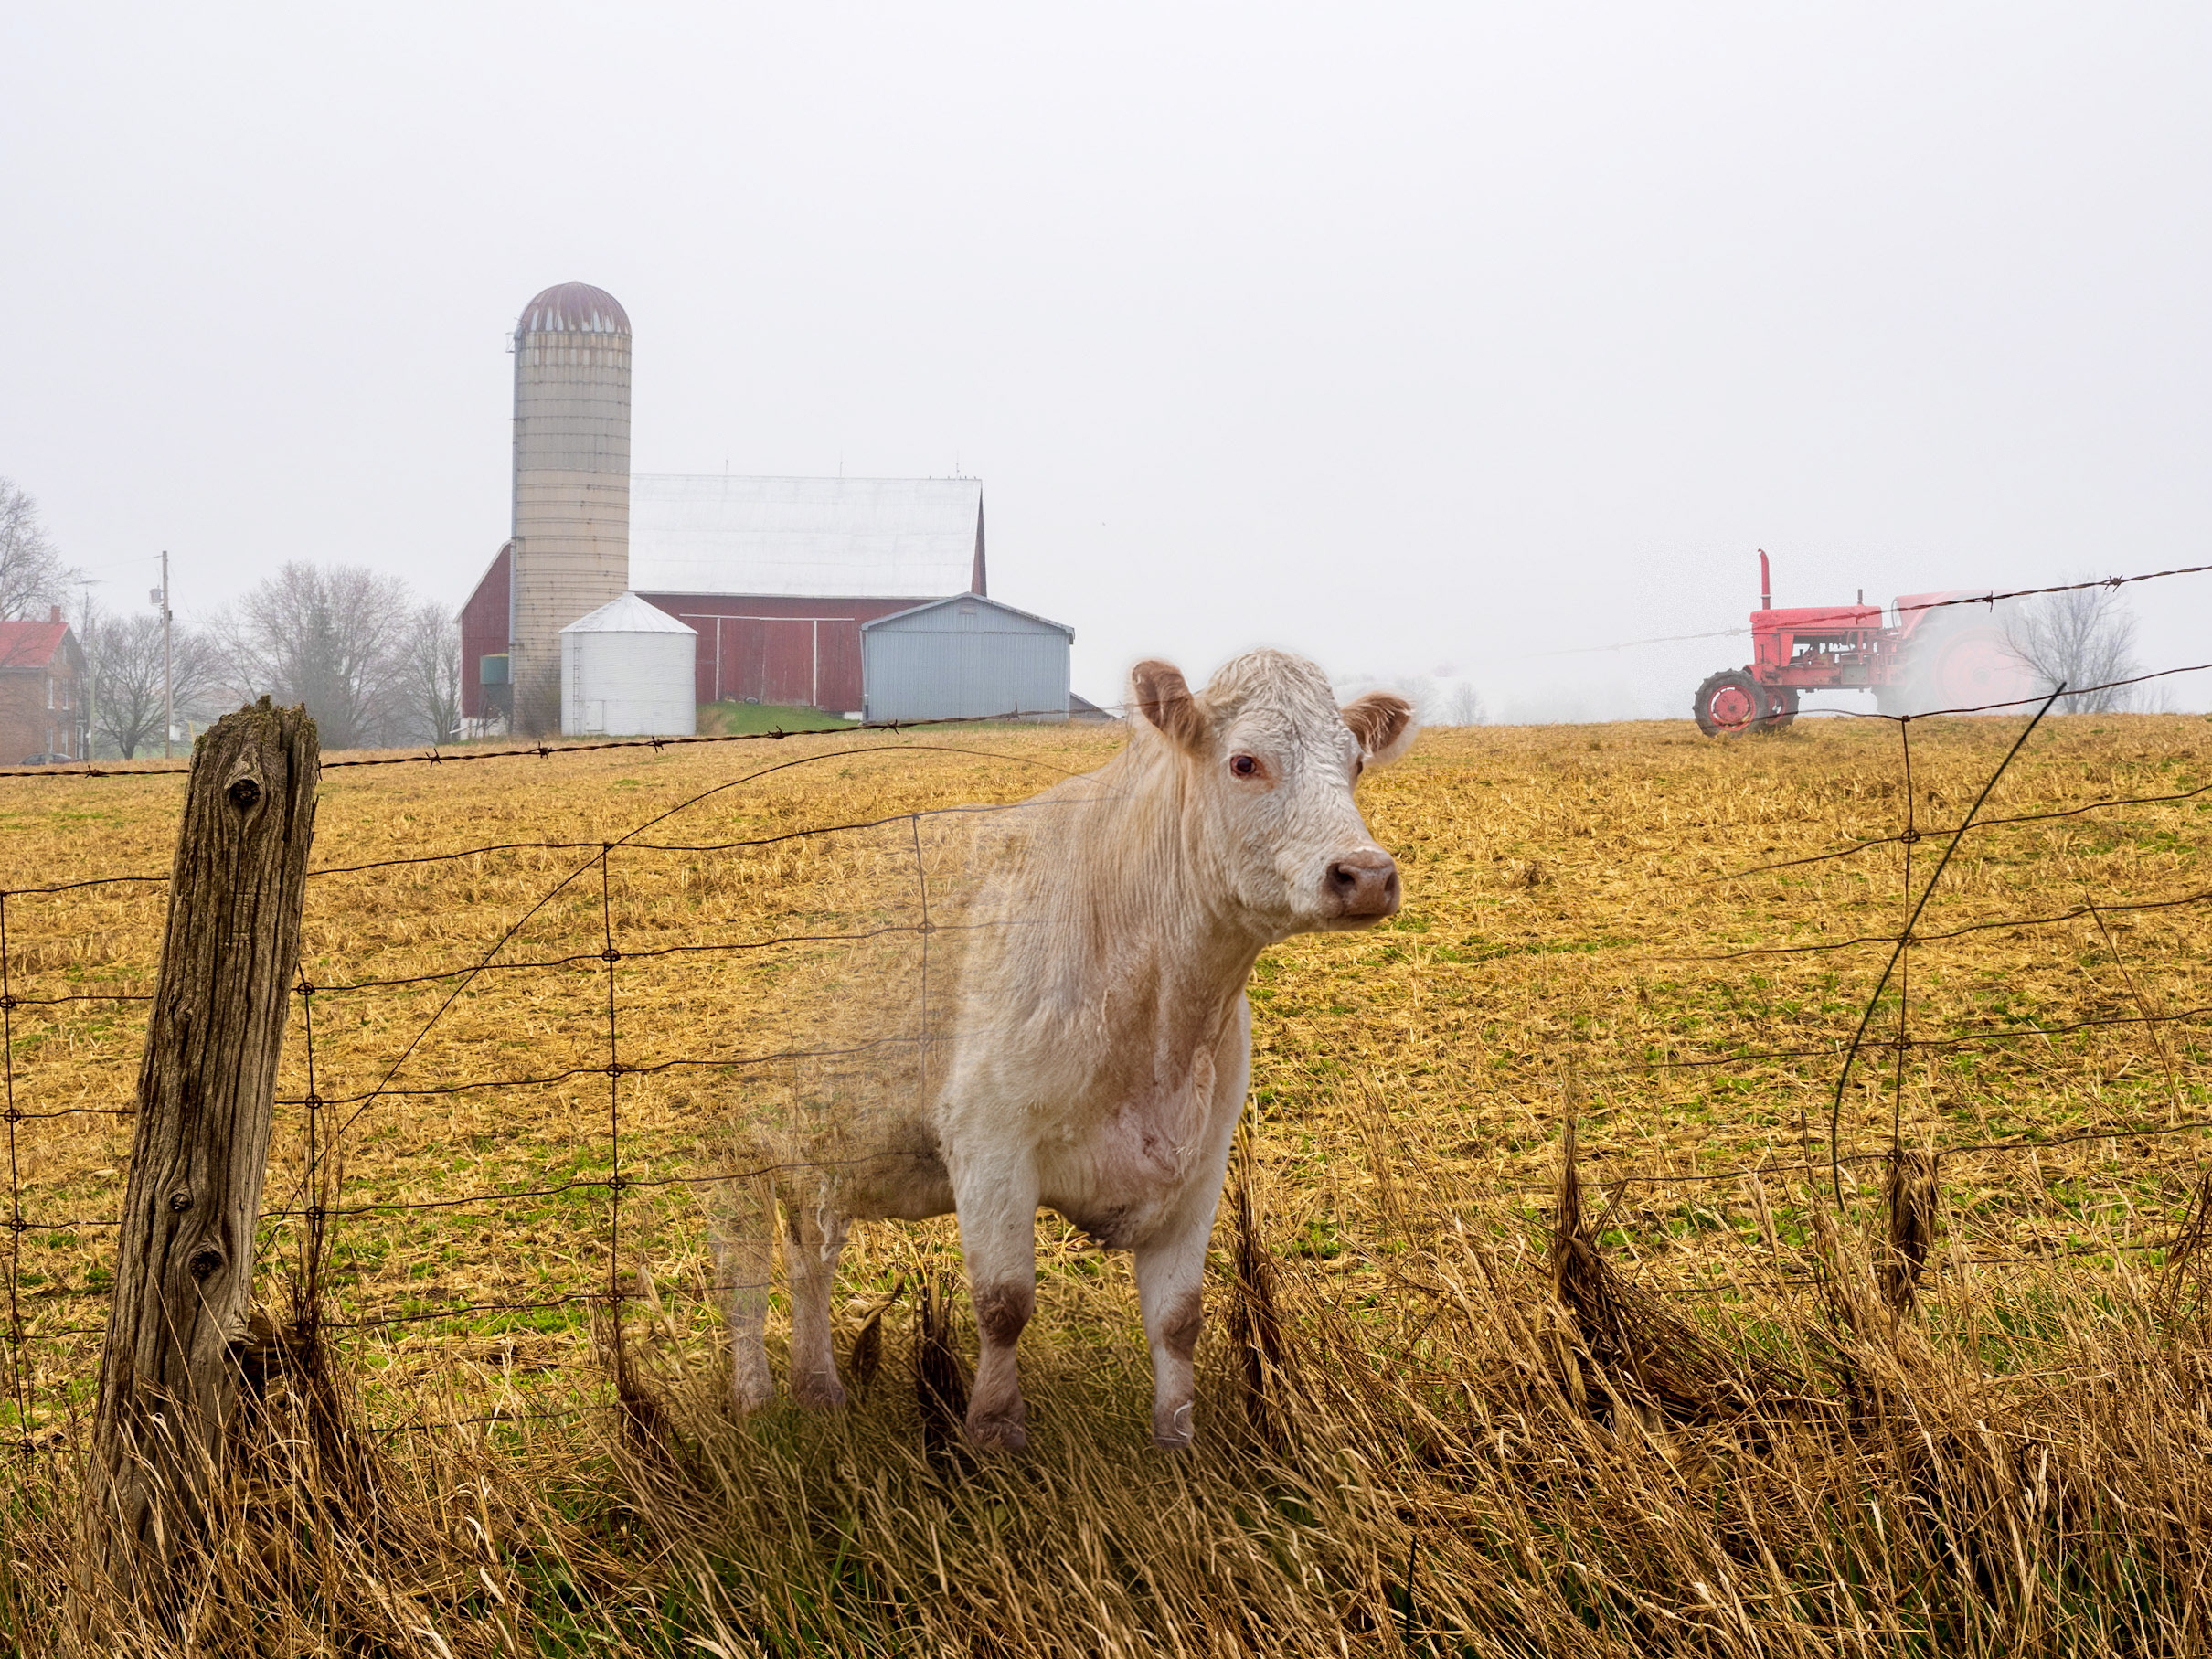
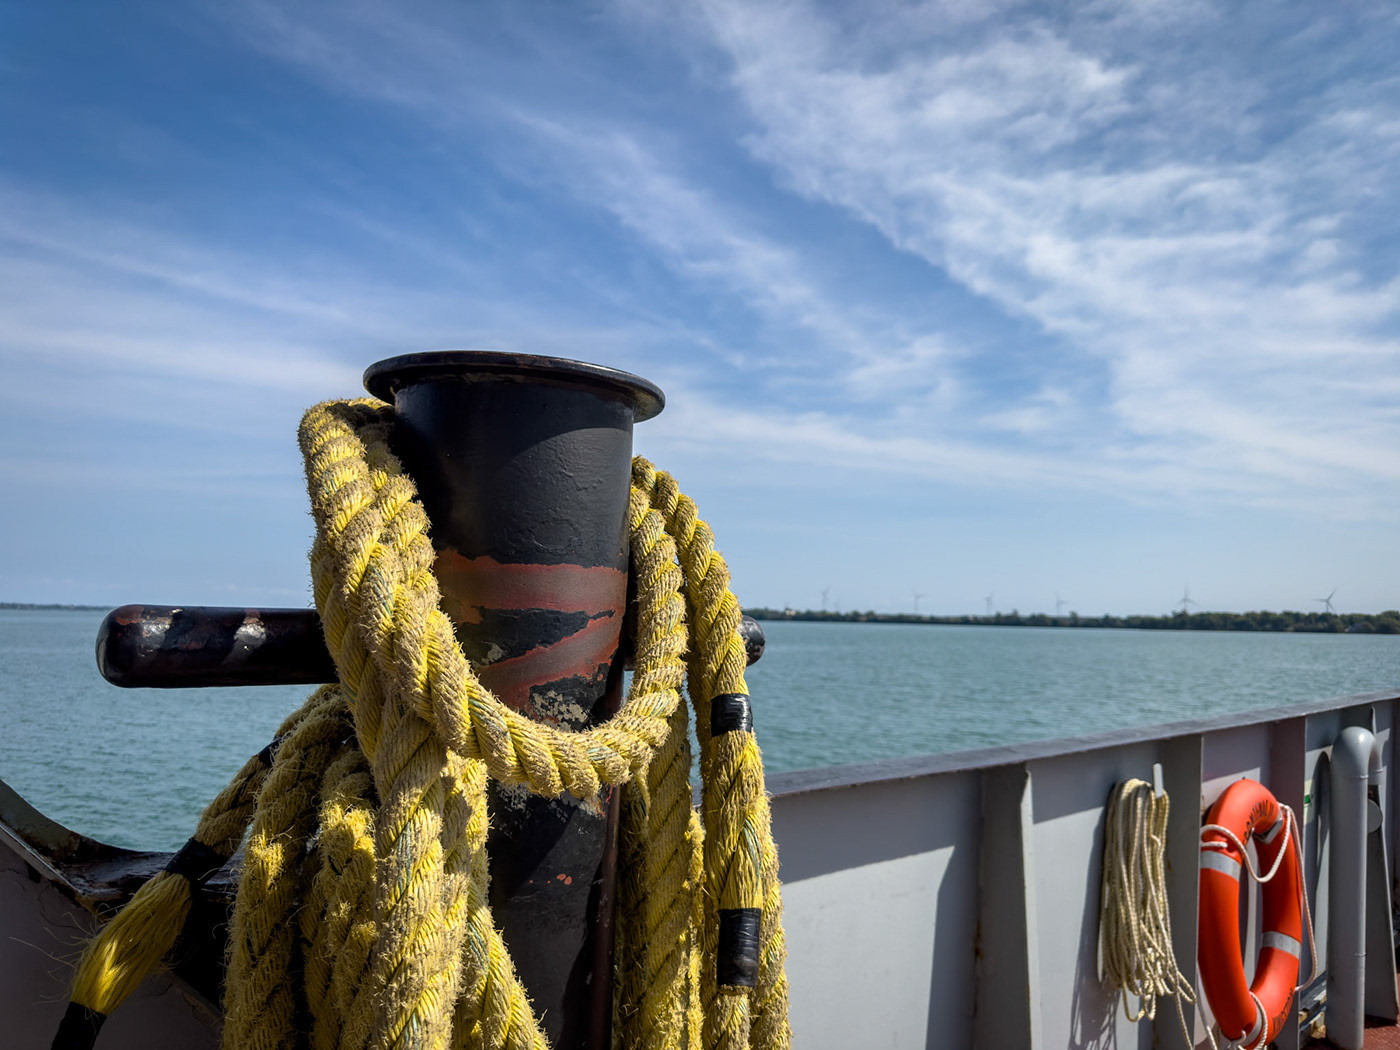
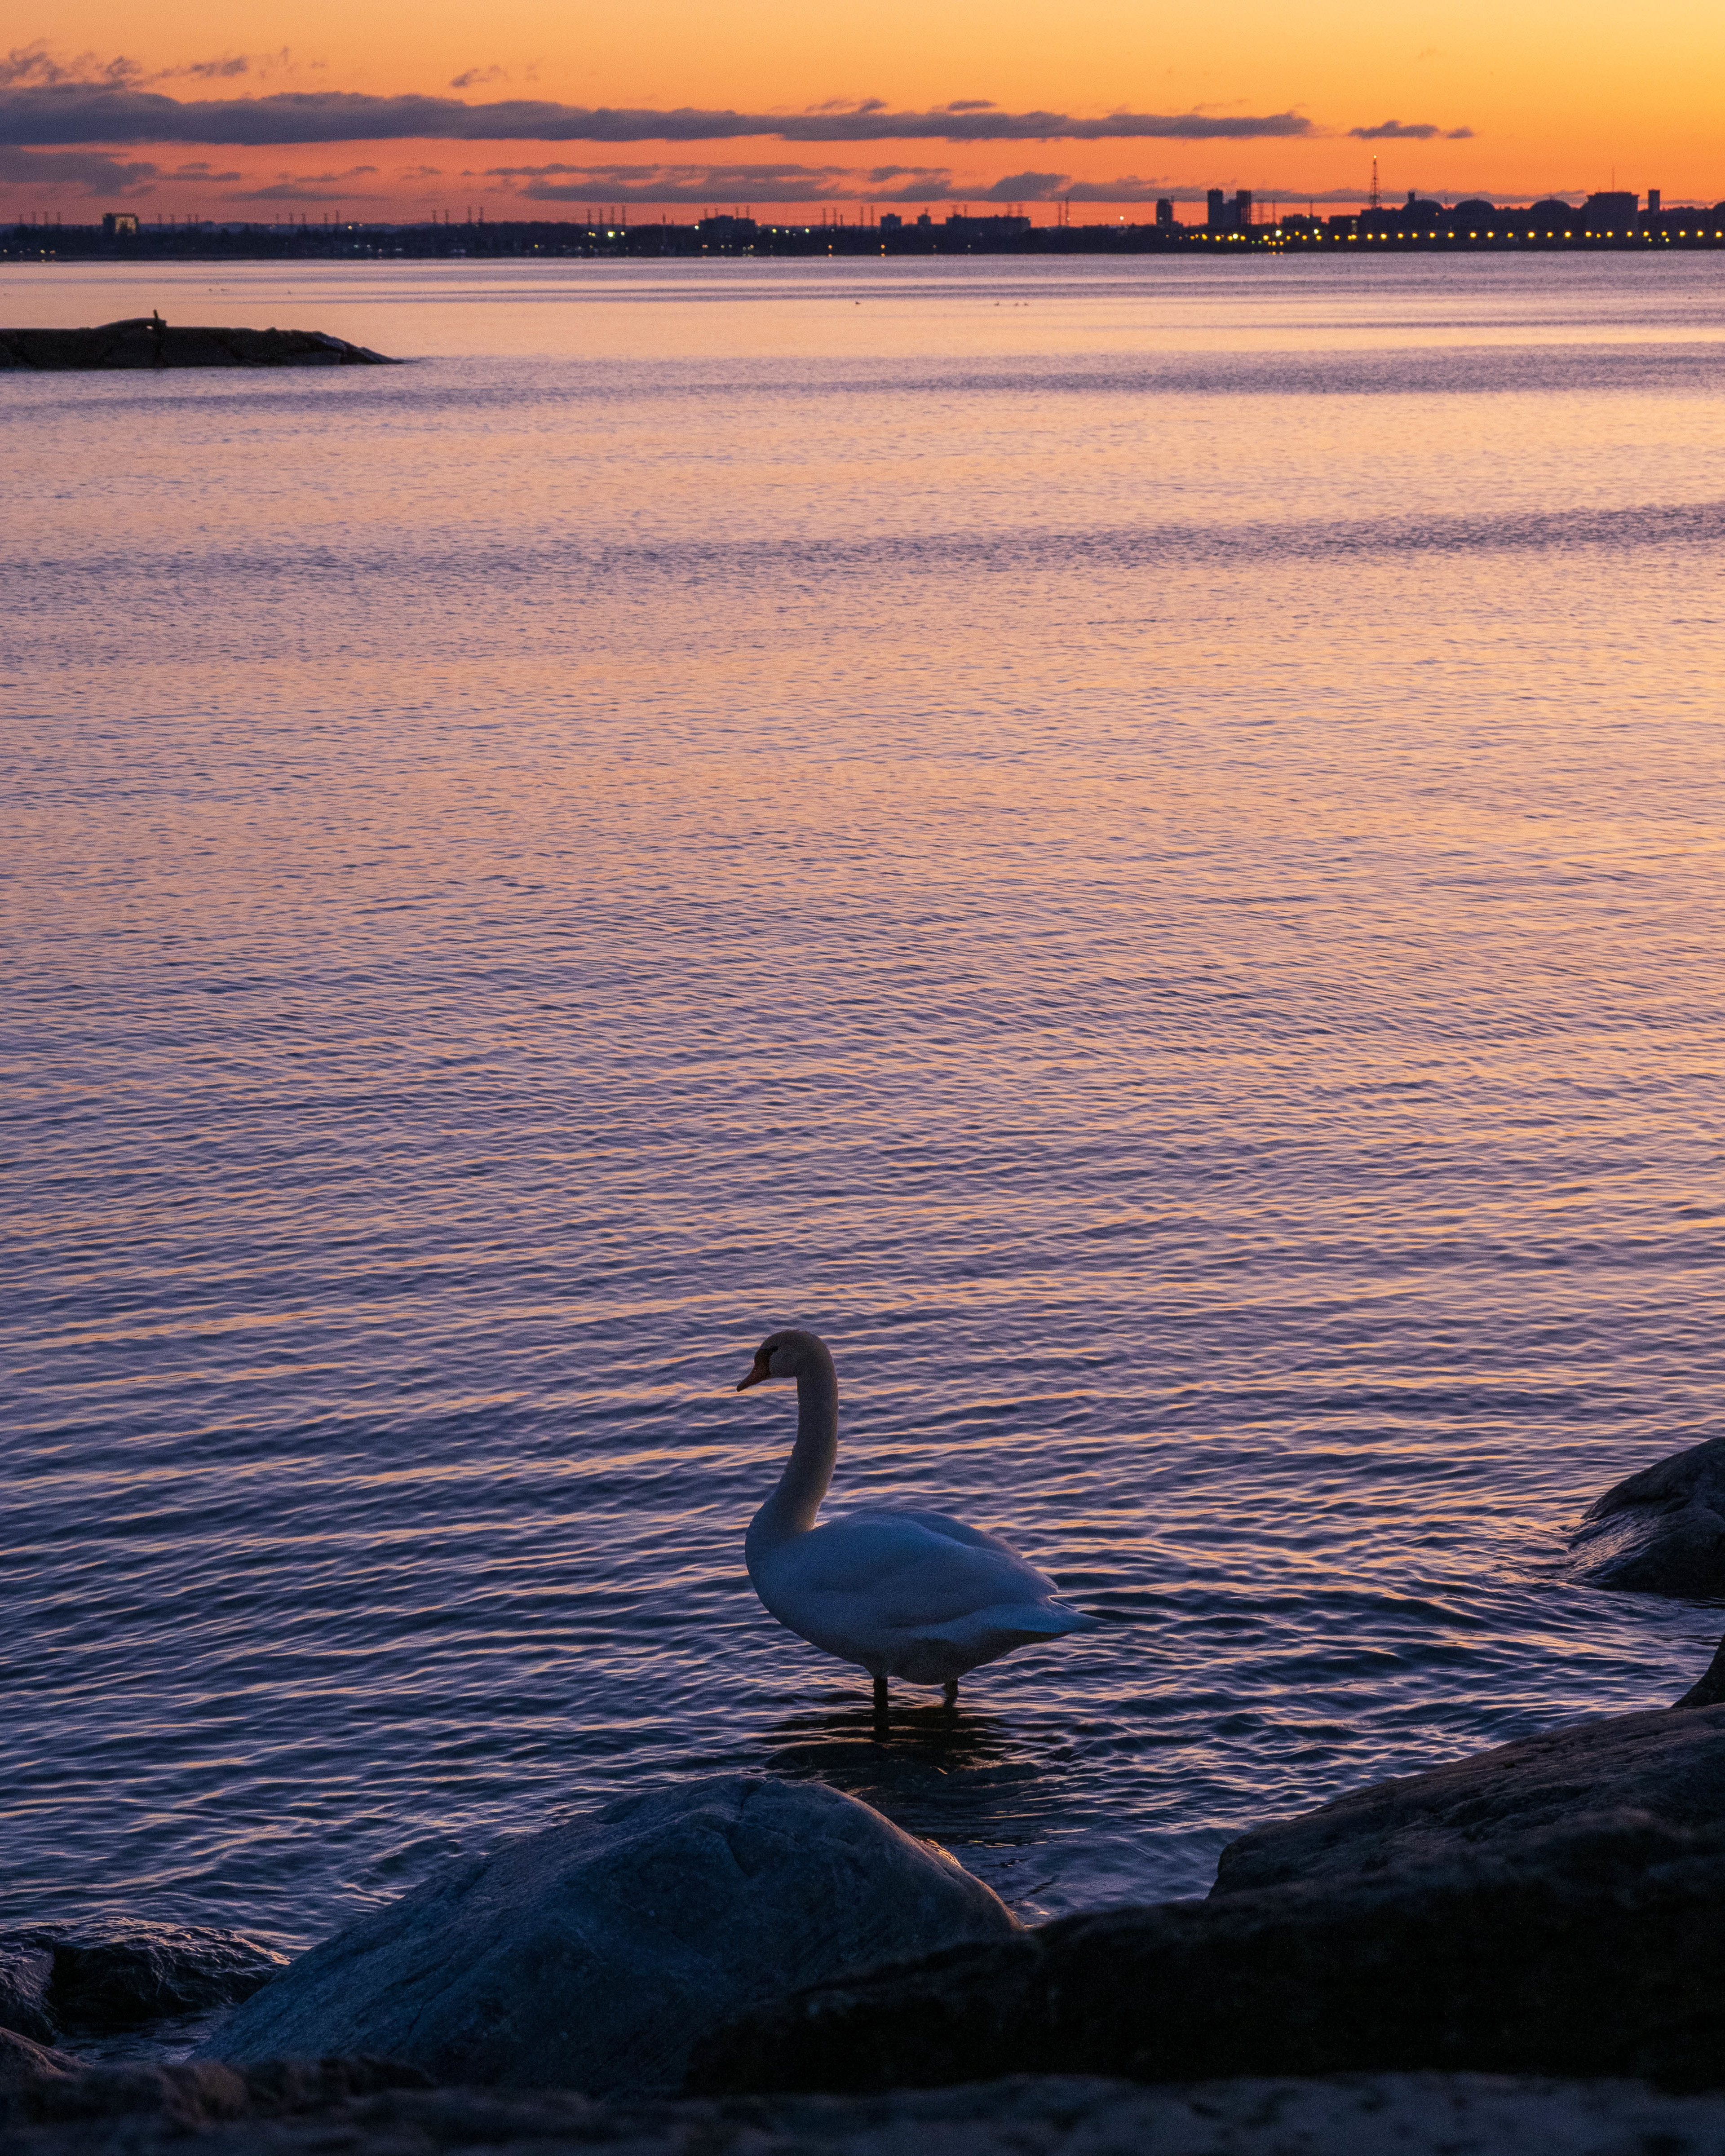
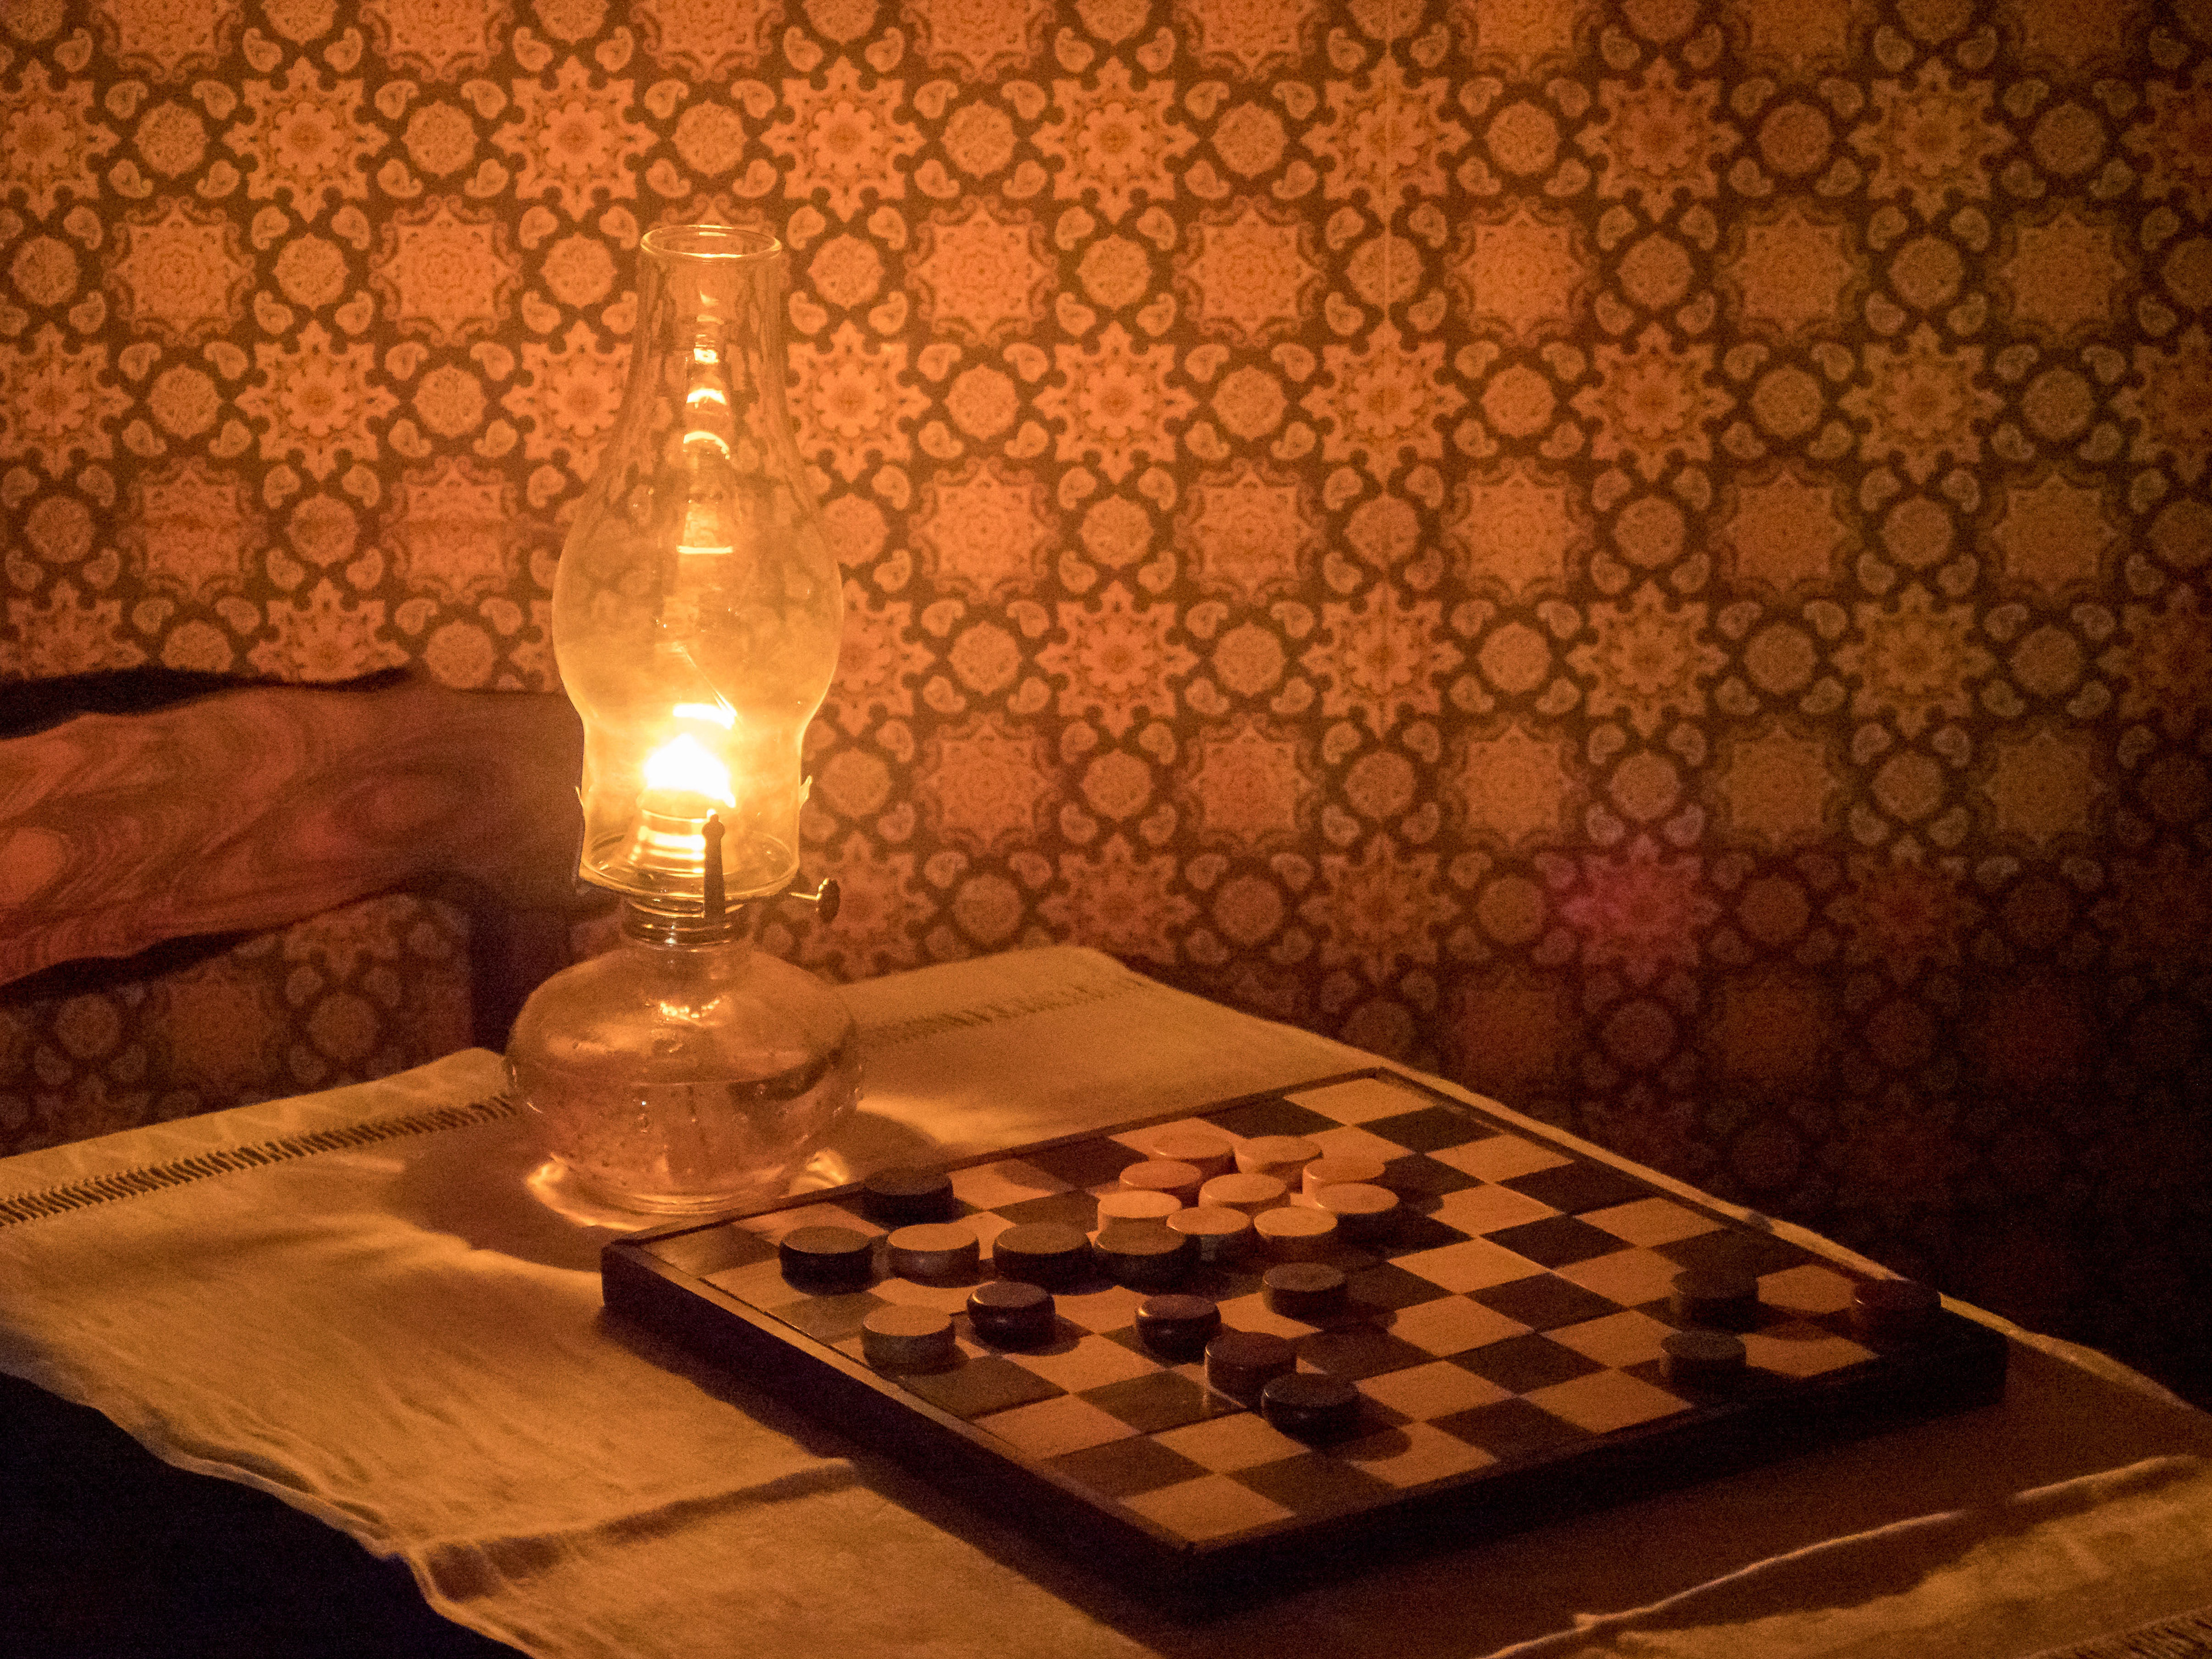
Honestly, this is not something I ever considered trying, beyond a small dose of traditional noise reduction. So, I thought I would give it a try on one recent image from Prince Edward County.
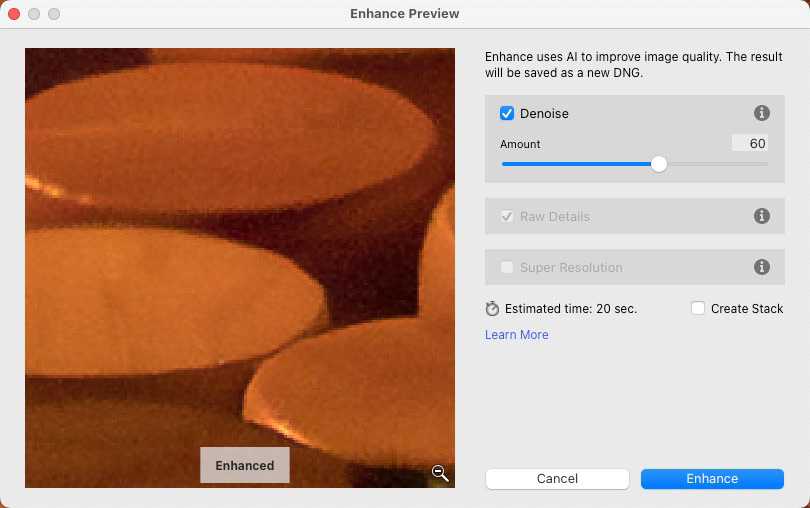
While the differences are far more subtle, Denoise corrected a lot of stray off-color pixels in my mind resolved details slightly better. Based on the blog post below, I believe that slight detail enhancement is thanks to the fact that Raw Details is part of the mix when using AI Denoise. Check out the blog post near the end of this article for more - umm - details.
Before and After AI Denoise compared to traditional Luminance Denoise at 25%.
Closing Thoughts
In short, I'm impressed. Granted, the last time Noise Reduction got any serious attention in Lightroom was about 10 years ago, so this sea-change is a long time coming.
I work in some flavour of Lightroom on every single photo I process, nearly every day. I'm a huge fan of the application, and not just because my employer is Adobe. But a couple years ago, I was forced to look elsewhere when it came to Noise Reduction - and Sharpening, for that matter. Prior to this Lightroom update I was forced to go to 3rd-party tools, such as Topaz DeNoise AI or Photo AI to smooth out excessively noisy images.
While I could get good results from these tools, I found myself tweaking the files before the final export out of Topaz, whether I needed to or not. There are lots of controls and options to play with in Topaz. I'll say this much for AI Denoise in Lightroom - it's easy to use. All you get for control is one slider. And based on the examples above, one slider is all I really need.
I've also read some comments about the time it takes to process the file as a new DNG file. I get it; we all want things in a hurry. But when I combine the facts that the effect is performed in-app and there are minimal controls to use, I think I'm actually saving time by performing this action in Lightroom, if all I need is to denoise an image. Going the 3rd -party route, I still have to invoke Topaz, wait for it to load itself and the image, tweak the image and then wait for Topaz to push out a final file, too, remember.
I'm sure this is also simply phase 1 of Denoise. I hope to see more zoom control (and a larger) Preview window, for example. I know we are working on supporting other file formats such as jpg. I hope that support extends to HEIC, Apple ProRaw and Tiff files, as well.
I hope this also signals that we're going to see some form of AI sharpening sooner than later. That would give Lightroom users the AI triumvirate; Super Resolution, Denoise and Sharpening. And then maybe...just maybe... I won't need to leave Lightroom at all.
Thoughts from Others
While my focus was on one aspect of the Lightroom update, Denoise wasn't the only update to be released this month. Below is a great summary from Terry White, as well as two other Denoise overviews.
I encourage you to give Denoise a try on your own images, and please share with me your thoughts on this latest advancement in Lightroom.
Also check out Denoise, Demystified on the Adobe blogs.