Halloween Town - the (really short) Movie
Last year, I started (and finished) a DIY project to create a display case out of an old ladder and some boards. The goal was to have a place to set up my Christmas village, so that it wasn't sitting on the fireplace mantle...or bar...or dining room table. The project was a success. So much so, that I made a little movie of the final display, using a combination of Adobe Rush, Premiere Pro and Adobe Stock for music and motion graphics. I also wrote two articles (links in this paragraph) about the project. This was a great way to share my enthusiasm and tell a little story at the same time.
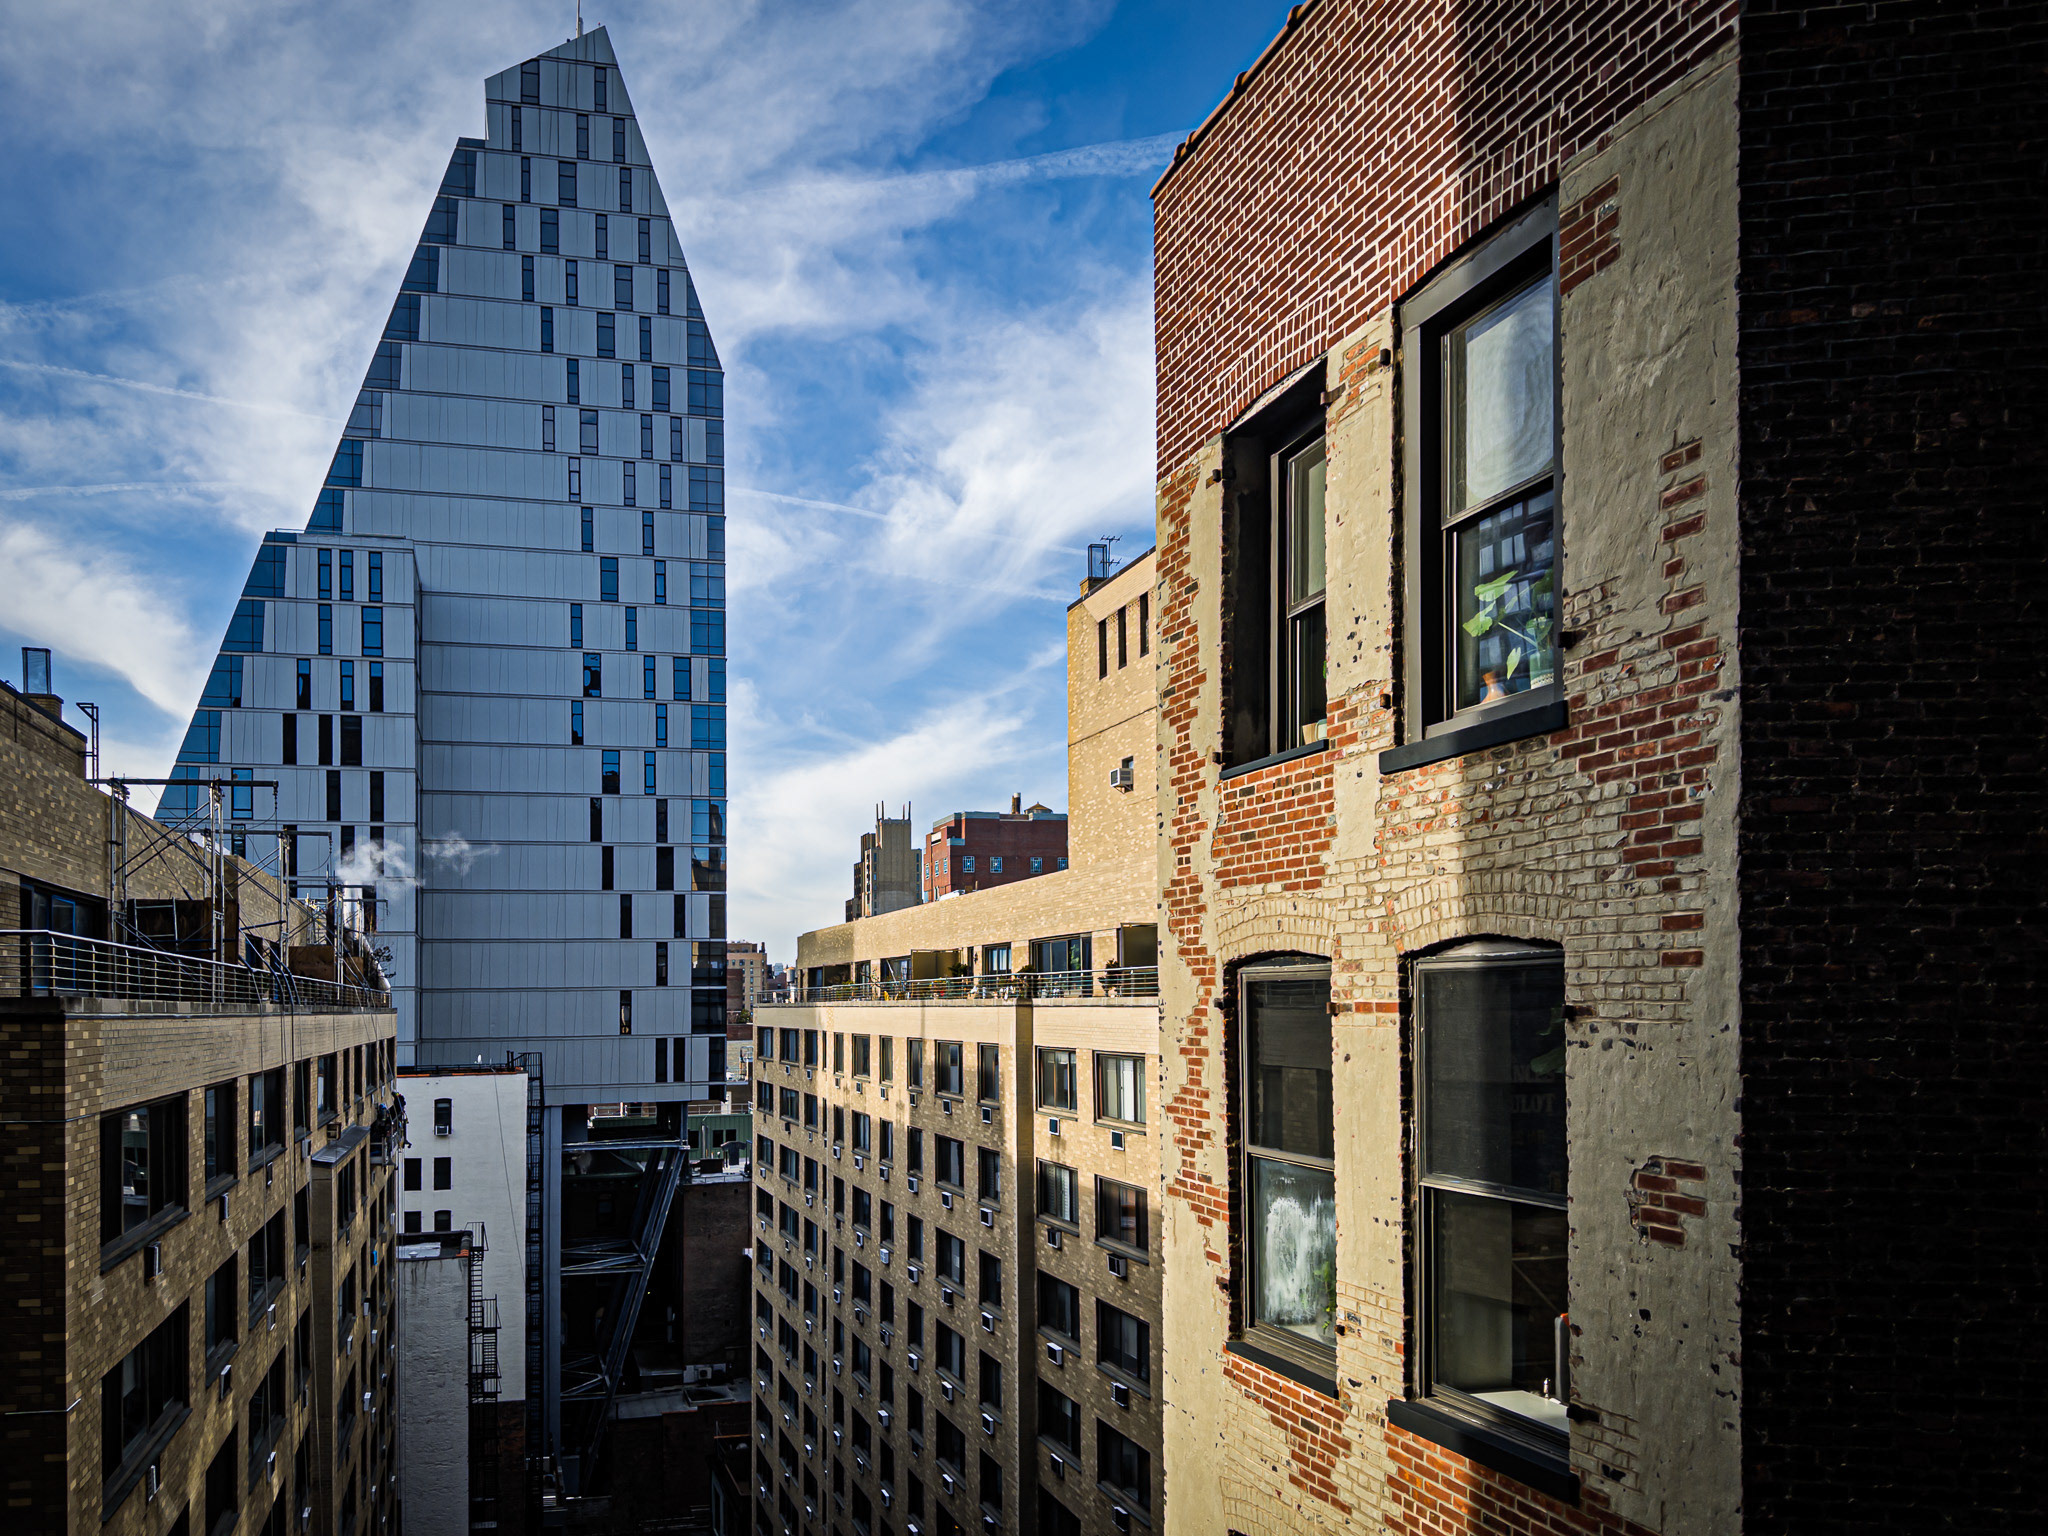
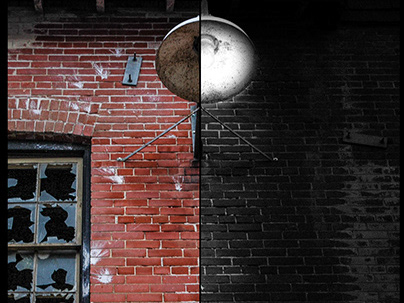
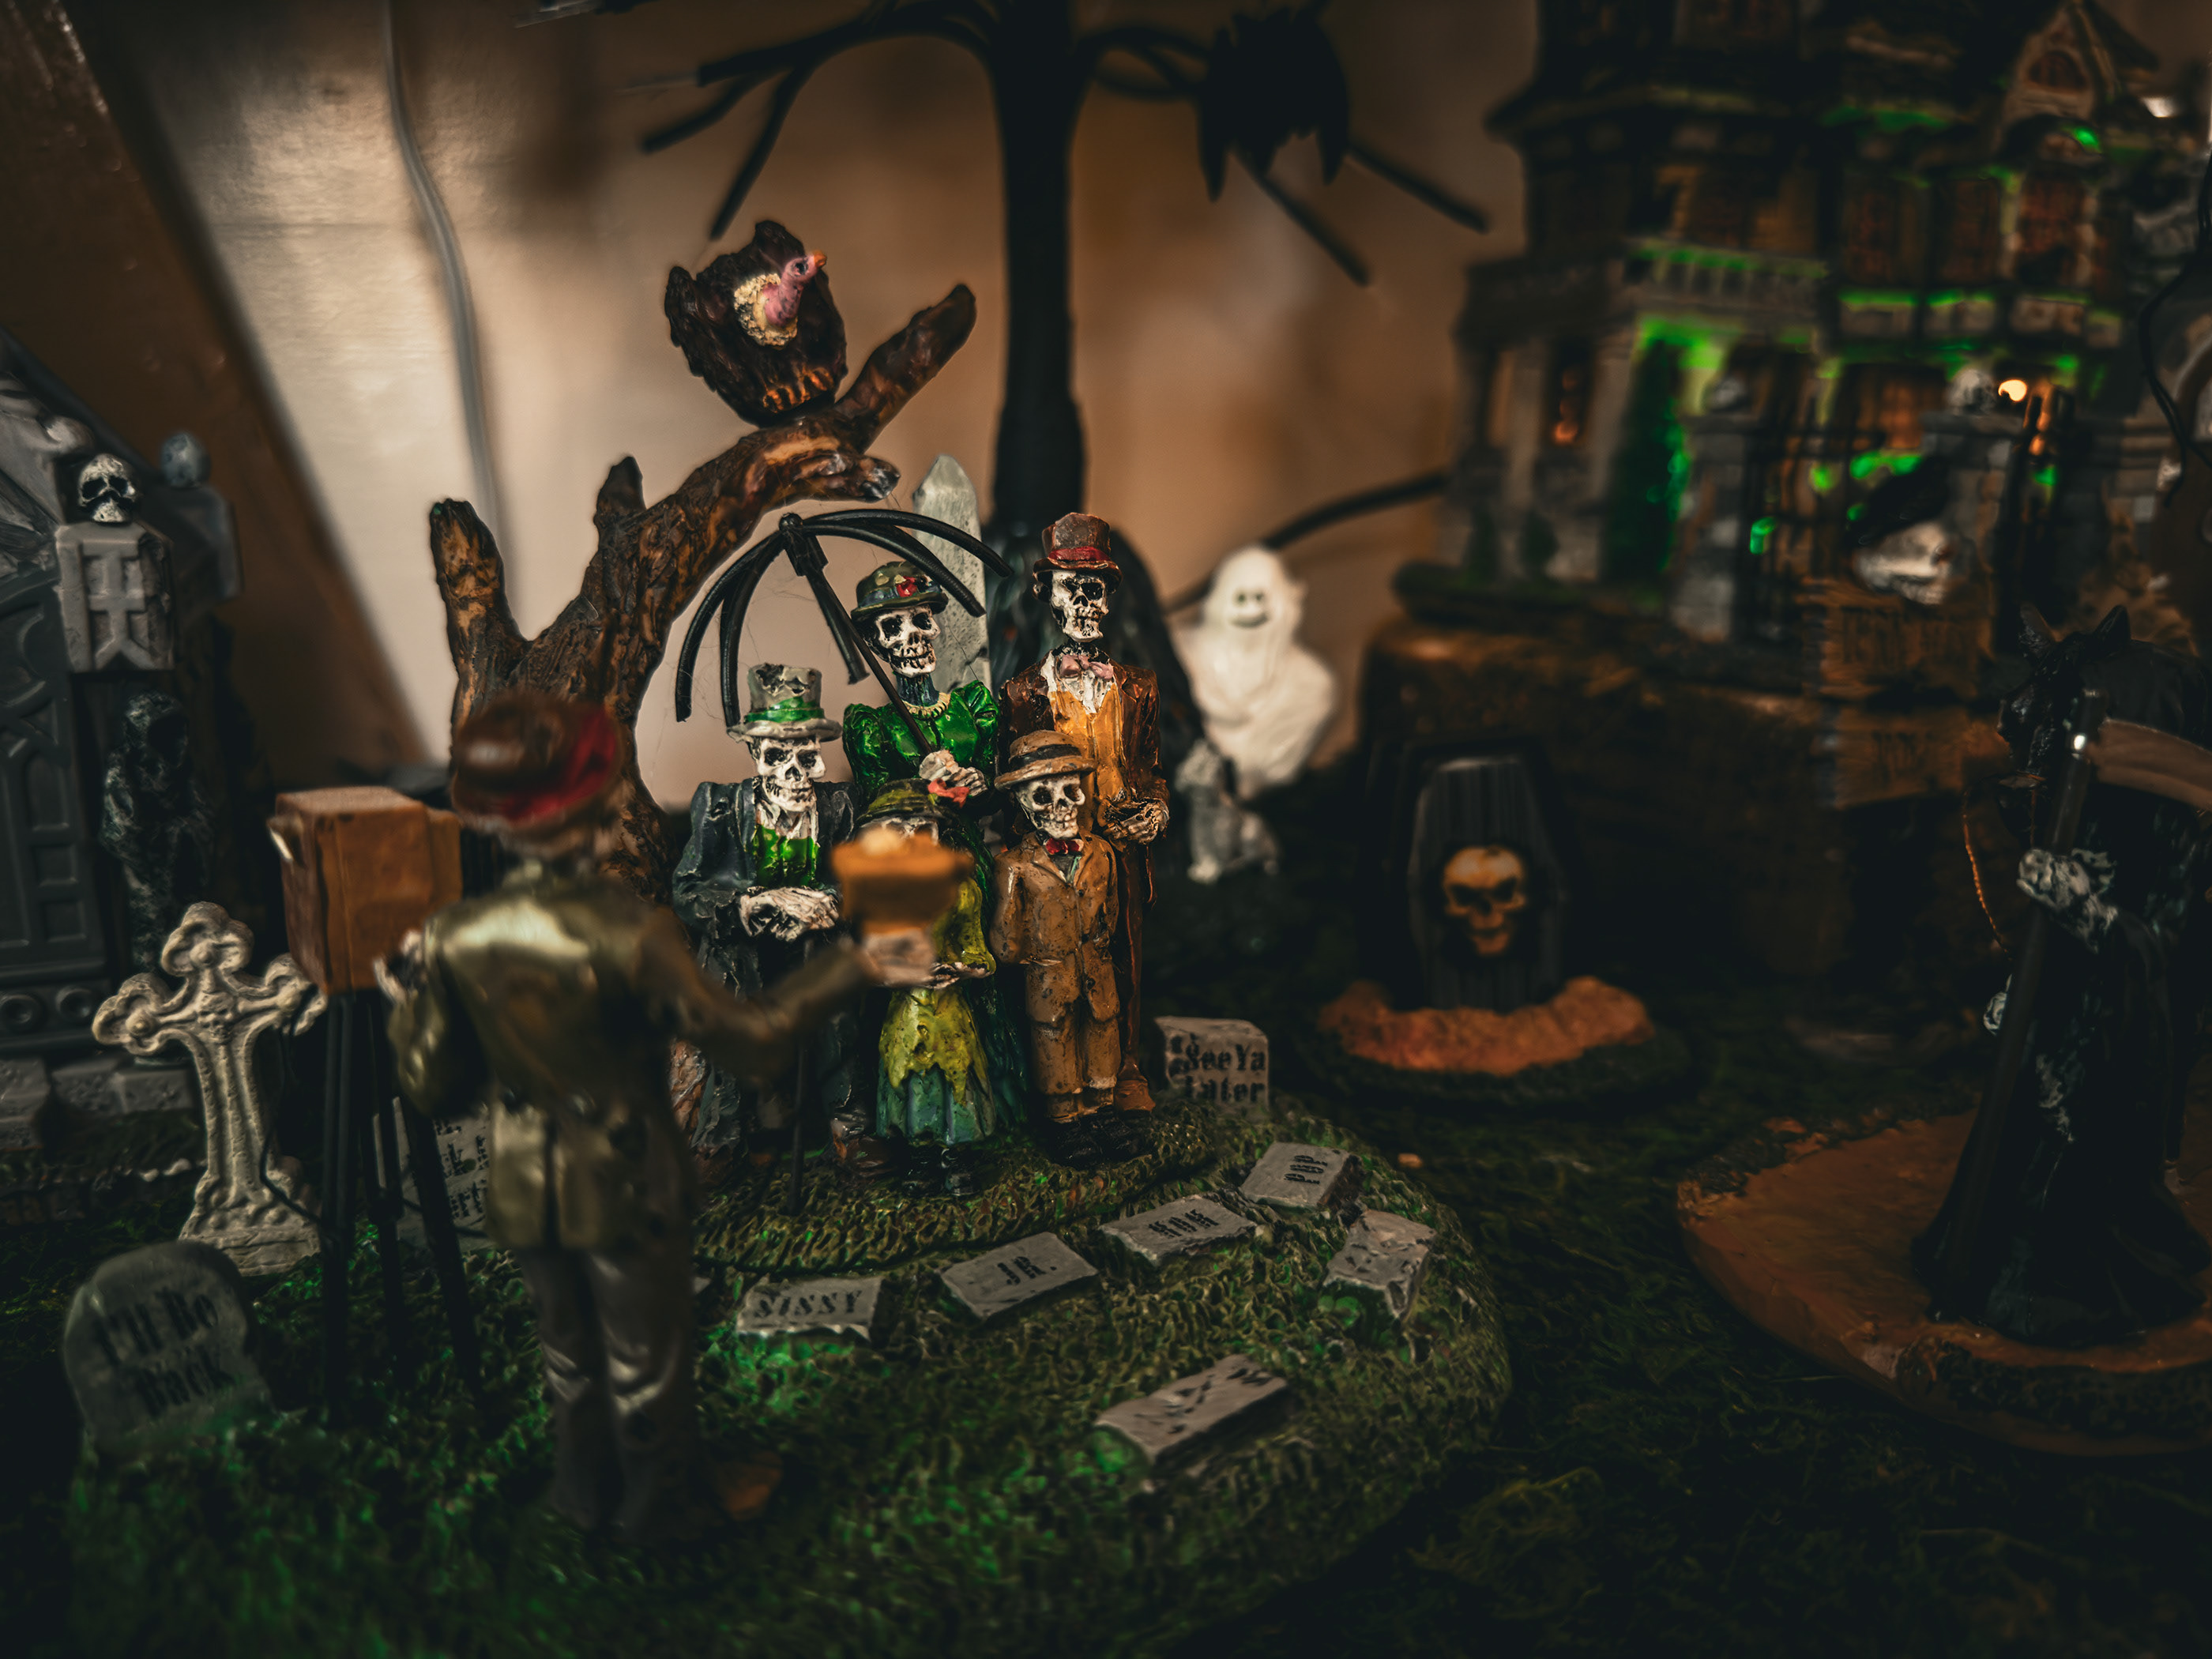
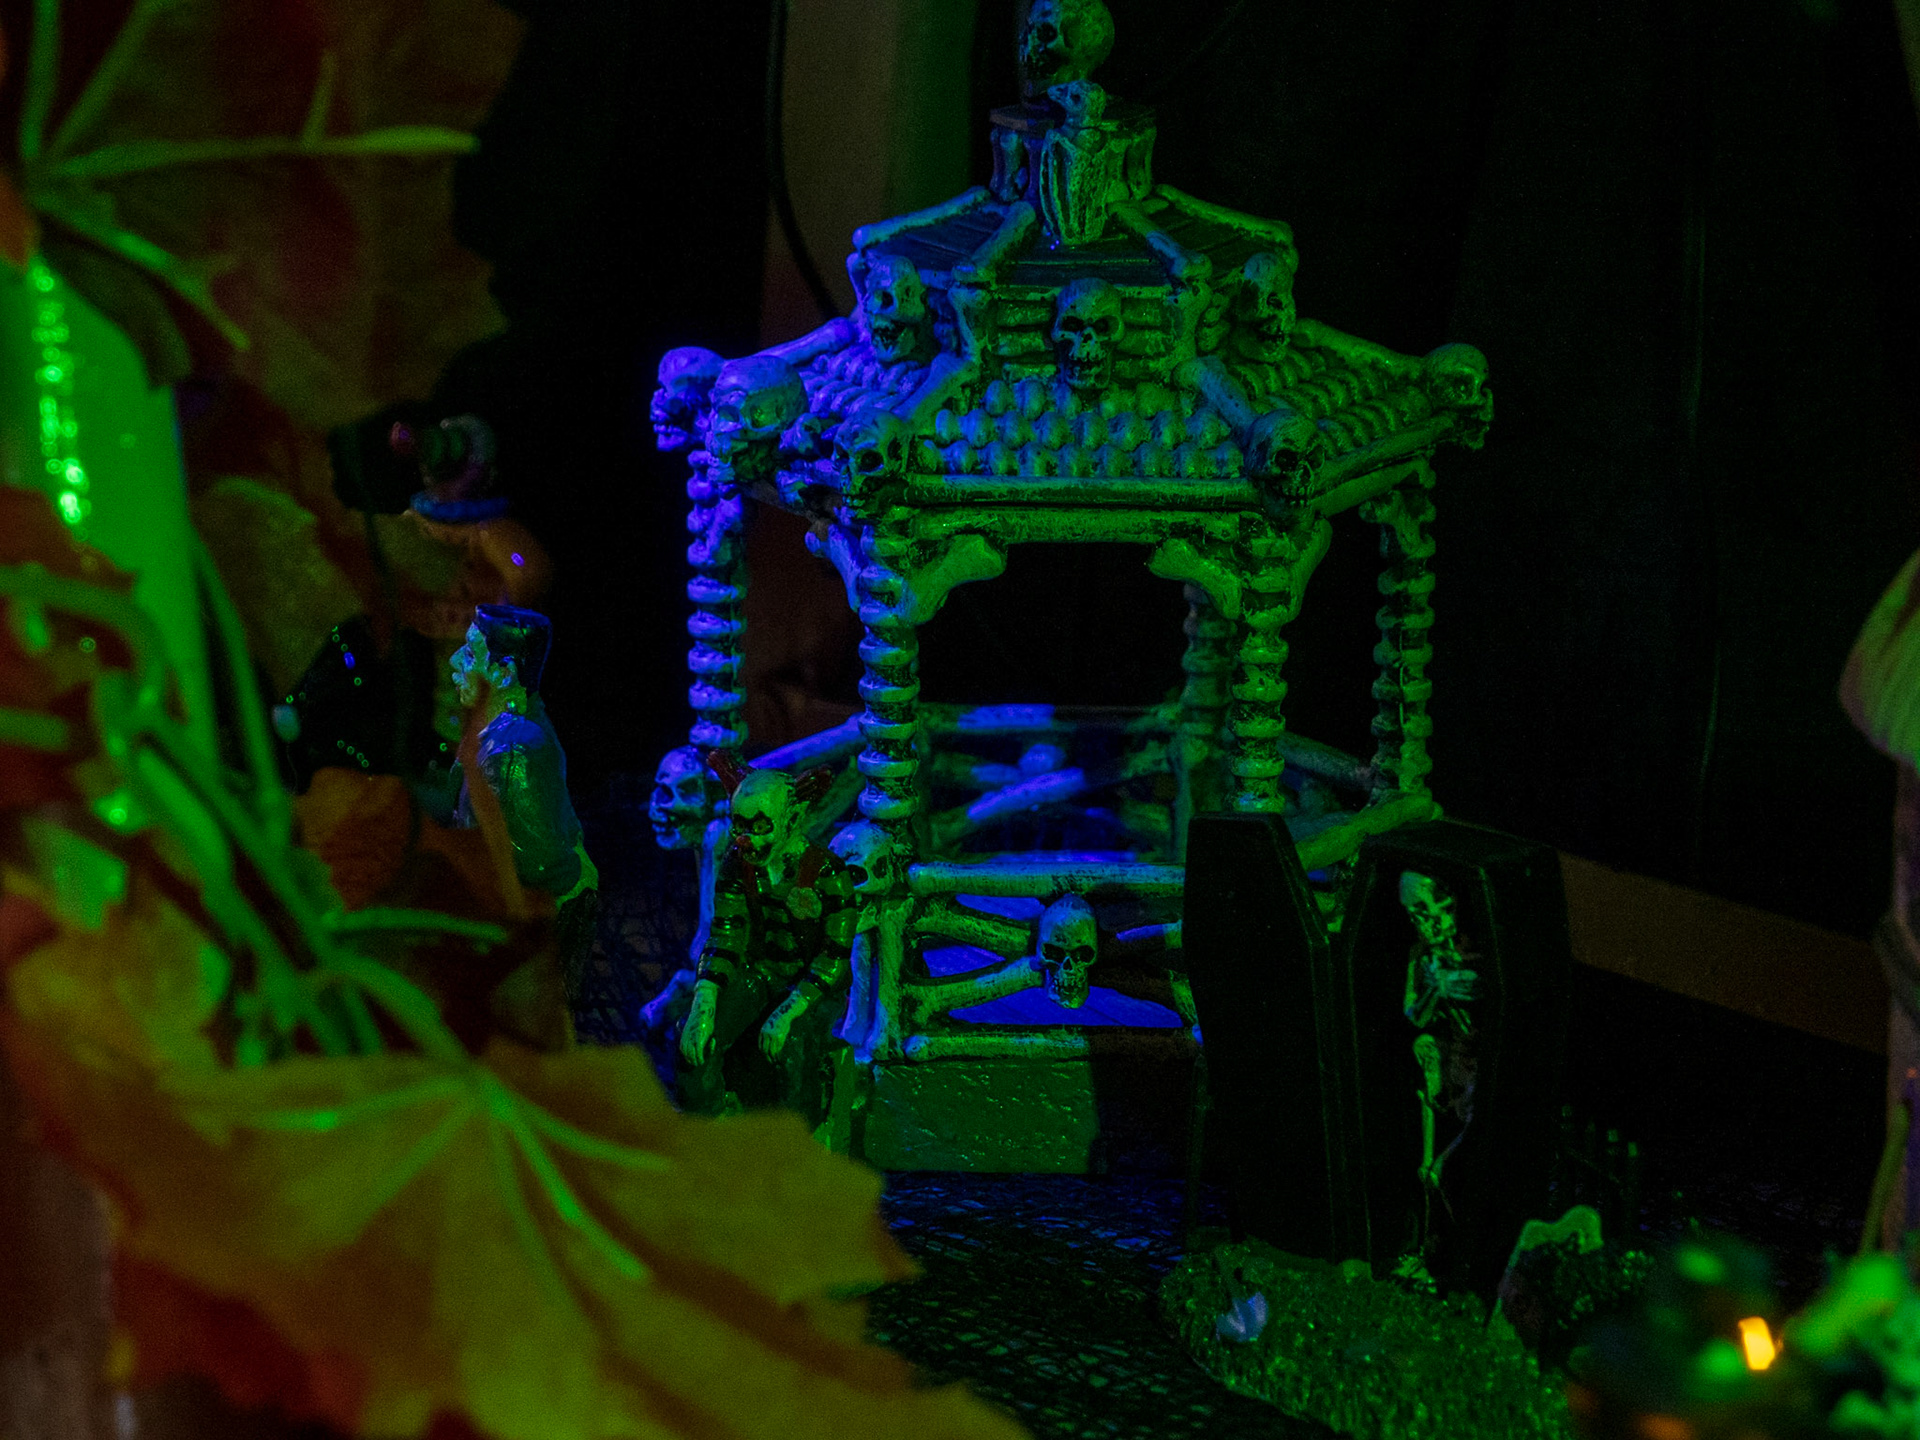
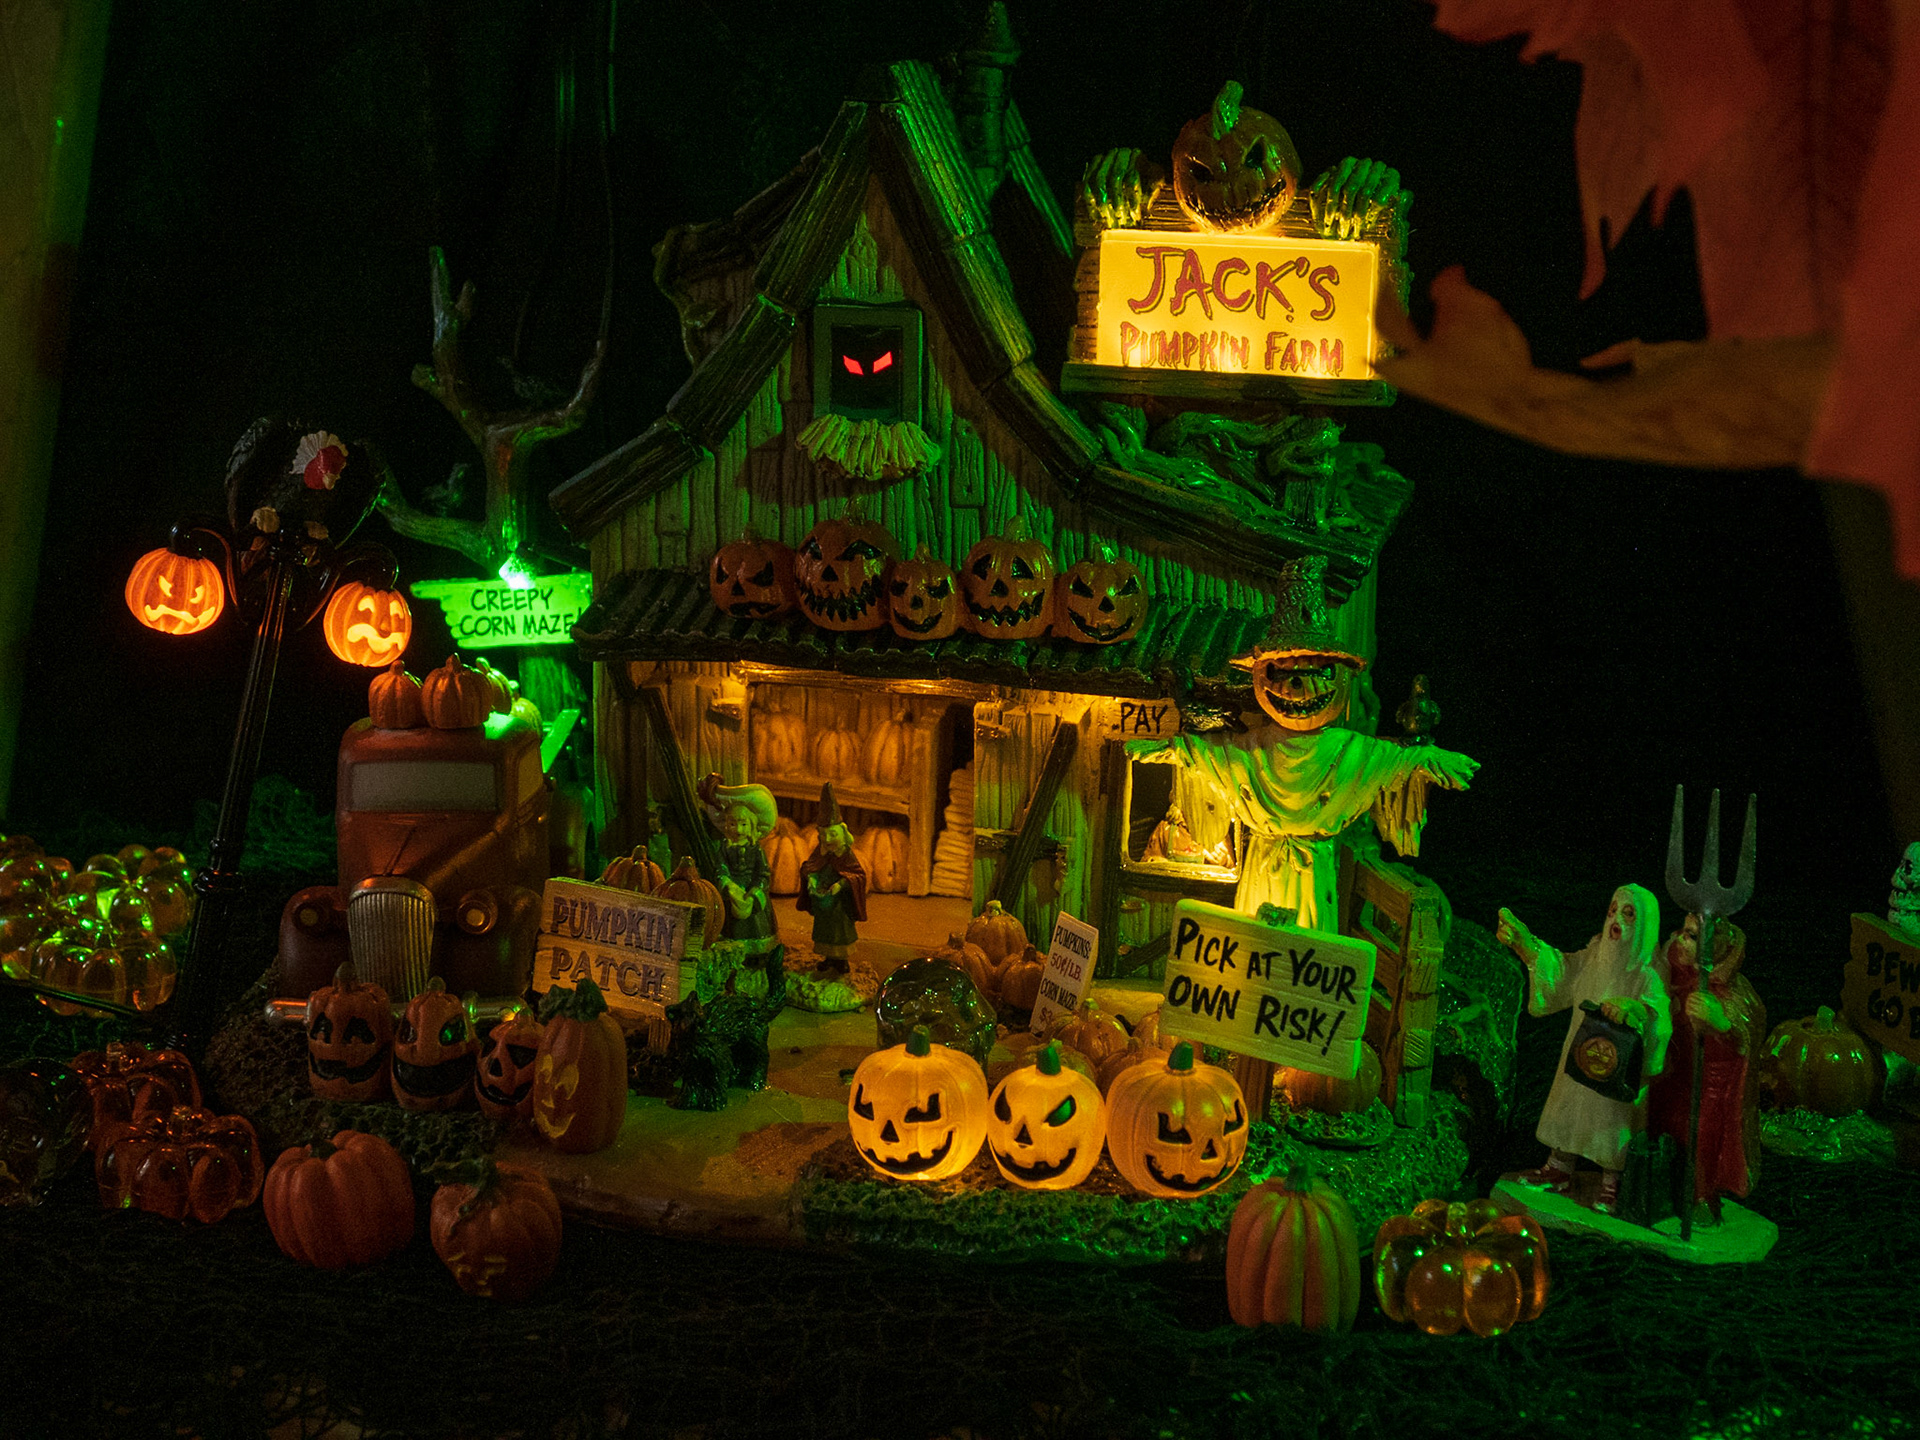
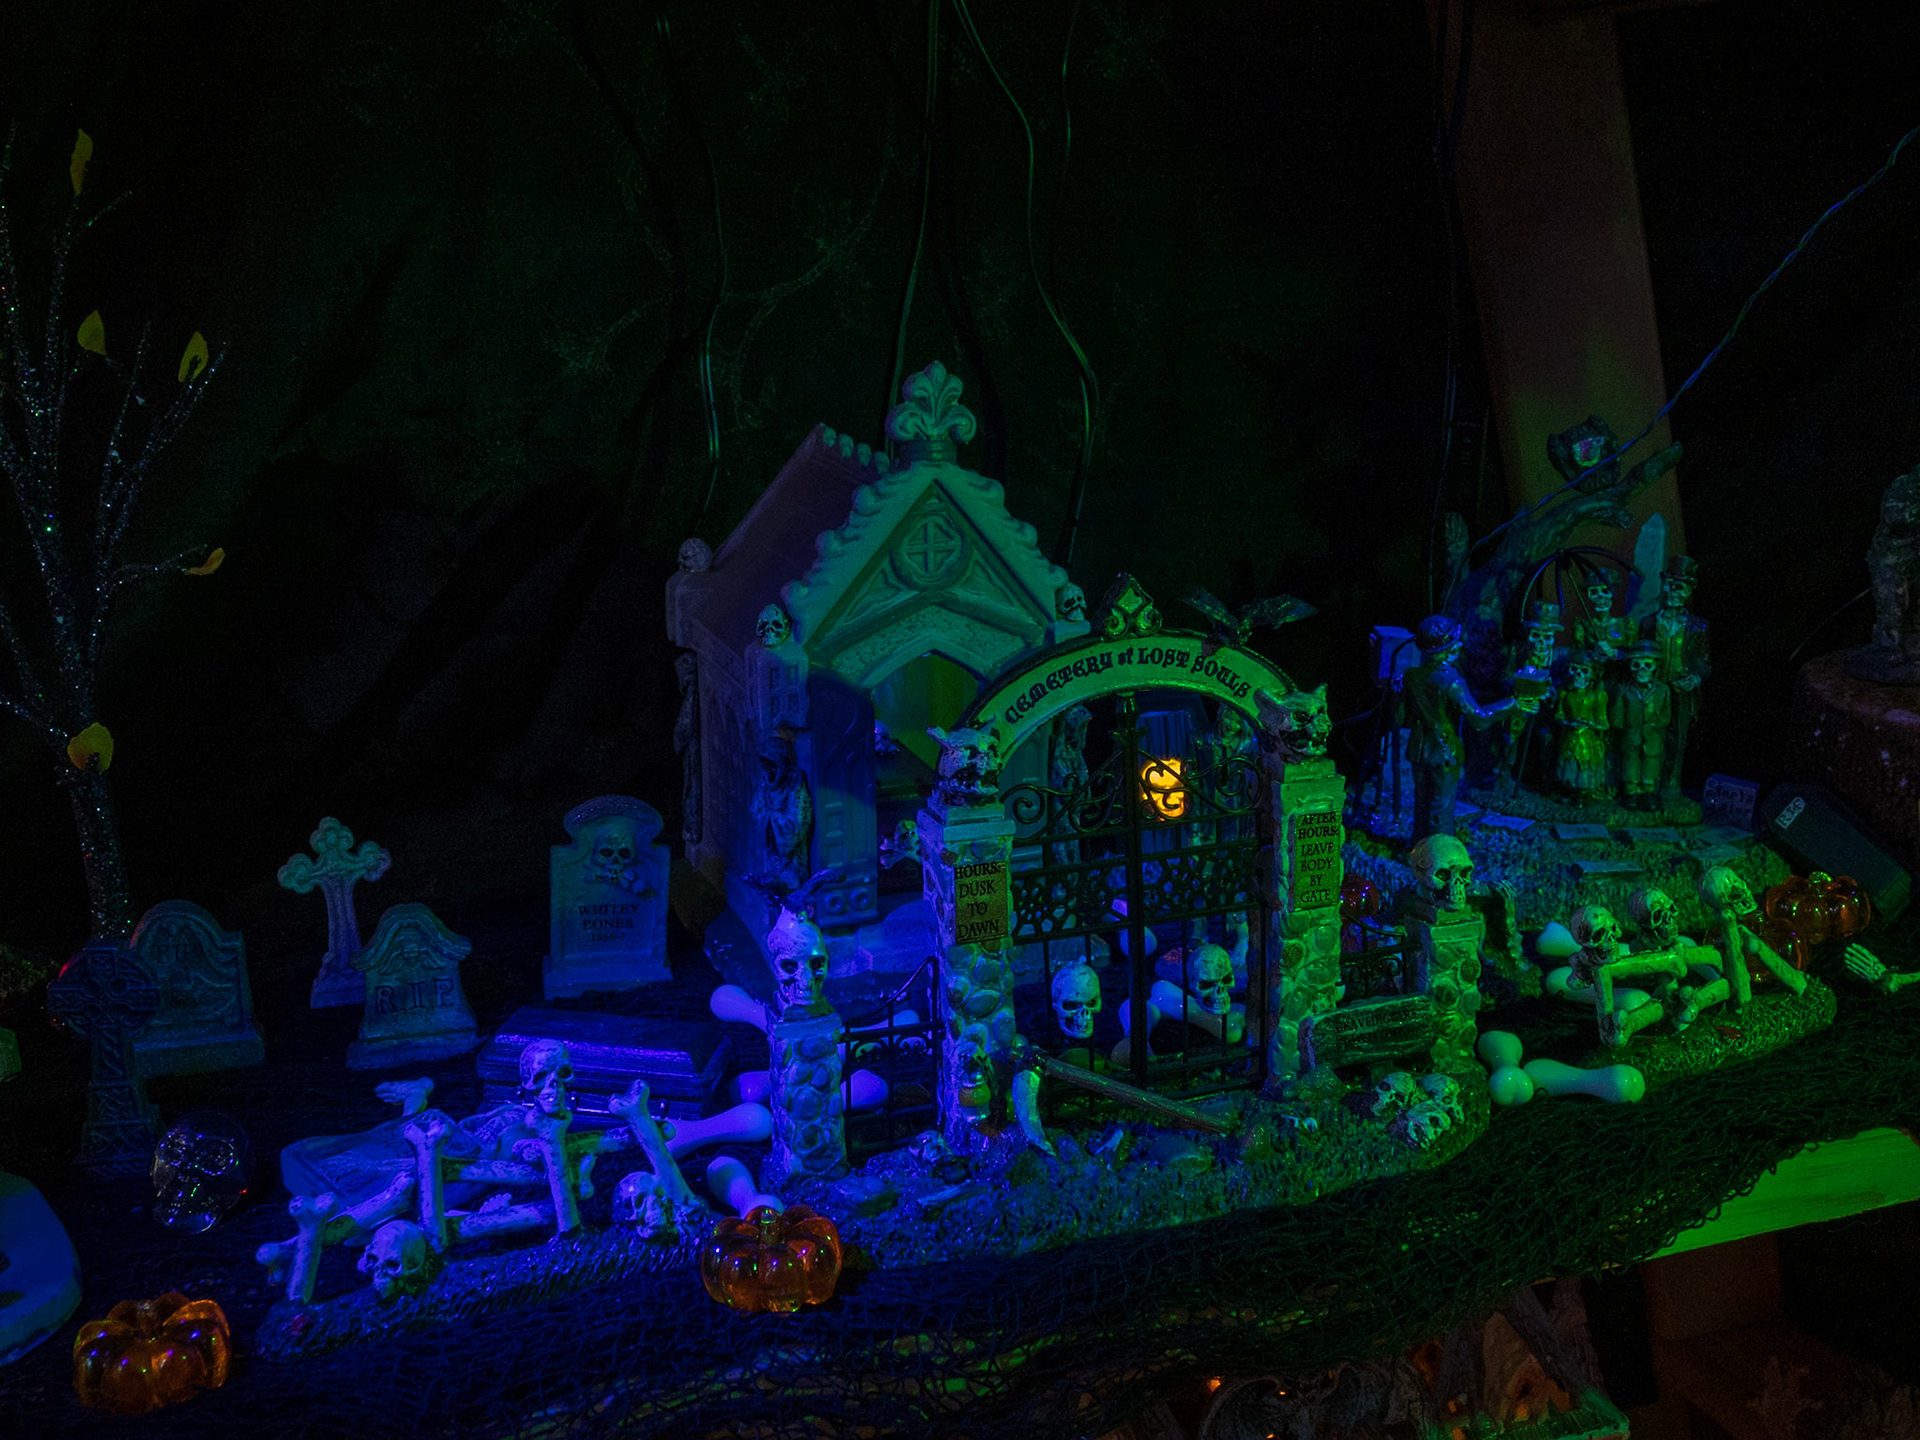
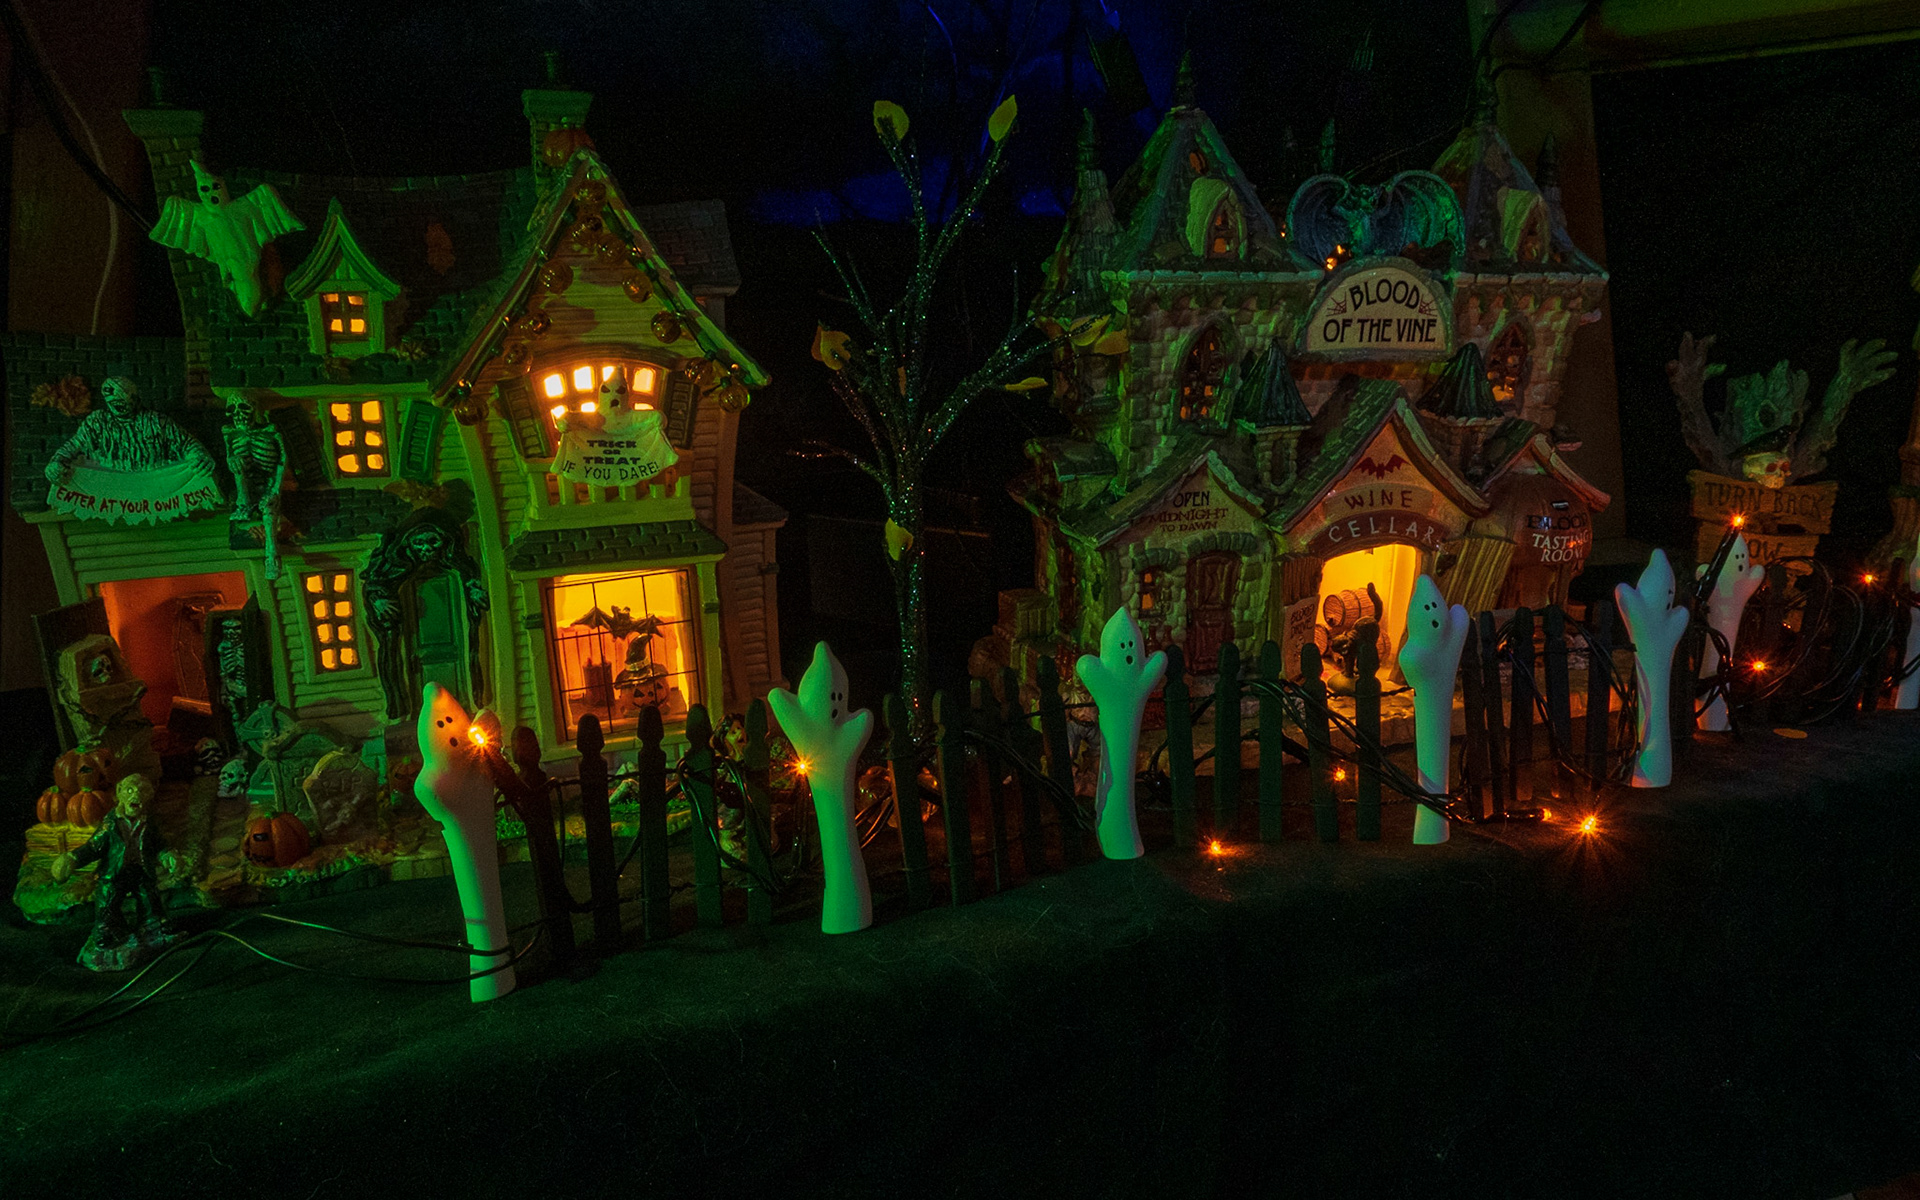
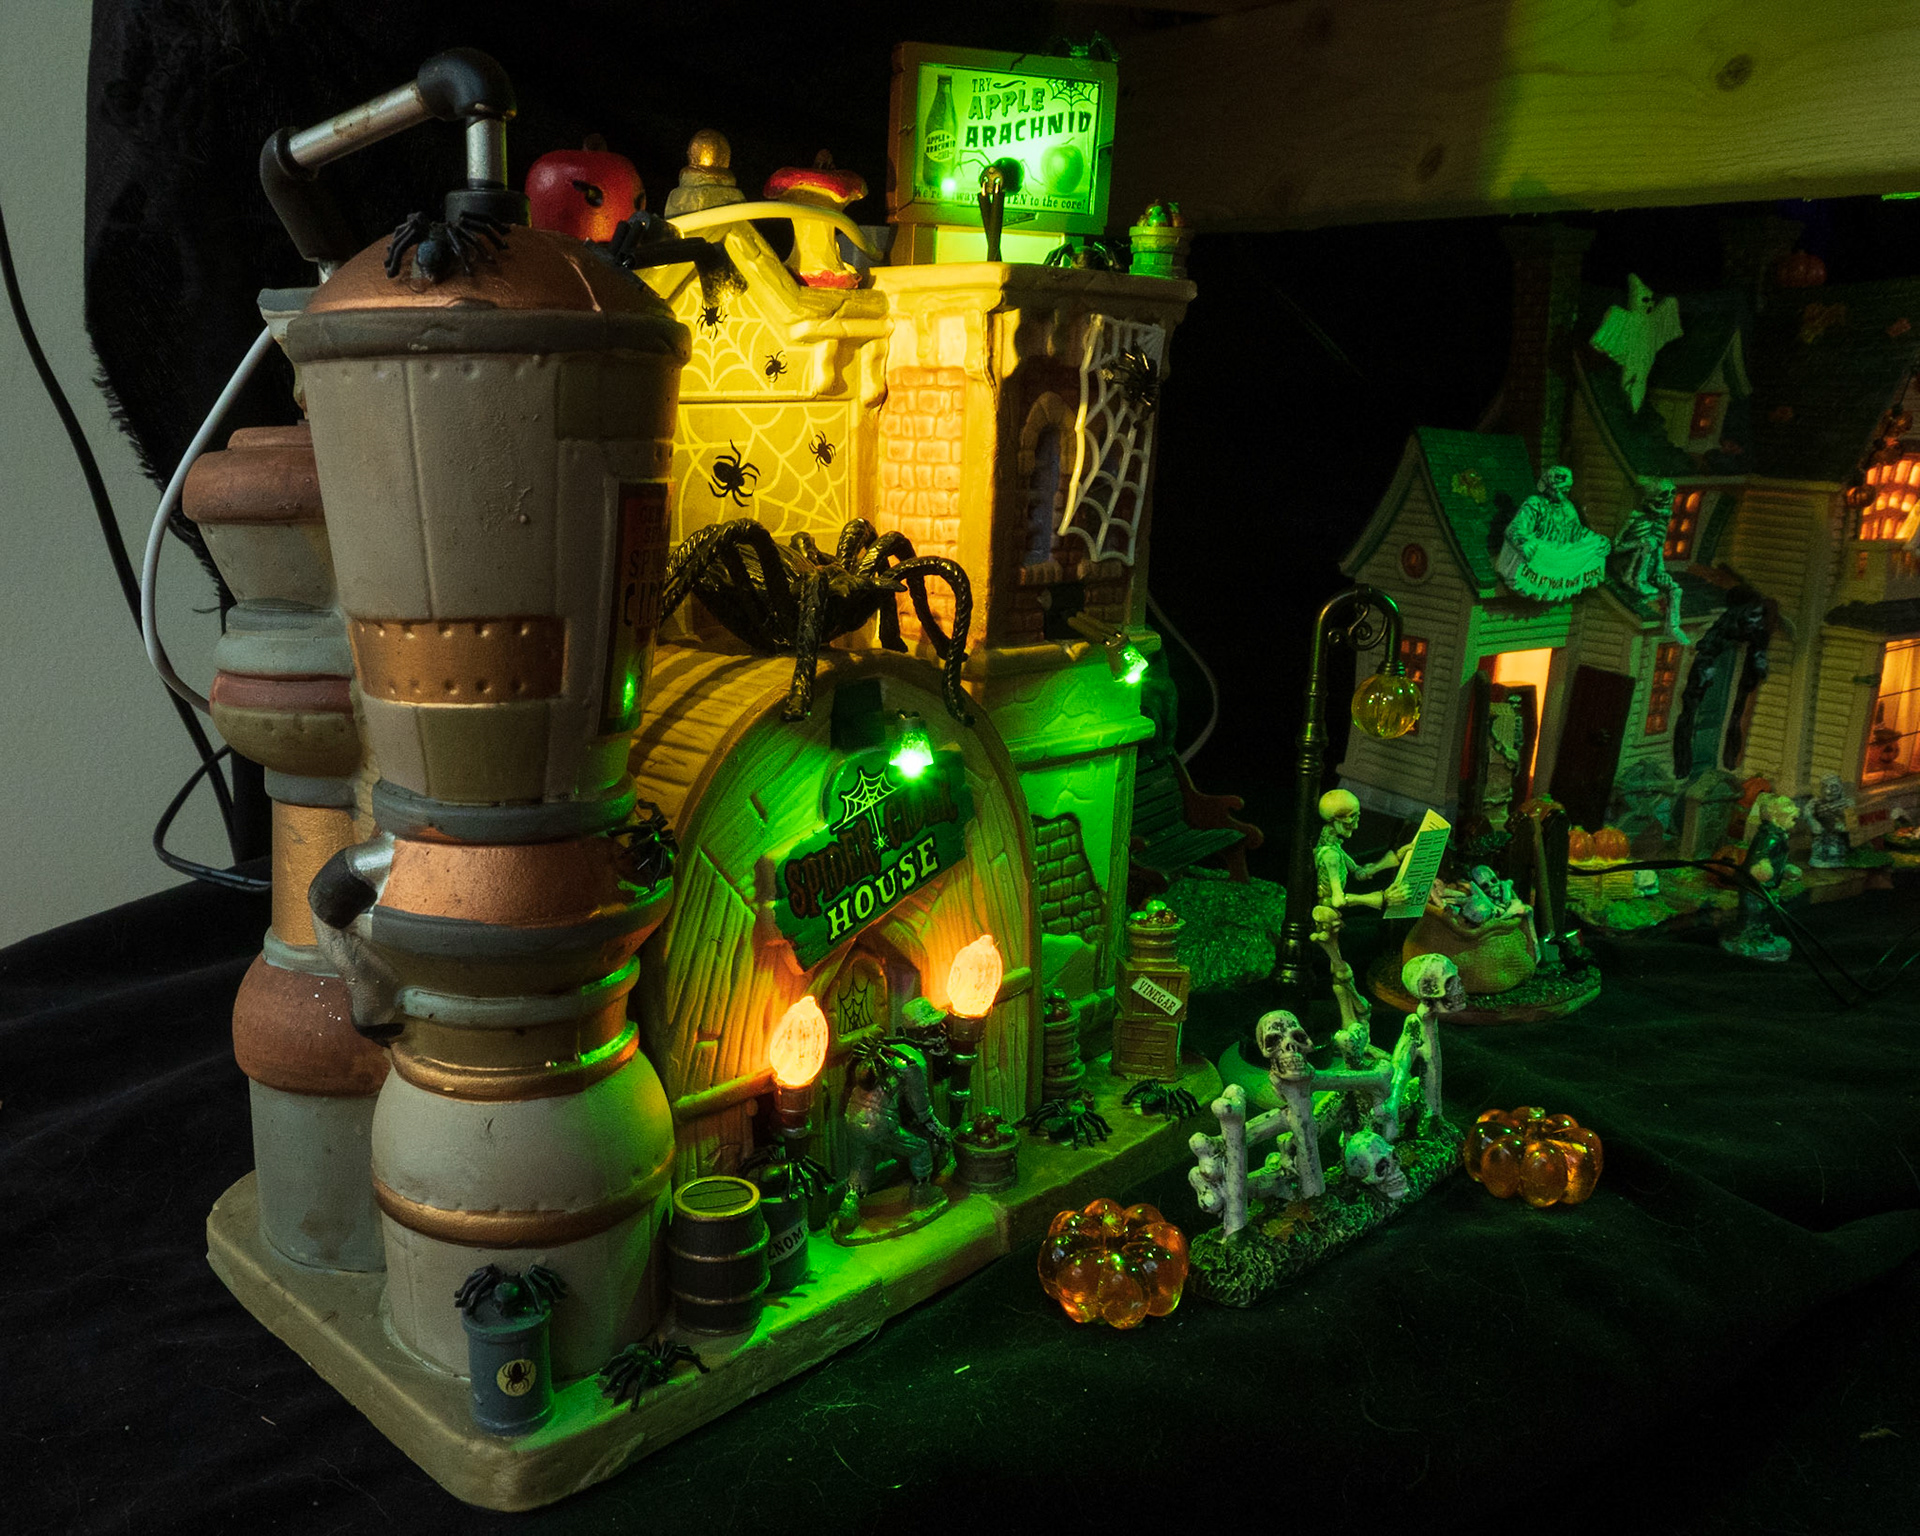
While setting up Christmas Town, I quickly realized that this display unit would also be ideal for Halloween Town - for the same reasons. I purchased some cheap, dyed cheesecloth from a local dollar store to obscure the wood planks and then set about assembling Halloween Town. This is the first time I was able to get my entire collection on display in the same place!
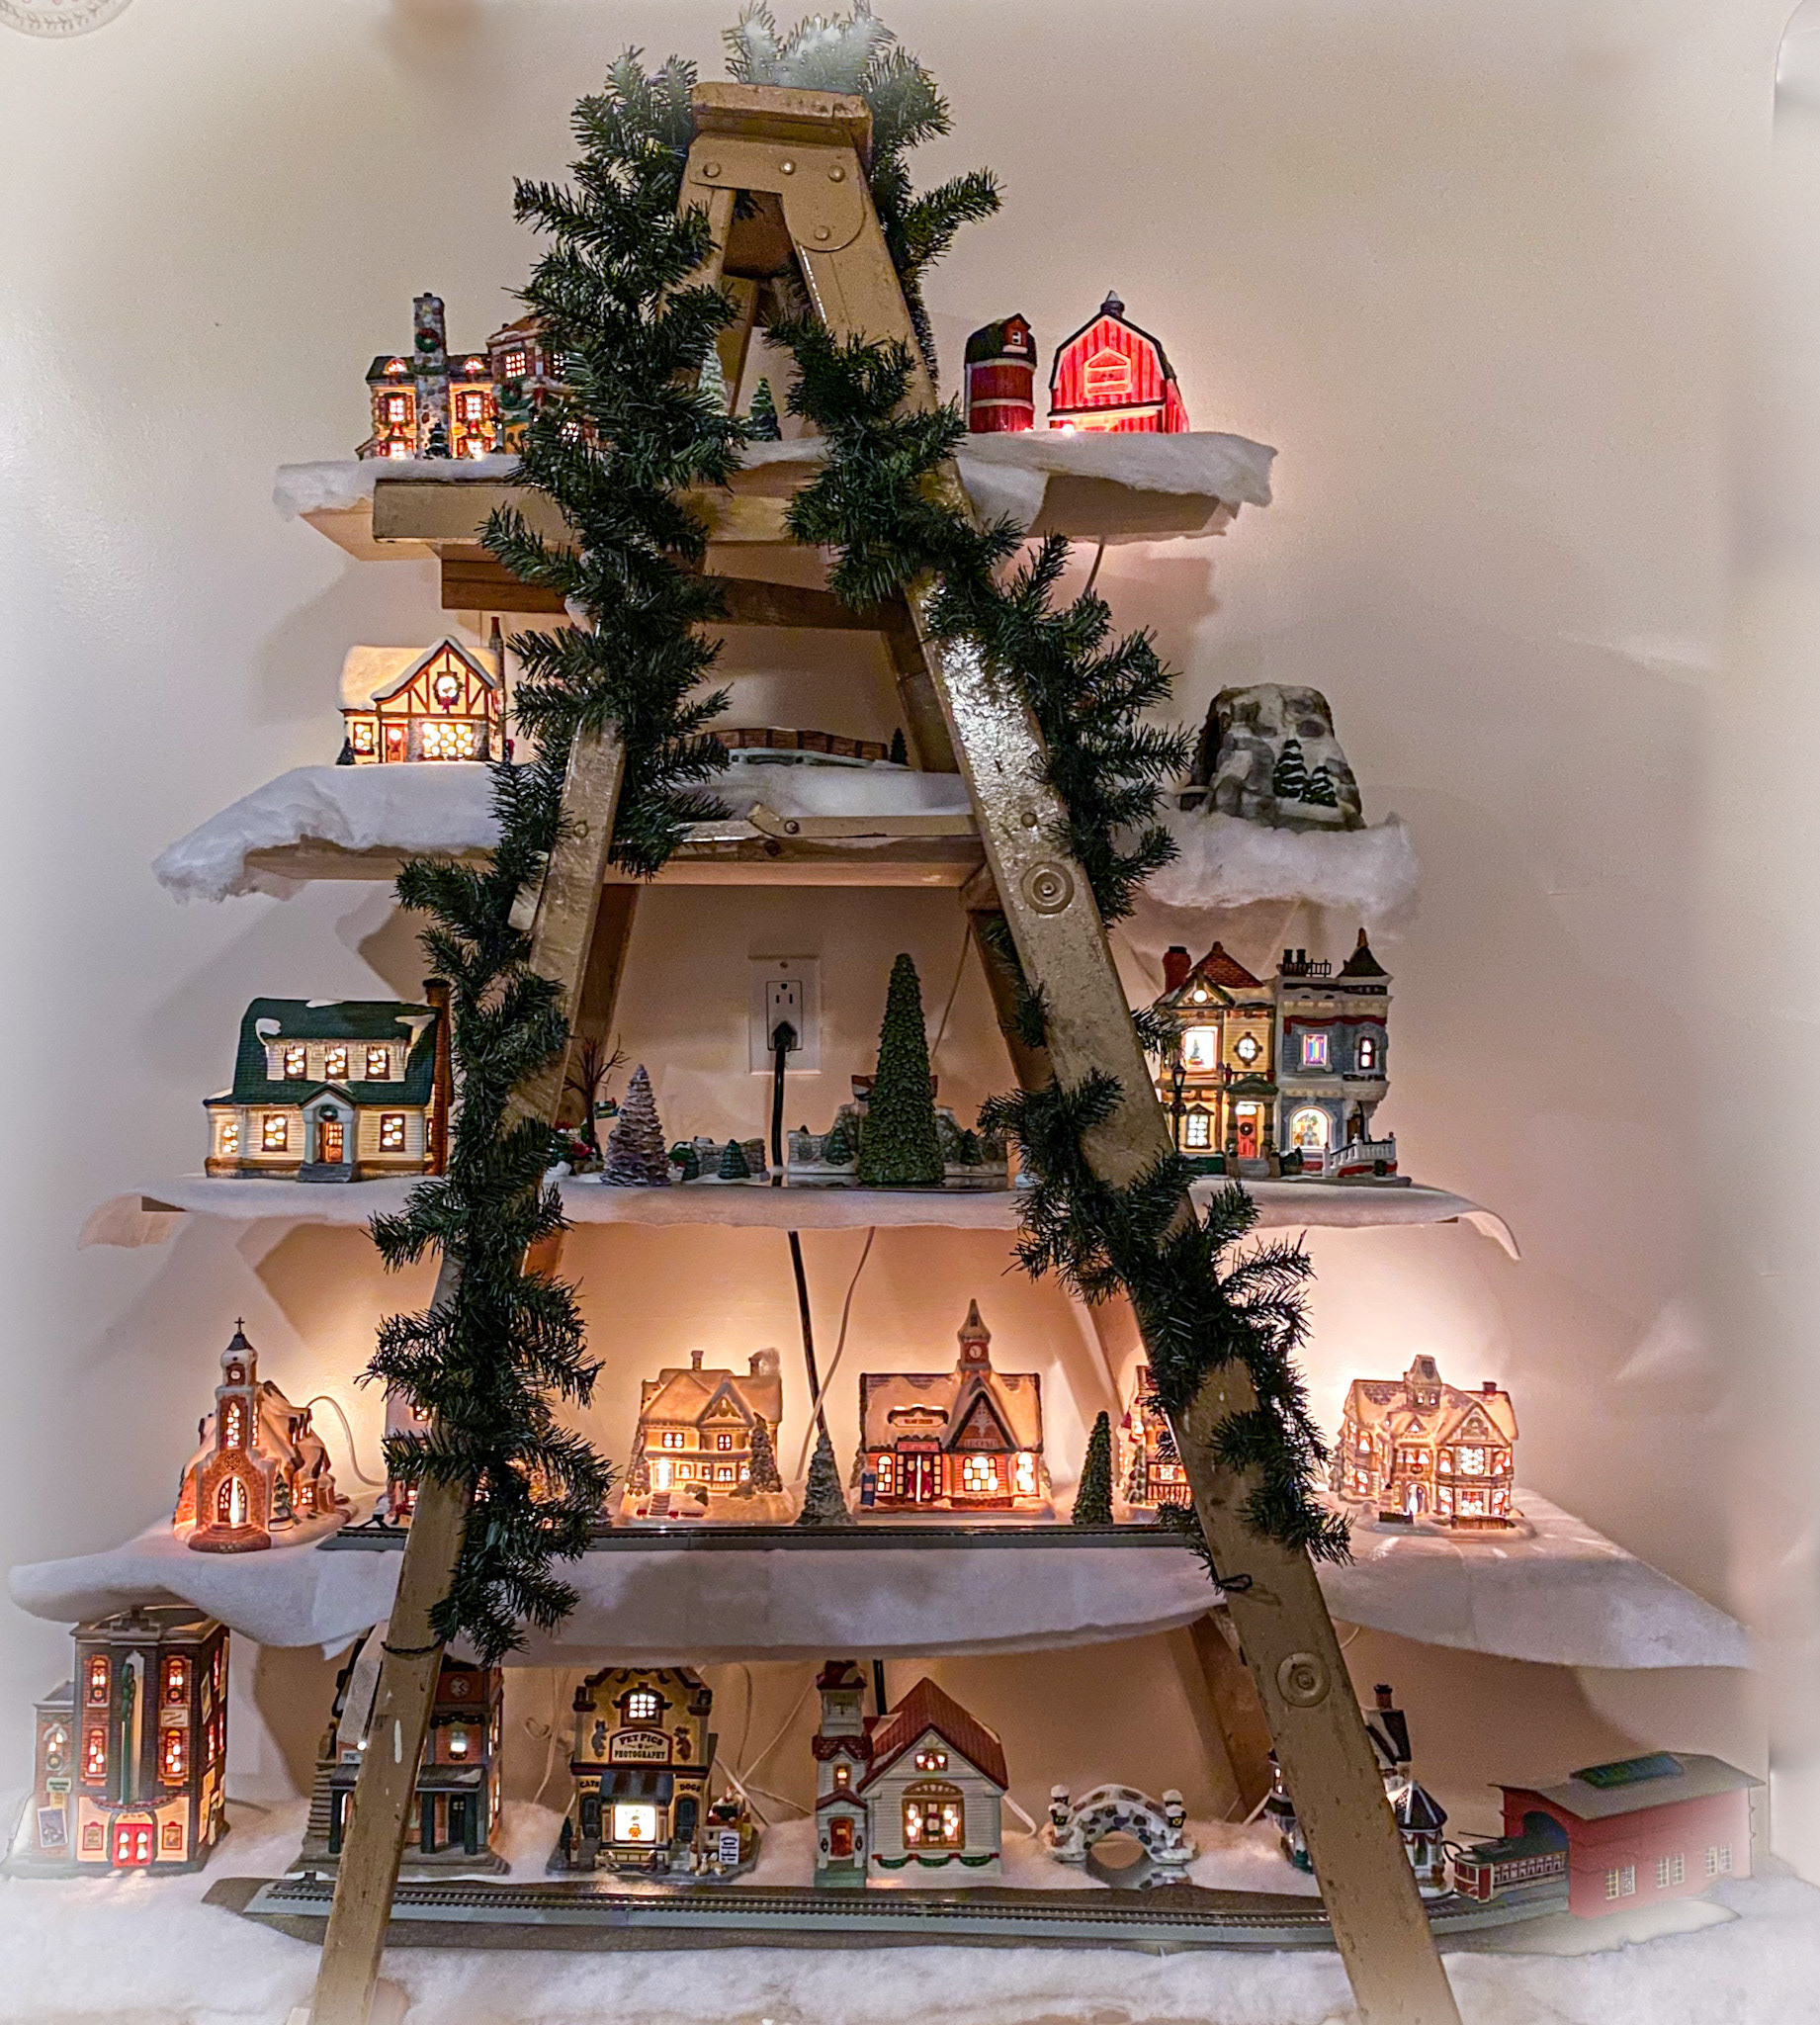
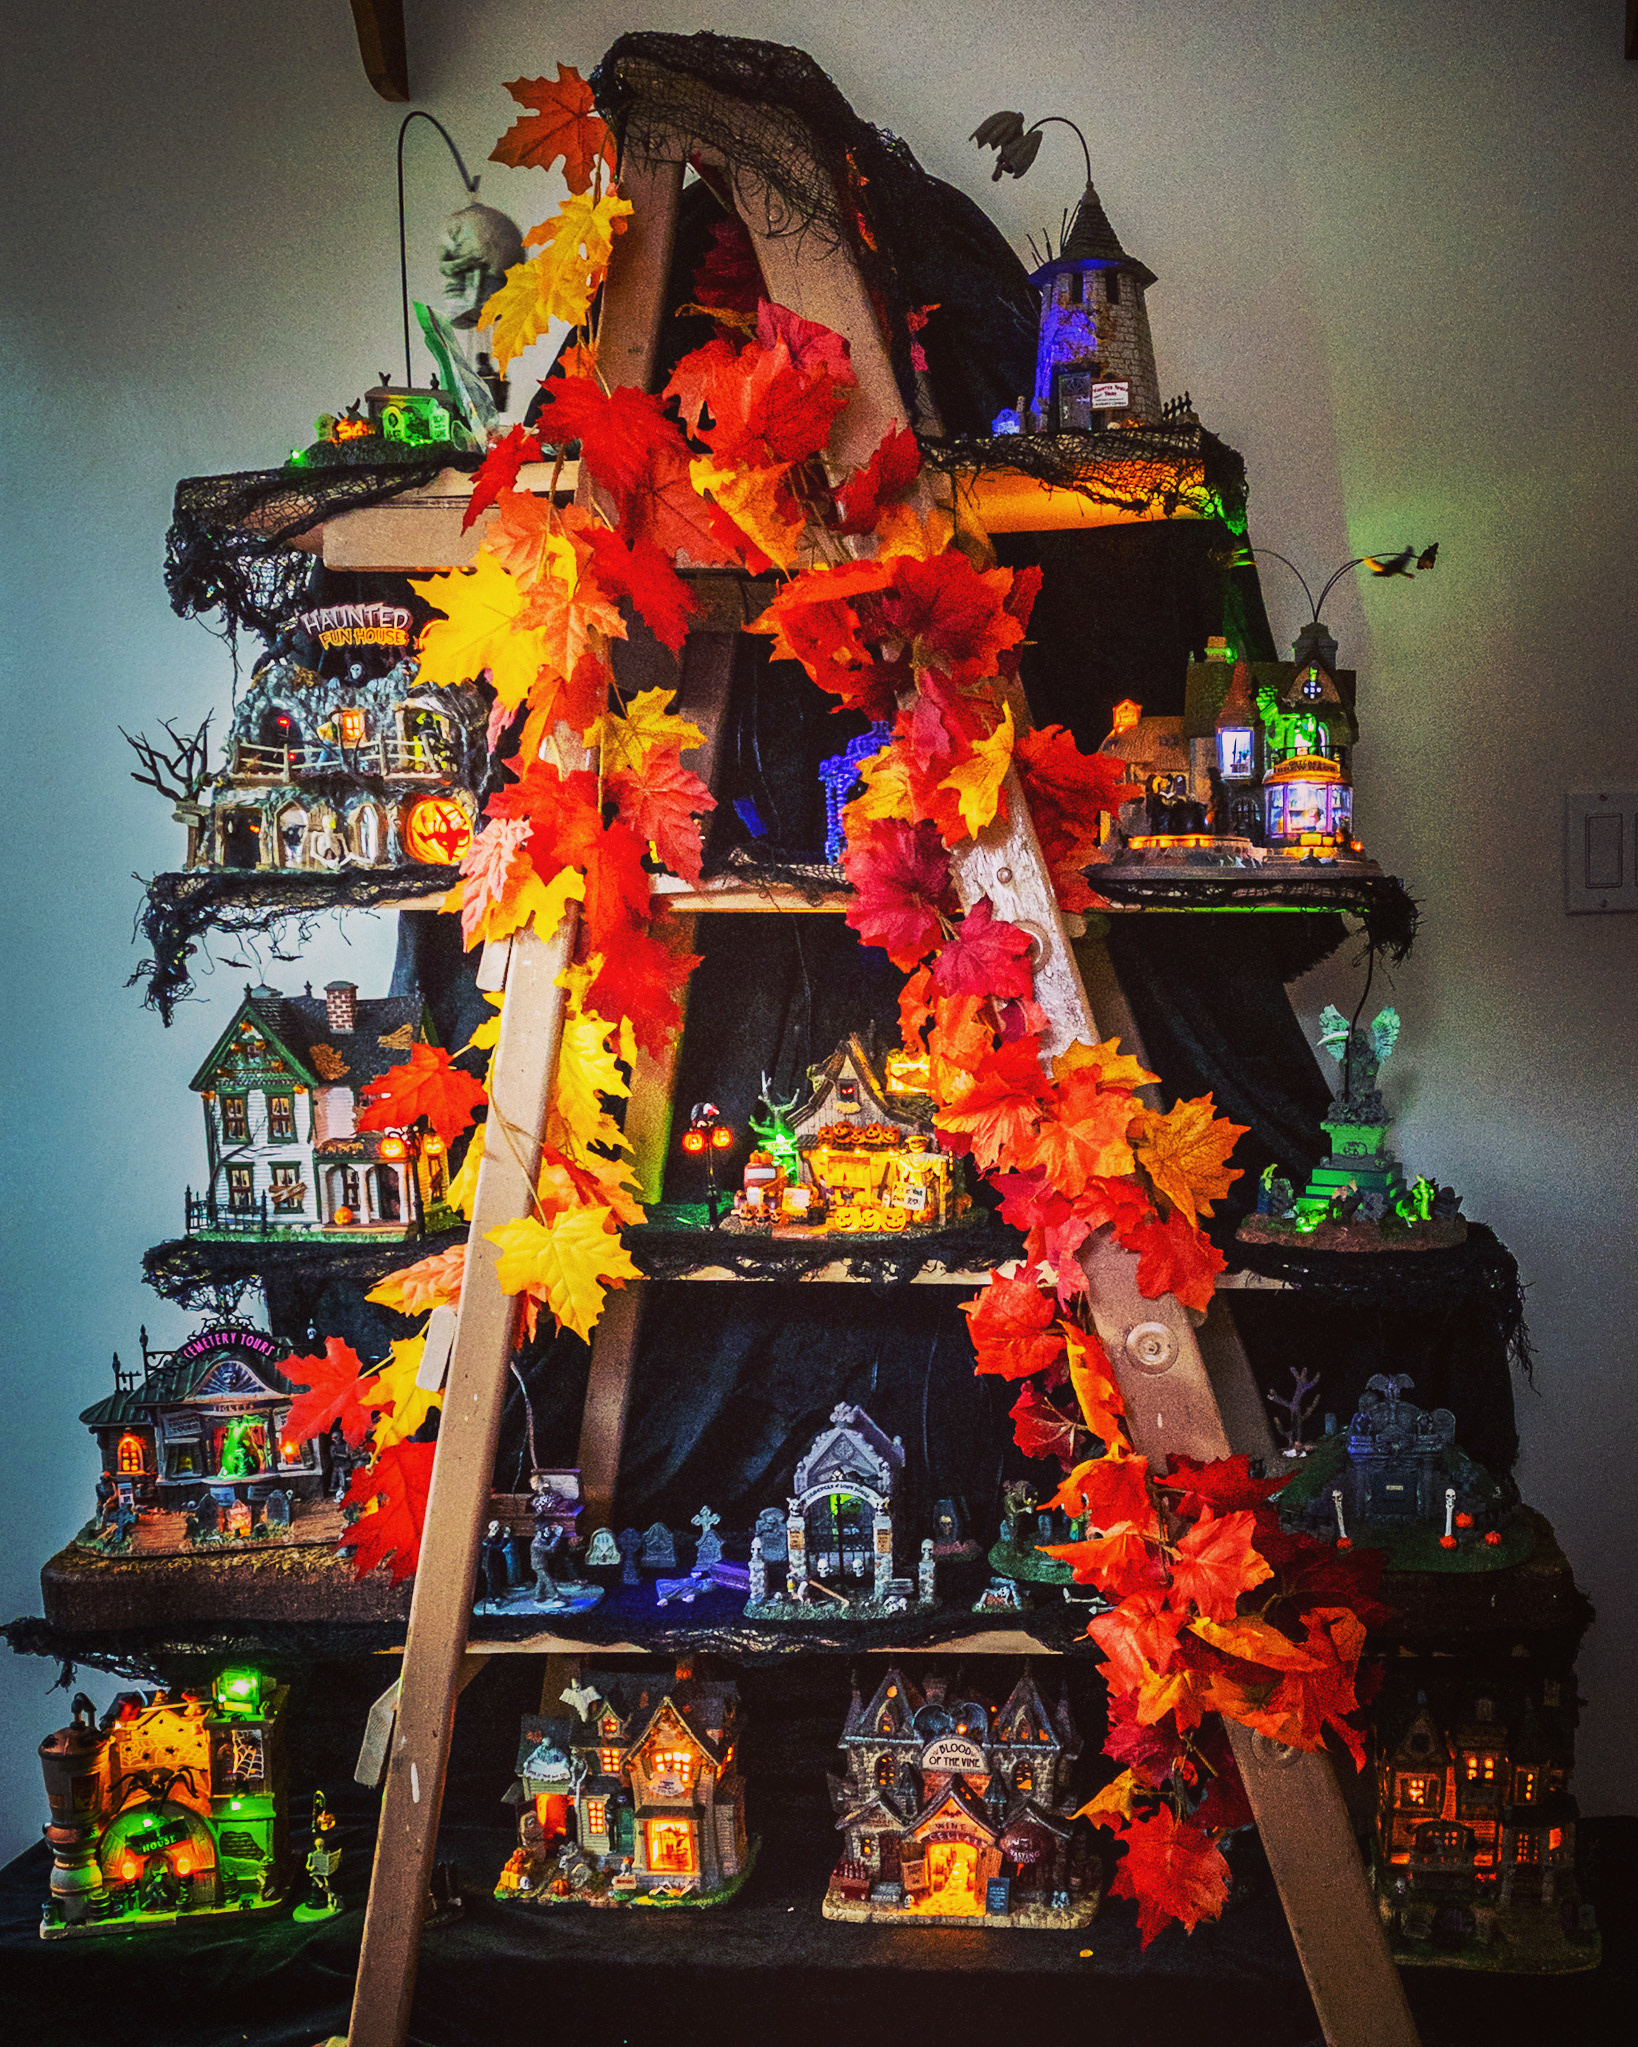
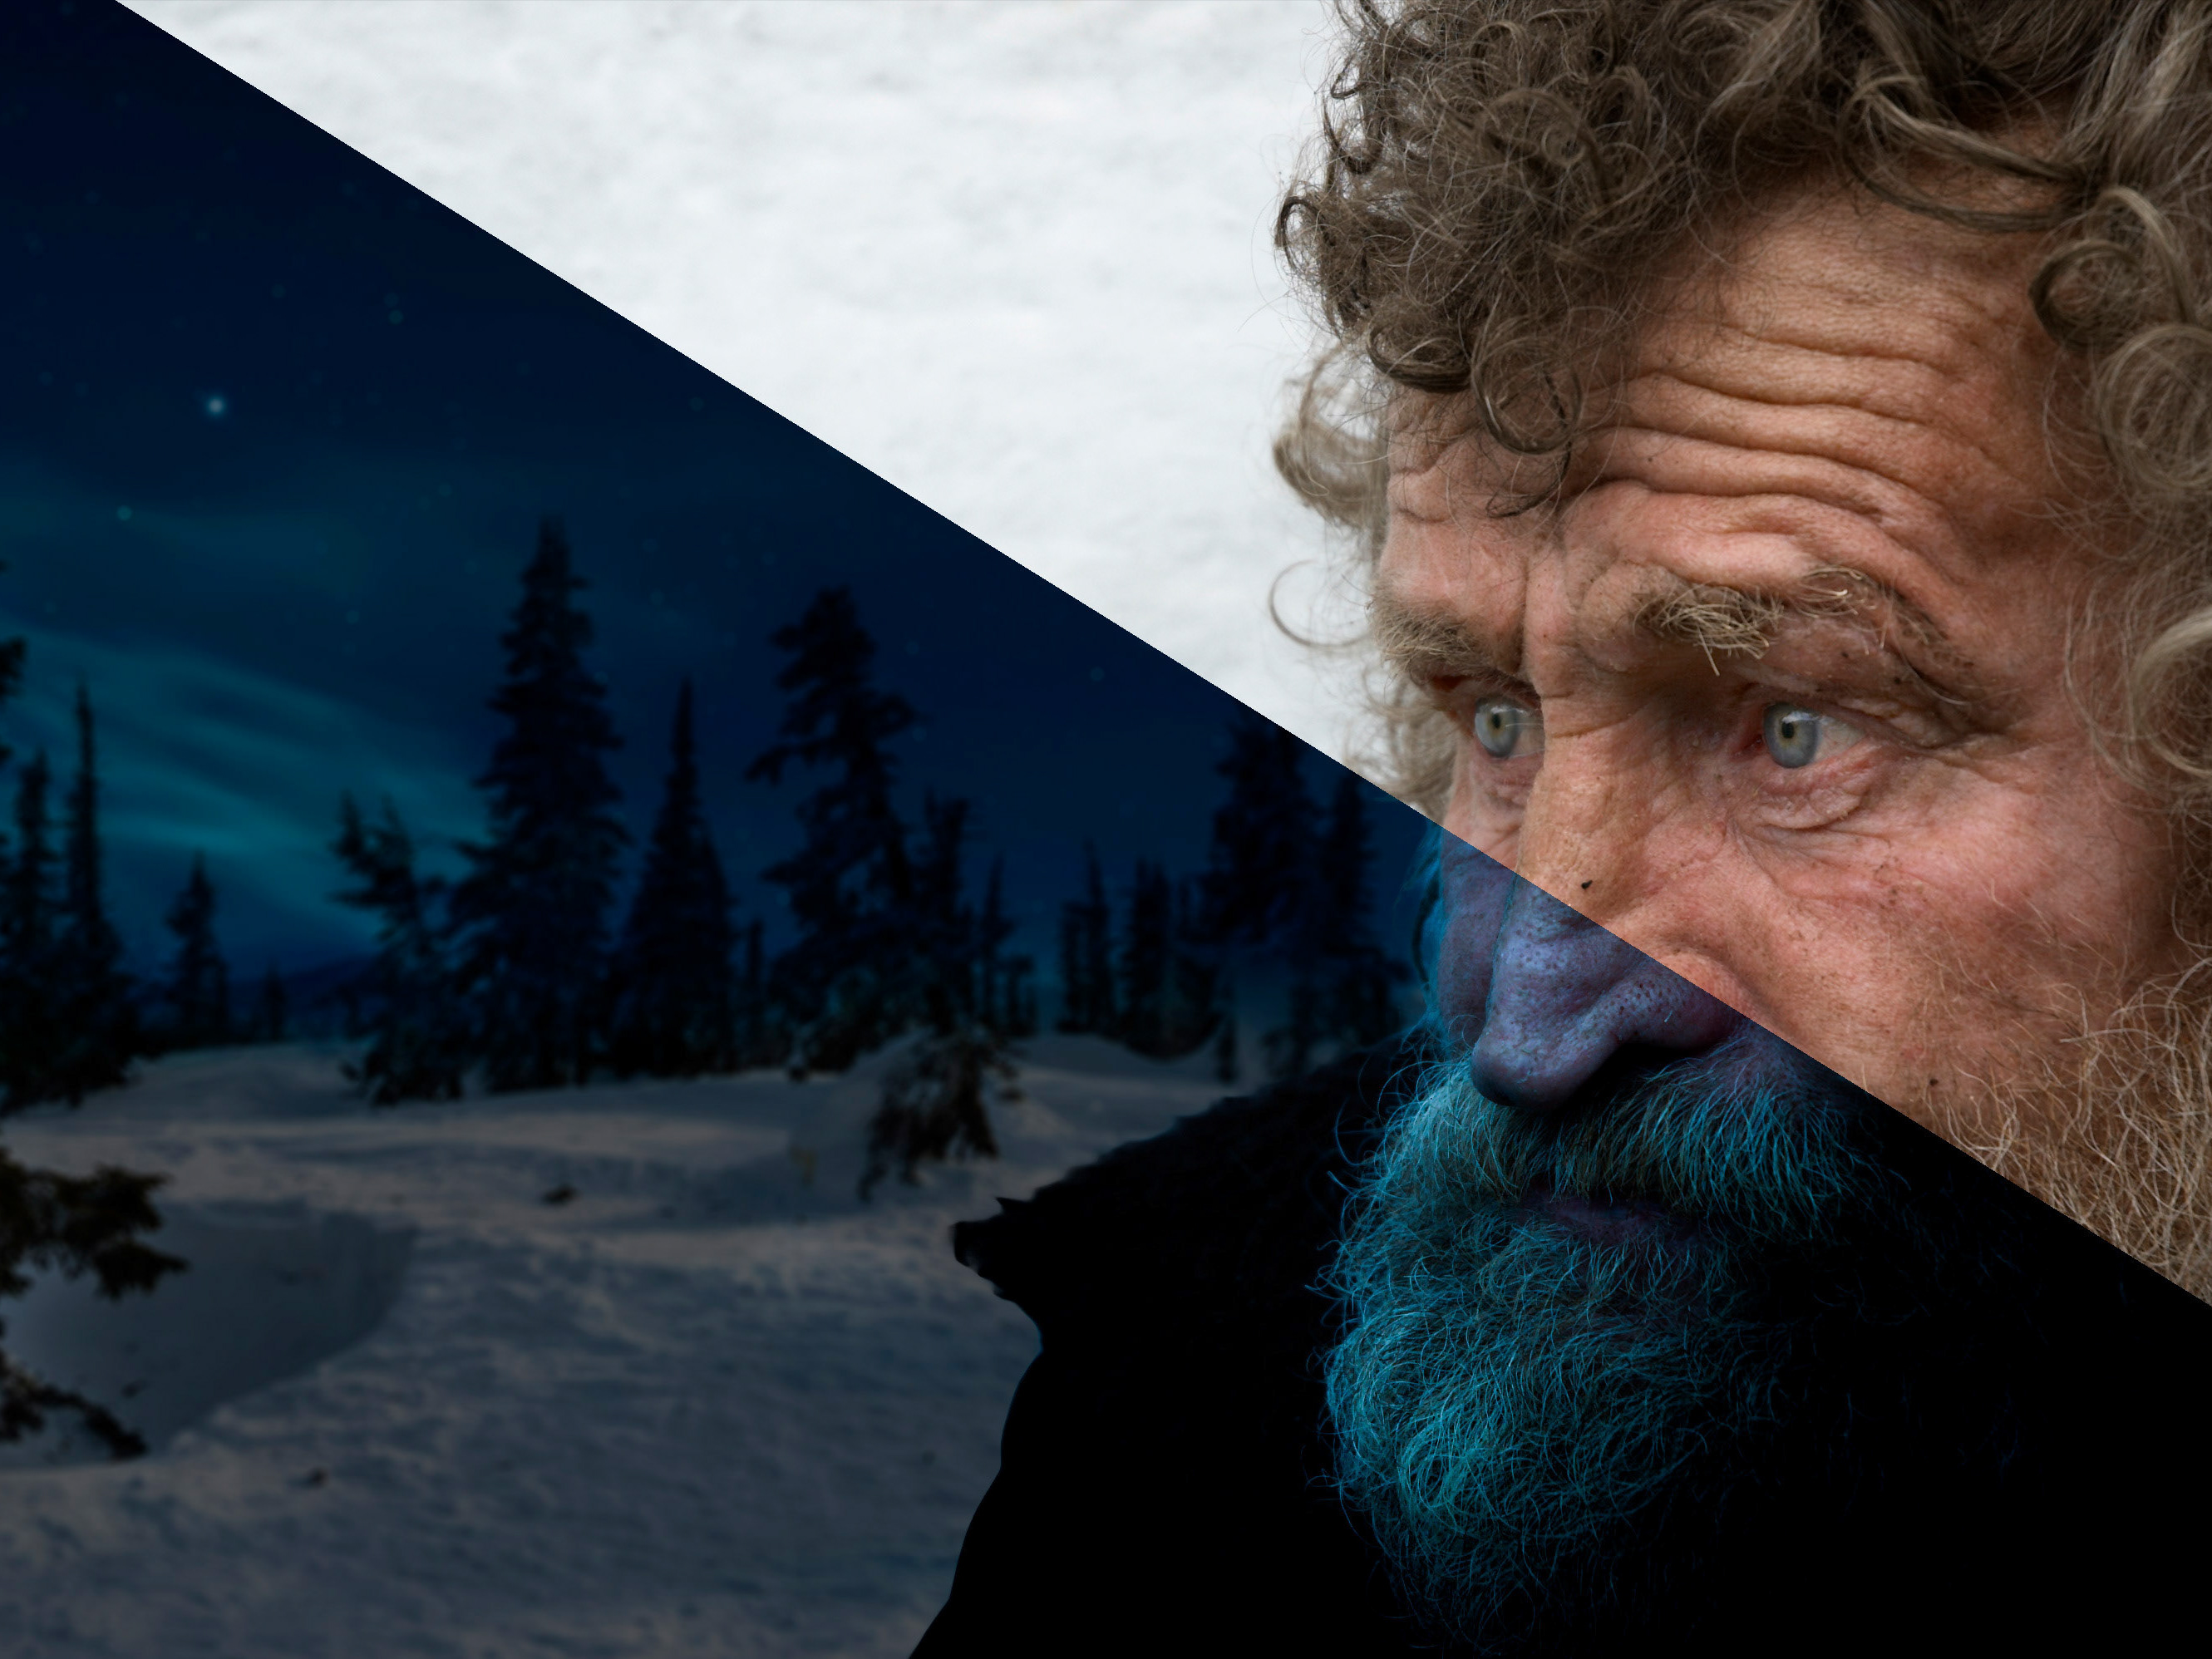
My two favorite holidays, side by side... NIght and Day, as it were...
My Workflow
Production
I filmed the entire video in one take - not necessarily the best idea, as I ended up with a 4.2 minute clip to edit down to around 3 minutes. The still images were also captured with the same camera as the video - my Olympus EM5 Mark III.
I mounted the camera to an inexpensive u-bar rig for filming, and then switched to a tripod for the still shots. I attached a LumeCube light with a green gel to the camera rig as well, for additional illumination.
Post Production
Still Images
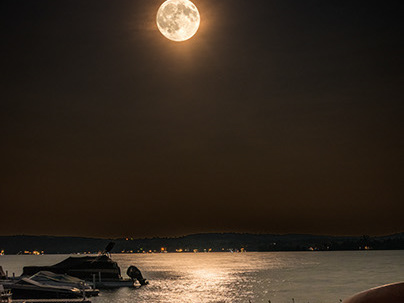
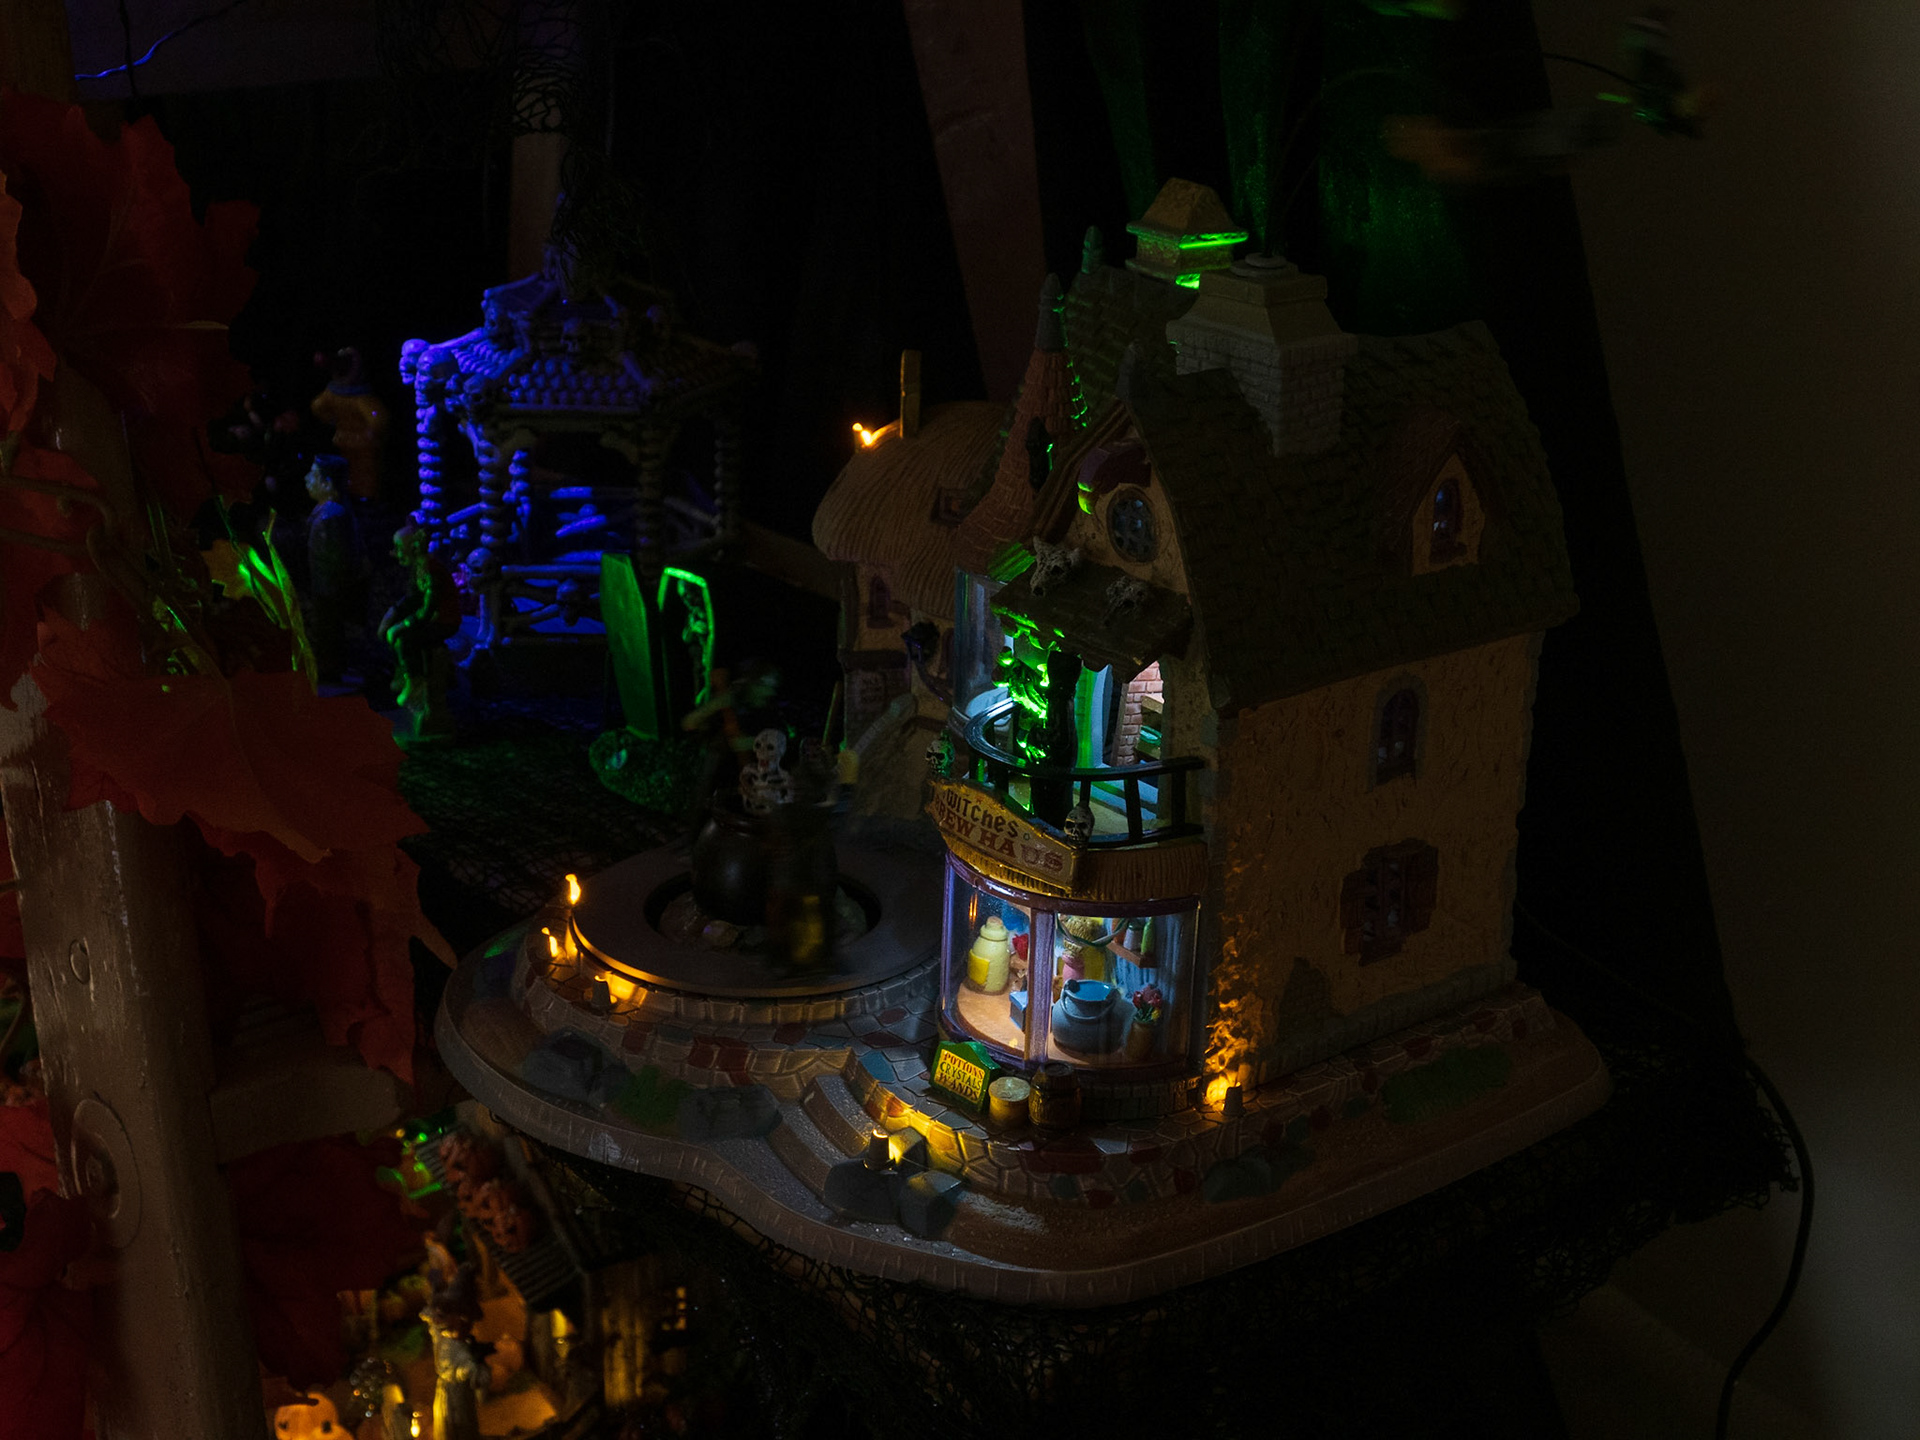
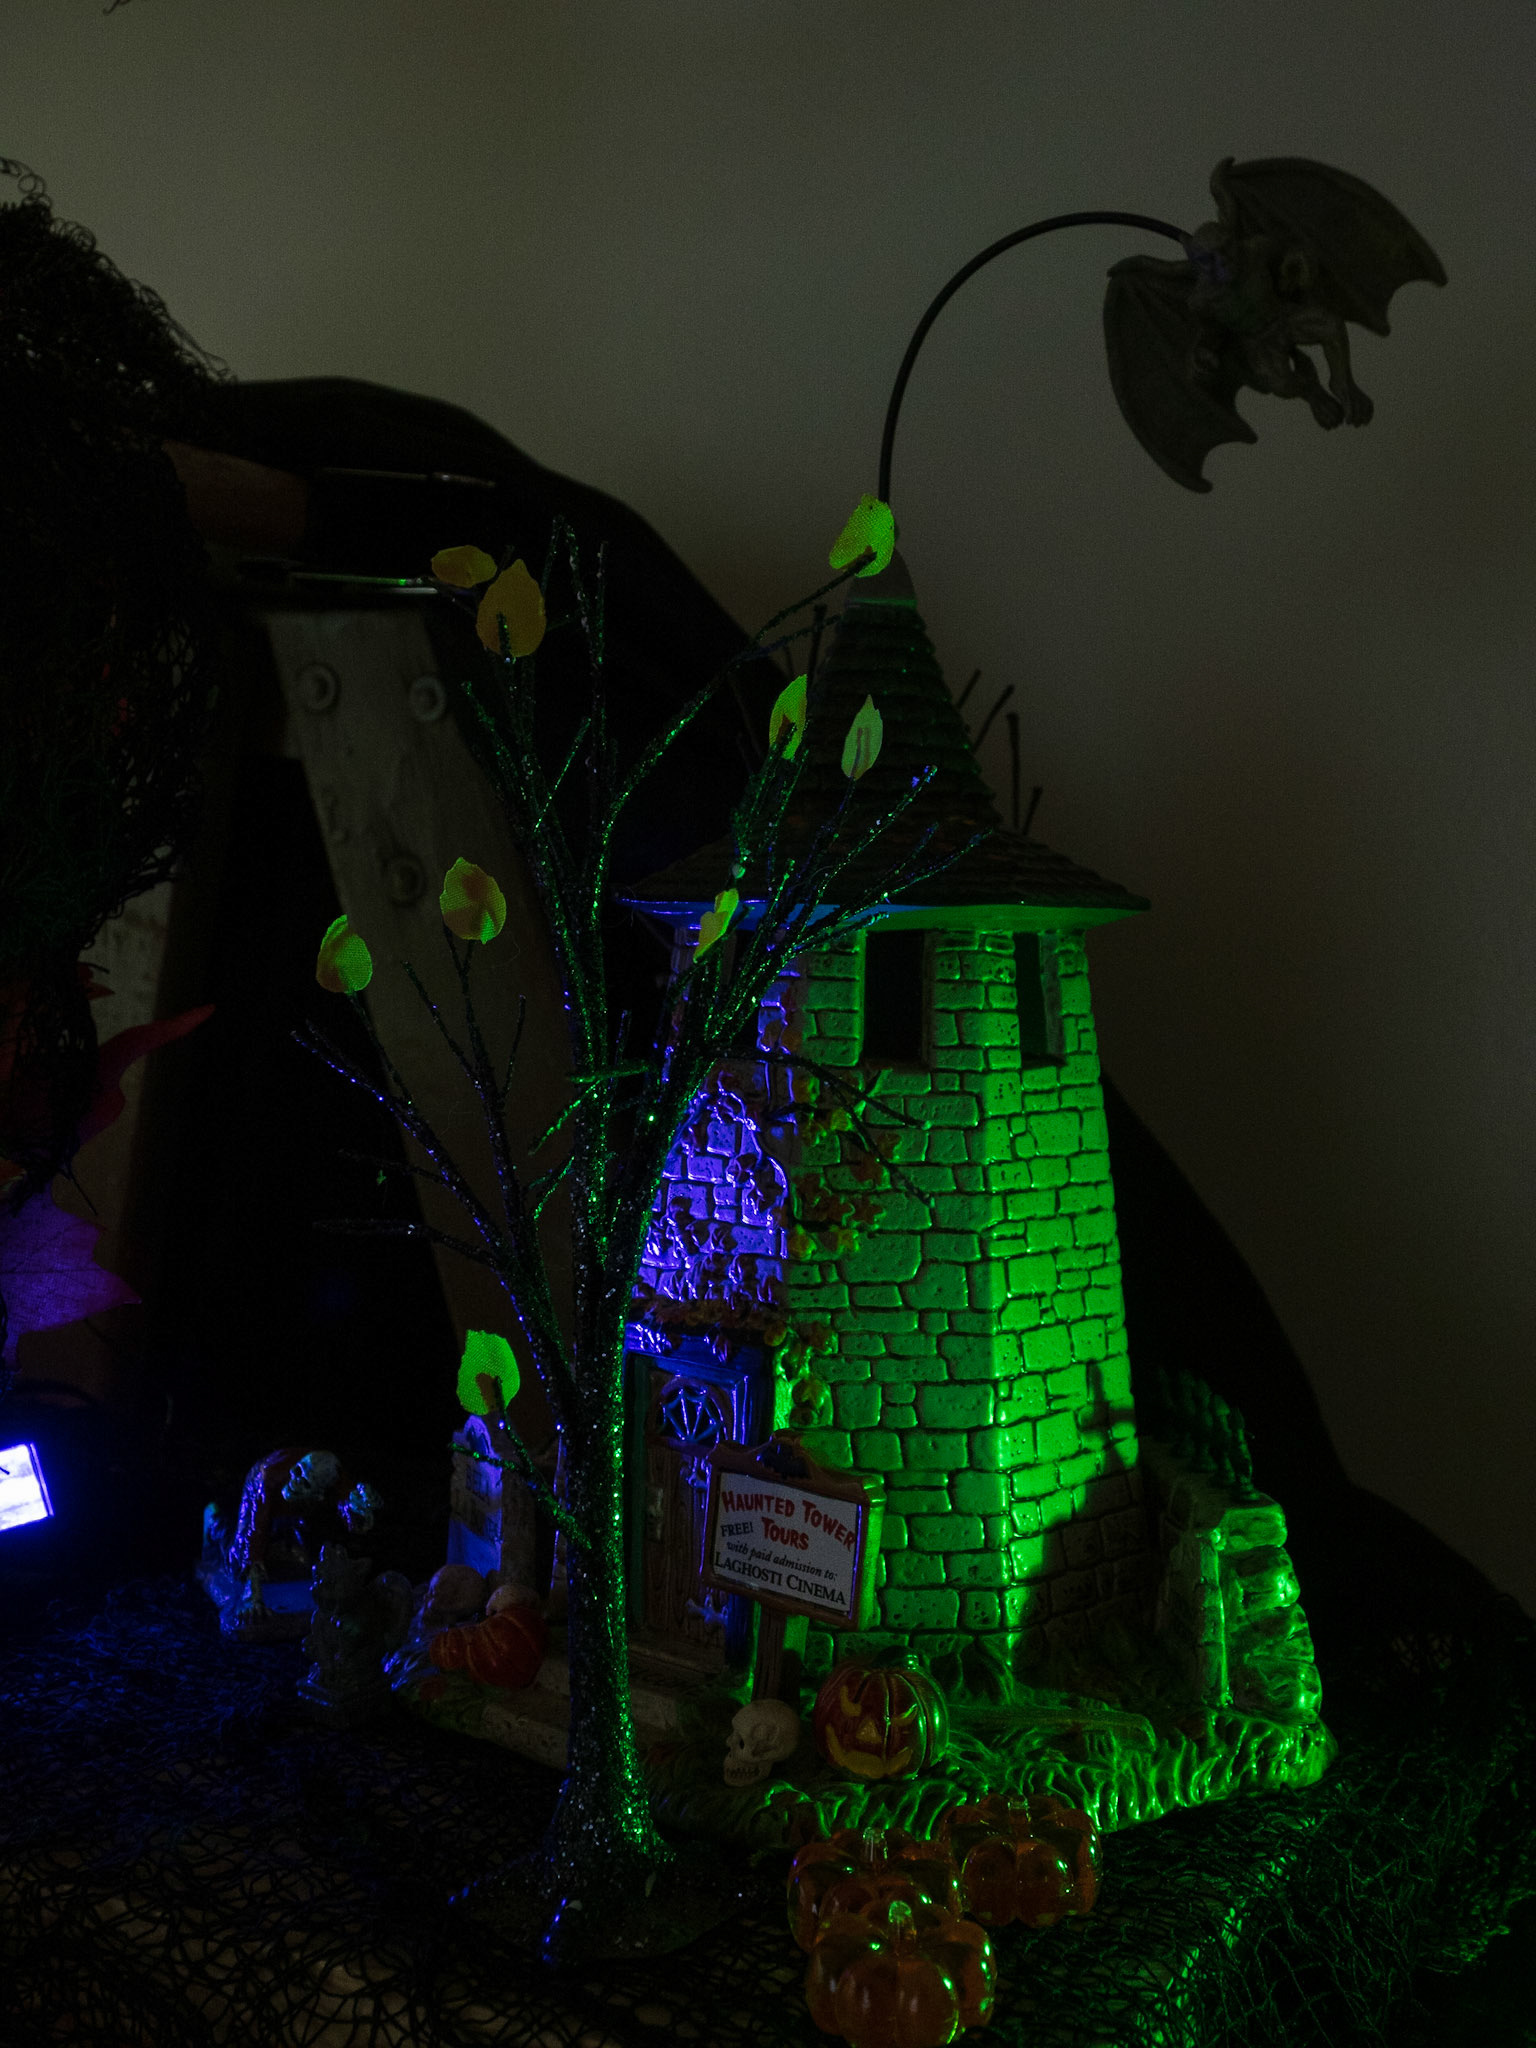
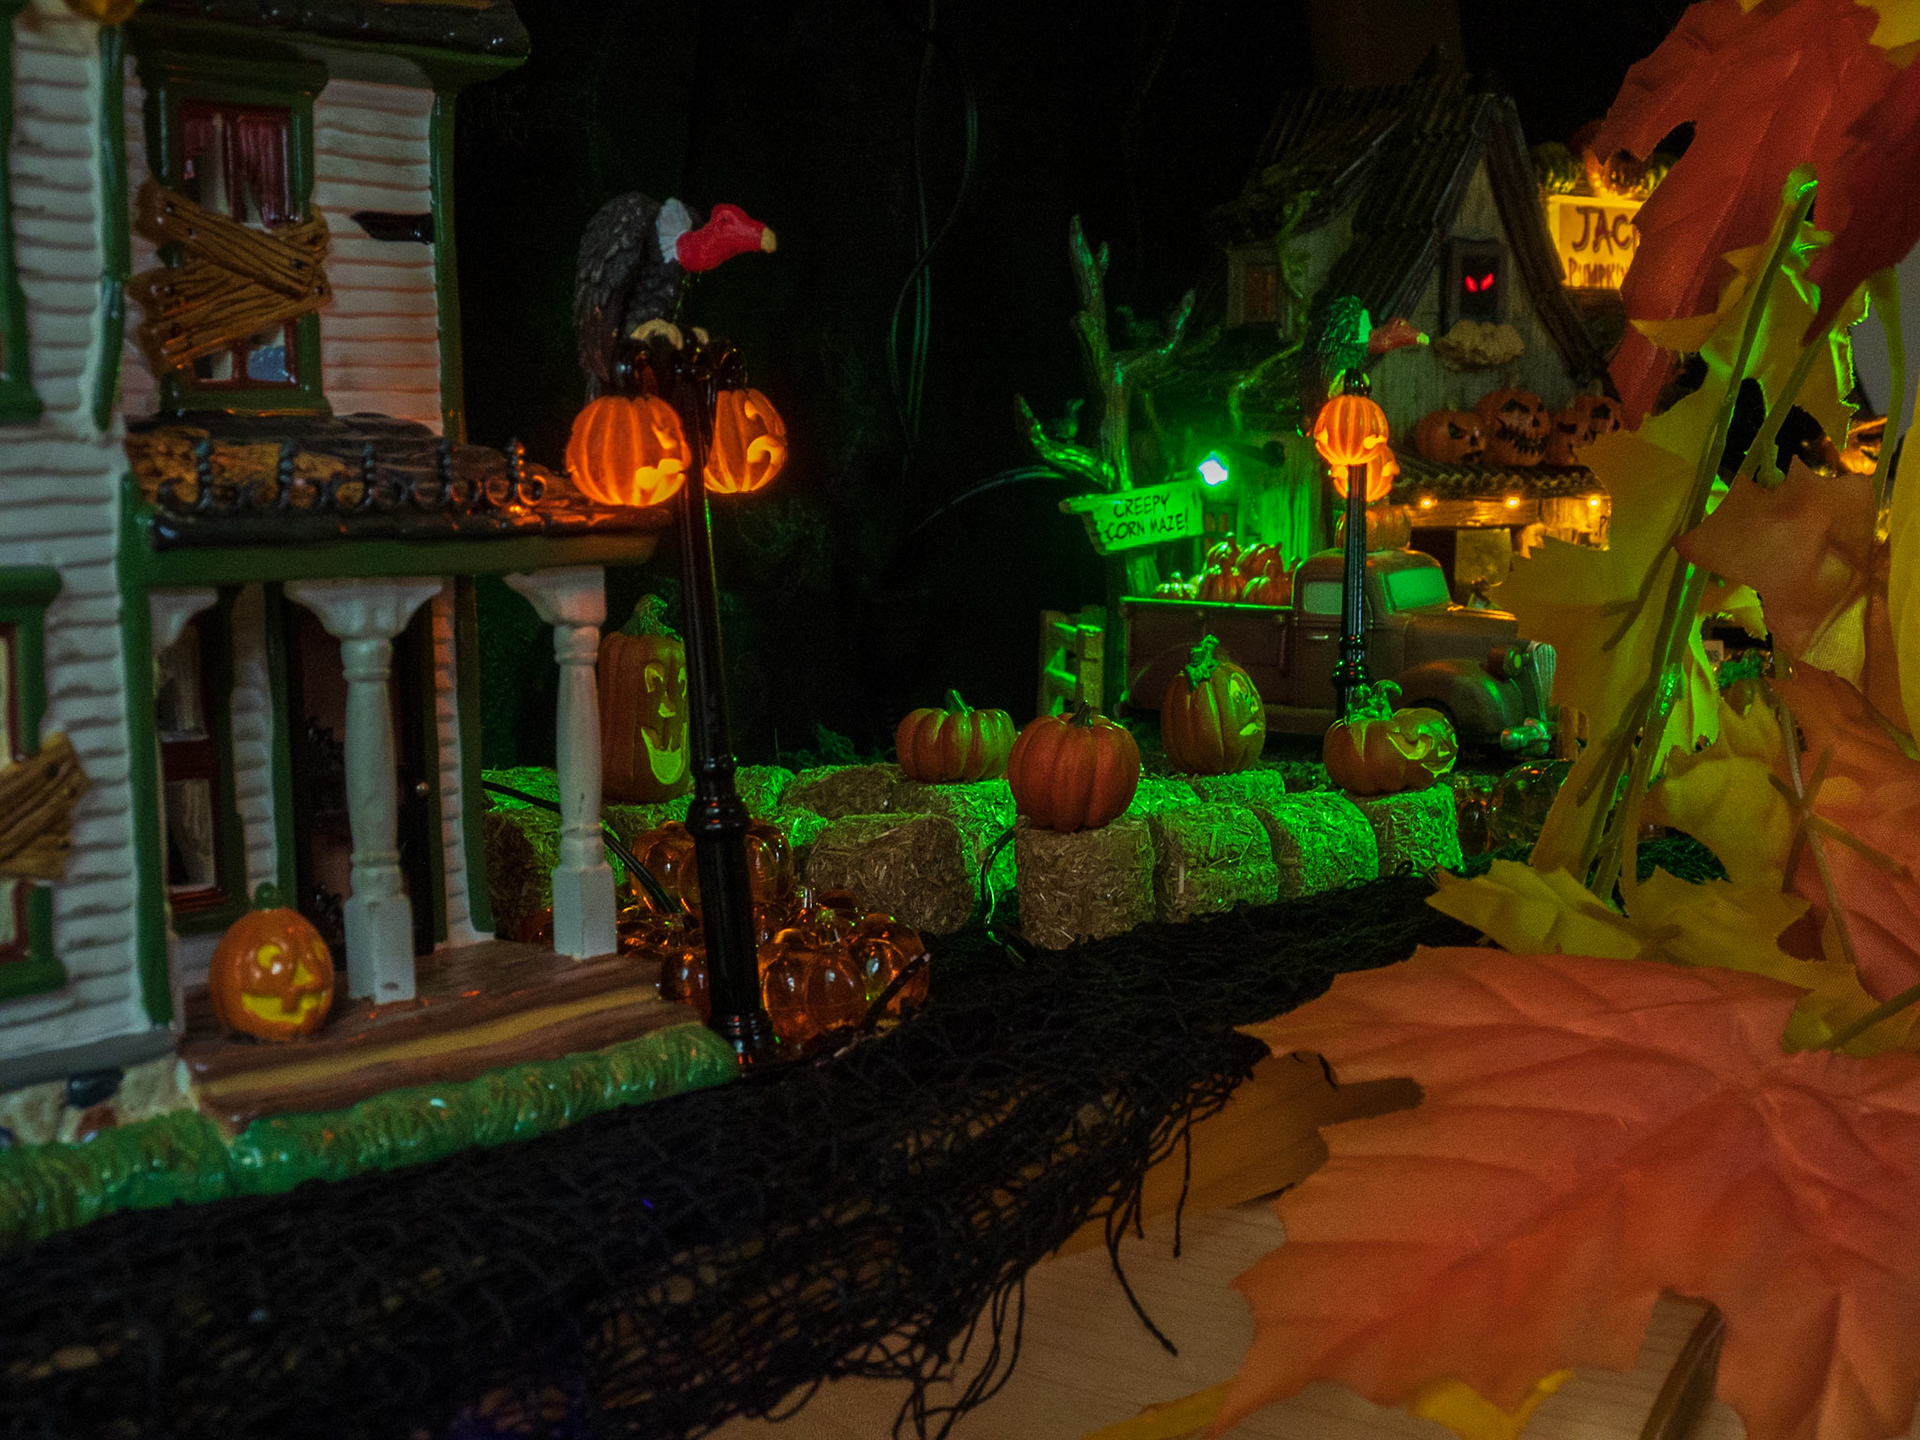
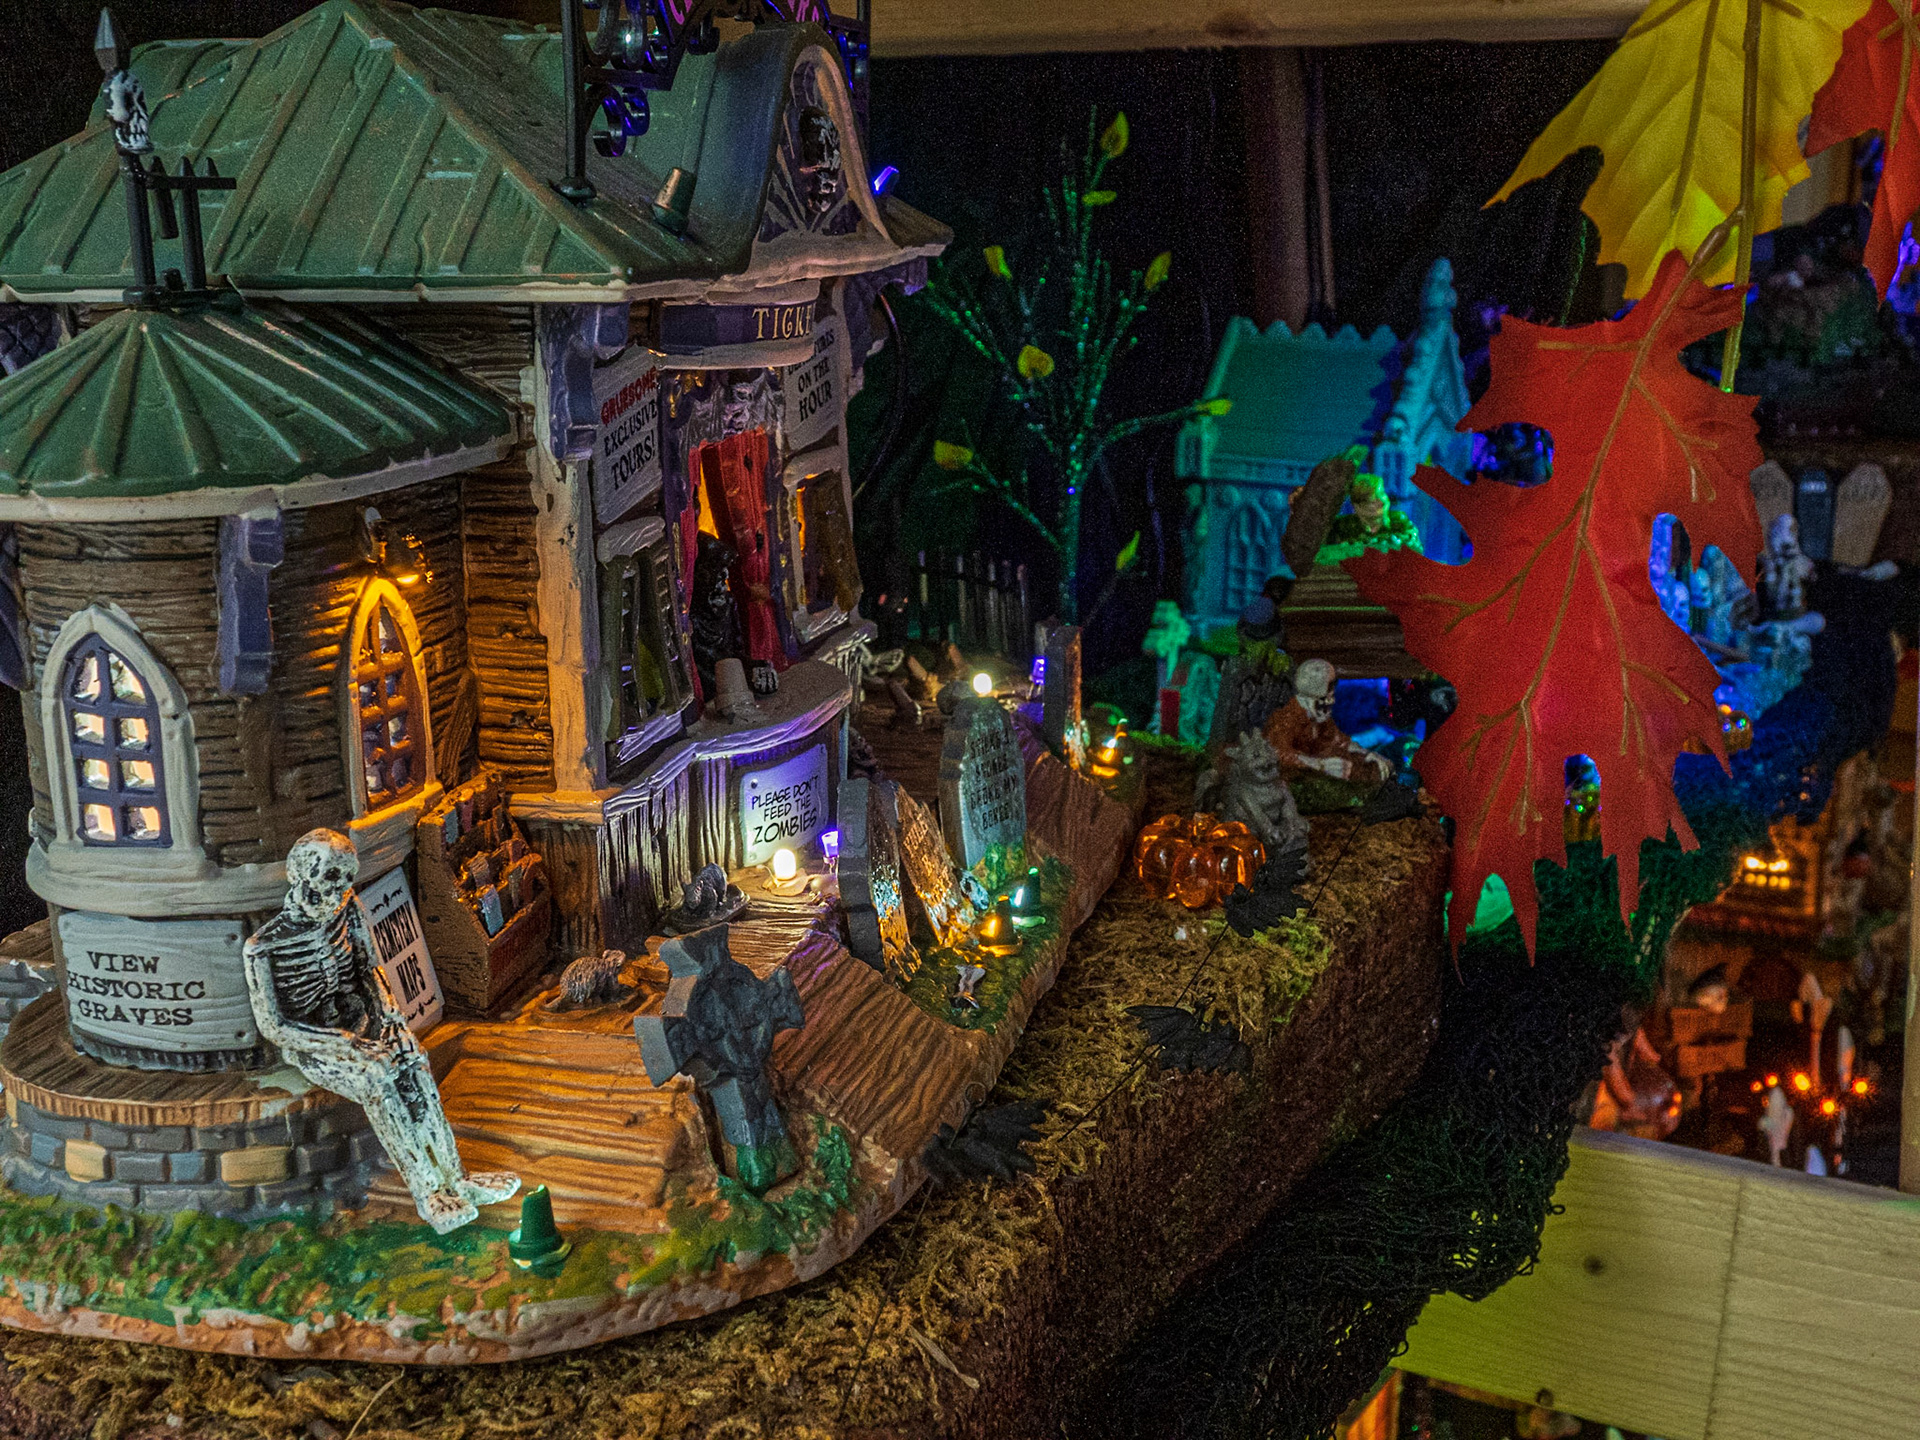
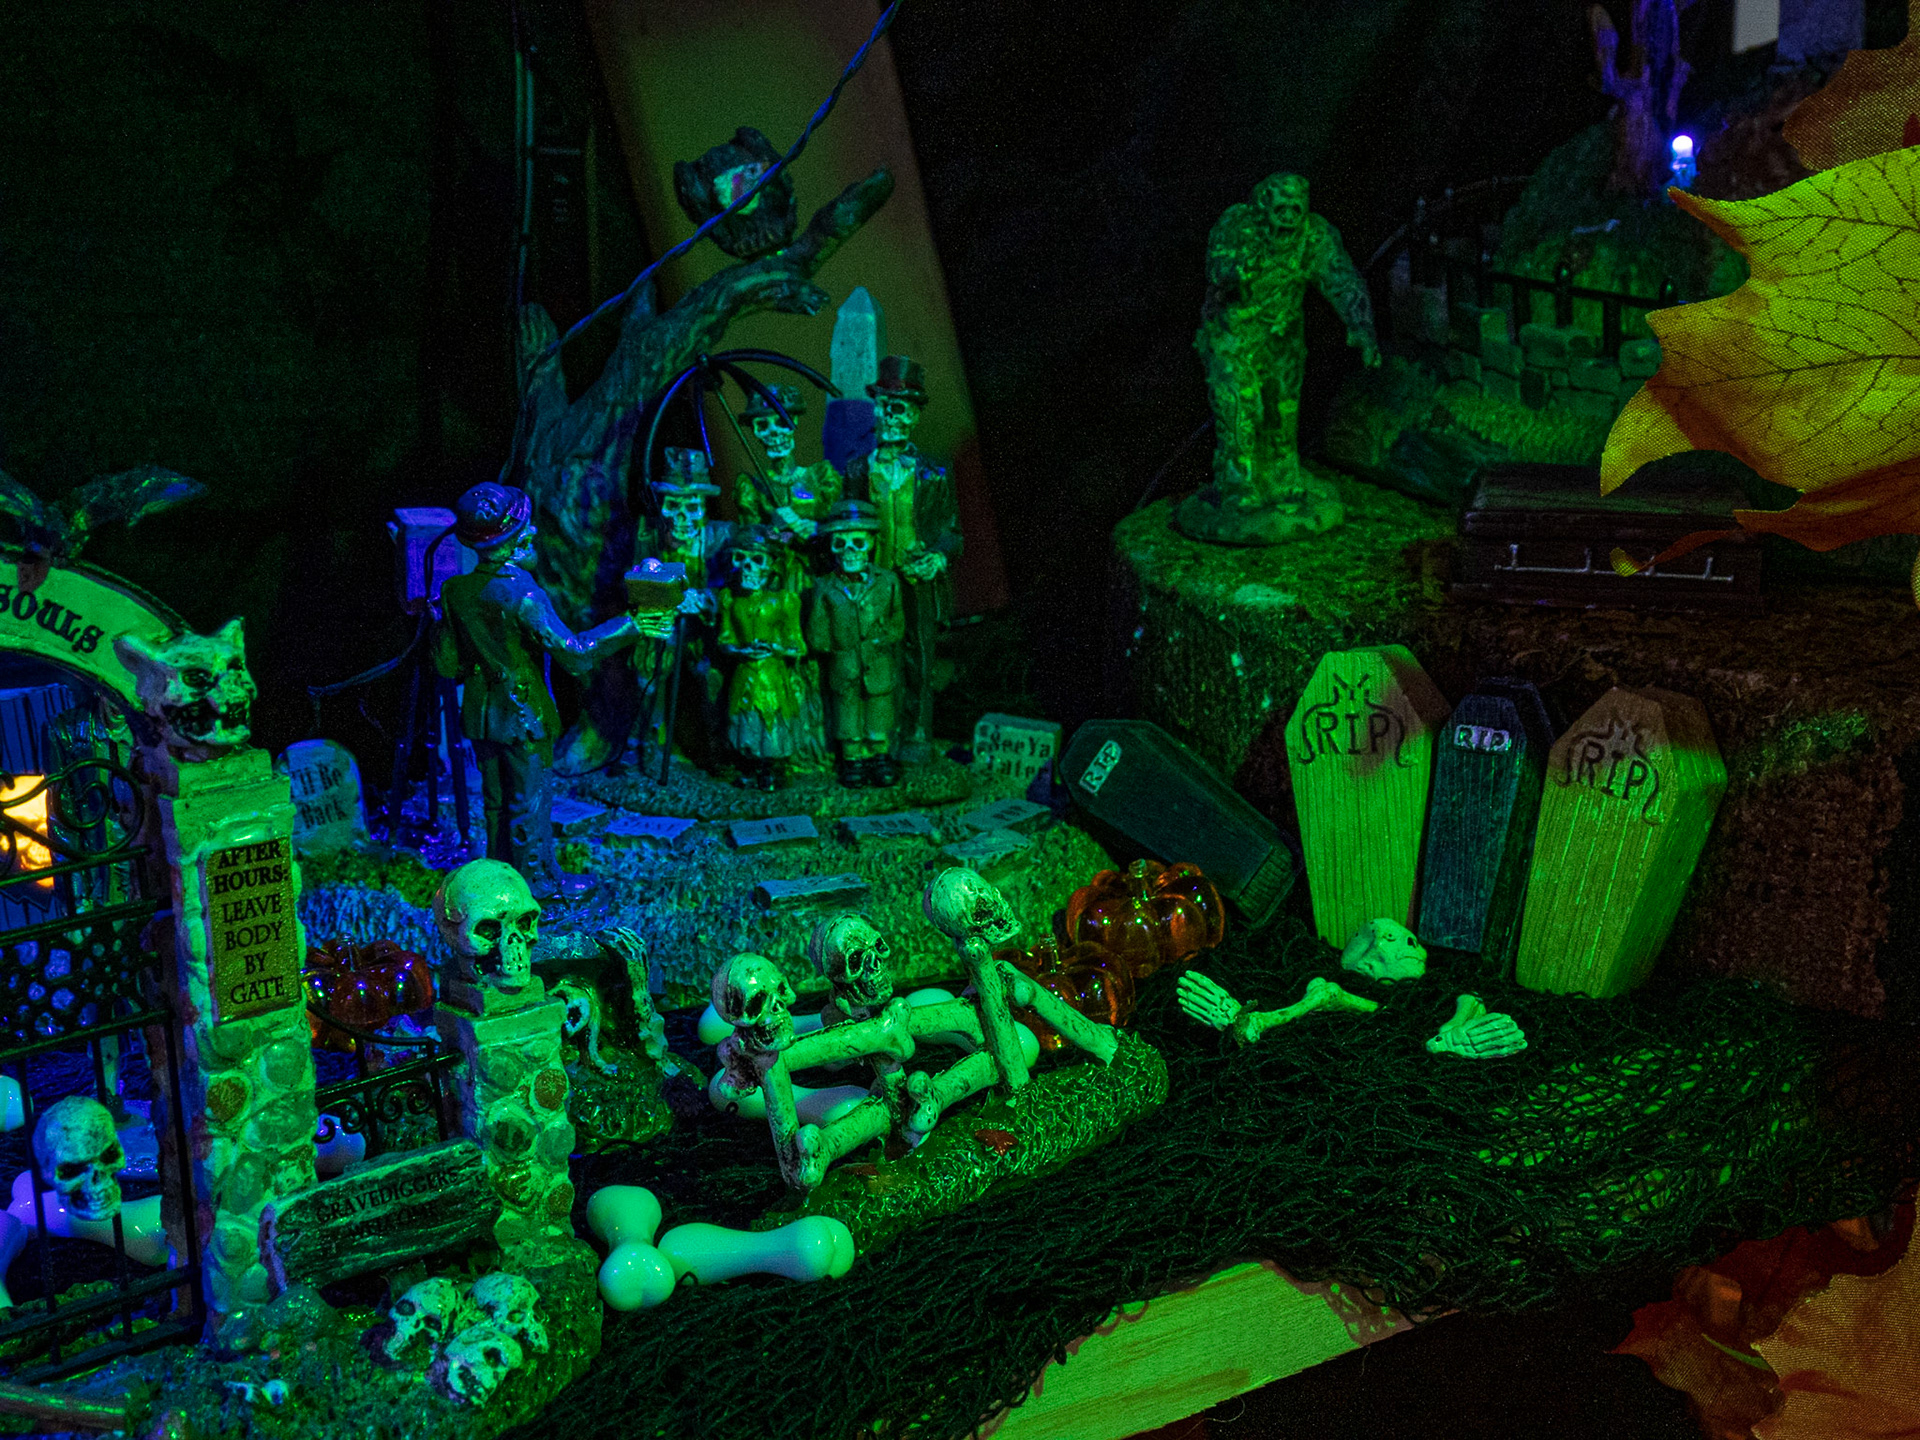
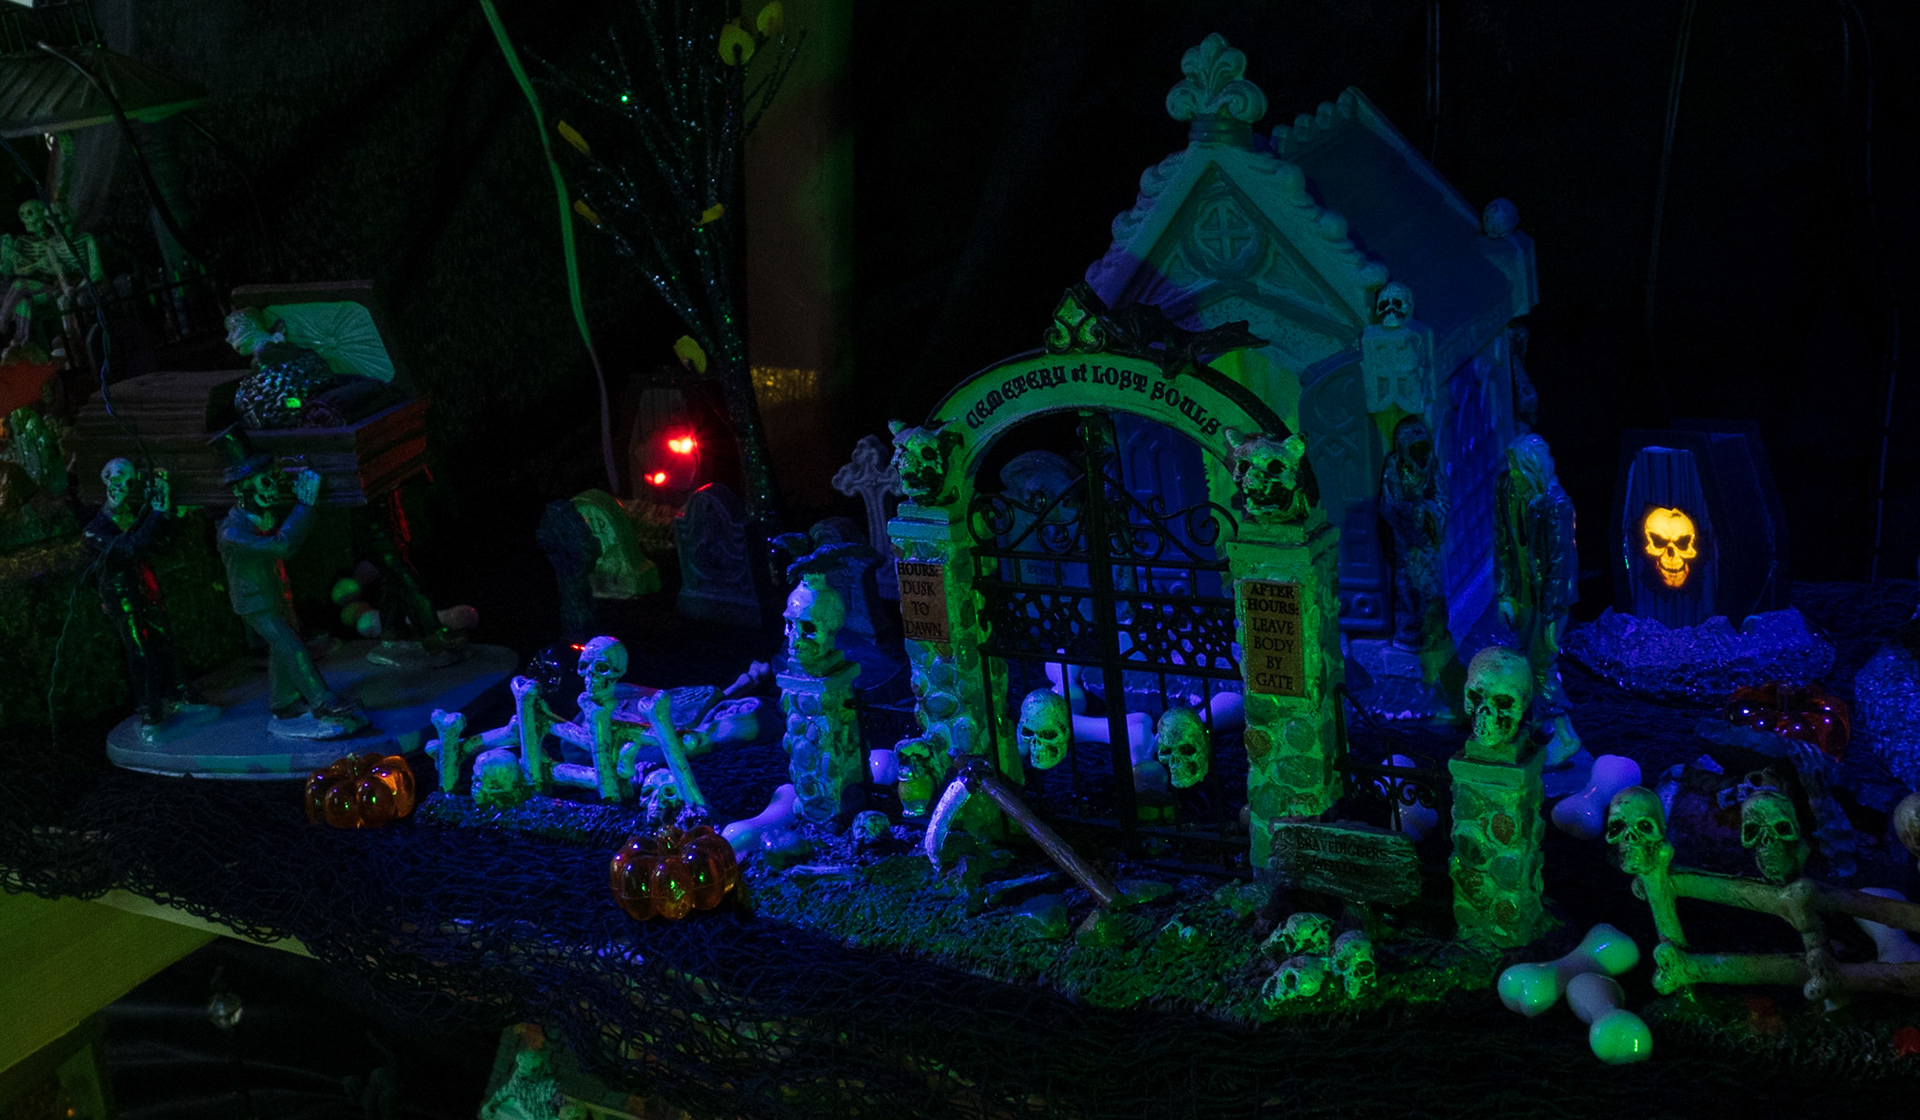
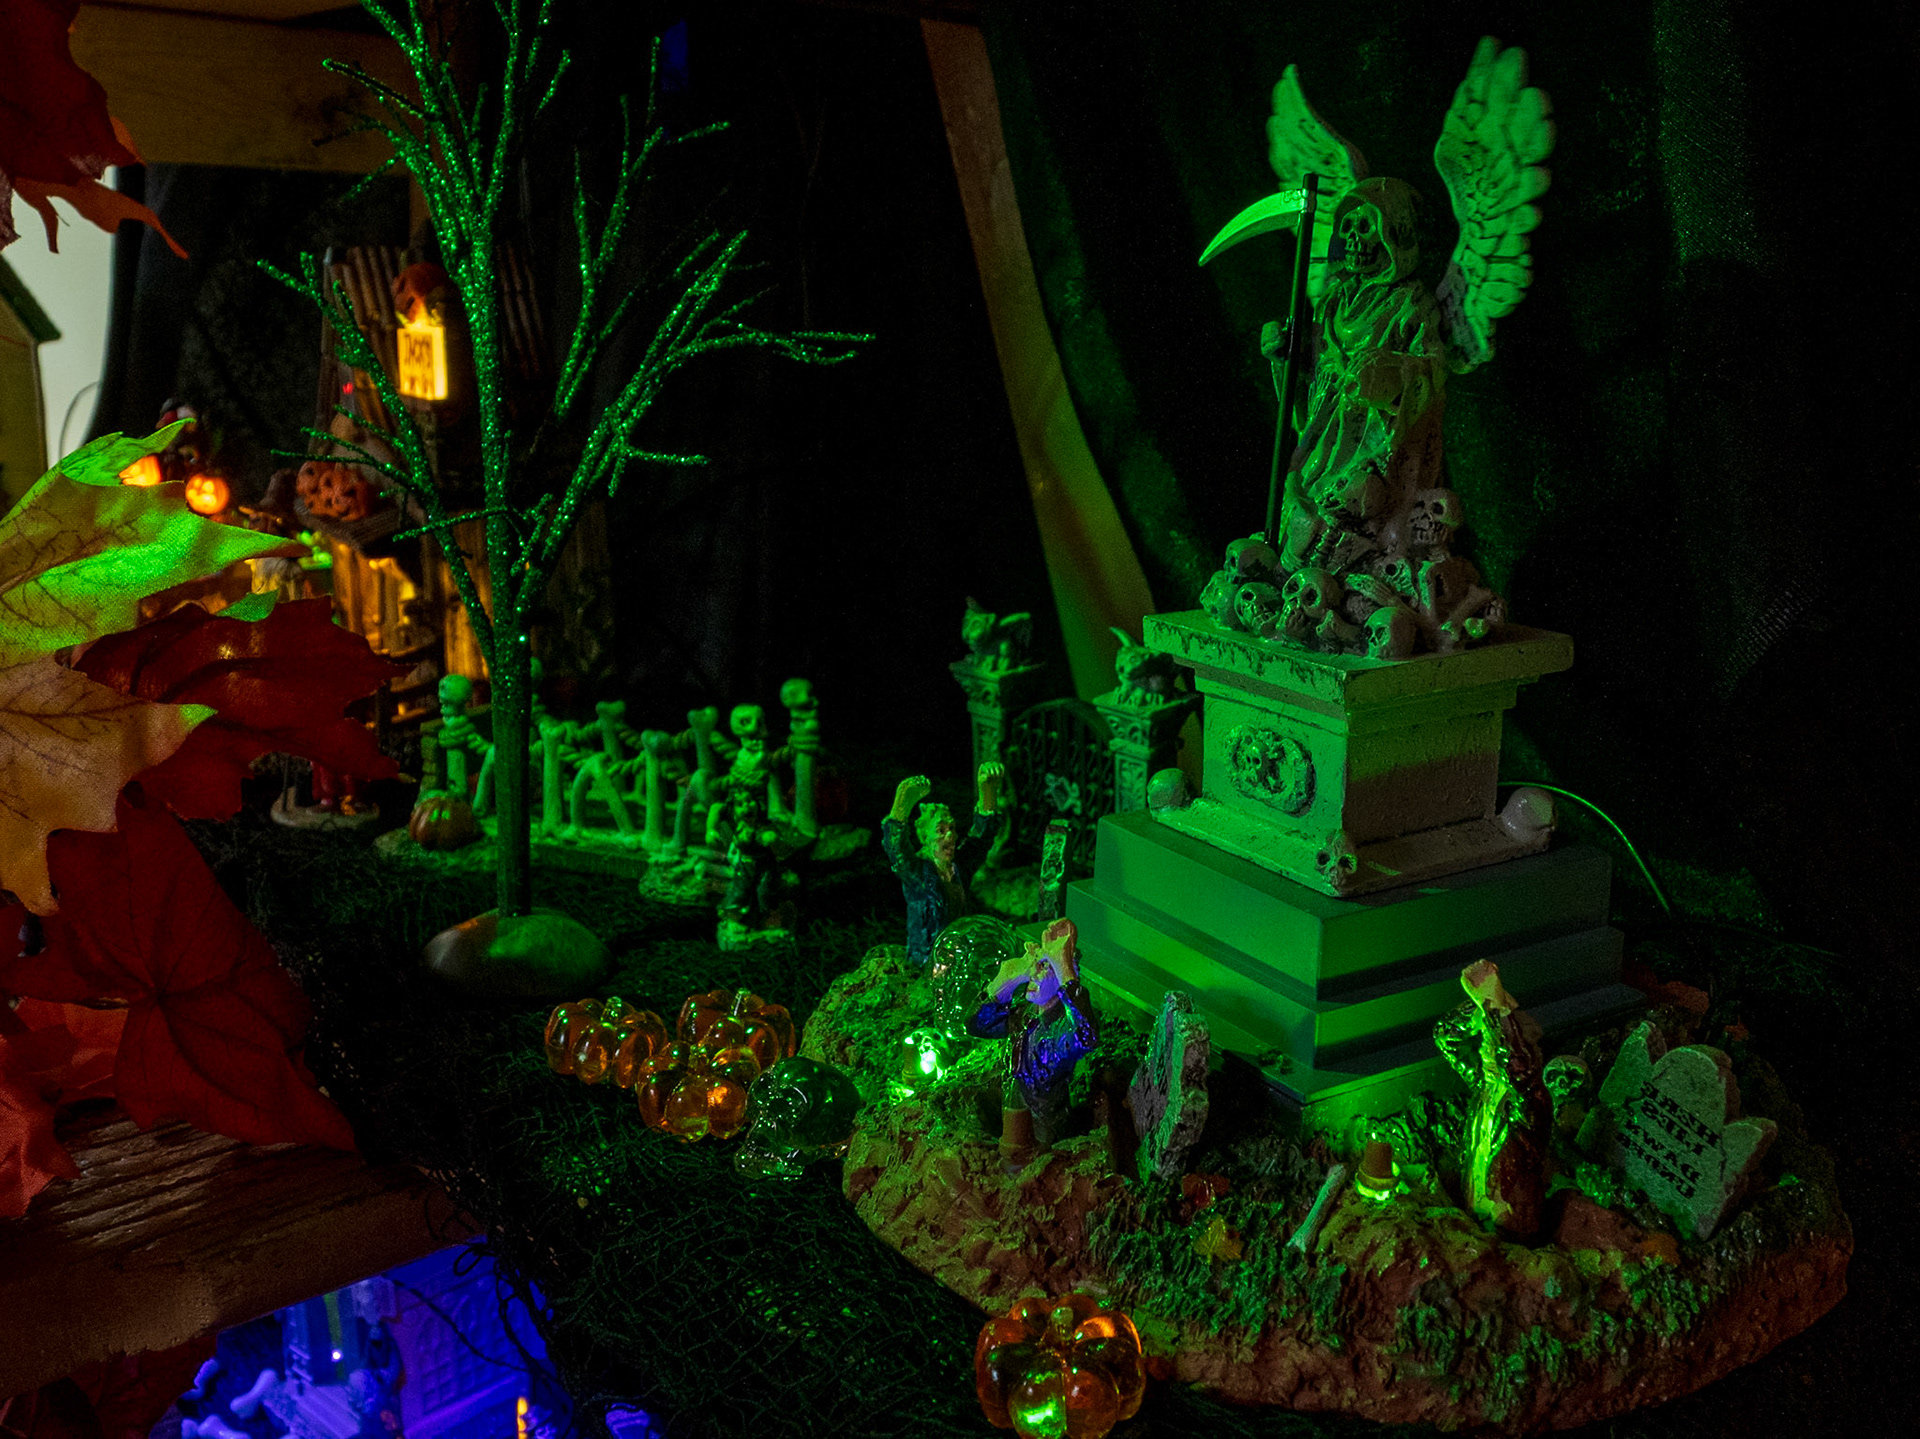
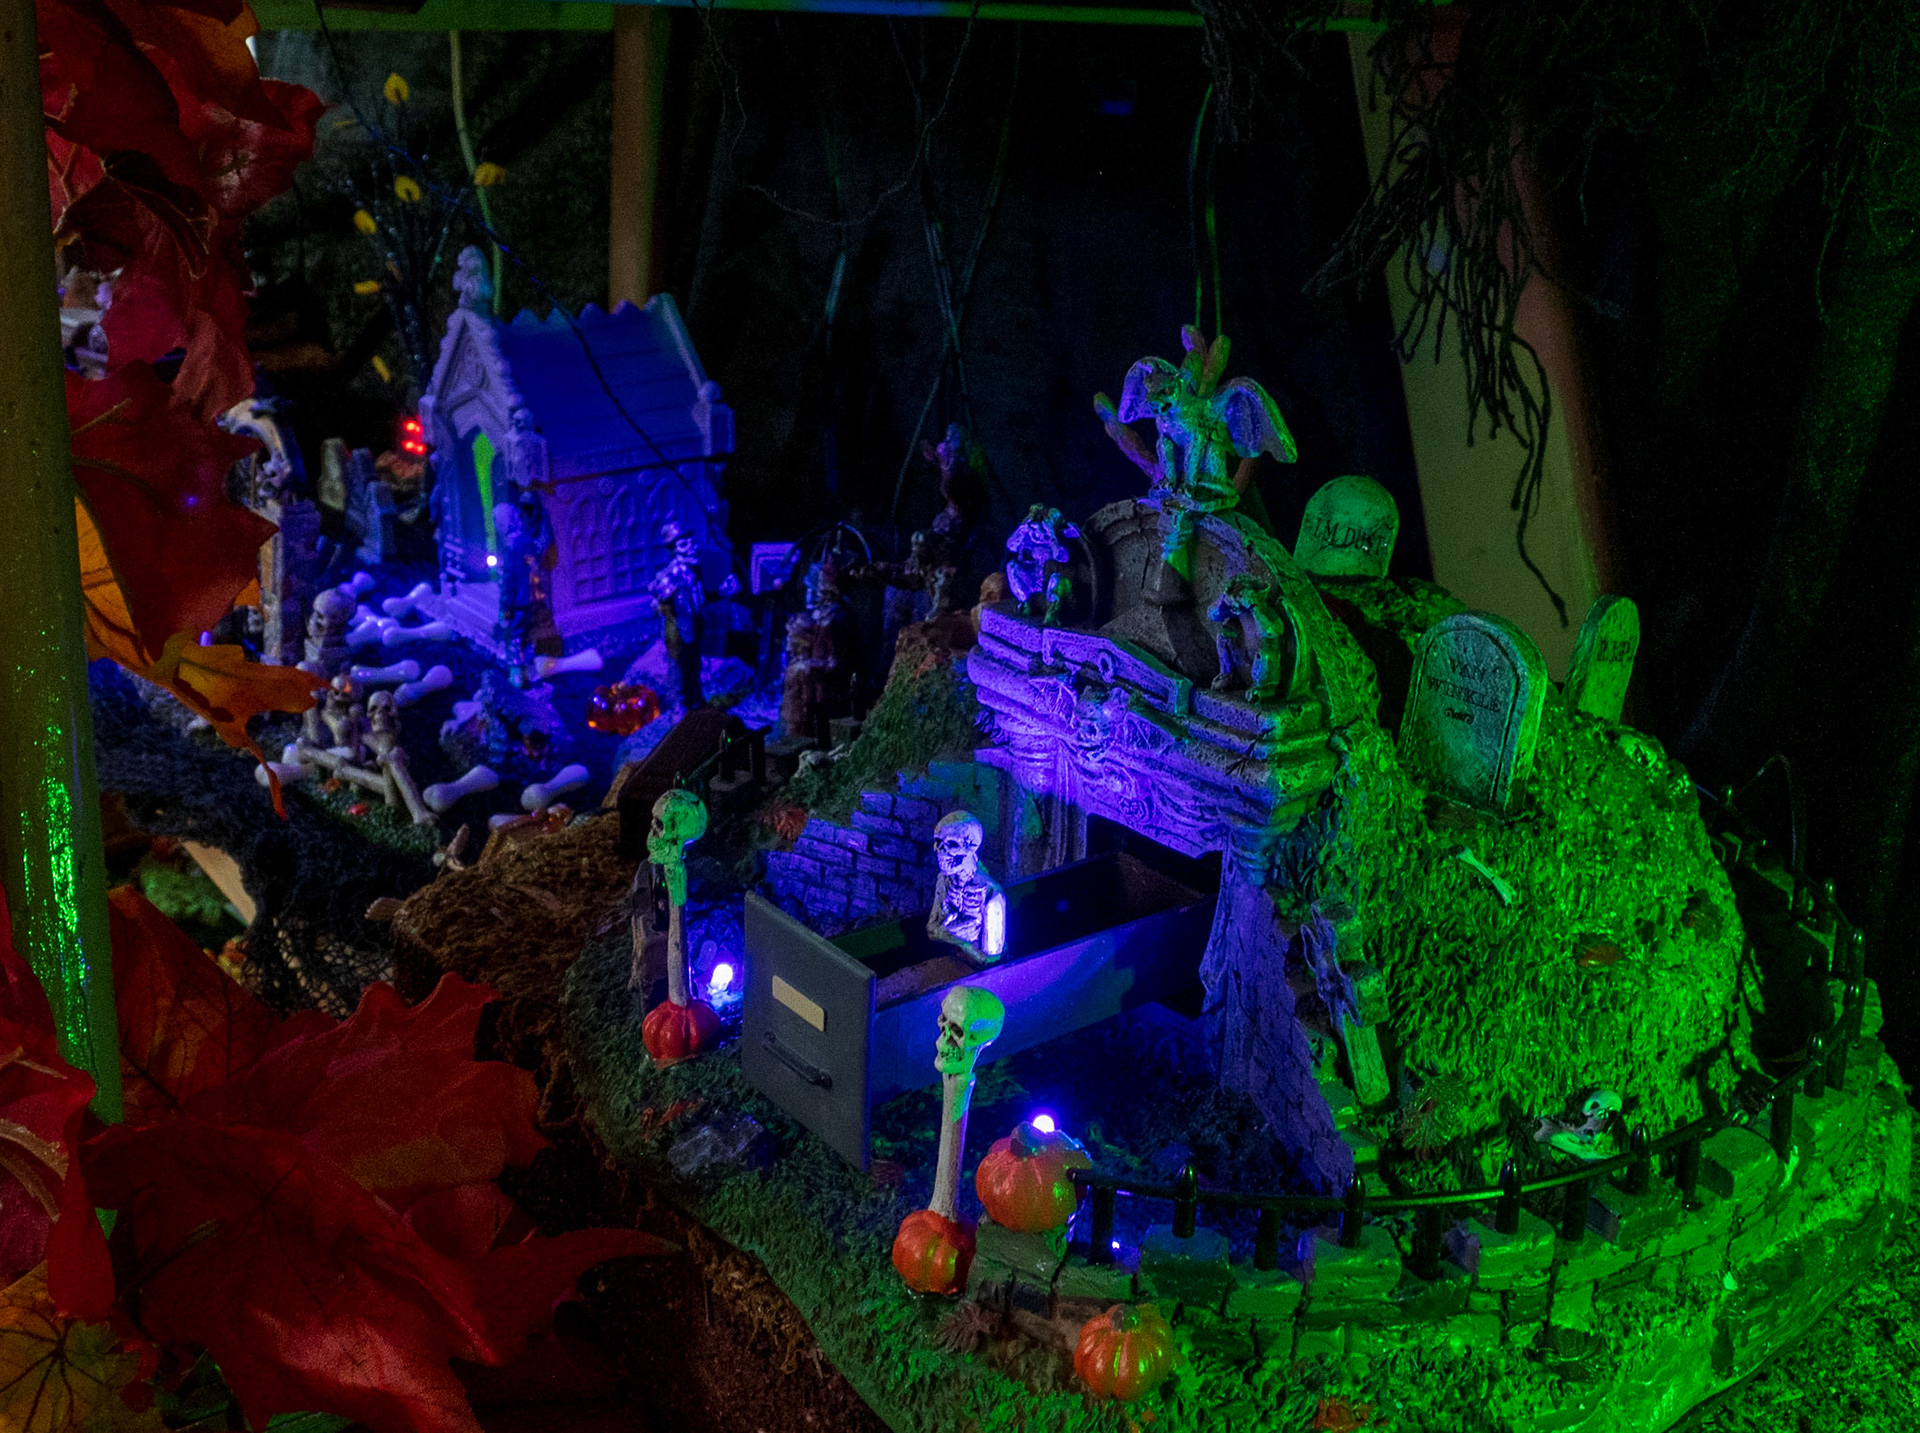
The intention of the footage was to give viewers a fly-by of the entire display. I knew I would want to compose at least a few static shots, where viewers could see some fine details
Still images were all edited using Lightroom and/or Lightroom Classic and then exported out as jpg files.
For editing the video, I tried something different. I added markers while in the source window, so I could quickly set multiple cutting locations while on the timeline. I don't really know if this saved me time or not, but it DID help me plan the footage edit before placing it on the timeline.
I wouldn't recommend this approach for long clips; the 4.2 minutes I had to deal with was quite long enough.
Once the clip was part of the timeline sequence, it was easy for me to move from marker to marker and cut/ripple delete the clip where I wanted.
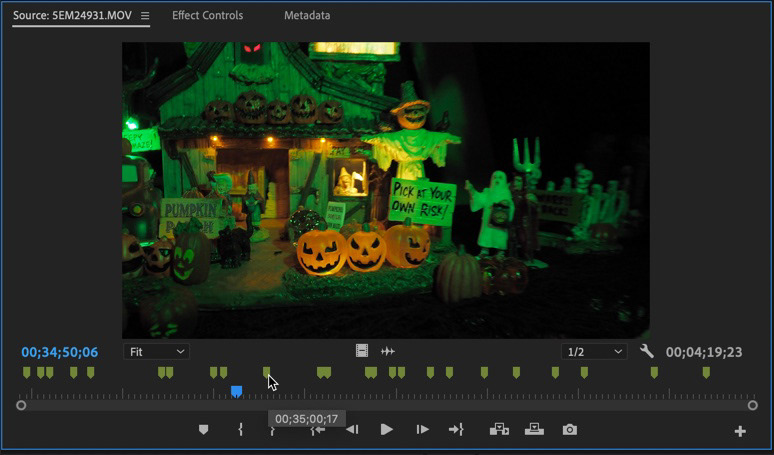
To add markers in the Source monitor, simply right-click in the timeline area and choose Add Marker. When you're done, you can add the entire video to the main timeline and all the markers come with the clip.
Once the rough cut was done, I imported my still images and placed them at appropriate spots throughout the video. With the stills now on the timeline, I spent some time remembering how to do pan and zoom in Premiere. Unlike Adobe Rush, where pan and zoom is an easy to configure feature, this type of animation has to be created manually in Premiere Pro. And it had been a while...
Using the Essential Graphics Panel in Premiere Pro, I located a few suitable motion graphics templates (MOGRTs) on Adobe Stock by using search terms like "spooky" and "Halloween". I would use these as opening and closing bumpers as well as two to help disguise transitions. One was of falling leaves (with several configurable animations) and the other was a series of cartoon-style lightning effects, also configurable.
A great feature of MOGRTs is that you can scrub through them within the Essential Graphics panel. This is very helpful because you must license MOGRTs before they can be downloaded and used.
Note: In case you are wondering, I could have also used Adobe Rush for this initial edit, but as great as Rush is (I recently created a 17-minute retirement video for a colleague, all in Rush), there are some things it doesn't do. I knew I would eventually end up in Premiere, so I figured, why not start there?
Tip: In Rush, it's much better to create multiple, shorter clips as they will sync to the cloud faster than one very long clip.
As my footage was essentially all handheld and almost always in motion, I knew I would also be making use of Warp Stabilizer. I would save that work until the very end, because everytime you change anything in the clips (trimming, adding transitions) on the timeline, Stabilizer has to be run again on every impacted clip.
While applying Warp Stabilizer did not smooth out all the footage - there was a lot of movement - I was actually very pleased with the end result; it added to the eerie, ghostlike flyby effect. While watching the moving, you almost feel like you're the ghost, deciding on which spooky abode to haunt for eternity.
Audio
What film - no matter how long or short - is complete without audio, be it narration, music or sound effects? Or a combination of all three?
Well, my video did not have narration, but I knew I wanted spooky music as well as some sound effects. Adobe Stock was there to assist with the music, searching within the Essential Sound Panel for "spooky" tunes. And I was able to find and license some thunderstorm sounds directly from one of our music partners on their website, Epidemic sound. Very inexpensively, I would add!
I found a great track called "When Pigs Fly," a little reminiscent of the Beatle Juice opening credit music by Danny Elfman - well, it felt that way to me - not nearly as orchestral as Danny's piece, but I liked it.
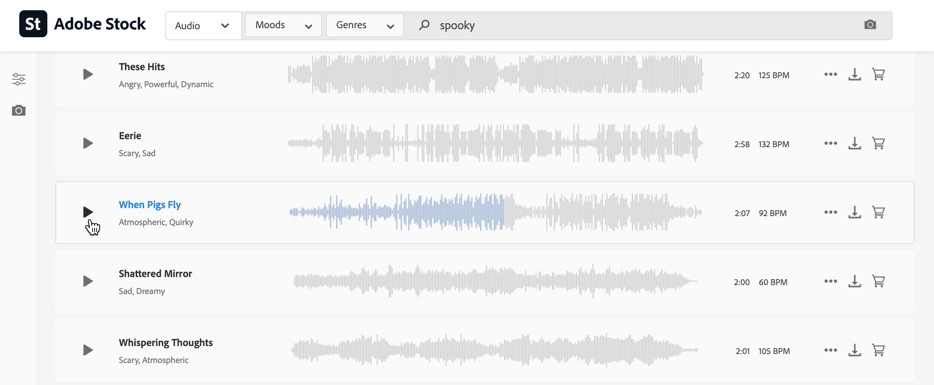
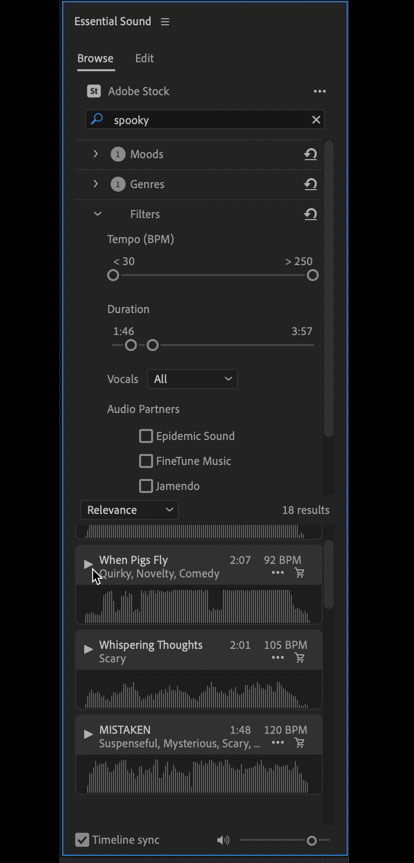
Searching for music through Adobe Stock can be done on the web site (left) or through the essential sound panel in Premiere Pro (right).
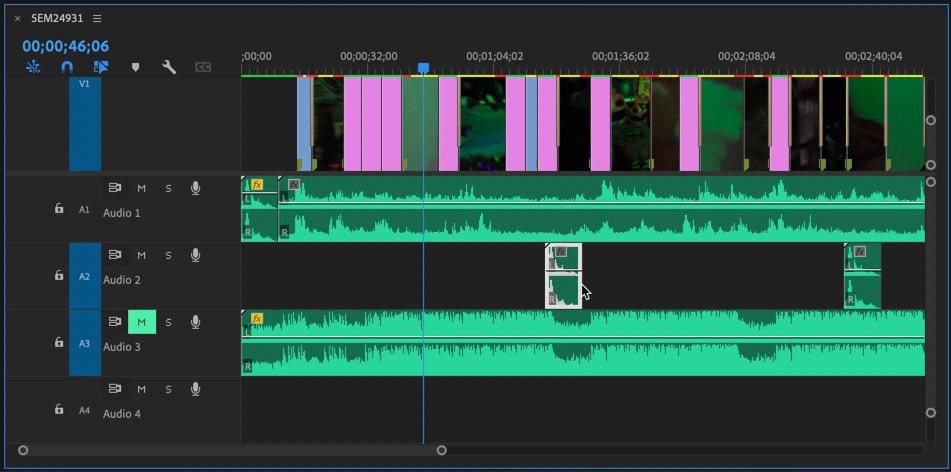
Now, if you look closely at that track, you'll notice that the actual duration is 2:07. But my final video taps out at just over 3:47. The music track runs for almost the entire time frame, 1:30 longer than the original track! You might think that I simply looped the track when it ended, but in fact I used a great integration between Premiere Pro and Audition, called Remix.
Remix uses Adobe Sensei (our AI and Machine Learning technology) to intelligently and realistically shrink or stretch a music track based on the time needed for your footage. If you haven't tested it out, I highly recommend you give it a try.
With the opening and closing bumpers in place, thanks to MOGRTs, I set about adding in the sound effects. I had a long track of a thunderstorm, and a short loud thunder crack and rumble. I let the rainstorm track run for the duration of the video, and dropped in the thundercrack in several spots, sometimes increasing the volume.
Final Touches
Multiple playbacks occurred as I tweaked the duration for the video and still clips and transition effects in the sequence. When I felt things lined up well, I applied Warp Stabilizer to the first couple clips for testing. I liked what I was seeing, so I went ahead and dropped Warp Stabilizer on nearly every clip, one at a time. I learned the hard way in a previous project that - at least on my laptop - you don't drop Warp Stabilizer on multiple clips at the same time.
Crashy, crashy, as they say...
The only thing left to do was export. I chose a couple presets for the export for a couple different levels of quality. Export presets save you a lot of time - and confusion, if you're new to Premiere. Just pick the appropriate platform for playback - YouTube or Vimeo, for example, and choose Export or - if you need multiple versions, create them one at at a time and add them to the export queue. In my case, I created two versions, one slightly lower in quality for a smaller file size.
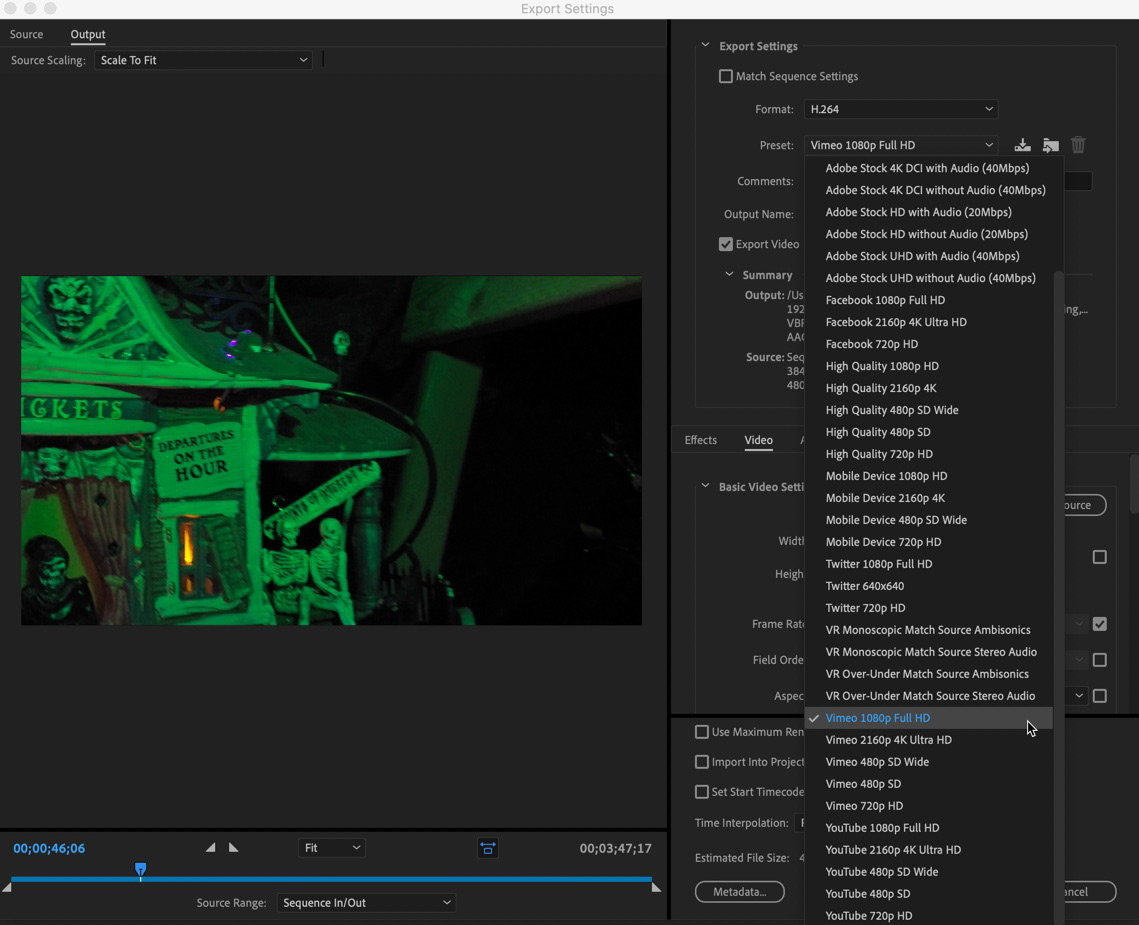
Choose File > Export > Media in order to get to the Export Settings window.
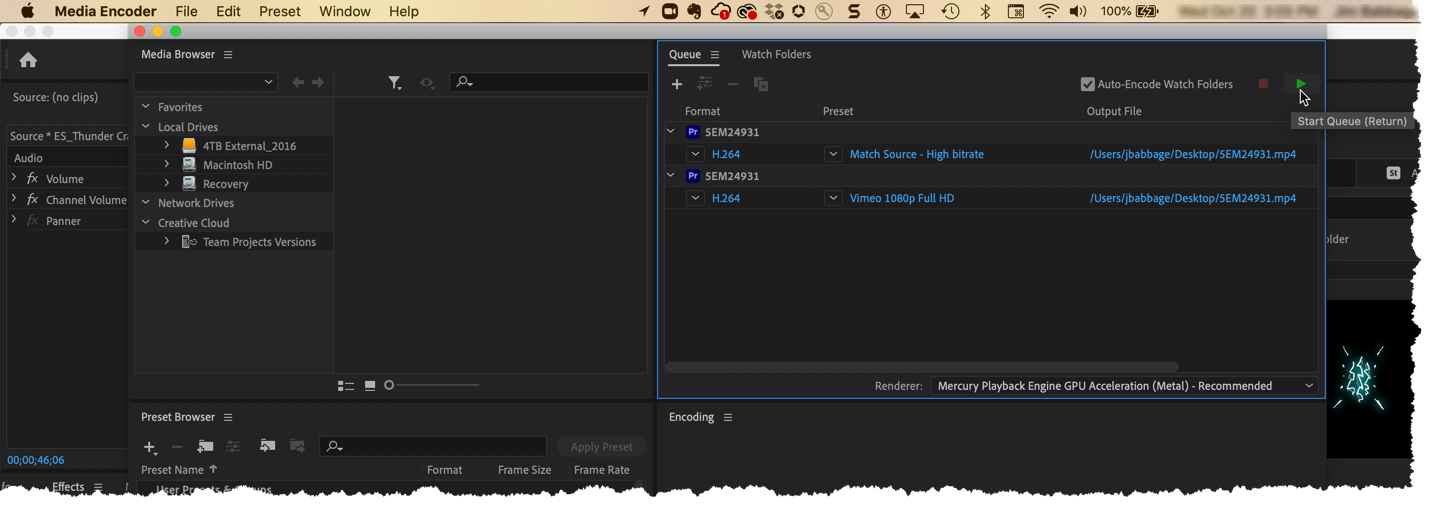
This will launch Media Encoder, where you can tweak the destination for the new files, hit Play and walk away...
And the final result is - well - *I* am happy with it. Could I do more? Definitely. But I wanted to put this video together in time for Halloween and still have time to create a timely - and hopefully interesting - write up on the process.
It is my hope that you enjoy the video and that you indeed do find this project inspiring. Please let me know in the comments what you think, and if you have any questions.
Until next time!