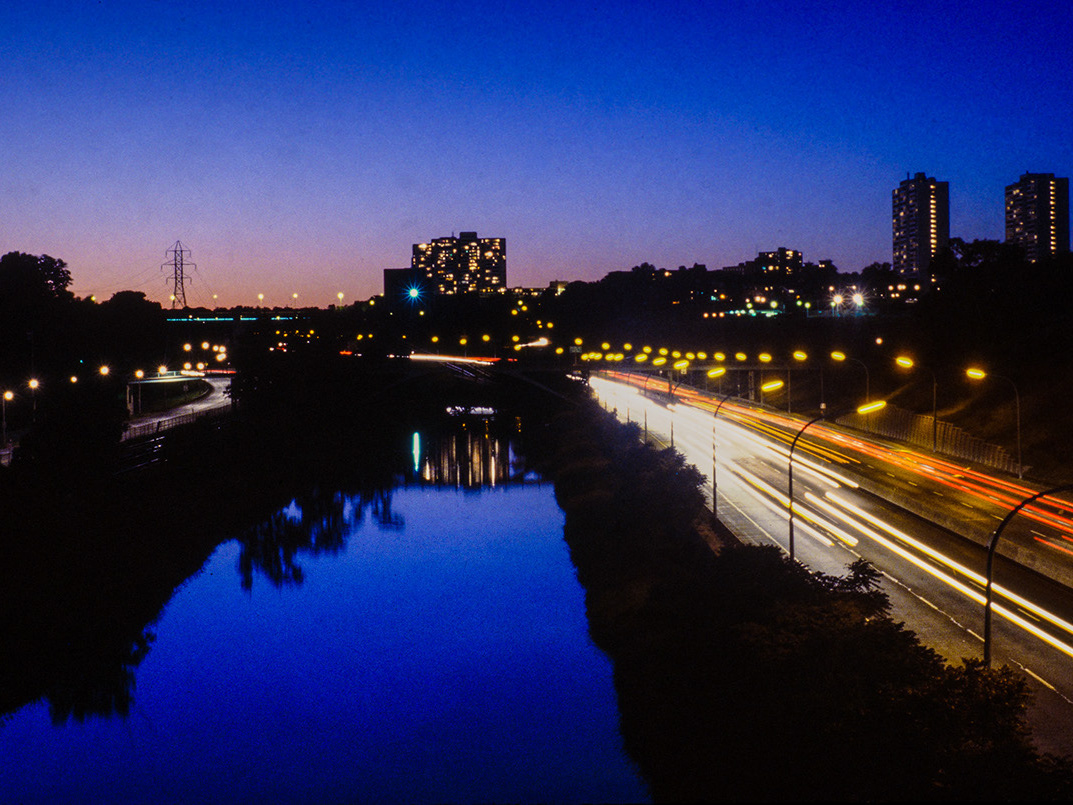
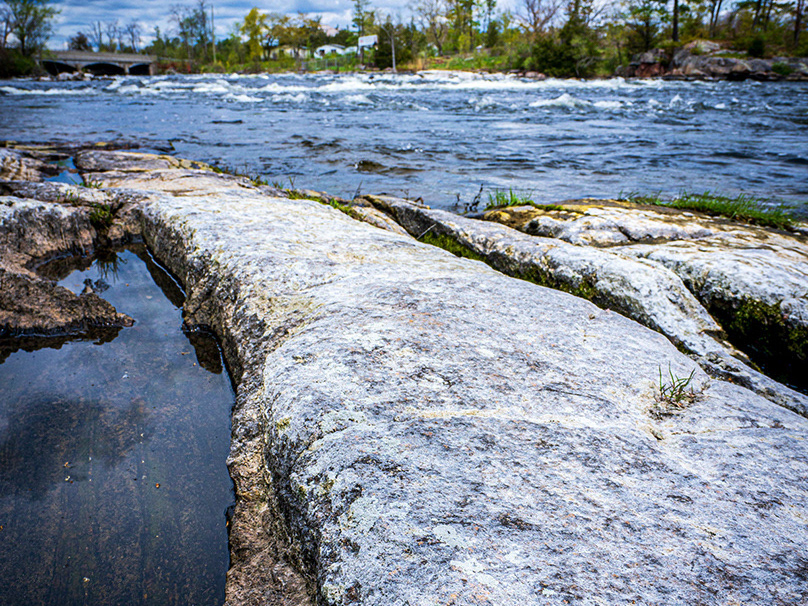
I've played around with HDR off and on over the years, primarily using Photoshop's Merge to HDR feature. But in general, I was never very happy with the result, until recently. This short series gives you a sense of how I've progressed - and improved - on creating HDR images.
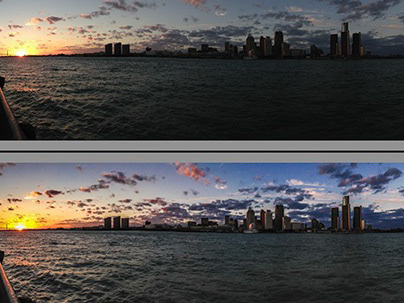
This image was processed almost exclusively in Photoshop's HDR PRO, as a 16 bit image, from three original images. While it did have an extended dynamic range, it was incrediblly flat, and the highlights were still clipped! With my basic knowledge of HDR PRO (two years ago), this was the best I could produce or so I thought.
This second attempt was from around the same time. This time I did the basic processing in HDR PRO, changed the settings a bit and then moved over to Lightroom to try and improve the contrast. It's important to note that in BOTH cases I was working with a final 16-bit image. As you can see, while the contrast is better, the sky is far worse and even unnatural.
TADA!
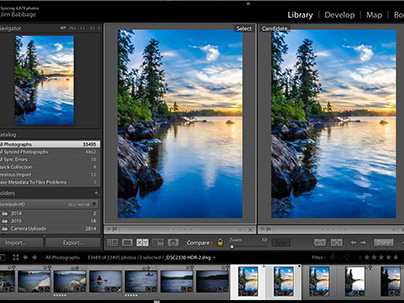
Fast forward to this year - a couple weeks ago, in fact - and here is the new and far superior result. I've recently been watching tutorials on both Luminosity masks and also deeper post processing using Adobe Camera RAW (and Lightroom). What you see here are the same original three images, processed in Photoshop CC's Merge to HDR PRO workflow, but this time saved as a 32-bit image for processing in Adobe Camera Raw (and/or Lightroom). I did nothing in HDR Pro, other than remove ghosts, check the box you see below, and choose Tone in ACR.
I learned one important workflow step in this process. And I admit this could just be my own current ignorance: because I was planning to come back to Lightroom, I should have NOT done ANY processing in ACR at all. I should simply have just clicked OK and let ACR boot me back to Photoshop and saved the file. Why? Because any edits I made in ACR (and I made several, including linear gradient edits for exposure) got burned permanently into the pixels of the image.
Let me explain. Once you've made your edits it ACR and come back to Photoshop, you have to (at some point) actually save the file. Saving the file (even it you've chosen to open the image as a Smart Object from ACR) means that what Lightroom sees is essentially a finished product. There is no "smart object" awareness from Lightroom, so none of my ACR edits are still available for editing. The linear gradients are gone, all my exposure information is reset to 0. It's like I'm starting with a fresh image. I can continue to edit the image in Lightroom (and I did just that) but the ACR work is now permanent.
This isn't a big deal if you realize the impact up front, or if you just plan to use Photoshop and ACR as the editing workflow. I didn't.
Regardless, I still ended up with a far better image than all my previous attempts. The processing I did in ACR got me close to what I wanted, and then further, more localized adjustments in Lightroom really made things sing.
After leaving ACR and saving in Photoshop, I opened the file in Lightroom and used the Adjustment brush to further improve detail in the highlights and shadows, even doing local color correction on the hills in the distance, which had turned too blue for my tastes.


