Before and After GenAI
I've been diving into Text-to-image AI, with a specific focus on Adobe Firefly and Generative Fill in the Photoshop beta. In general I'm quite impressed; I don't know whether to be anxious or in awe of what these tools can do, but I grow increasingly more excited to test them out in my own work.
Like many newly introduced technologies, right now there is a fair bit of polarization on opinions from good to bad to set it on fire and bury it before it turns into SkyNet.
The pendulum is definitely still at the extreme edge of its swing in terms of usage; people are trying everything.
Like the pendulum, though, in the long run, I believe the whole GenAI ruckus will calm down, and likely normalize around more realistic and practical needs.
In general, I'm already treating these tools like I would the Healing Brush or Content Aware Fill; subtle (hopefully) use where needed, while maintaining the spirit of the original image and my intent when making the photo. That doesn't mean I won't hop into Firefly and ask it to create pictures of cats wearing Hawaiian shirts and holding cameras, but that is mostly time-wasting fun, like visiting Facebook to read the latest cyber-rant.
Below are a series of before and after images/projects, some I've shared on social media some not. Some are subtle changes, some - well - are NOT. Currently, Gen Fill in the Photoshop beta is limited to generating new content at a maximum of 1024x1024 pixels. I'm sure this will change as the feature moves out of beta (if not before), so any image I'm really fond of will either have to be redone (like the city street crowd scene) or - if I don't want to wait - new content can be generated in 1024x1024 sections, as I did with the canoe image, below.
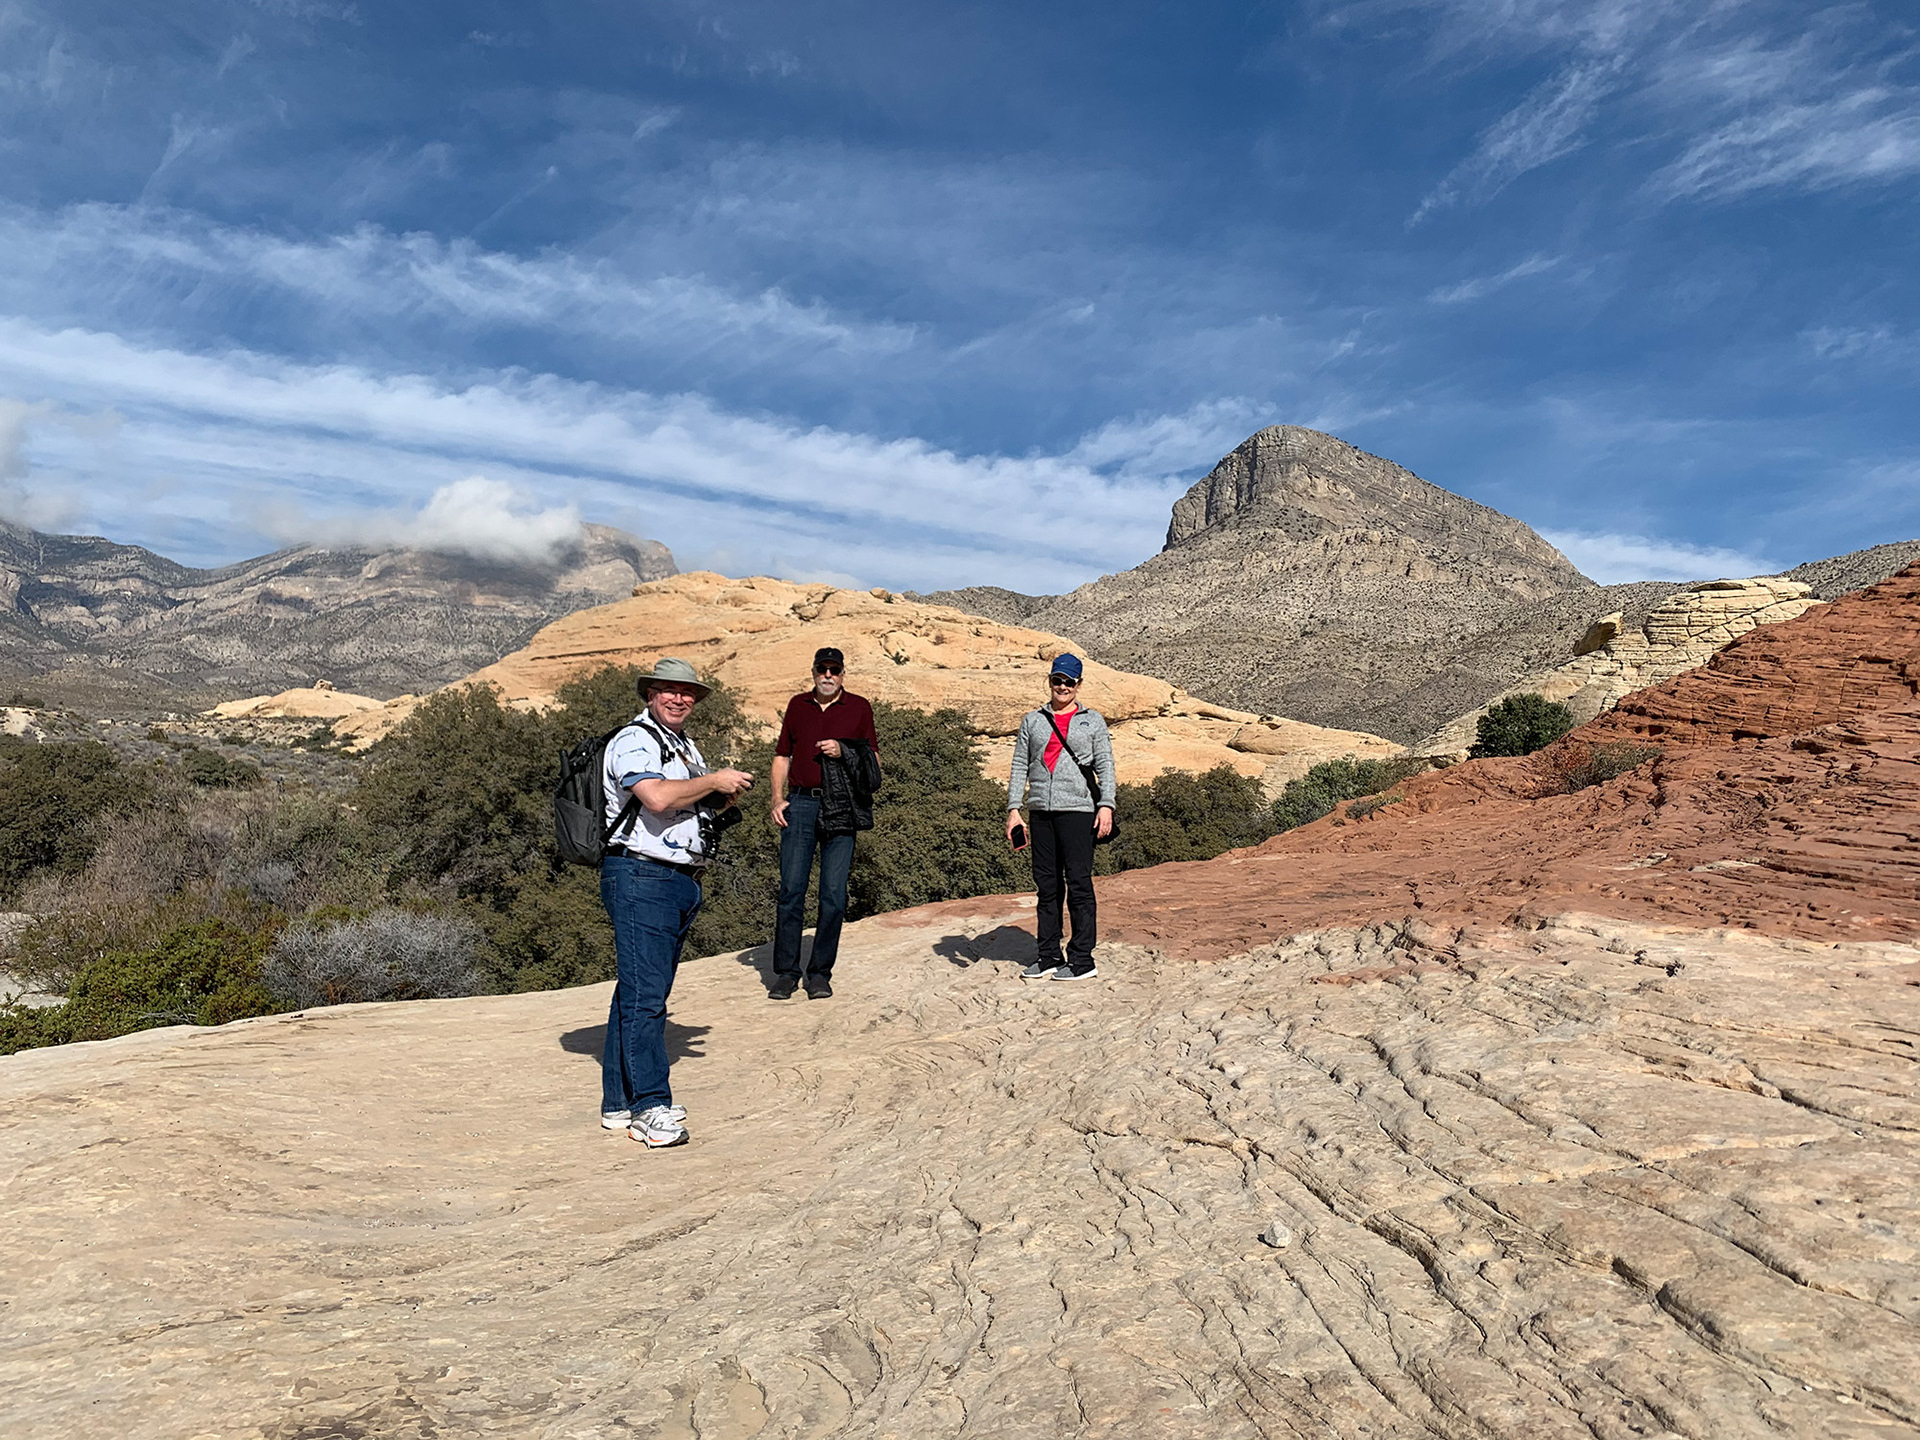
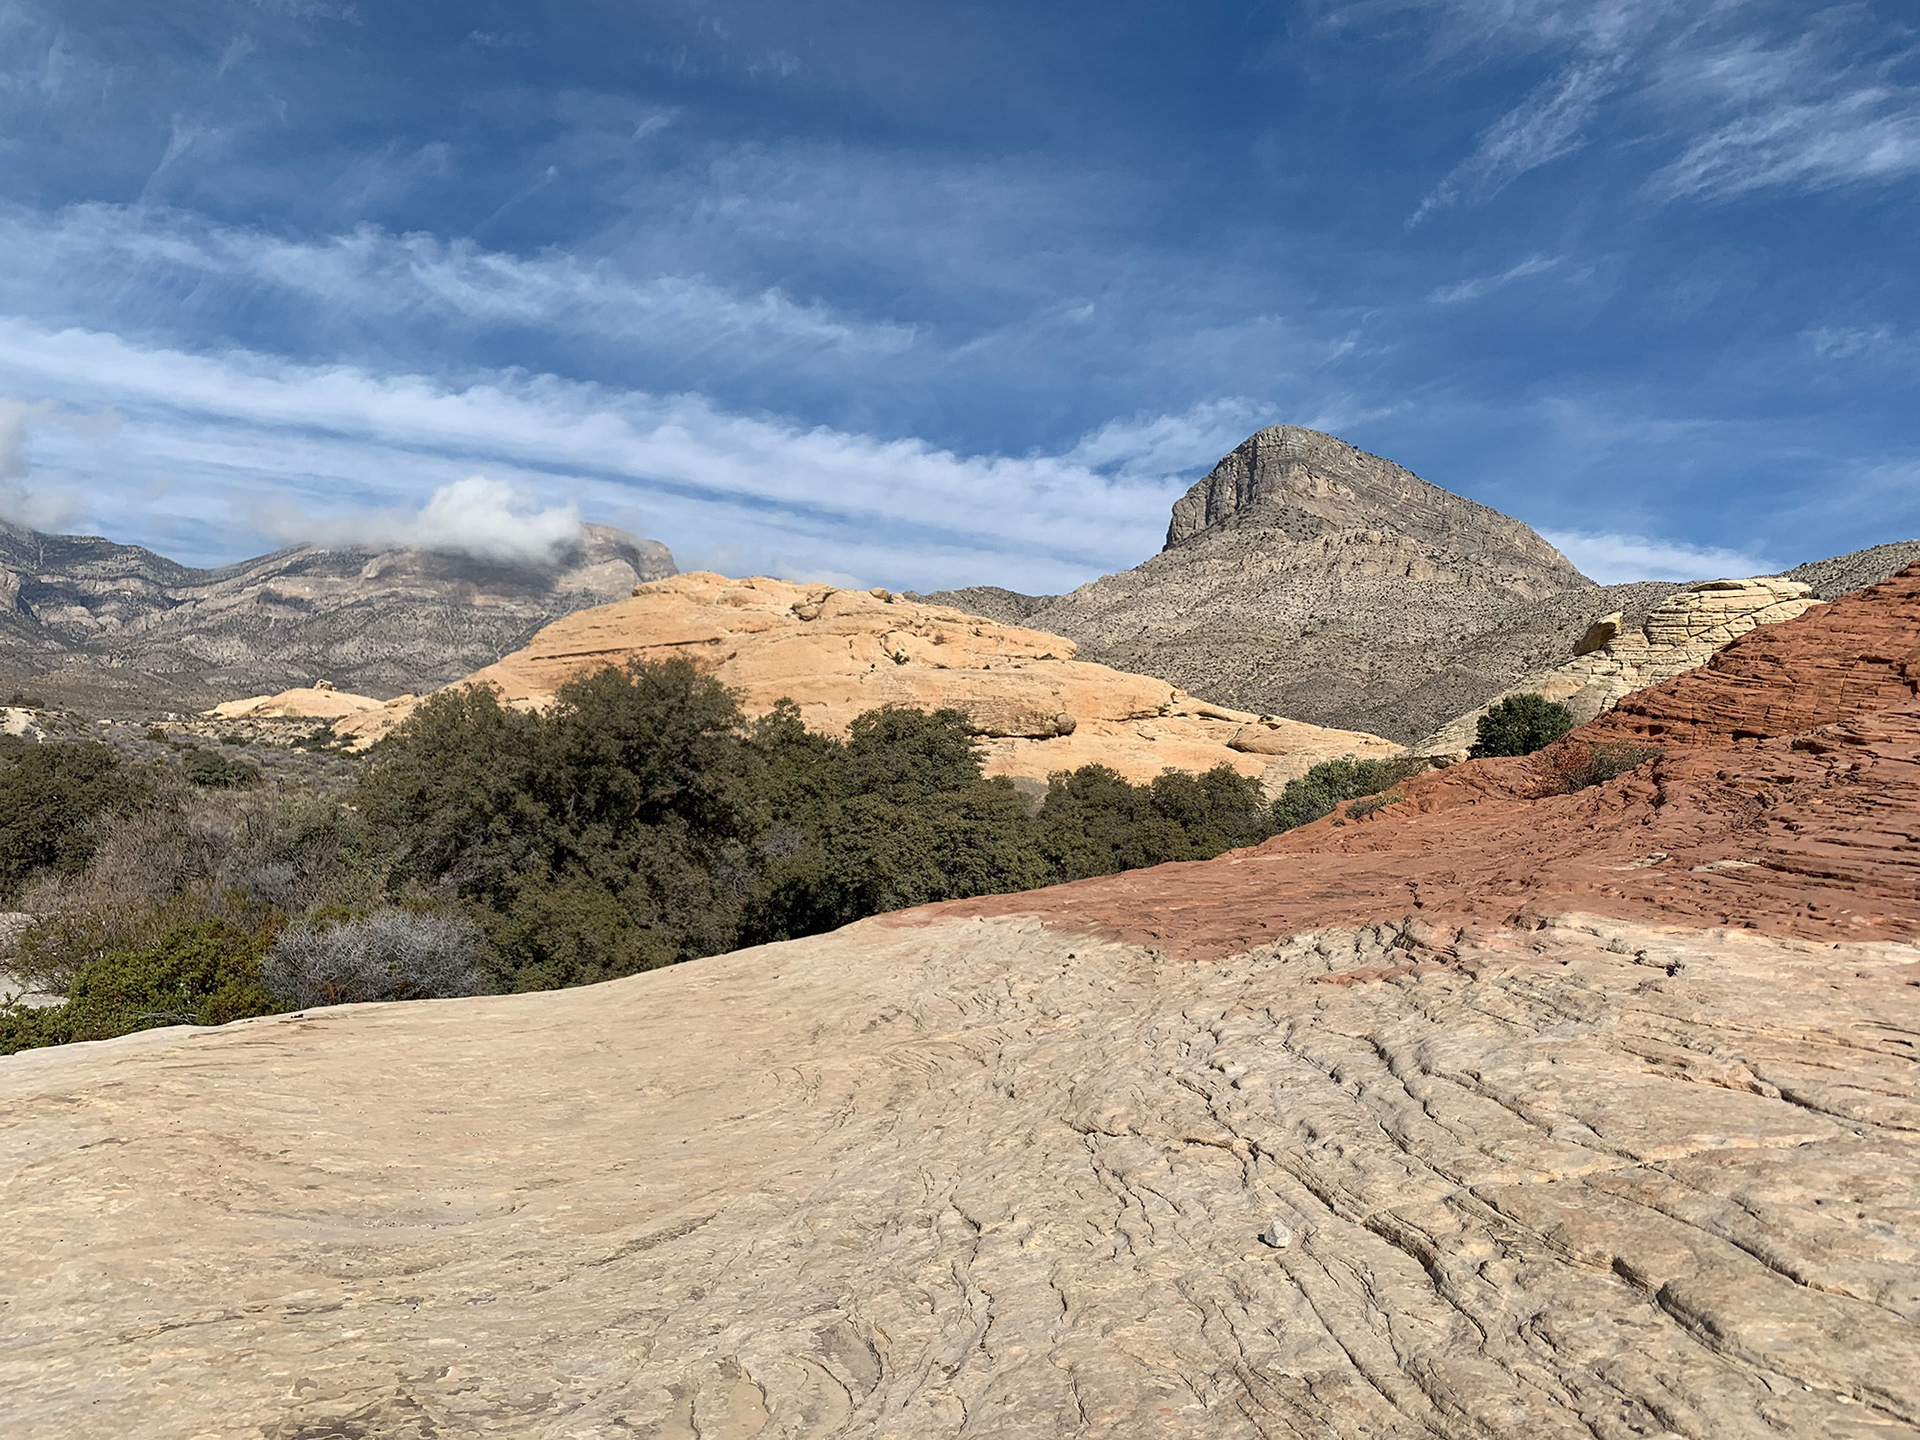
As nature intended on the right. Photo courtesy of Danica Adler.
I don't know about you, but thanks to Generative Fill, I'm revisiting a lot of my travel photos, where pesky, inconsiderate tourists got in the way of my art-making.
On the other hand, maybe it's not the presence tourists in the photo so much as the type of tourists. Rather than some people just standing around, let's add some people who have purpose, using Generative Fill, of course. Oh, and let's make sure their faithful fido is with them, too.
I added these elements using three separate selections. The prompts I used were "hiker," "male hiker walking uphill," and "walking dog."
Notice how the lighting and perspective are matched, making for a seamless composite. How cool is that? We've completely the narrative!
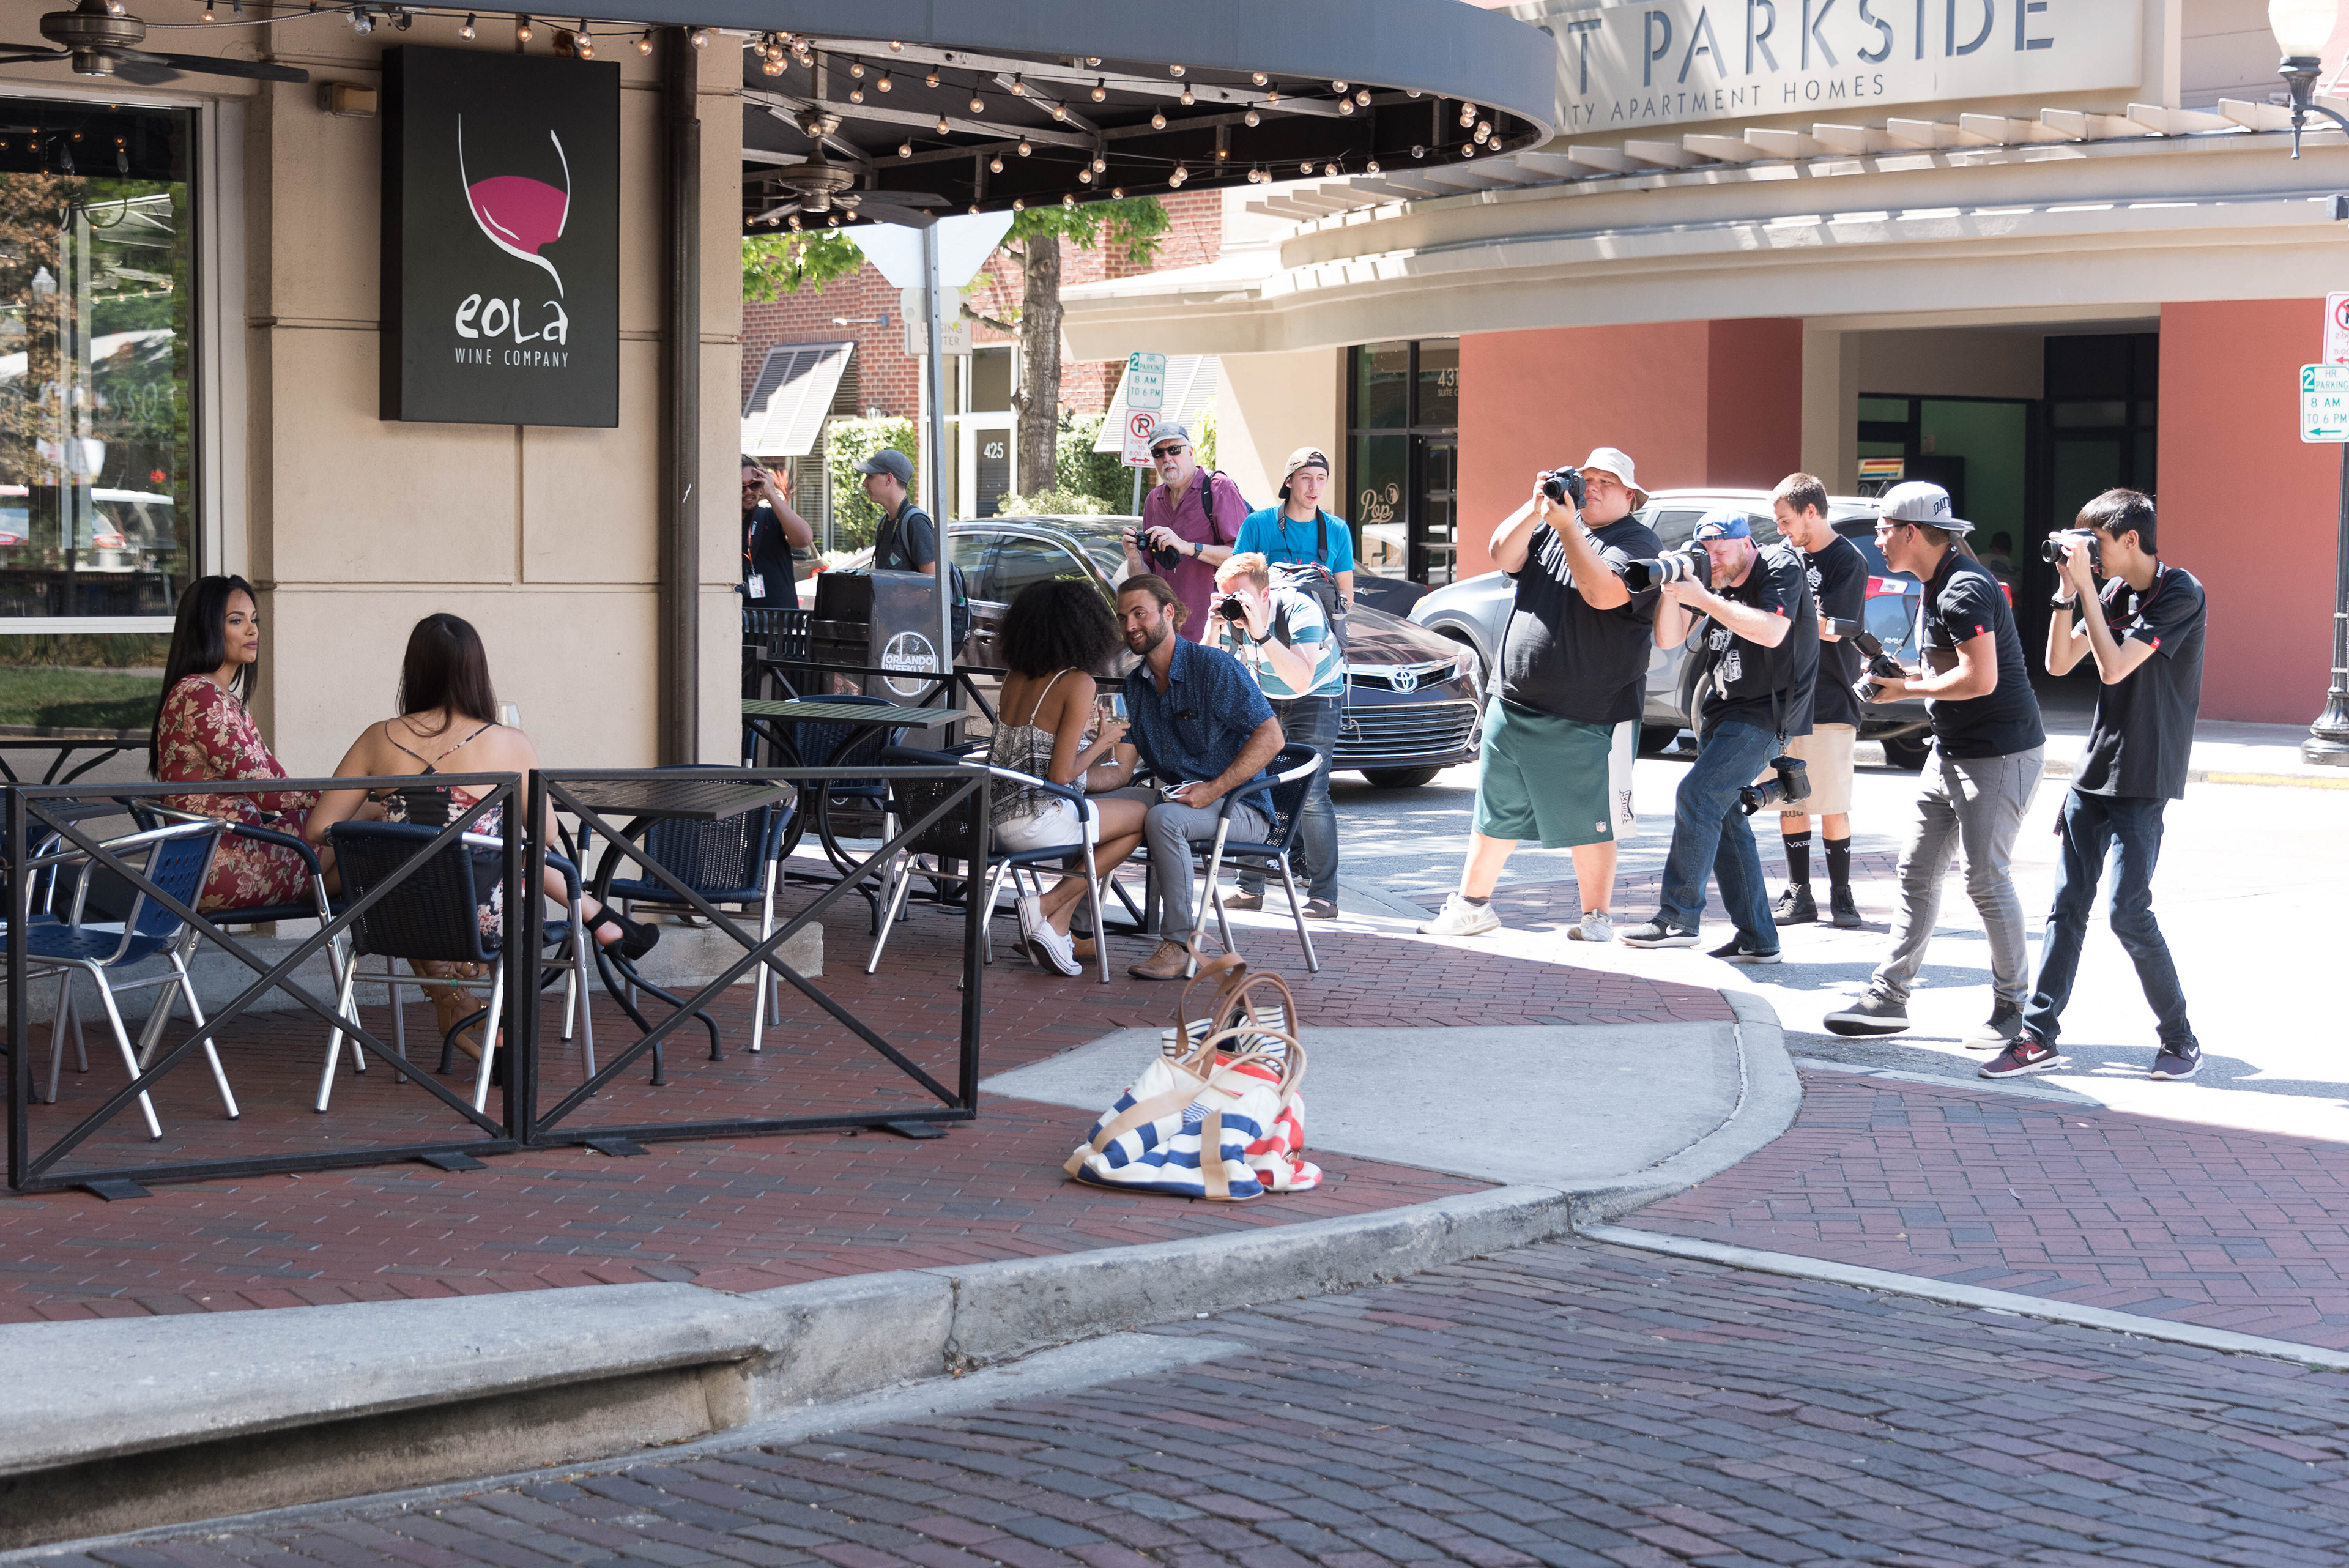
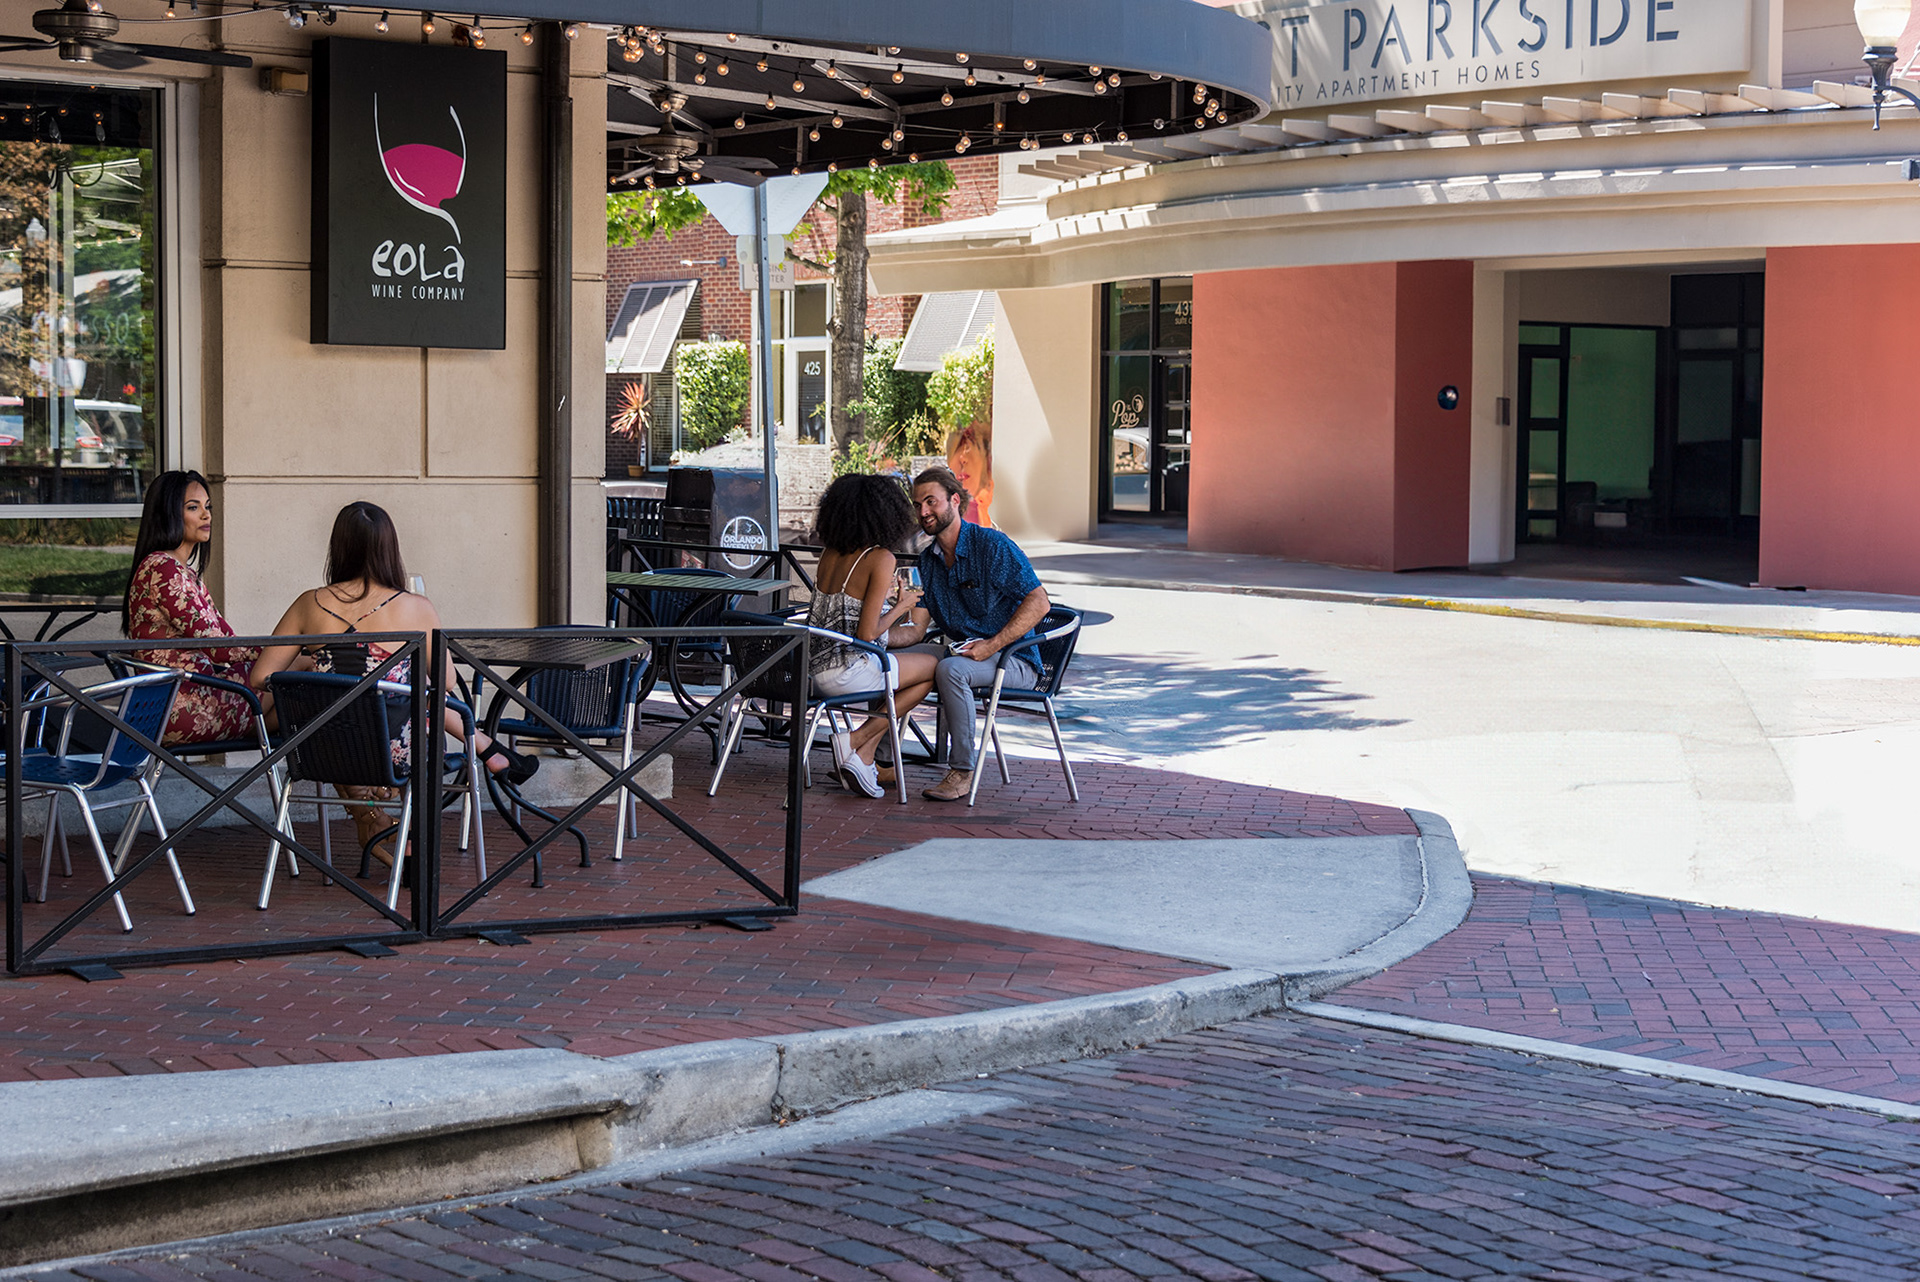
Crowd? What crowd?
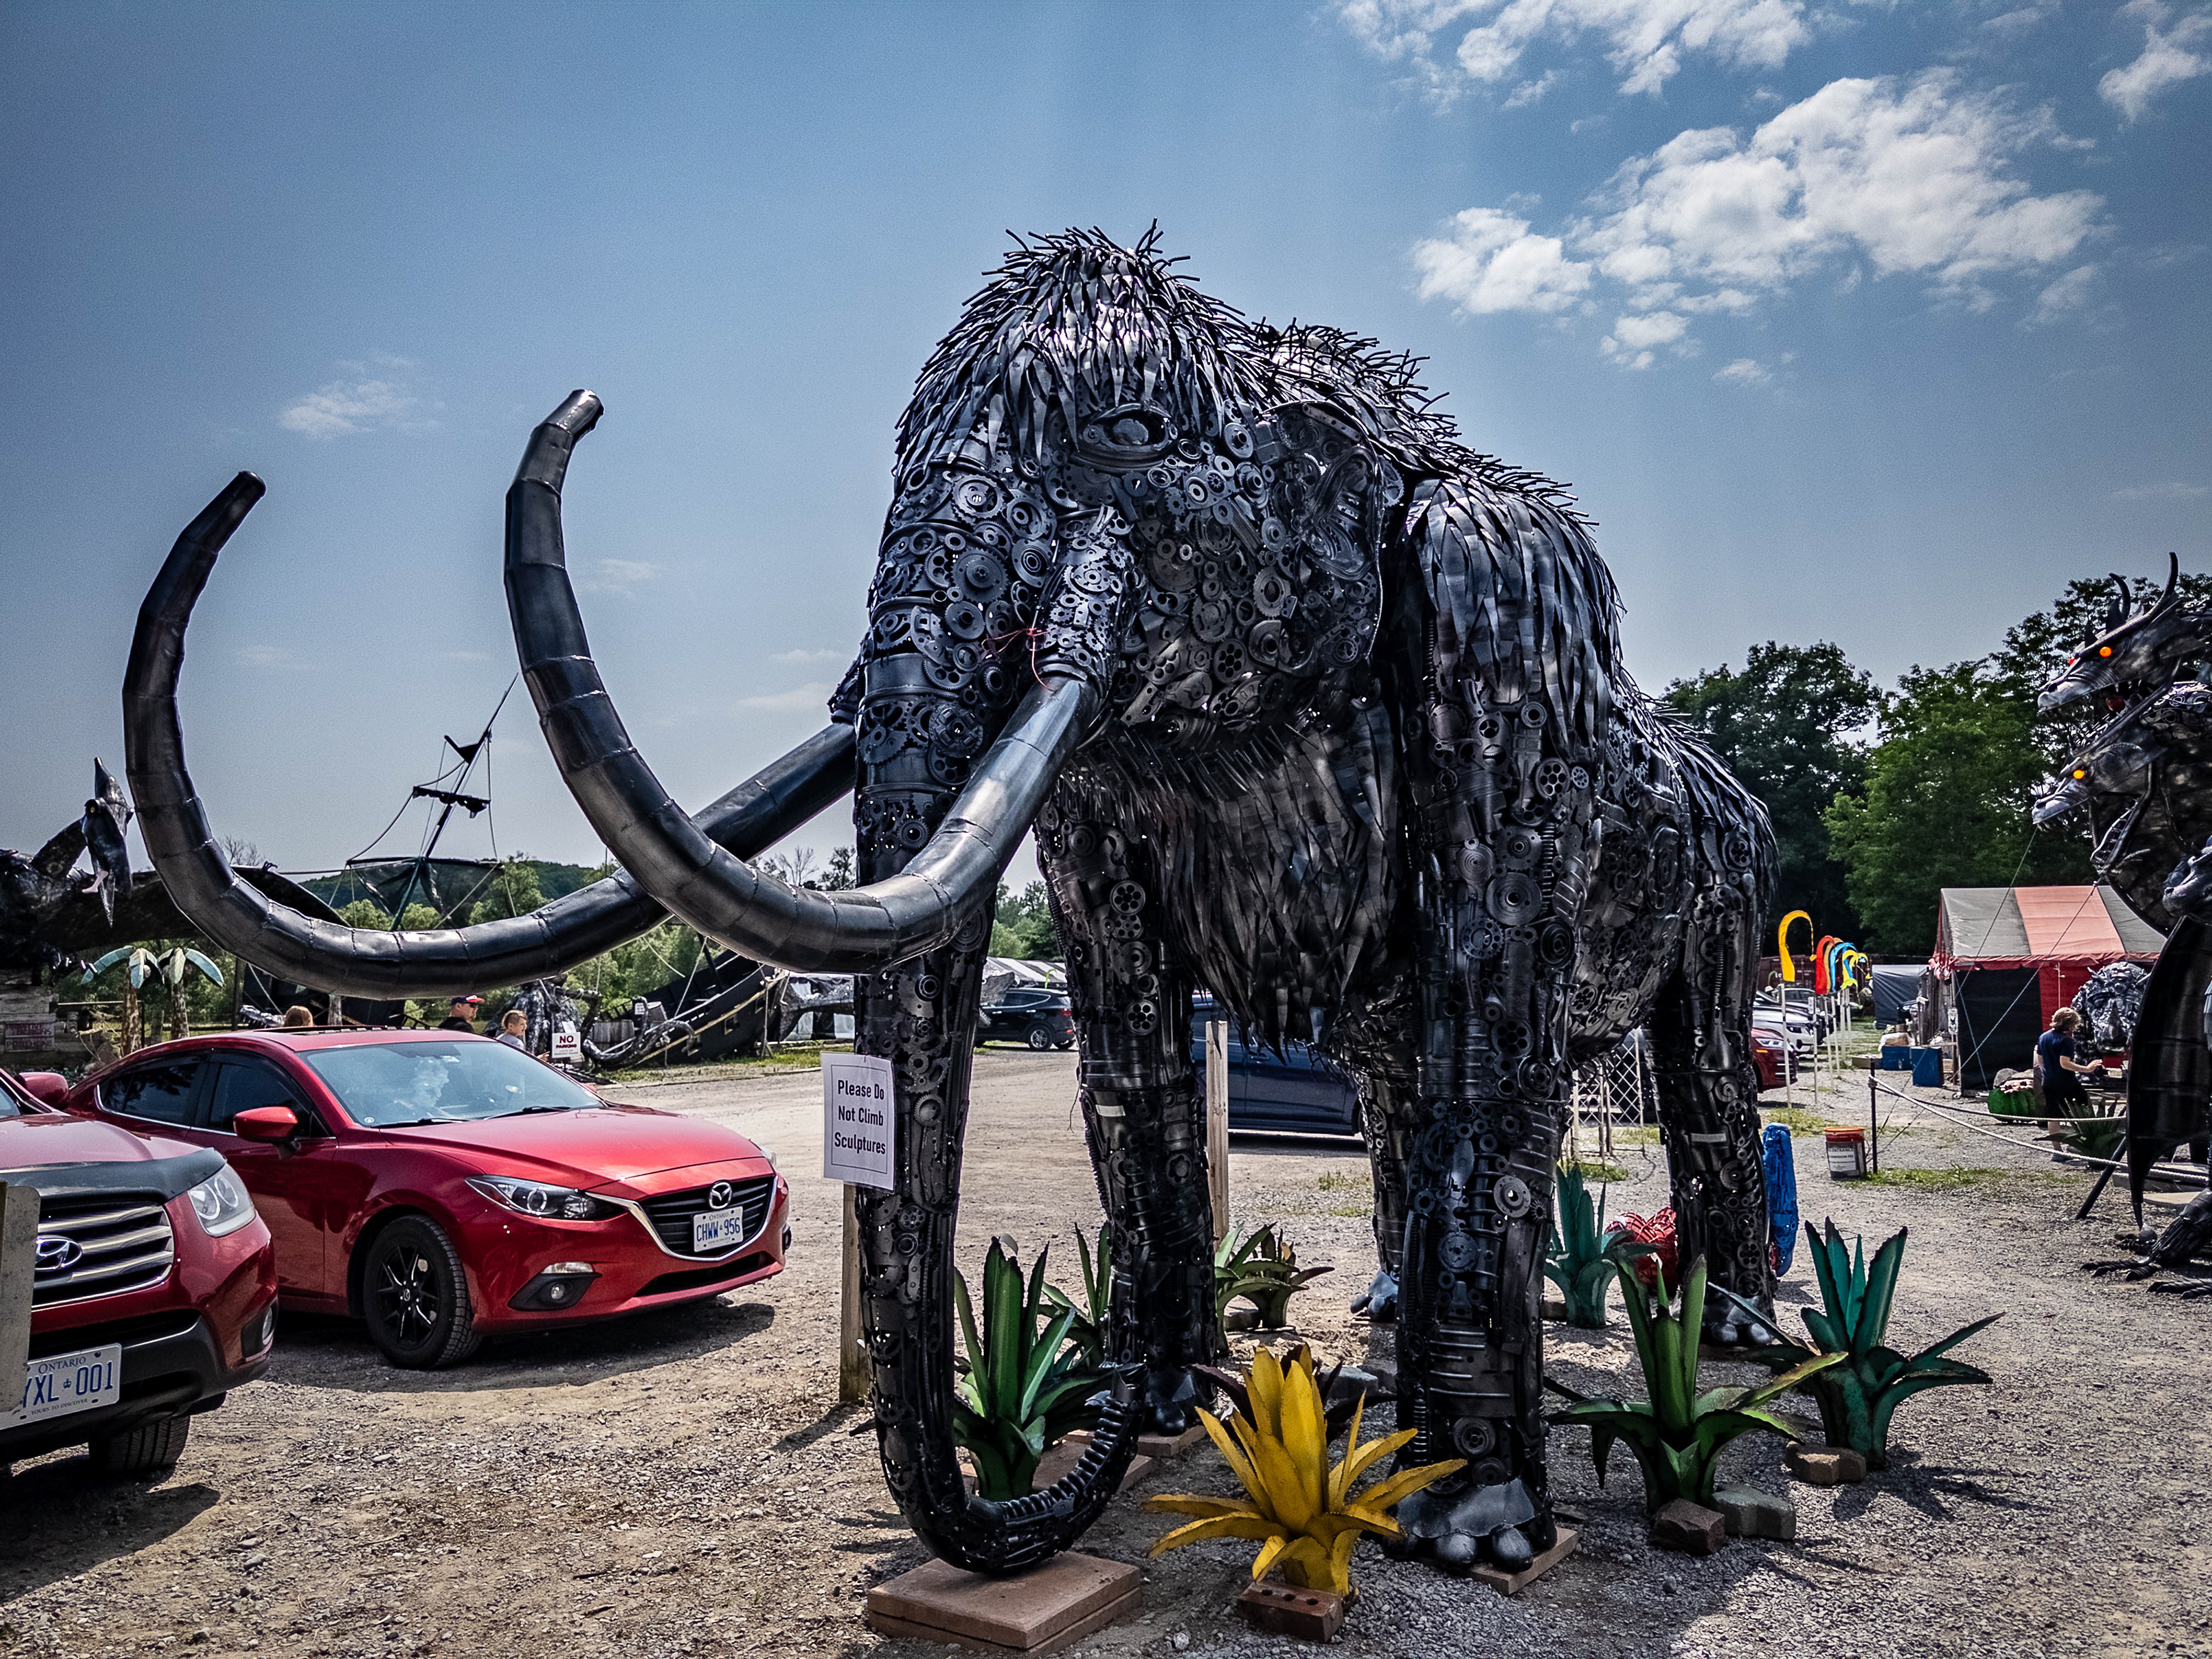
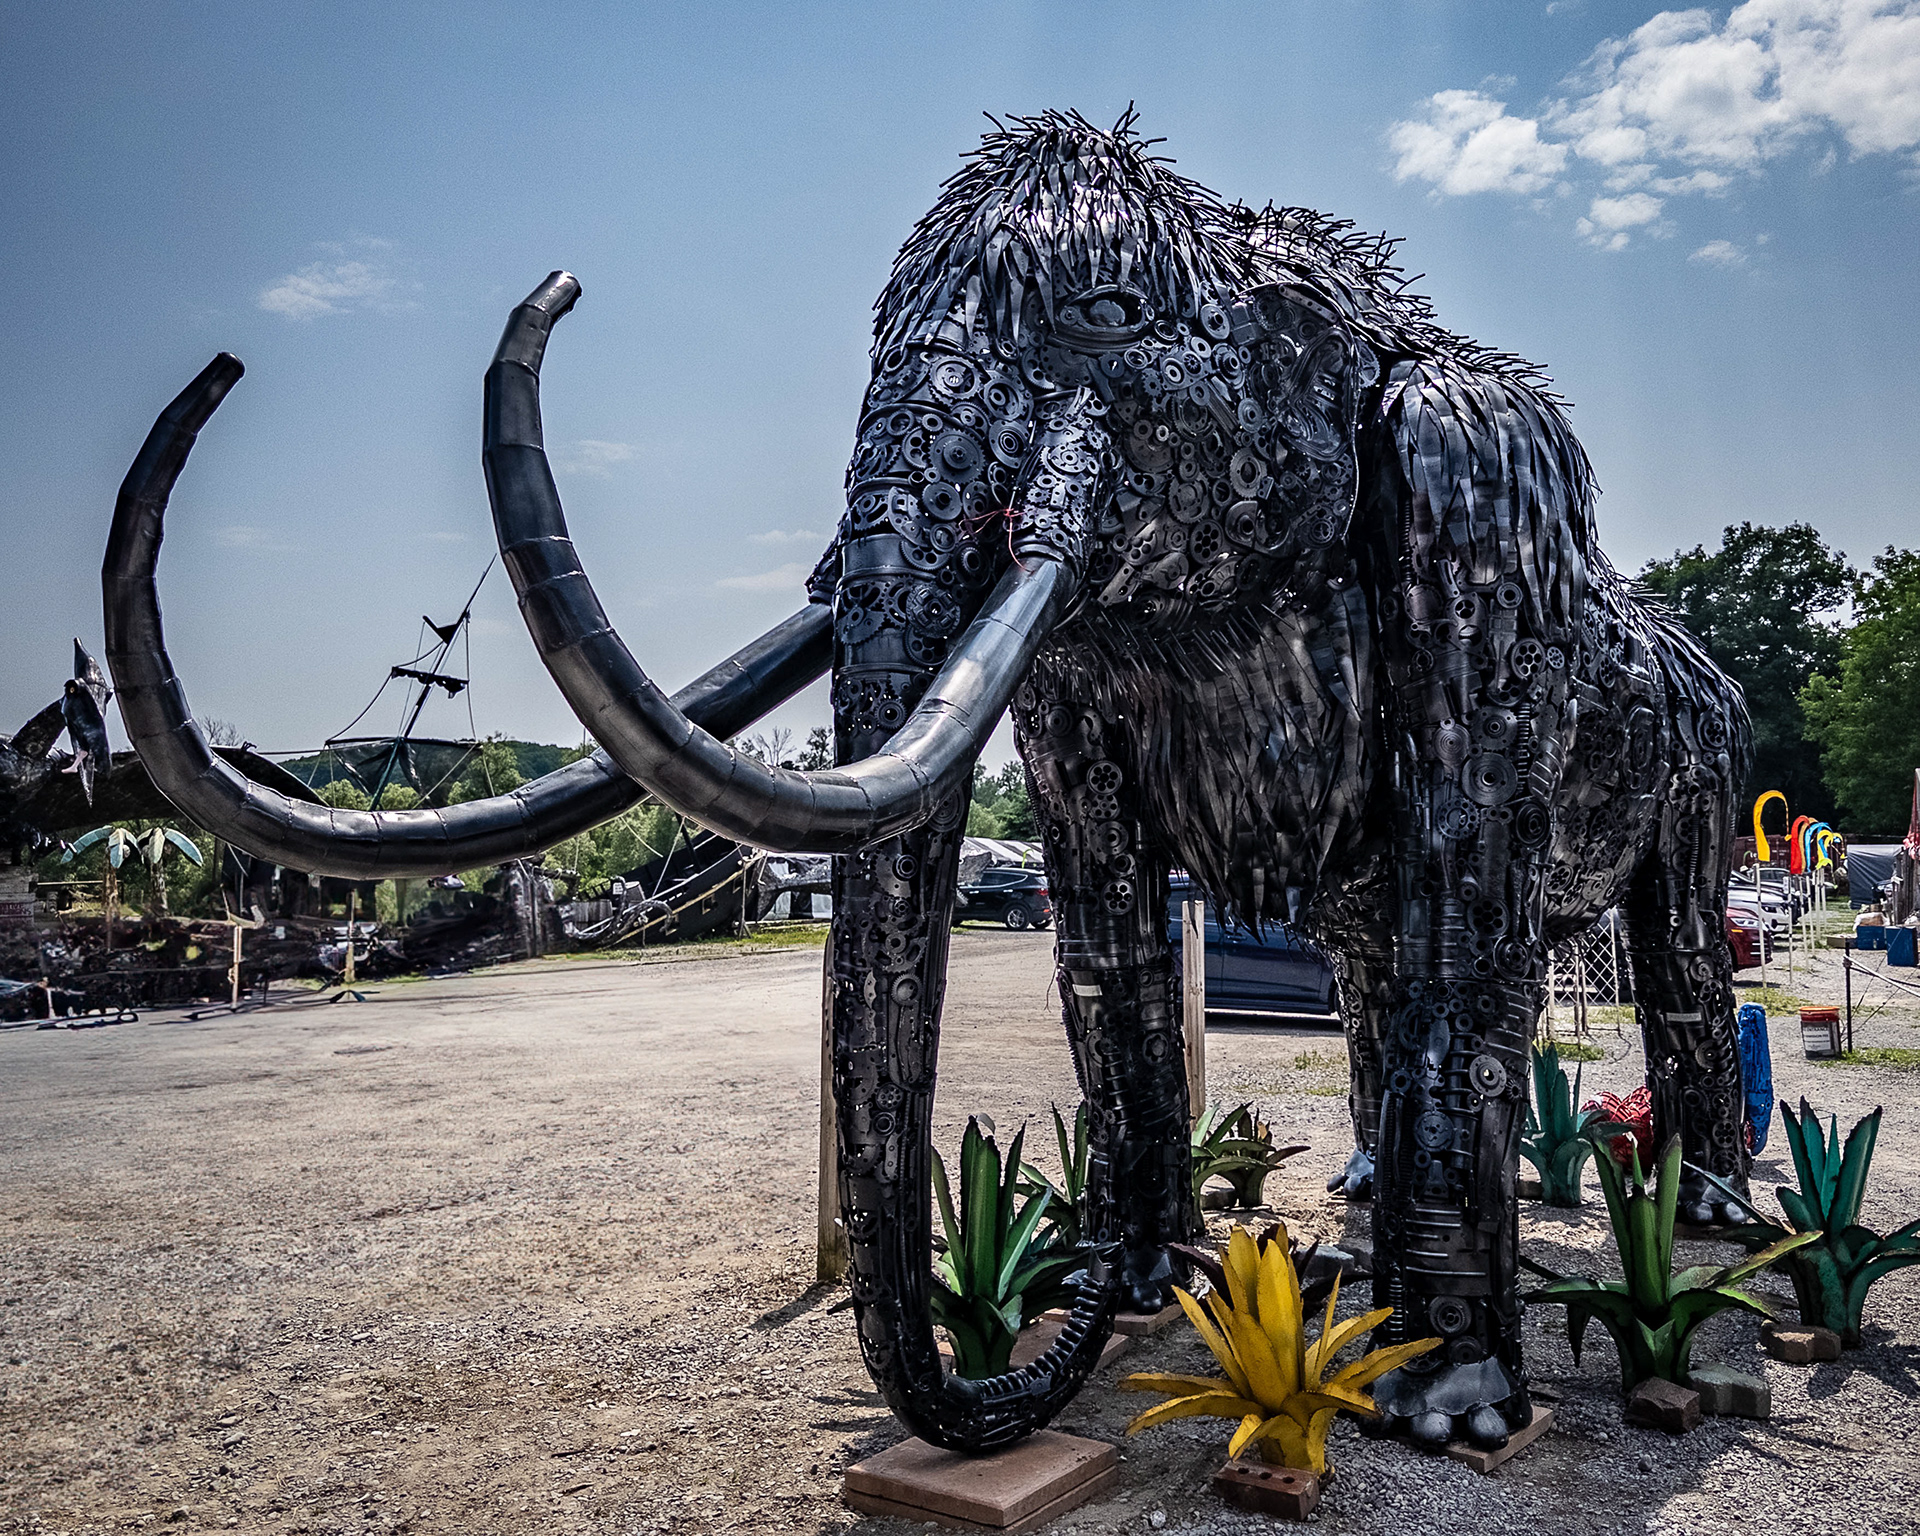
Another roadside attraction
There was no way to avoid cars (and often, people) in my photos of this roadside attraction. Well, that's not an issue, anymore...
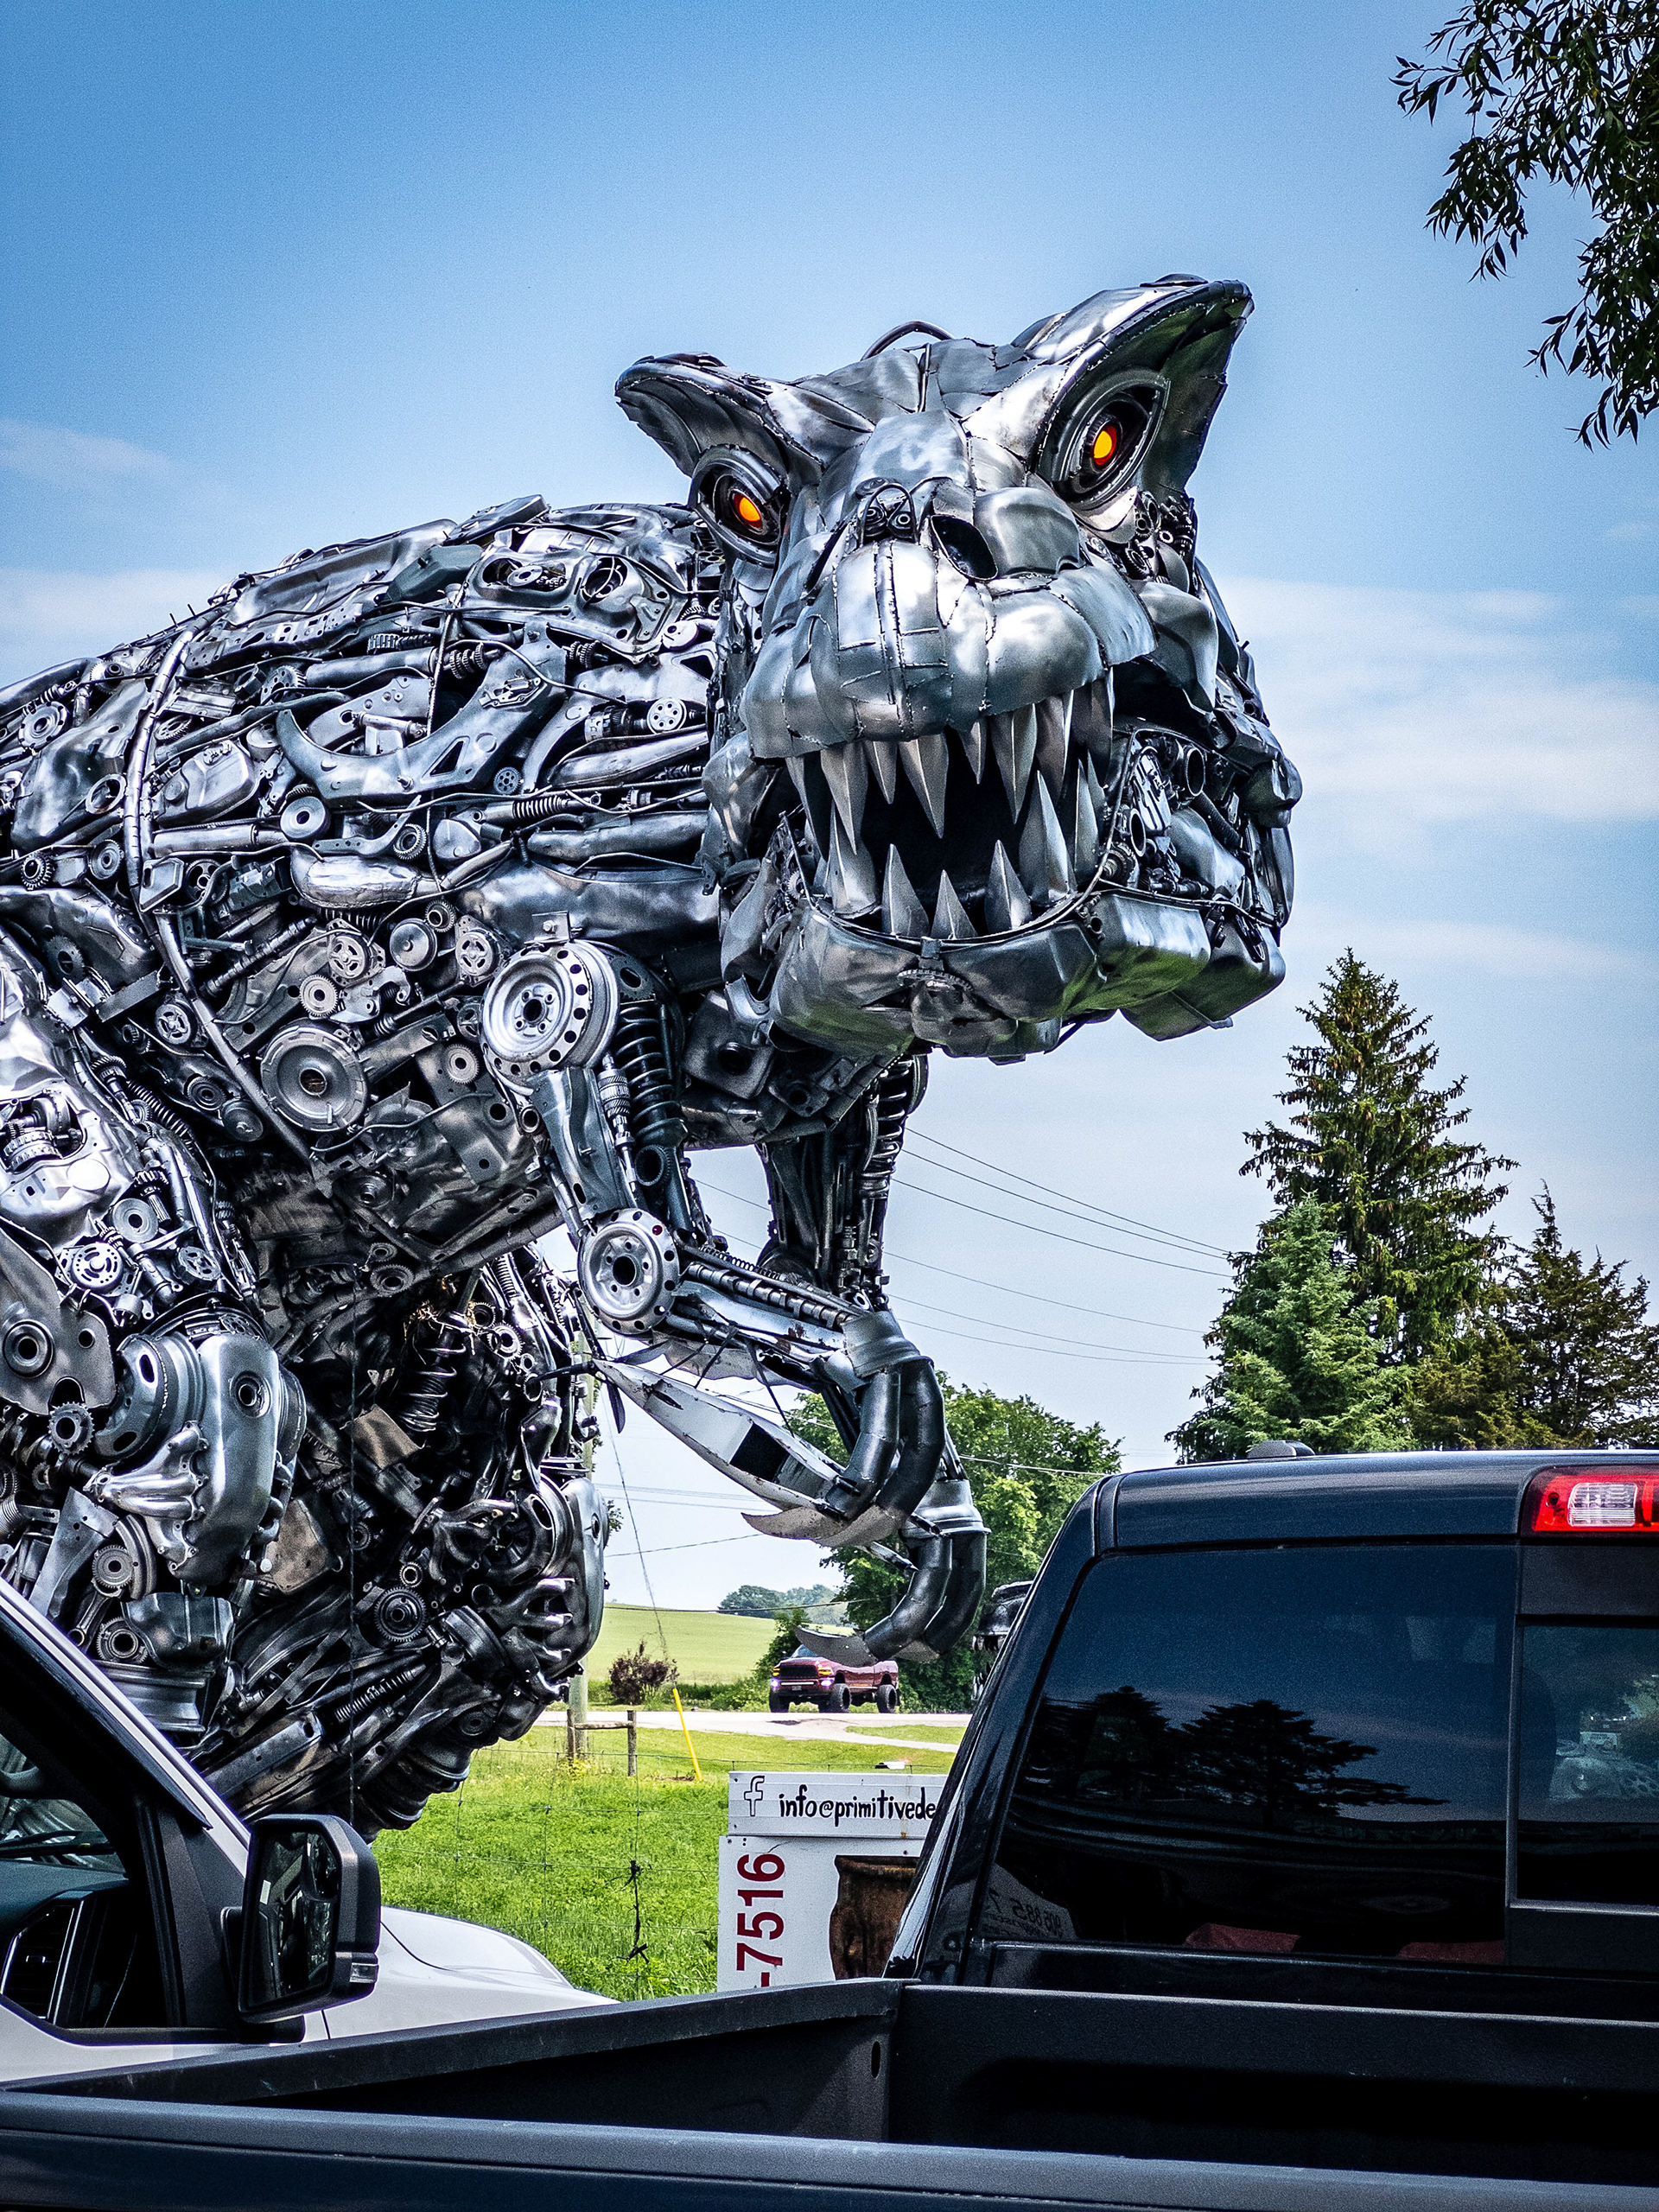
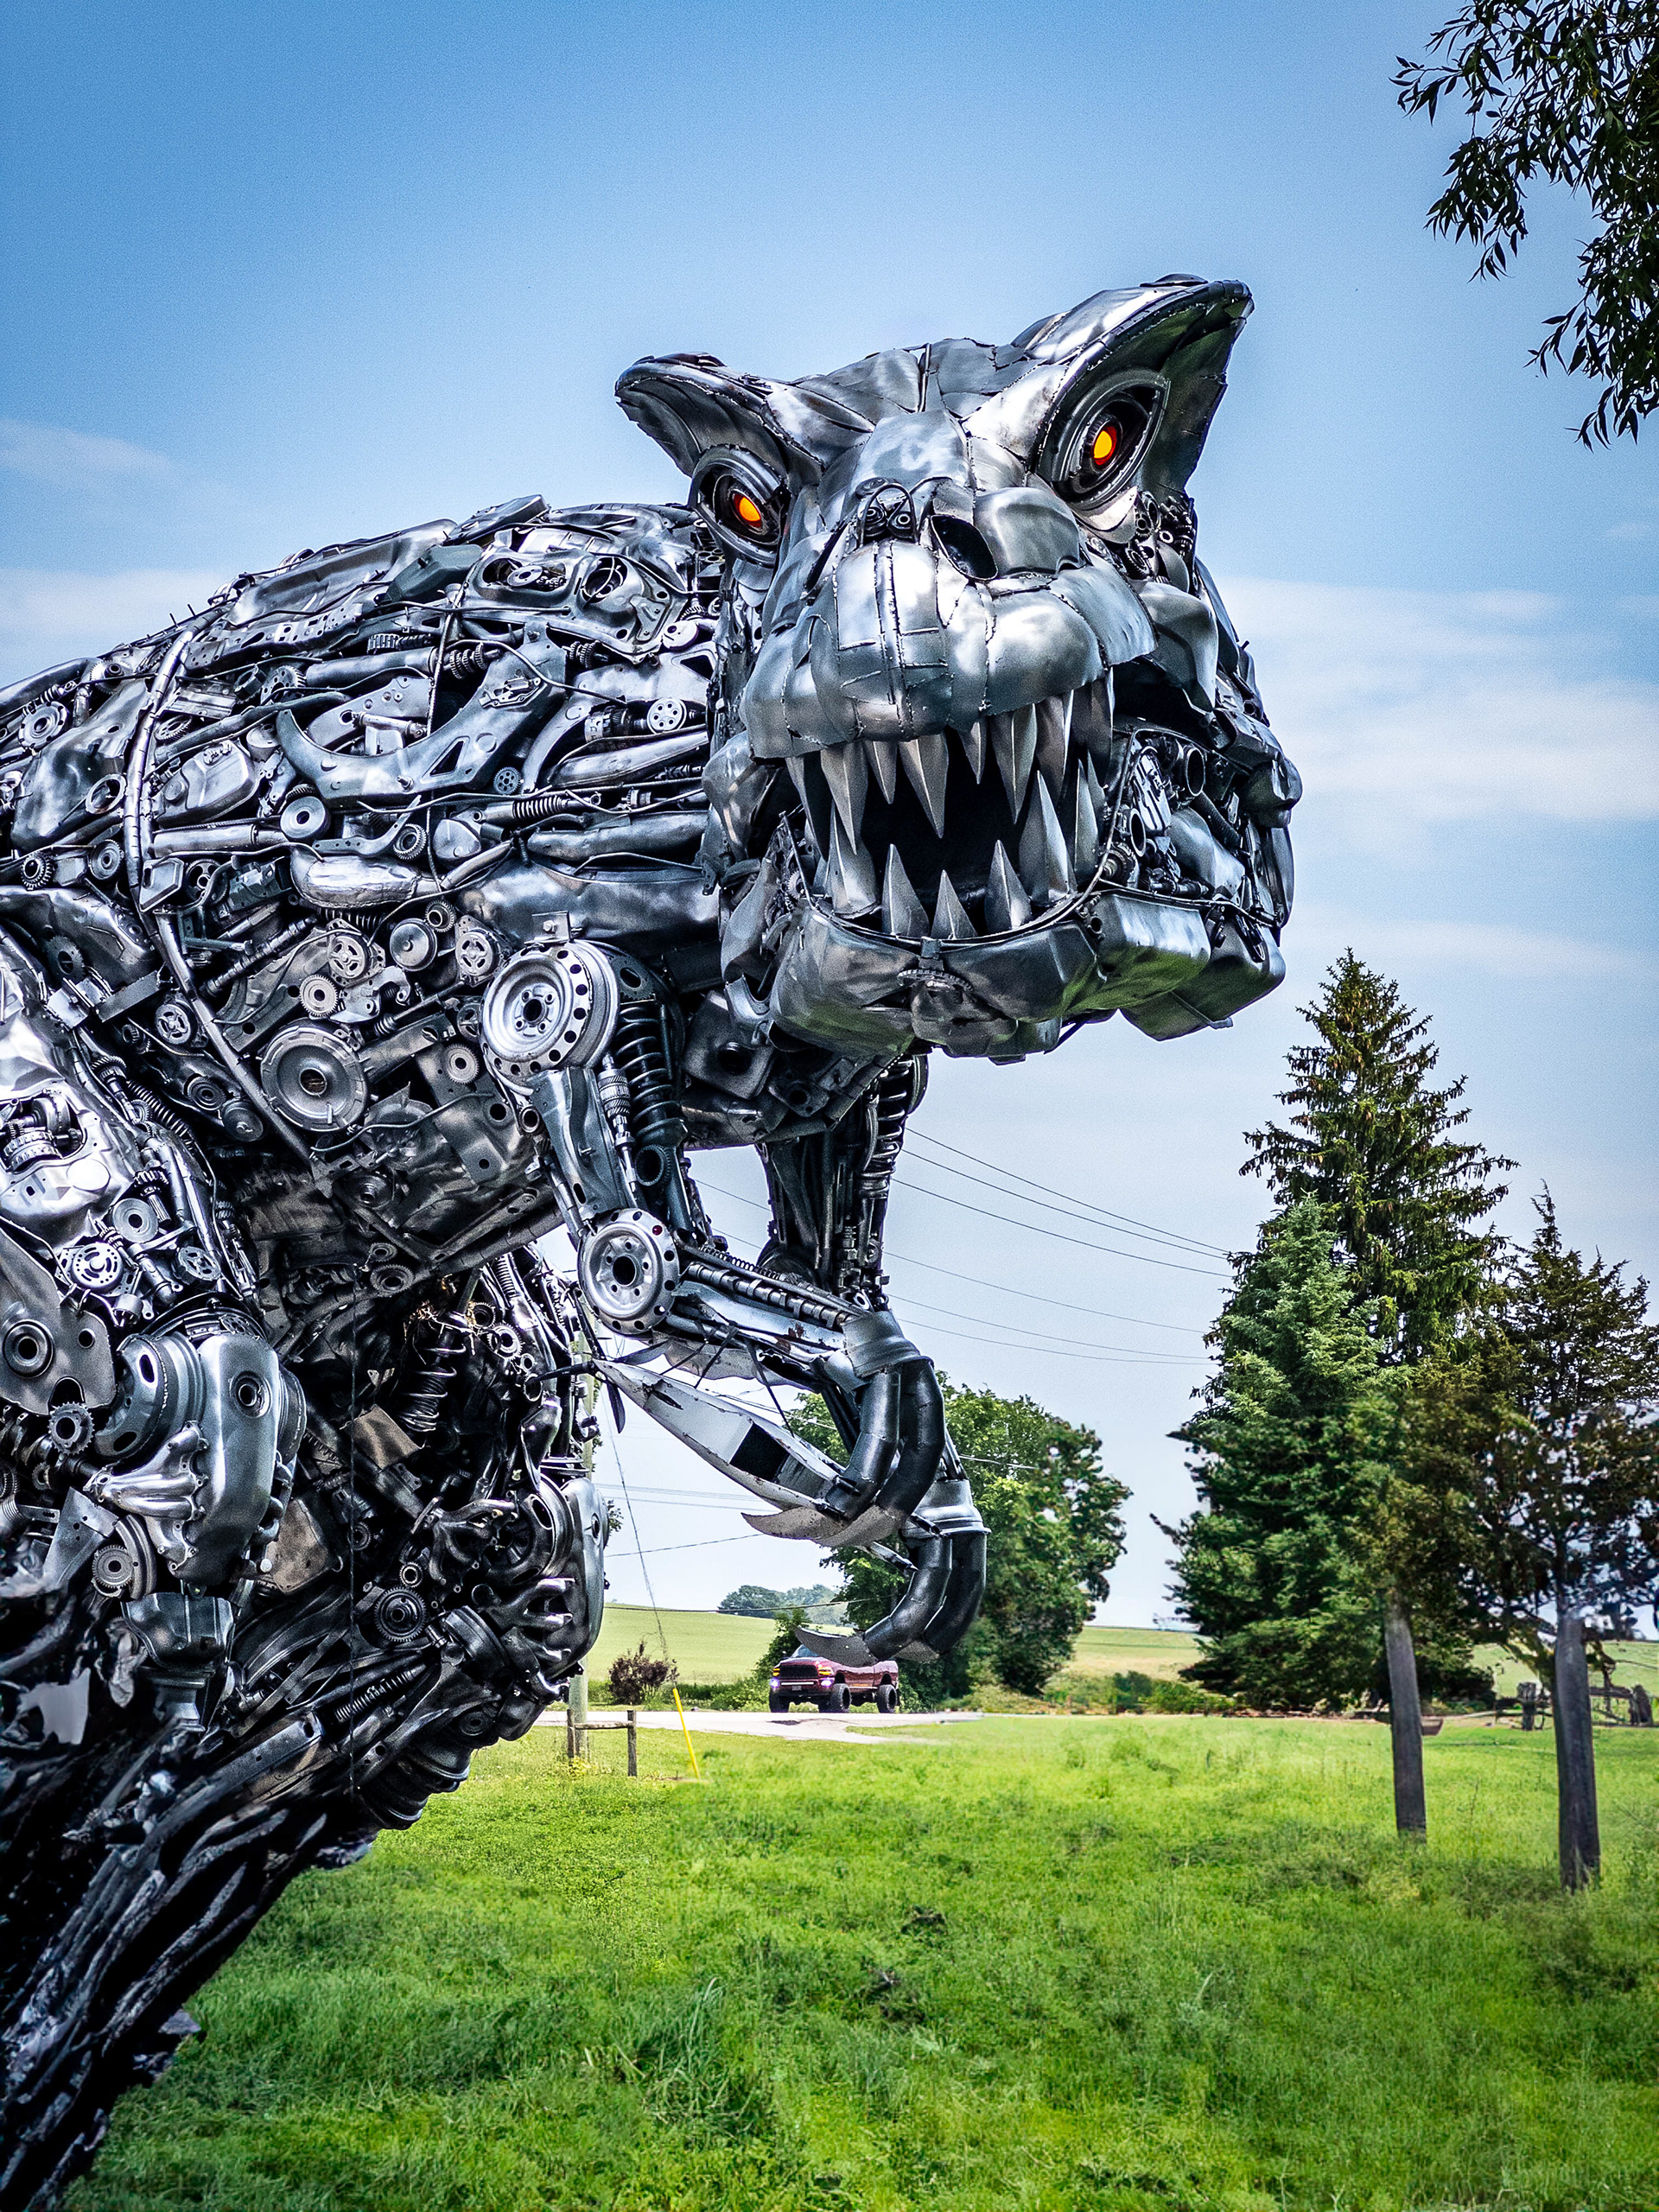
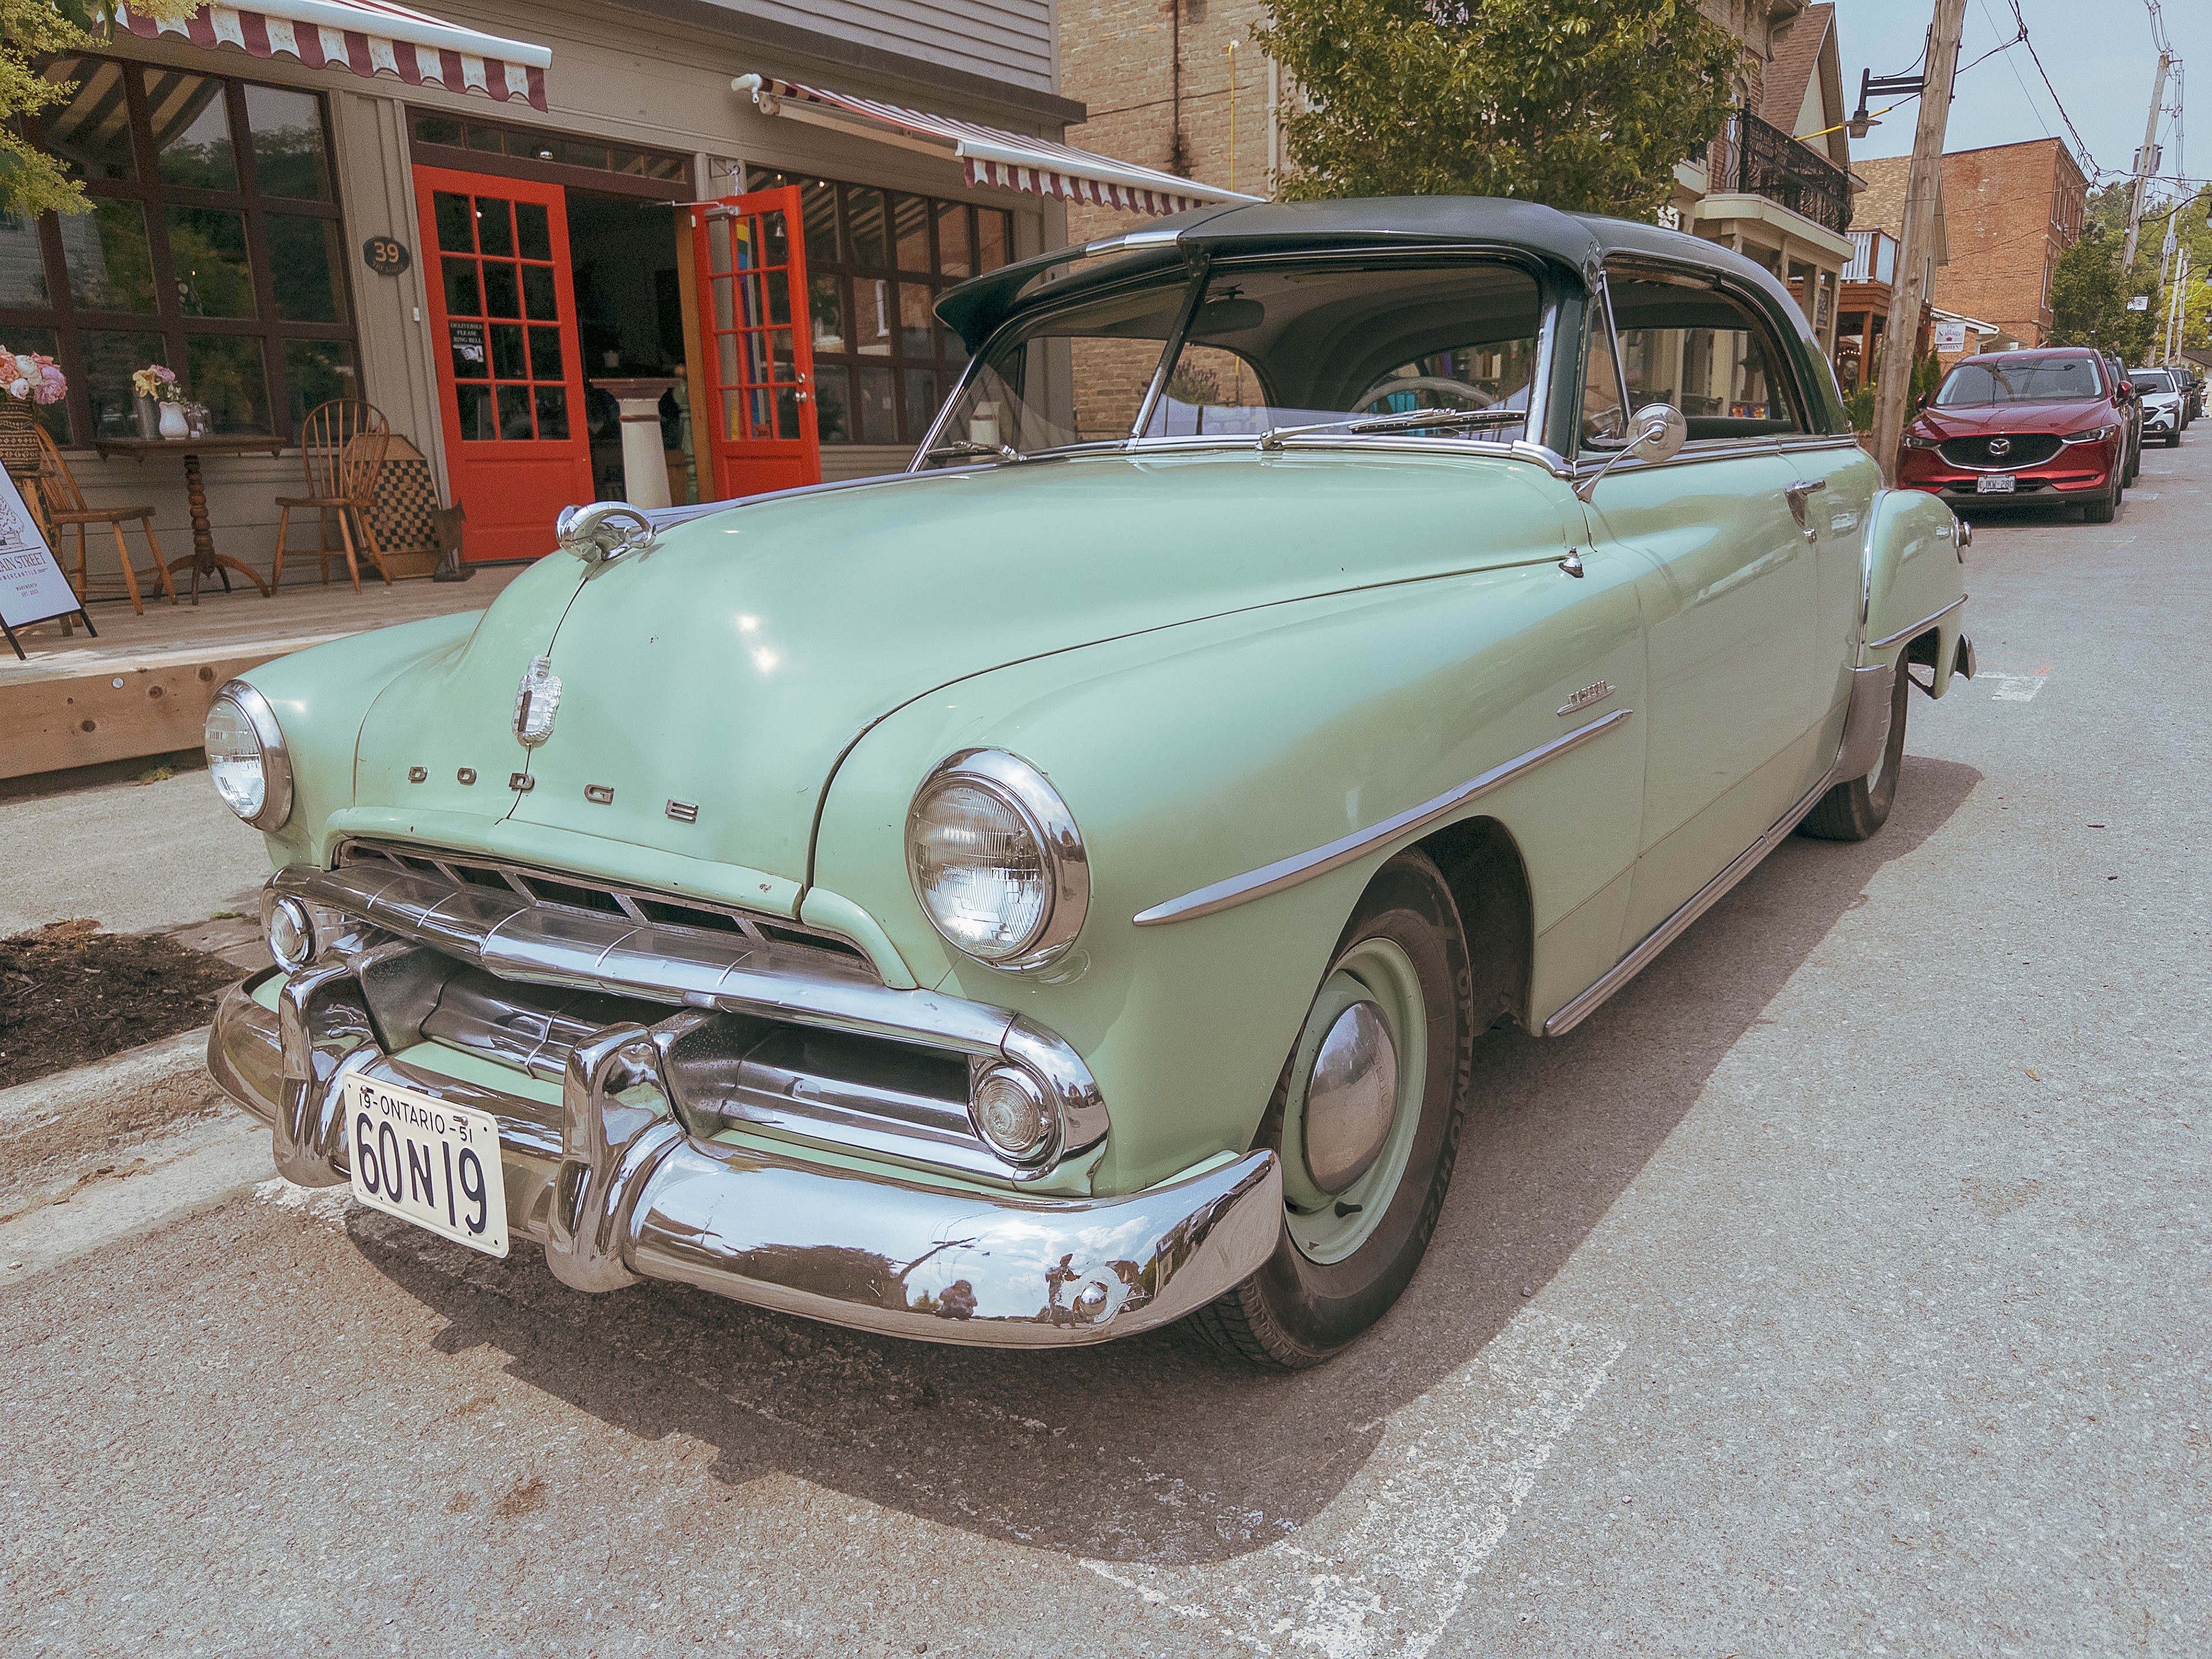
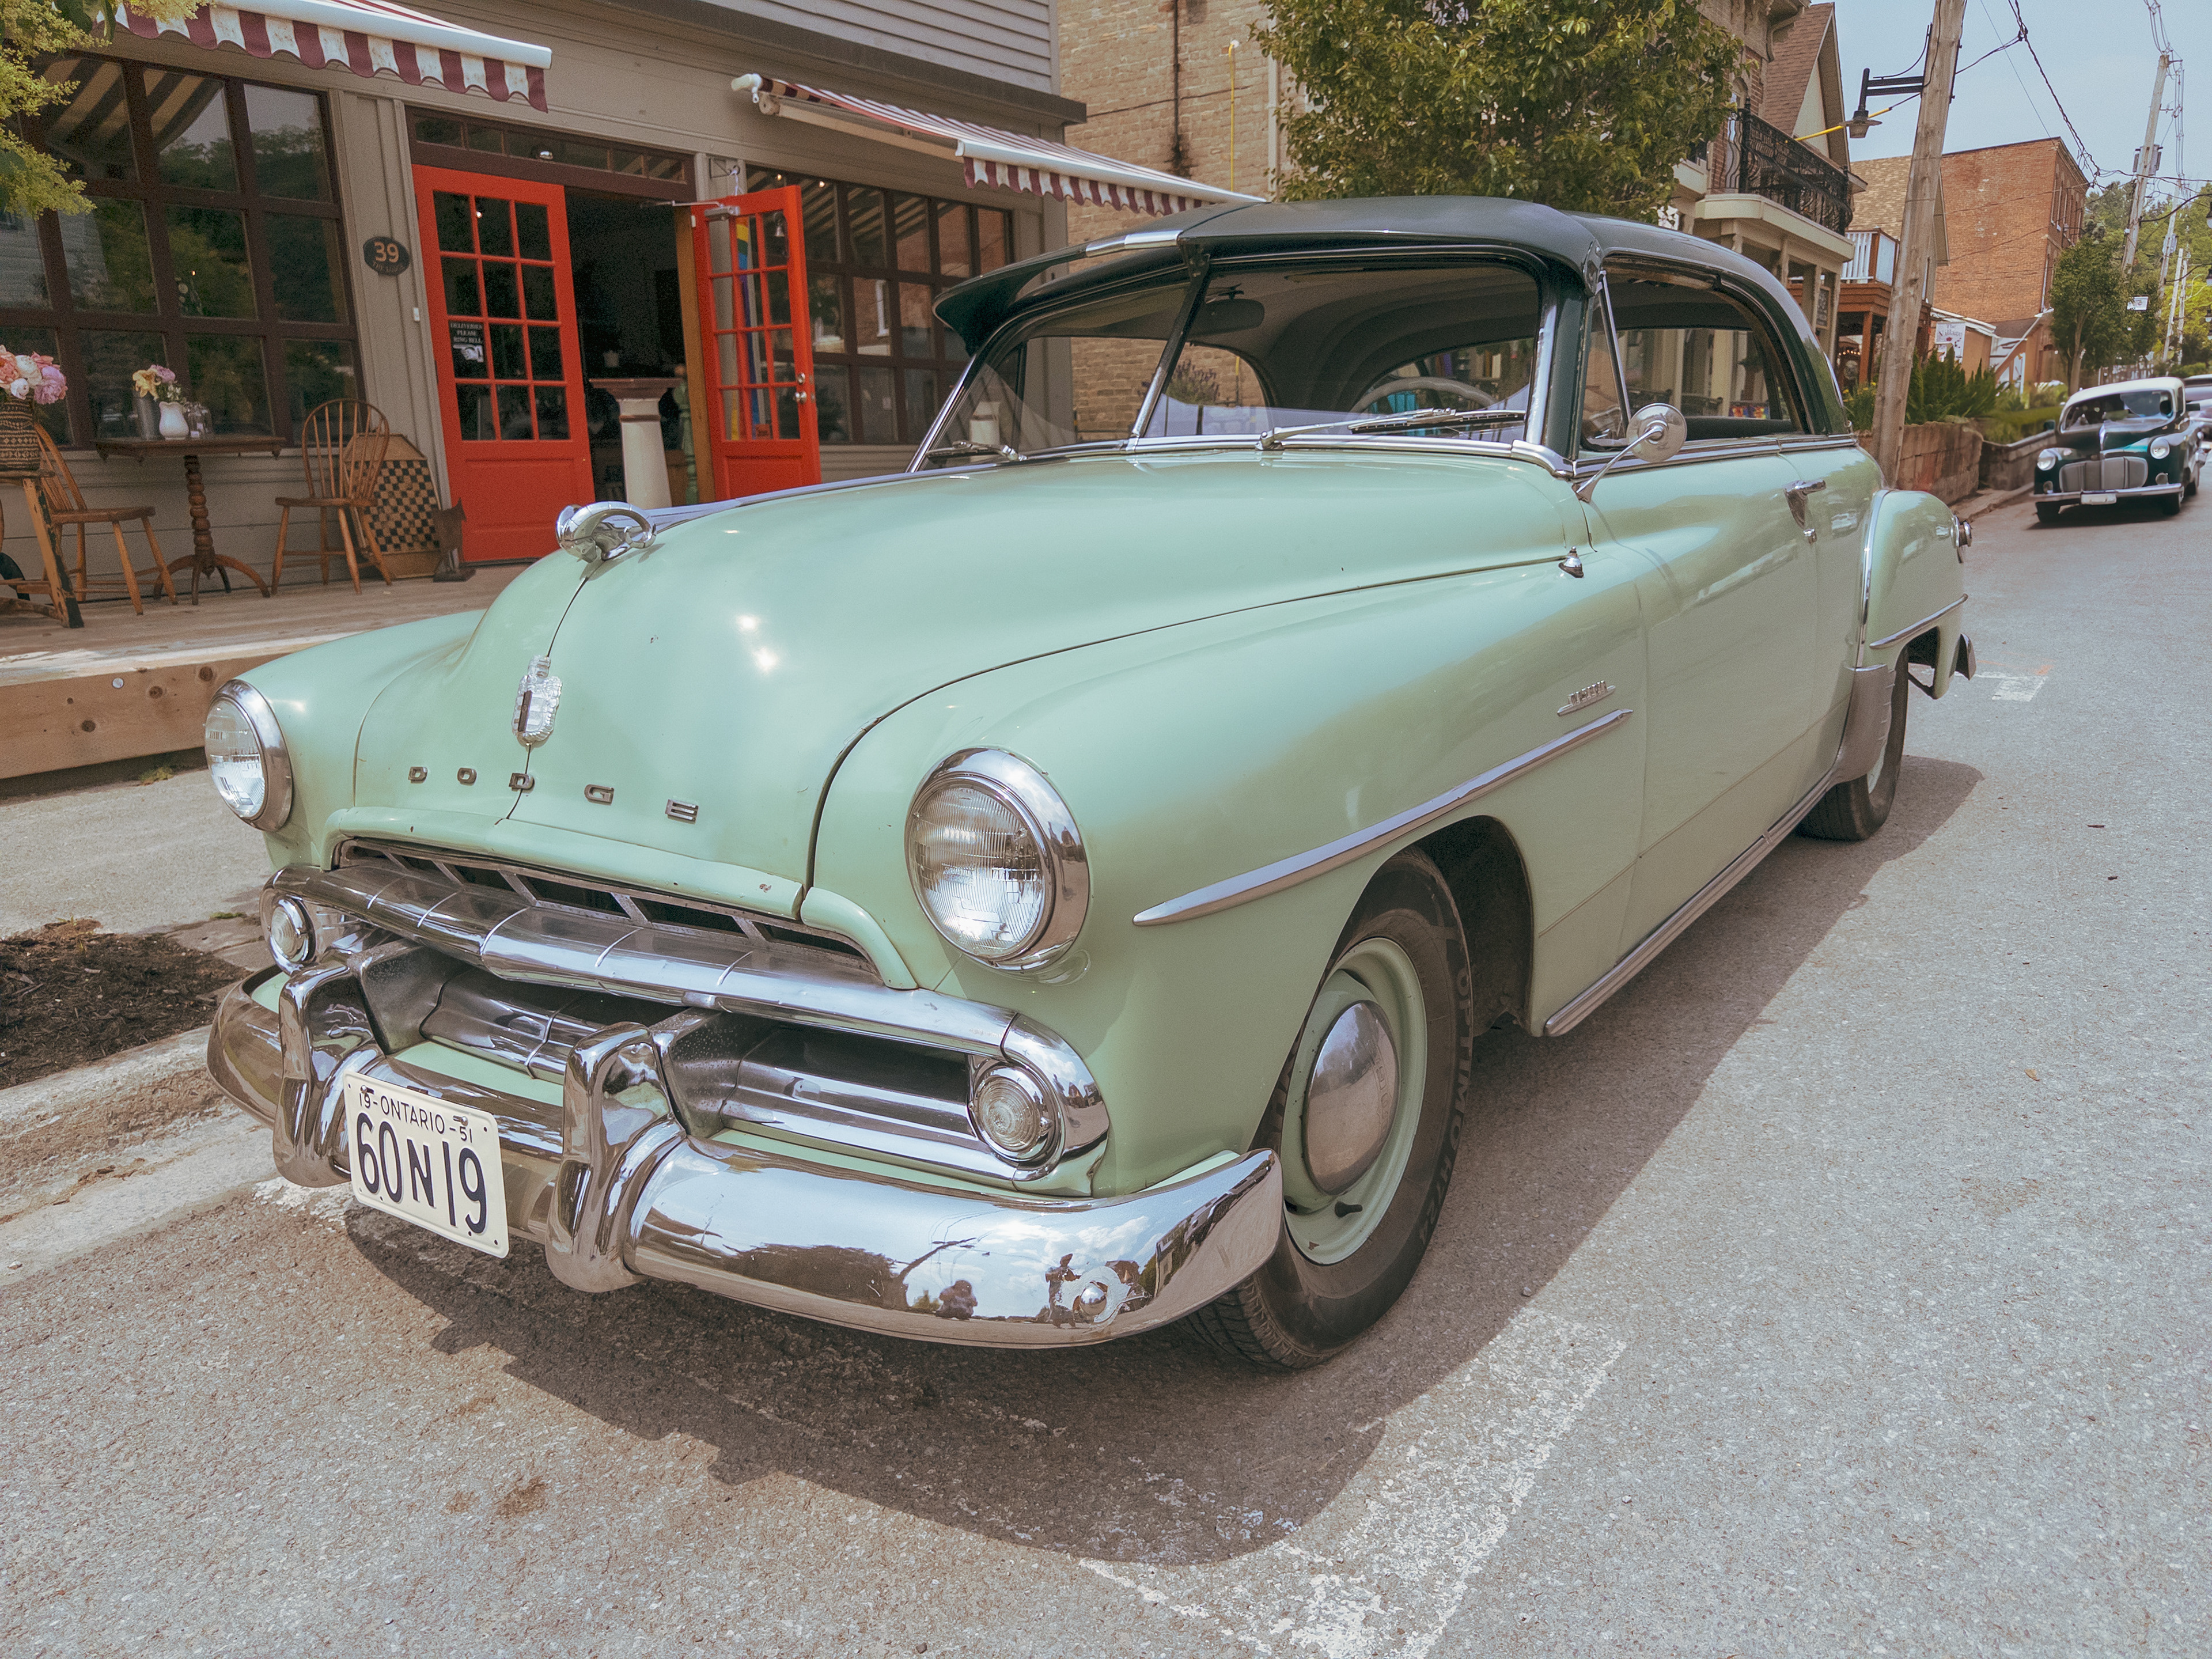
Turning a quick smartphone snapshot into a time-travel experience.
I used a Vintage Lightroom preset to set the tone, then changed the story using Generative Fill to replace the modern cars with more classic vehicles. Sadly, there was just not enough information for Firefly to use for widening the scene. Every generation I tried was well - pretty horrible. lol.
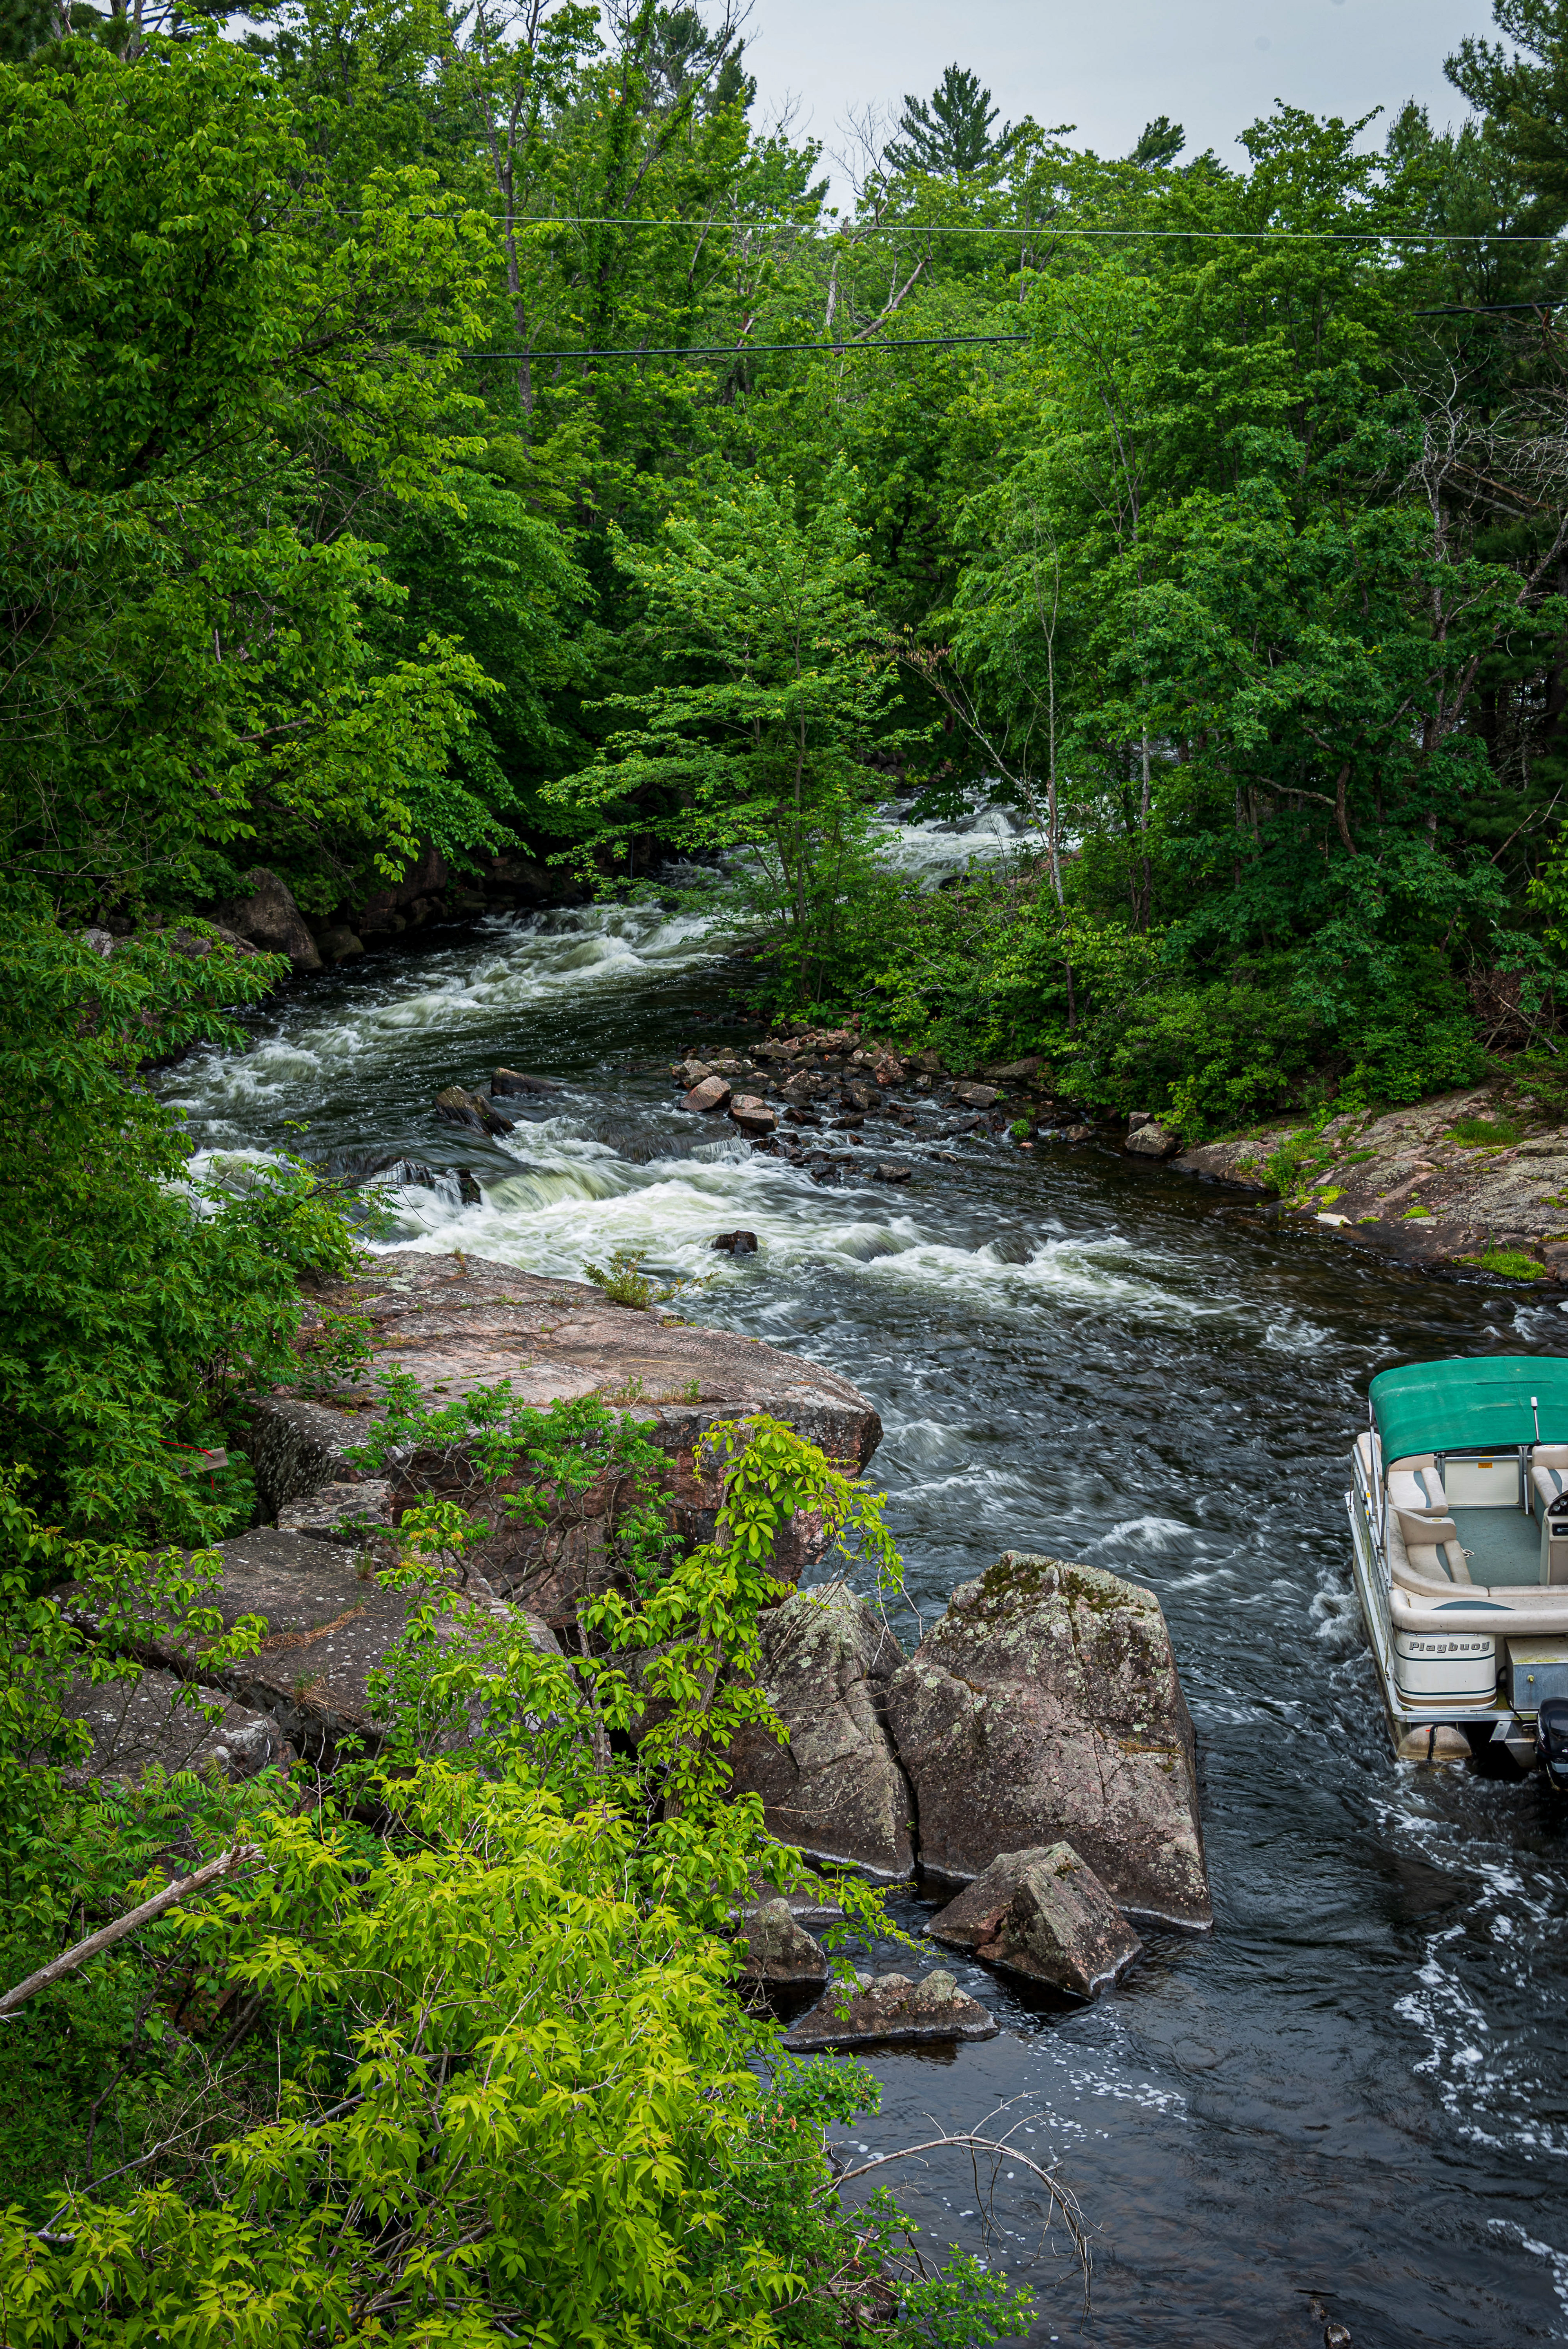
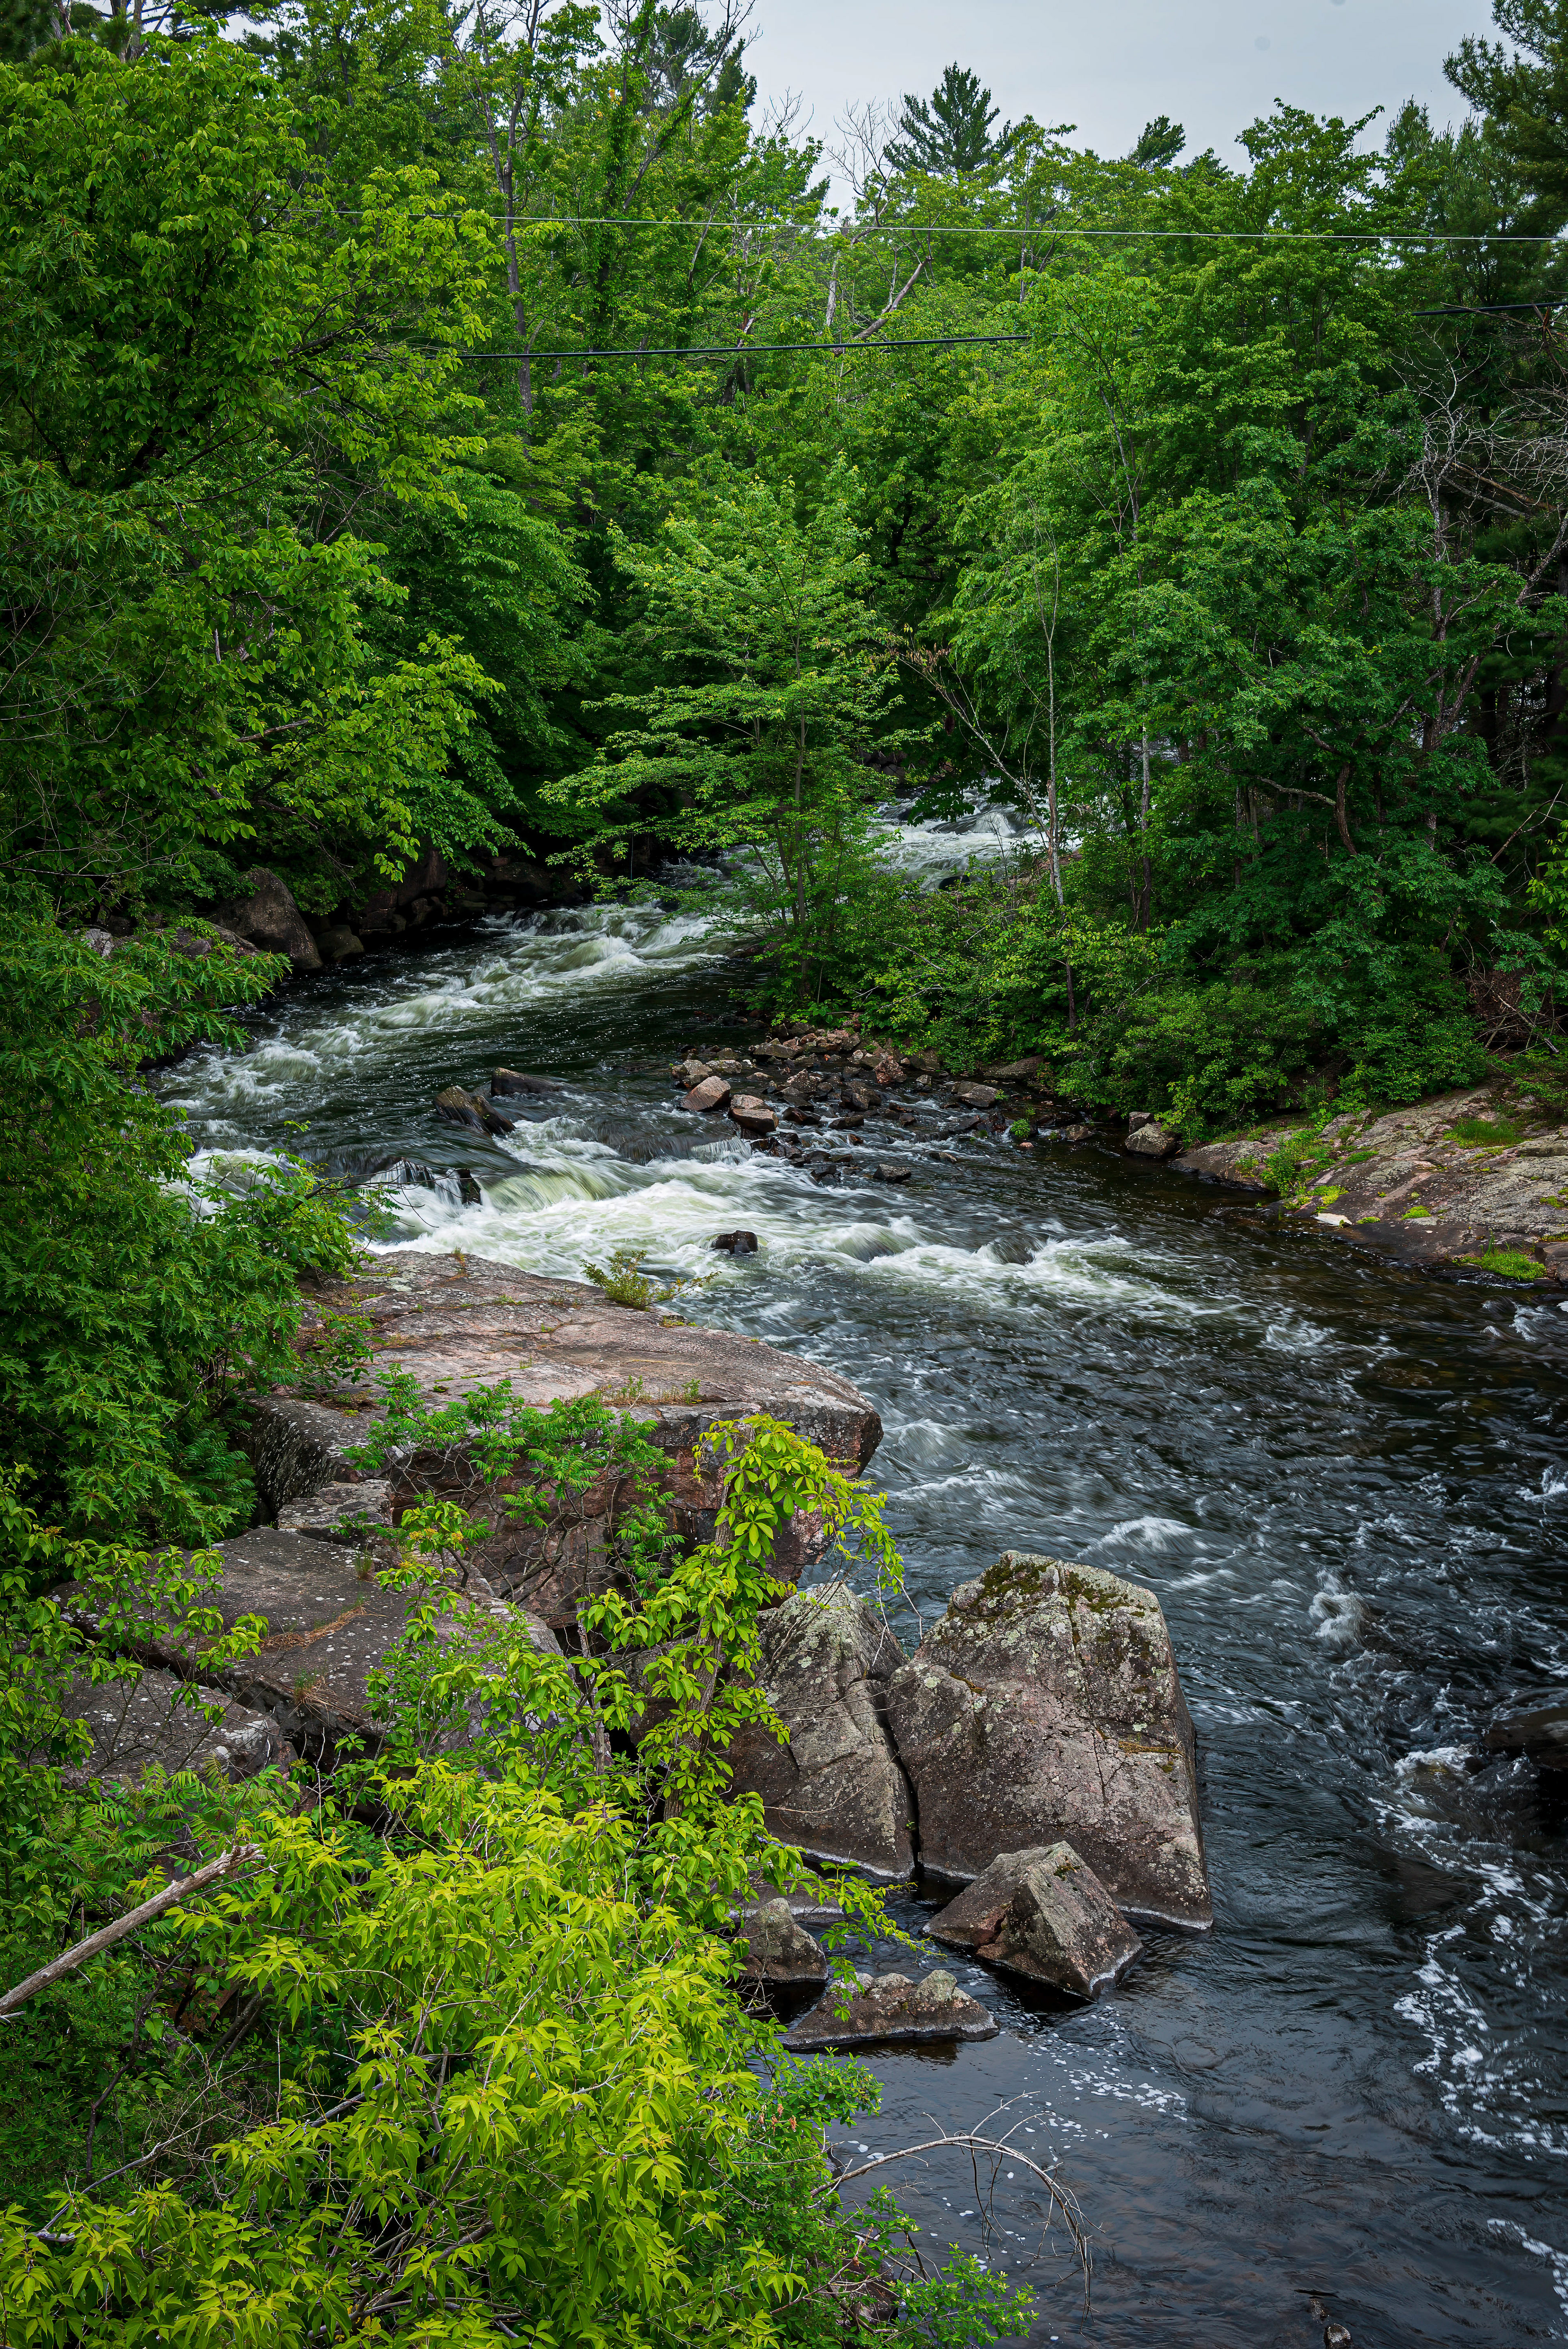
No Boats on Sunday
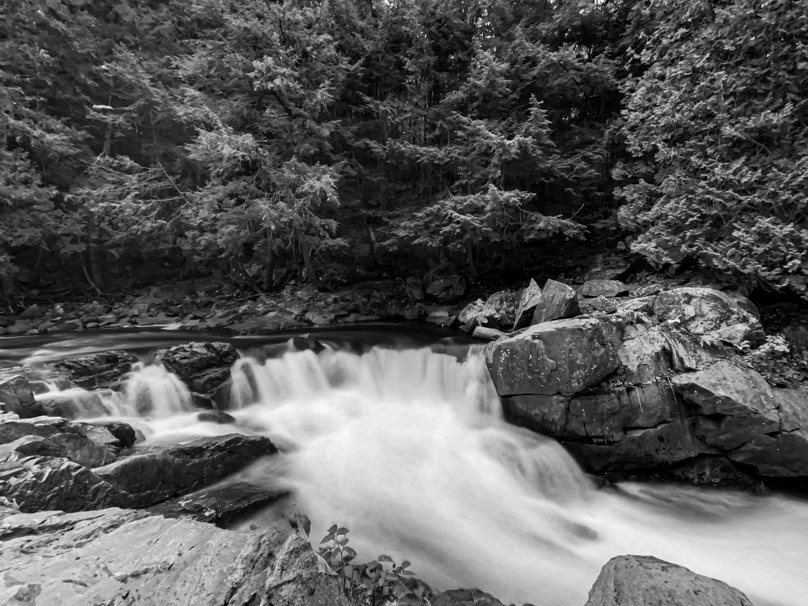
Another great example of Generative Fill helping out in a landscape photo scenario. Shooting from a bridge, there was no position I could move to that would exclude the pontoon boat and still give me the entire cascade. After processing in Lightroom (and a little sharpening in Topaz, I brought the image into the Photoshop Beta, chose Select Subject, expanded the selection a few pixels, and within two generations, had what I was looking for.
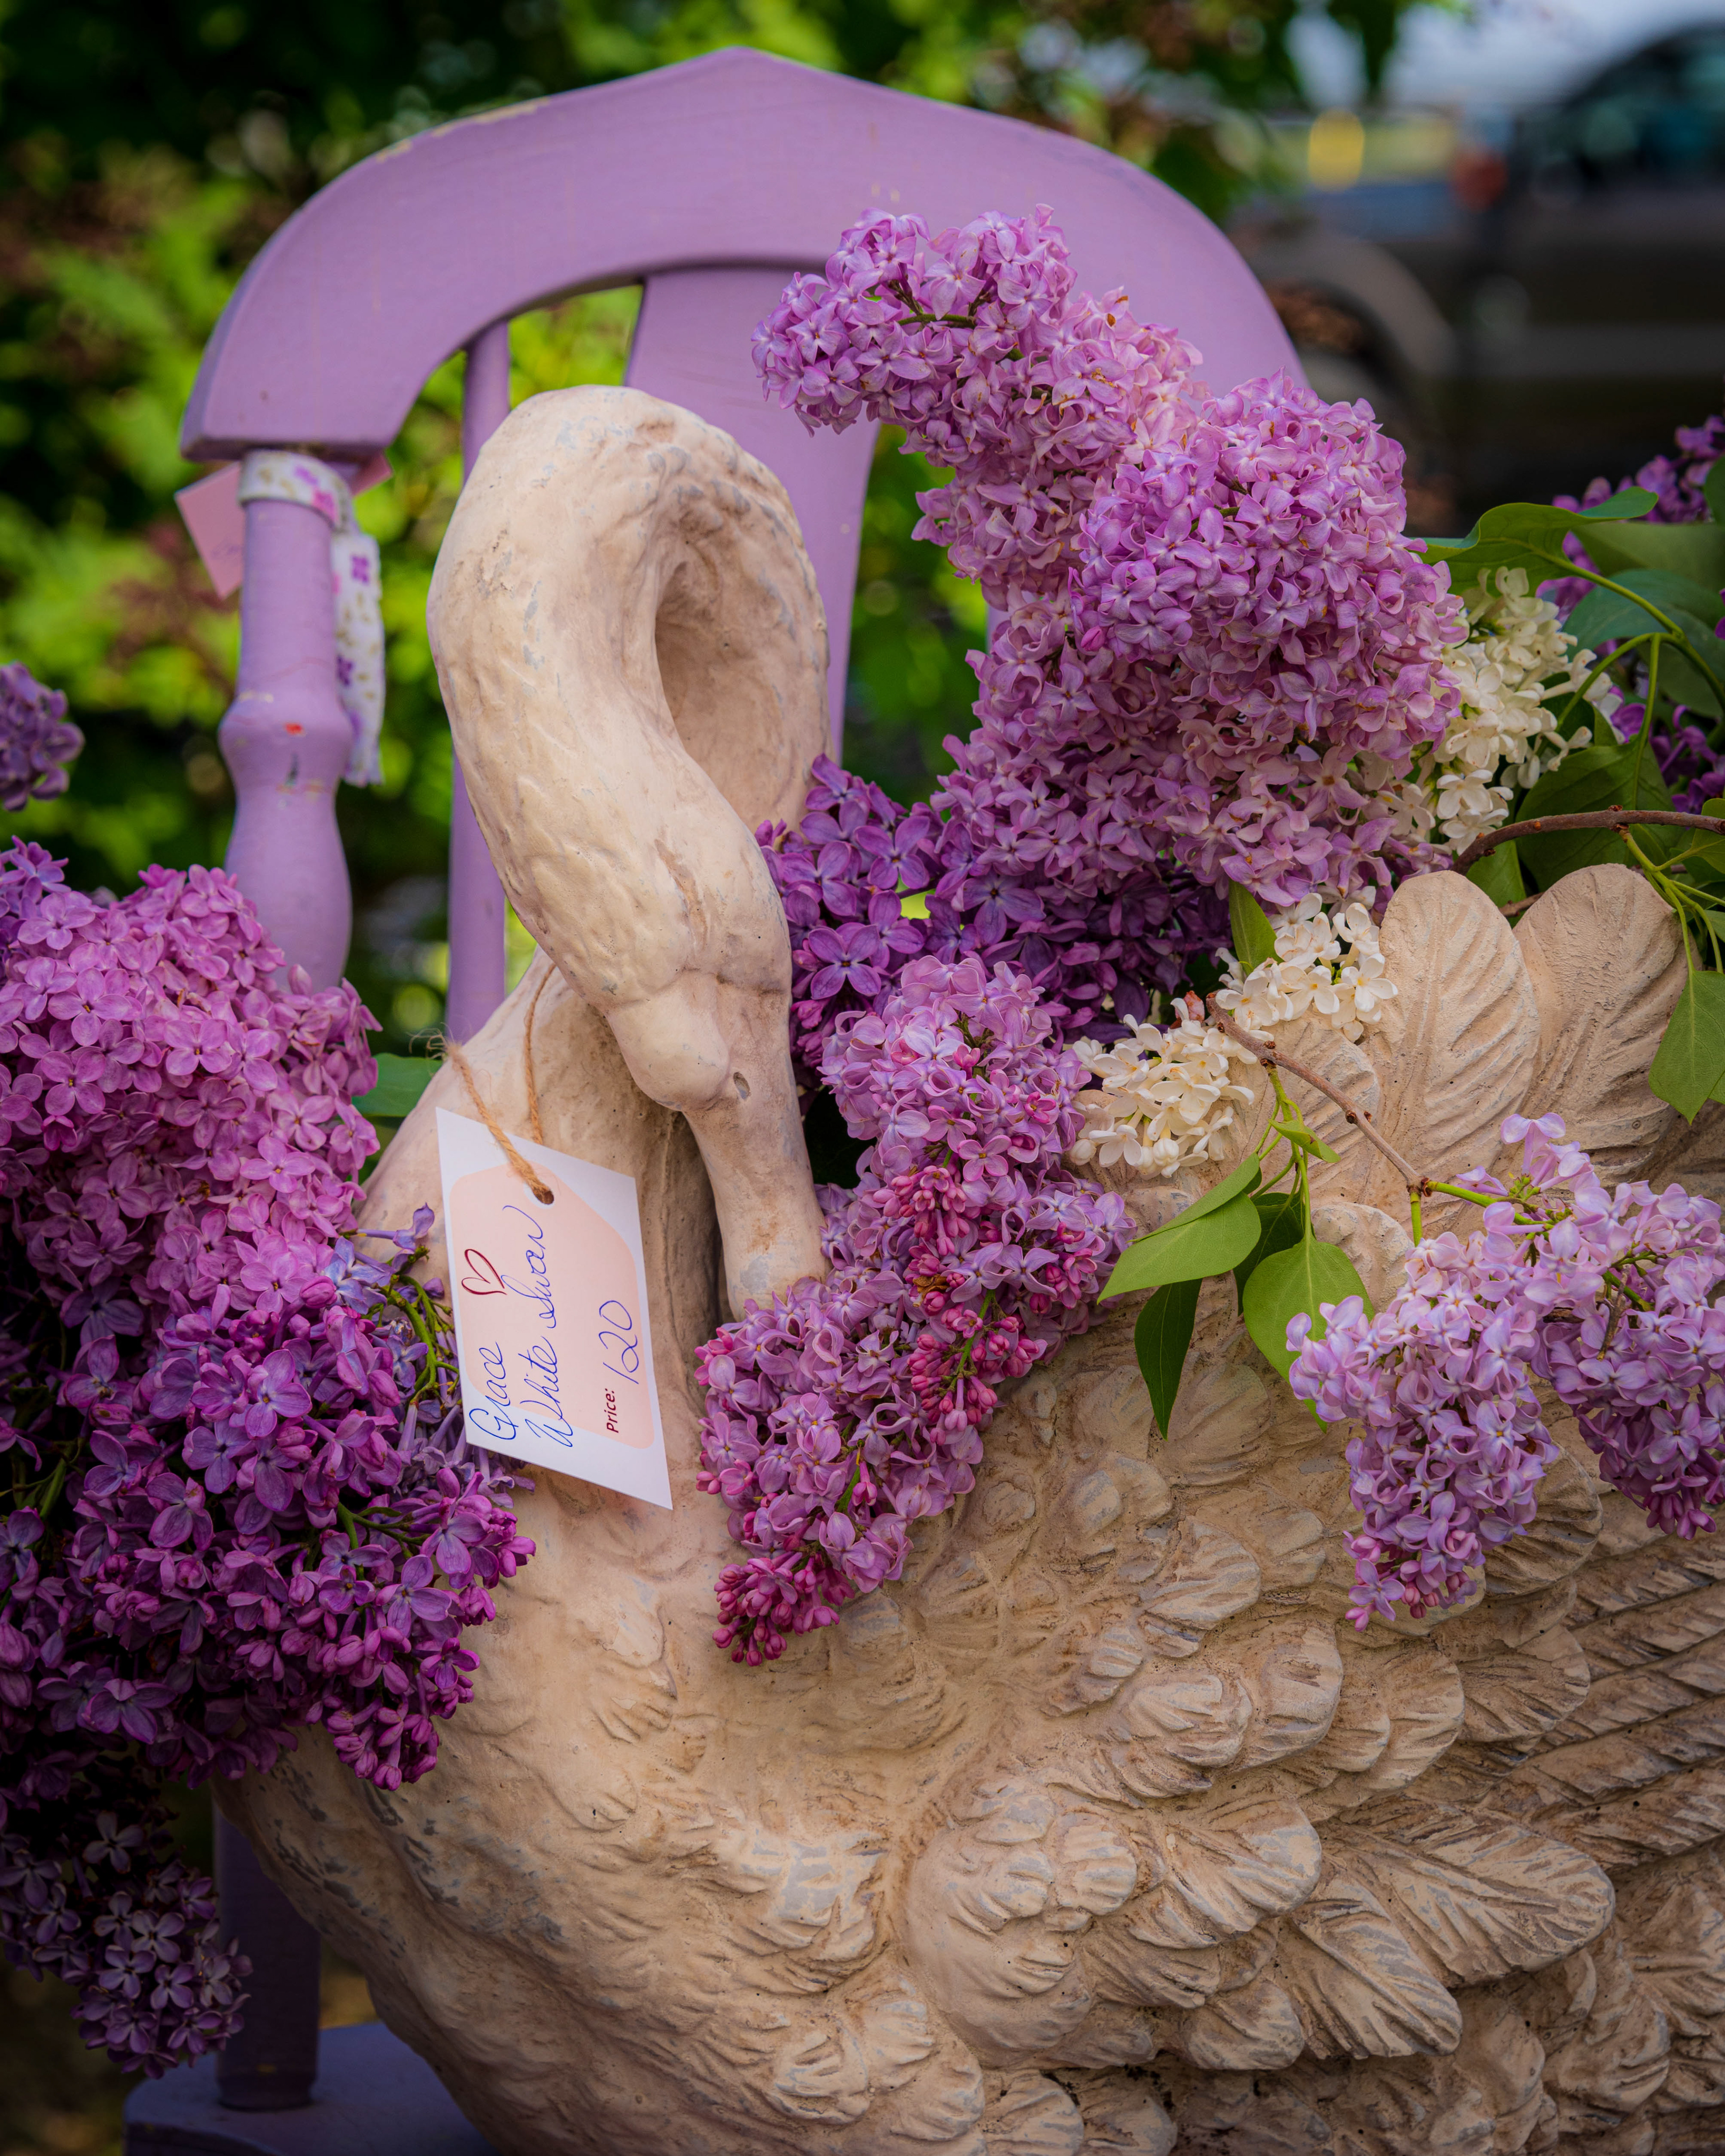
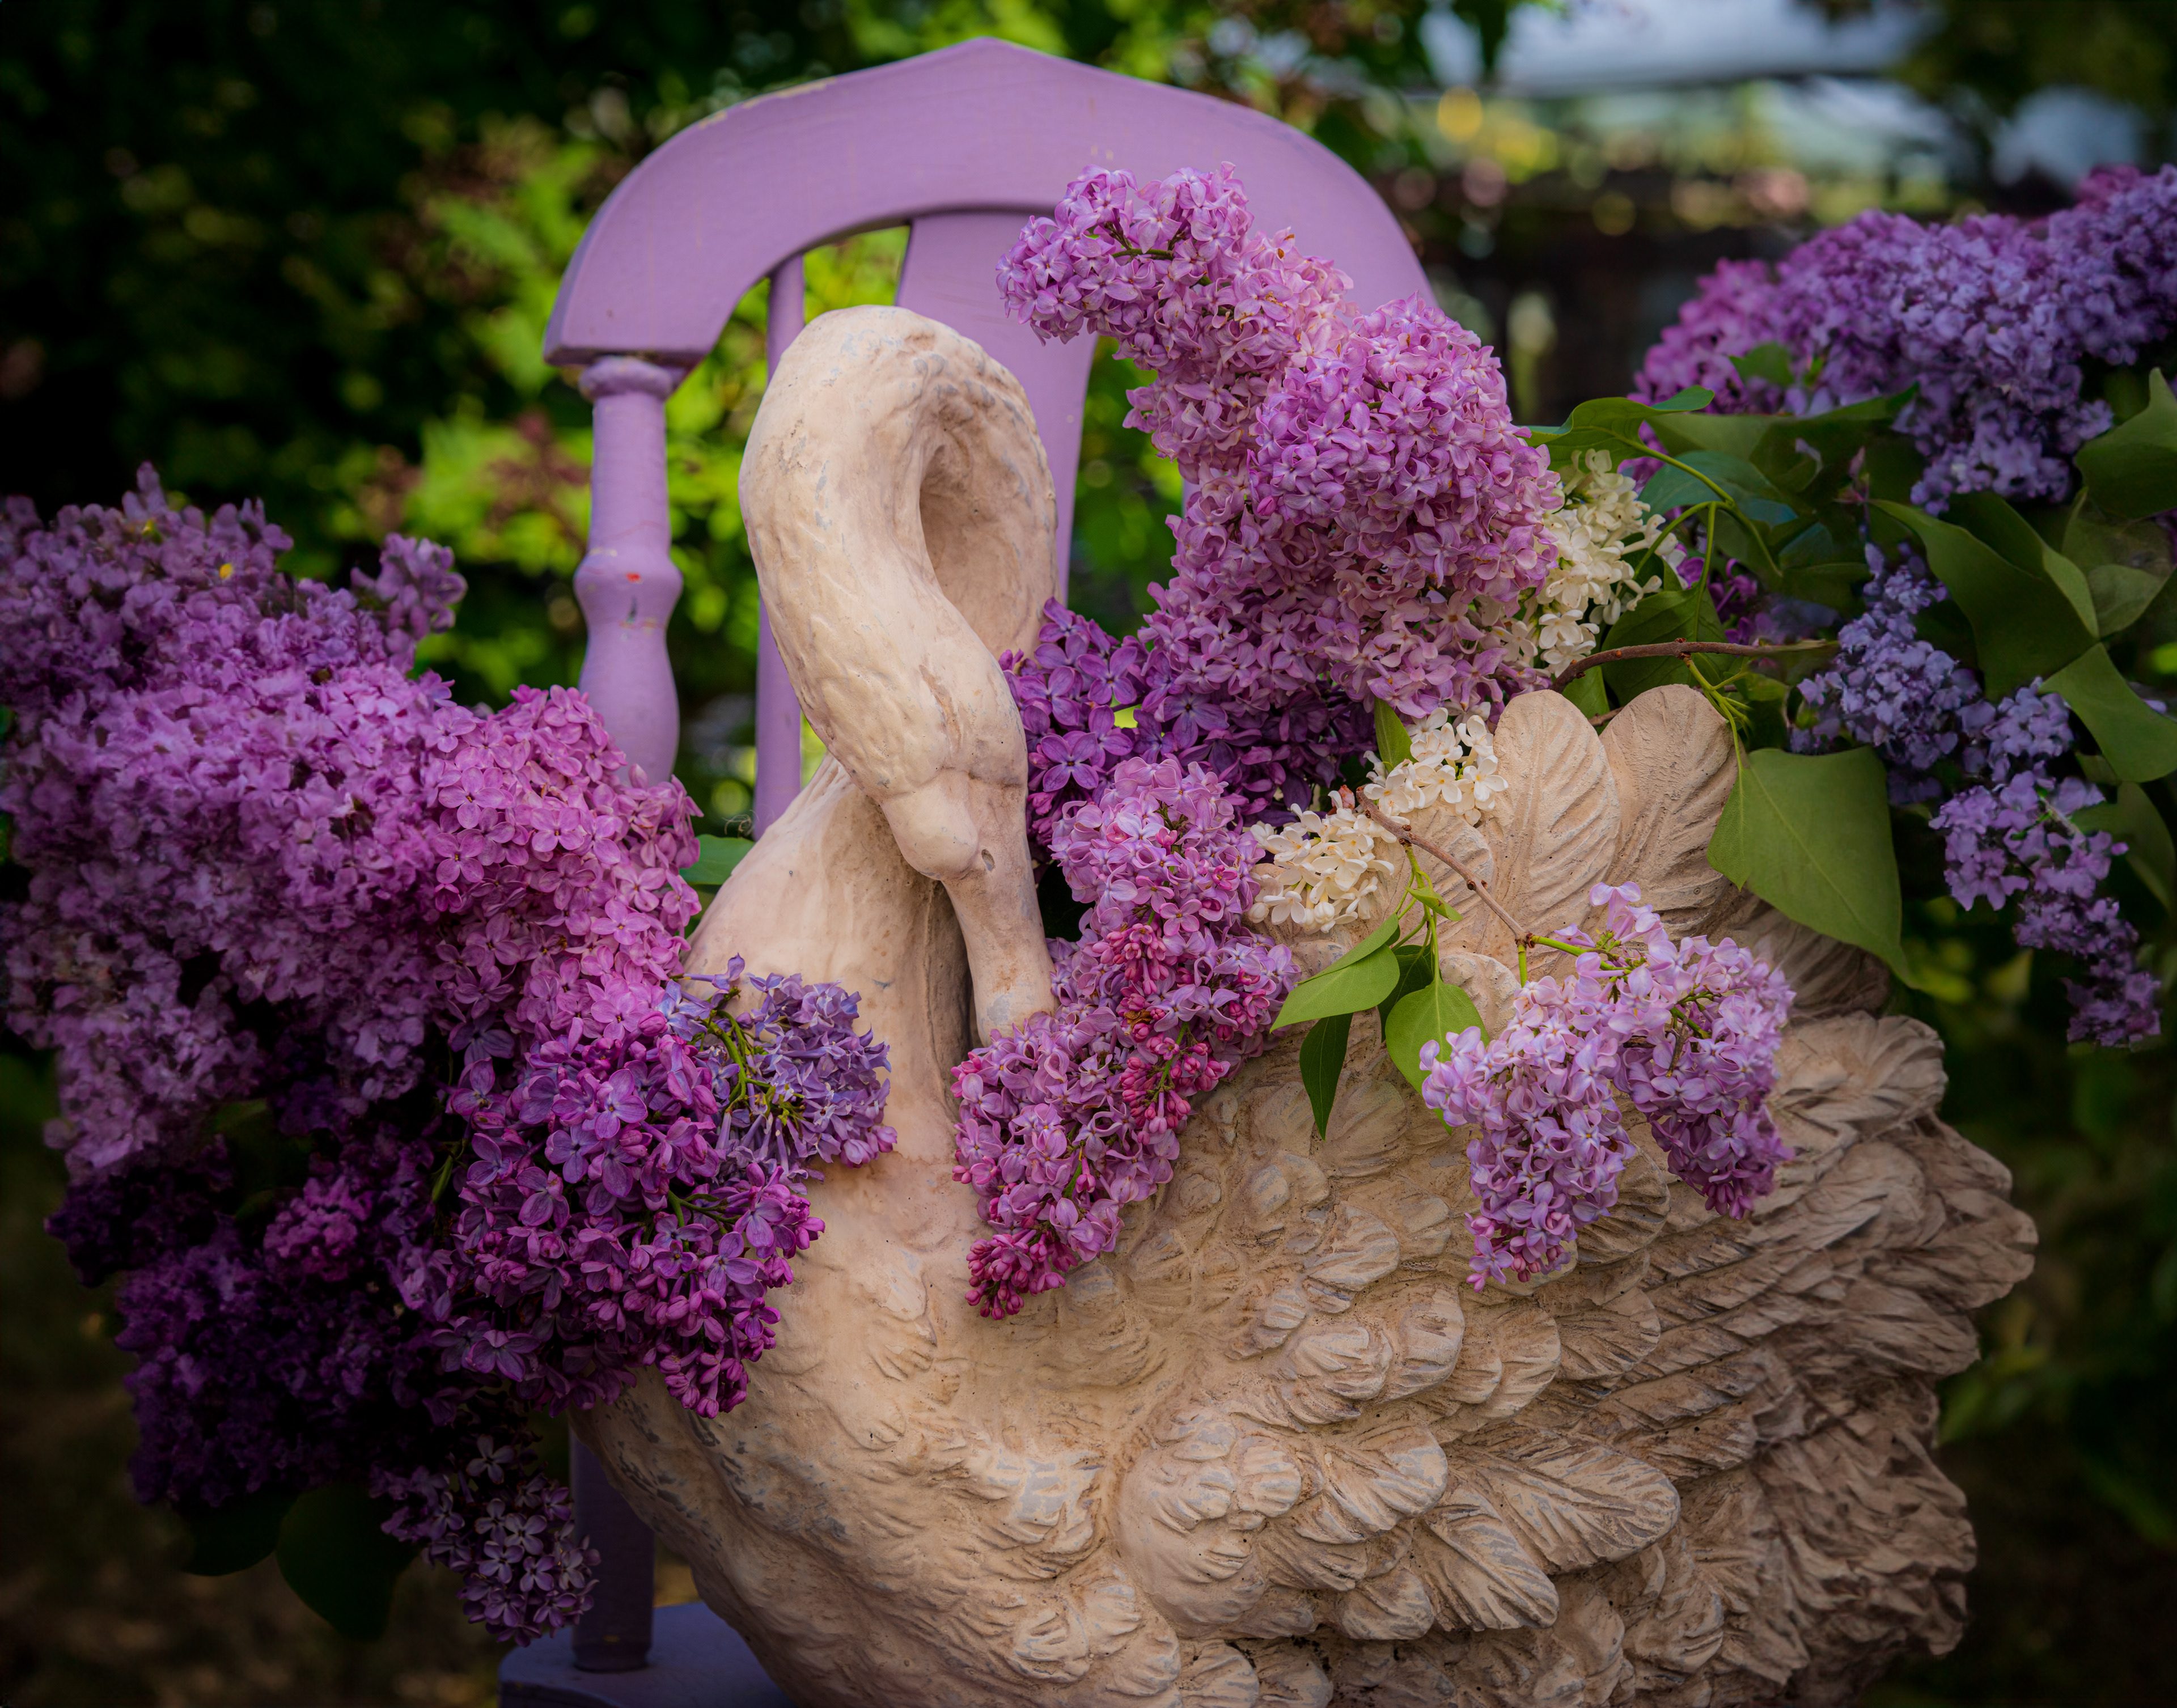
An abundance of Lilacs
Generative Fill was used to remove distractions like the price tag and to outpaint (outcrop) the scene to a wider view. All of it very realistic, believable and effective.
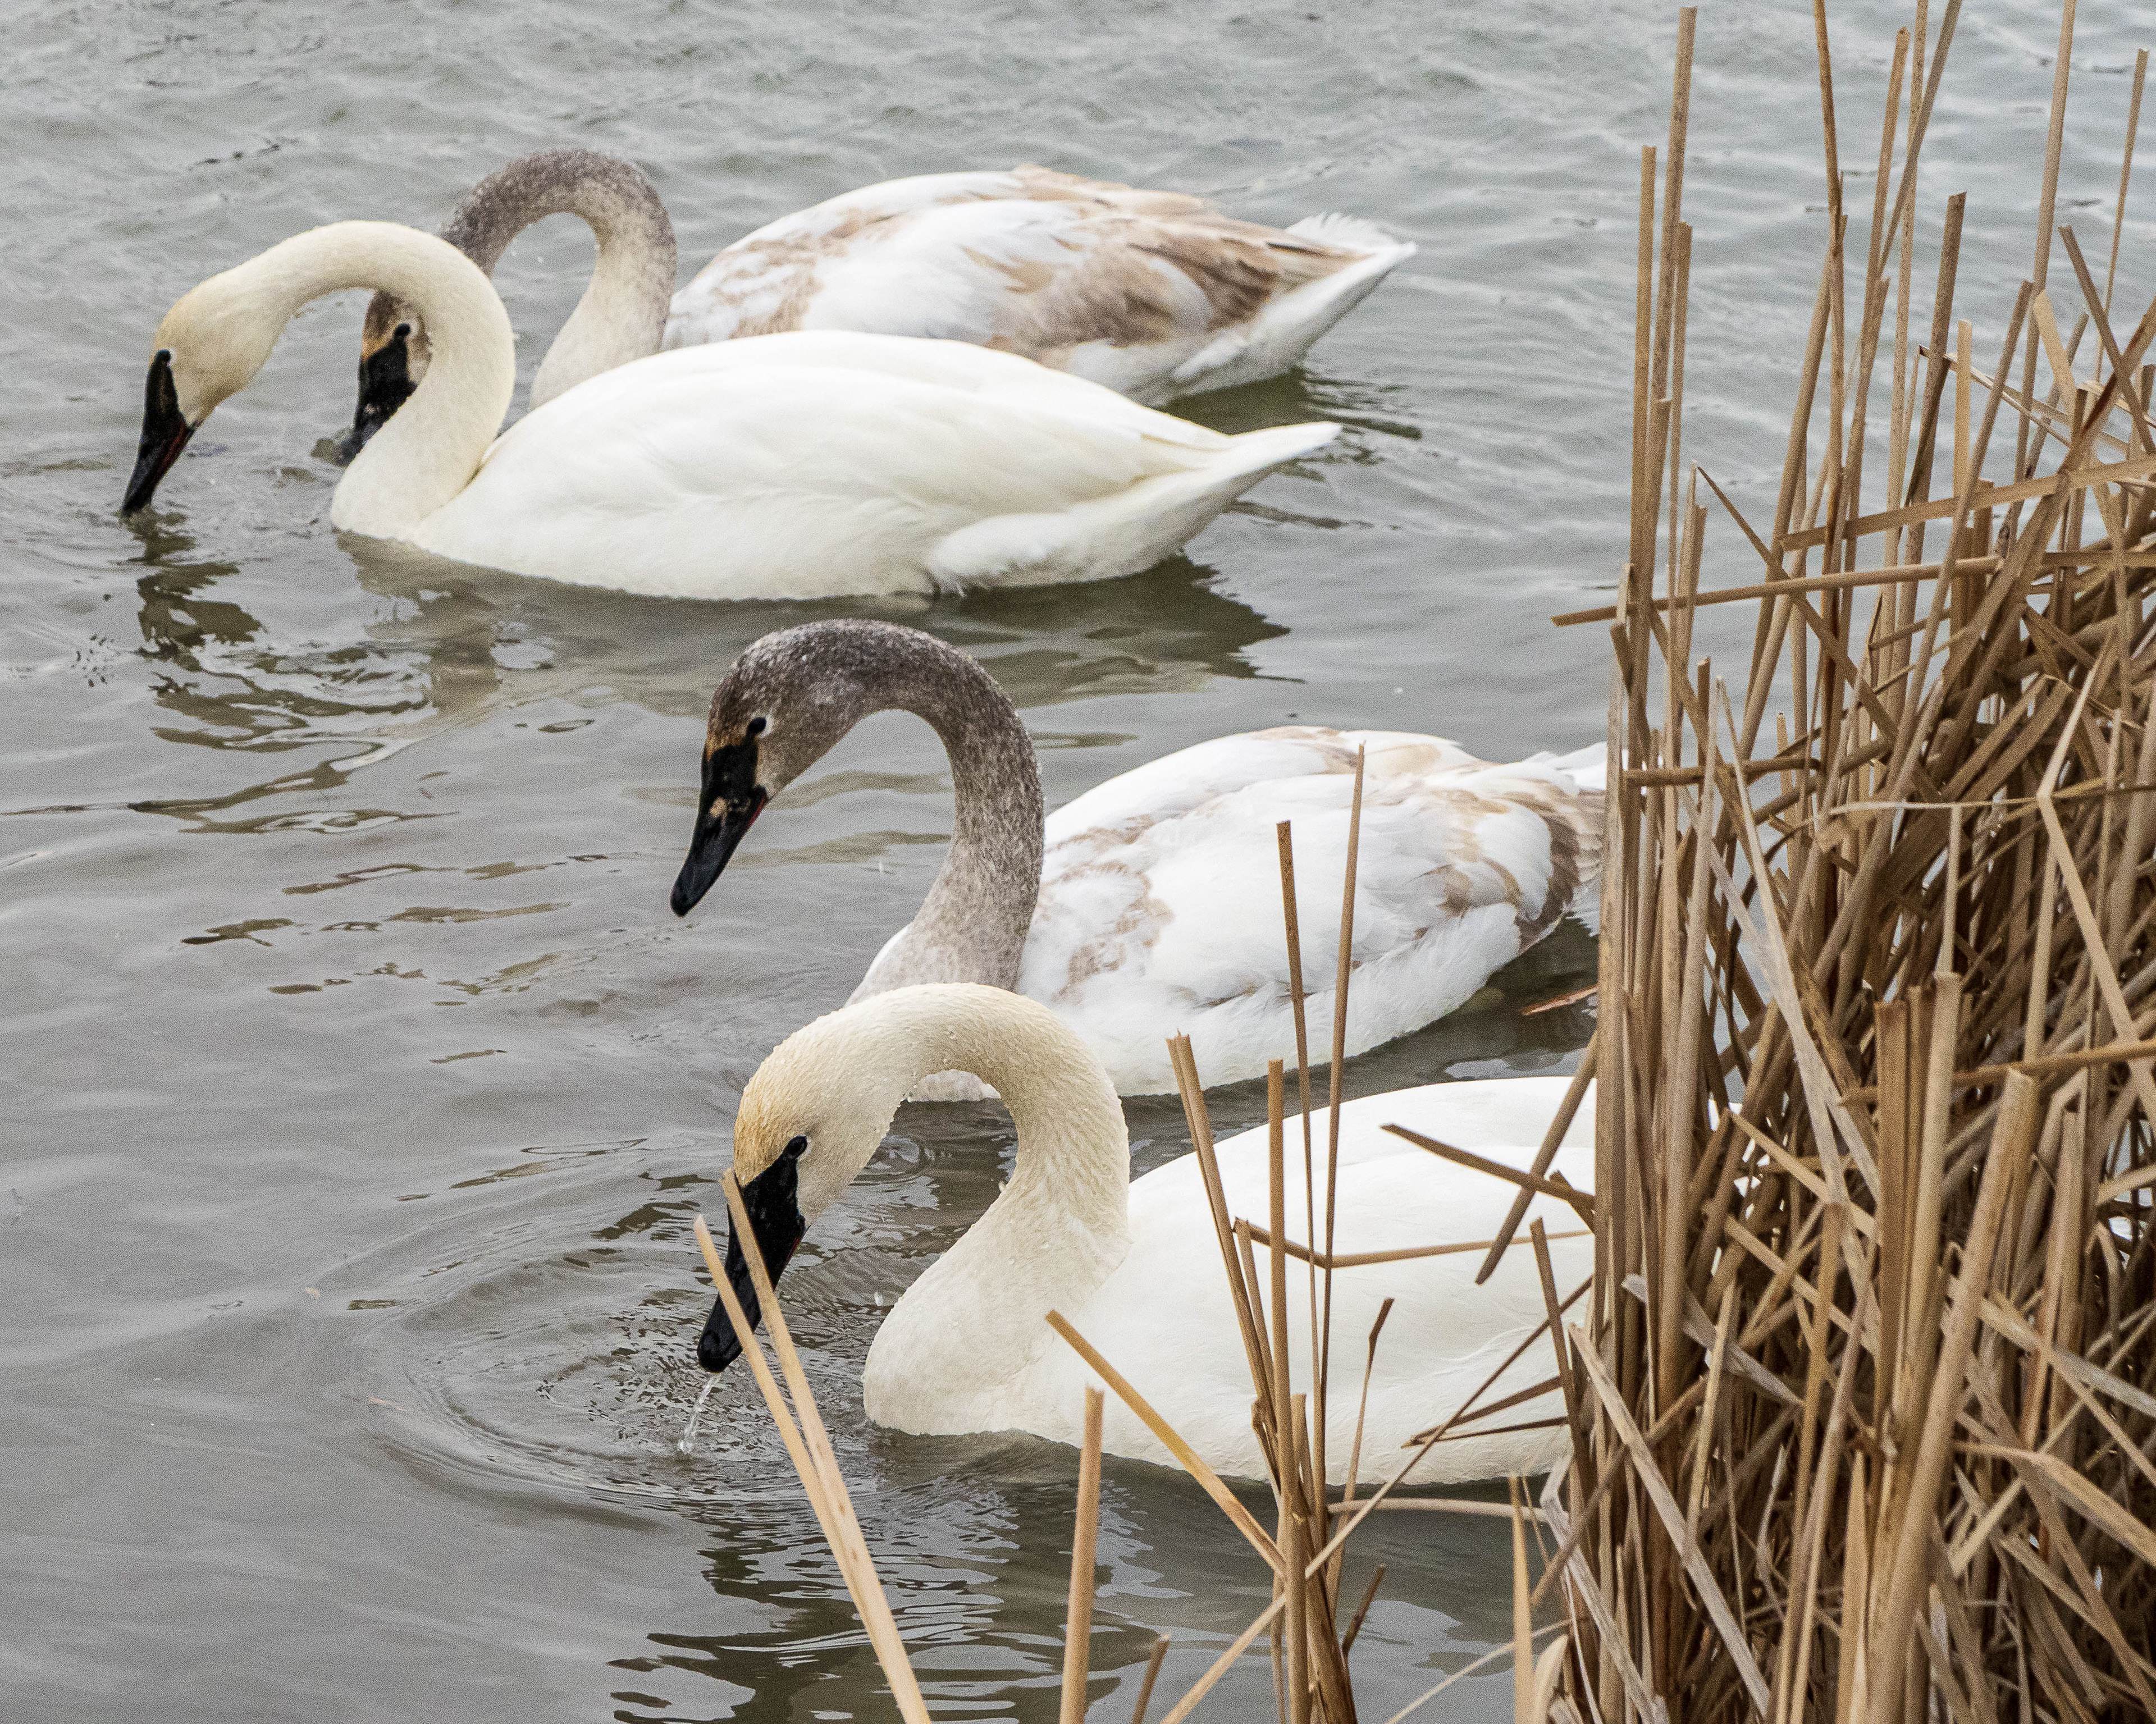
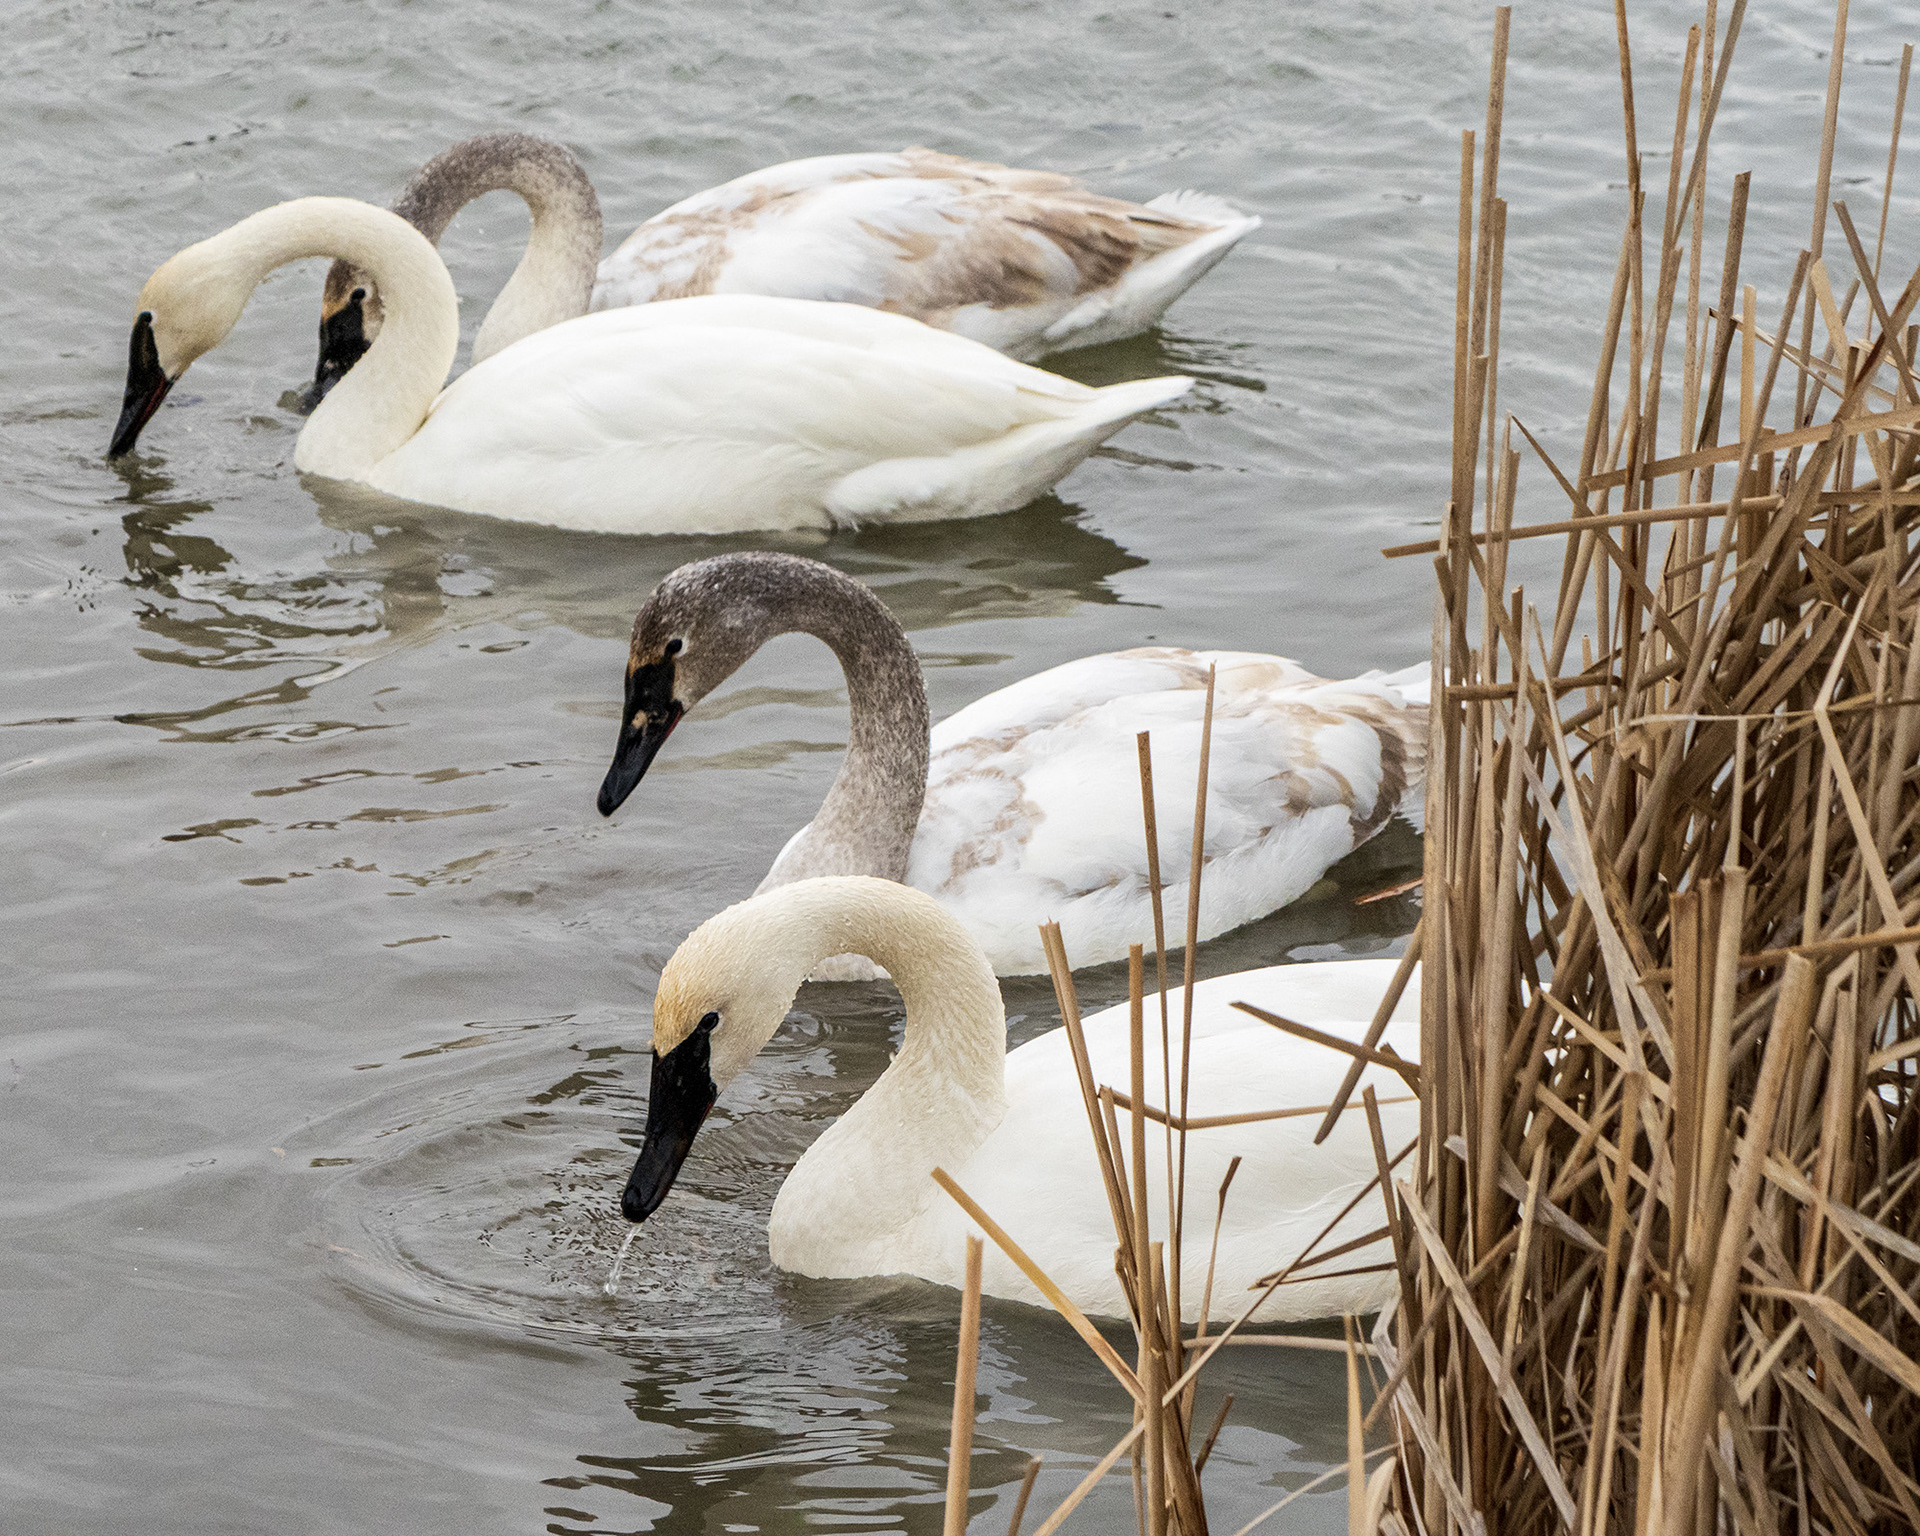
The Right Tool for the Right Job
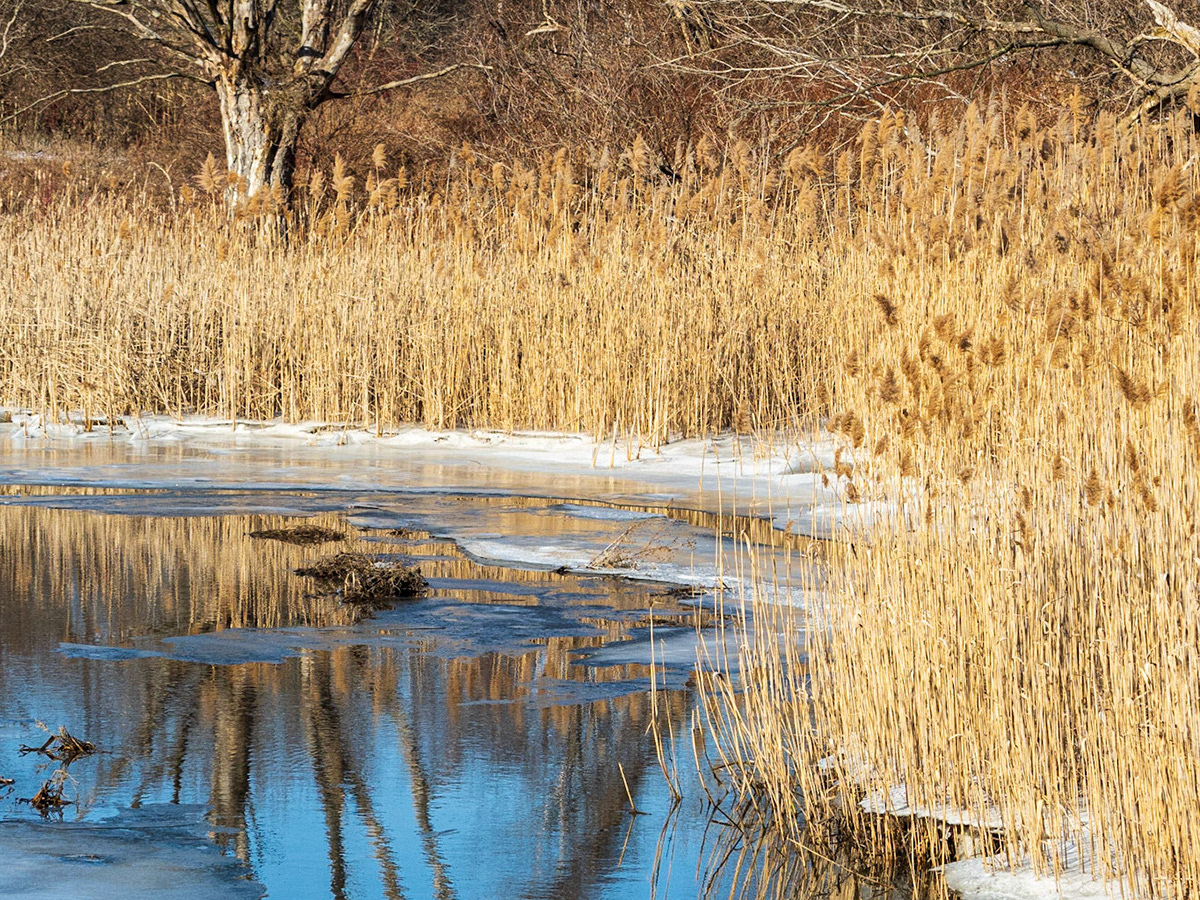
While Generative Fill is all the rage as of this writing, Photoshop has MANY tools to help you deal with distracting elements. In the swan image, I wanted those reeds in the foreground removed. I tried Gen Fill (out of habit) and I wasn't getting what I wanted - there were subtle distortions in the swan's bill (it pays to know your subject).
Then, a head-smack moment, and I switched to the also new Remove Tool and brushed over the reeds in a couple steps. Instant gratification!
High Resolution Scene Expansion
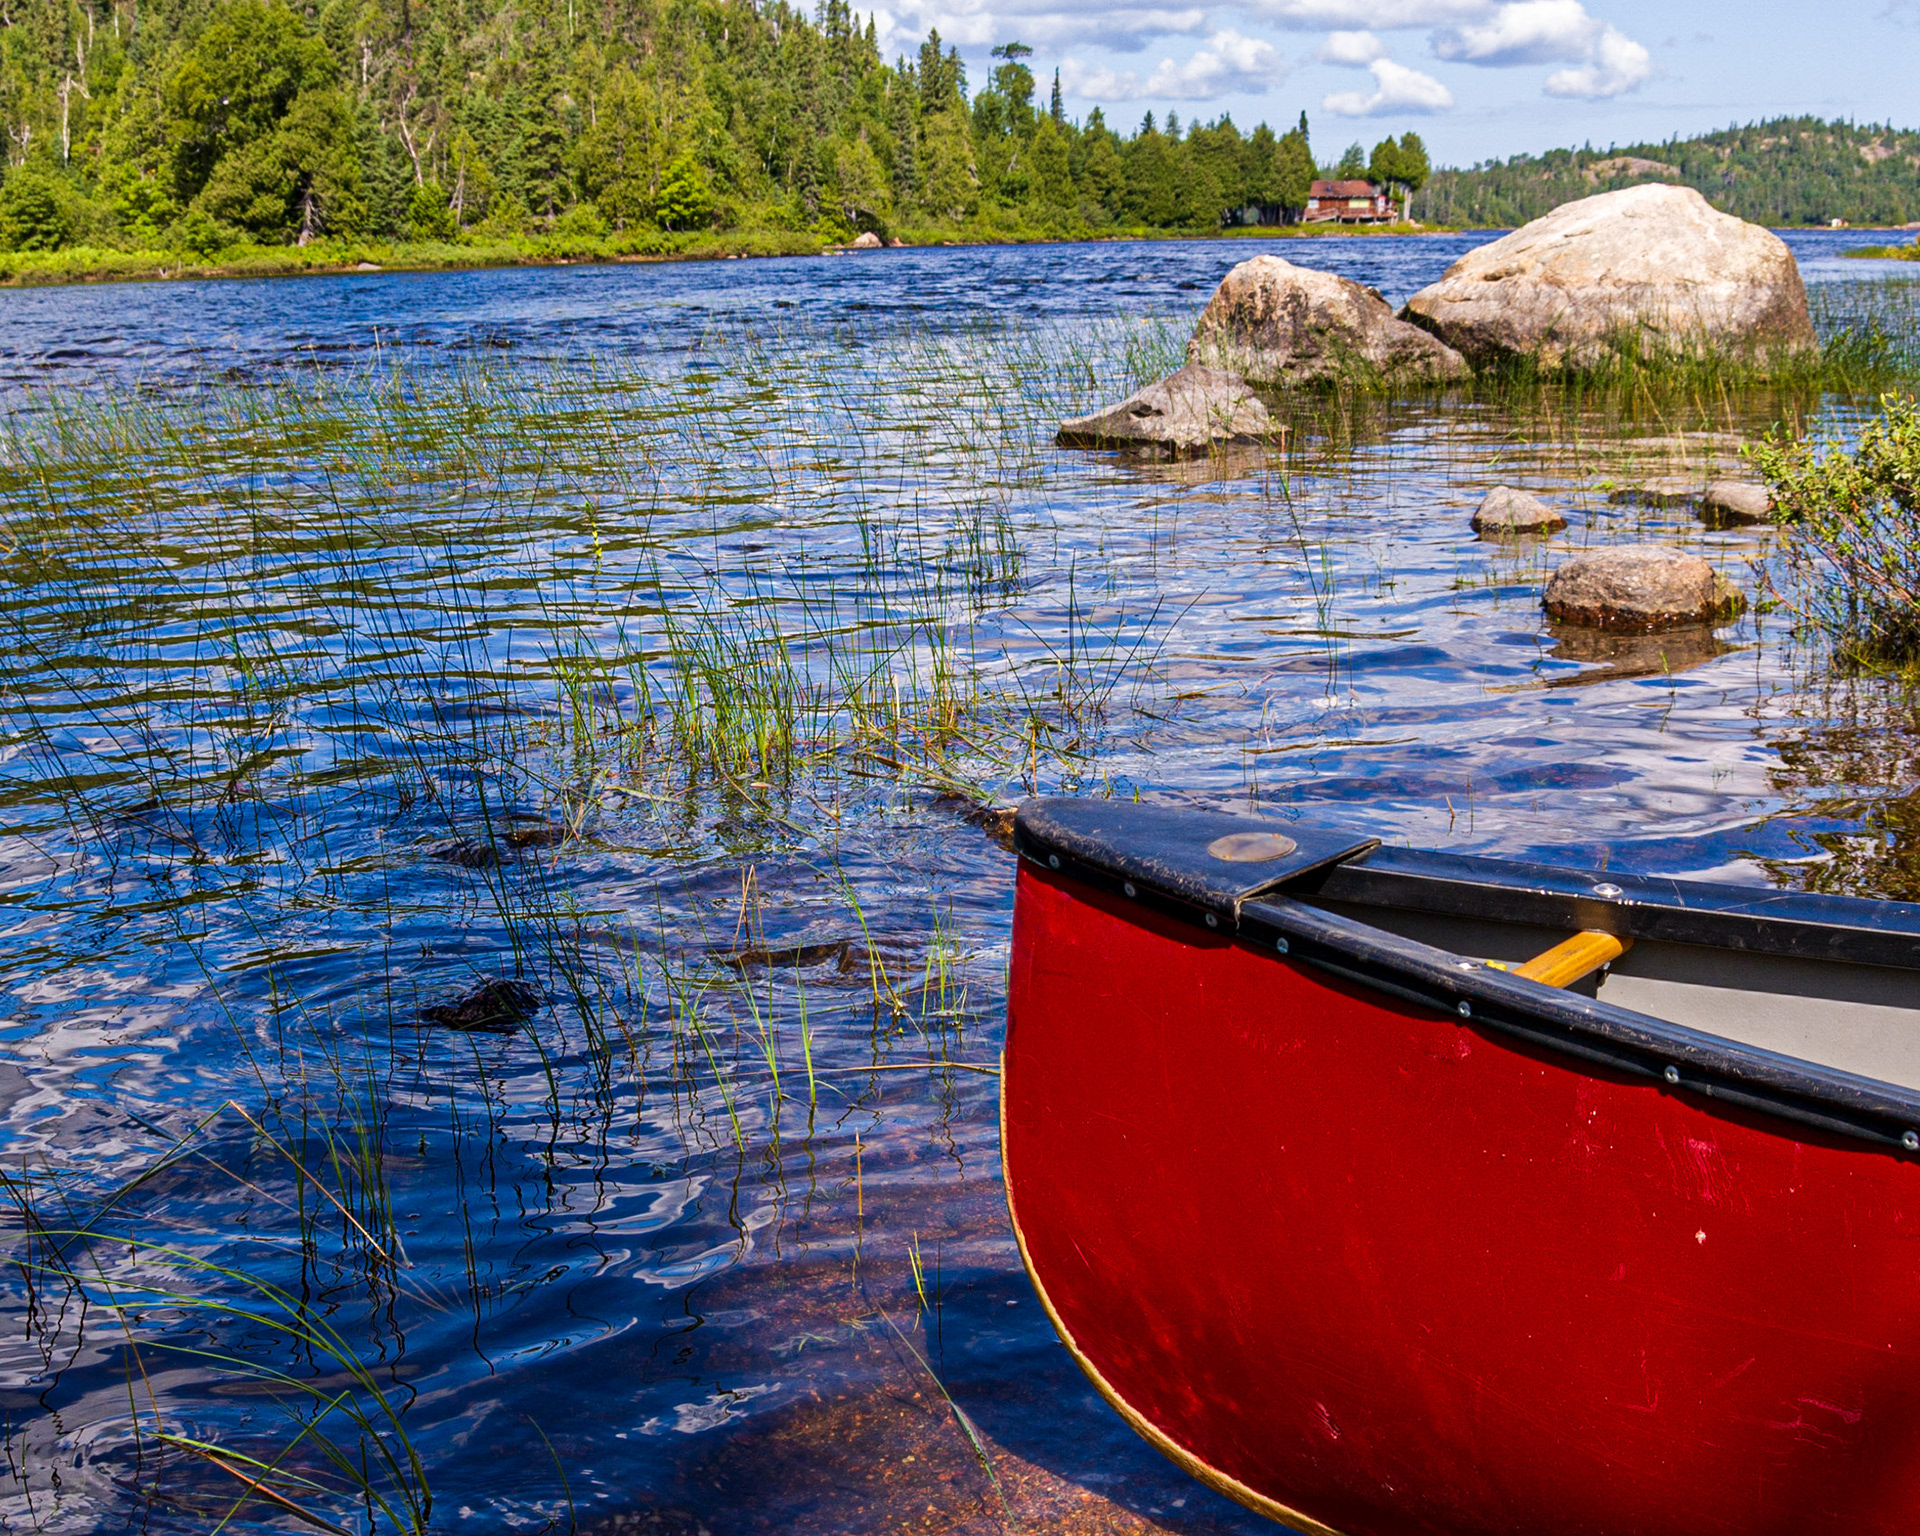
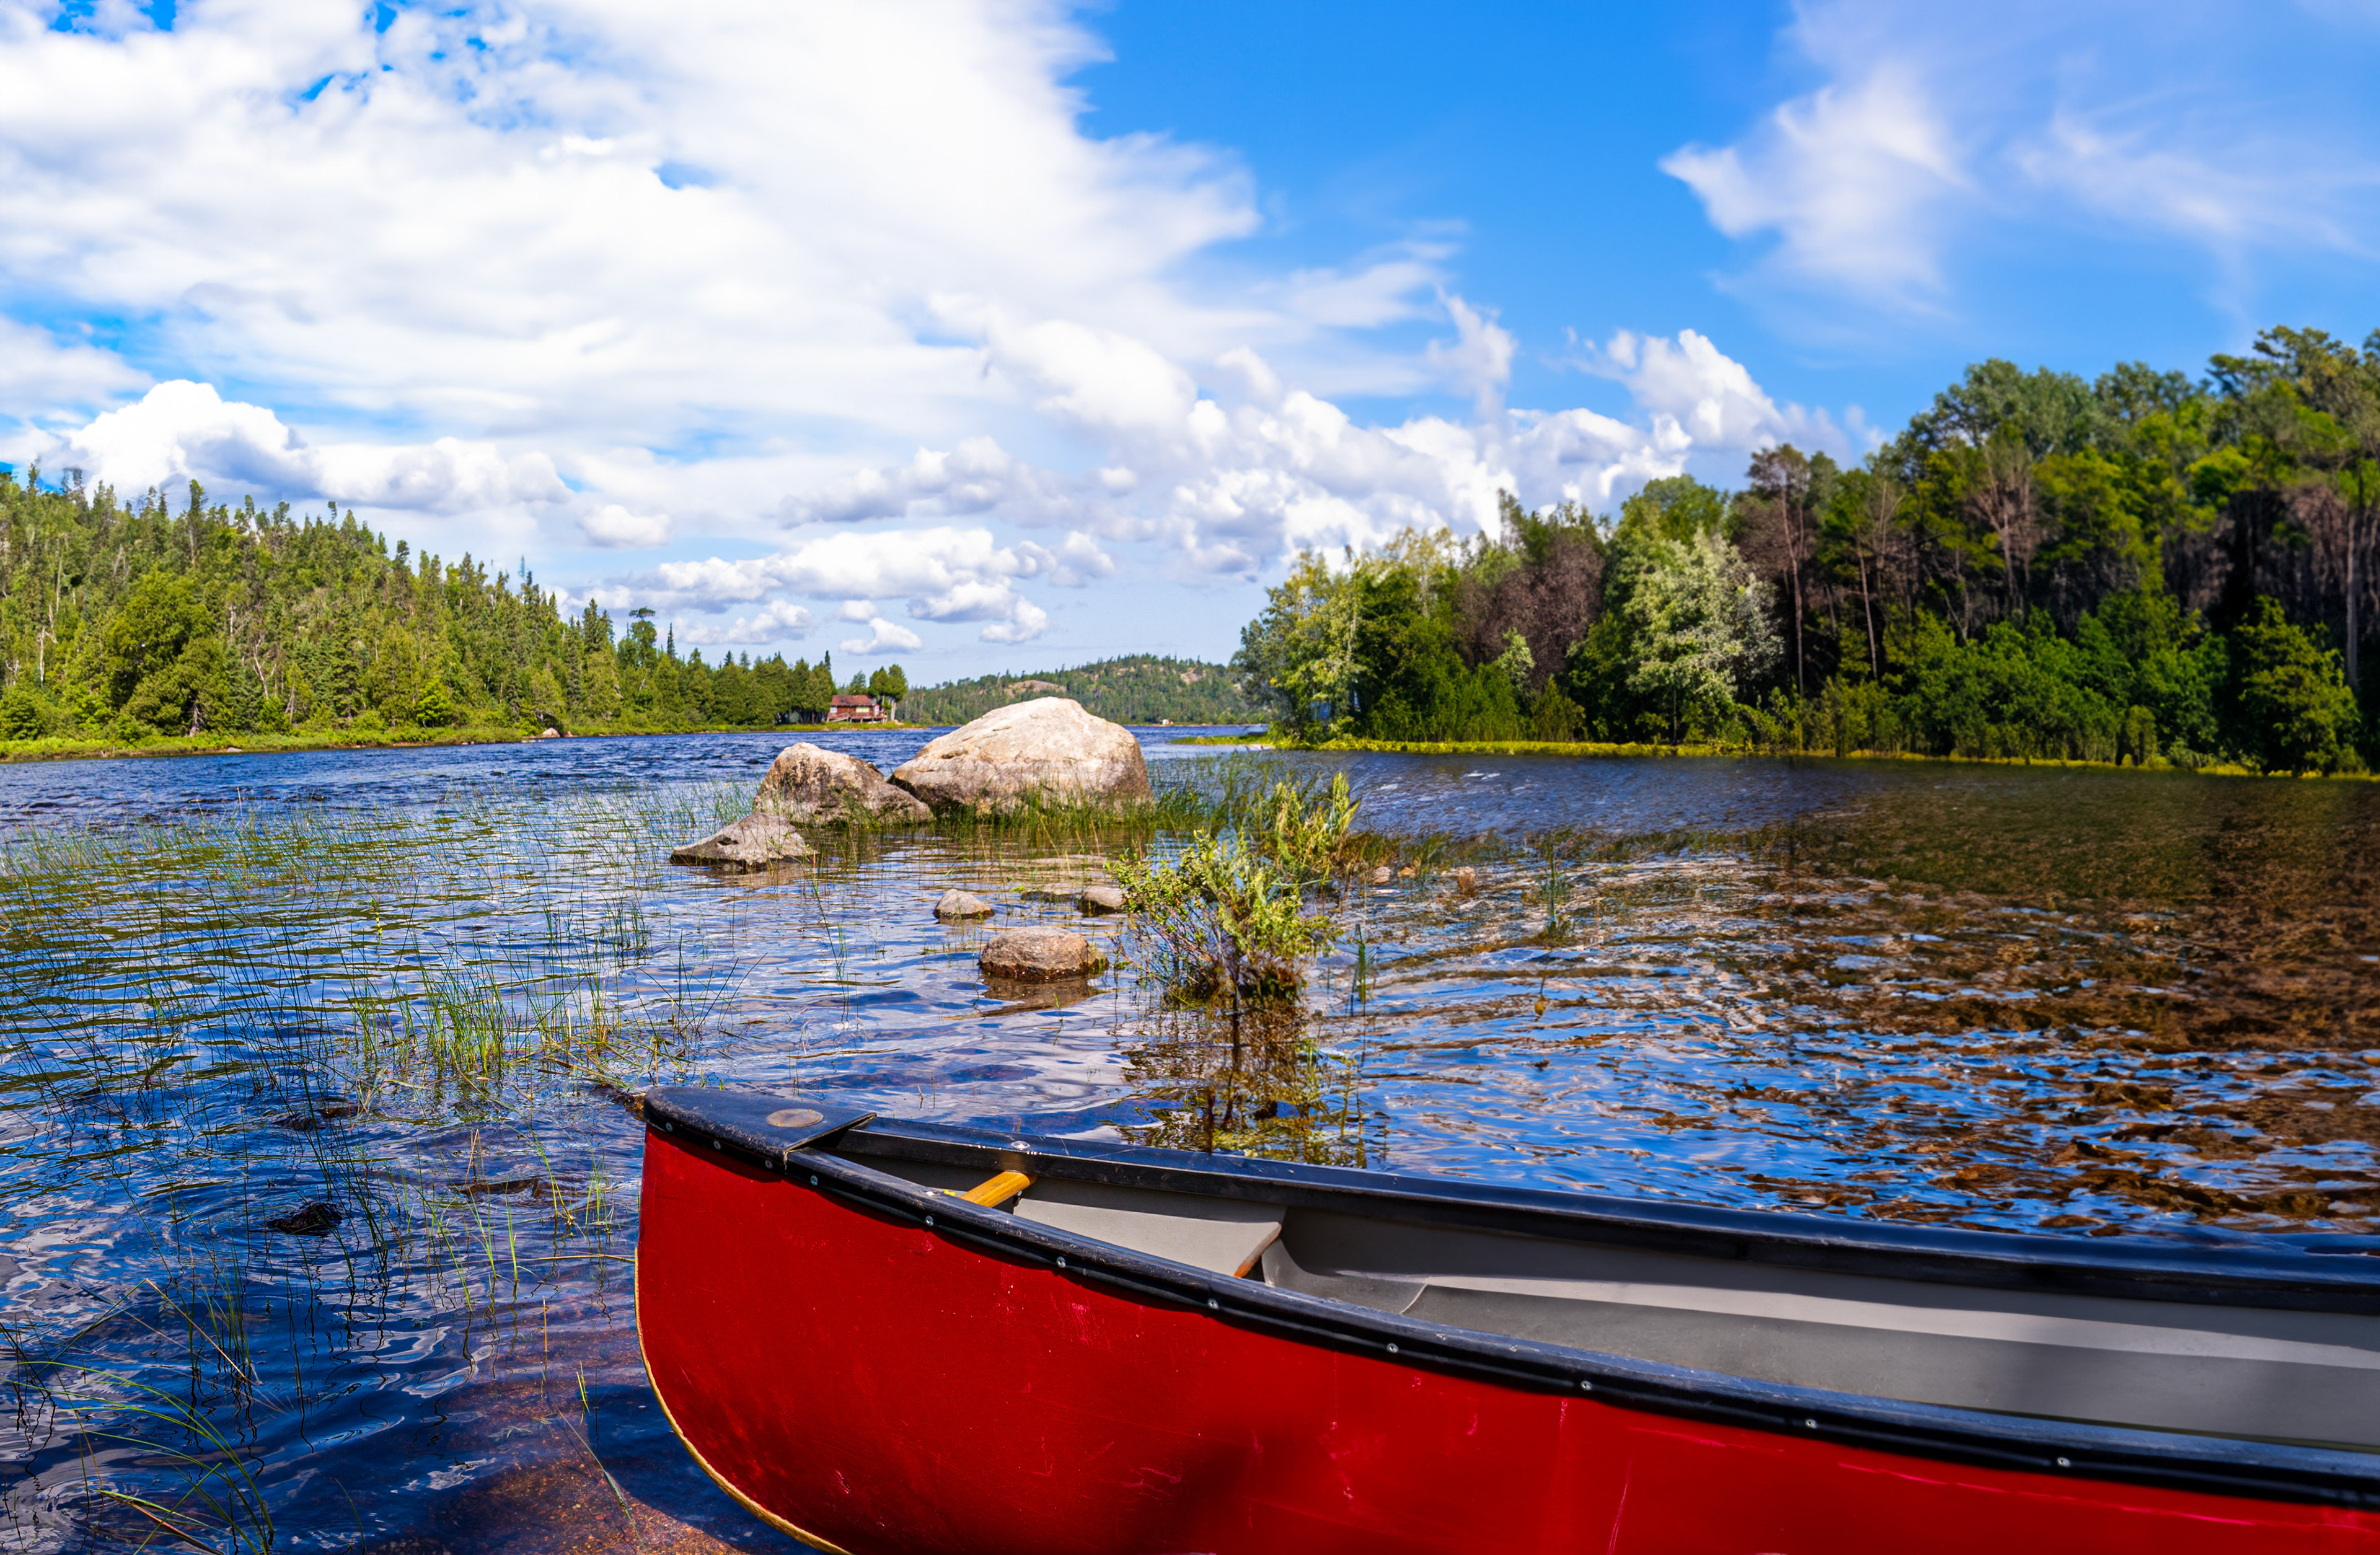
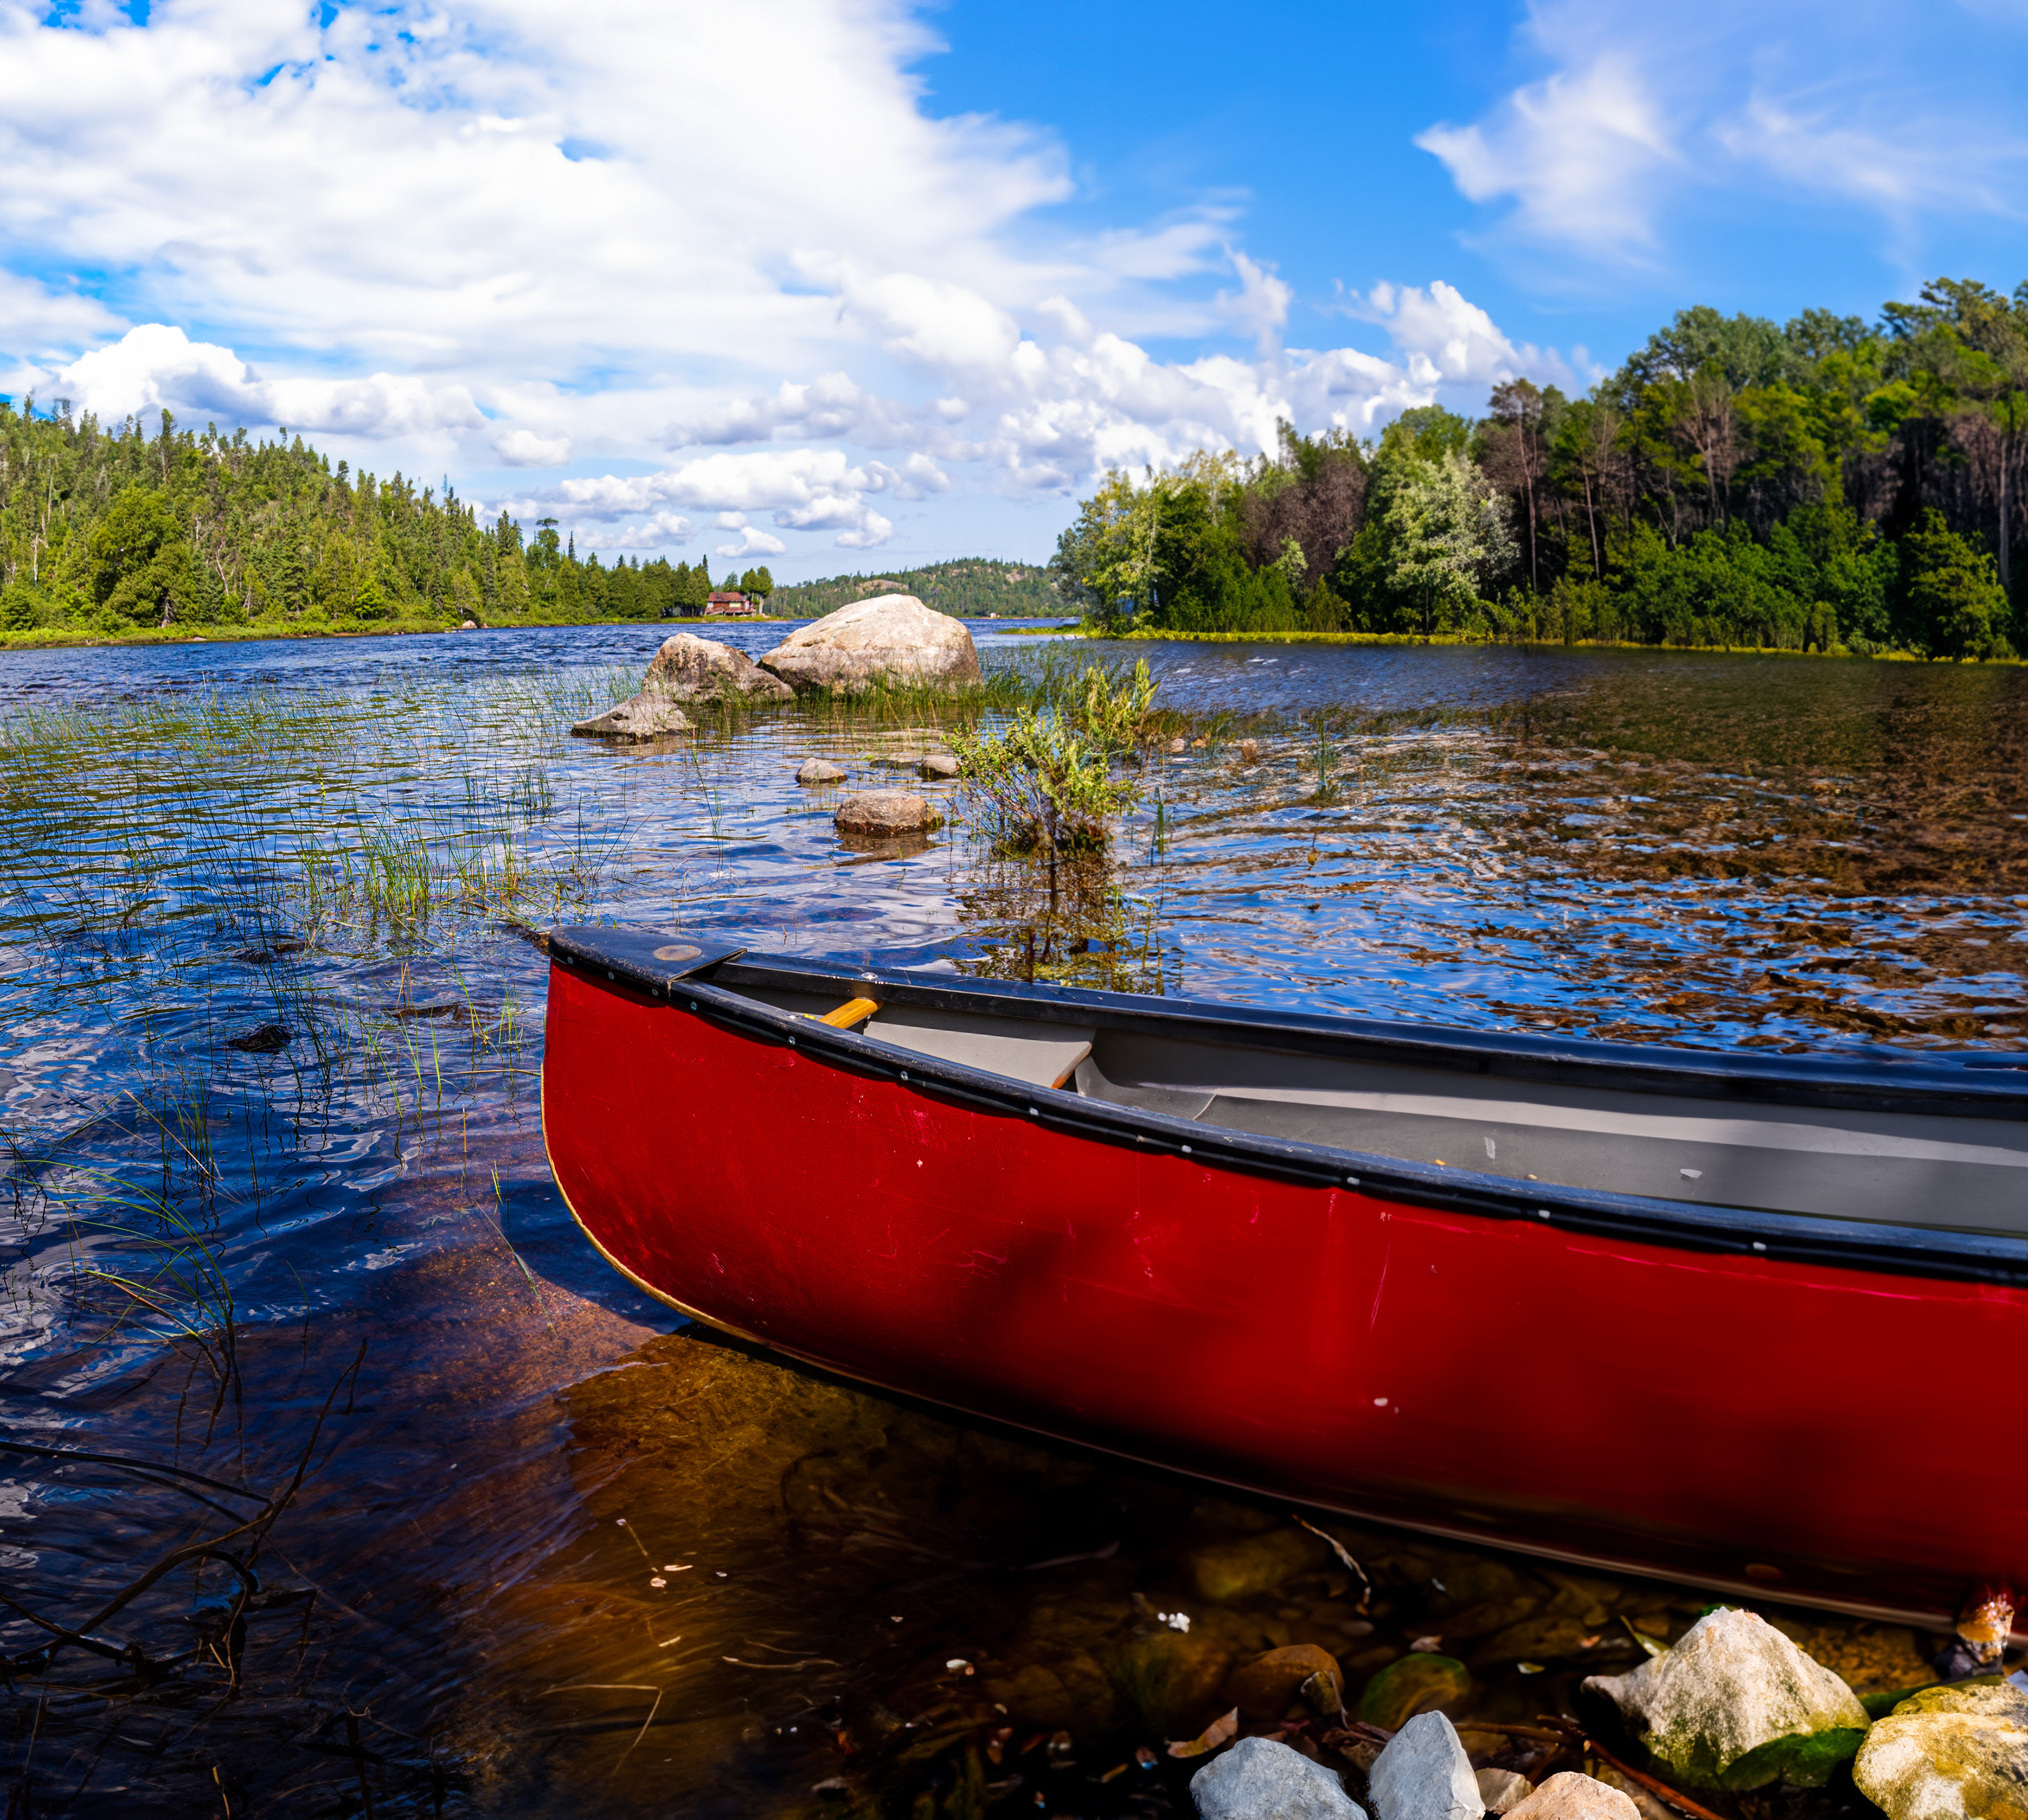
The last lake.
I've shared this image in a previous article, but it bears mentioning again as this is the one example where I used 1024x1024 selections to extend the background on 3 sides. It takes more time, and there were a few generation flubs, but in the end I got what I wanted. The real test will be in printing this image. That is happening soon. :-)
Generative Fill Tips and Tricks
Here are some quick tips to help you get better results with your own Generative Fill experiments. I didn't come up with these; they are a curated collection from various Adobe Generative Fill experts. I can tell you I have applied many of these tips when I'm working and they are very helpful.
1. Only select what you want to change. Generating will completely change the content in your selected area.
2. Draw your selection in the shape of what you want to generate for more creative control and accuracy.
3. Generated variations can also be found in the properties panel.
4. To avoid generating specific content, include “remove” or “no” in your prompts.
5. Select generate again to explore more possibilities and find all your variations in the properties panel.
6. To remove content or extend an image try generating without a prompt. We’ll fill the selection for you based on the surroundings.
7. Languages used other than English will be translated.
8. You can move and regenerate a Generative layer to harmonize an object somewhere else into the scene.
9. Sometimes Generative Fill is NOT what you need. For basic retouching, like dust, scratches, other minor imperfections, using the Healing Brush, Spot Healing Brush, Remove Tool, Clone Stamp, Content Aware Fill or Neural Filters may do the job perfectly and be a much faster and more accurate workflow.
Wrap up
I hope you've found these visual examples interesting and that they help you see the positive potential of Generative Fill in Photoshop and FireFly. If you're working with the Photoshop beta or the Generative Fill tool in Firefly on the web, let me know what you're up to and what you think in the comments area.
Until next time!

