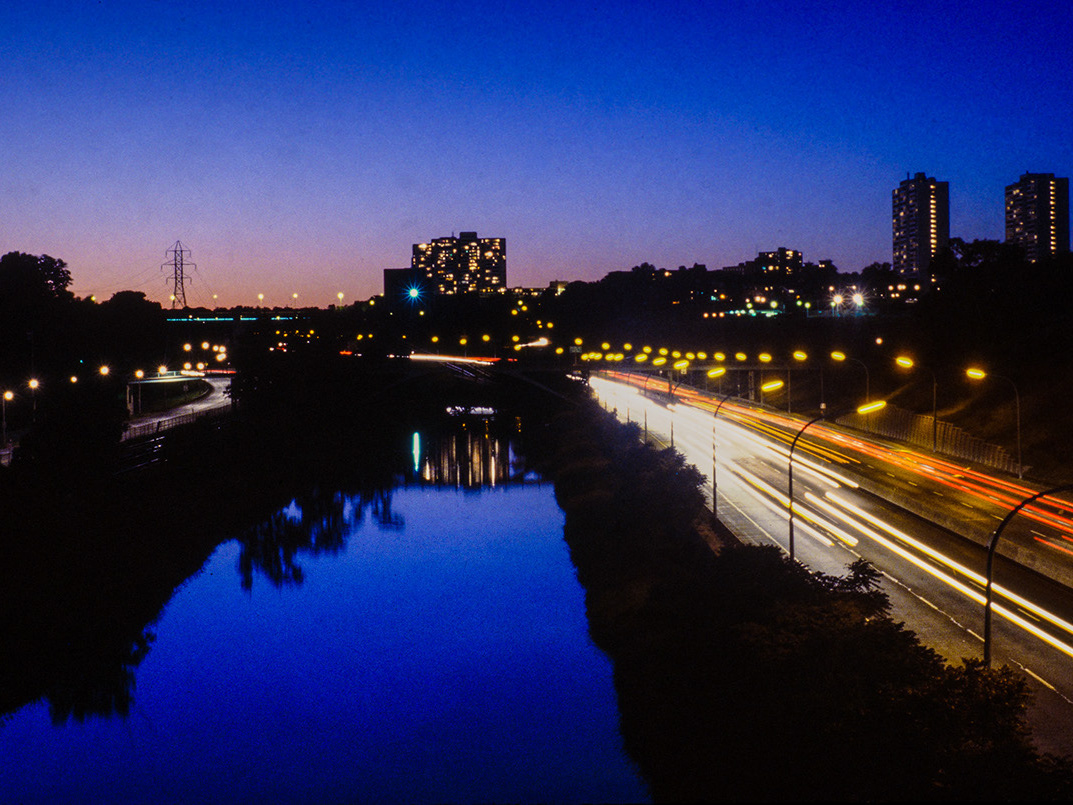
This is an image I made last September in a nearby park, Rosetta McClain Park in Scarborough. It's a beautil, well-manicured garden park, complete with and English-style rose garden, and wonderful views of Lake Ontario. I should have bracketed my shots more, based on what I envisioned, but for some reason, I didn't. I think it was because I was so entranced with the scene, that I spent more time shooting a variety of compositions and thought less about bracketing my shots. I was more focused on getting a shot where the sailboat sat in the reflection from the moon.
At any rate, the unprocessed version (below) was a good basic start, but wasn't anywhere near where I want the image to be, surprise, surprise. I needed richer color, more contrast and a moon that didn't look like the sun.
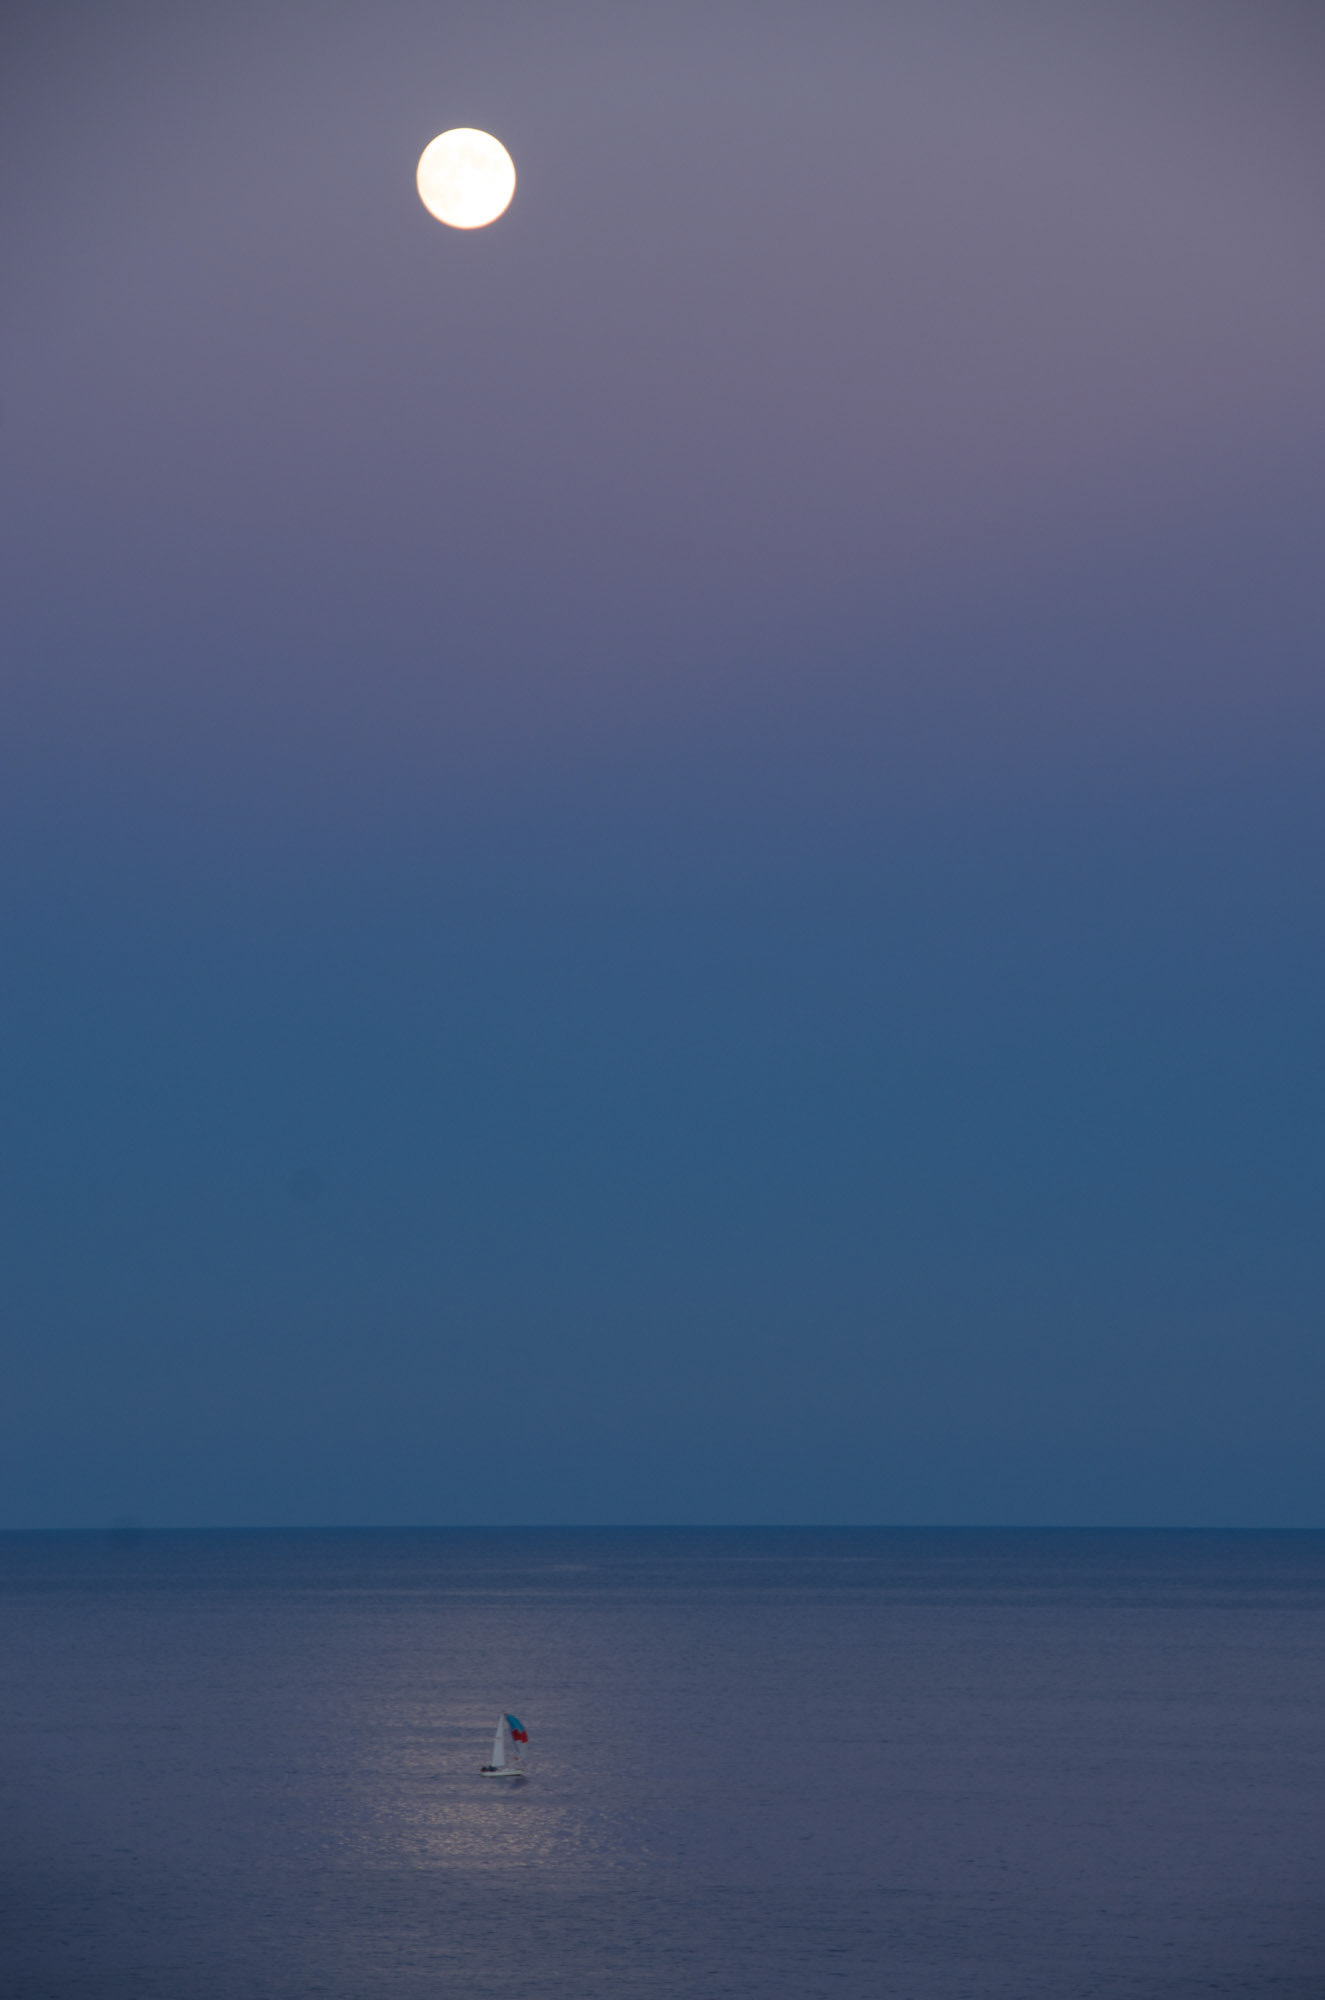
So, off I went into Lightroom and began some processing magic.
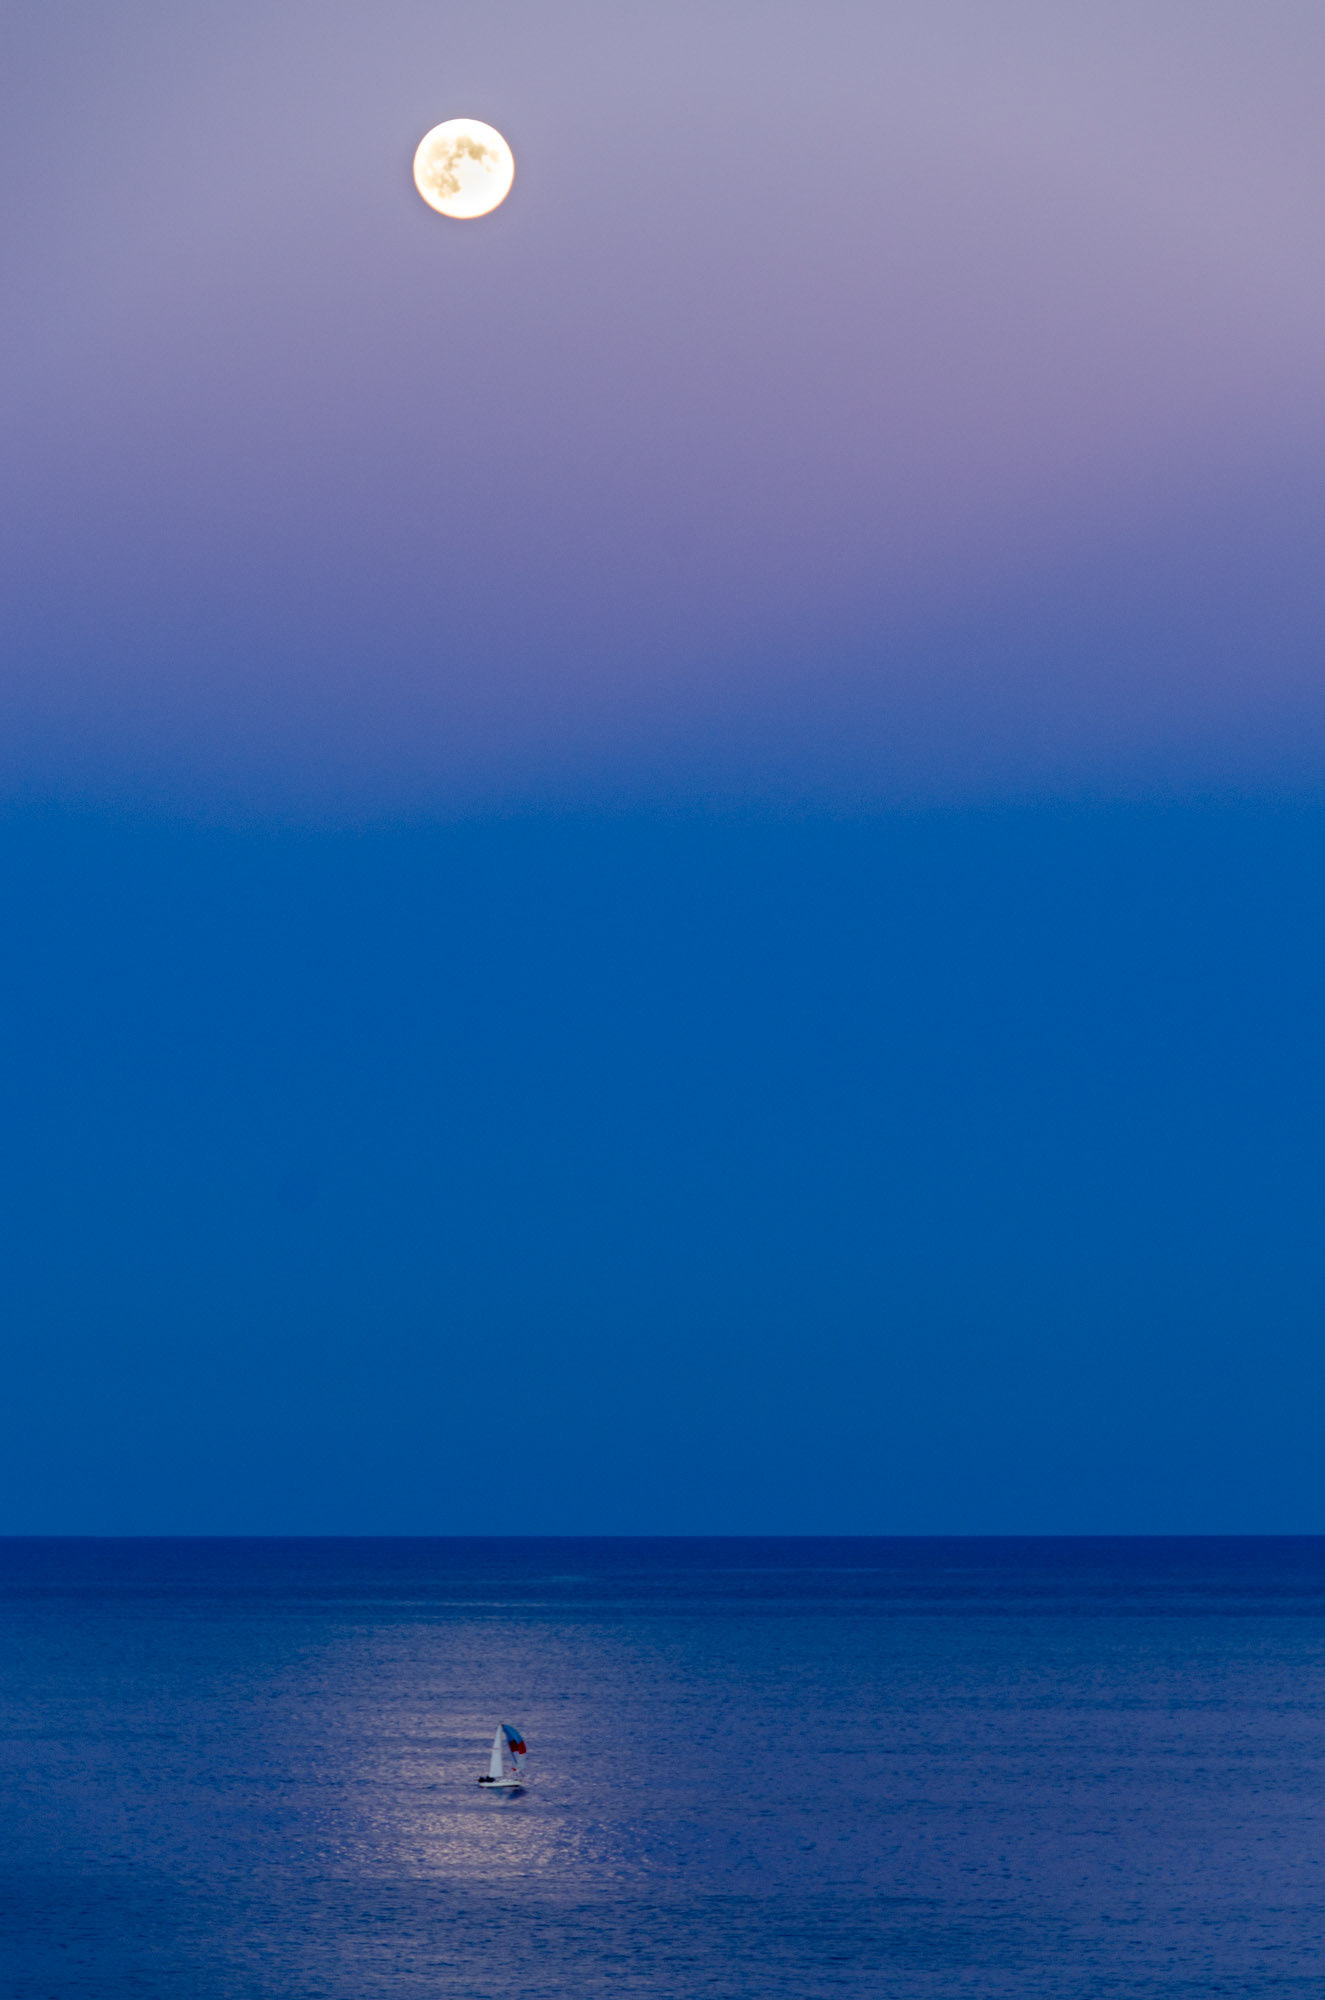
A laundry list of processing was done to this image (see the end of this post for the list), including exposure, highlights, shadows clarity and even a radial filter to try and improve the exposure of the moon.
But even with that Radial adjustment, the moon was not great. I figured that was the best I could do and ended up publishing this version to Flickr.
Fast forward to this year, though, And a course I was watching on CreativeLive sparked an idea: Why not combine a better exposed image of the moon WITH the moonrise shot? EUREKA! I l had images of the moon literally from later that night, and never thought about combining them before. I'd just bring the images in Photoshop and work a little pixel magic there.
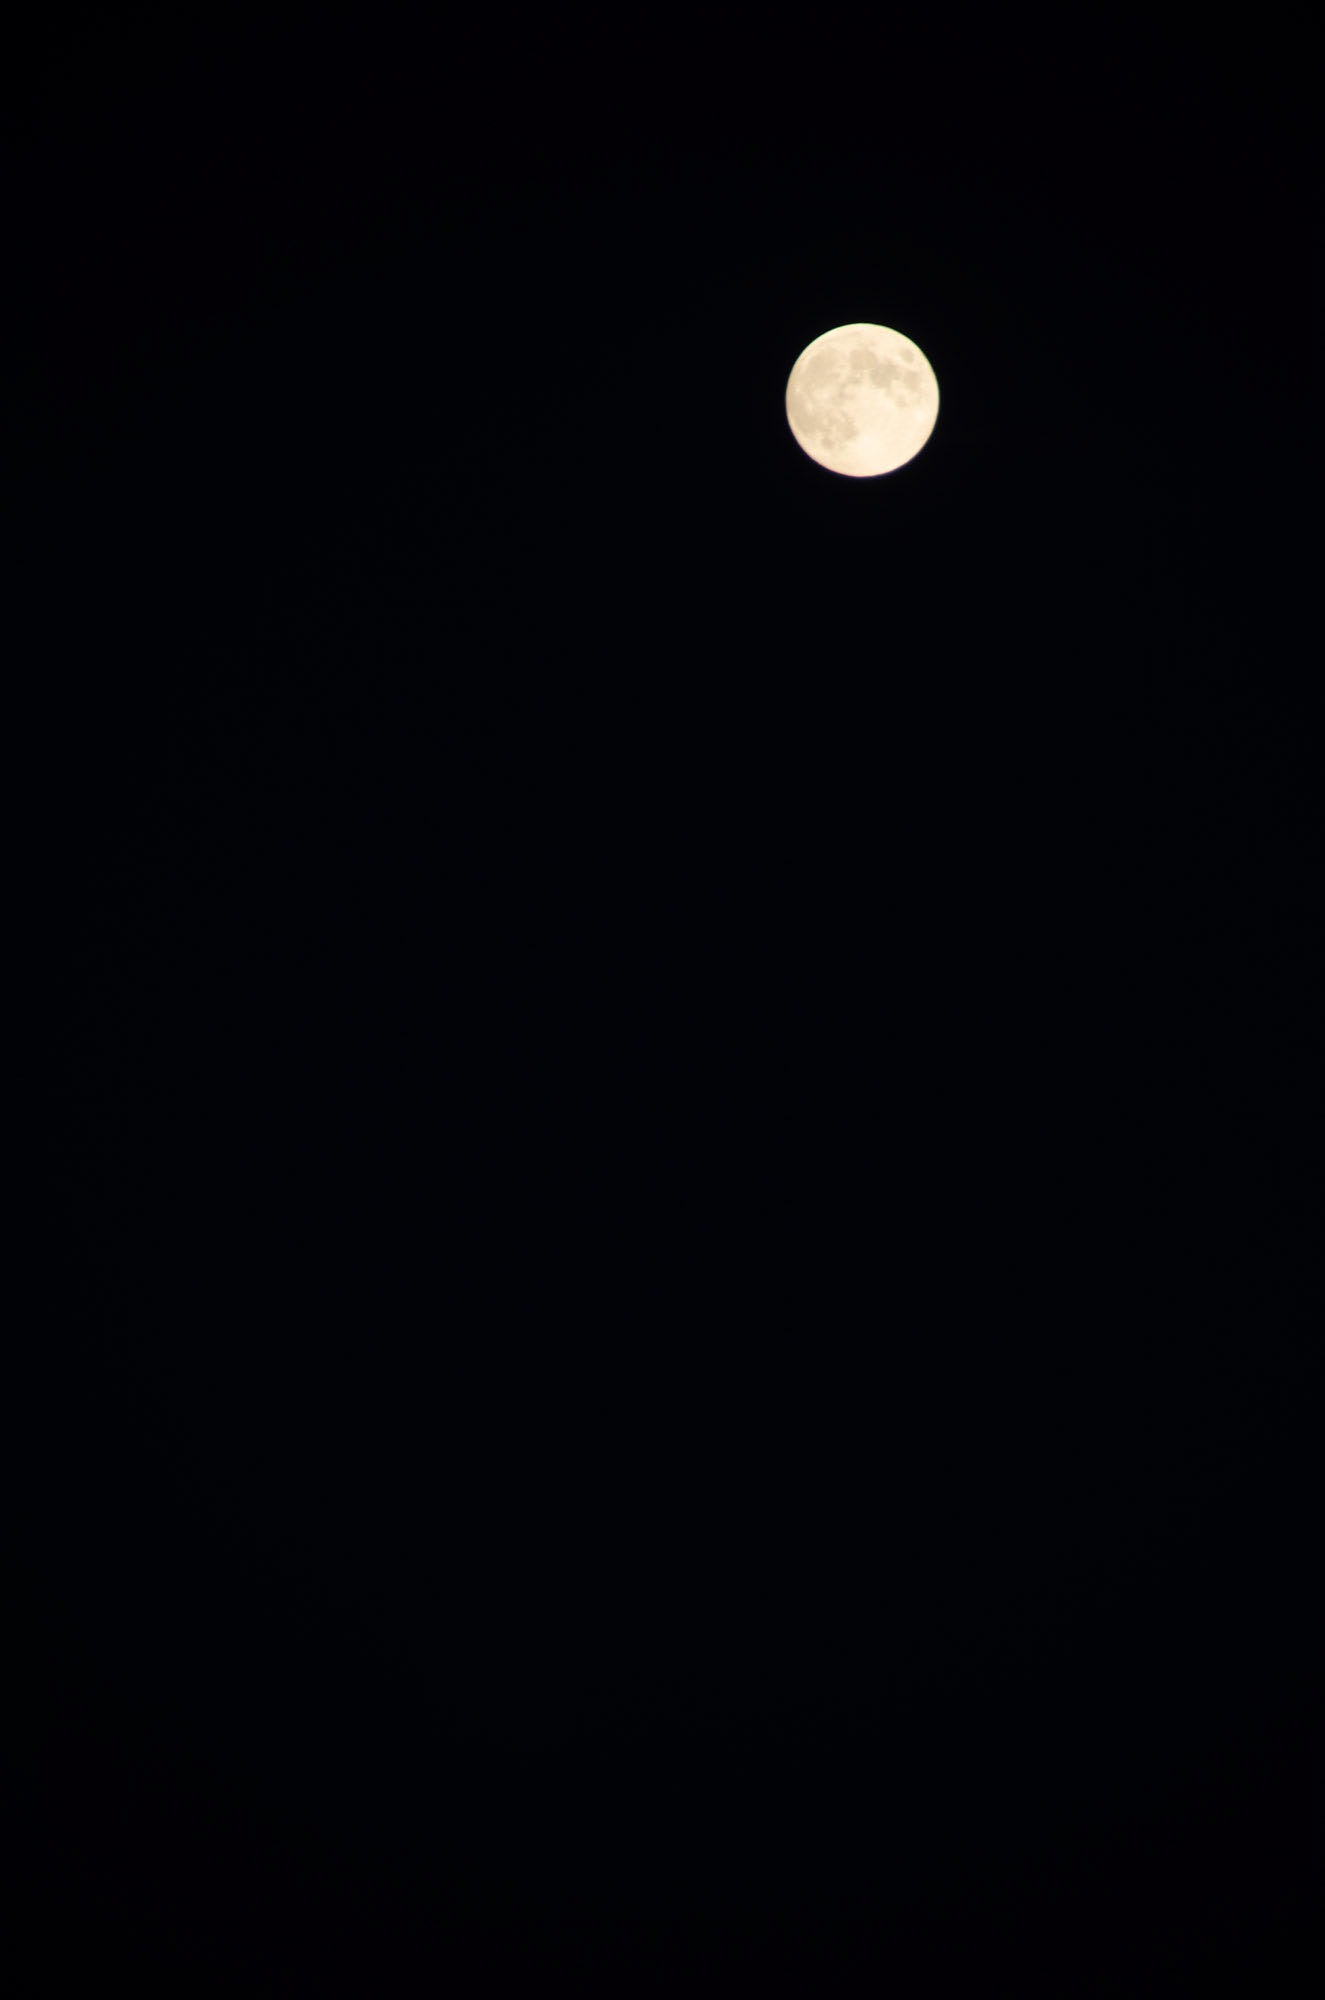
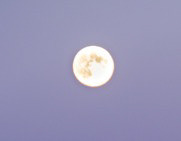
One of several images I made later in the evening, using my beloved Tamron 80-200mm f/2.8 SP lens. It's a manual focus lens and I just can't part with it. And it cost me a crap-load of money 20+ years ago.
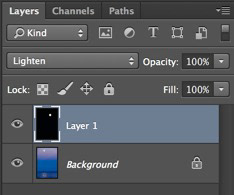
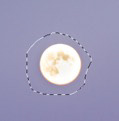
After bringin the new moon image into the origian shot, I switched the Blending Mode to Lighten. This basically cleared away the black background without me needing to mess around with masking the shot.
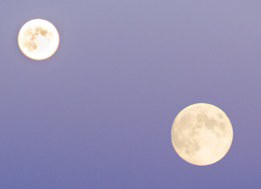
The two moons, old and new, show here for comparison. It's noticeably larger (due to the lens magnification), but I like it better.
Also worth noting, the Lighten Blend mode did nothing to hide the old moon.
With the new moon added, I needed to get rid of the old moon. This was a perfect opportunity to use the Patch tool in Photoshop. I probably could have gotten rid of it using Lightroom's healing brush, but I was already in Photoshop . . . and I'm lazy.
I selected the Patch tool in Photoshop and drew a very rough selection around the moon.
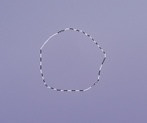
Dragging the selection to a similar area in the shot completely removed the old moon from the image. Easy-peasy.
With the old moon gone and the new moon repositioned to my liking, I realized that the wasn't enough punch to the replacement moon, mostly due to the blending mode. The dark areas of the moon, on close inspection, were essentially becoming near-transparent. So, a bit more tweaking was required. I could have avoided this set of tweaks by masking the moon in the first place. Hey, live and learn.
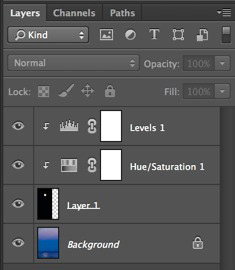
Two adjustment layers added specifically to the moon layer to neutralize a color shift and to improve the moon exposure. Note that these two adjustment layers are applied only to the moon layer. This is easy to do when you create the Adjustment Layer, but not particularly obvious:
1. Choose Layer > New Adjustment Layer ~your adjustment~.
2. Enable Use Previous Layer to Create Clipping Mask.
OR
1. Choose an Adjustment Layer from the Adjustment Layers panel.
2. Once applied, right-click on the adjustment Layer and choose Create Clipping Mask.
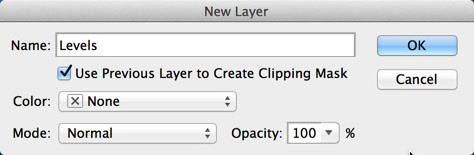
Method 1, using the menus.
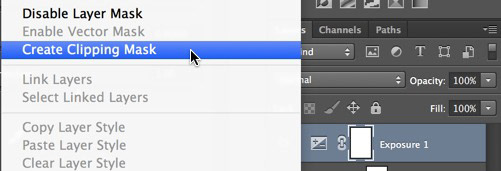
Method 2, using the Layers panel.
And the end result, see below. Overall, I'm pretty happy with the final result, and hope you learned a thing or two as well.


The laundry list of processing steps for the moonrise shot.