December 1st, 2015 was a little like Christmas morning for many creatives; Adobe released significant updates to many of their Creative Cloud apps, including Photoshop, Illustrator, Dreamweaver, Premiere Pro, After Effects and InDesign. Reviews and blog posts abound on the details of the updates (here's one), so I won't go into the list of changes, but one of the new releases is, well, a new product, called Adobe Fuse (Preview). Free to anyone currently, due to its preview status, Fuse is a tool for easily creating and wiring up 3D animated characters. This in itself is pretty cool, but what I find even more interesting, is its integration with Photoshop!
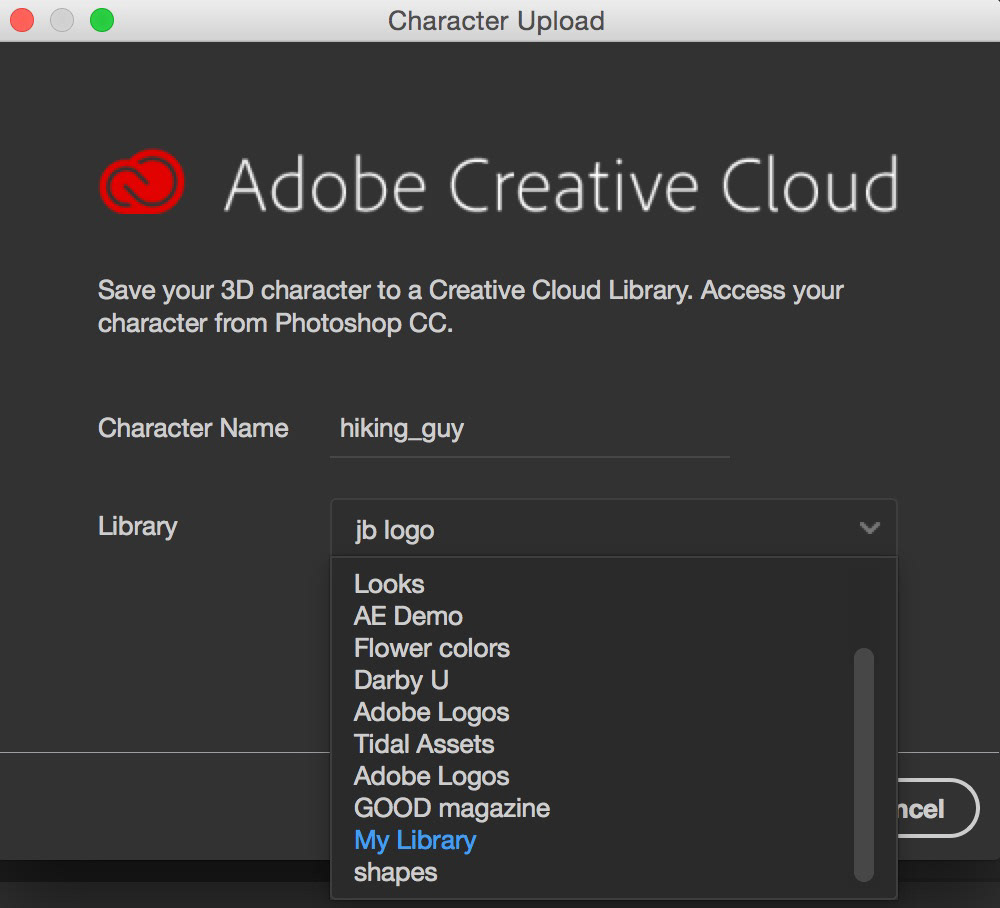
Once you've built and character and styled him/her to your liking, Fuse gives you the option to Save to CC Libraries. This action uploads the 3D character to a Library folder of your choosing in Creative Cloud, and then the character shows up within minutes inside of the Libraries panel in Photoshop! Note: This functionality may only work with a paid Creative Cloud membership.
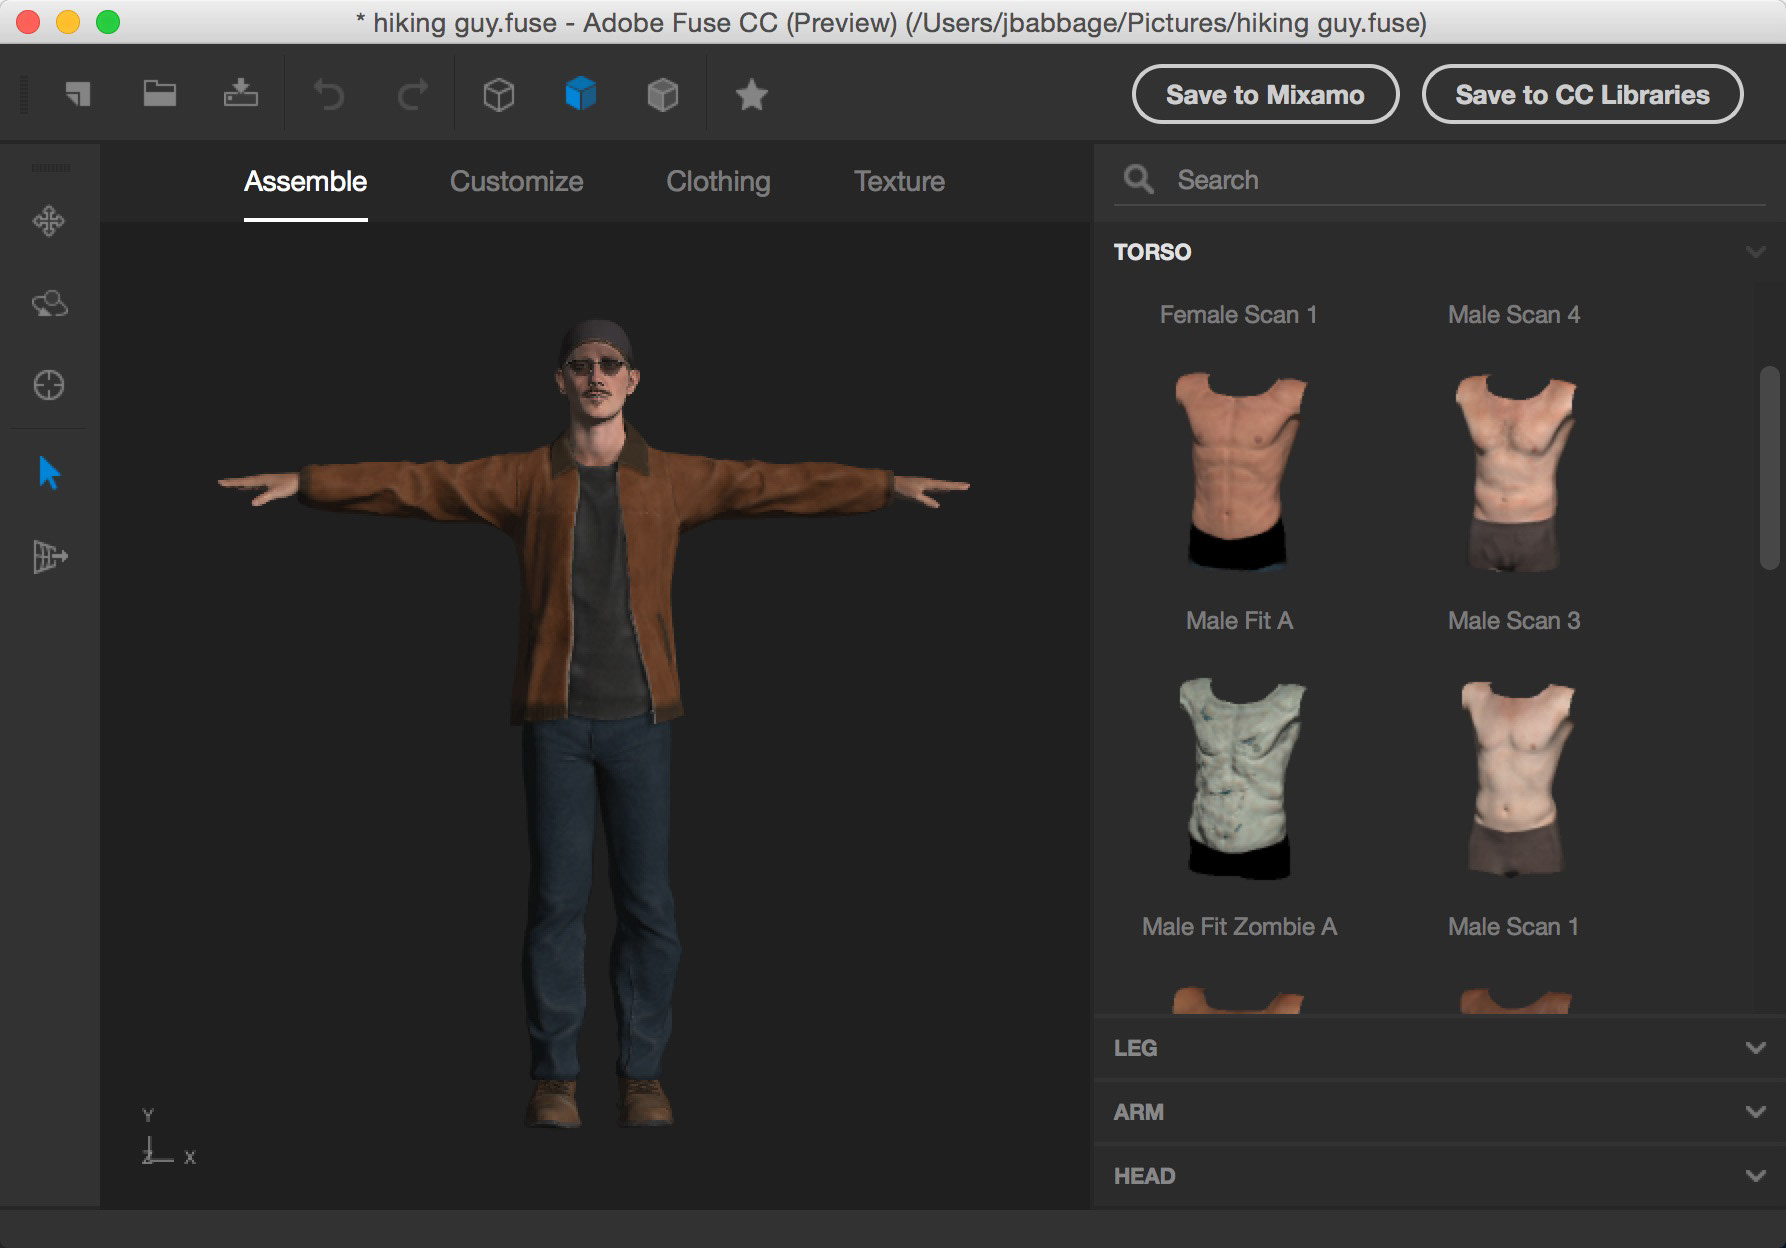
My skill level with 3D is somewhere far below novice level, but even I was able to build a figure in less than 10 minutes.
So after I made my character and saved him to a CC Library, I asked myself, now what? I wasn't about to try building a 3D world or scene for him to live in (I'm just not there, yet), but I got to thinking; I have LOTS of photos - what about trying to add him to one of my shots?
And that's what I did. What follows is the overall workflow I used from start to finish. I won't go into exhaustive detail on how to build a character (trust me, when I say it's easy, it's REALLY easy), but rather will outline the process of how I got to my final scene.
A Quick Summary
Here's the general process, but I'll outline things in more detail further down.
I reprocessed one of my older sunrise images in Lightroom, then sent it to Photoshop for further editing. Once there, I duplicated the image layer (for masking purposes) and then dragged my hiking guy character onto the canvas right from the Library panel. It couldn't have been easier to add this true 3D object to my 2D scene. Using the 3D controls in Photoshop, I adjusted the scale, rotation, pose lighting of my character. I moved my scene copy to the top of the layers stack, created a mask from the 3D object and then tweaked the mask until I was happy.
The Workflow
Phase 1 - Adobe Fuse
You can edit/change almost anything in your character; torso, legs, arms, head, facial expression, hair, clothing. You build the entire person from scratch.
Once you're happy with the tweaks, you can save your file to CC Libraries. If you do not have a paid Creative Cloud membership, this option might be greyed out, but I have heard that you can also open your Fuse projects in Unity, a development platform for creating 3D games.
It takes a few minutes for your project to upload to the Creative Cloud, then Download to the Library Panel of Photoshop CC 2015, but it's really not a long time when you consider what's happening in the background.
Phase 2 - Lightroom
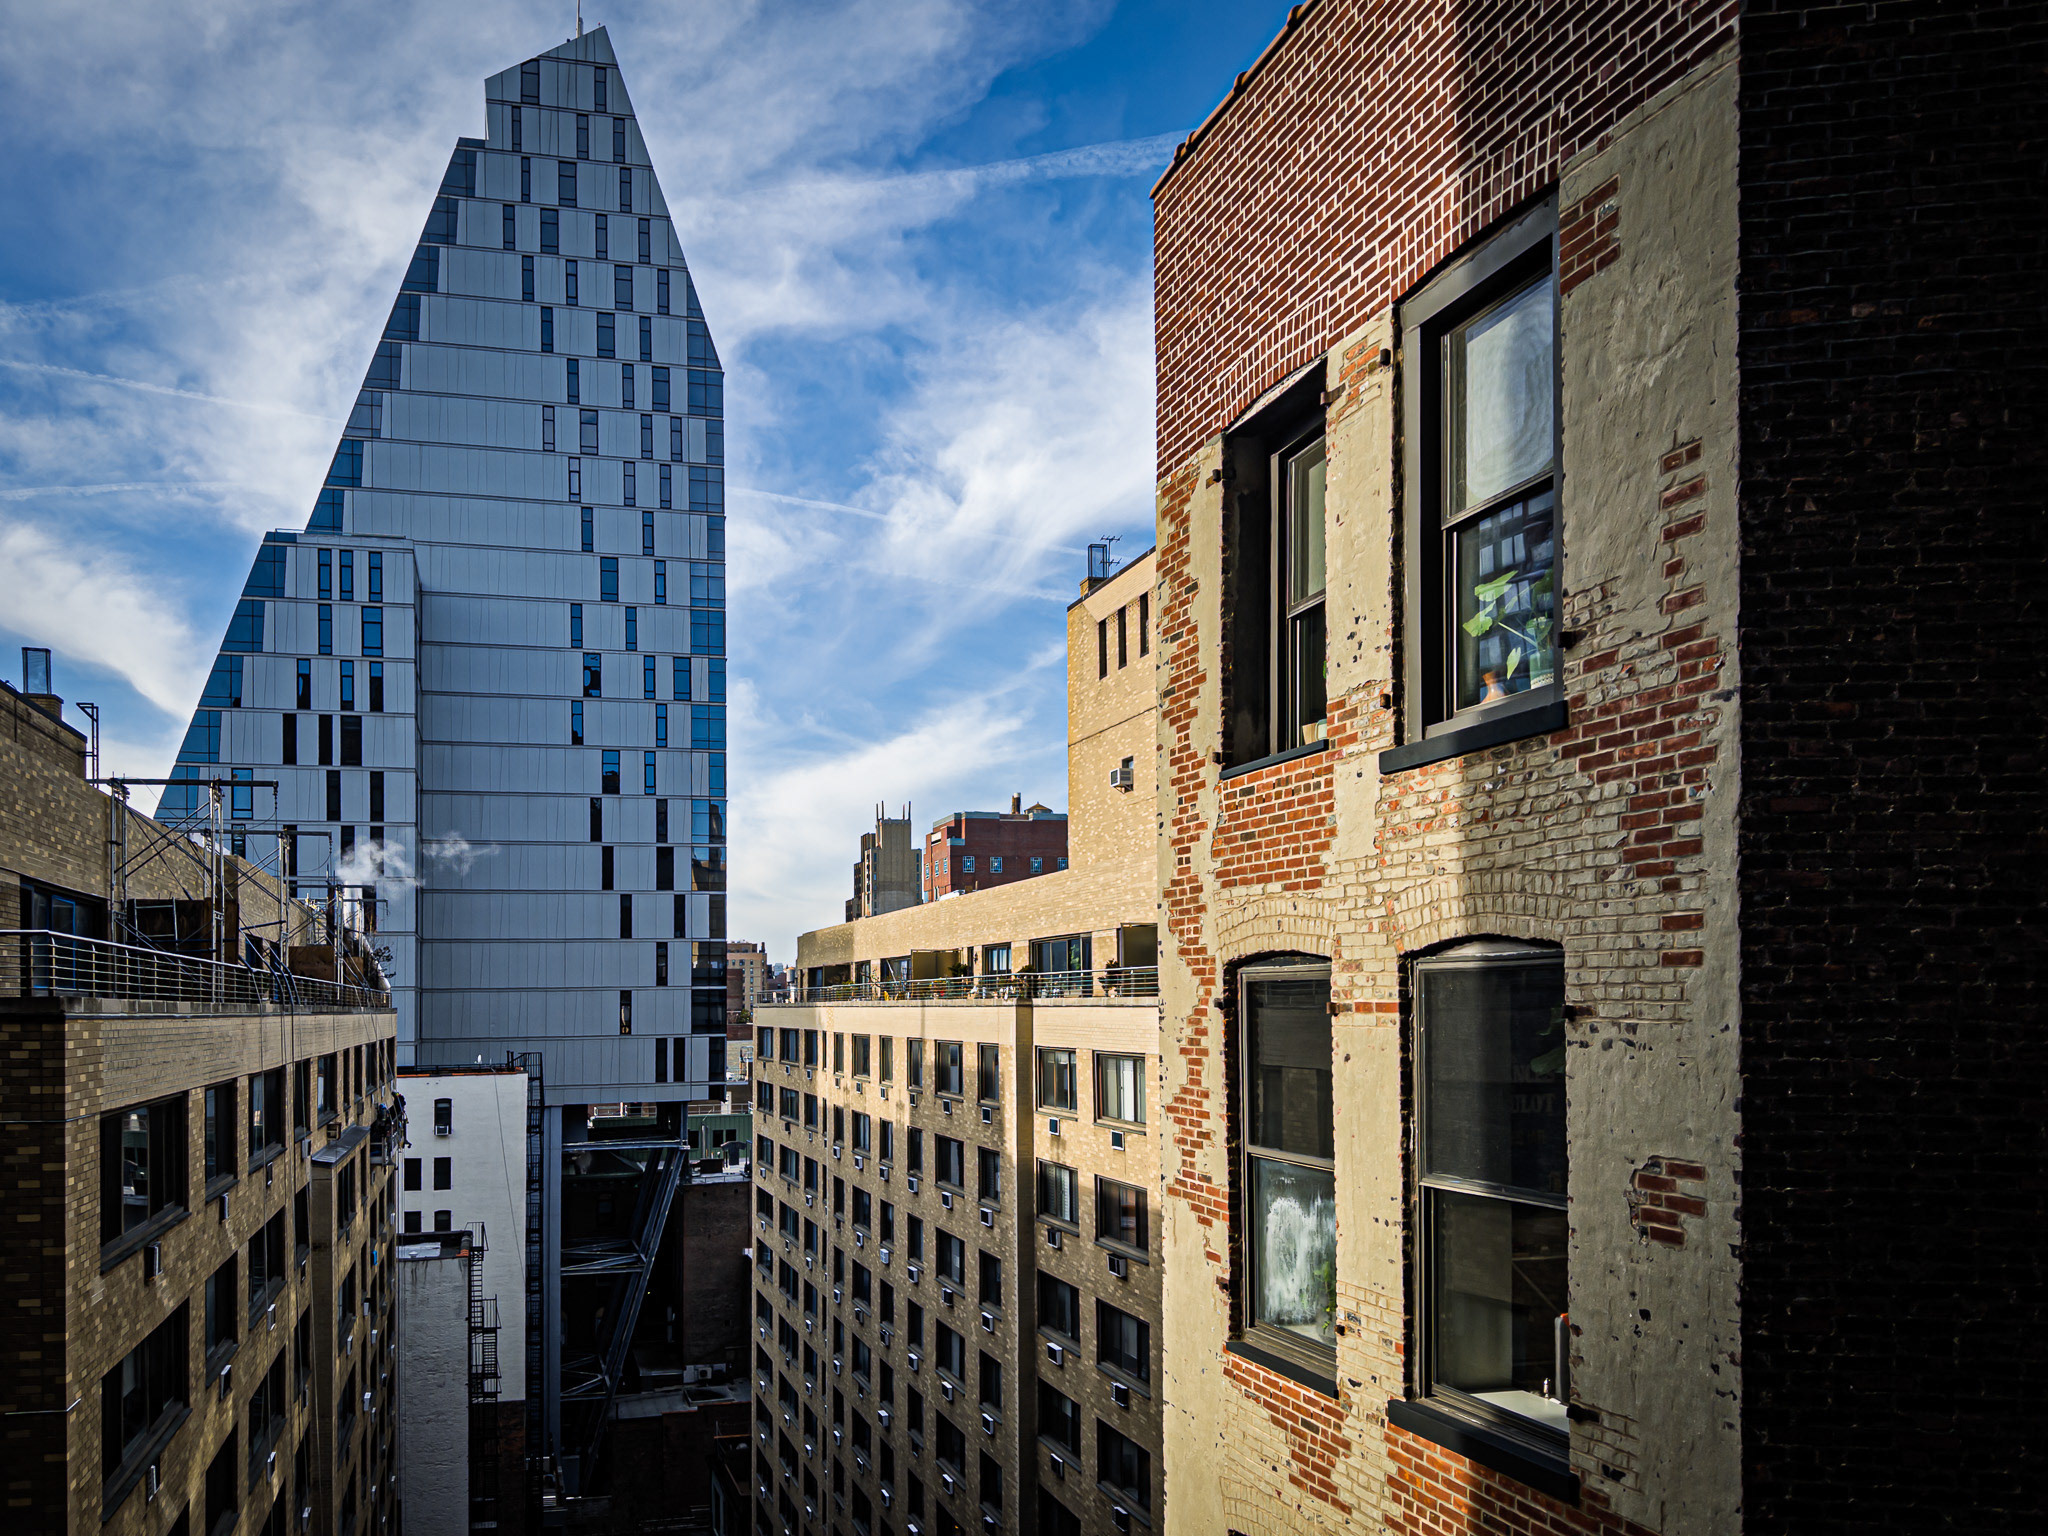
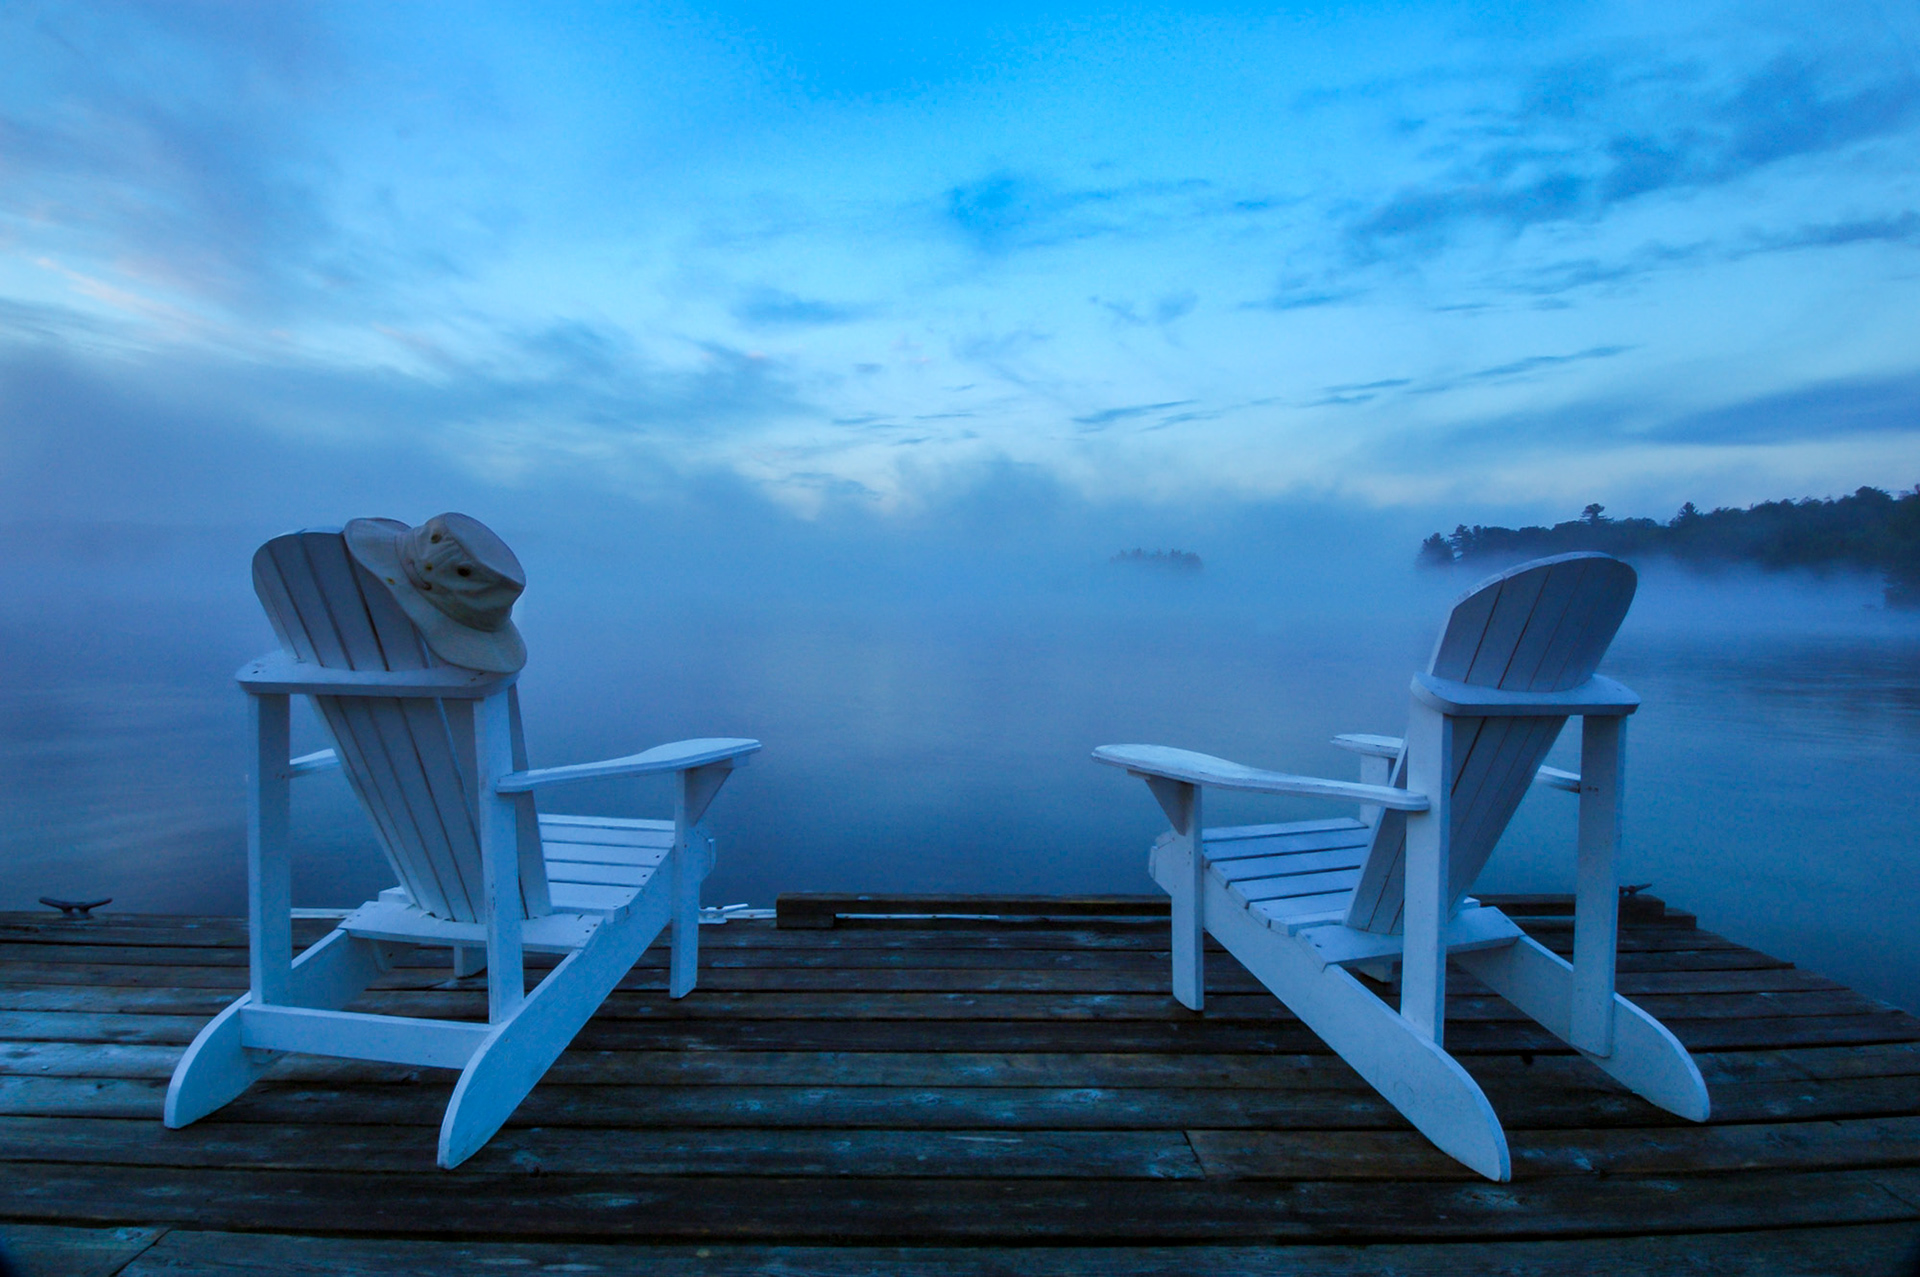
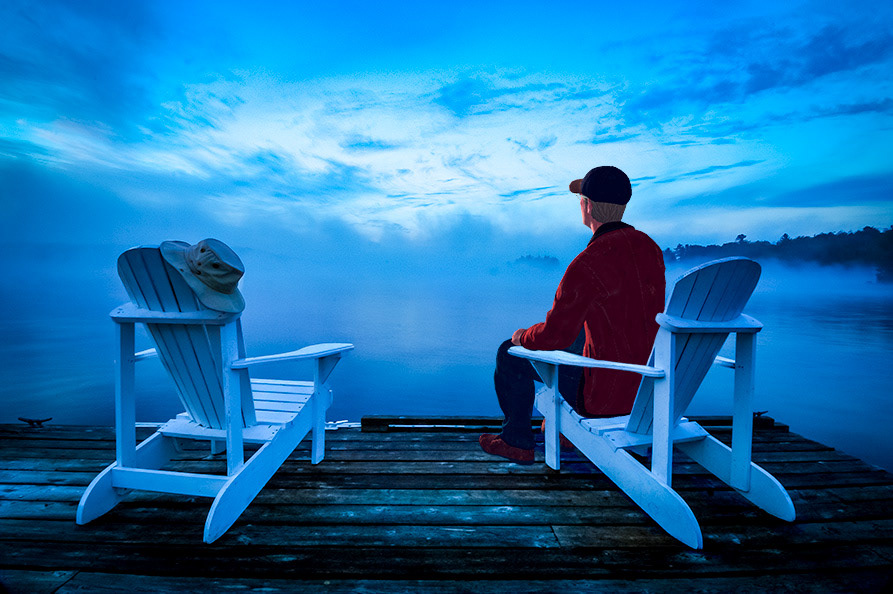
The next step for me was to choose an image. I selected one of my favorite sunrise shots from 2004. It was perfect in a couple ways: there were no people in the scene and there were "props" that the character had to - for lack of a better term - interact with.
I had already processed the image somewhat a couple years ago, but I decided to make it a snappier, grittier scene for this use.

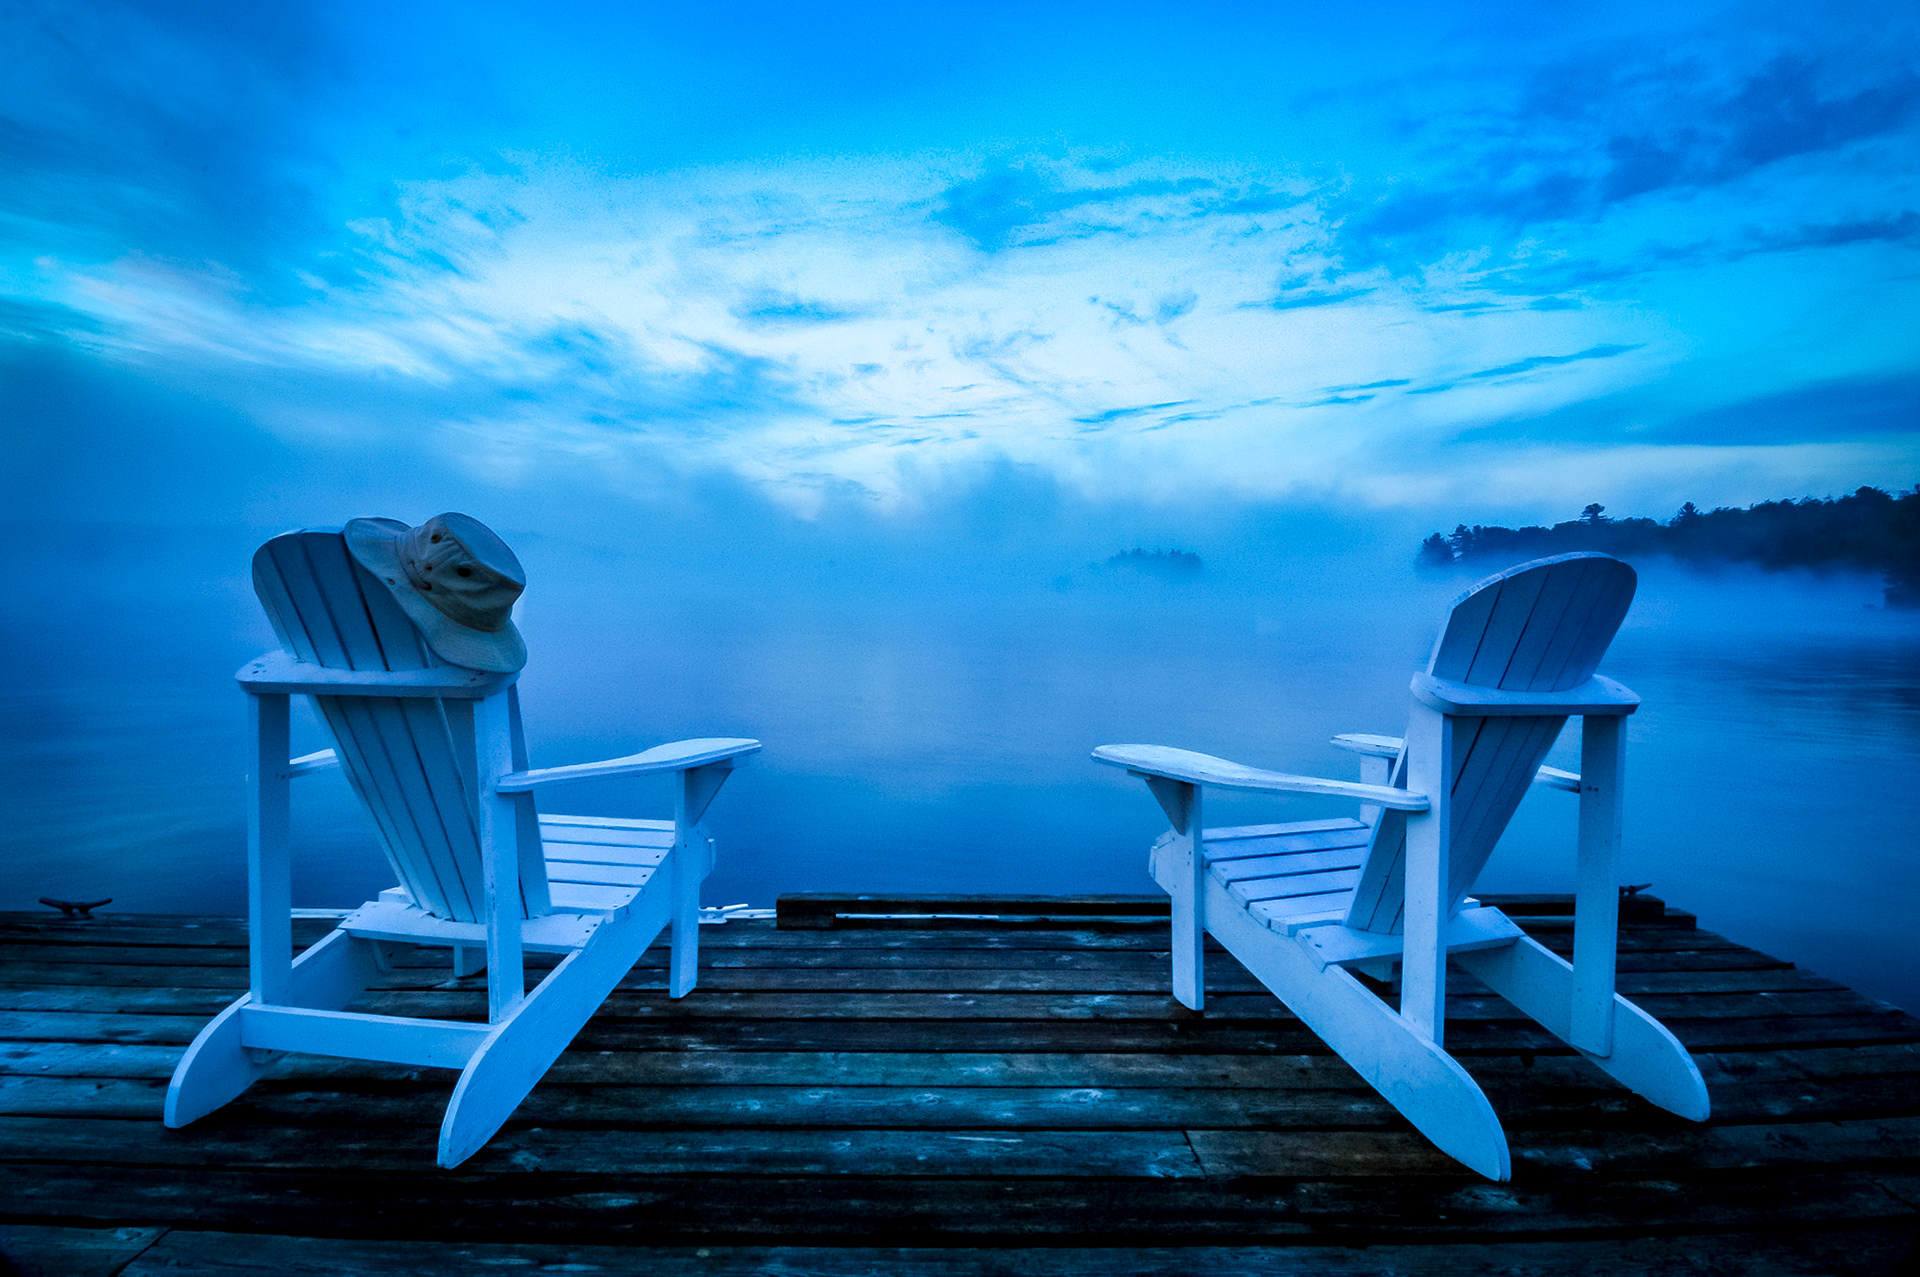
Then I right-clicked on the image and chose Edit In ... Photoshop CC 2015. I chose to edit a copy that included the Lightroom adjustments.
Phase 3 - Photoshop
Once in Photoshop, I created a duplicate layer of the scene, for masking purposes.
Then I opened the LIbraries panel, located my hiker guy object and simply dragged him from the Library onto the image. It couldn't have been easier.
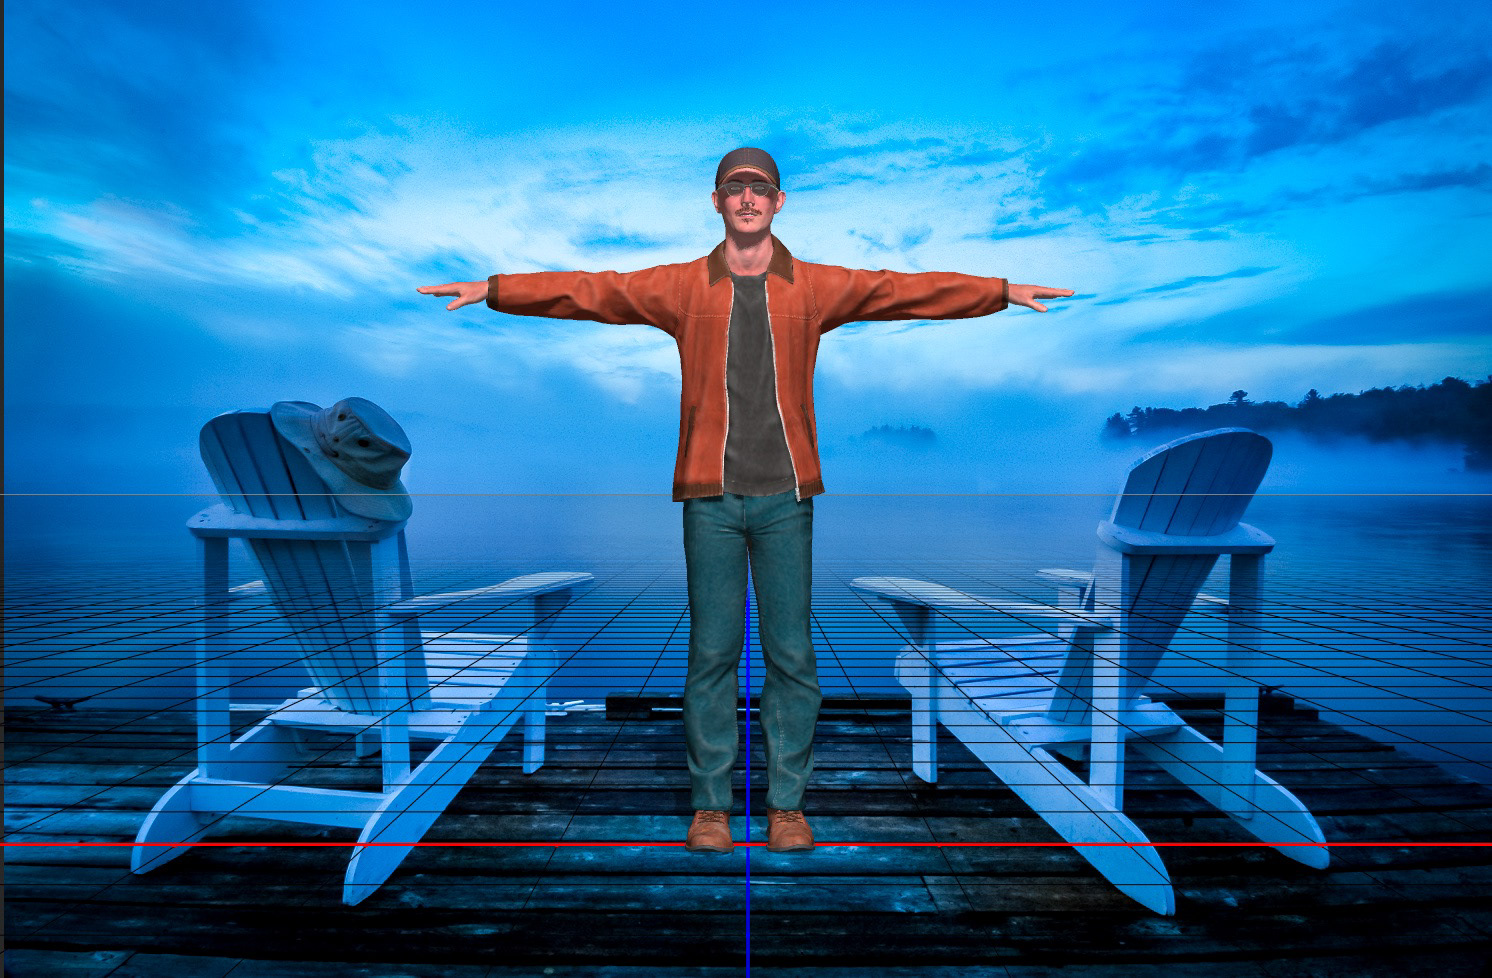
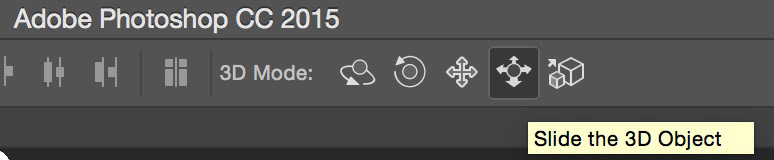
Use the 3D tools to move, scale and rotate your character as needed.
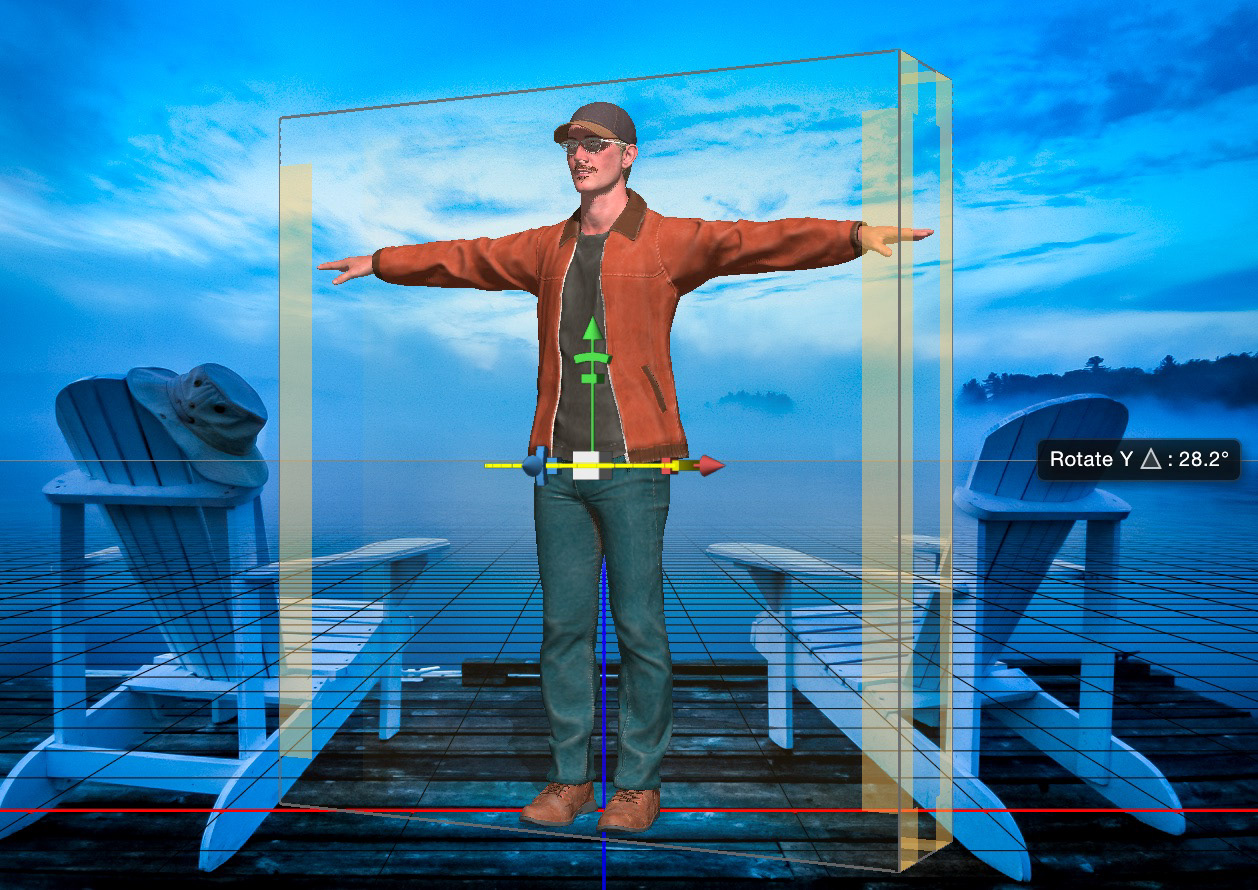
The default pose for my character was not what I wanted, but the great thing about working with the Fuse character is that multiple poses and actions are carried over with the object!
The direction and angle of light can be altered by clicking on the sun icon near the outer edge of the paste board.
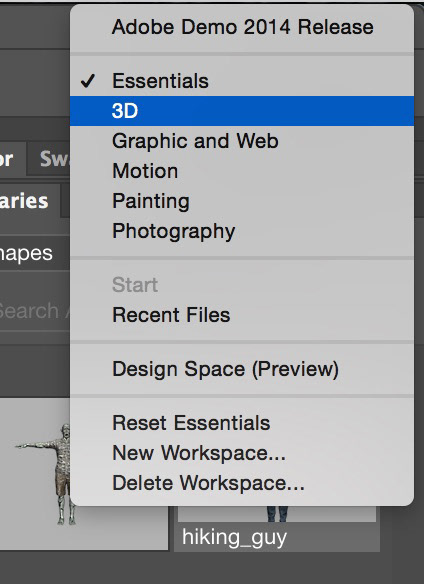
Note: You might find it easier to work in the 3D workspace at this point, rather than the default Essentials workspace. You can change your workspace by clicking on the Workspace menu near the upper right corner of the Photoshop interface.
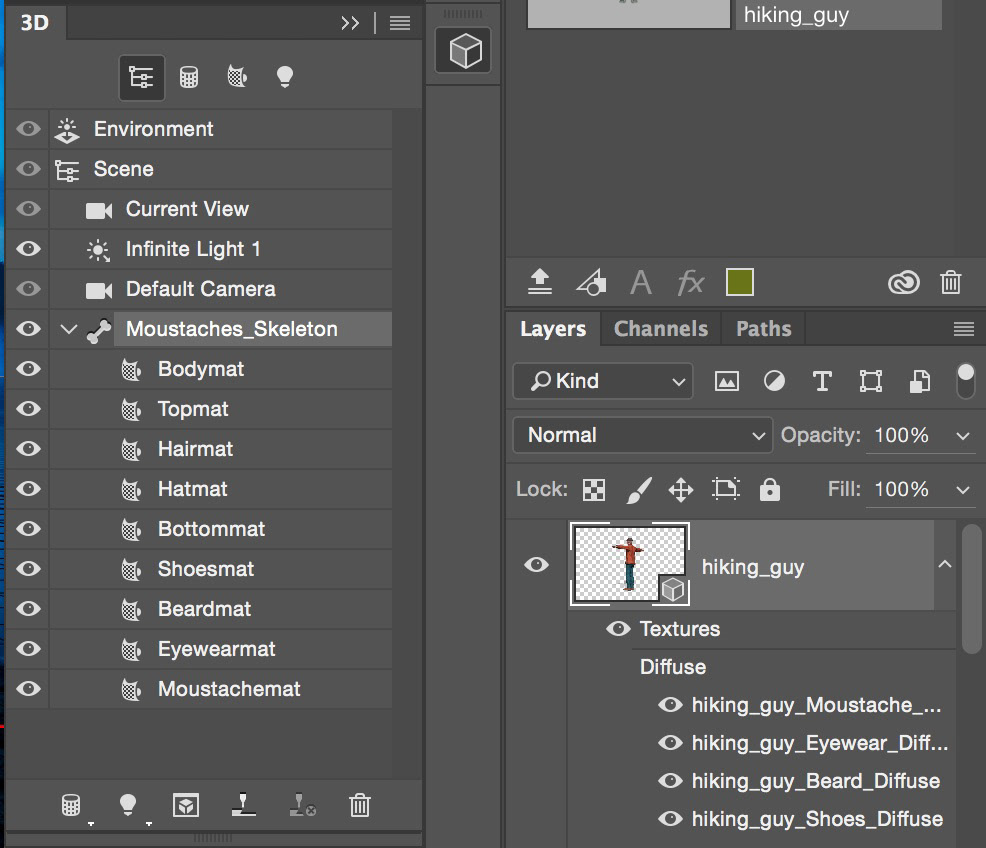
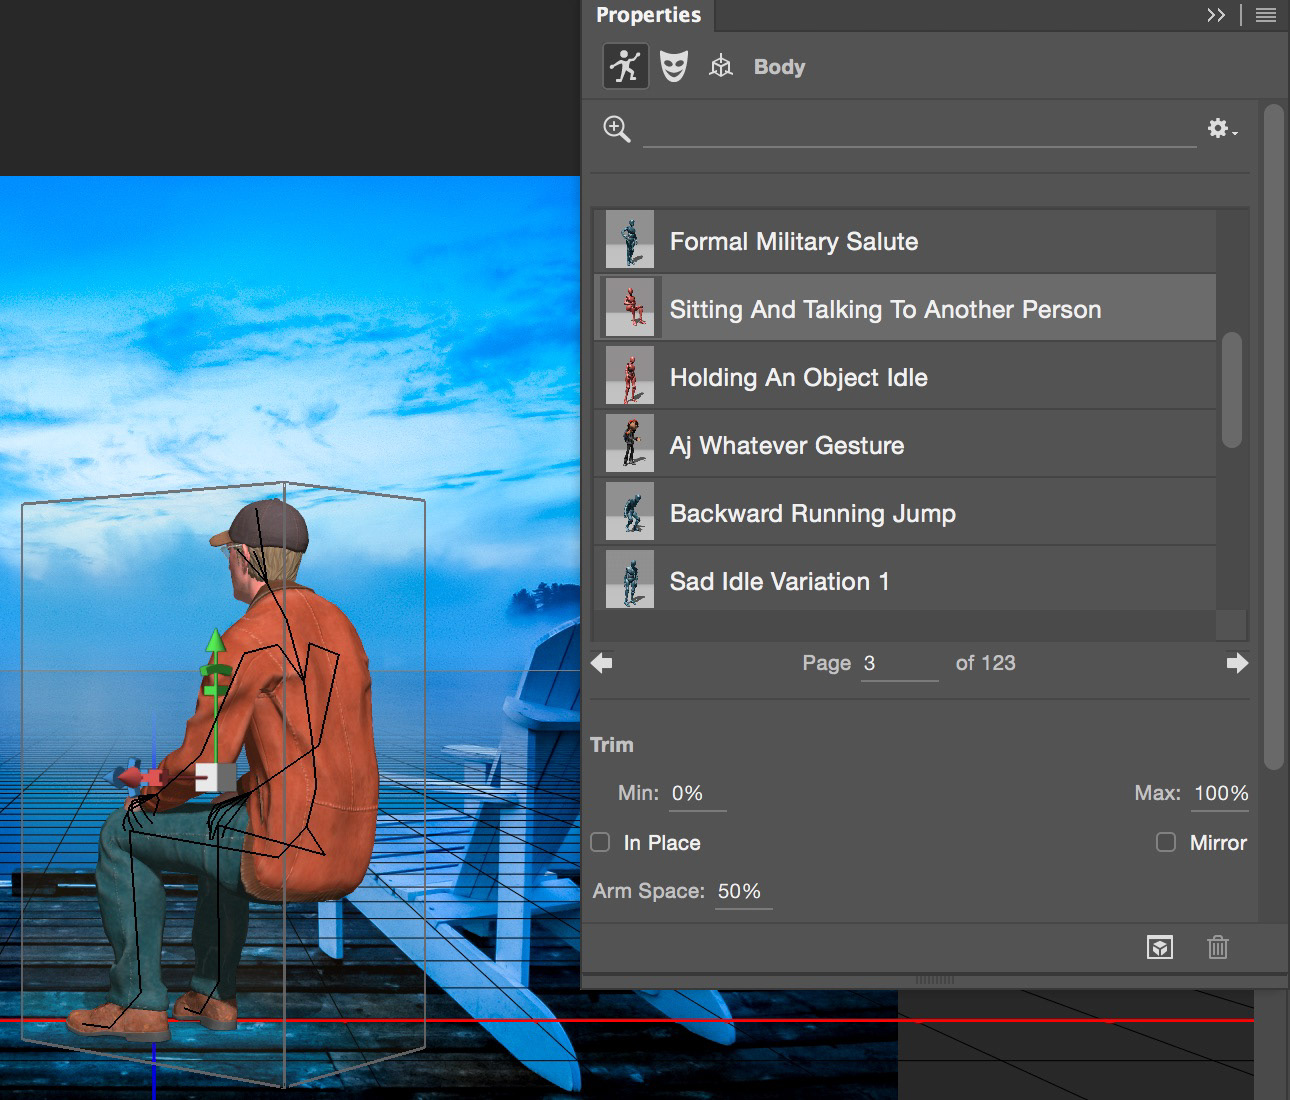
Then I selected the skeleton layer in the 3D panel, and opened the Properties Panel (Window > Properties).
I made sure the pose icon was selected, and then started searching through the hundreds of options for my figure. Luckily for me, I found the sitting pose on page 2!
Selecting the pose applies not just the pose but a short animation. When you choose the 3D workspace, you also get the Animation panel, whch means you can scrub through the short animation and pick just the perfect pose for your character.
I double-clicked on the figure thumbnail in the Layers panel, to open the 3D panel.
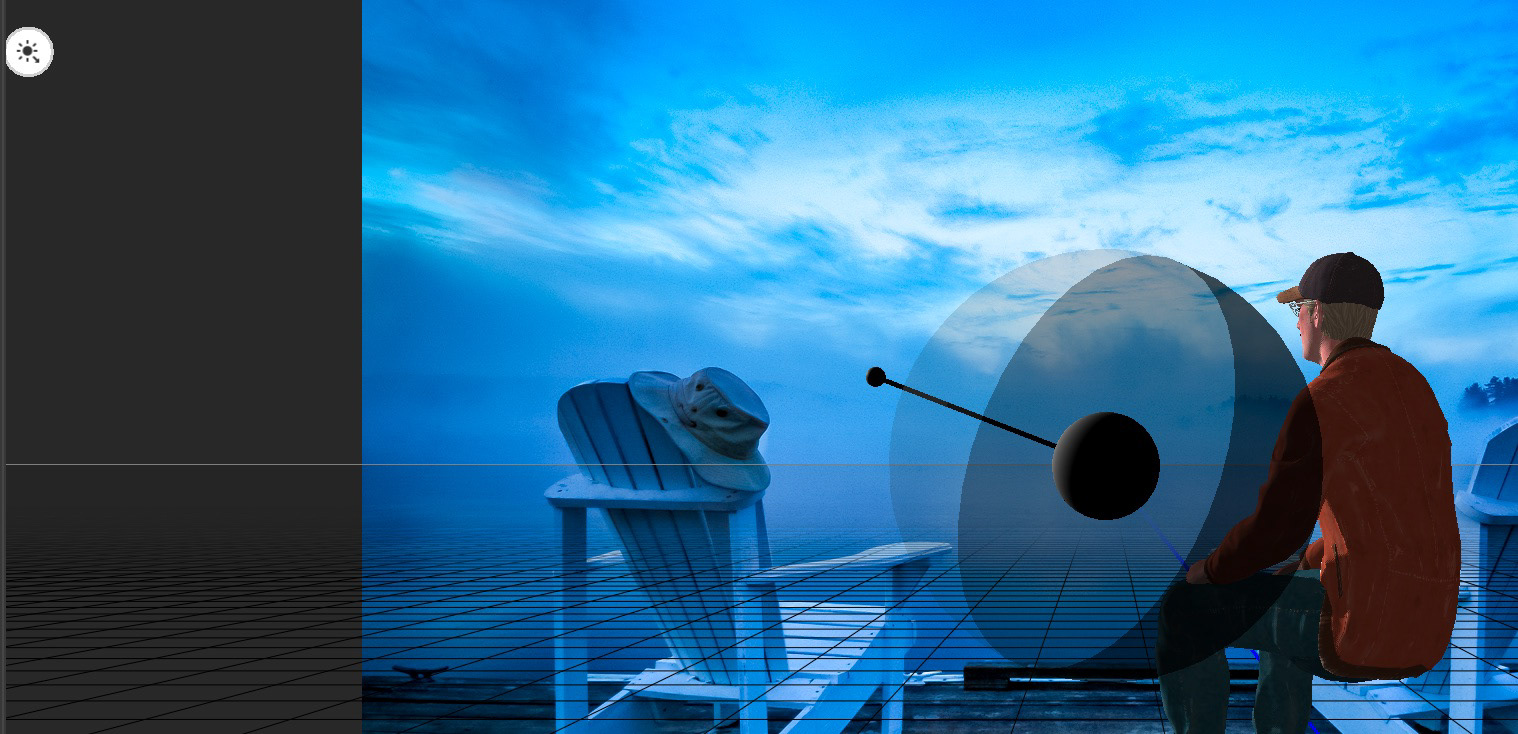
Once you have the perfect pose, continue to use the 3D tools to move, scale and rotate your character as needed.
Once I had my character in the right position and the right size, it was time to start masking, so he would look like he was sitting on the chair.
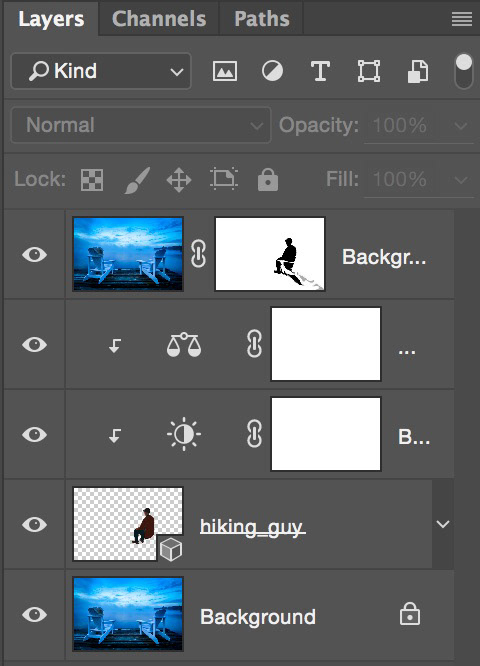
I moved the duplcate layer to the top of the layer stack.
Then I Command (Ctrl) - clicked the thumbnail of the 3D layer to create a selection.
I inverted the selection and then selected the duplicate image layer.
Lastly, I clicked the Add layer mask icon at the bottom of the Layers panel. My figure magically reappears!
Using the brush tool at varyiing sizes and white (to show the scene) or black (to hide it), and a lot of patience, I painted over the deck chair arm and leg until it looked like my character really was sitting in the chair.
Tip: Make sure you have your character scaled and rotated as accurately as possible before creating the mask.
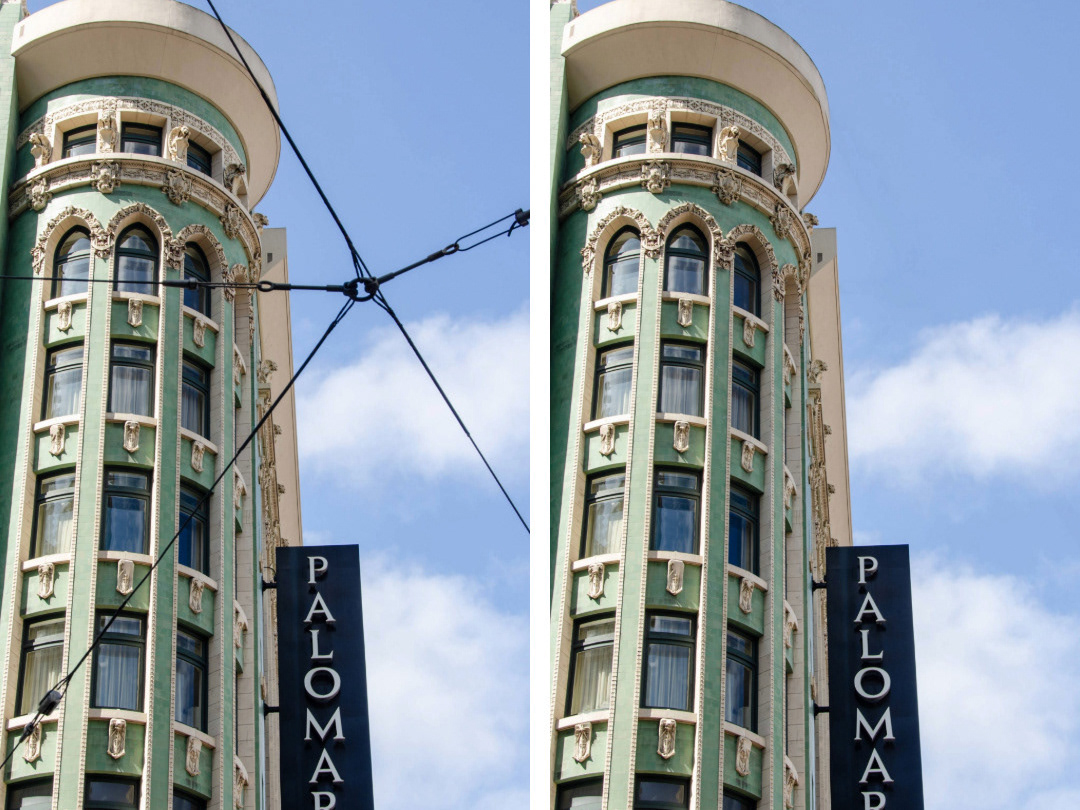
I used a combination of clipped Adjustment Layers and editing the 3D light source to try to match my character to the scene. For a first attempt I think I did alright.
Note that the Adjustment Laers are clipped to only affect the 3D character.
The colour and quality of the light source itself can also be customized to suit the ambient lighting of your scene.
In the 3D panel select the light.
In the Properties panel adjust the color / intensity / shadow settings to get the exact look that you want.
In the Properties panel adjust the color / intensity / shadow settings to get the exact look that you want.
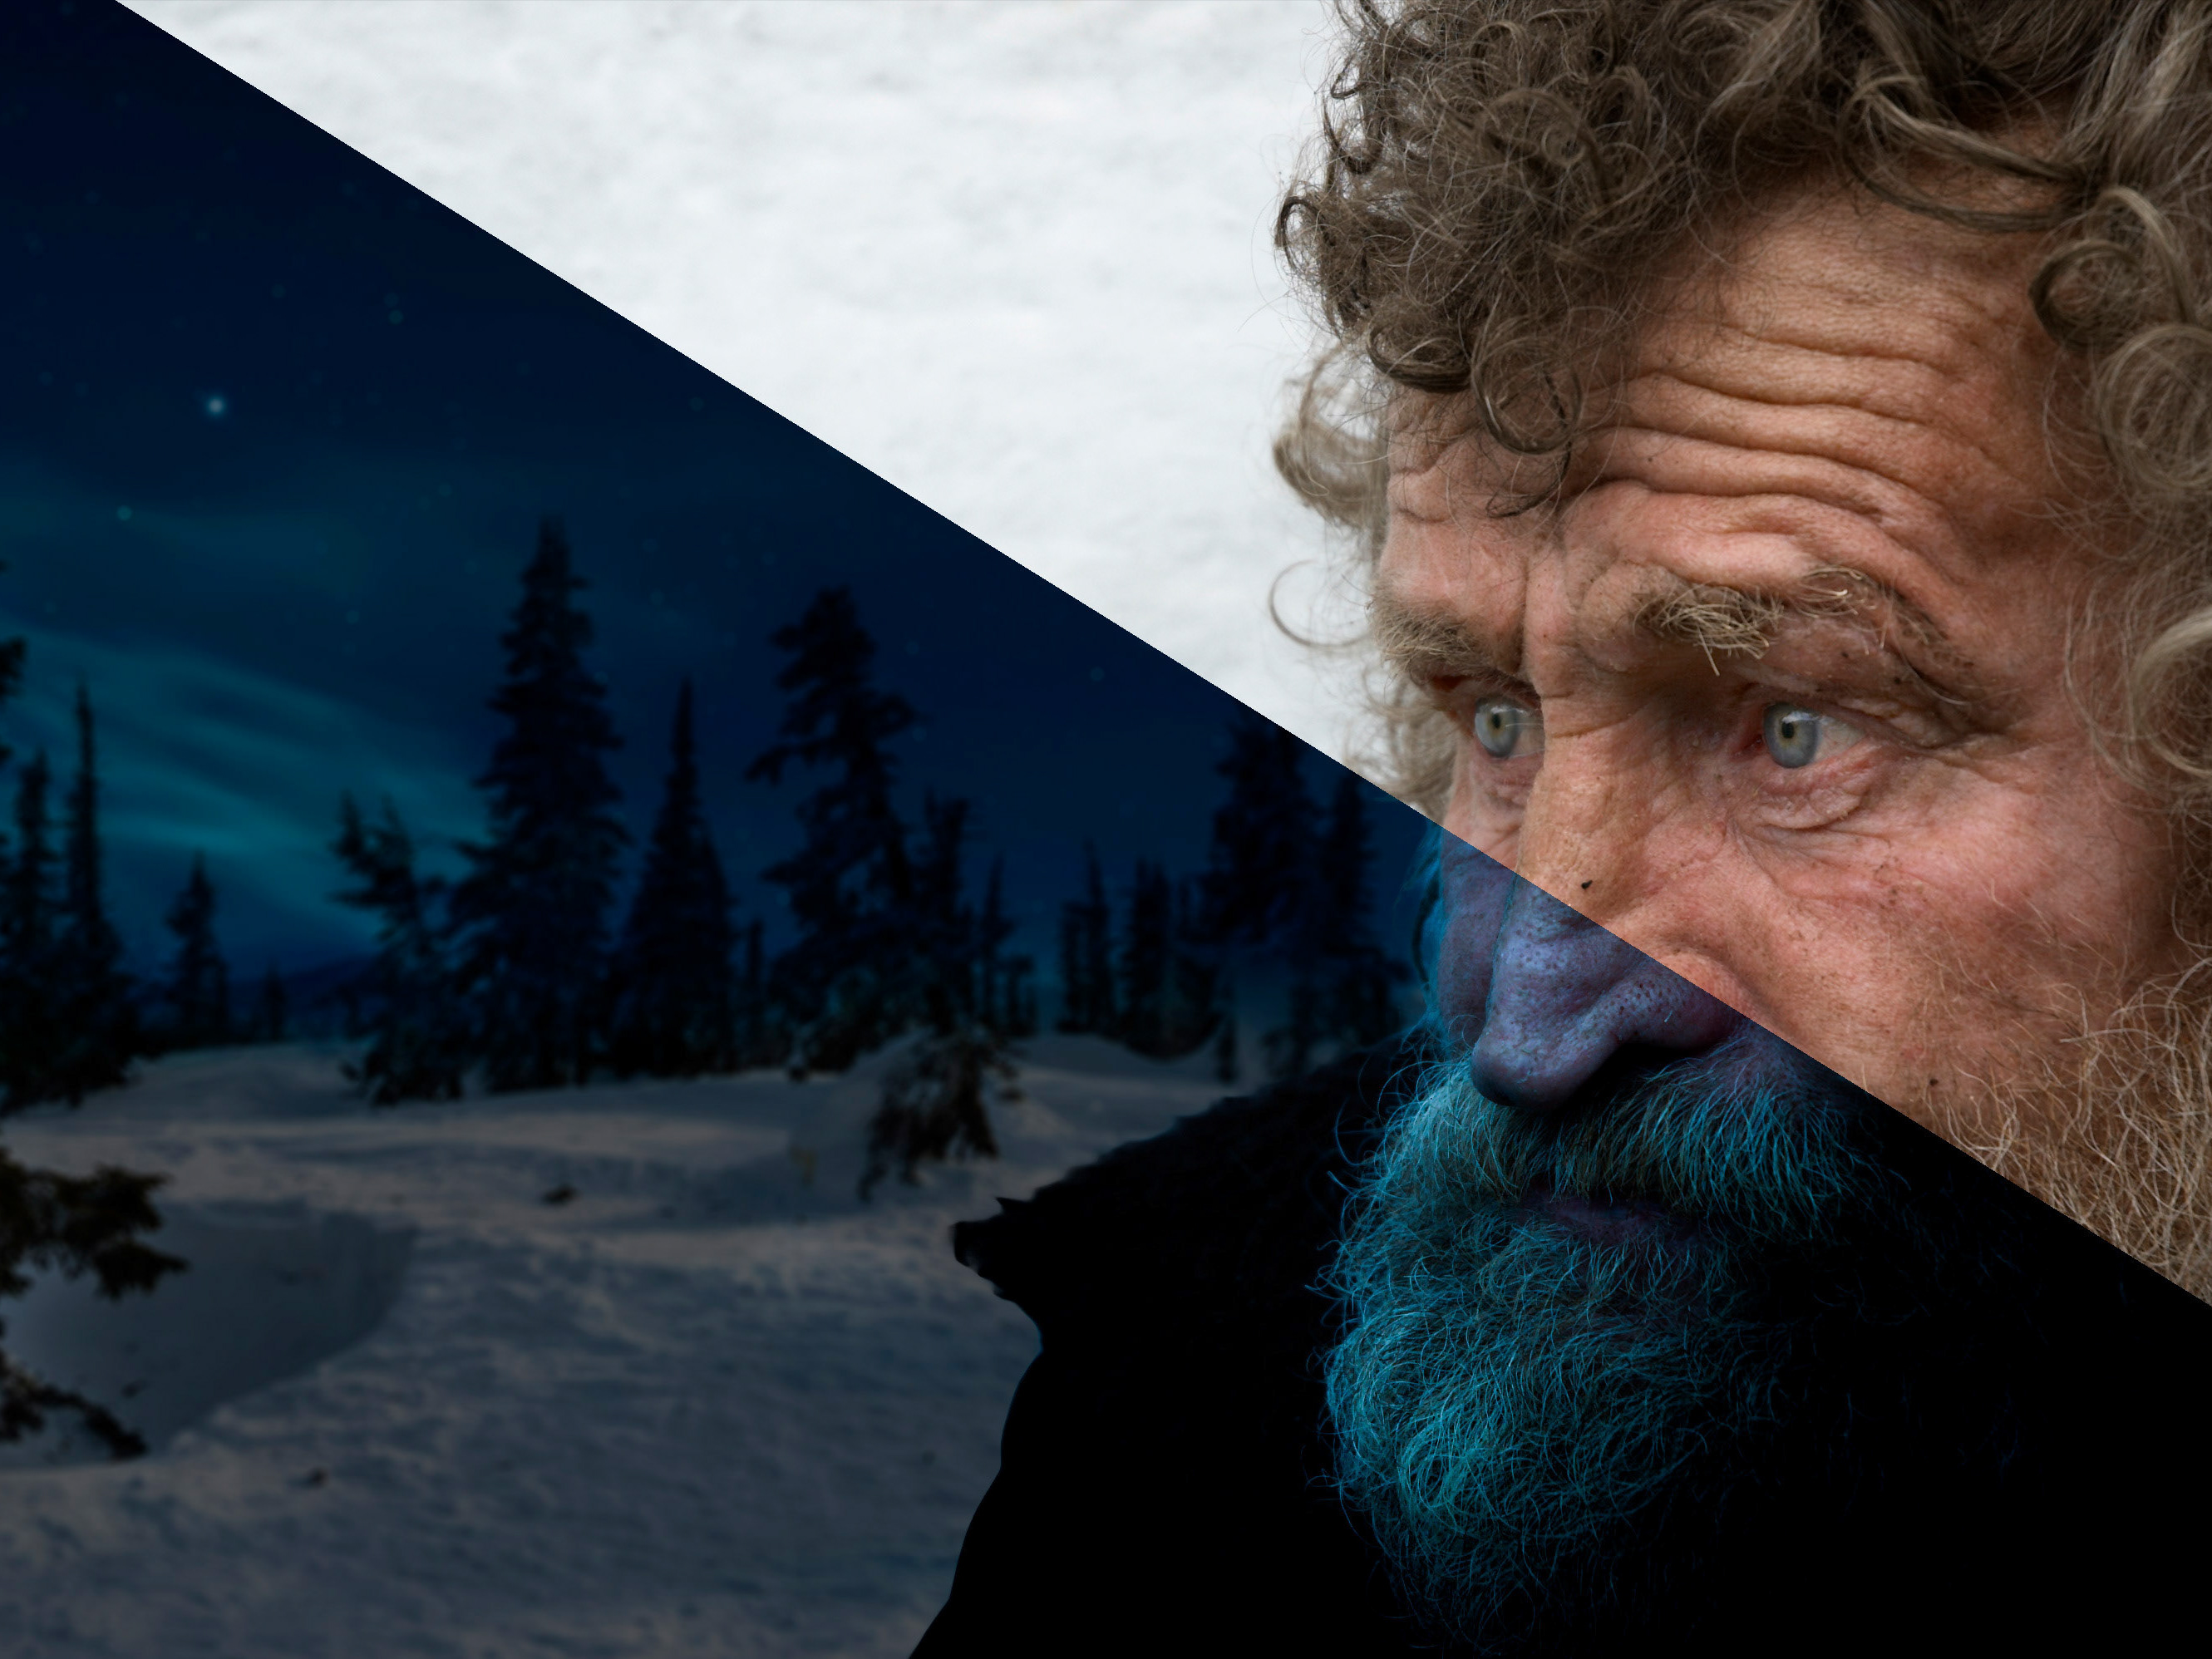
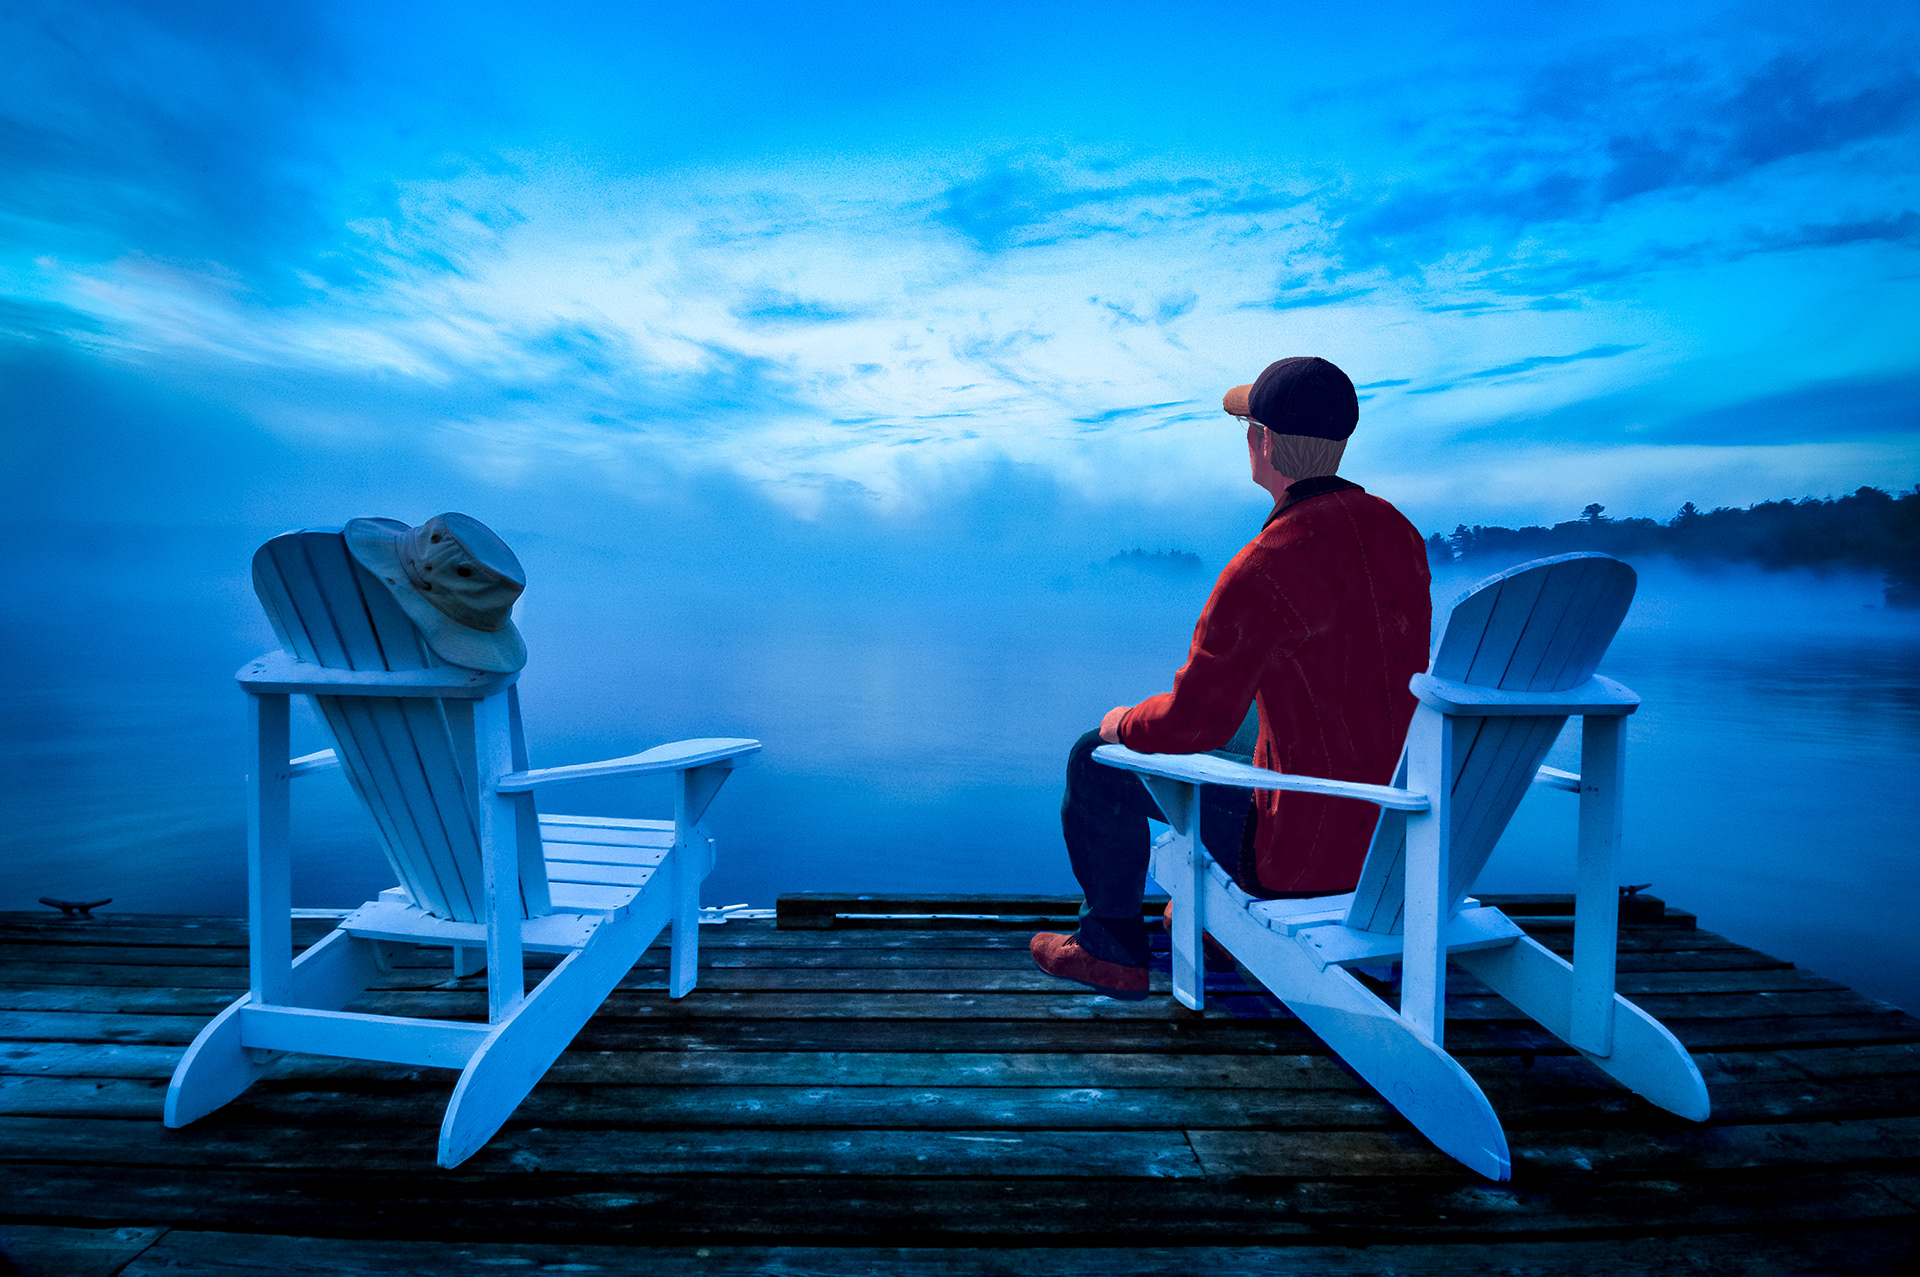
If you look closely, it's fairly easy to tell that this is a 3D-generated character, but this does give me options for planning out a photo shoot, for example. Or if this is what I want to work with, I could apply the newly re-added Oil Paint filter from within Photoshop. I could also share the image via Lightroom Mobile to my iPad, where I could then create a more artistic interpretation using Adobe PaintCan.
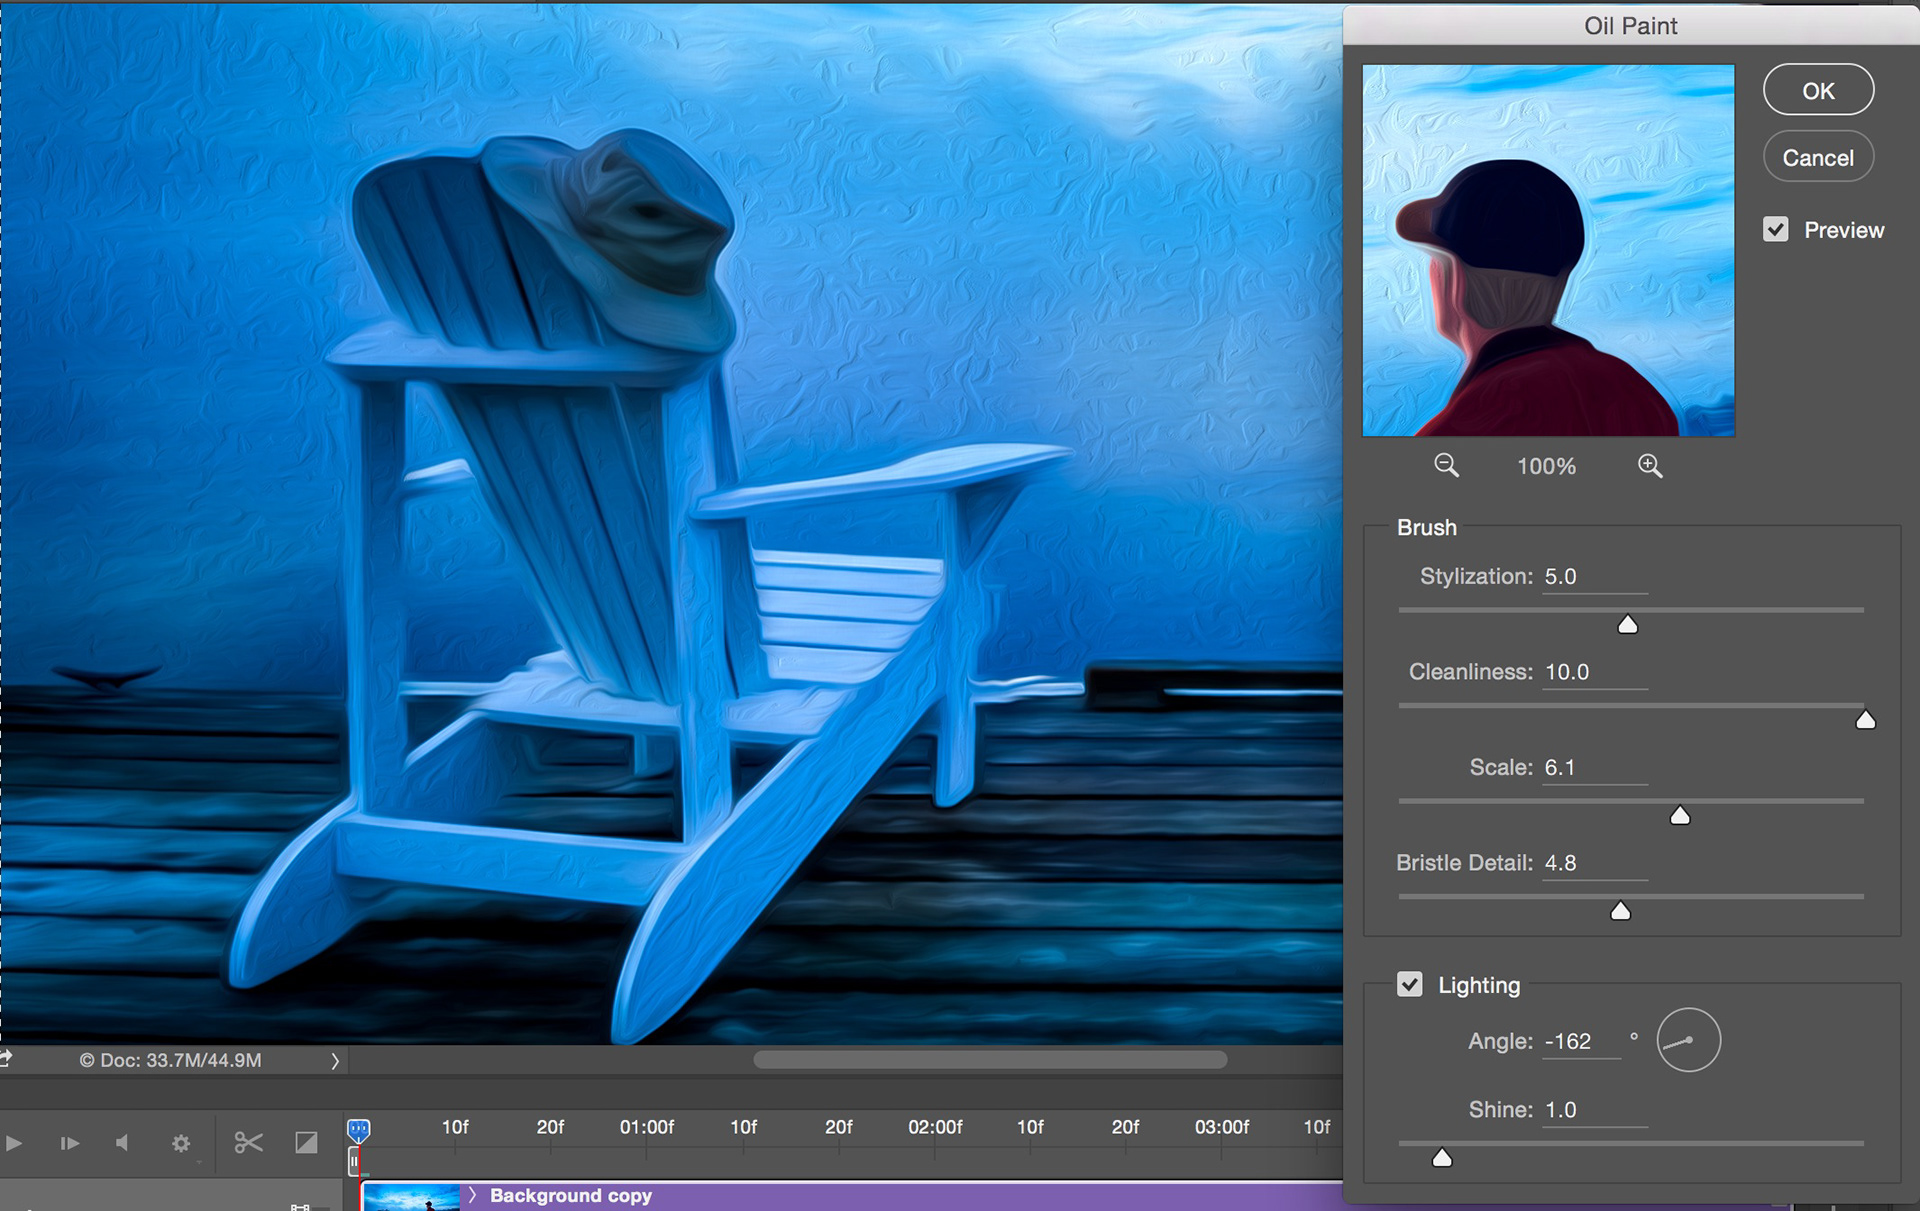
Using the new and improved Oil Paint filter in Photoshop CC 2015.

Finished Oil Painting from Photoshop.
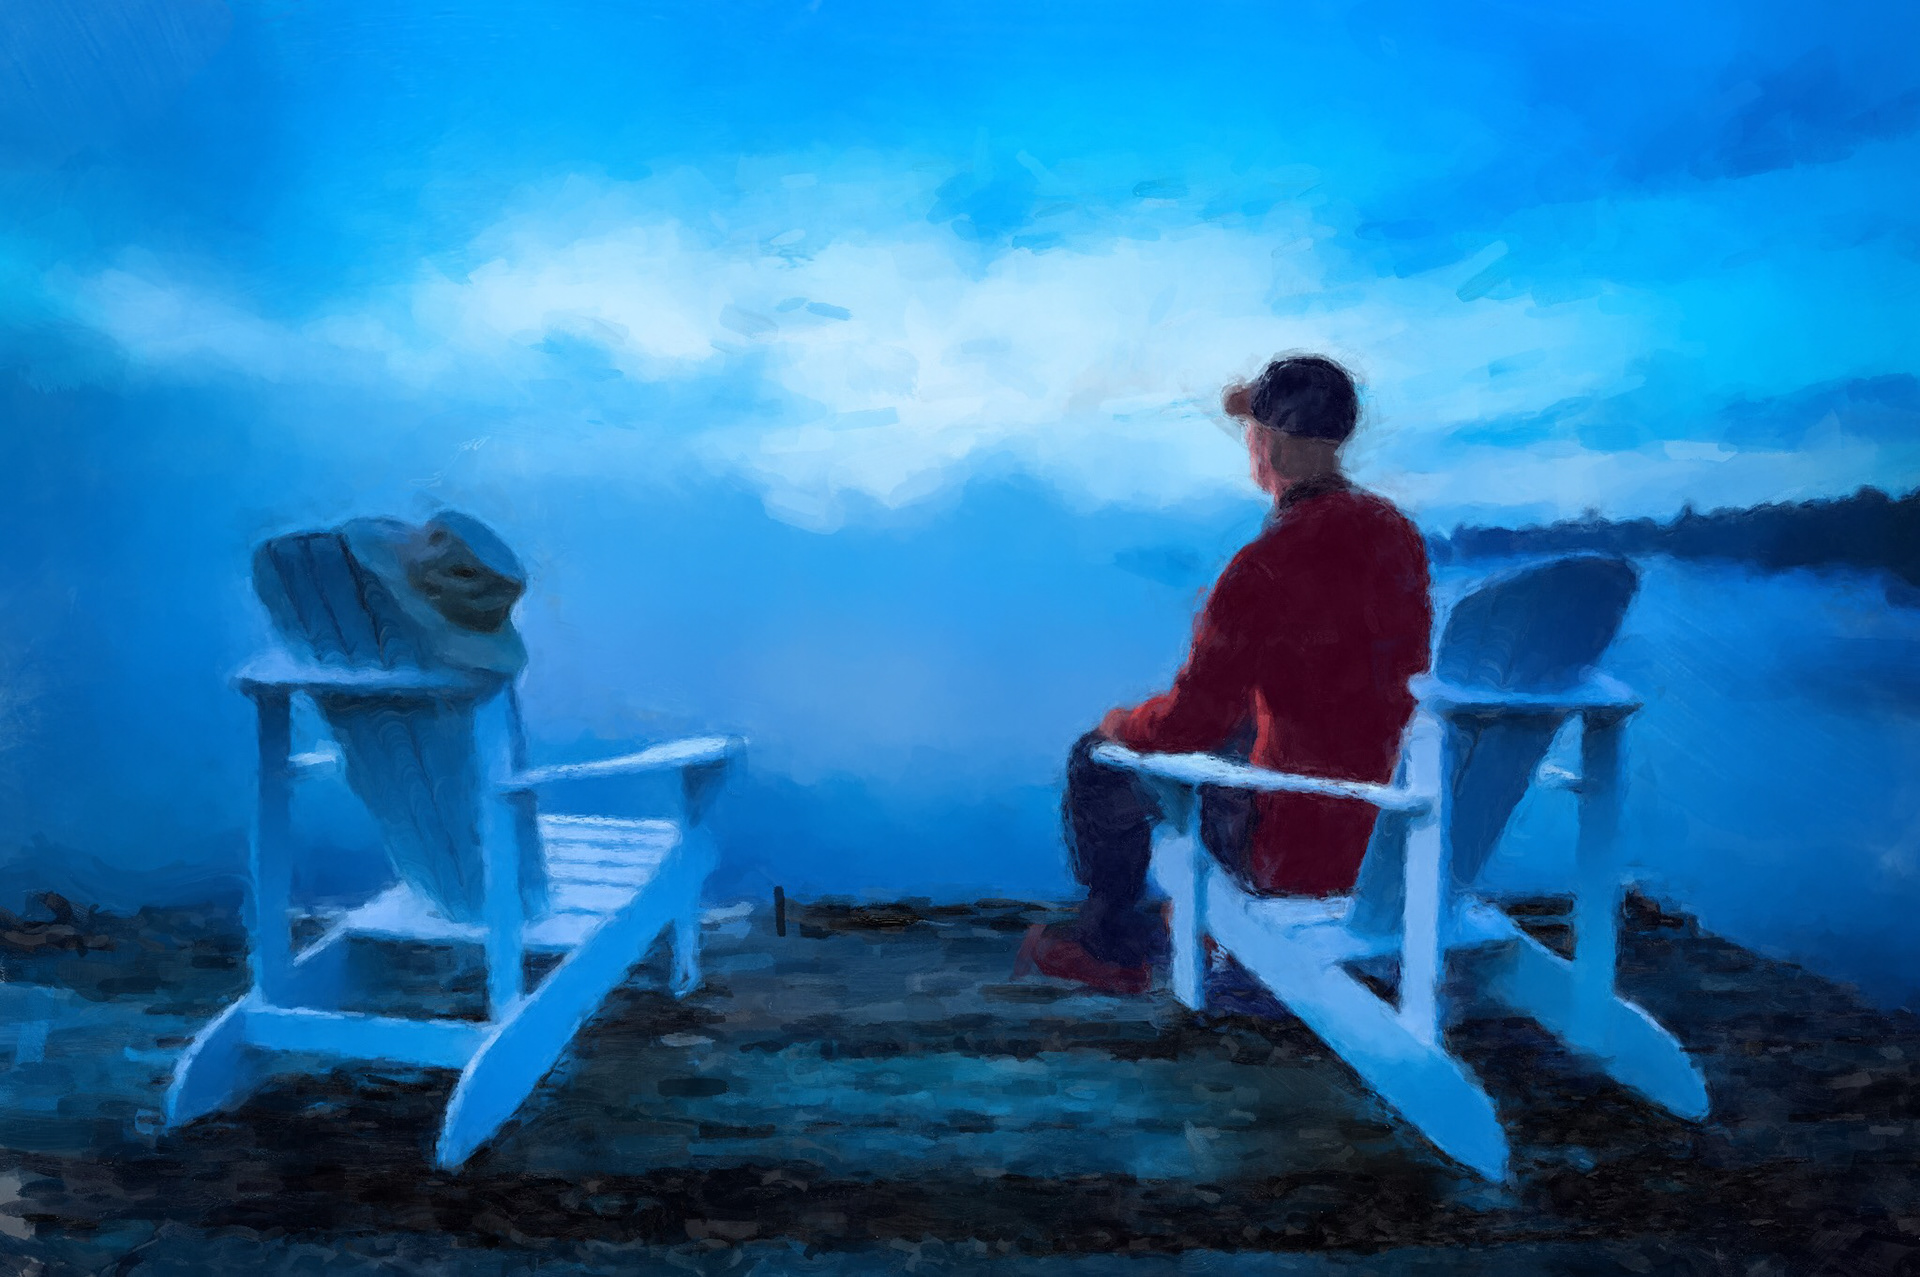
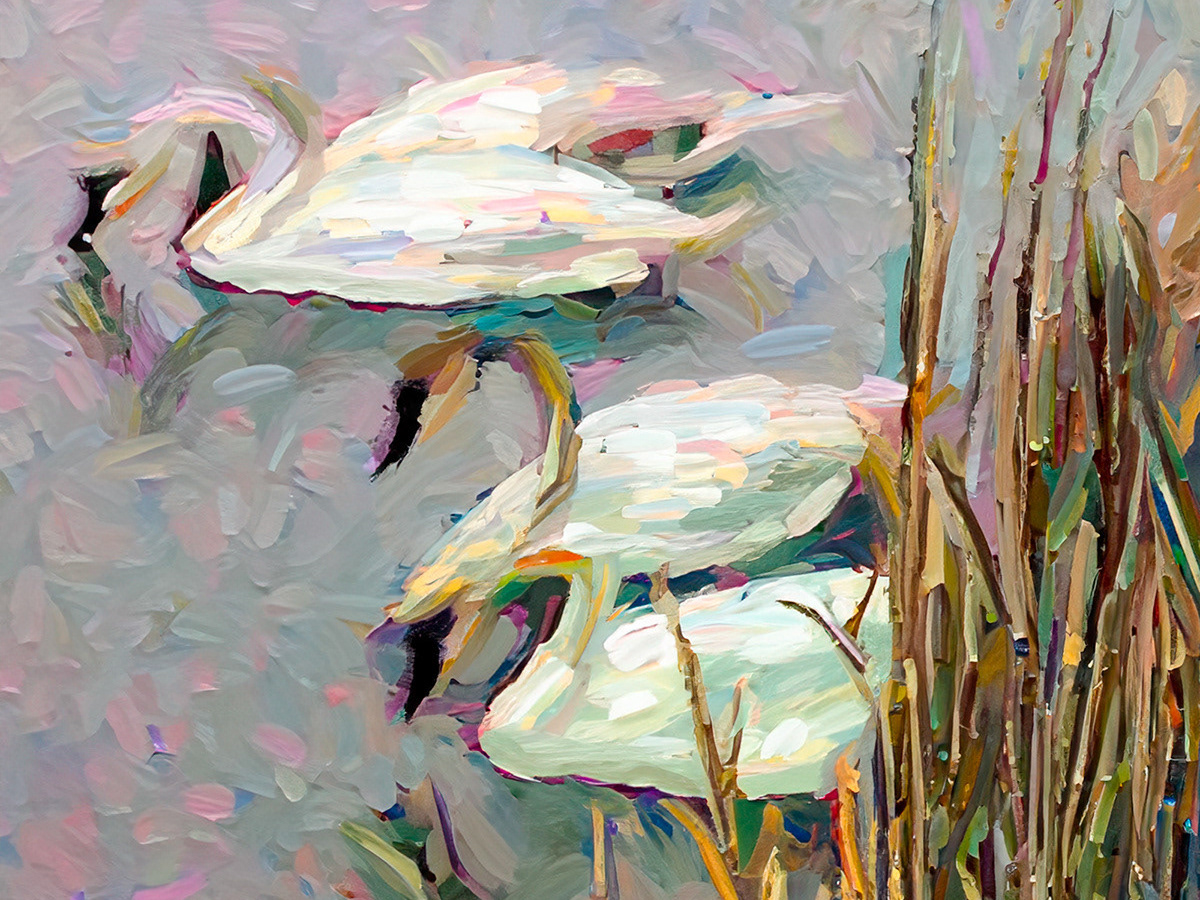
A more water color look achieved with Adobe PaintCan.
Final Thoughts
Regardless of what path your creativity takes, or your main discipline, I truly hope you take some time to check out not just what's new in your favorite app, but look into new introductions like Adobe Fuse to see how they can further your work, or take it in directions you might never imagined.