Using Generative AI in a Focus-Stacked Composite
Practical Gen AI for photographers series: Article #12
While out for a drive this past May weekend. I decided to make a quick stop at Burleigh Falls to make a few photos. I say quick, because - thanks to inconsiderate people during Covid - you can't park next to or really even near the falls. So,, I opted to pull over, turn on my hazard lights and NOT bring a tripod. The intent was to make a few captures handheld.
One particular low angle composition lent itself to the use of the Live Graduated ND Filter built into my OM1 Mark II, so that I could retain good detail in the sky as well as the foreground. I was also inspired by the scene to shoot two images at different focus distances with the plan to combine two shots as a basic stacked-focus image.
While hand holding my camera.
What is Focus Stacking?
Focus stacking is a technique where you take several photos of the same scene, but focus your lens at different distances. Then in post-processing, you "stack" the images together in layers and use masking to revels the sharp portions of each image. The end result is an image with incredible sharpness and depth of field, not possible to produce in a single exposure. The technique is very popular in macro photography, because depth of field is so severely limited when shooting that close to a subject, but it is also useful for landscape work.
Note: my camera does offer focus stacking as a computational photography feature; but I can’t use it in conjunction with another computational photography feature, like the aforementioned Live GND.
Normally, you'd do this kind of thing with a camera locked down to a tripod so your compositions were identical. (But nope, I had to introduce another level of complexity by shooting hand-held. And while my two frames were similar, they were NOT identical. But I was ok with that, because...
I had a plan...
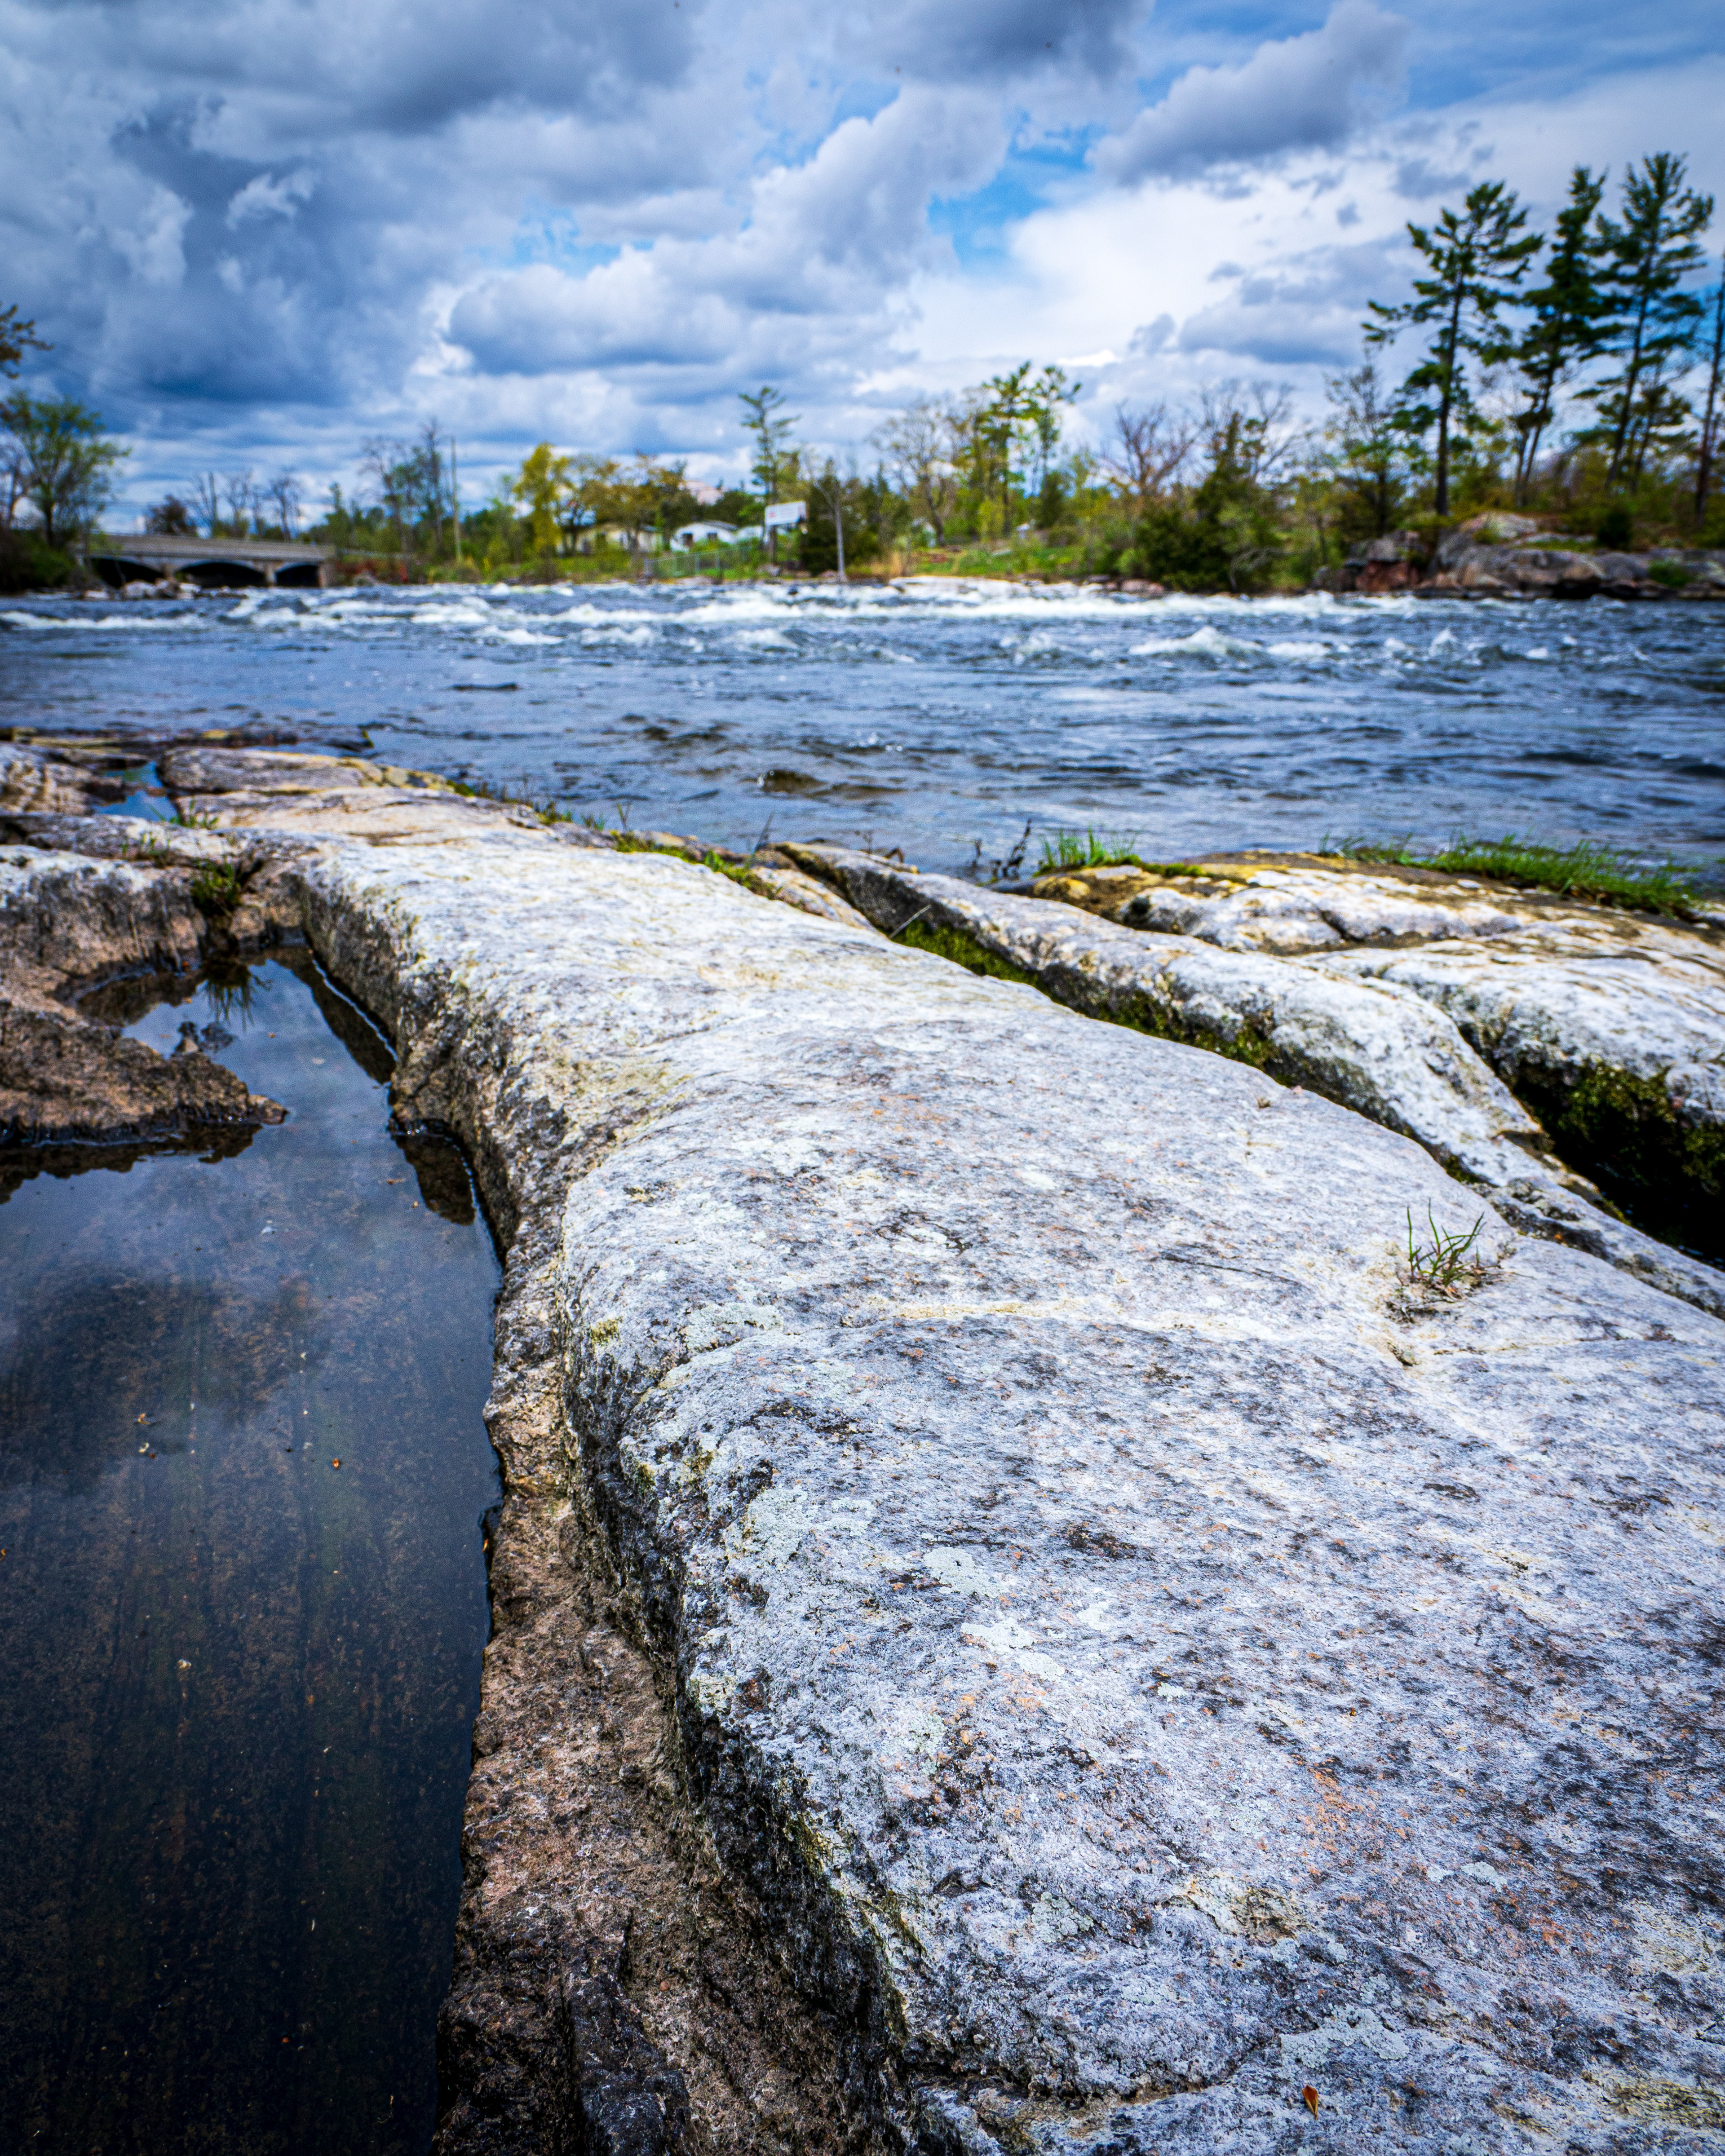
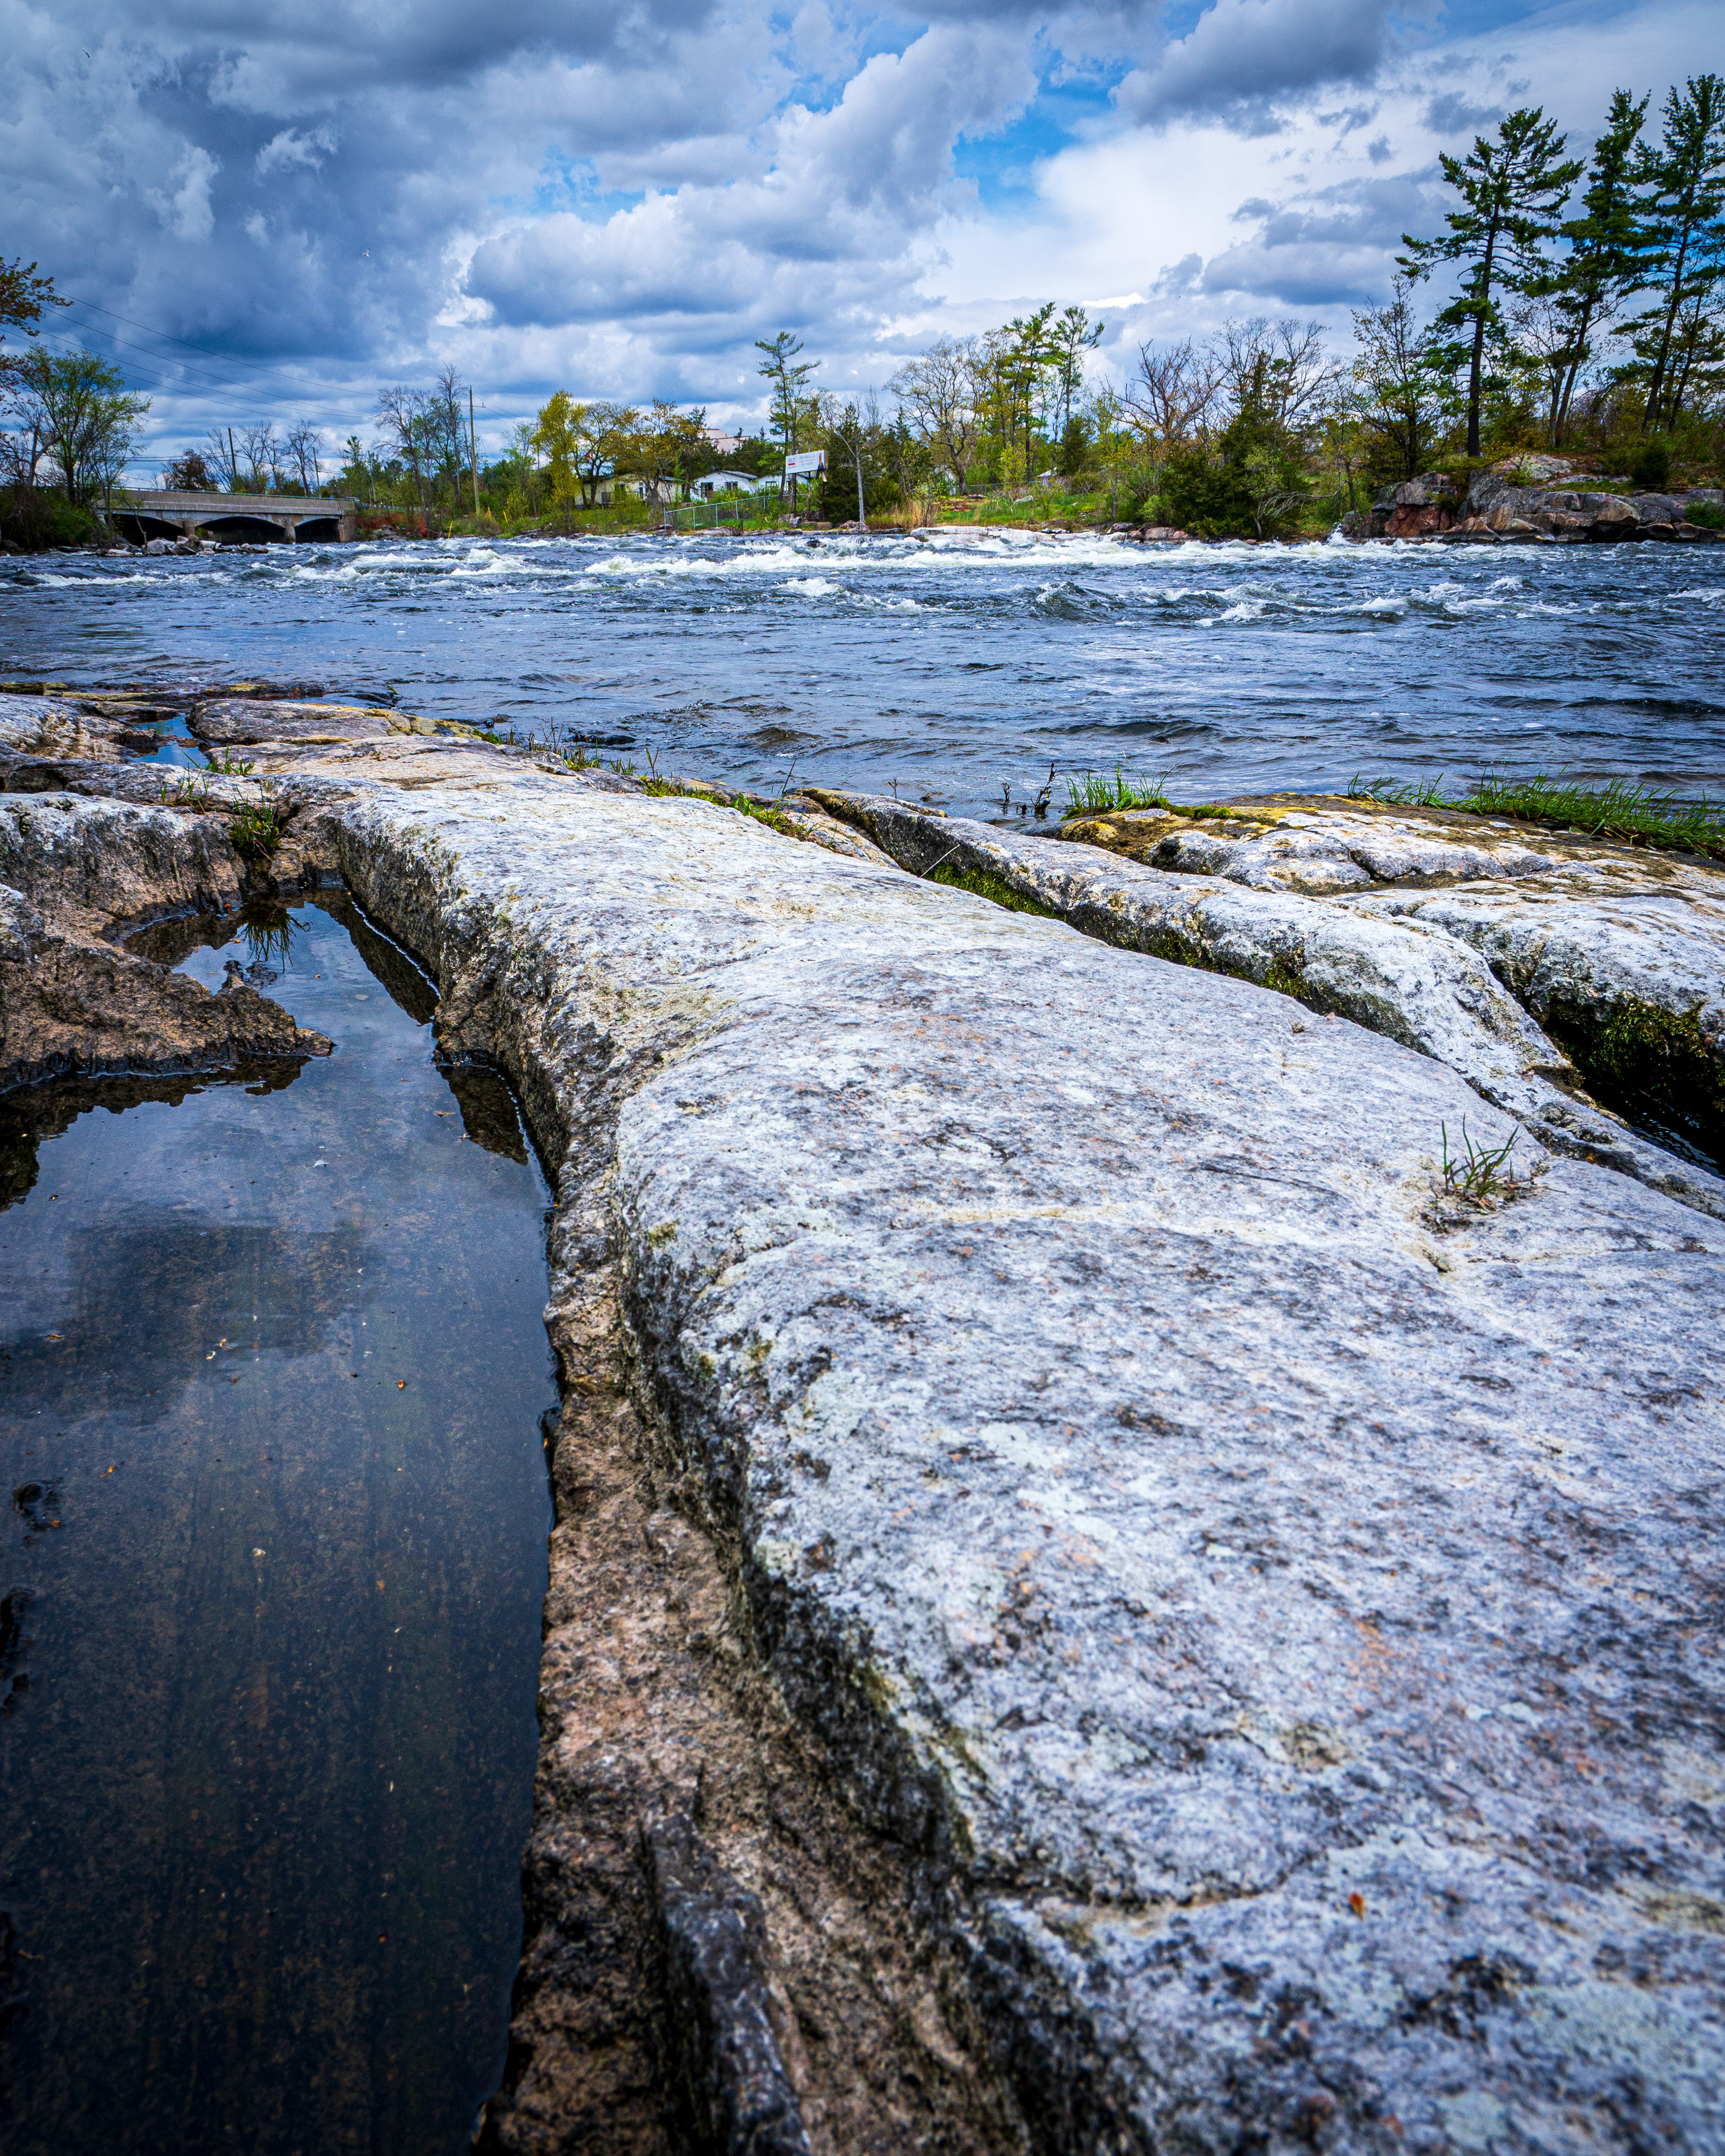
Notice the obvious areas of sharpness in the two images - foreground and background. I was shooting at f/8 and while it is considered the "sweet spot" for my micro 4/3 12-45mm lens, there's no way it would capture the entire scene in sharp focus.
After performing (and matching) my image processing Lightroom Classic, I chose Photo > Edit In > Open as Layers in Photoshop (PS). I'd already set the Photoshop Beta as my default PS version to take advantage of updates to Firefly Gen AI model (Model 3), which produces much more realistic results. Perhaps you can see where I'm going here (if the title didn't give it away).
Blending Layers
Once the layers were created in Photoshop, I selected both layers and chose Edit > Auto Align Layers. Below is my result. I've added a border around the top layer so you can see how things lined up. Or didn't...
This is why you normally do the work on a tripod.
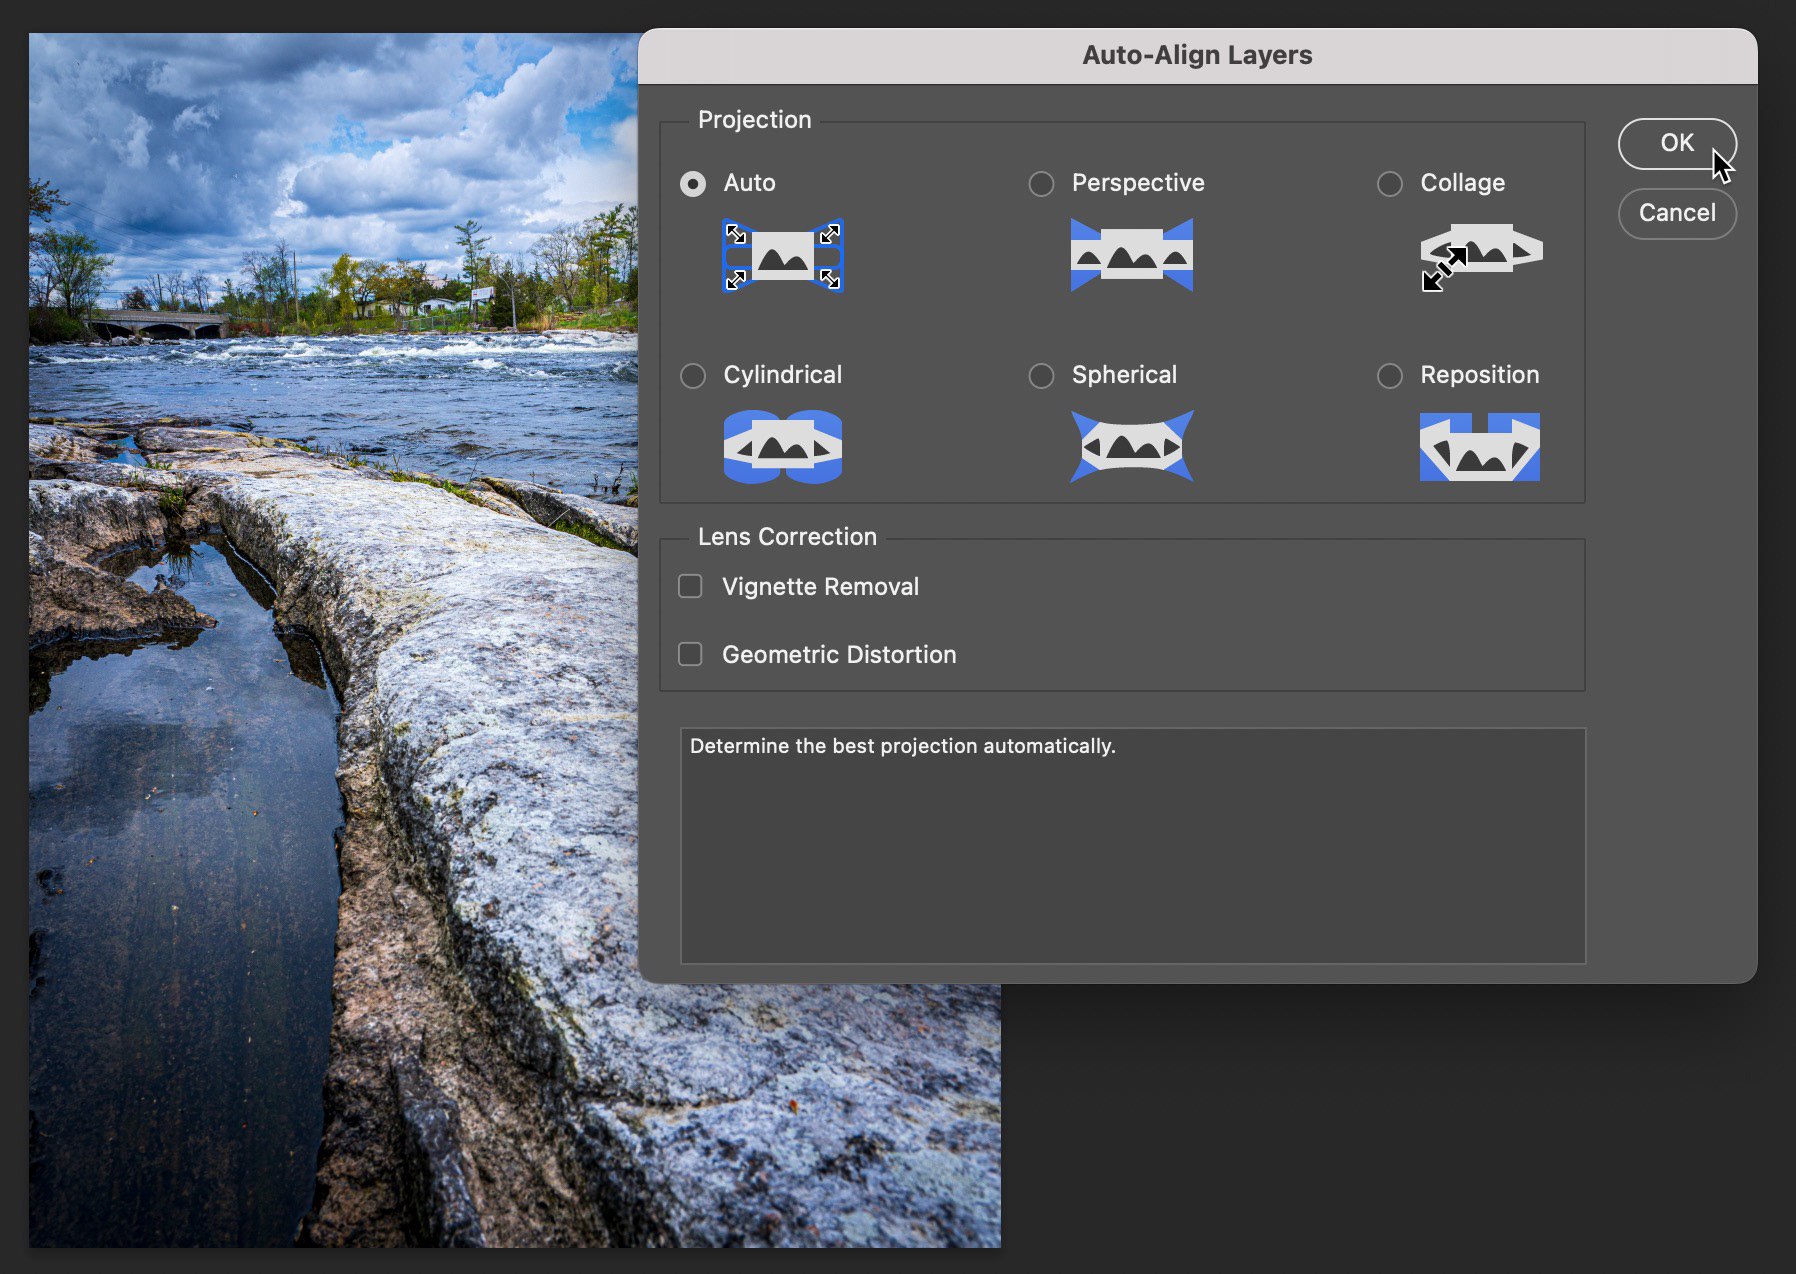
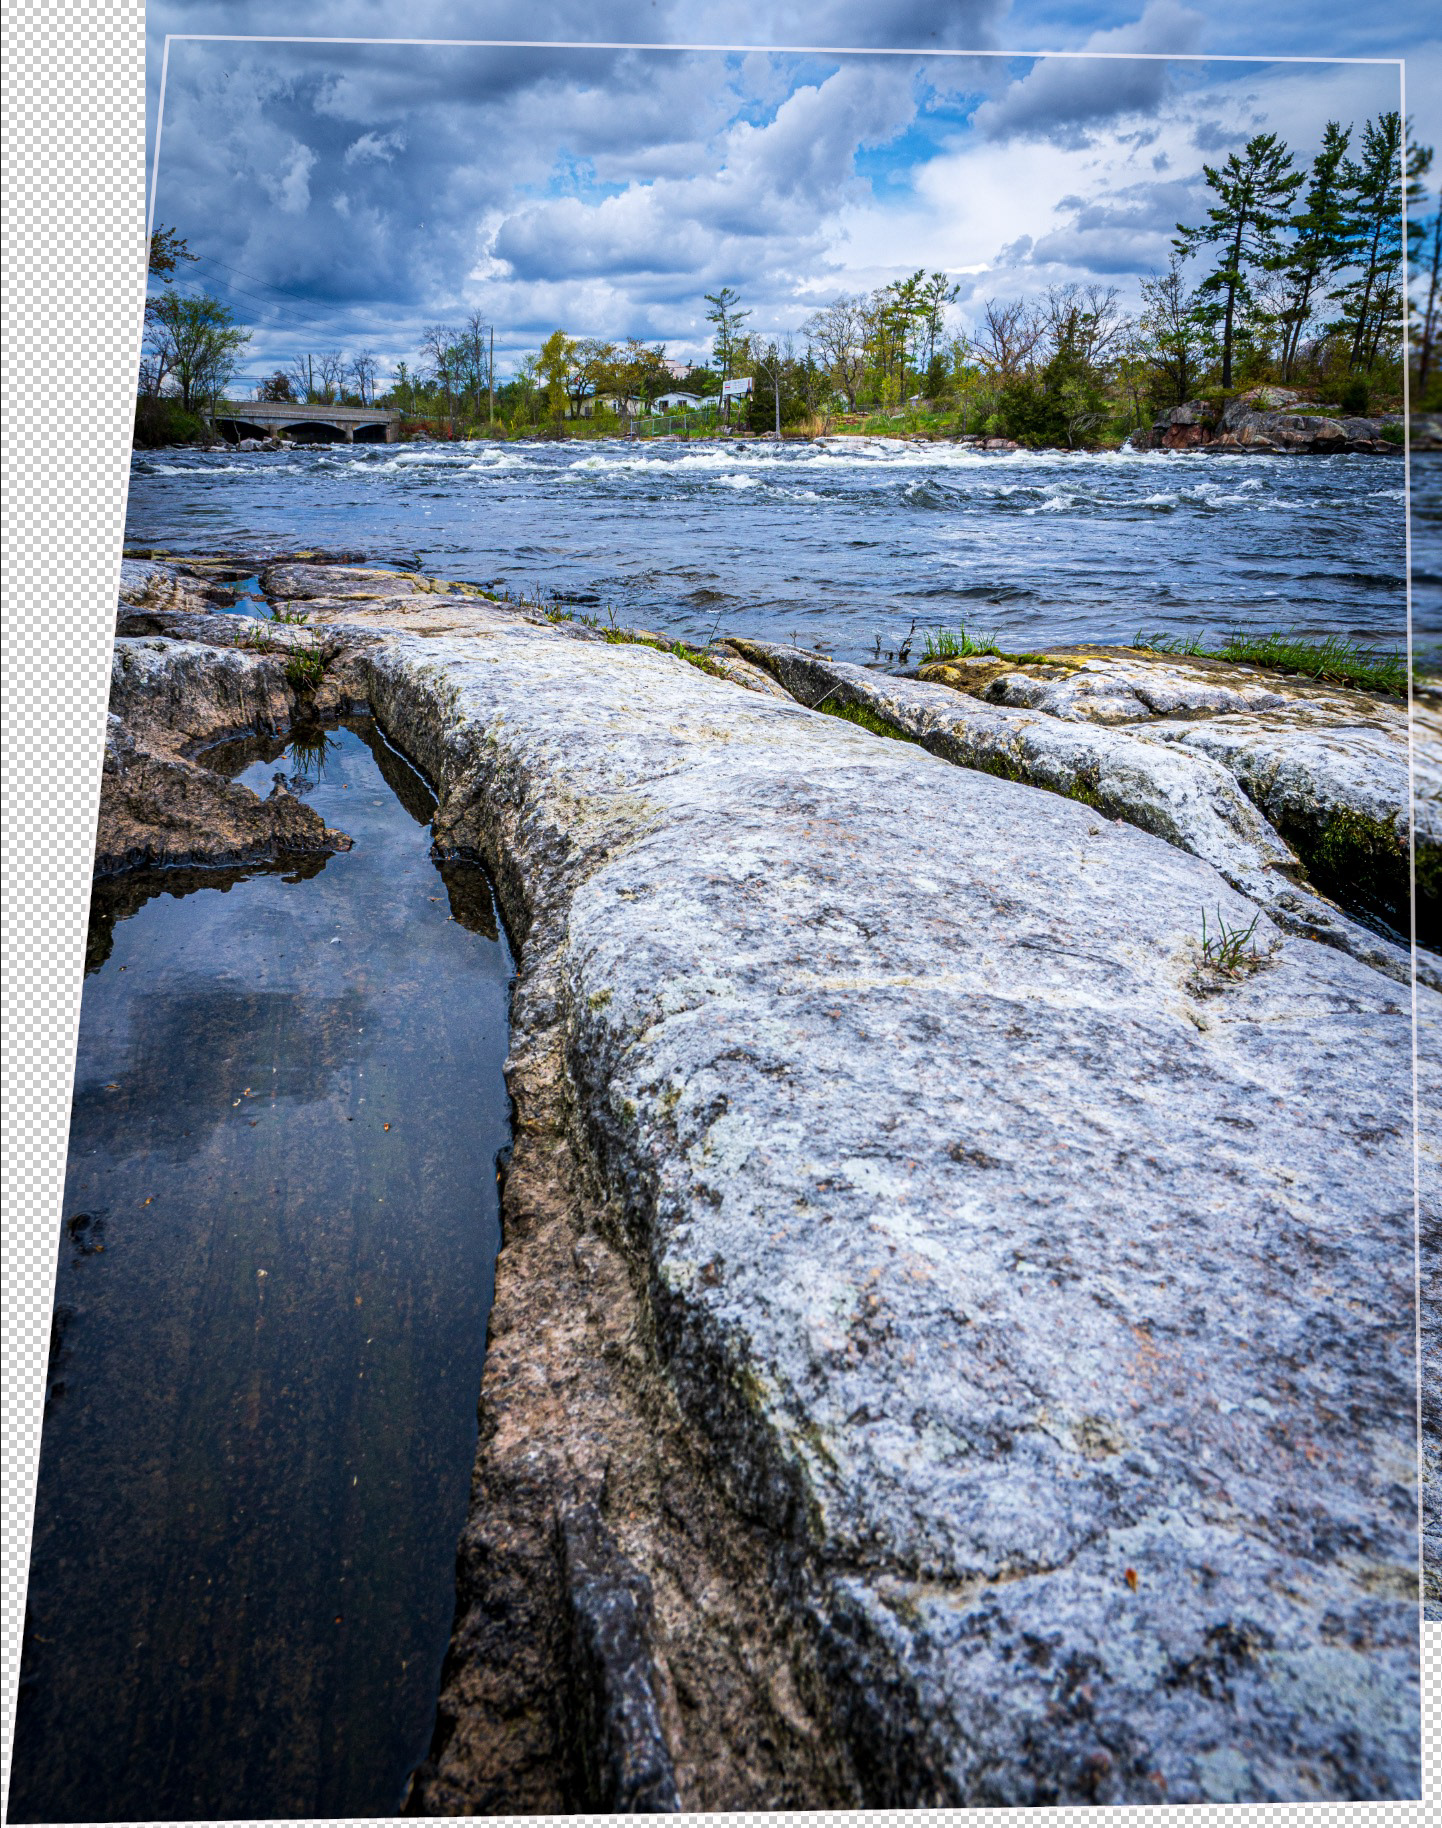
From here, it's all a question of masking. With a simple composite like this, I could have used a linear gradient in a mask on the top layer to show only the sharp sections of both images. I was lazy, though, and had Photoshop do the work by choosing Edit > Auto Blend Layers.
I also chose to fill the transparent areas with Content Aware Fill and to match tones and colors. I gotta say, at first glance, the end result wasn't horrible. But on closer inspection (at even less than 100% magnification), problems became apparent. This was mostly not a job for Content Aware Fill.

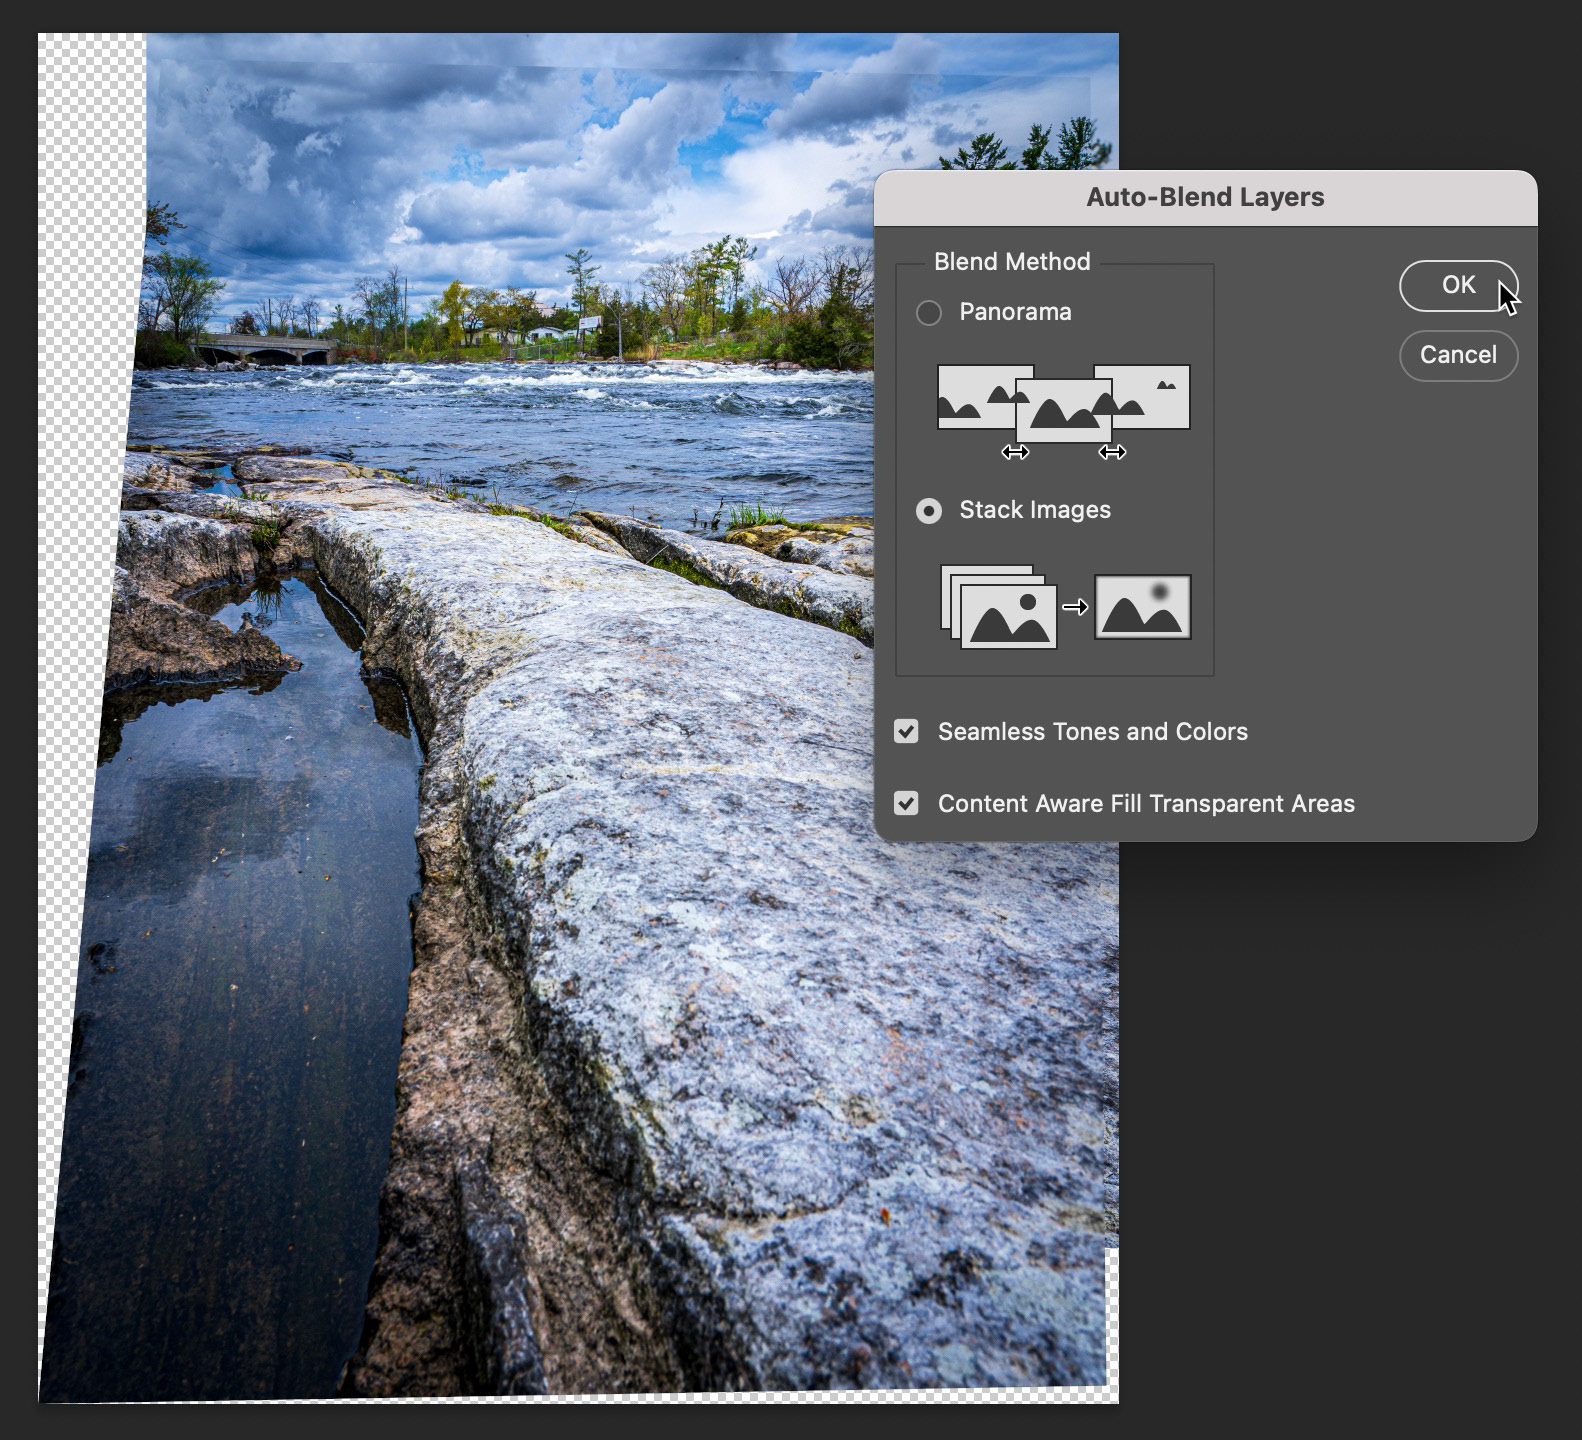
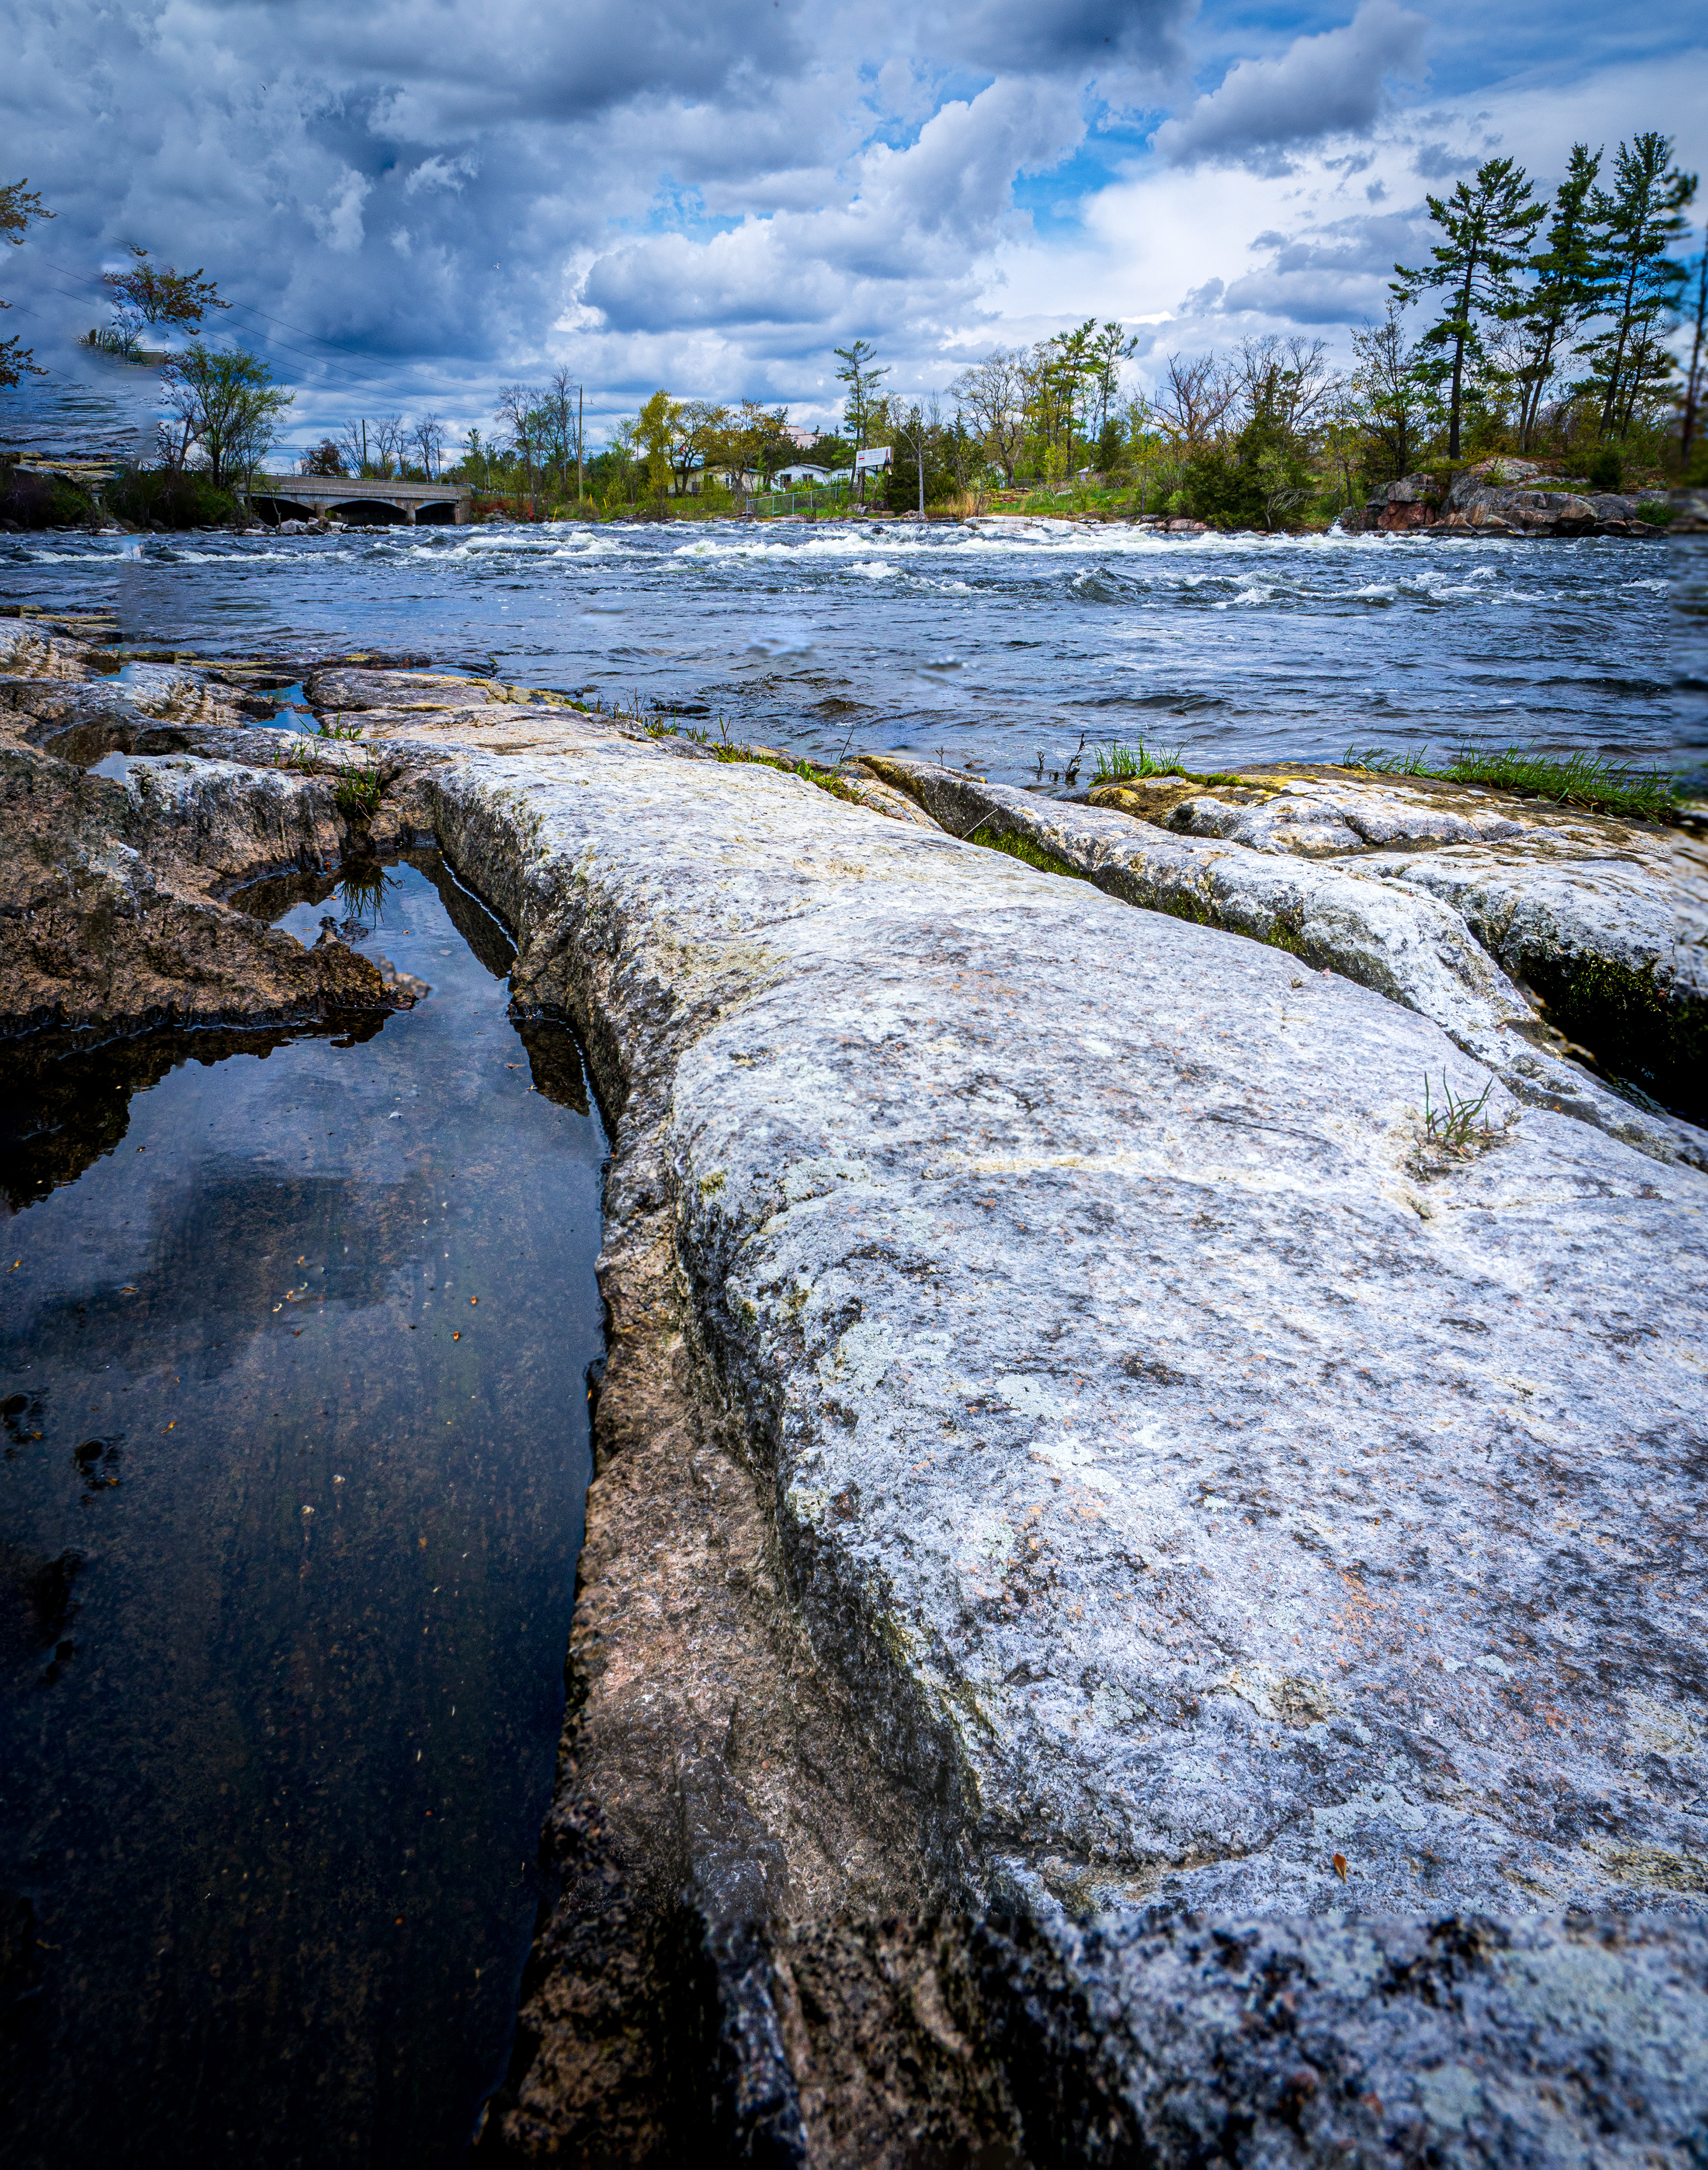
(left) Aligned layers (left); (right) blended layers (with Content Aware Fill)
I would also need to crop areas where the sharpness of the two images didn't blend (bottom and right side).
Firefly to the Rescue!
So, it was time to turn to Firefly to fix some of the issues that Content Aware Fill just couldn't handle. Using the newly created merged layer as my base, I used the lasso tool to select larger areas that need to be fixed, like that mess in the sky for example. Then, using the Contextual Taskbar, I chose Generative Fill. I left the prompt field blank and clicked Generate. In short order, I had a much better skyline. I tackled the shoreline next and here, to get what I wanted, a text prompt was required: "rocky hillside embankment with boulders and trees."
For smaller areas and areas with less detail, I tried using the Remove tool; it's fast, easy, generates good resolution and doesn't chew up Generative Credits. In order to use the Remove tool, you need to create a new flattened layer. Select the layers you want to combine and then choose Shift+Option(Alt)+Command(Crtl)+E to create a flattened copy of those layers. I also found the Spot Healing Brush to be quite useful, as sometimes, the Remove Tool would introduce detail or noise I didn't like (that could have been the beta causing the issue).
Once I was happy with the fill work, I closed the file, then saved, so the resulting Tiff file would end up in Lightroom. In Lightroom, I cropped out the blurry areas of the image and used one final Sky mask to tone down the sky saturation.
Wrap Up
Focus stacking is a neat exercise that can produce great results. I will endeavour to use a tripod in future, but it's great to know that I have other options if I don't have that tripod with me.
If you've been following along in this series, please do let me know. I'd love to hear your thoughts on the content, but also very interested to learn what you're doing as a photographer to integrate Generative AI into your workflow.
Until next time!

