From Snapshot to Vintage Art Photo
Combining traditional editing and Gen AI to tell a visual story
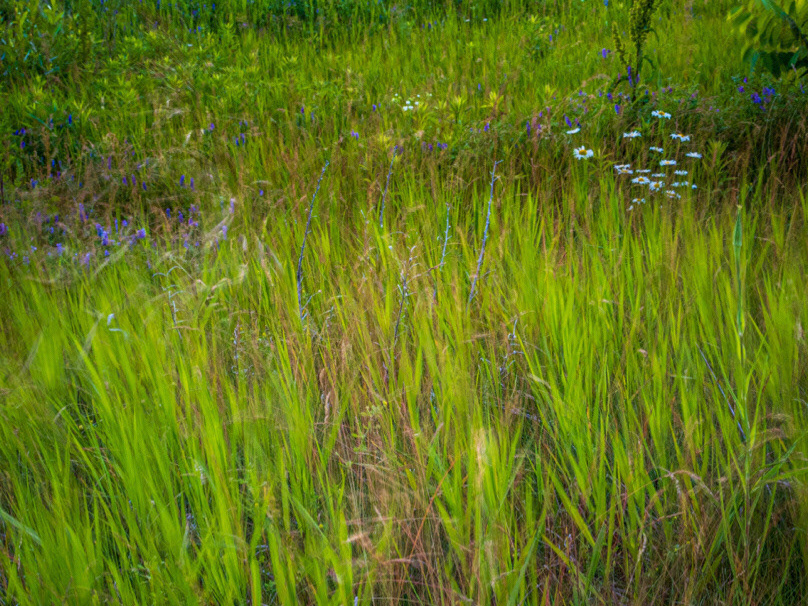
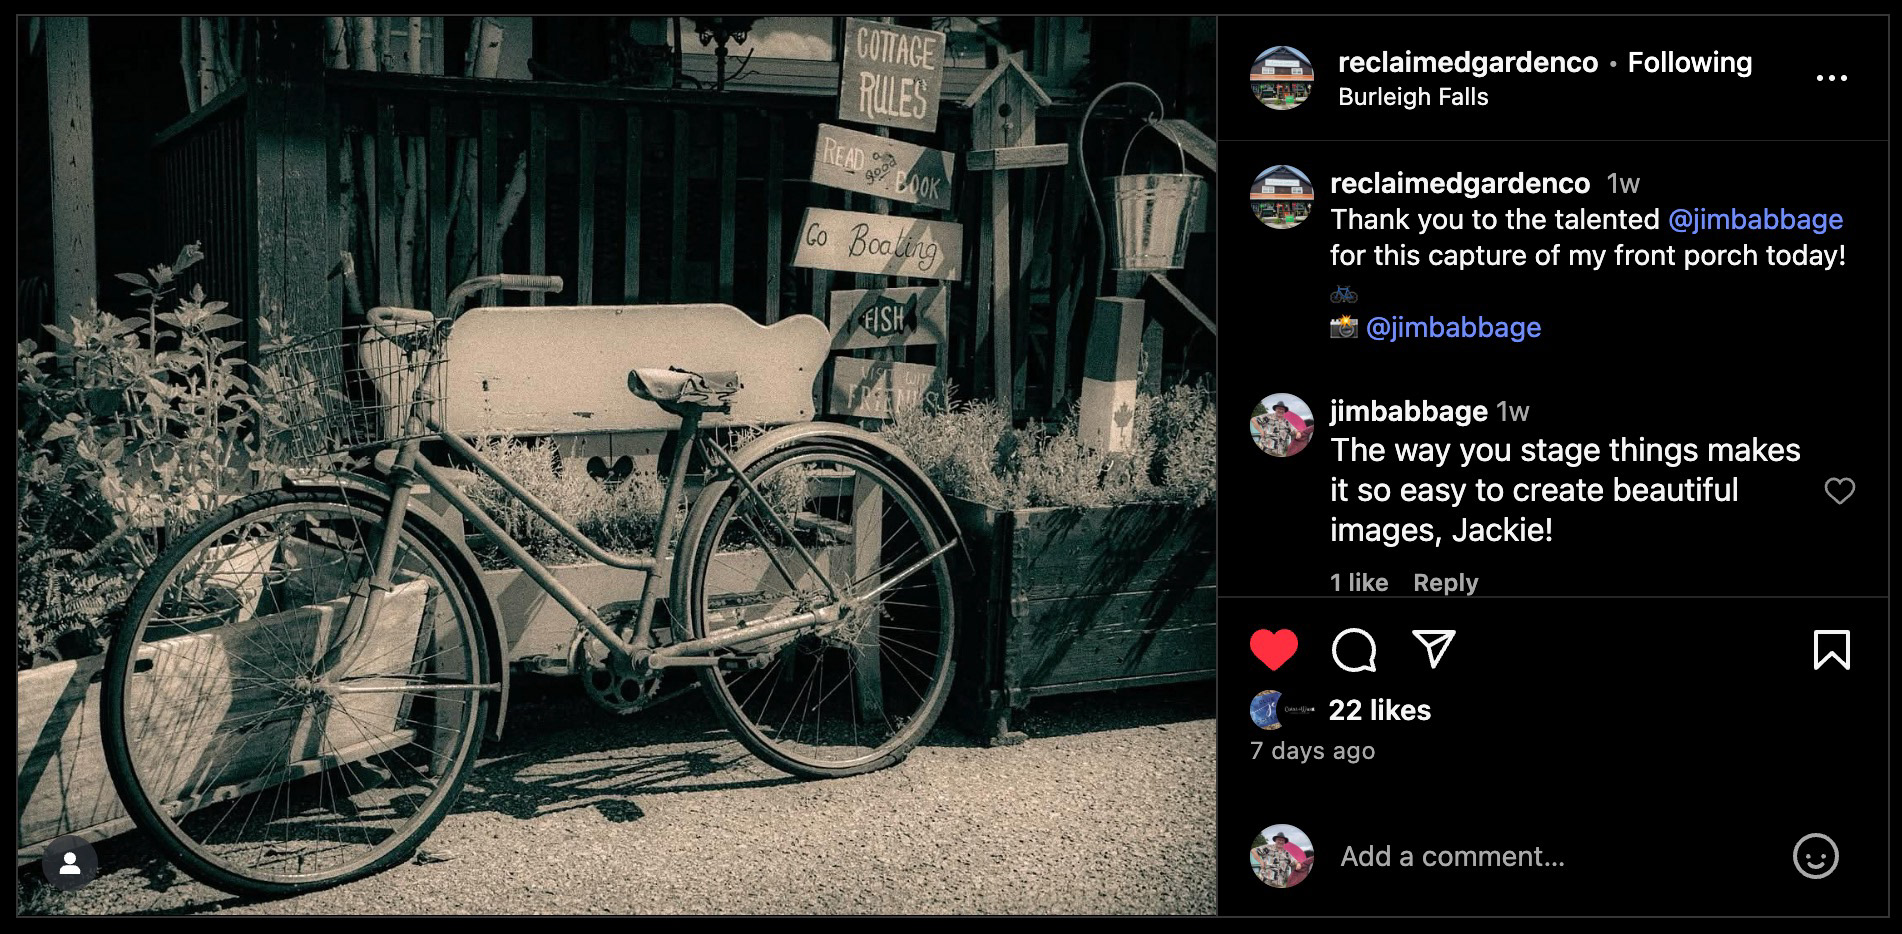
On a recent visit to one of the businesses that show and sell my photography (check out the Reclaimed Garden Company on Instagram), I captured this quick shot with my phone before heading into the store. The best camera, as they say, is the one you have with you.
Jackie, the owner of Reclaimed Garden Company has a natural knack for creating these welcoming little vignettes of the products she sells. This "cottage lifestyle" scene had already caught my attention even before I got out of the car.
I composed and captured this image quickly and didn't think much more of it until we got home.

This quick composition using my smartphone happened in a matter of seconds. I literally only made one shot.
At the shop, Jackie and I chatted for a while about the summer, the business and discussed changing out my images from spring/summer scenes to ones that are more autumnal.
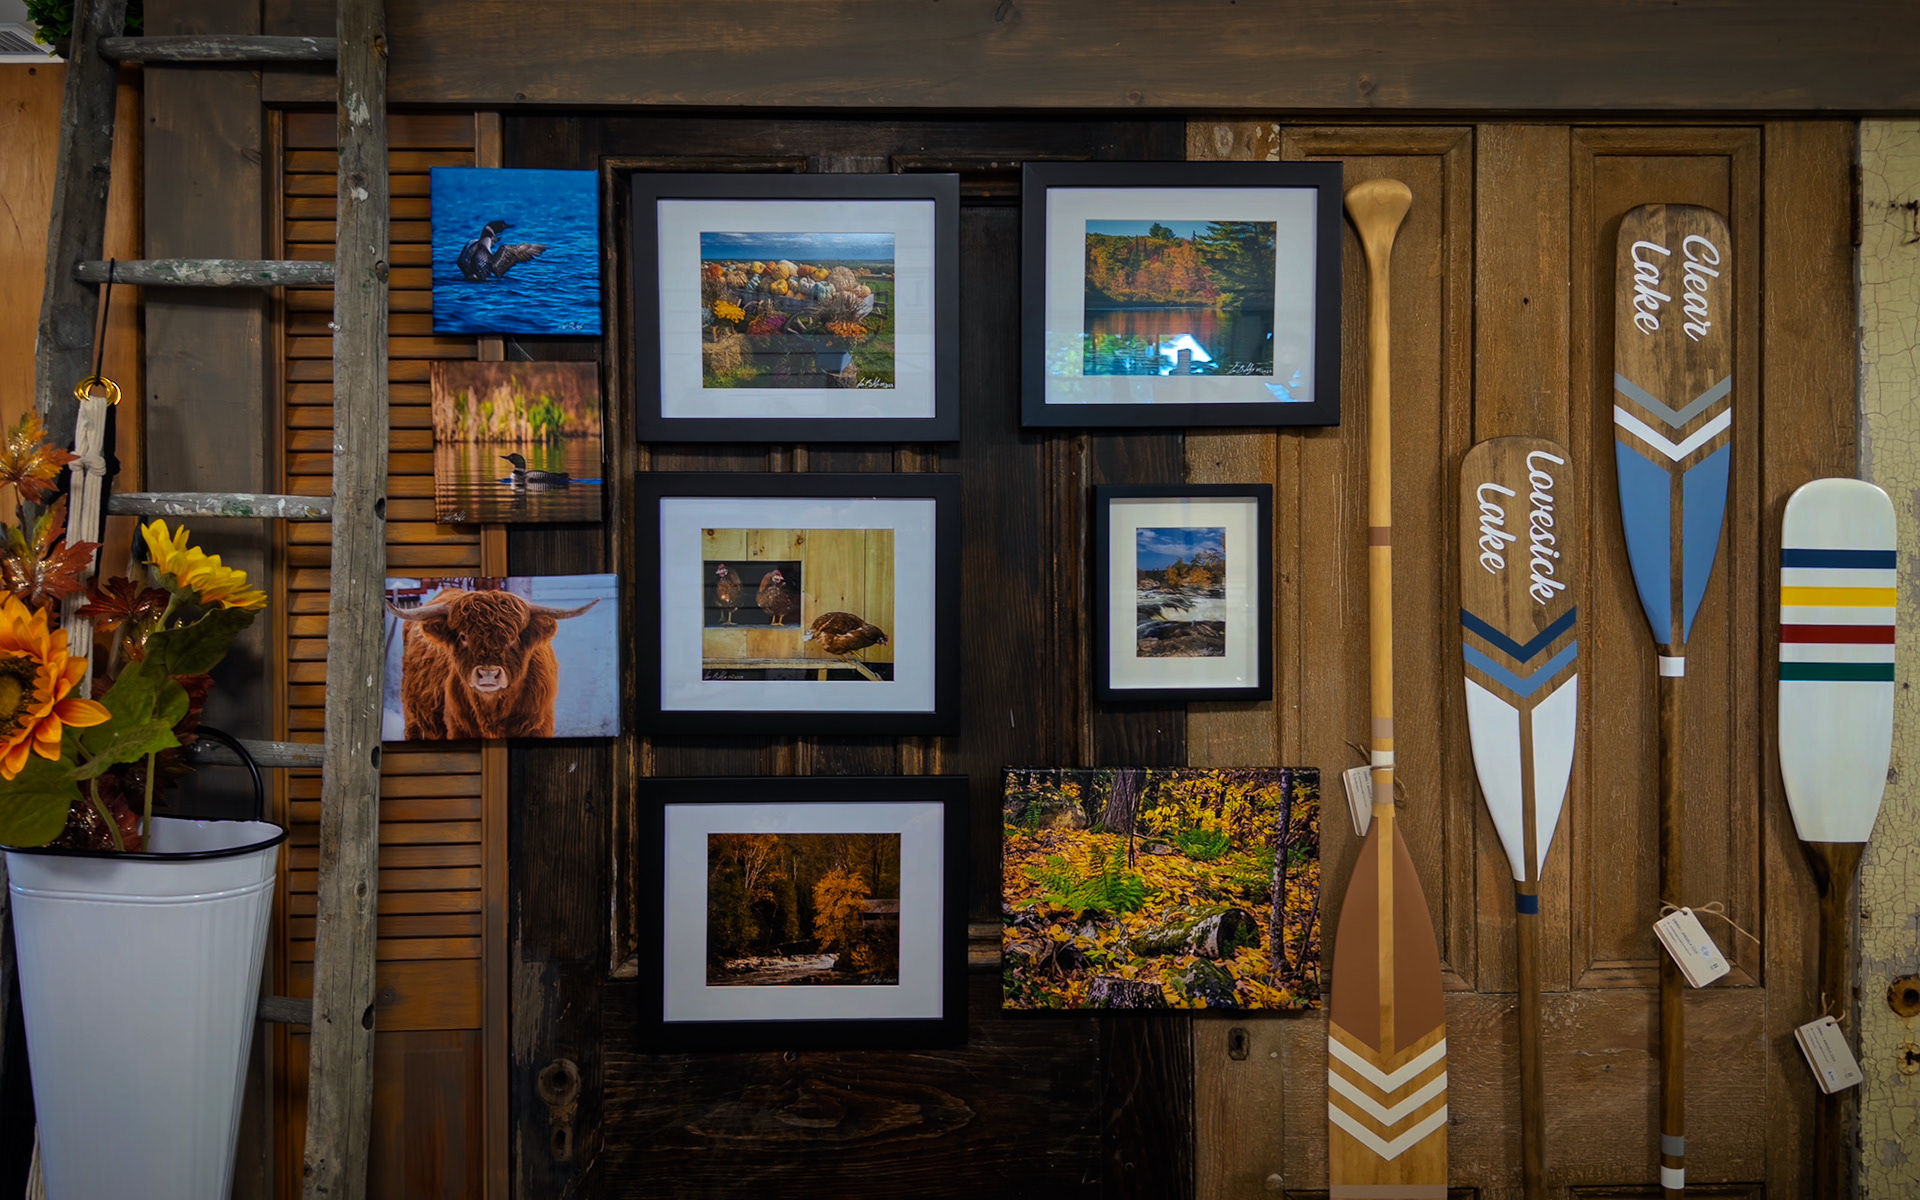
Spoiler alert: at the time of this writing, I've refreshed my display at the store:
Later that day, I reviewed this image and after basic processing in Lightroom Mobile, I decided that adding a vintage look would help tell a more effective story. I'm not usually a big preset user, but I do find them helpful for inspiration, as a springboard. The color preset I chose was a good start, but even with the addition of a post-crop vignette, didn't go back far enough in time for my liking. I switched to the new Adaptive Black and White profile. Good, but it was too neutral. So I then switched to a sepia-toned style from the presets menu.
I added additional grain to the scene for a finishing touch.


I was so pleased with the result, I shared it almost immediately to Instagram. I tagged Jackie in the post and she messaged me almost right away, asking if she could share the image on her feed. Of course, I said yes.
But Wait, There's More!
That could be the end of this story; a vision successfully carried forward and a delighted customer. But I thought that sharing a more in-depth narrative on my process would be of value. So, here we go!
Composition Challenges
The risk in quick, single captures is that the composition might not be perfect. As I reviewed the image further, the proximity of the front tire to the bottom of the frame became apparent, even before cropping to a 4x5 aspect ratio. That could be fine for a digital photo, but a bit tight if I wanted to print the image. And I had a feeling that a print would be in this photo's future.

Firefly and Photoshop for the assist!
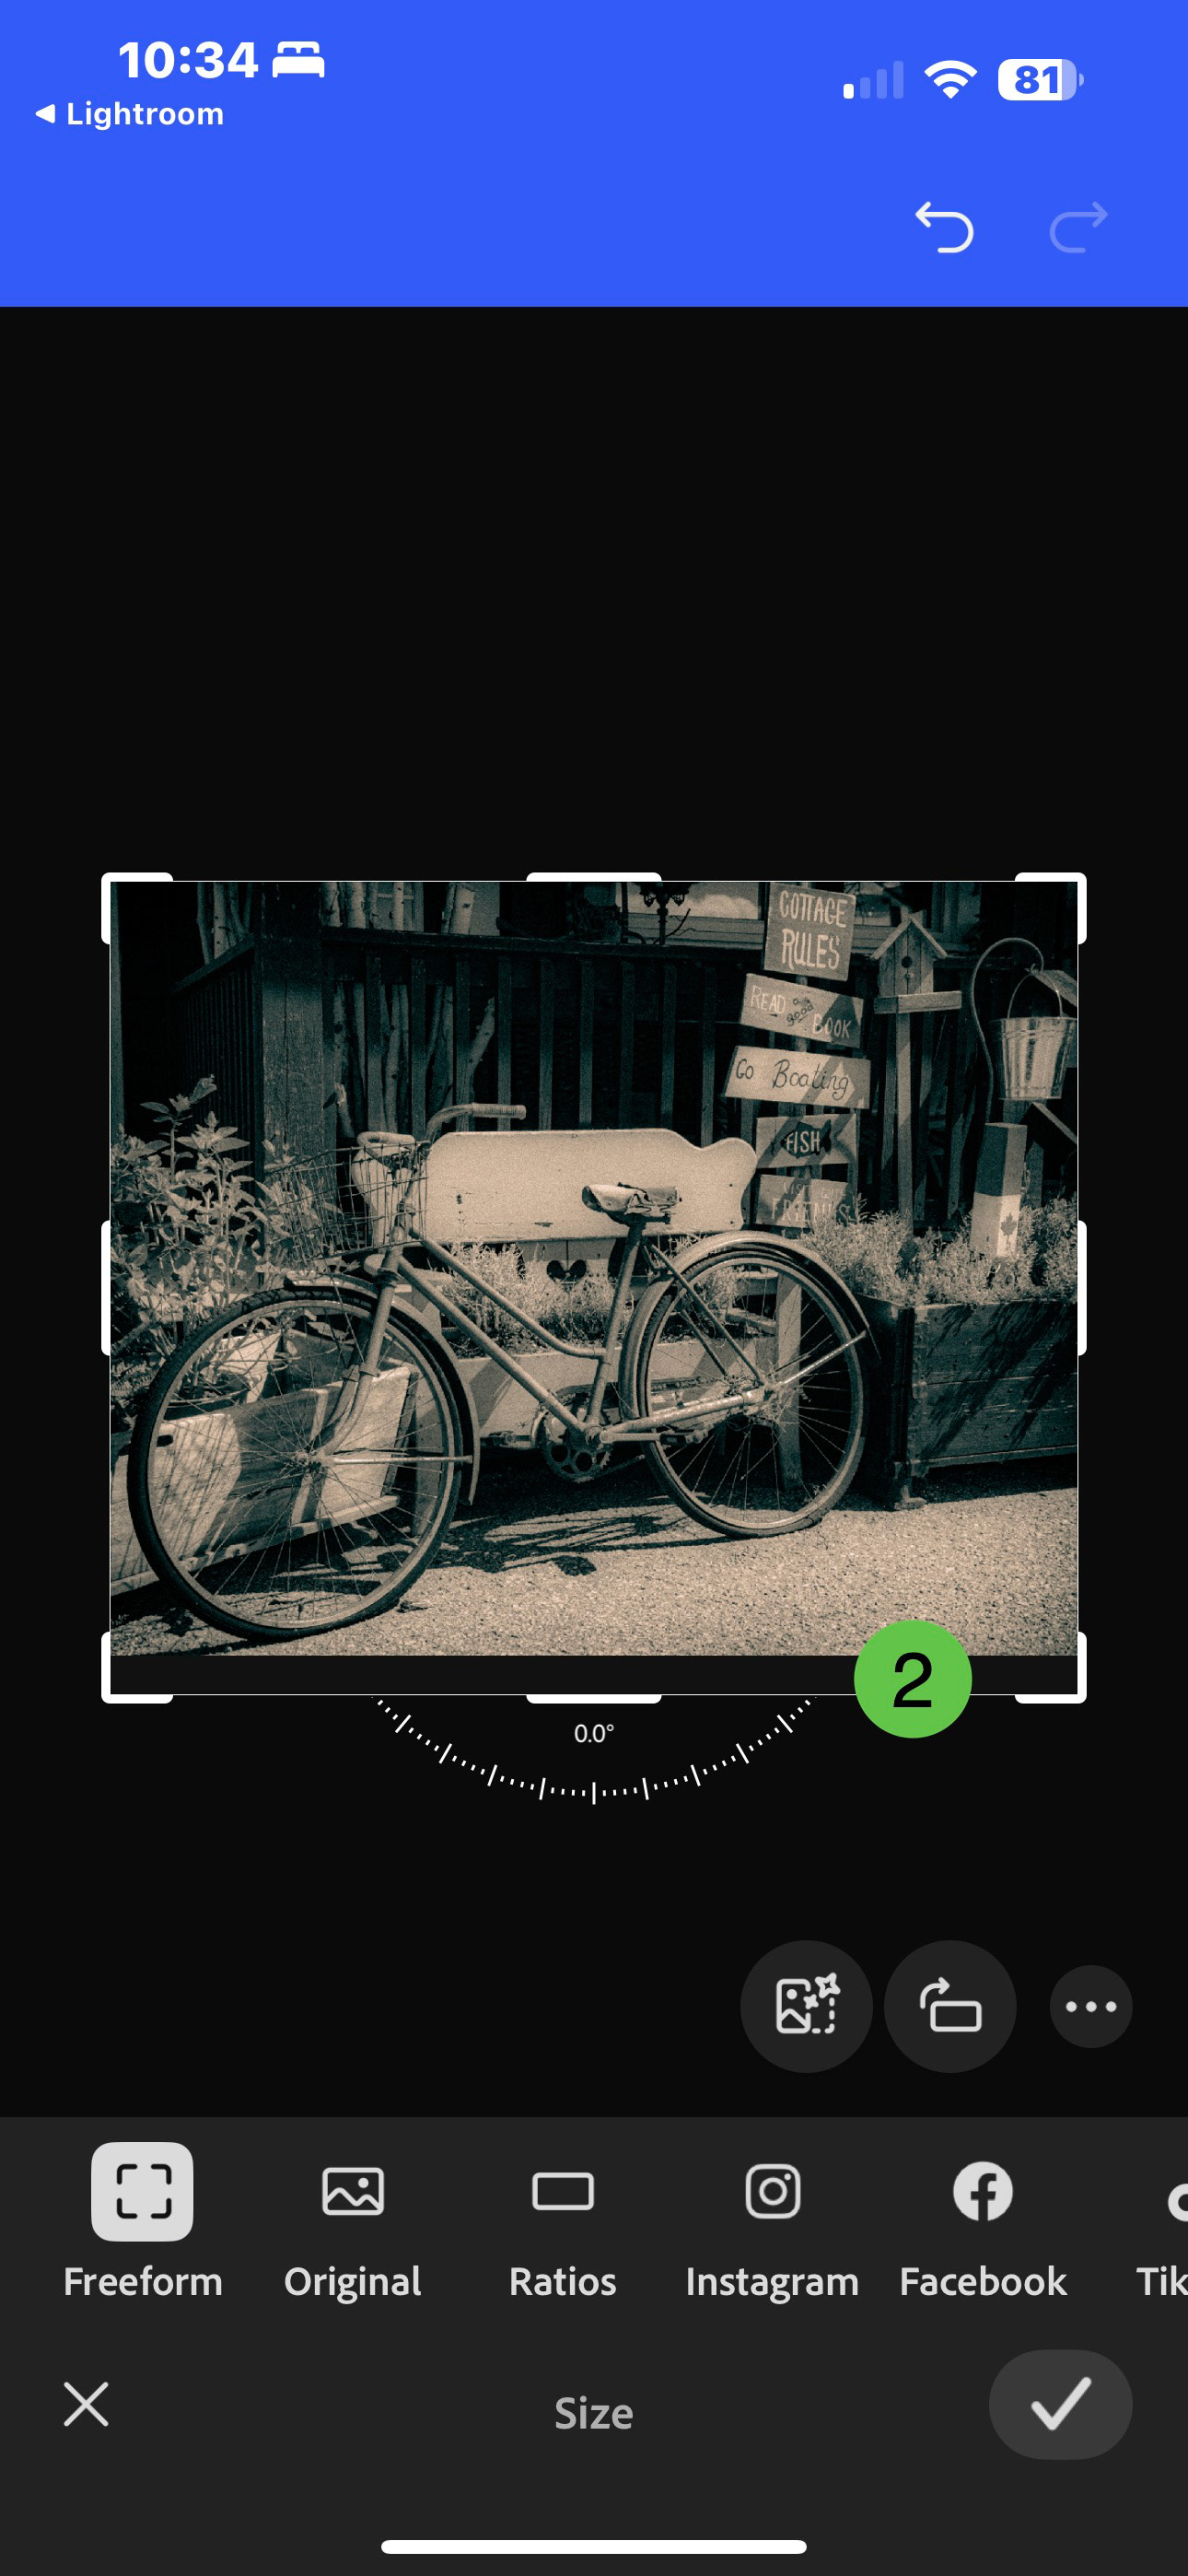
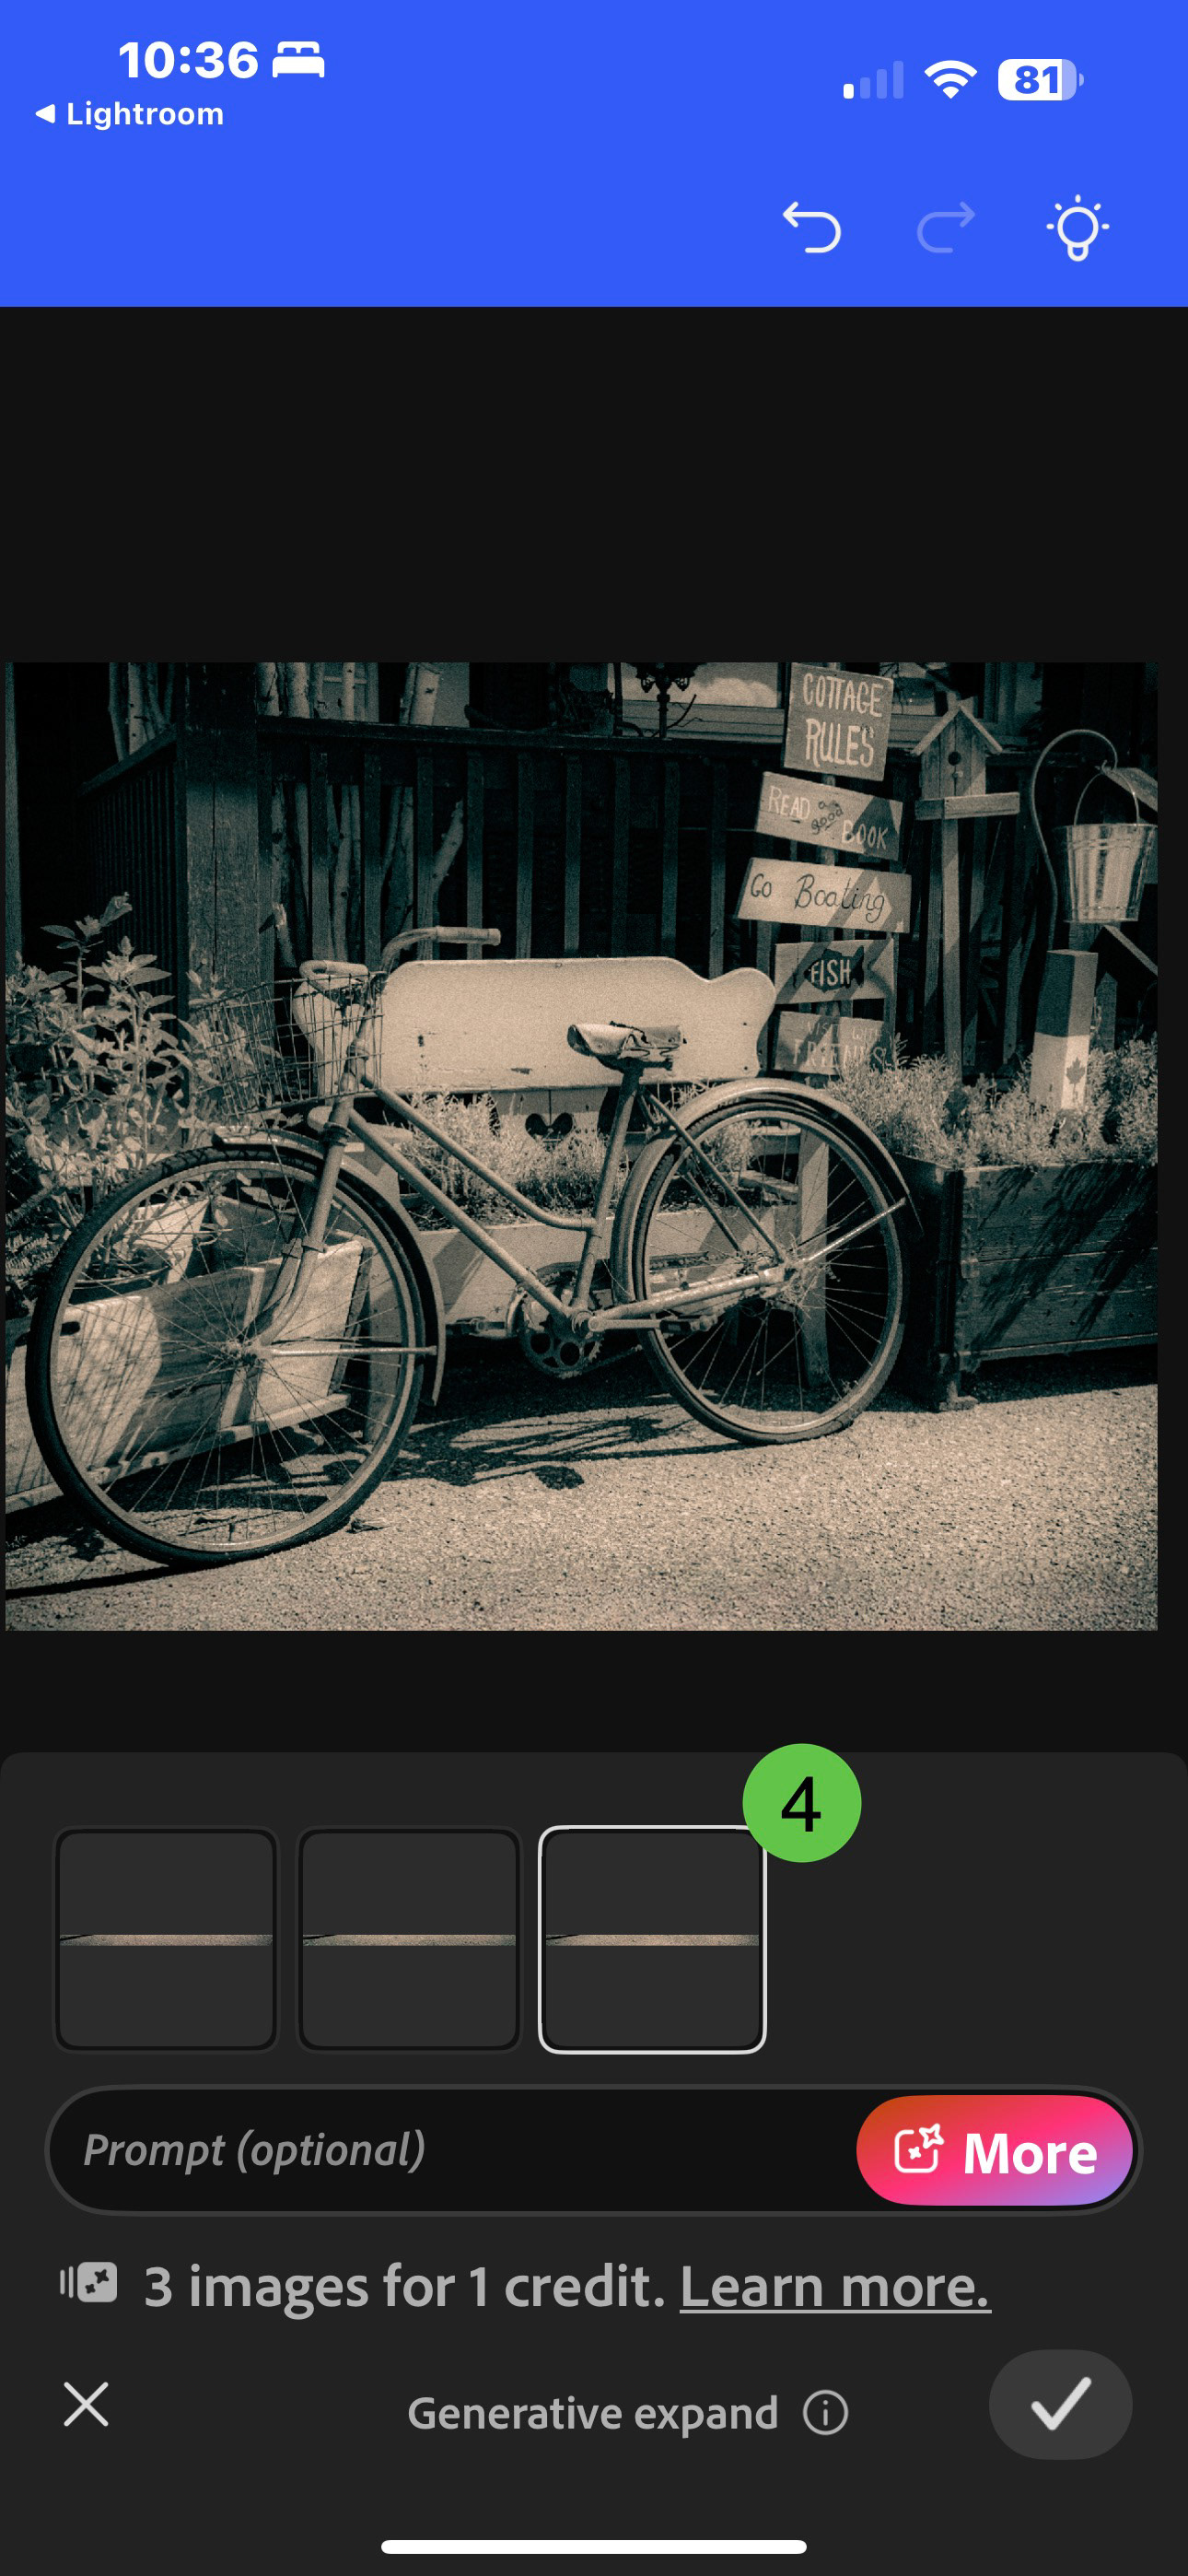
I decided to see how Firefly's Generative AI (specifically, Generative Expand in Photoshop) could help me make subtle changes. In Lightroom mobile on my iPhone, I tapped the Share icon and selected Photoshop.
When the image opened, I chose the Crop (Size) tool and dragged the bottom of the frame downwards by a small amount. Firefly still generates based on 1024 pixel resolution, so I didn't want to extend the image by an extreme amount. Exactly how much is difficult to say in Photoshop on the iPhone as there are currently no rulers in the app.
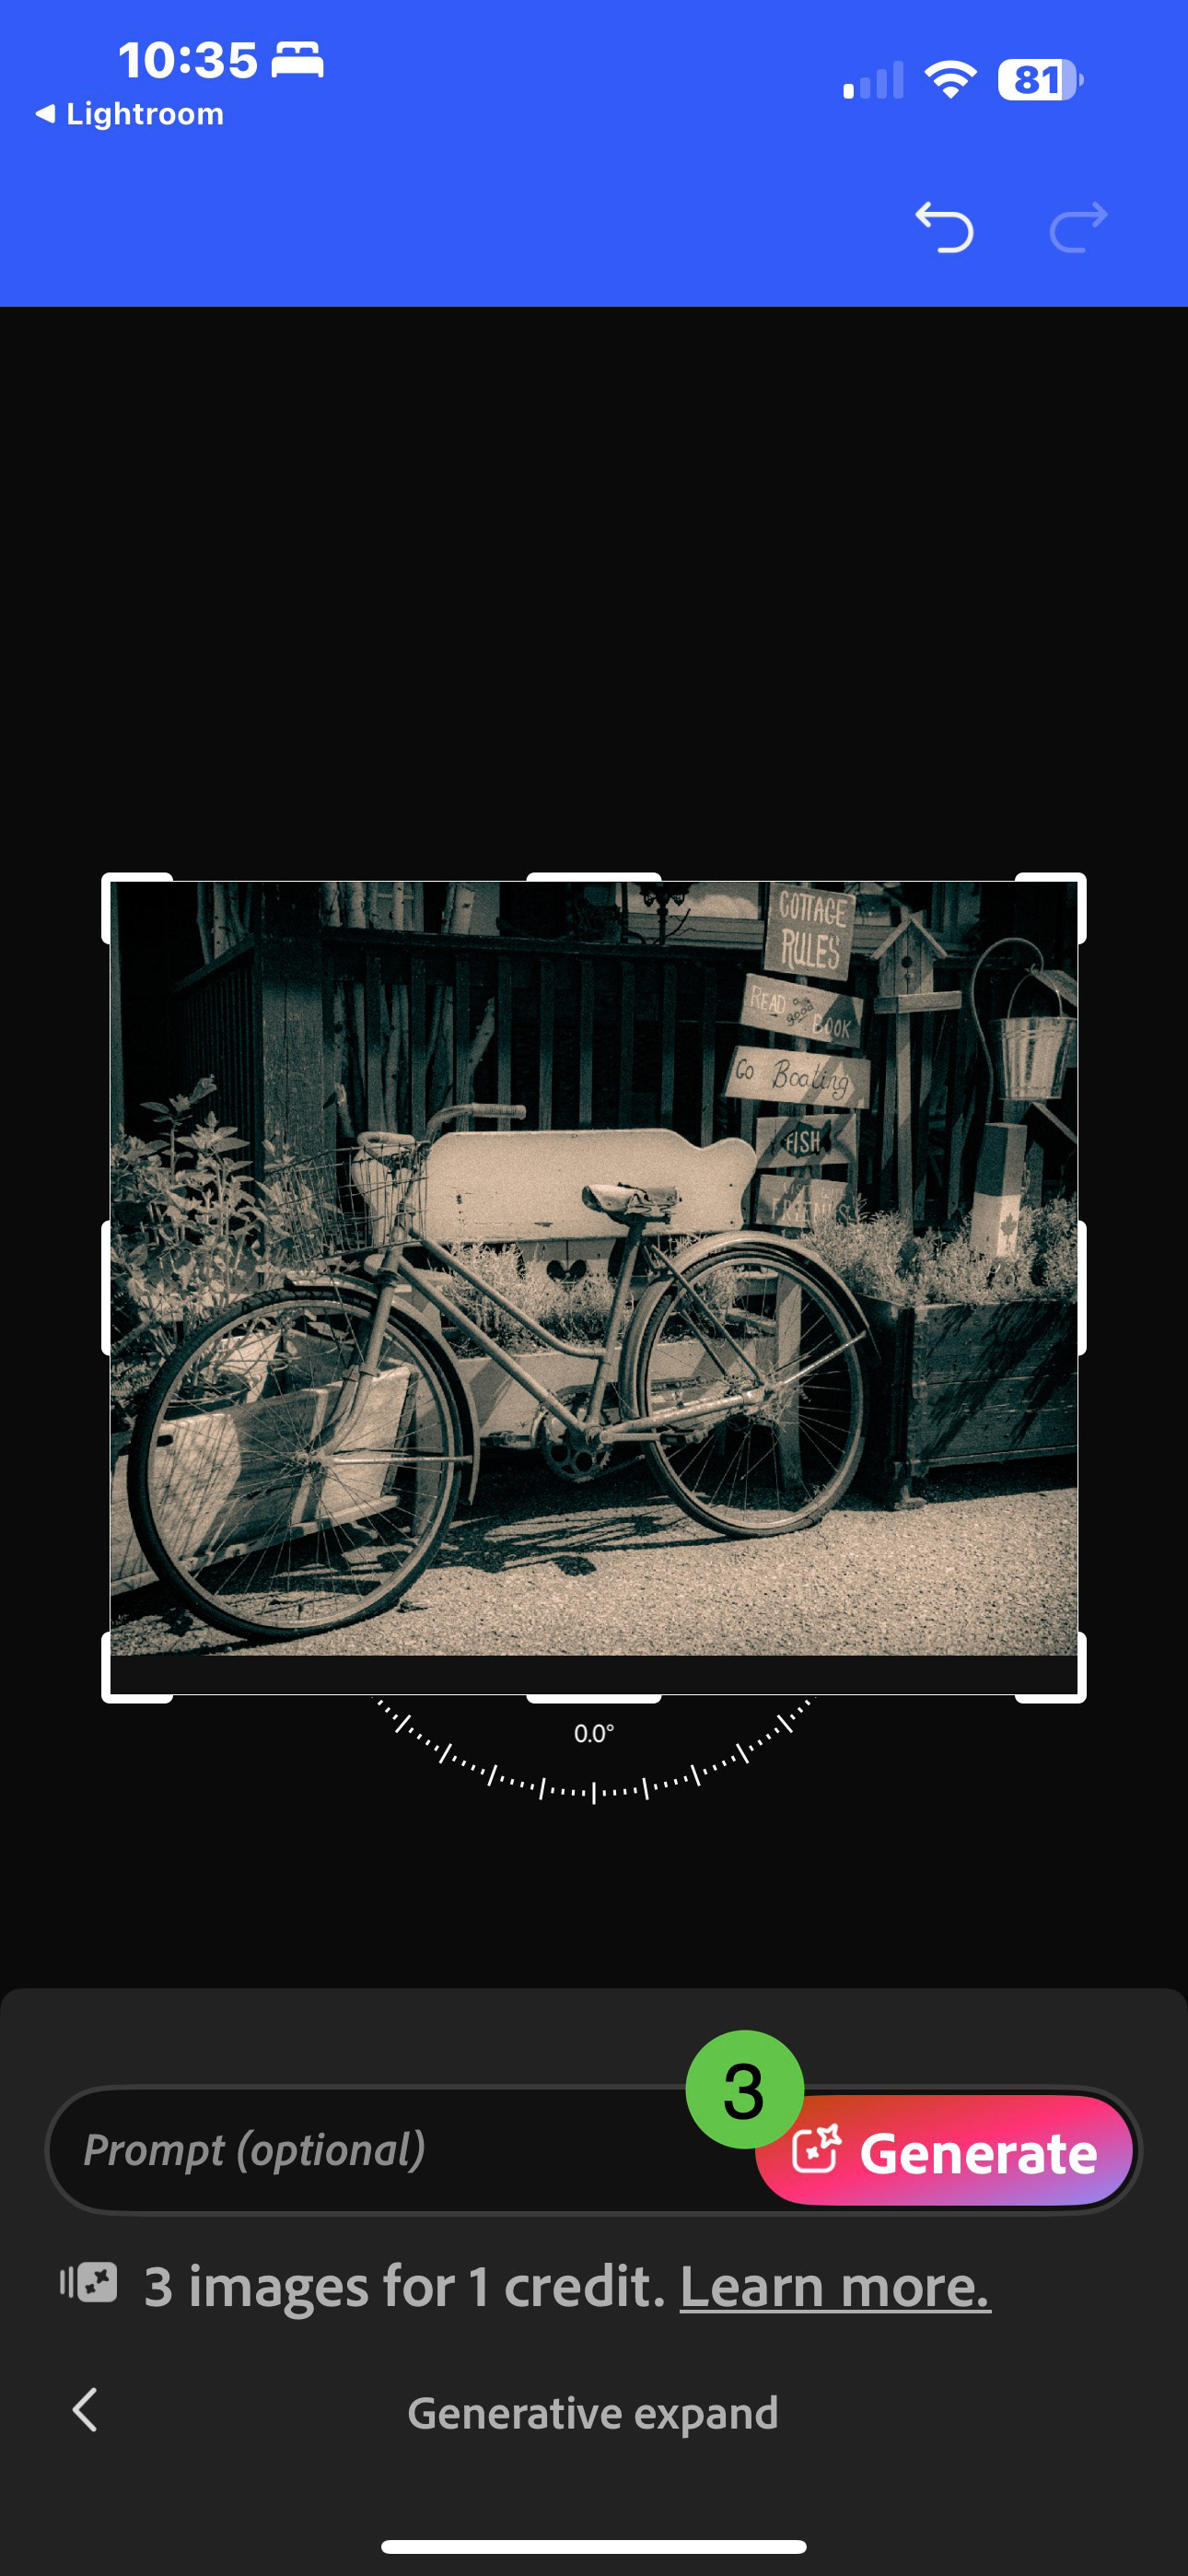
Then I tapped the Generative Expand icon and without adding a text prompt, tapped Generate. Instant foreground!
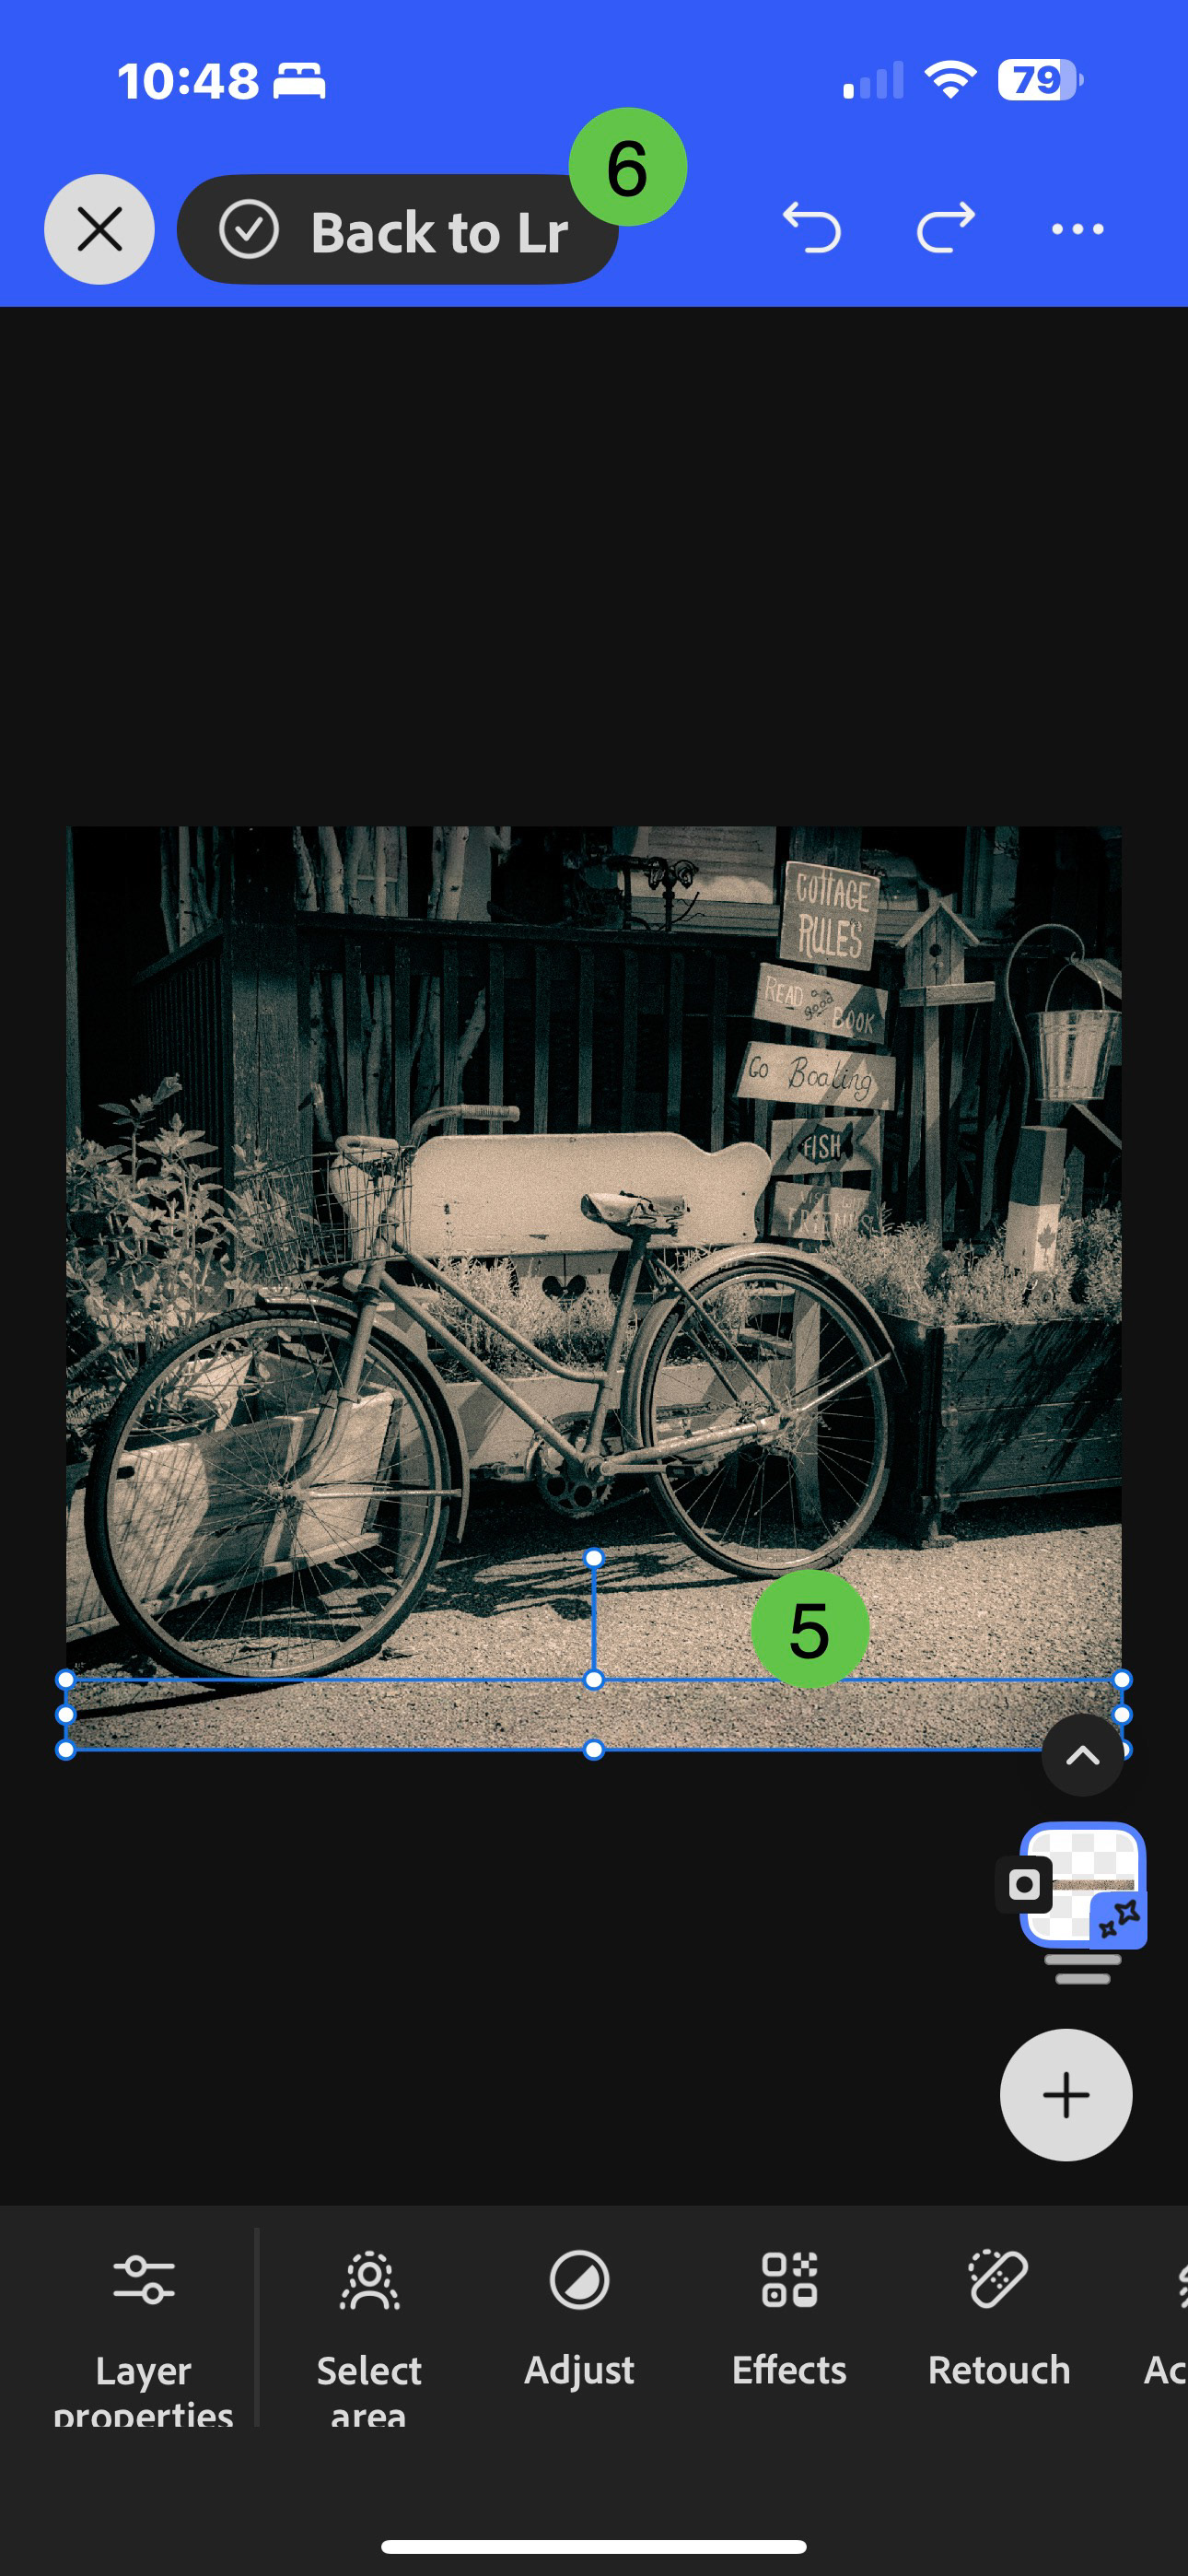
I repeated this process for the top and right edges, making sure I first selected the original base layer before generating content.
Lastly, I tapped Back to Lr to return from whence I came...


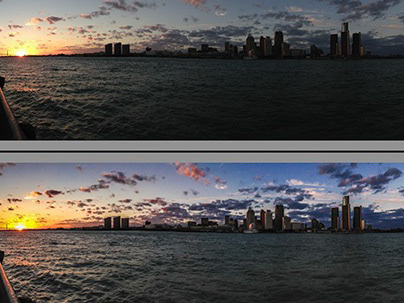
Before and after using Generative Expand
Correcting the Corrections
While Generative Expand did an overall great job, there were still a couple visual issues created by Firefly. This is where you have to decide, "Do I spend more time to create additional variations and hope the issues get resolved with one of those new variations, or are these things I can fix with traditional Photoshop or Lightroom tools?" As I've mentioned many times, Generative AI can be a huge benefit, but the human element - the critical decision-making - needs to come from us.
In this case, there was some weirdness going on in near the top-centre of the scene. I knew this would be a easy fix using the remove tools in either PS or LR, so I didn't bother creating more generations. In my example, I used the Remove tool in Lightroom to paint over the problem areas in steps, for better image quality.
I also knew that - due to the previously mentioned resolution limitations with Generative Expand - there would be a good chance that the transition between the original image and the generated parts would be noticeable. Compounding this issue was the fact I had added a fair amount of grain in Lightroom to enhance the vintage feel. I had lost the crispness of that texture using Generative AI, although admittedly, it is most noticeable when pixel peeping.
Using a Linear Gradient mask in Lightroom, I was able to get a close match to the original graininess of the image, using the Grain effect. I also added some sharpness to the masks. None of these sections had excessive detail, so adding grain and sharpness (a value of about 40 for each) was all I needed to do. It's helpful that - as you drag the grain slider - you can see the effect being applied and can judge its effectiveness and blending.
Pro Tip: When Using the Grain slider in a mask, you lose access to the Size and Roughness settings because they are controlled on a global level over all the masks. If you want to adjust the size or roughness of the grain, exit out of mask editing and then select Grain from the main Effects menu.

Extended image. Note the odd shape/silhouette near the top-centre of the image. Harder to see is the slight softness around the perimeter of the image.

In this version, the visual distractions have been removed and I used Linear gradient masks to add grain and some sharpness back into the generated areas around the edges.
Wrap up
I hope you enjoyed this edit breakdown. If you found it interesting or helpful, feel free to leave a comment. You can also check out my series on Practical Generative AI for Photographers on my Behance homepage.
I've included a short video of the intial editing process, below, leading up to but not including the generative AI segment.
Until next time...