Me and My OM-5
It's been just over 2 months since my OM-5 camera arrived. While it looks very much like my Olympus EM-5 Mark III on the outside, there have been some significant improvements under the hood in terms of the processor and computational photography features. I'm not writing a review and compare article here; there are PLENTY of those online already.
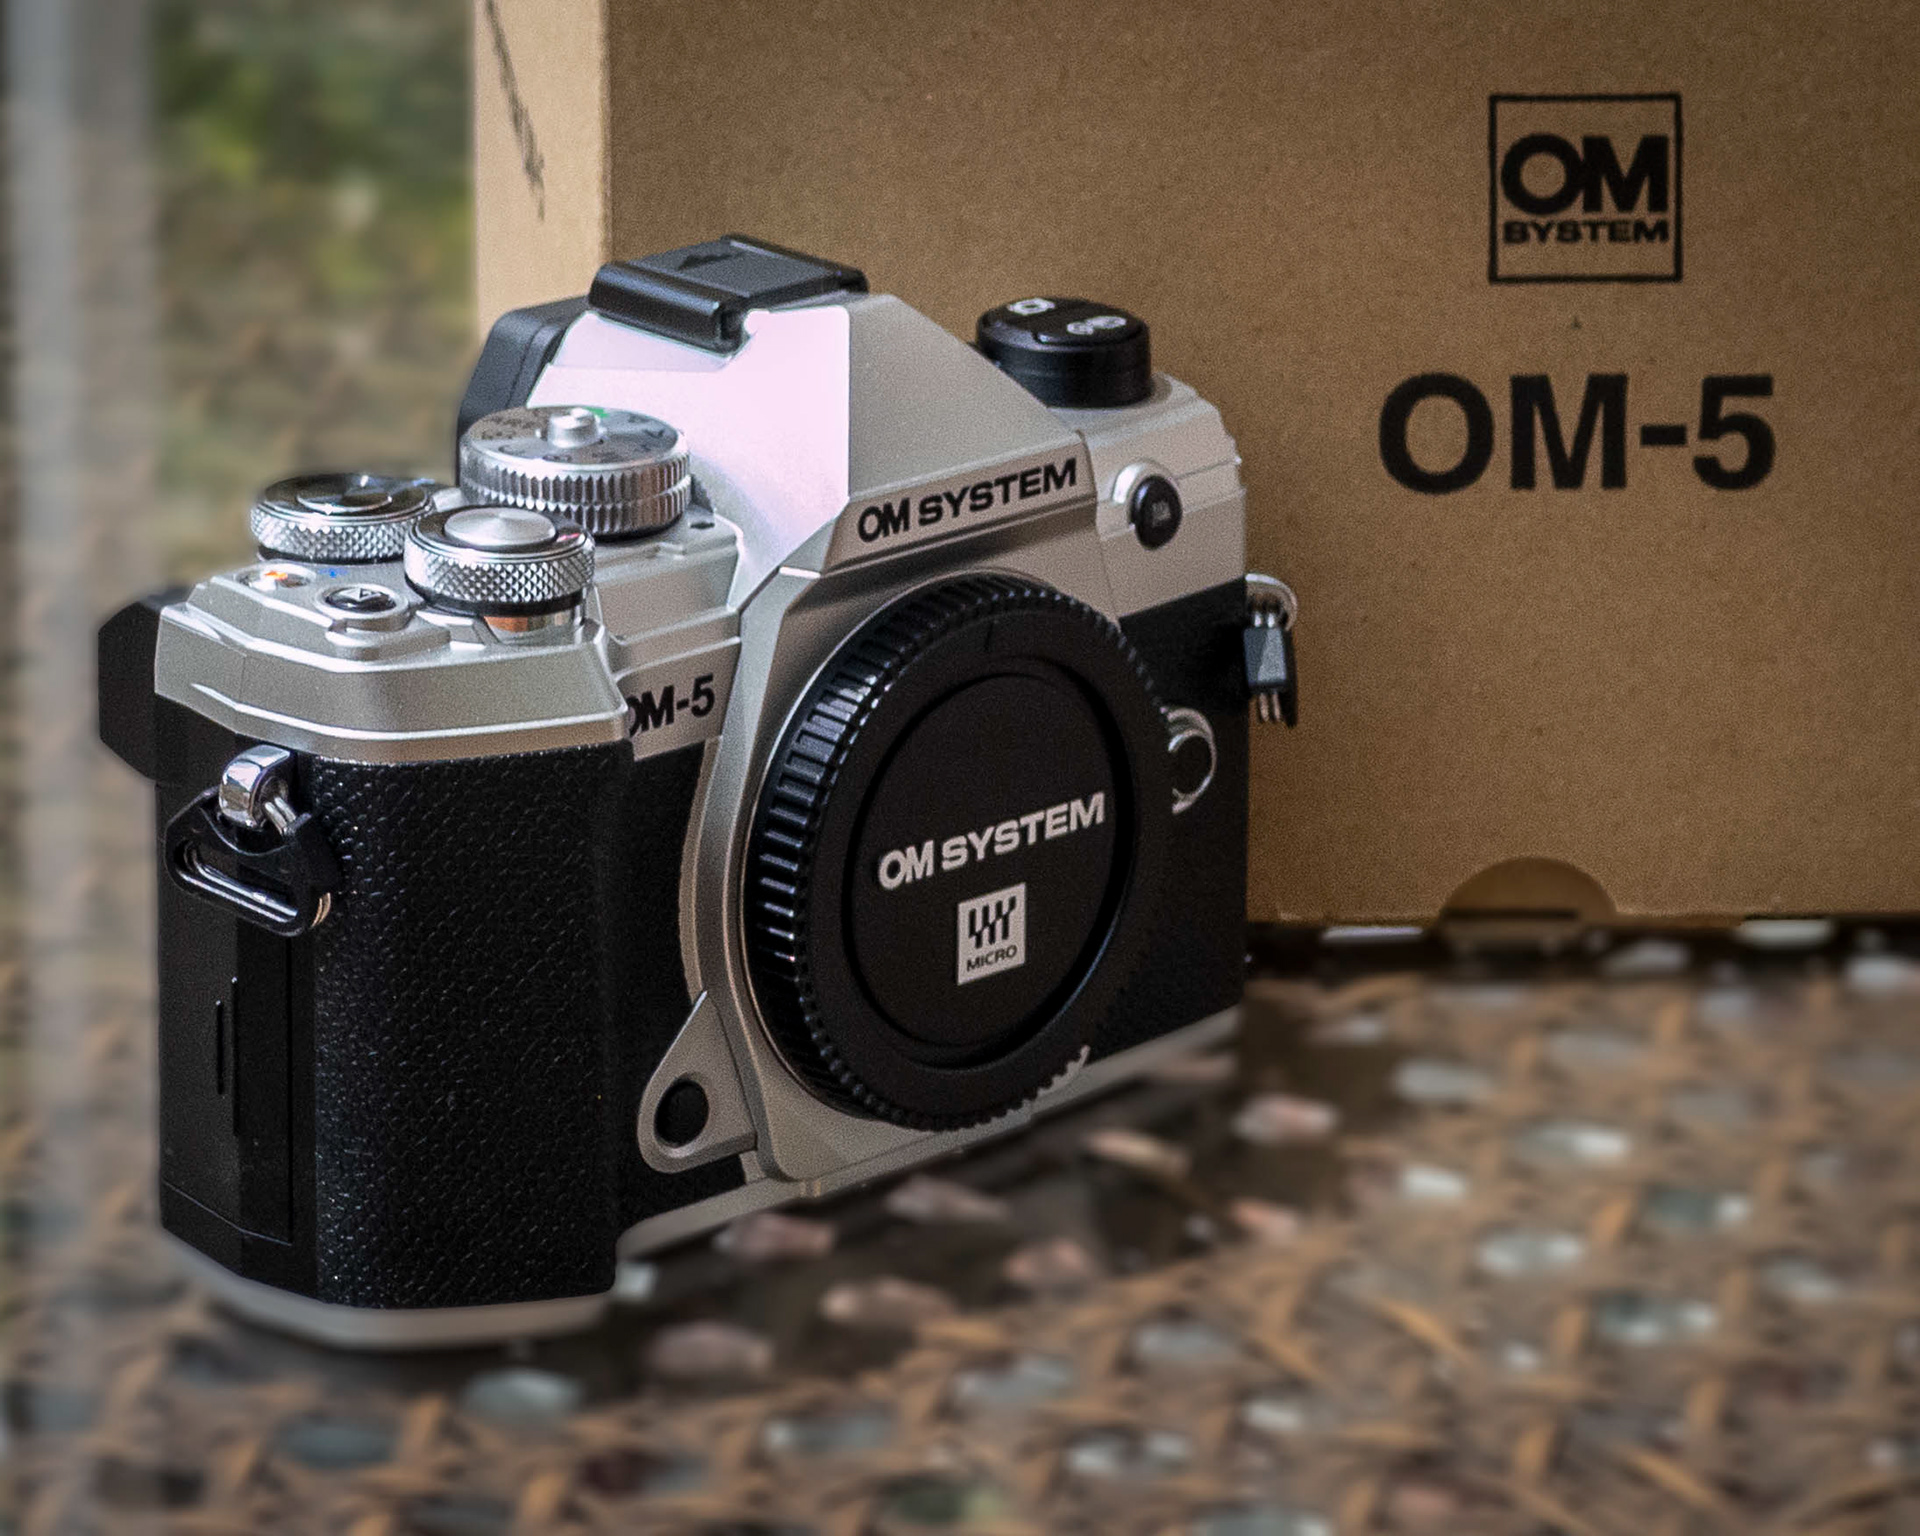
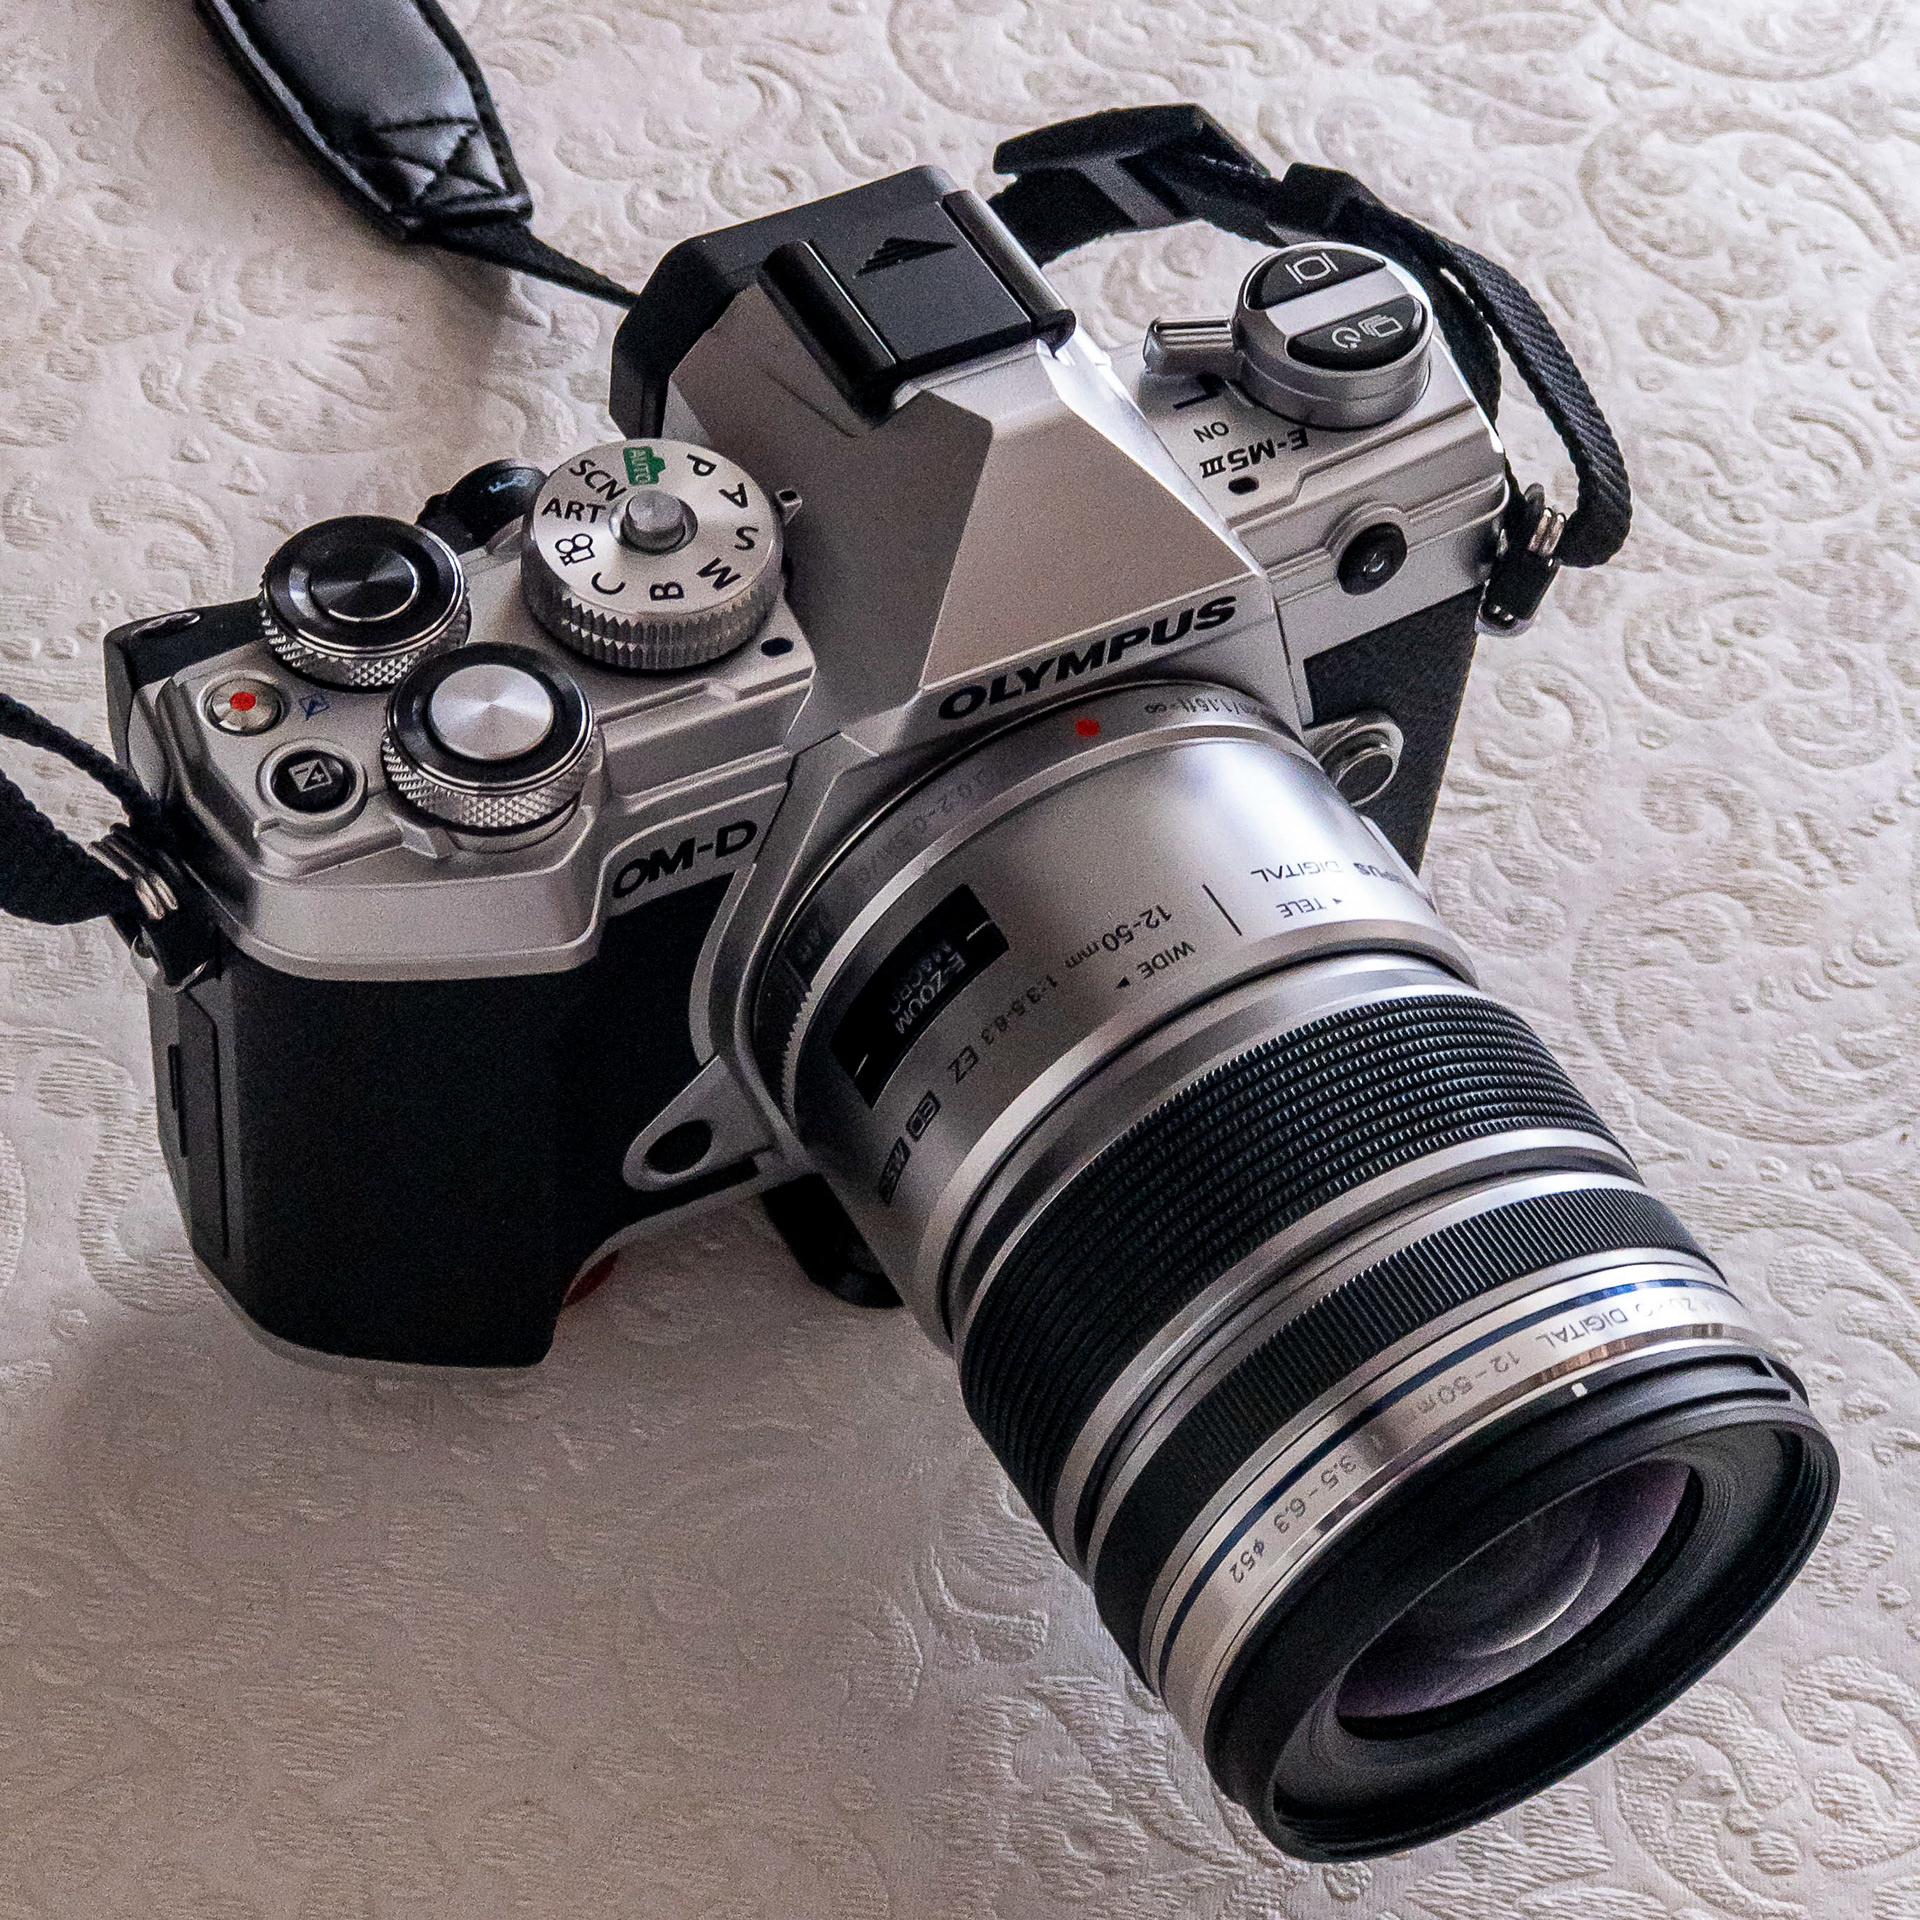
The new and the old(ish)
What I am going to focus on in this article are some of those new features that I've been taking advantage of, specifically:
- Live ND
- Hand Held High Res
- Starry Sky AF
It is those three features that tipped the scale in terms of me purchasing the OM-5. After having used each of them several times, I'm more confident than ever that buying the OM-5 was a good choice. After the repair of my EM-5 III, I've decided to keep both cameras
The cameras both handle the same and have the same menu system (essentially), so I did not need to re-learn too much when moving to the OM-5.
All of these aforementioned computational photography features were made possible by the upgrade to the camera's image processor from TruePic VIII to TruePic IX, (the same processor available in the higher end E-M1 Mark III).
Live ND
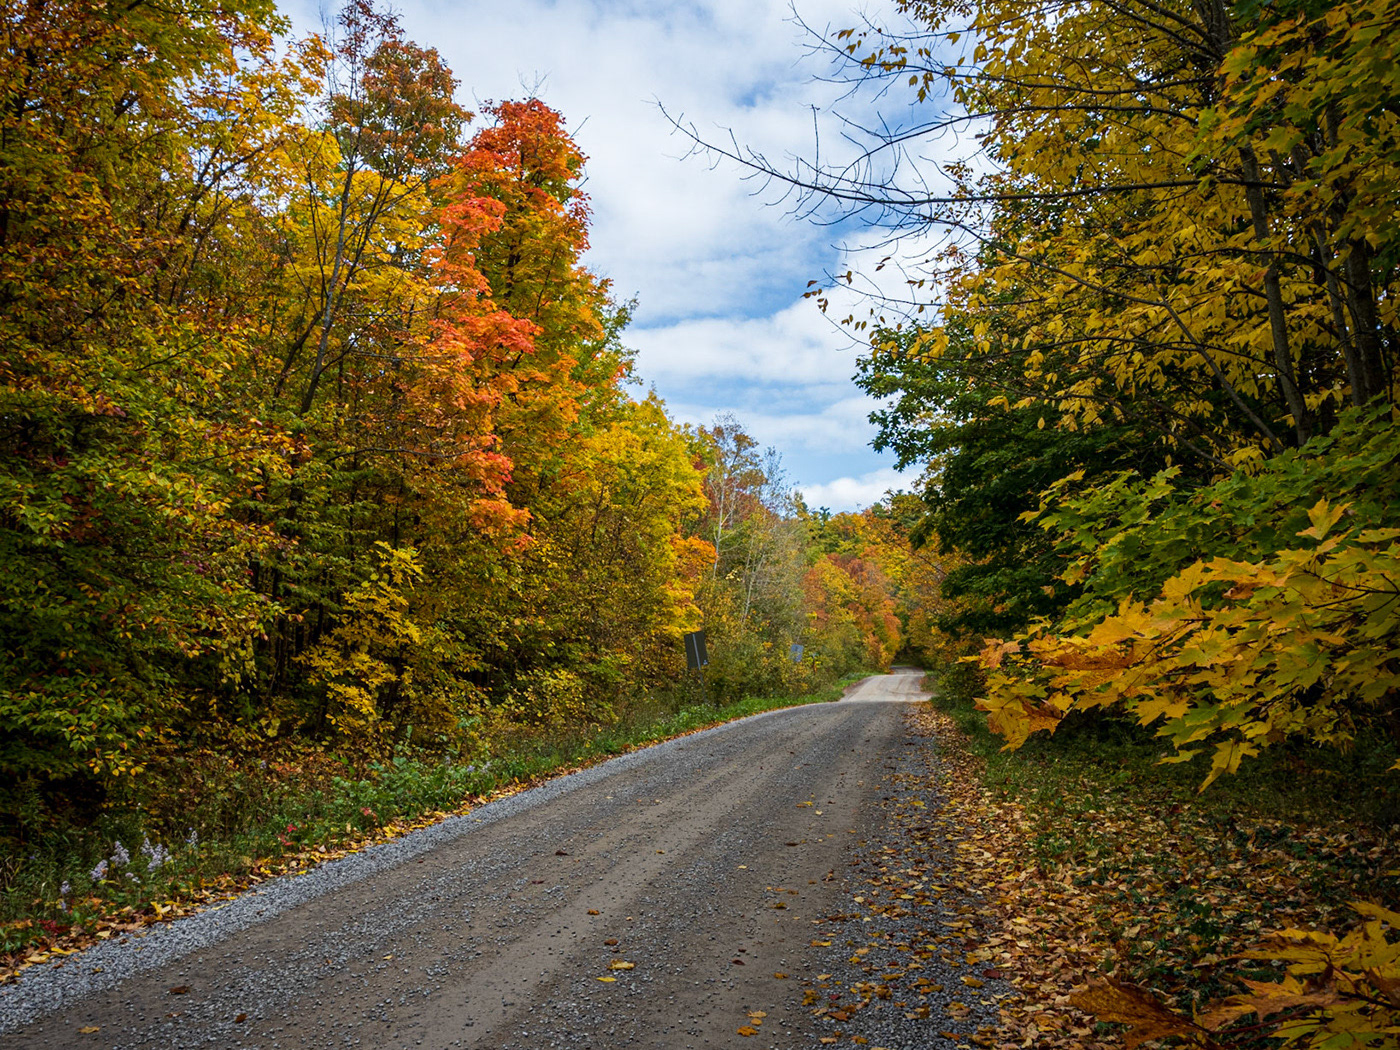
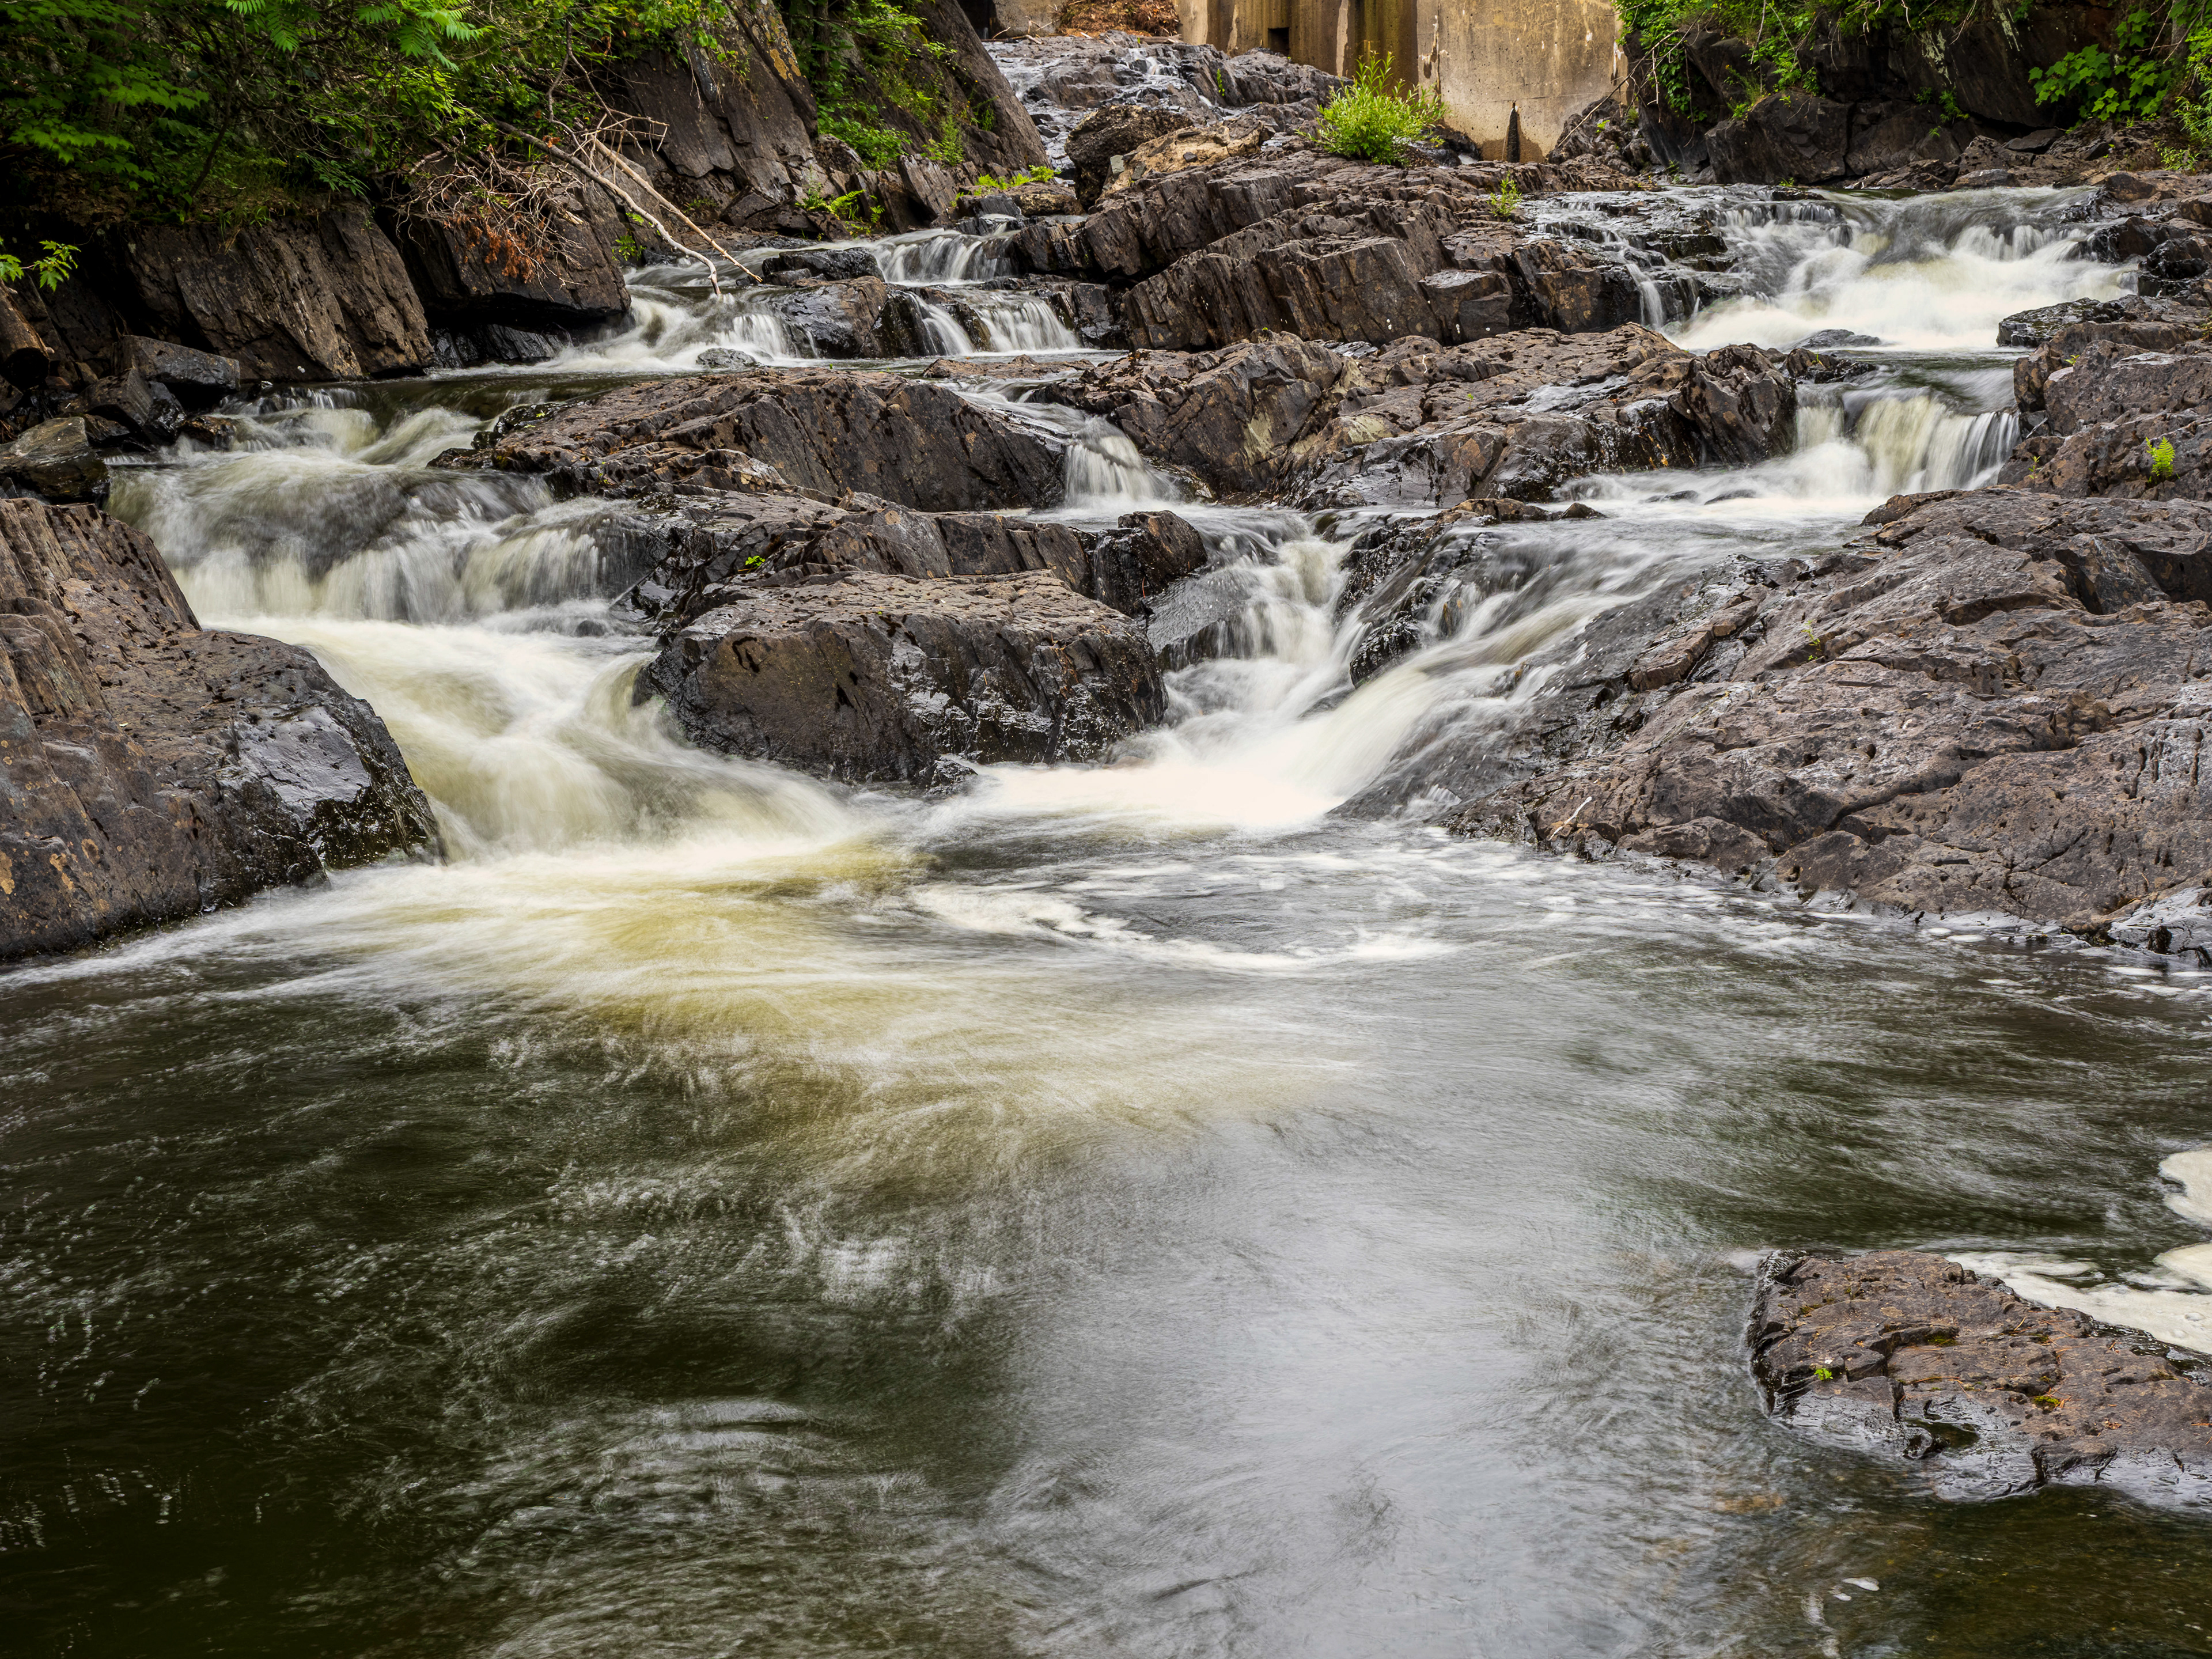
Live ND (Neutral Density) was the feature I was most looking forward to in terms of actual frequent use. ND filters reduce the amount of light hitting the sensor, allowing for slower shutter speeds. It’s those slow speeds that give you silky waterfalls, smooth water on a windy day or dynamically blurred clouds.
Live ND on the OM-5 is configurable to the equivalent of up to a 4-stop ND filter. Not a stellar amount, but in low light and low ISO, it functions quite well. In brighter conditions, I always have the option of adding a physical filter to lengthen the exposure time.
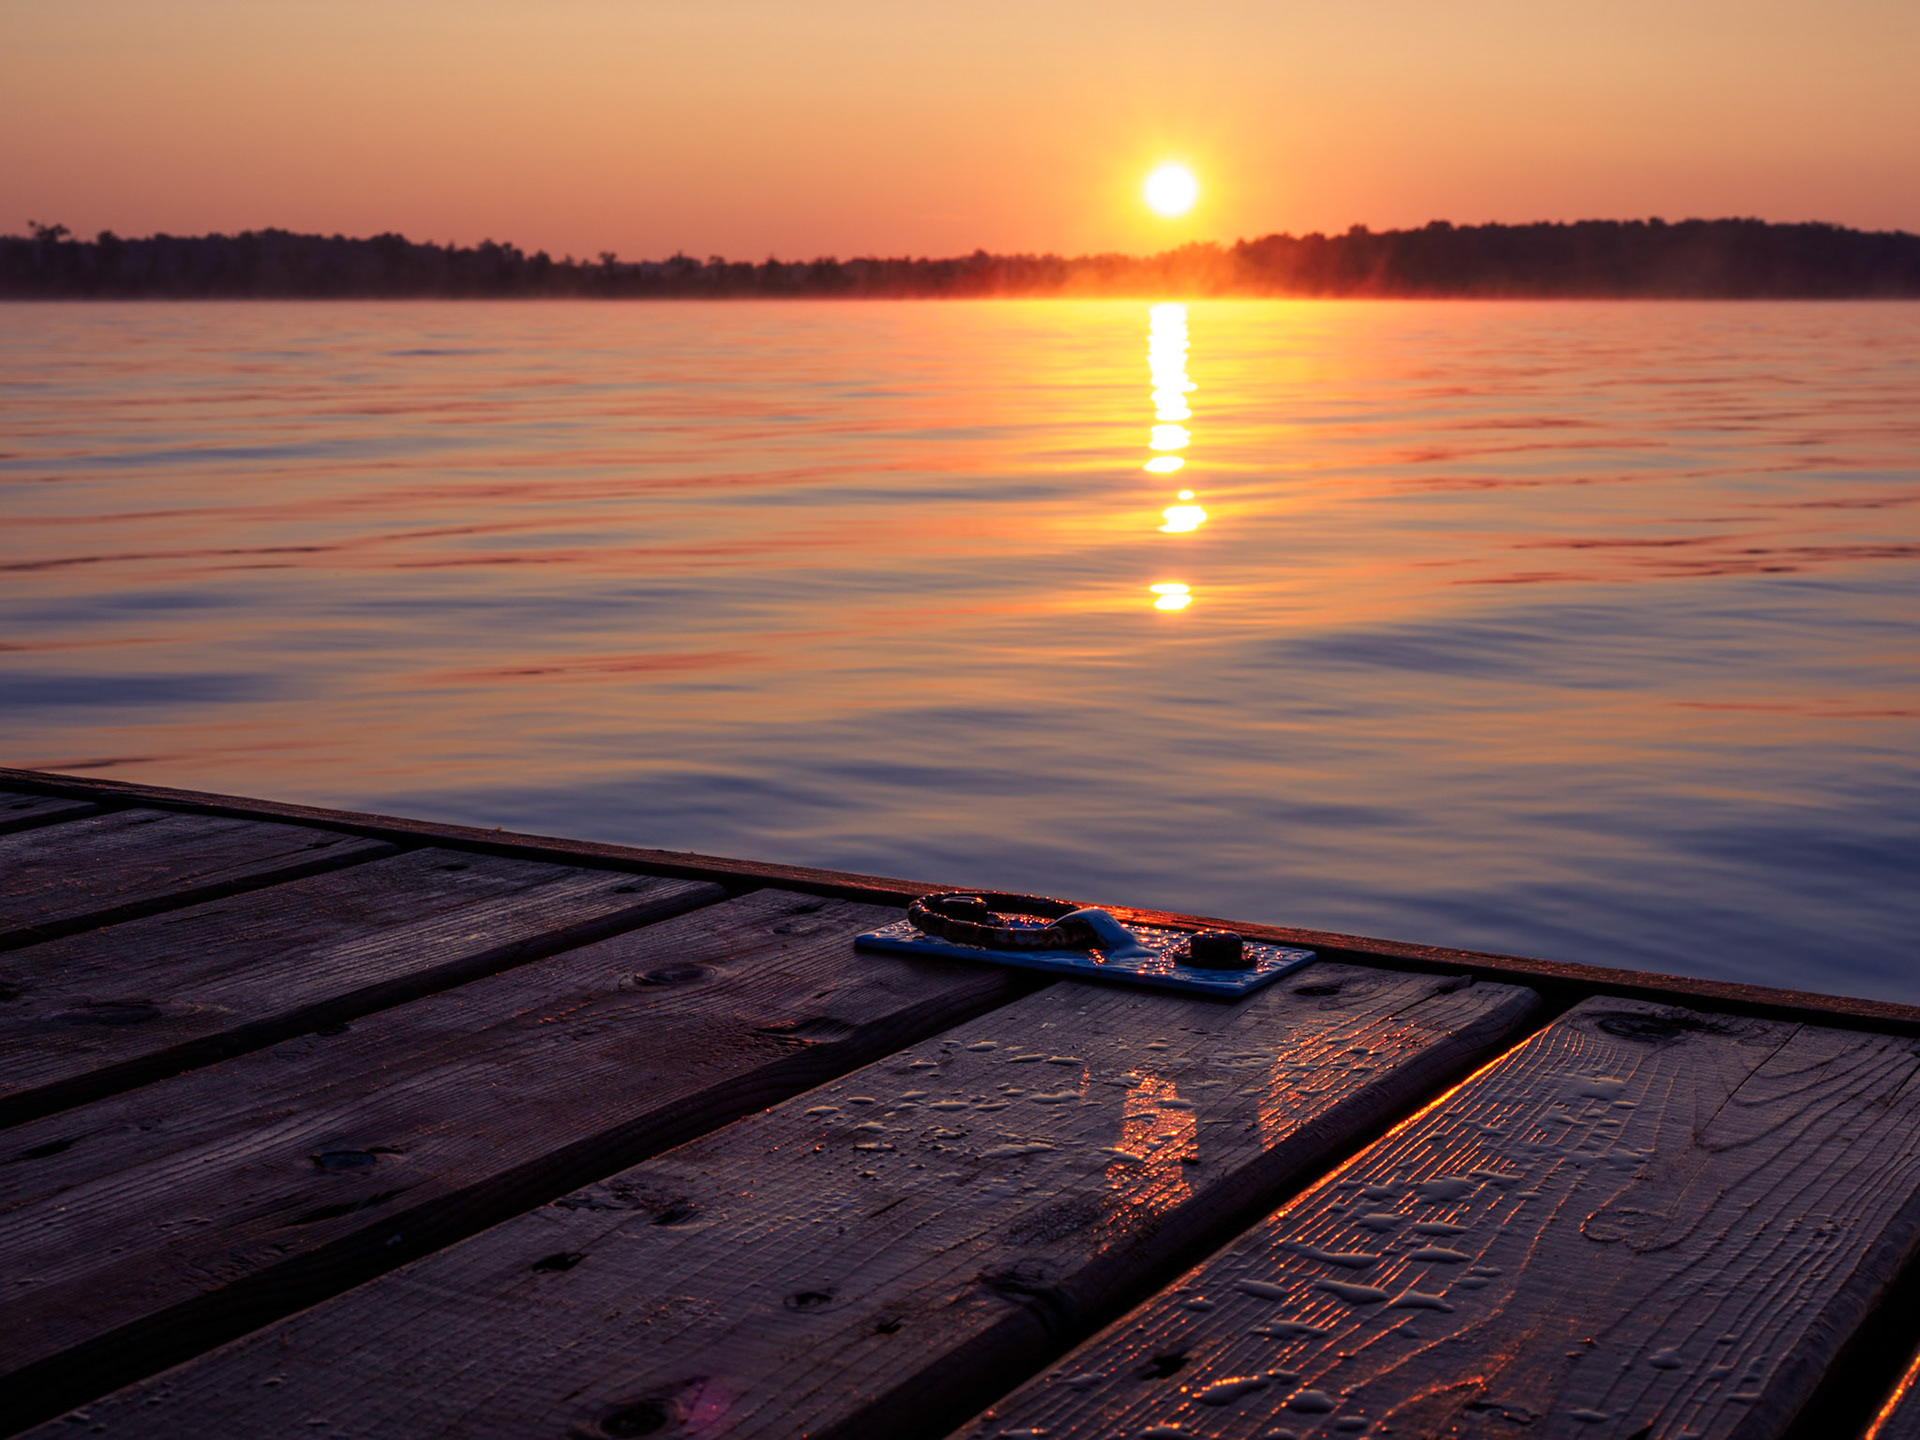
I love shooting waterfalls, rivers, bodies of water in motion, and fumbling with threading on ND filters was at times inconvenient and frustrating. There were occasions - at sunrise, for example - where I lost the shot because of the precious seconds wasted in extracting the filter from my bag and attaching it to the camera.
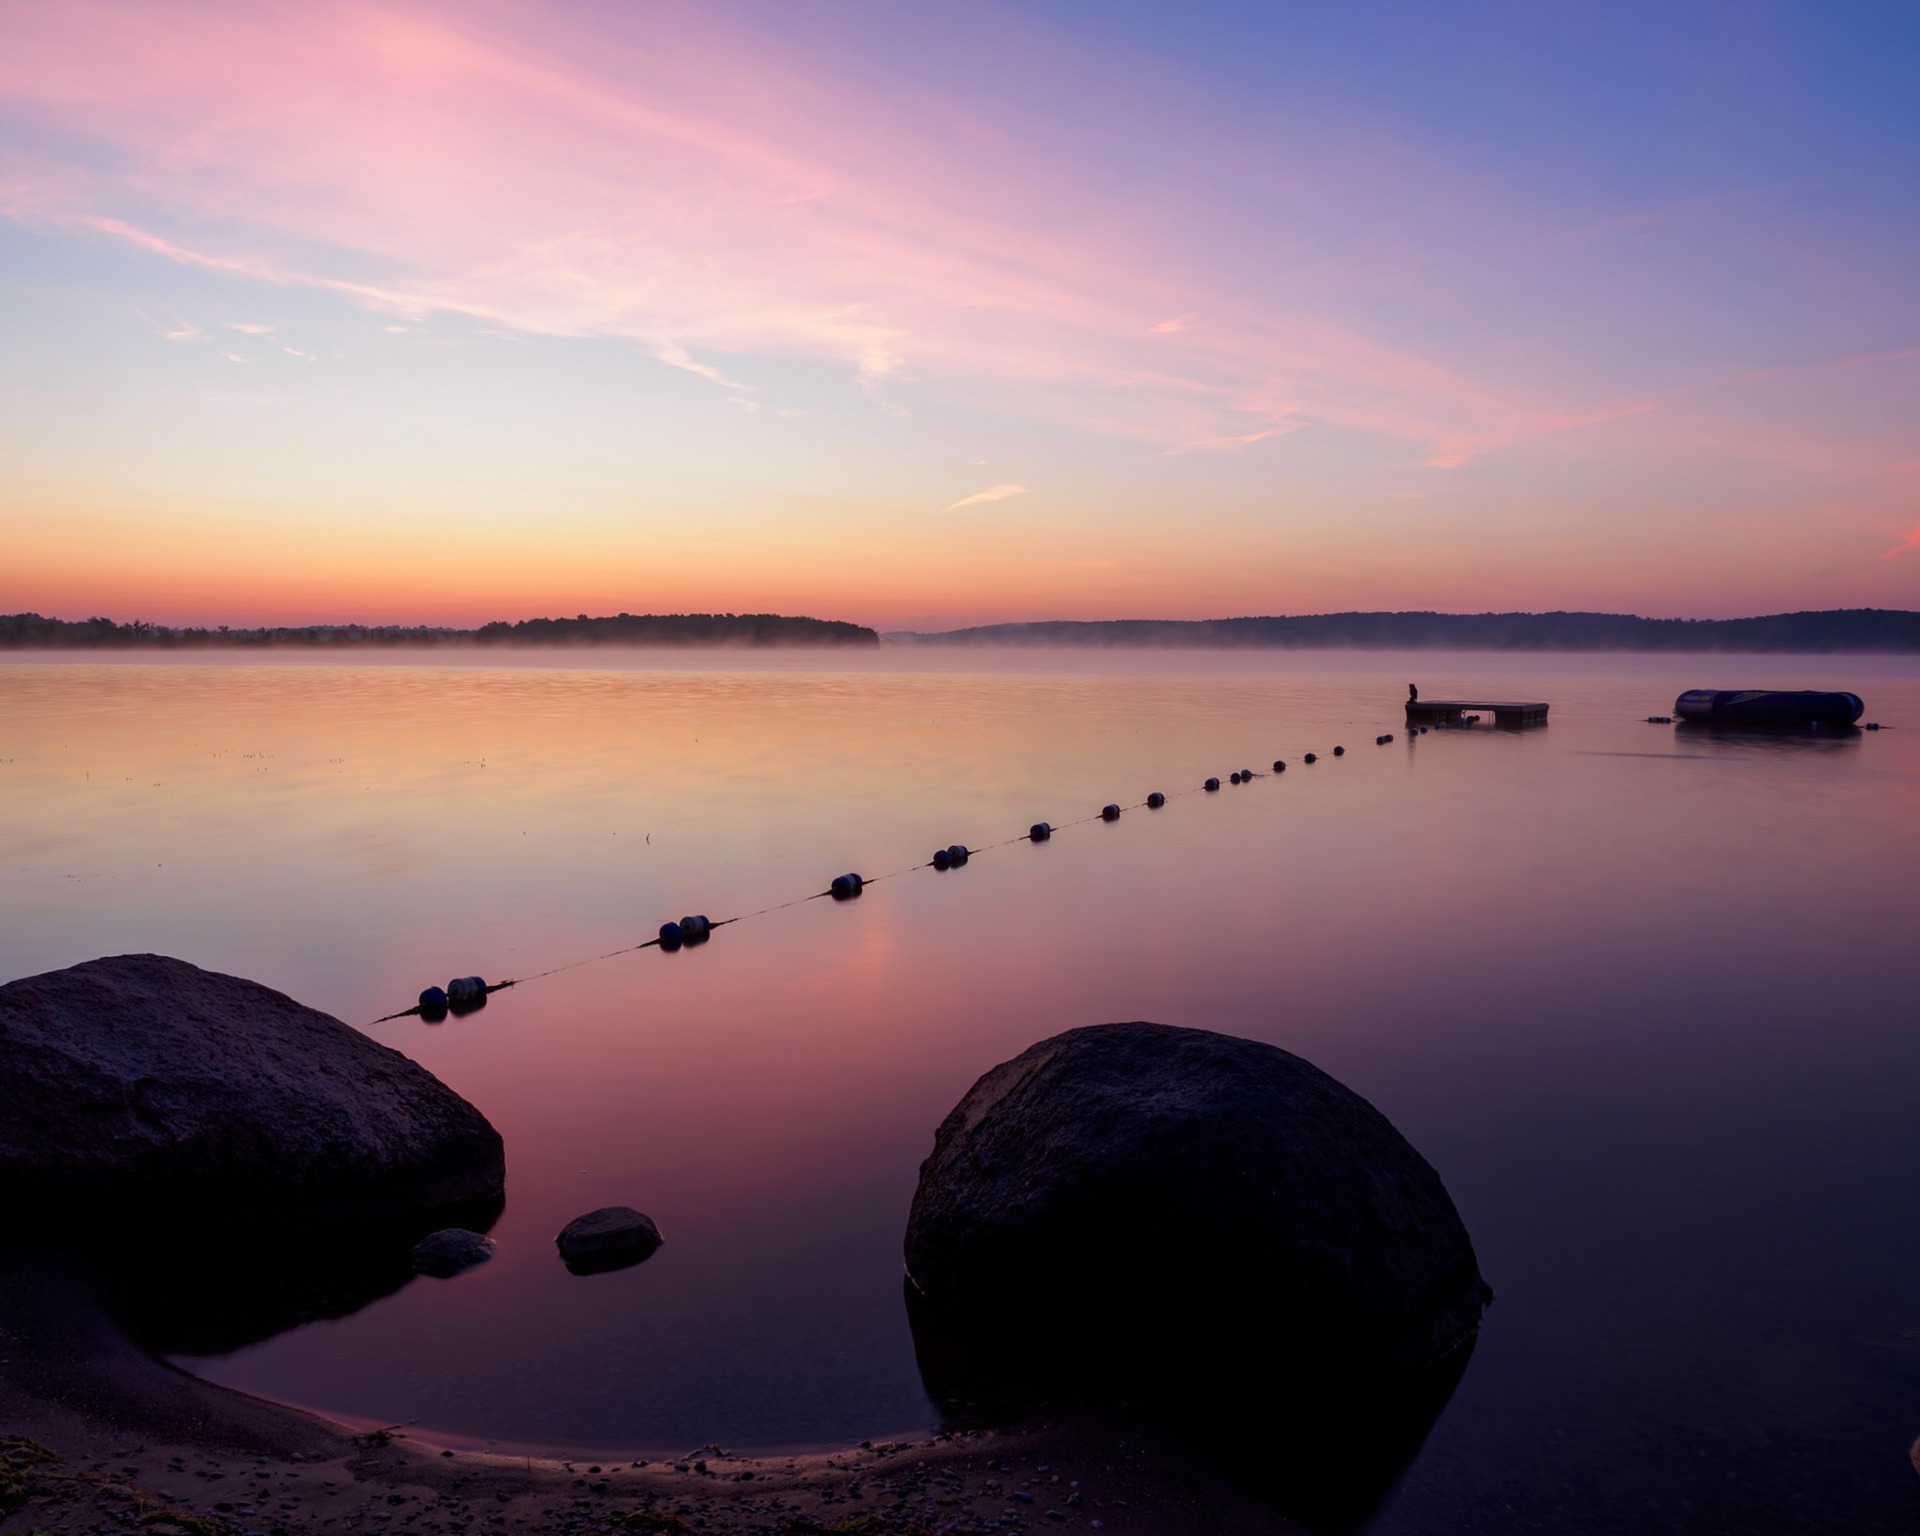
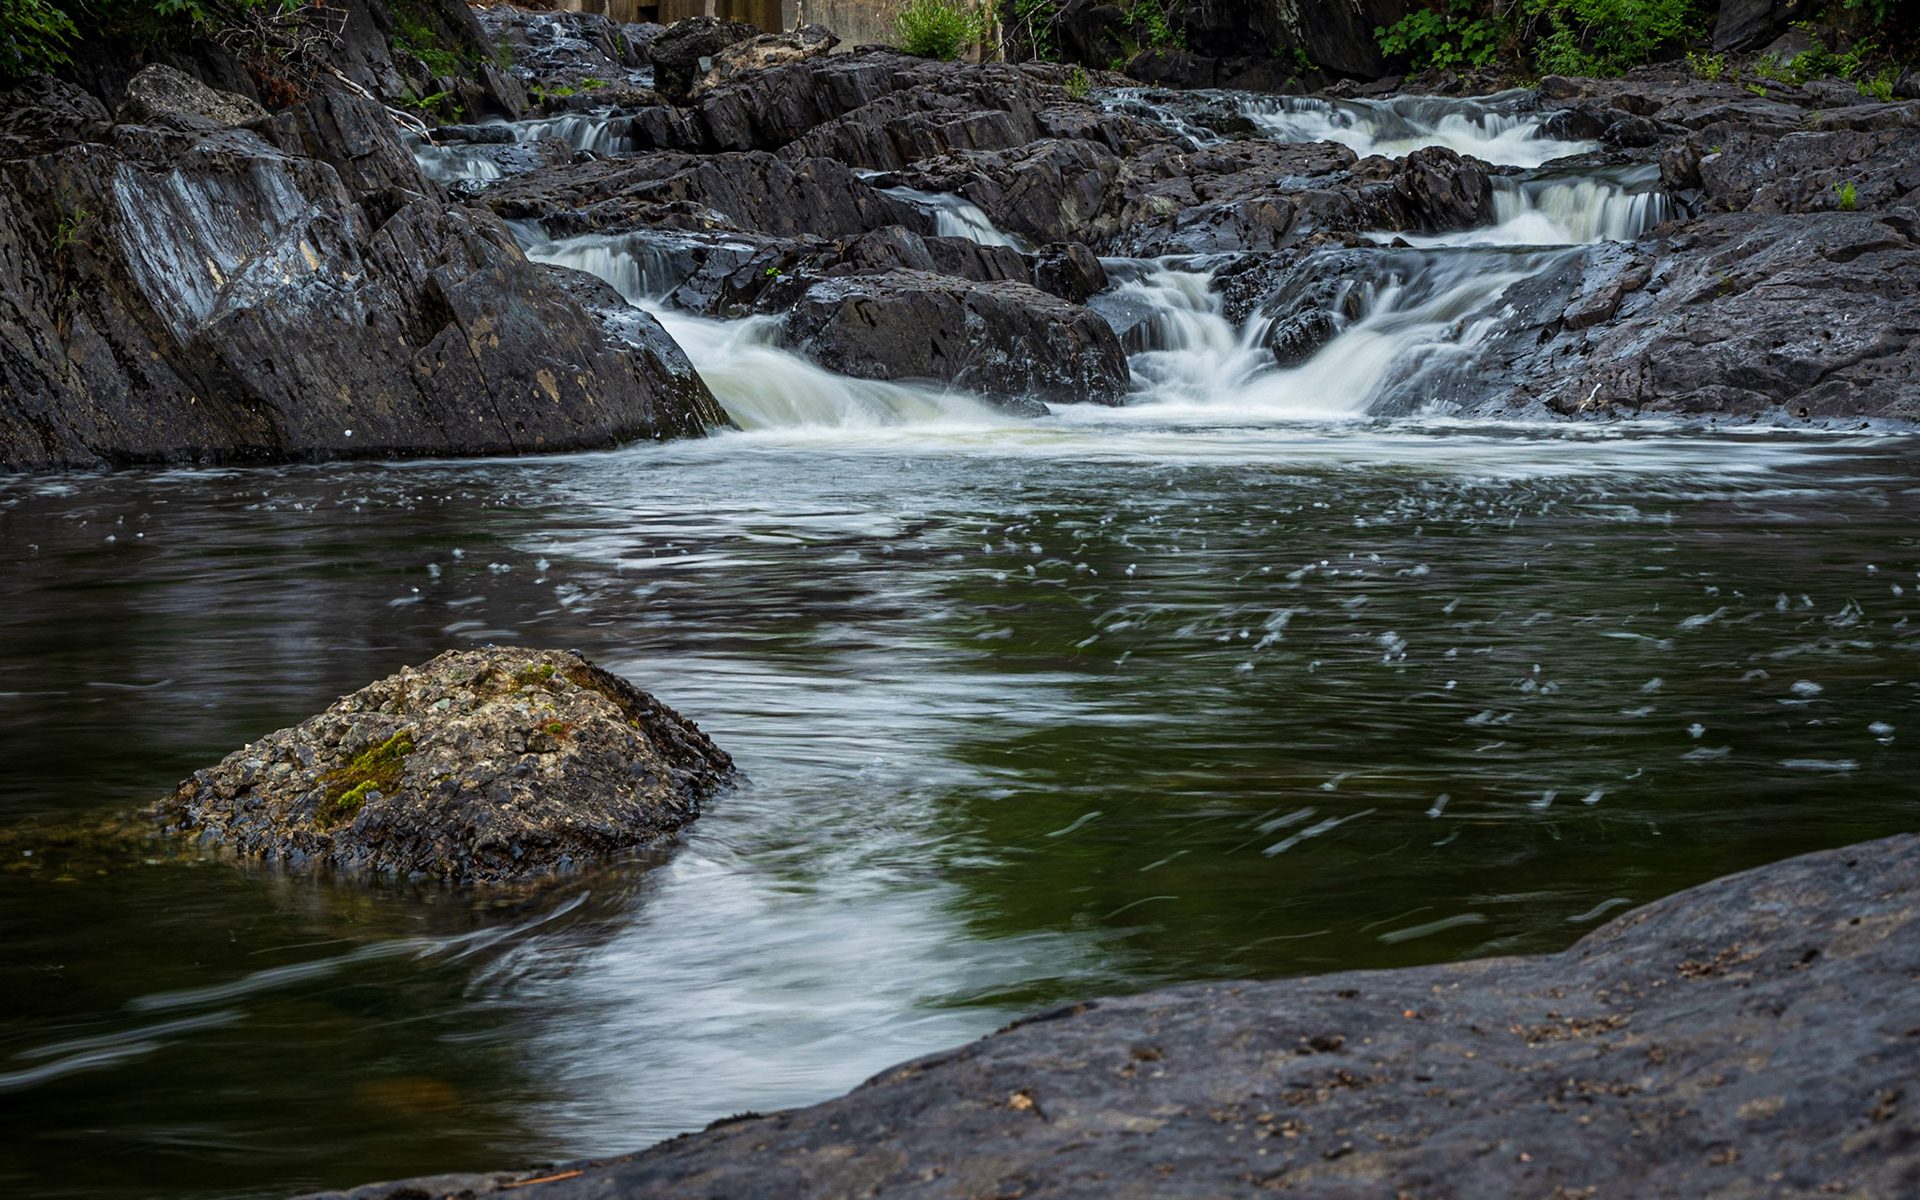
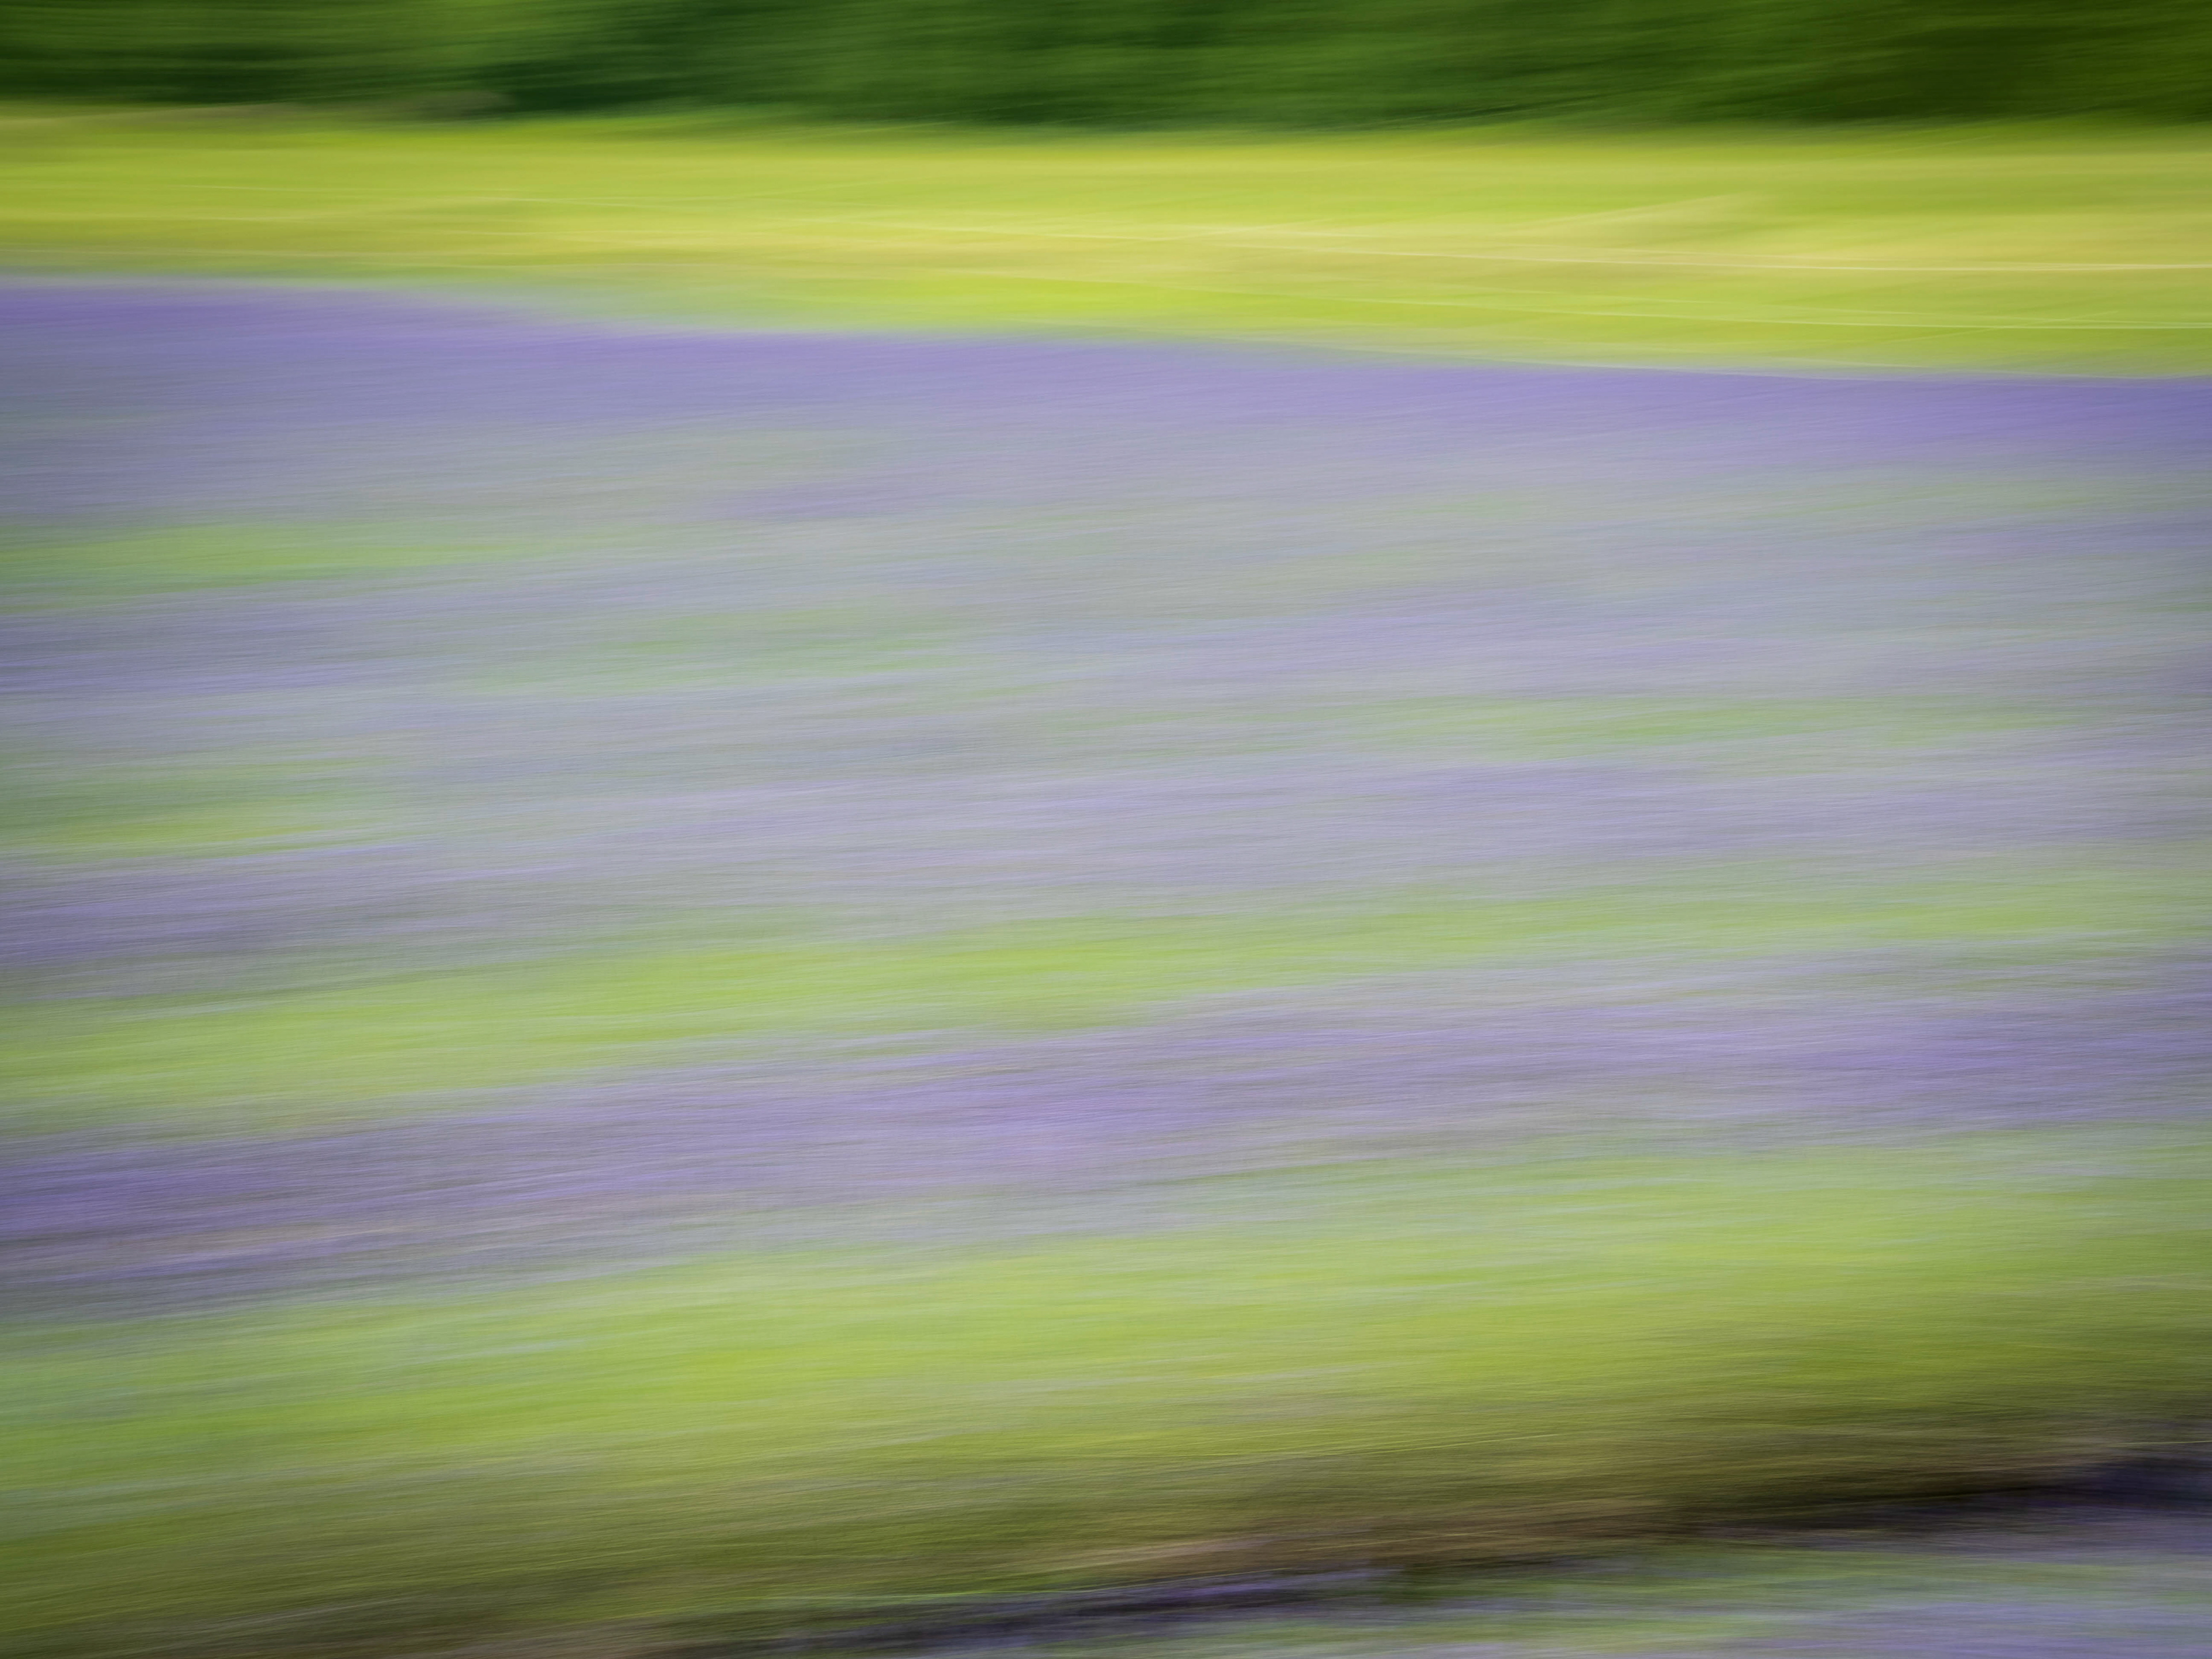
Live ND can be used handheld, which I've found to be an awesome benefit, making a hike along the a waterfall trail potentially less cumbersome, as I don't need a tripod. Admittedly, NOT bringing a tripod is a hard habit for me to break. I plan on leaving the tripod in the car more and shooting handheld or in combination with my Platypod Ultra and Platypod Handle if I need to stabilize the camera more effectively.
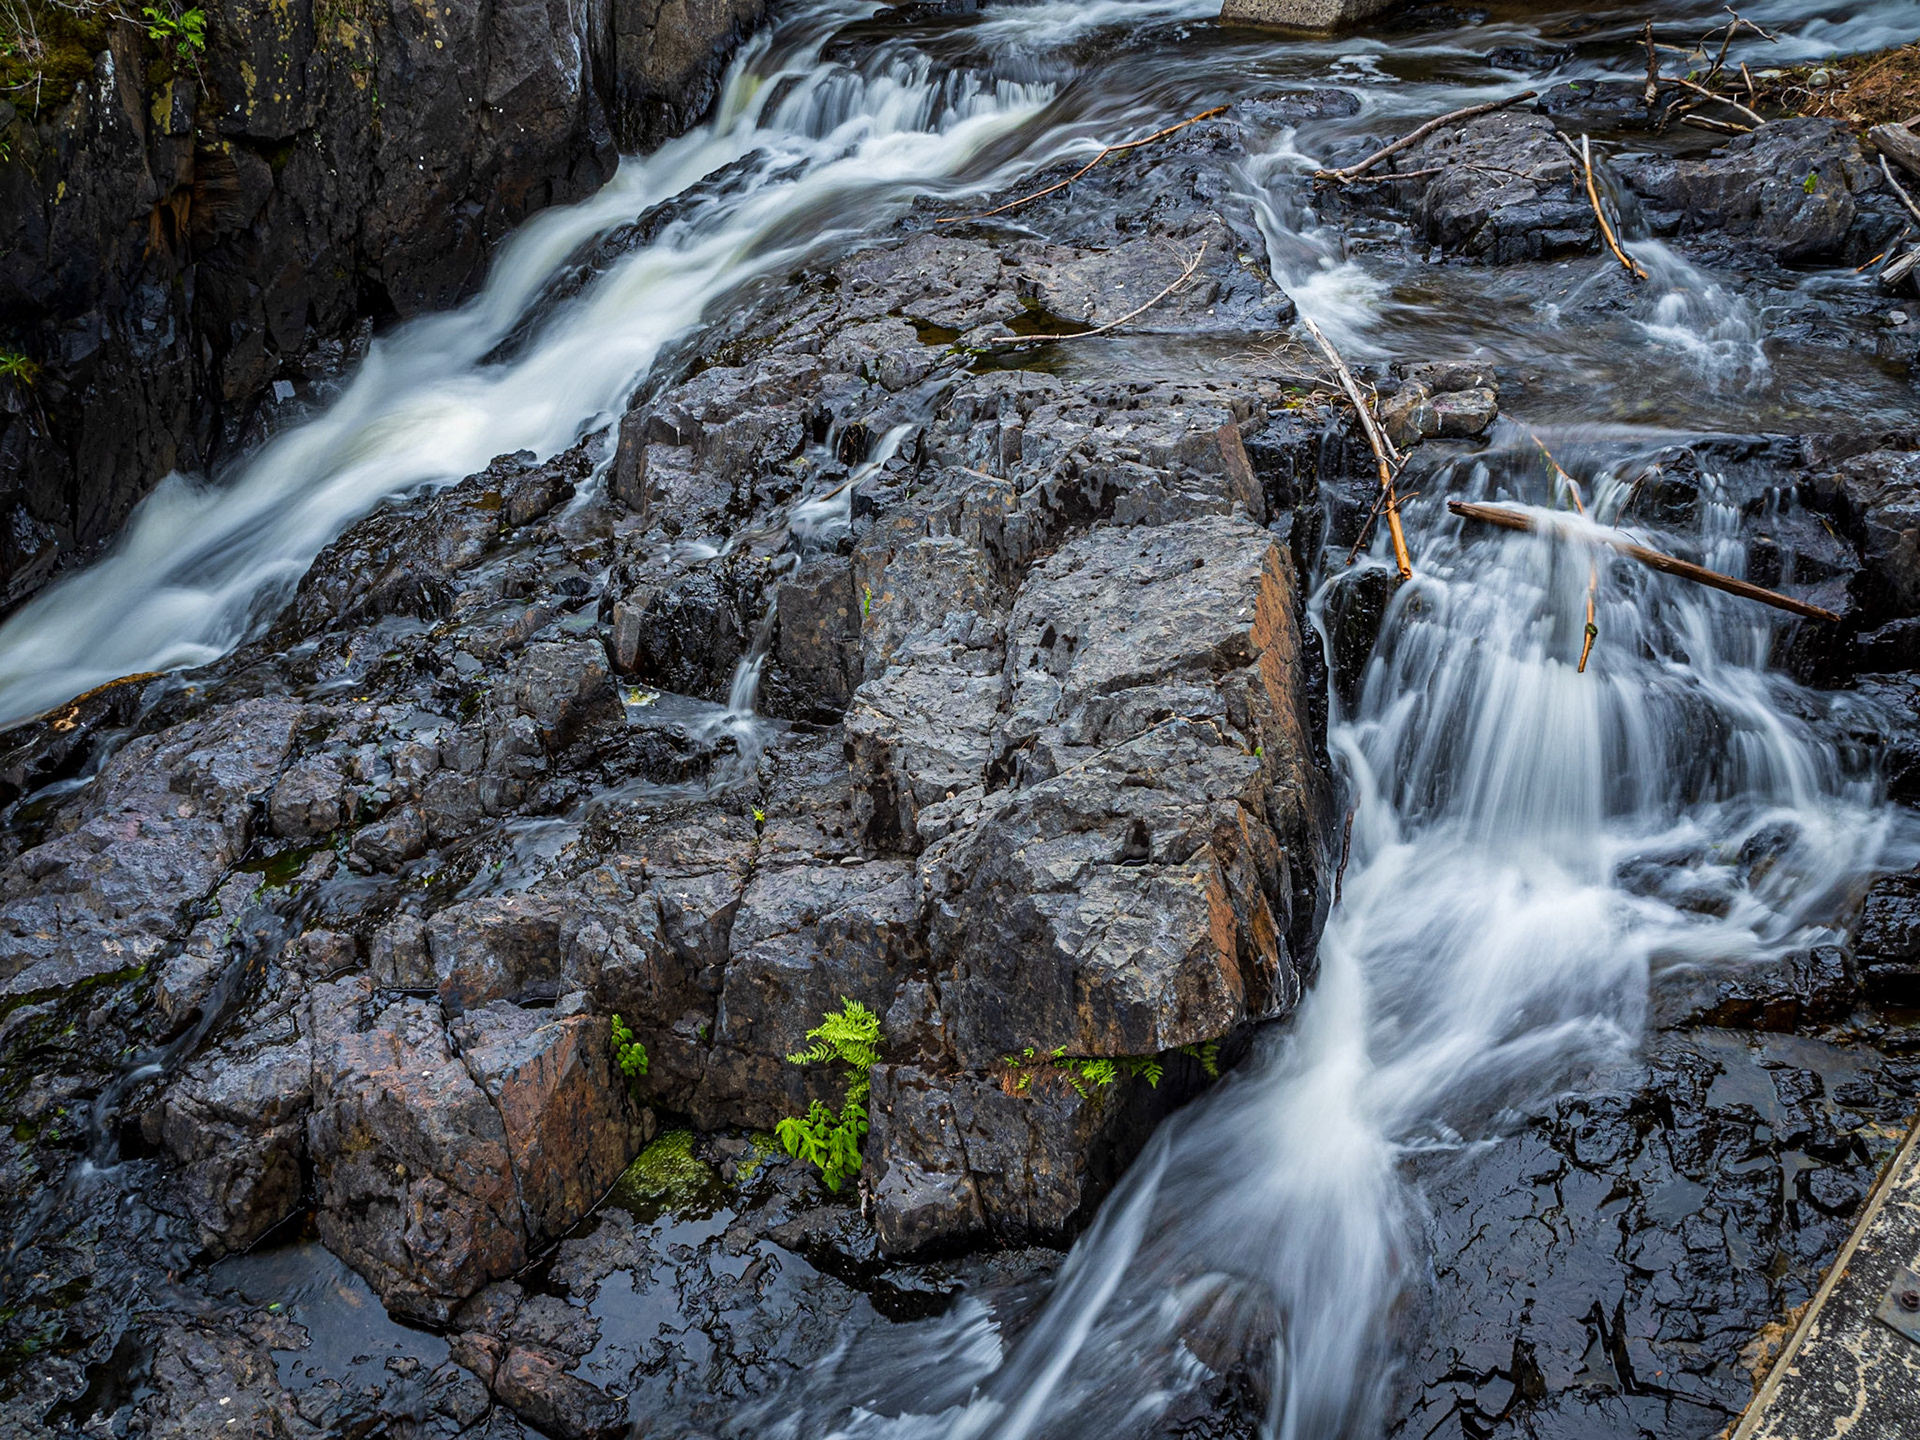
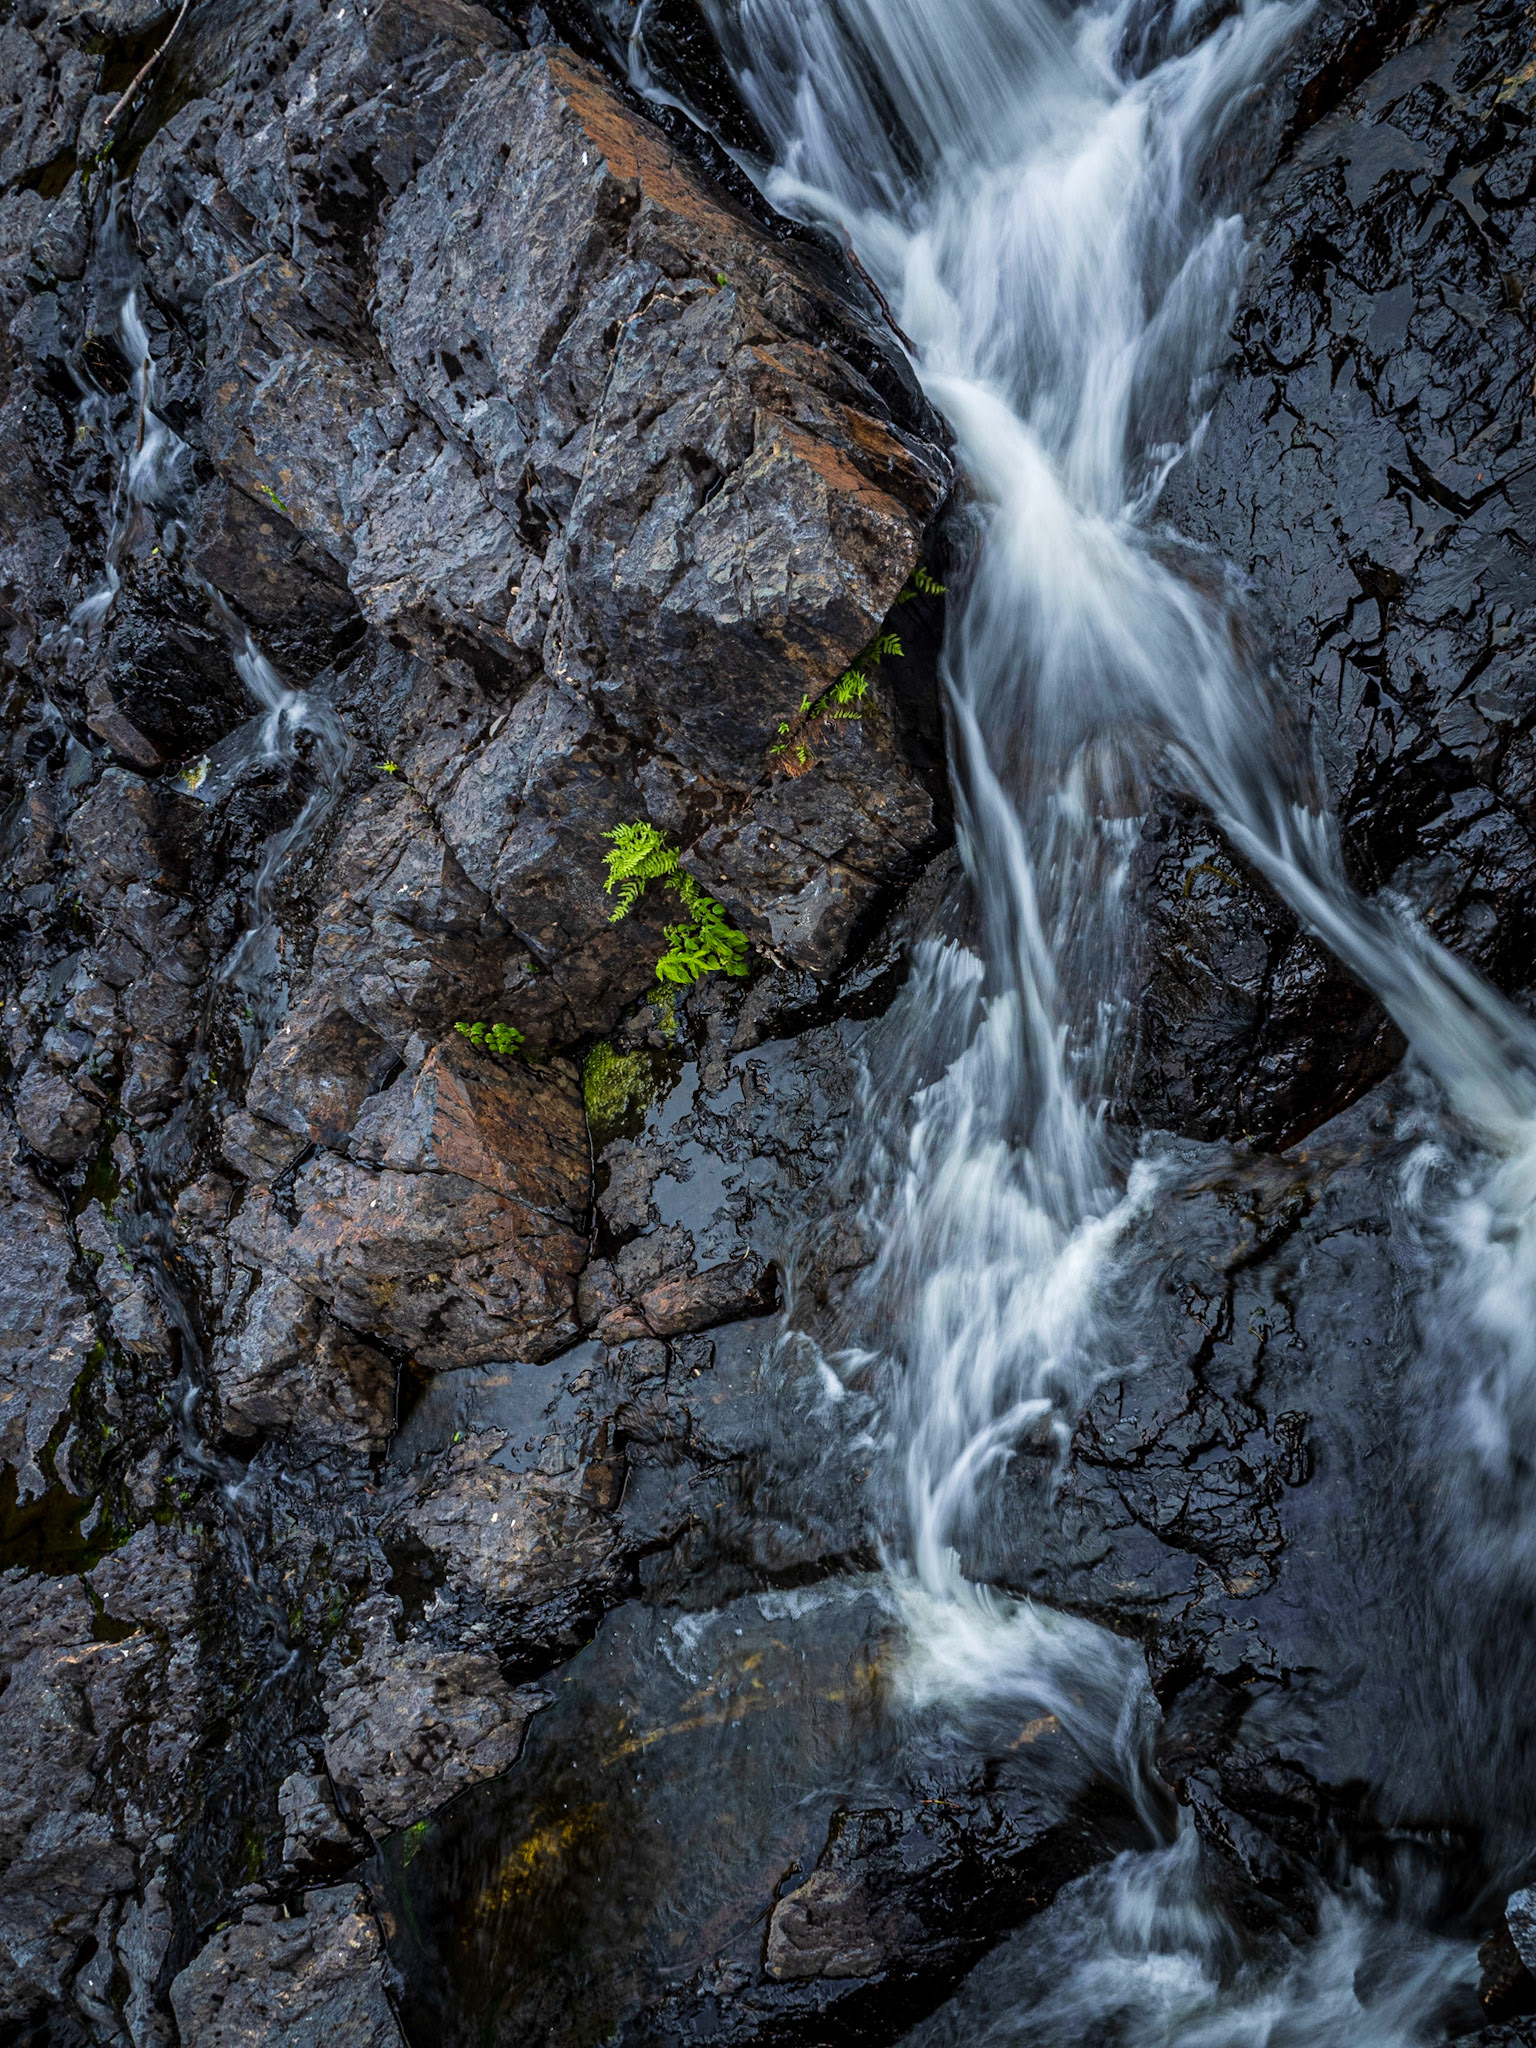
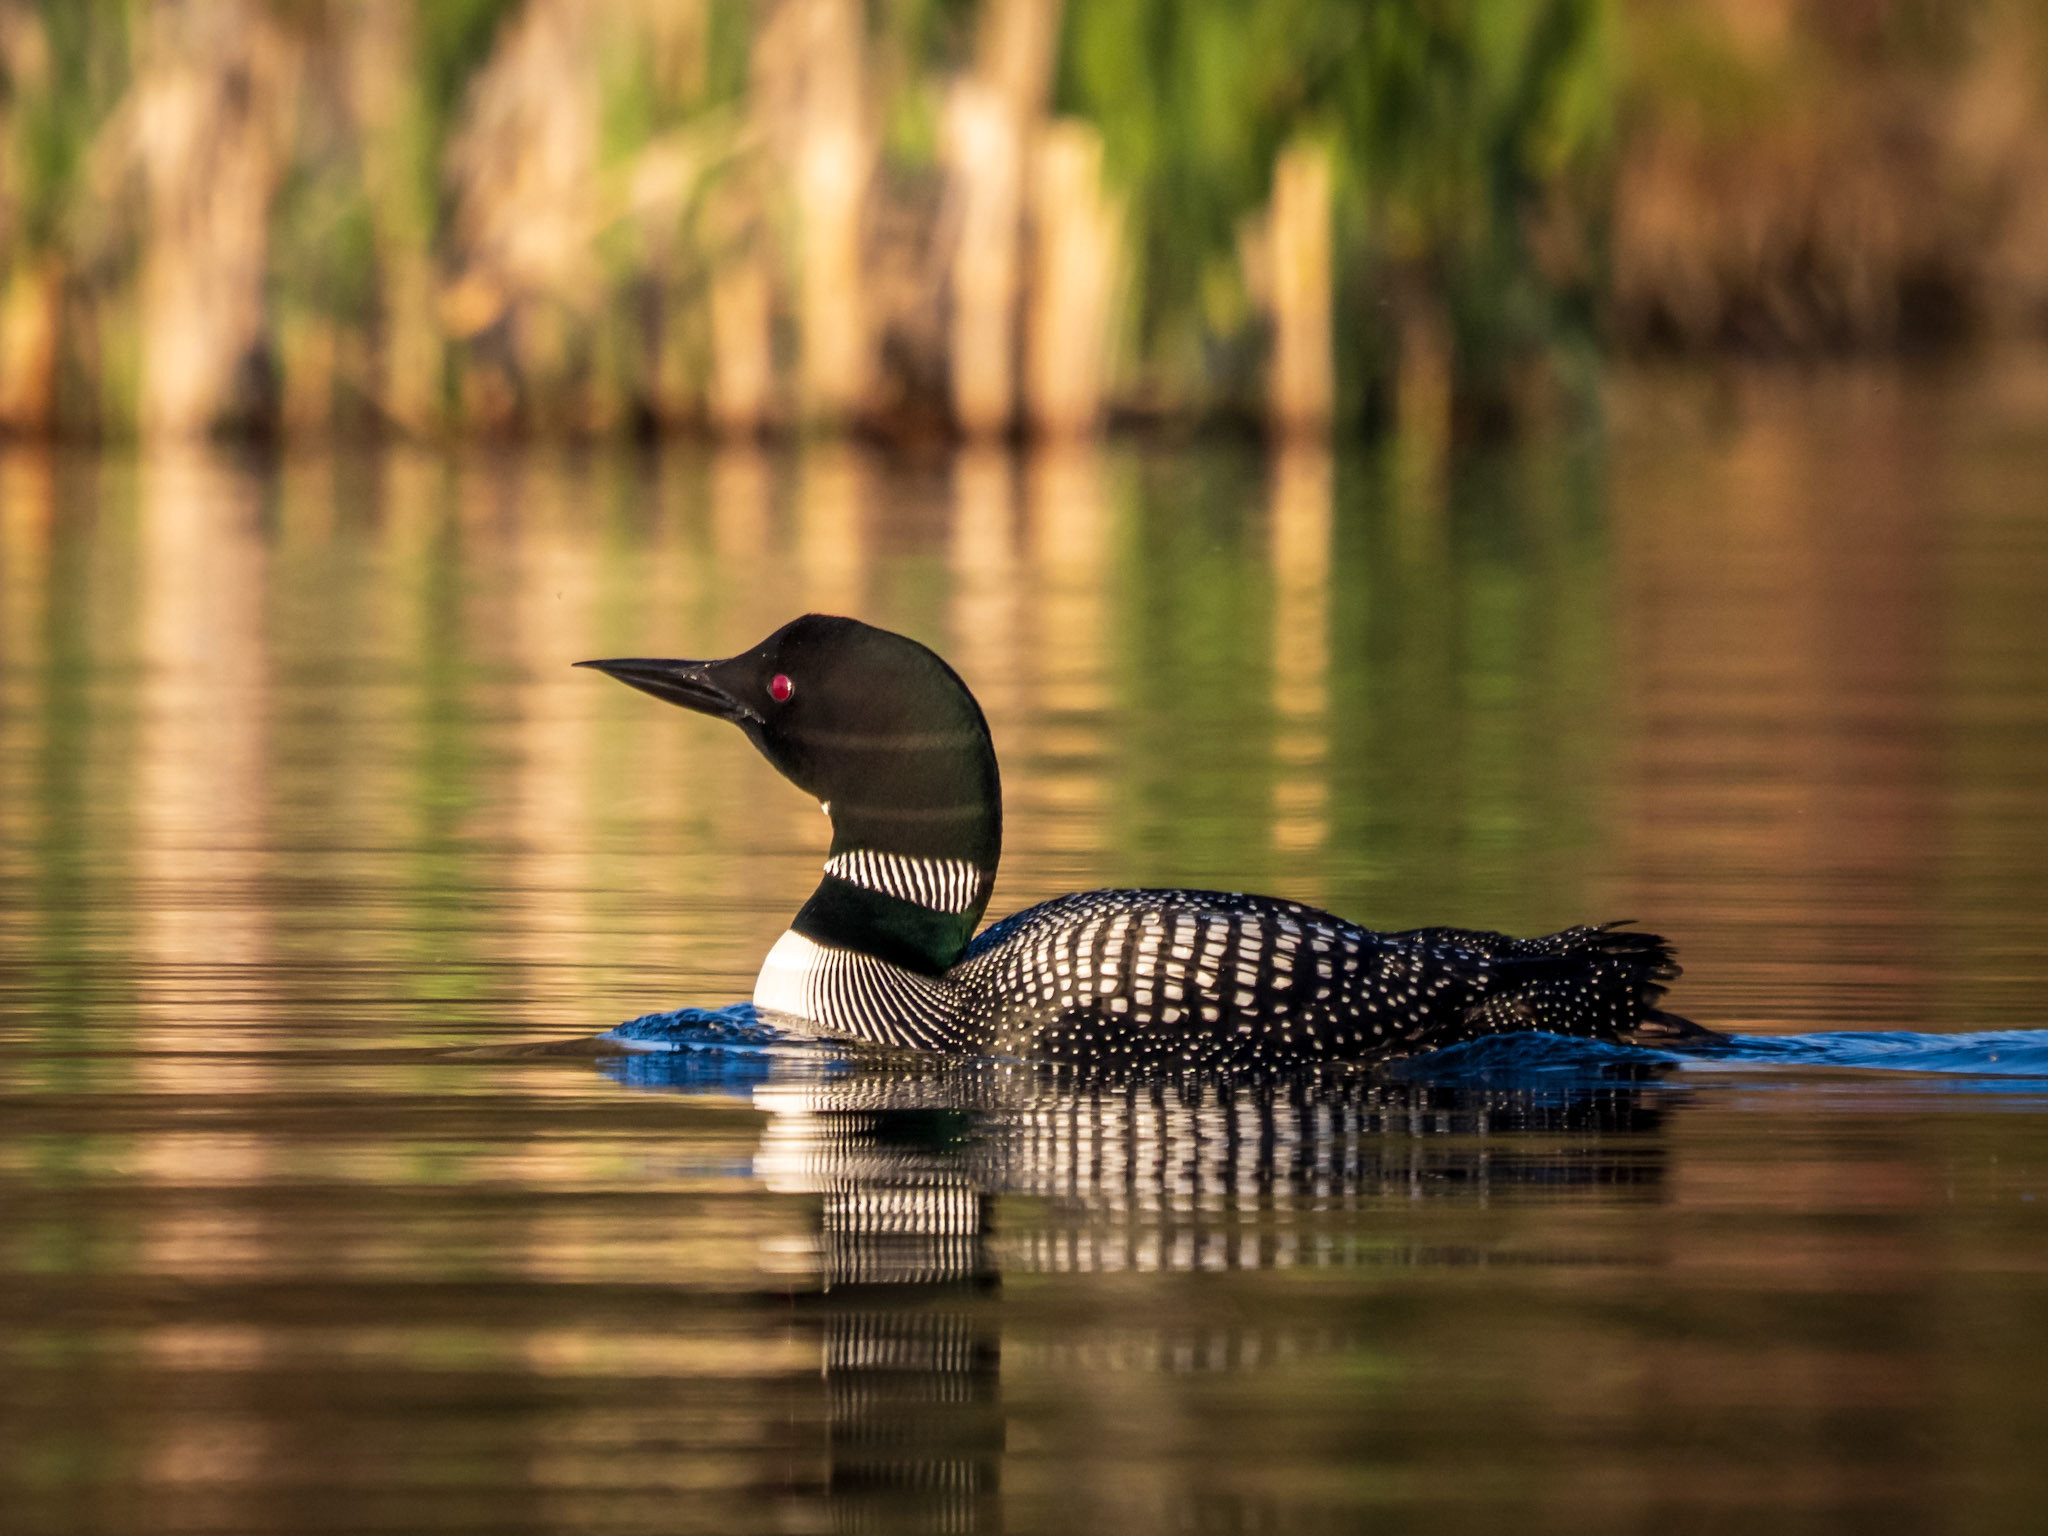
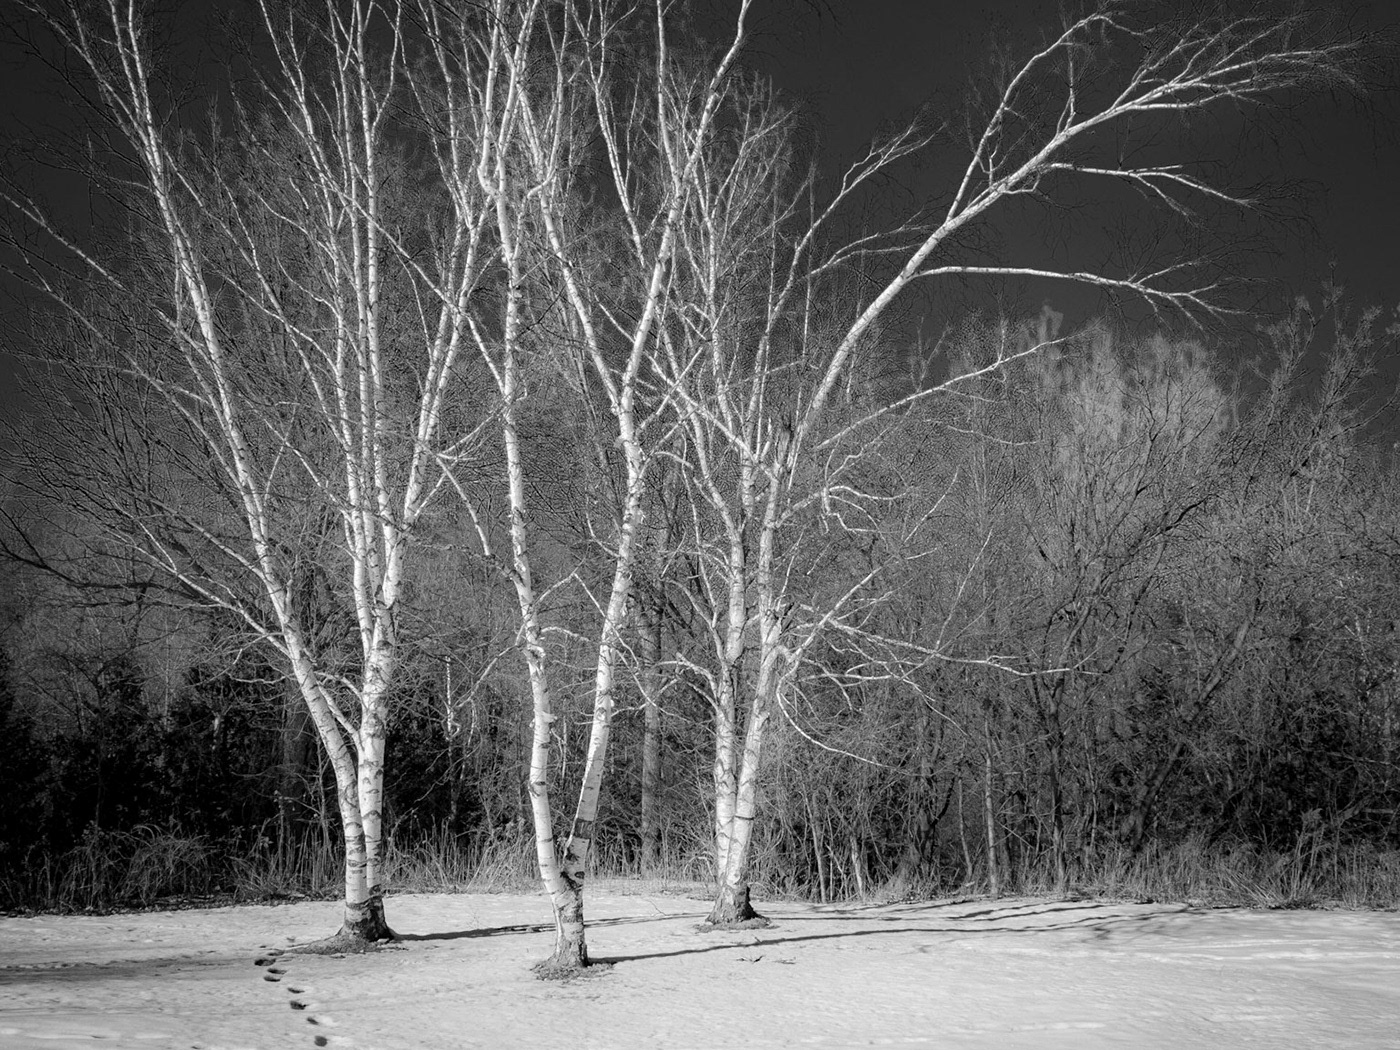
These two frames were captured handheld, using Live ND
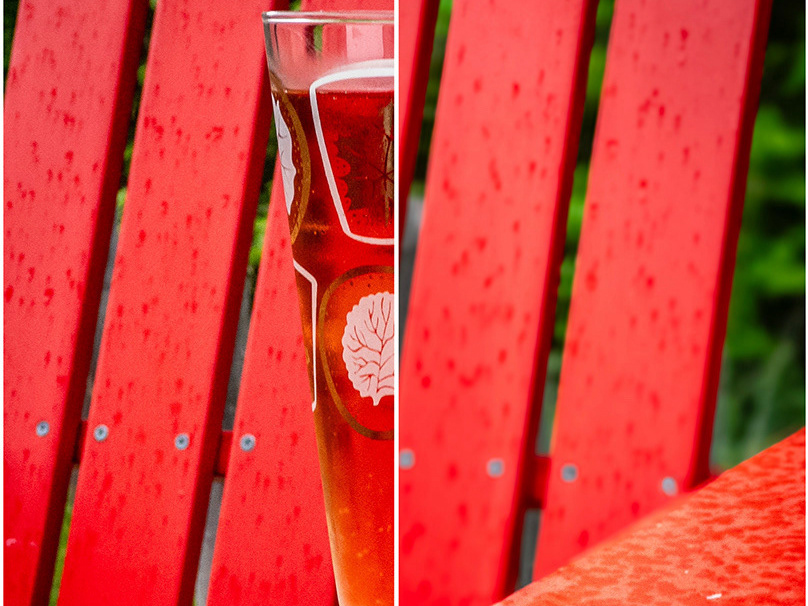
High Resolution Mode
I used High Res mode (tripod-only) in my EM-5 on occasion. I think this was partly due to the fact it was not a habit for me. But I've found myself engaging Hand Held High Res (HHHR) and Tripod High Res more often with the OM-5, in part due to the fact I can now create a set of "favorite" modes in the main menu system, and also because I'm taking more advantage of the custom modes (which were also present in the EM-5, but I did not use them).
I really appreciate this mode. The ability to create an 50MP (handheld) or 80MP (tripod) file from a 20MP camera sensor opens up some great opportunities for high resolution output. In this mode, the camera captures captures multiple images and blends them together in order to create a higher resolution file. Aside from a higher res file, other benefits include lower noise and better dynamic range.
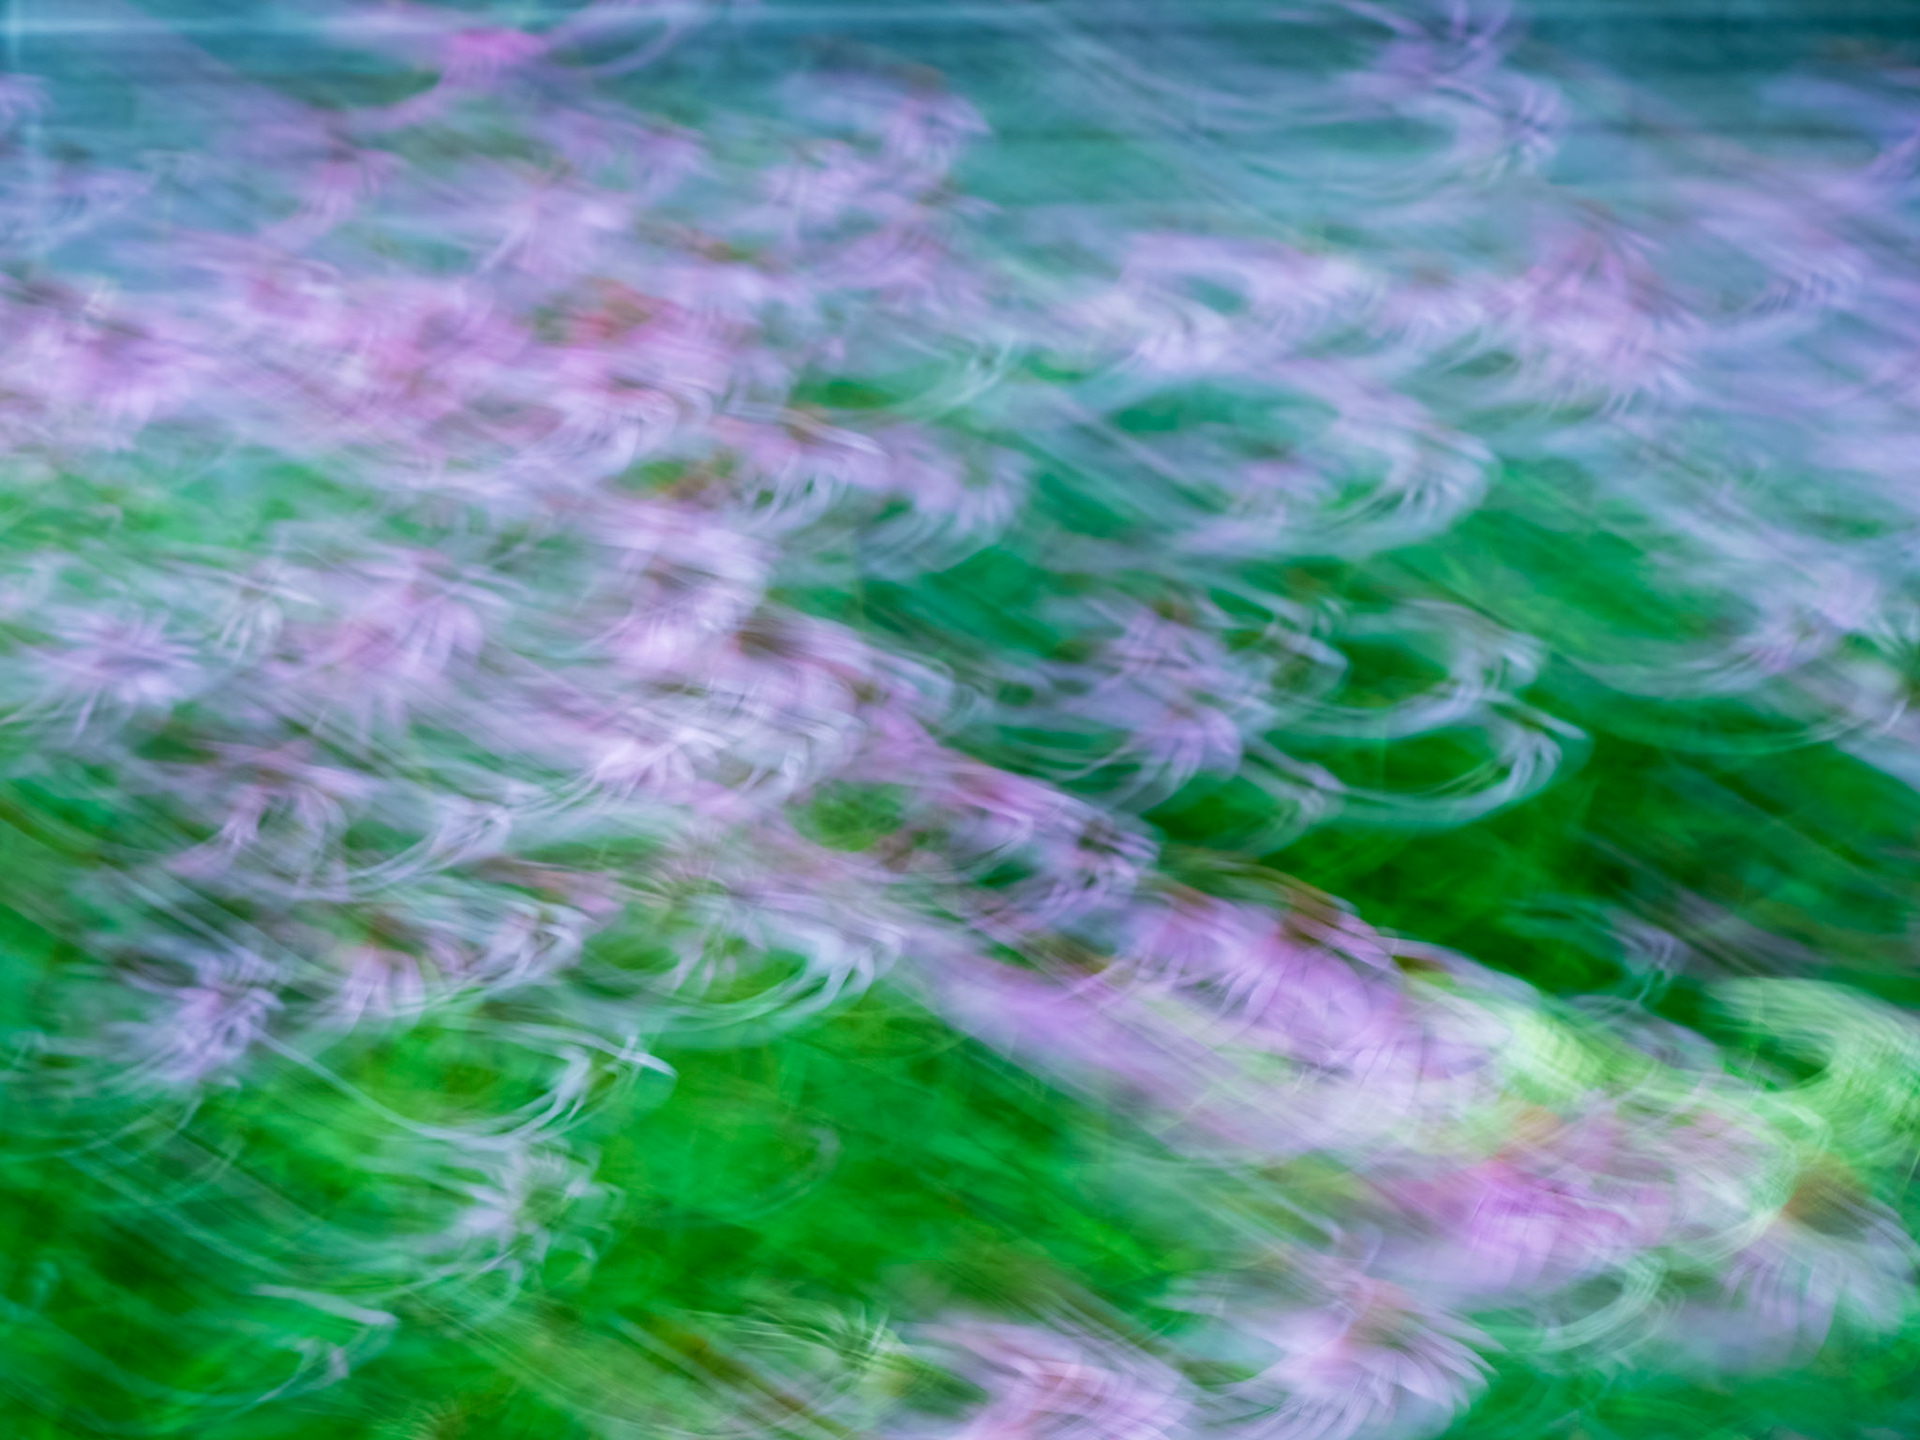
One caveat is that objects in motion may register in unexpected ways. So - ideally - you're using High Res mode in situations where subject movement is minimal.

That said, sometimes subject movement throughout the high res exposure can produce some unexpected, pleasing results.

Starry Sky AF
Before purchasing my EM-5, I loved capturing the night sky with my Nikon D-750. With my EM-5, I struggled making these captures, due to a combination of personal lens options/lowlight focusing. The "focus-by-wire" manual focussing and lack of a distance scale on my lenses made it difficult to focus at infinity. So...I didn't shoot night-sky scenes with any frequency.
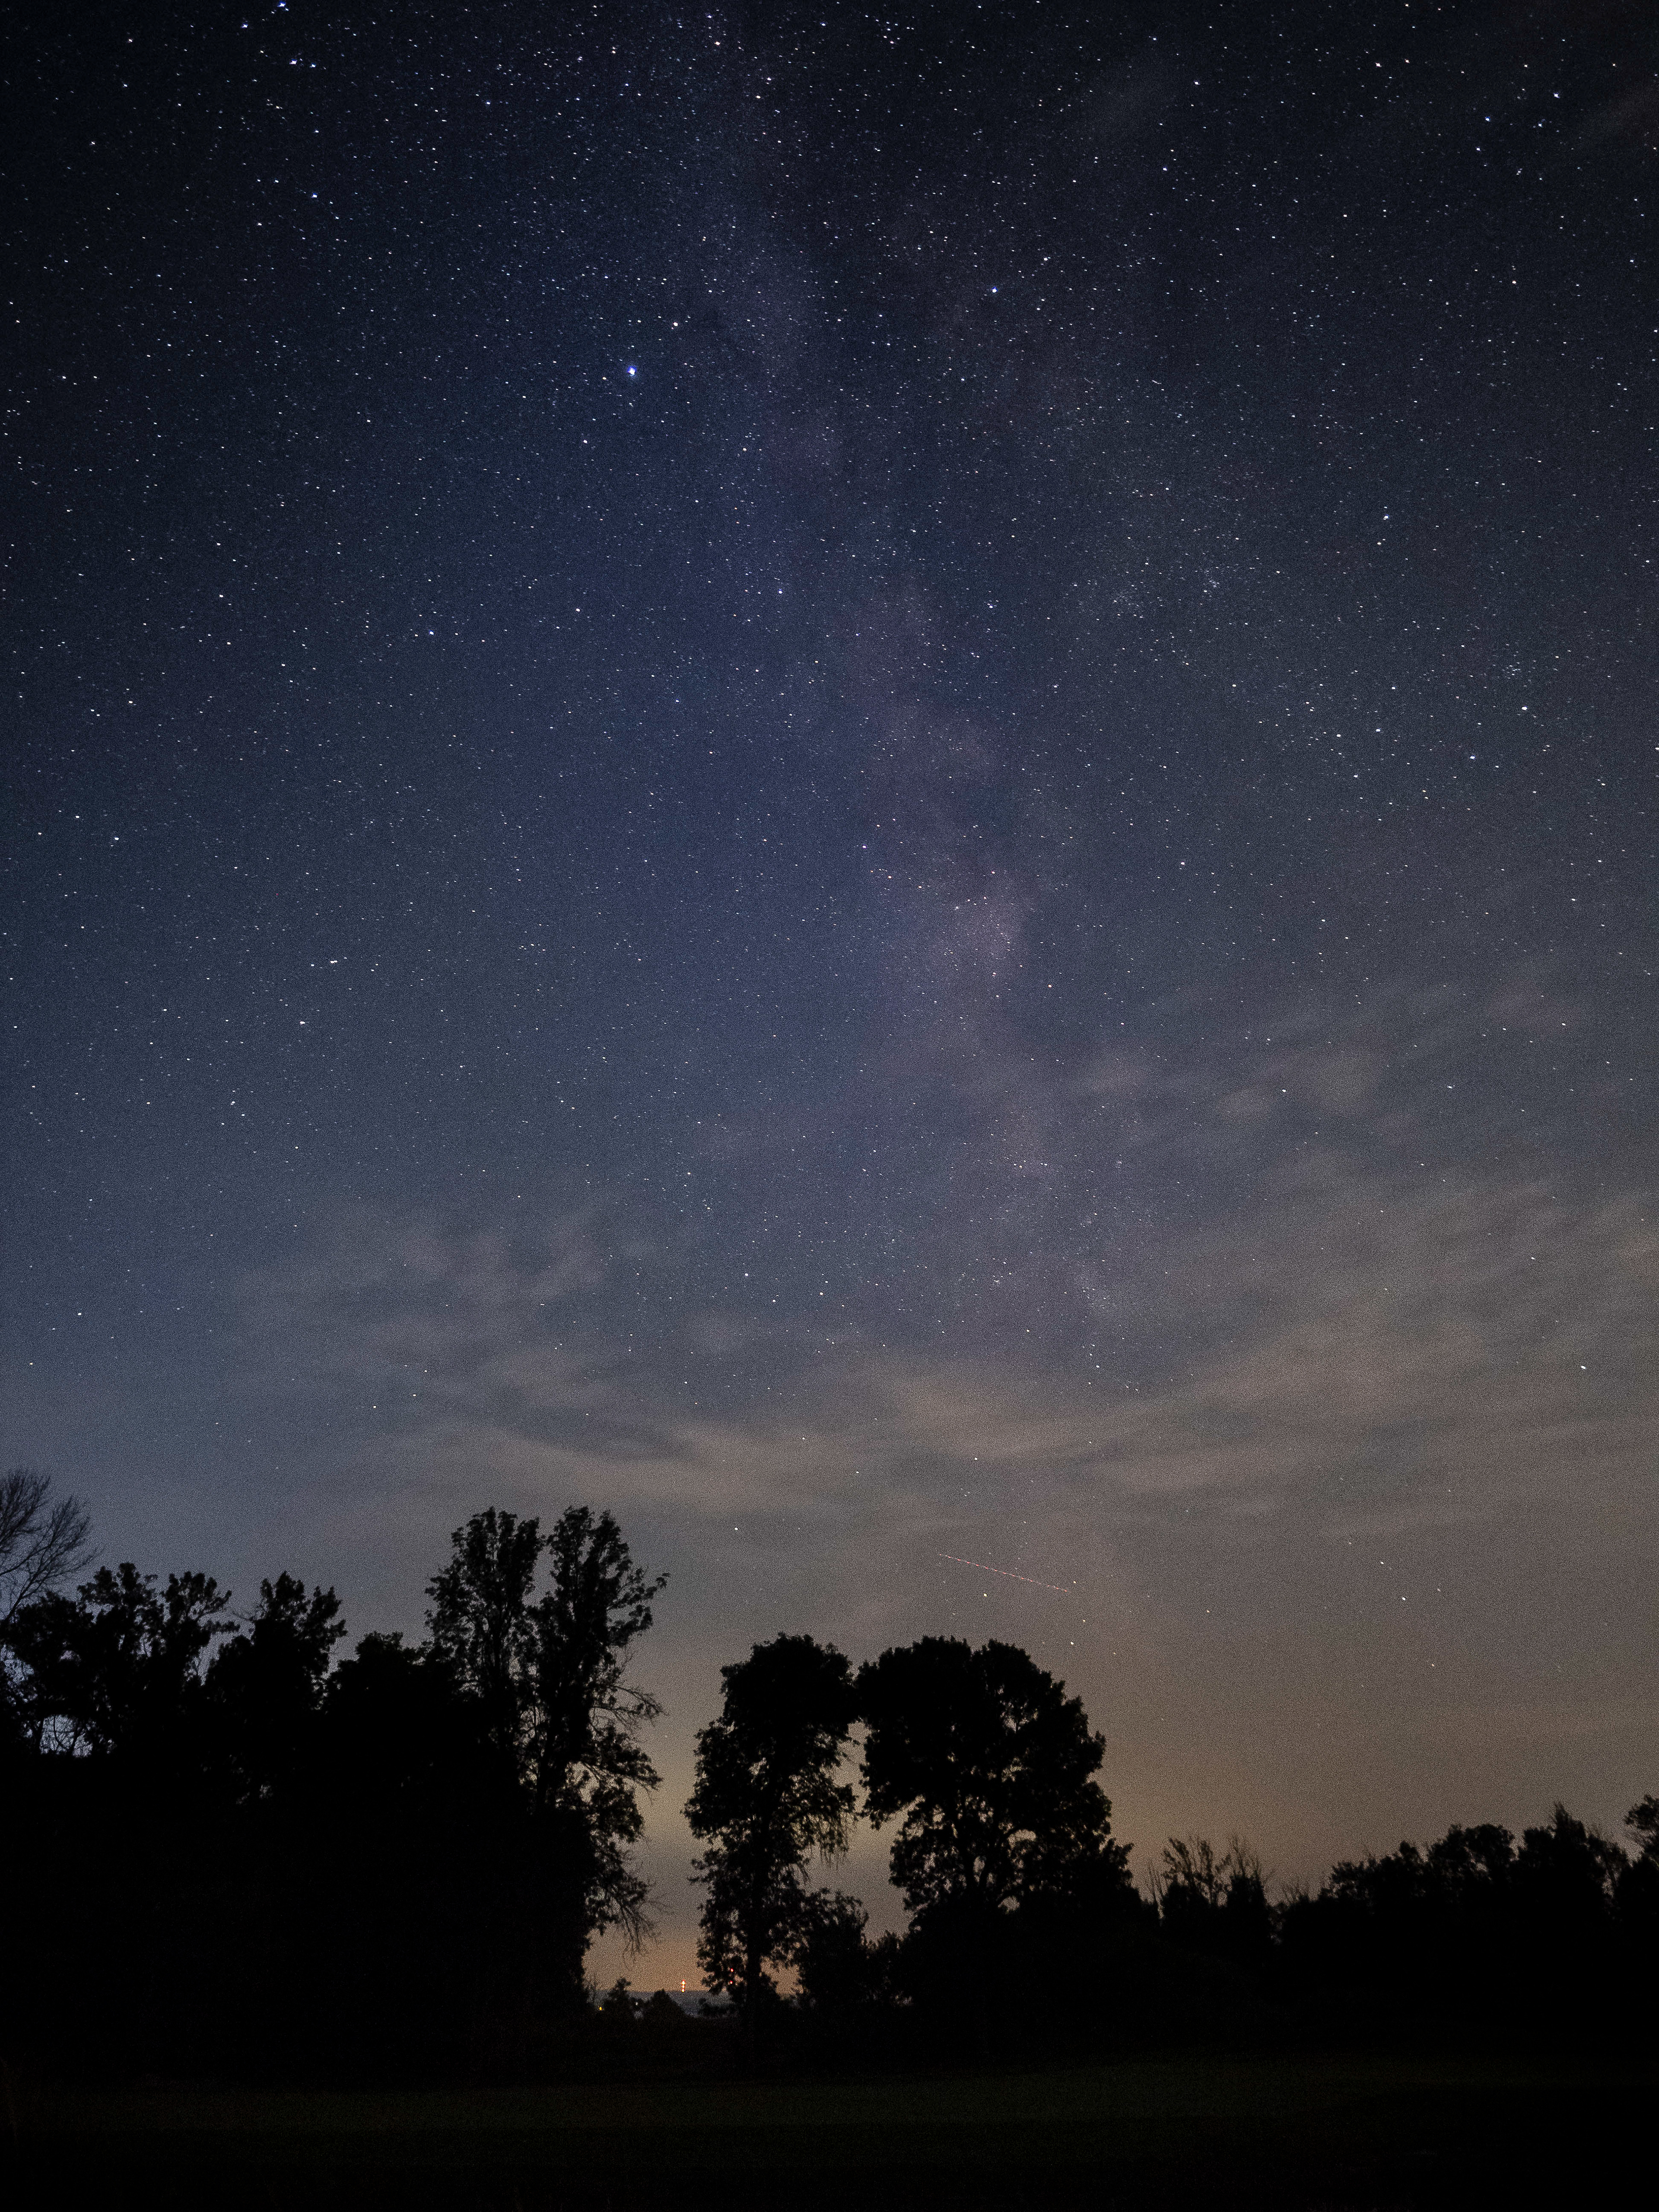
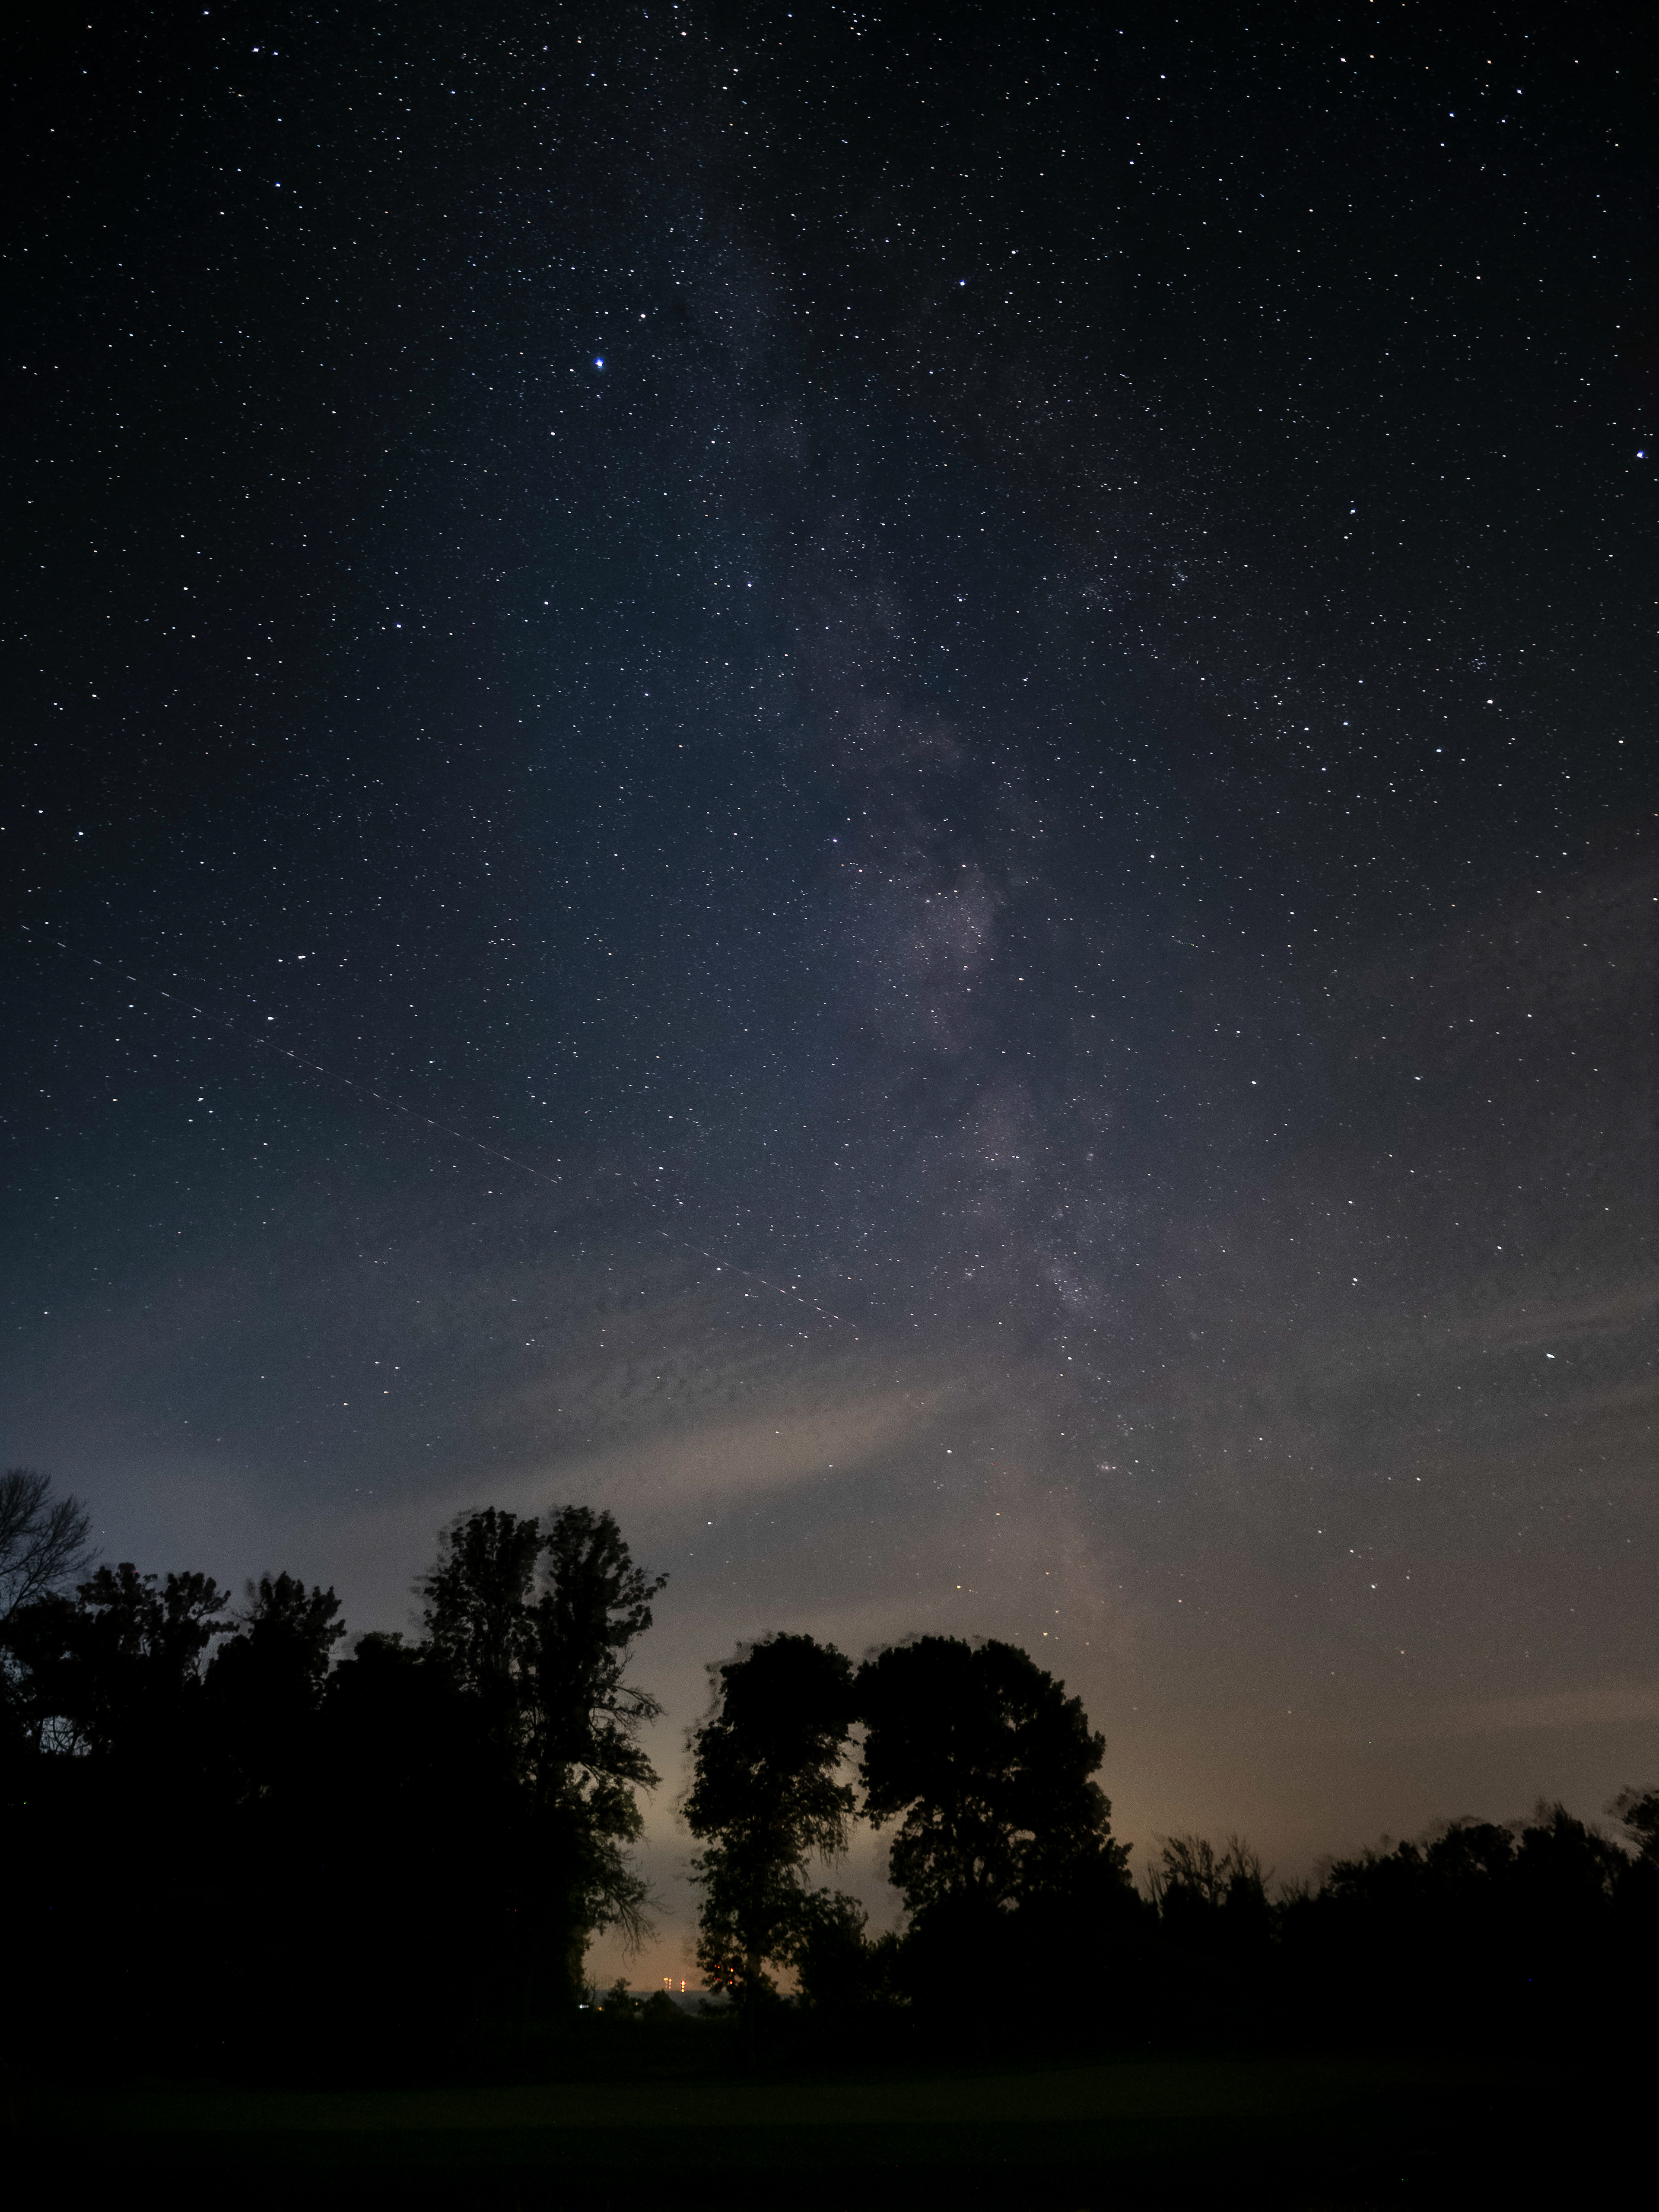
Enter the OM-5 with its Starry Sky AF (Auto-focus), and my acquisition of the Zuiko 12mm f/2.0 lens (purchased used from mbp.com). This super compact, fast lens supports autofocus and even has a manual focus clutch and distance scale. This combination of lens and camera has reawakened in me the desire for astrophotography. Below are only some recent tests. It's encouraging, and yes, I know - colour. I tend to lean towards a bluer sky and I've been called out on it. So below you see two variations.
Note: Manual focus clutch mechanism makes it possible to switch between AF and MF by simply re-positioning the focus ring. Pull the clutch towards you to activate manual focus and push it away from you to activate autofocus.
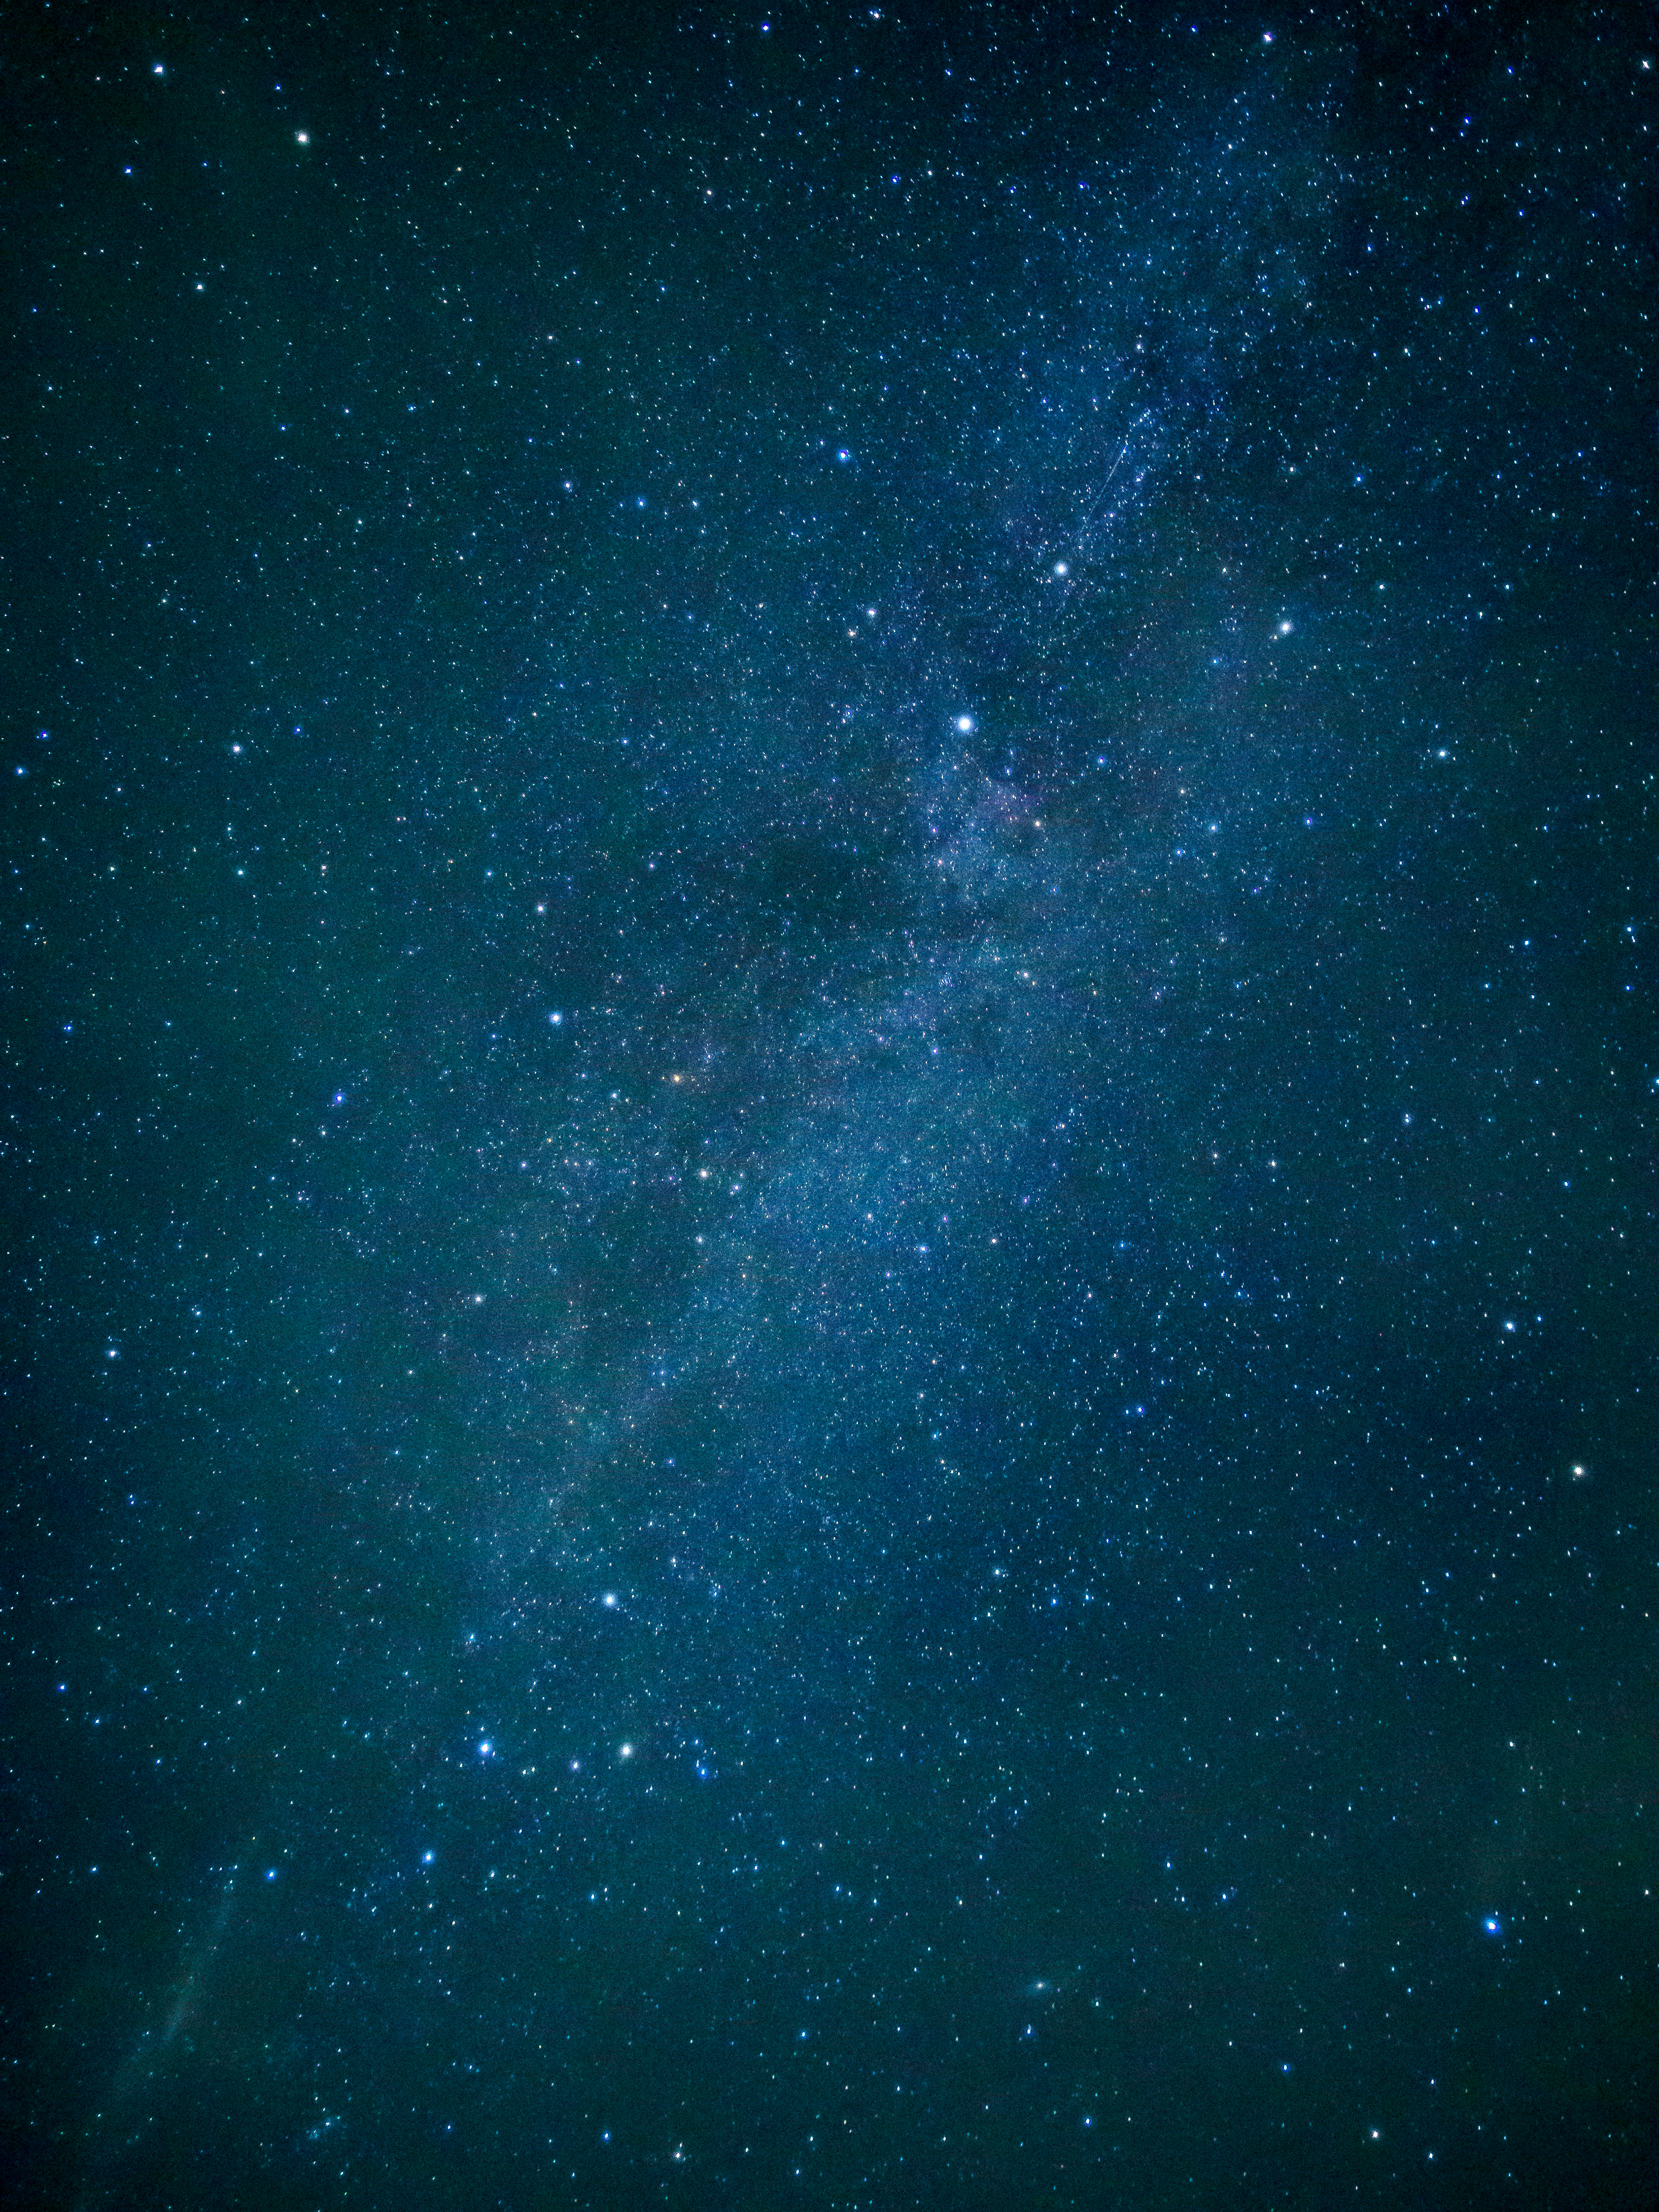
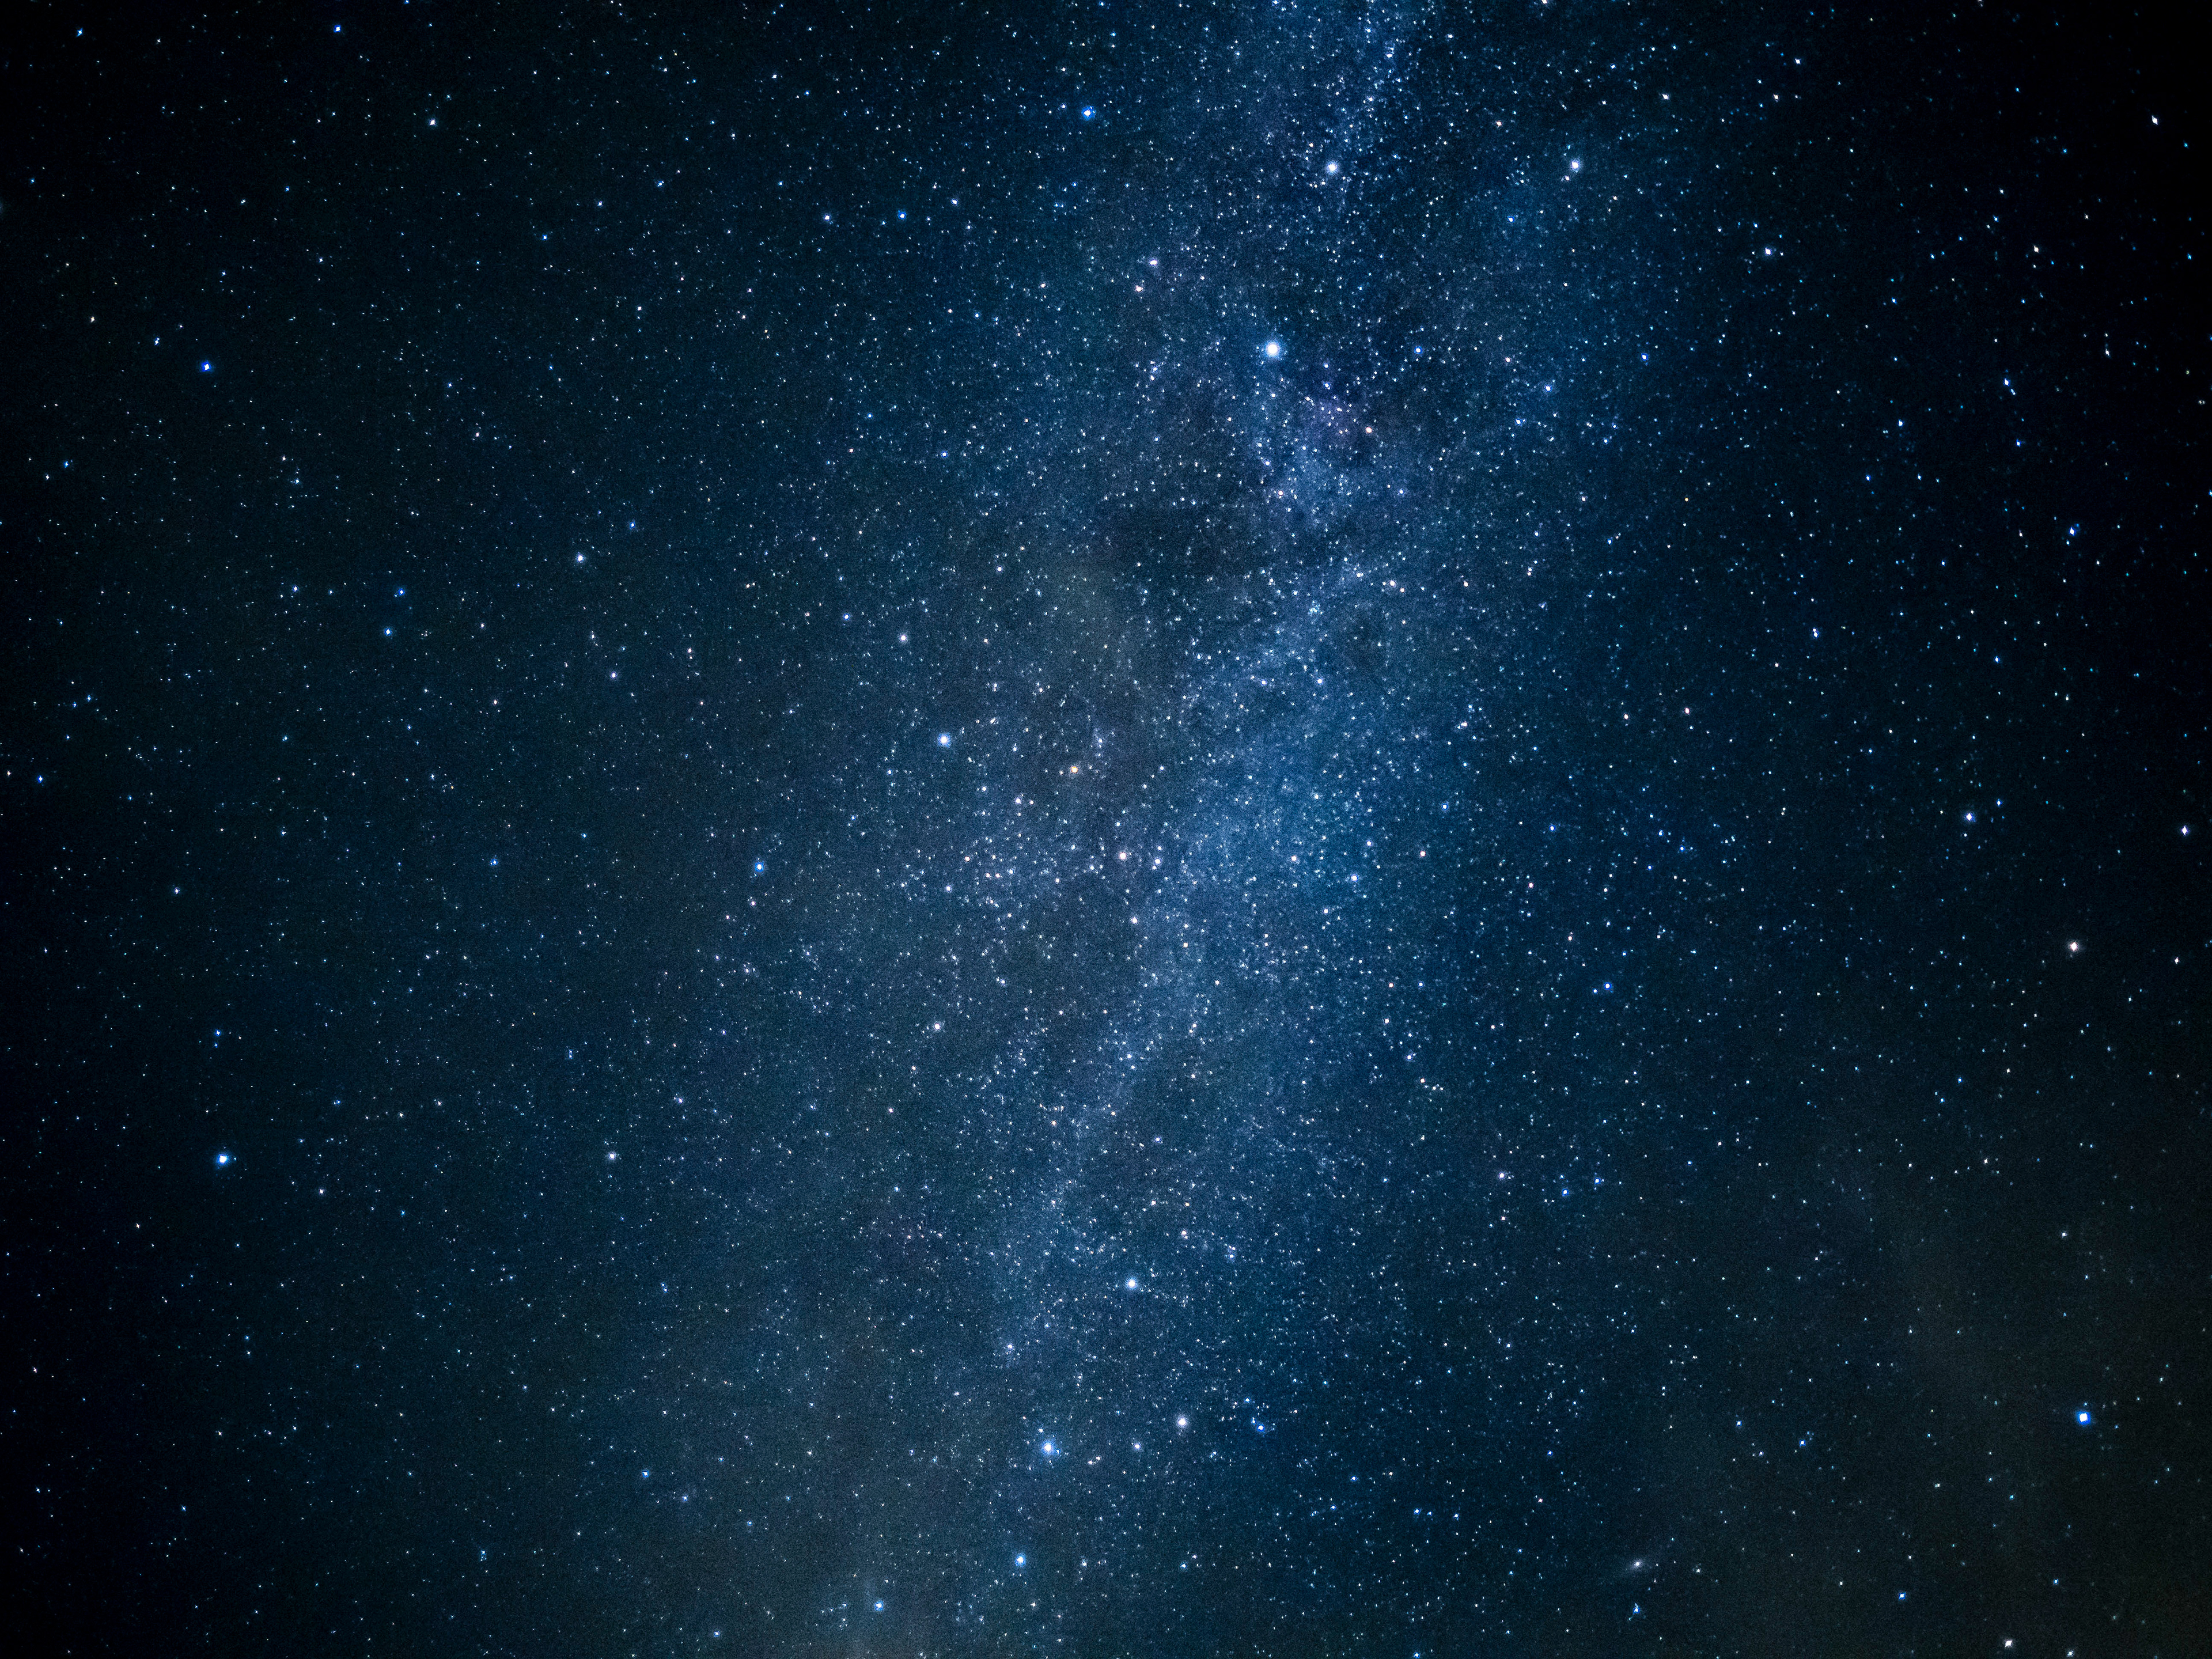
The above two frames were single exposures, each at 20 seconds, ISO 3200, F2.0. 20 seconds should have given me sharp stars, but there was still slight movement. I made a note to reduce my exposure slightly the next time I went out.
Other than focus the main challenge with photographing the night sky can be in keeping the stars pin sharp and not blurring with the rotation of the earth (star trails). When exposures are very long, this is done with special equipment that tracks the stars, moving your camera to follow them, and eliminating any star trails. Well, I learned of a new technique where you can create somewhat of a "star tracker hack," using a tripod and handheld hi res mode, giving me the benefits of lower noise, higher resolution and sharp pinpoints for stars.
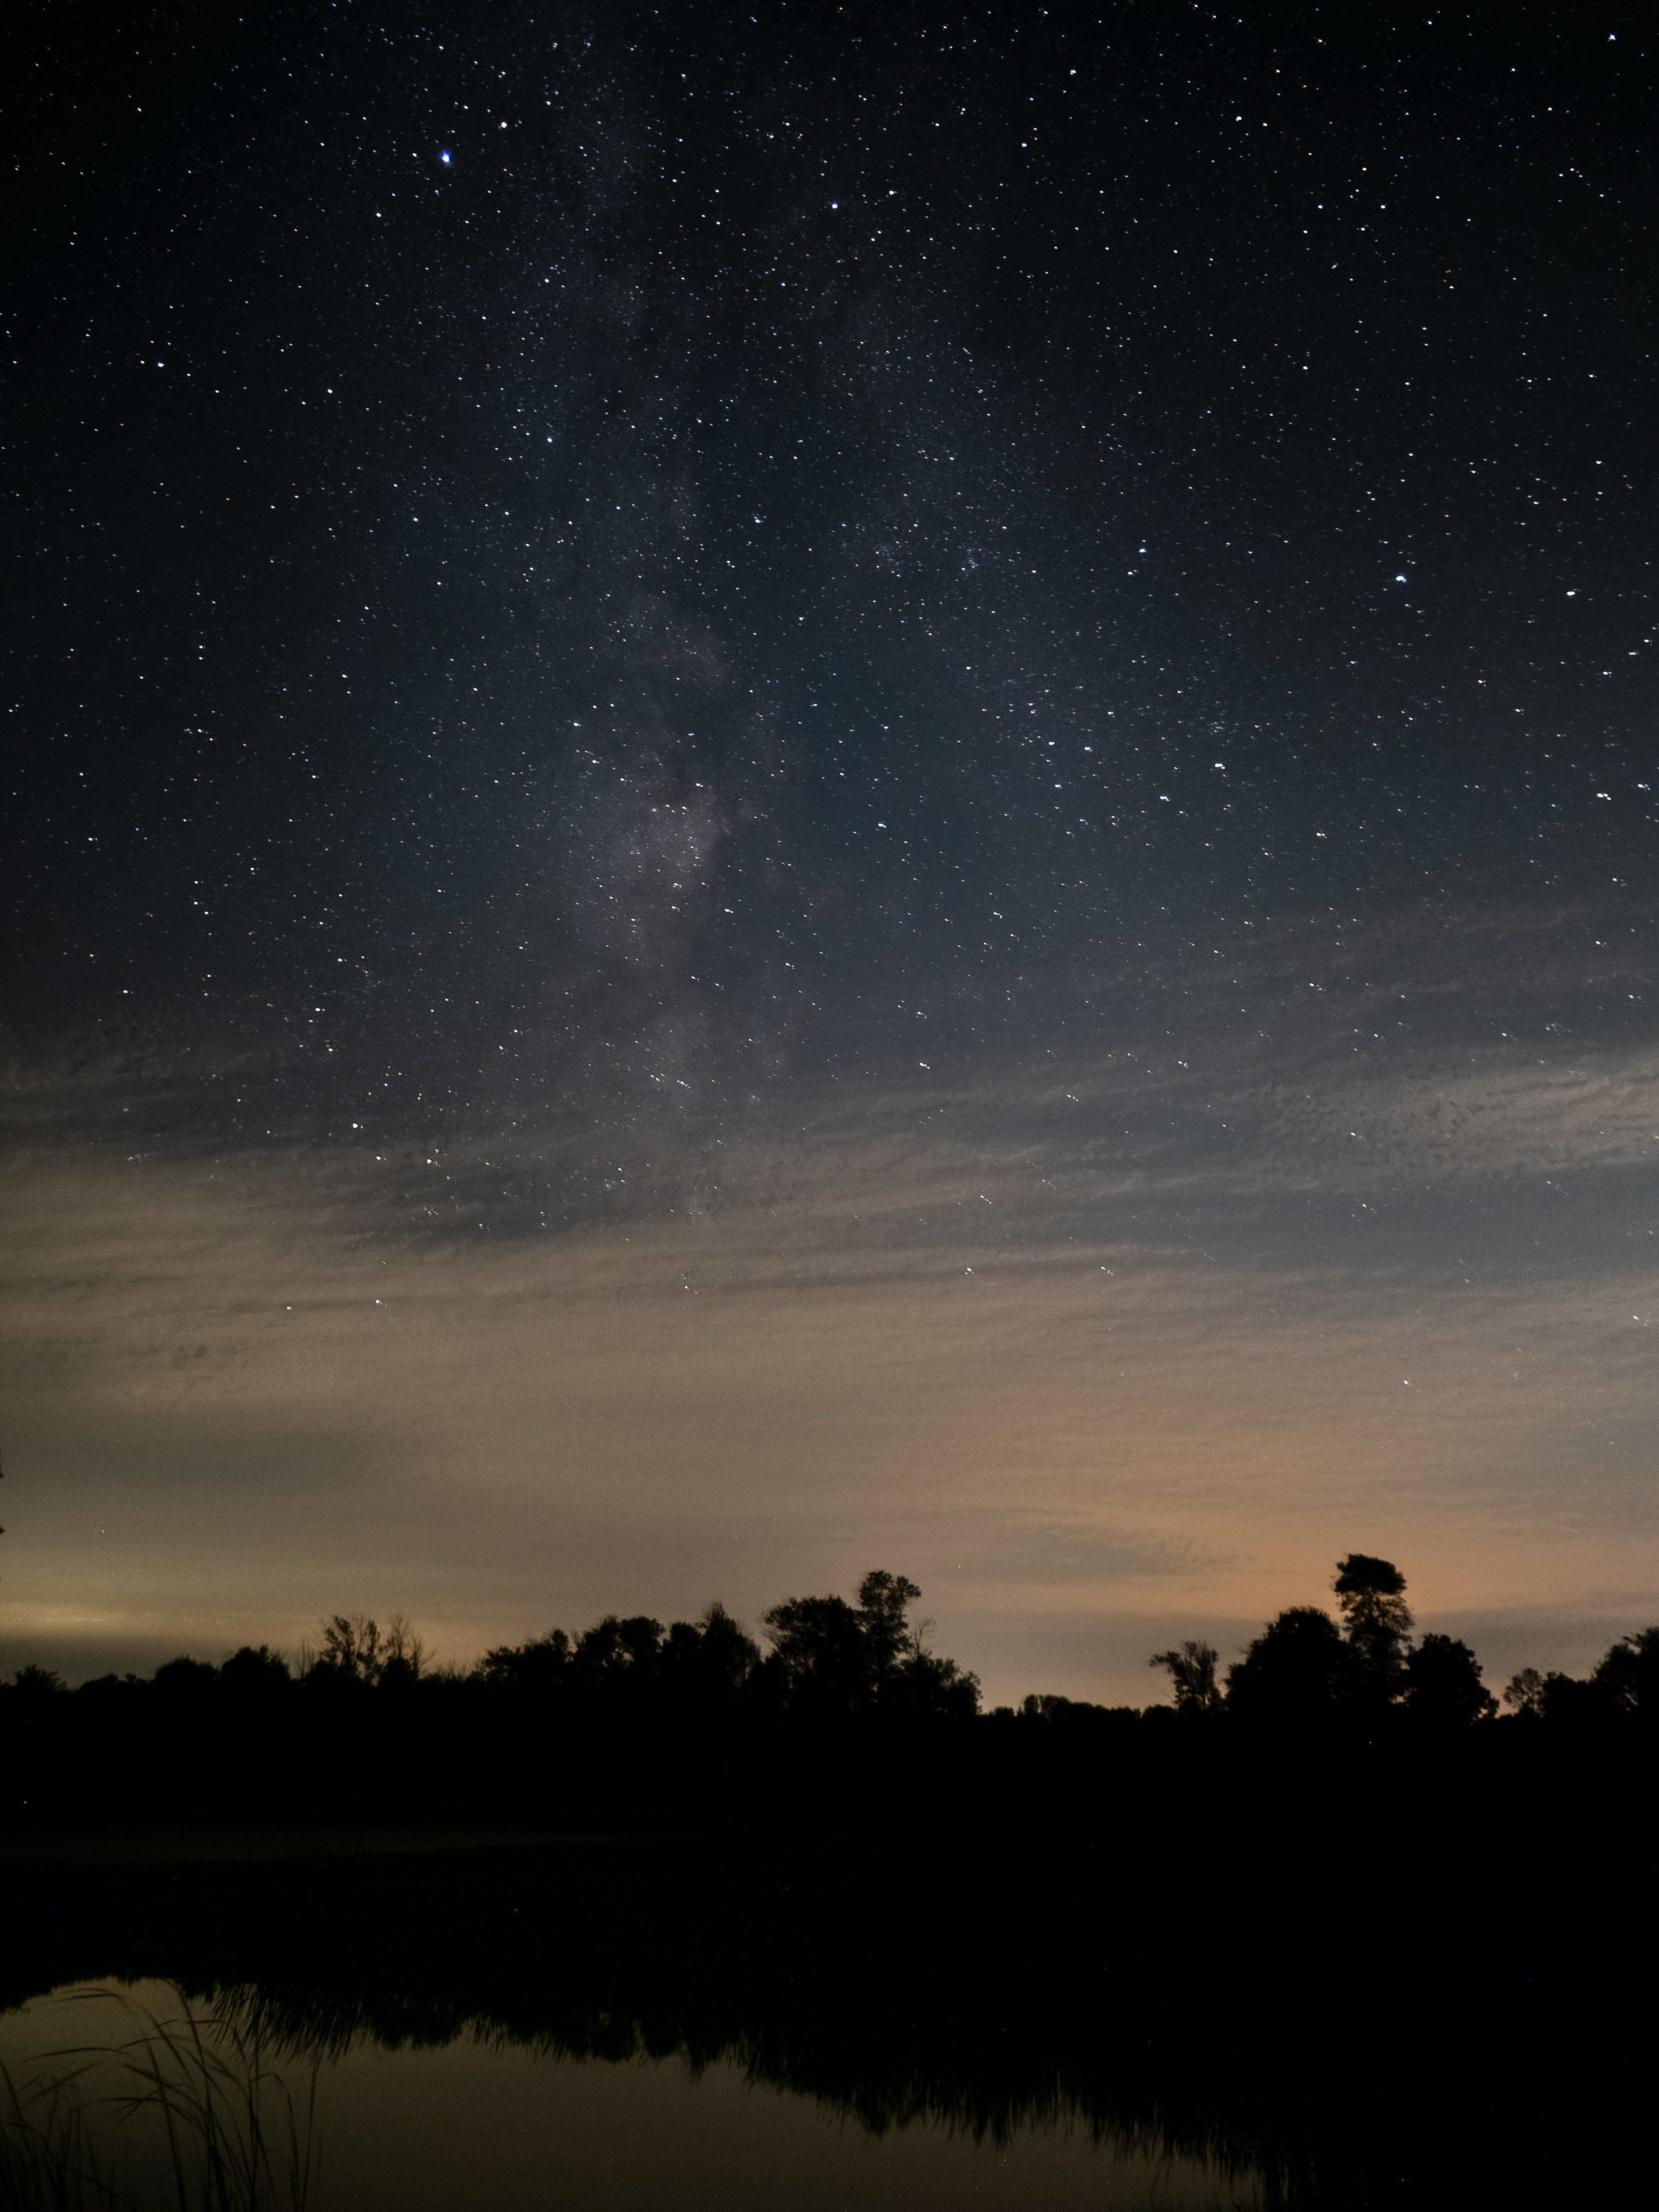
I locked my camera onto a tripod, composed my shot with only the slightest amount of foreground in the scene - or preferably no foreground, made sure Handheld High Res (HHHR) was engaged, and then activated Starry Sky AF (I have this turned on through a menu favorite as well). To eliminate camera shake, I triggered the shutter using the OM mobile app. You could also set up a timed delay for HHHR if you prefer to use the shutter button.
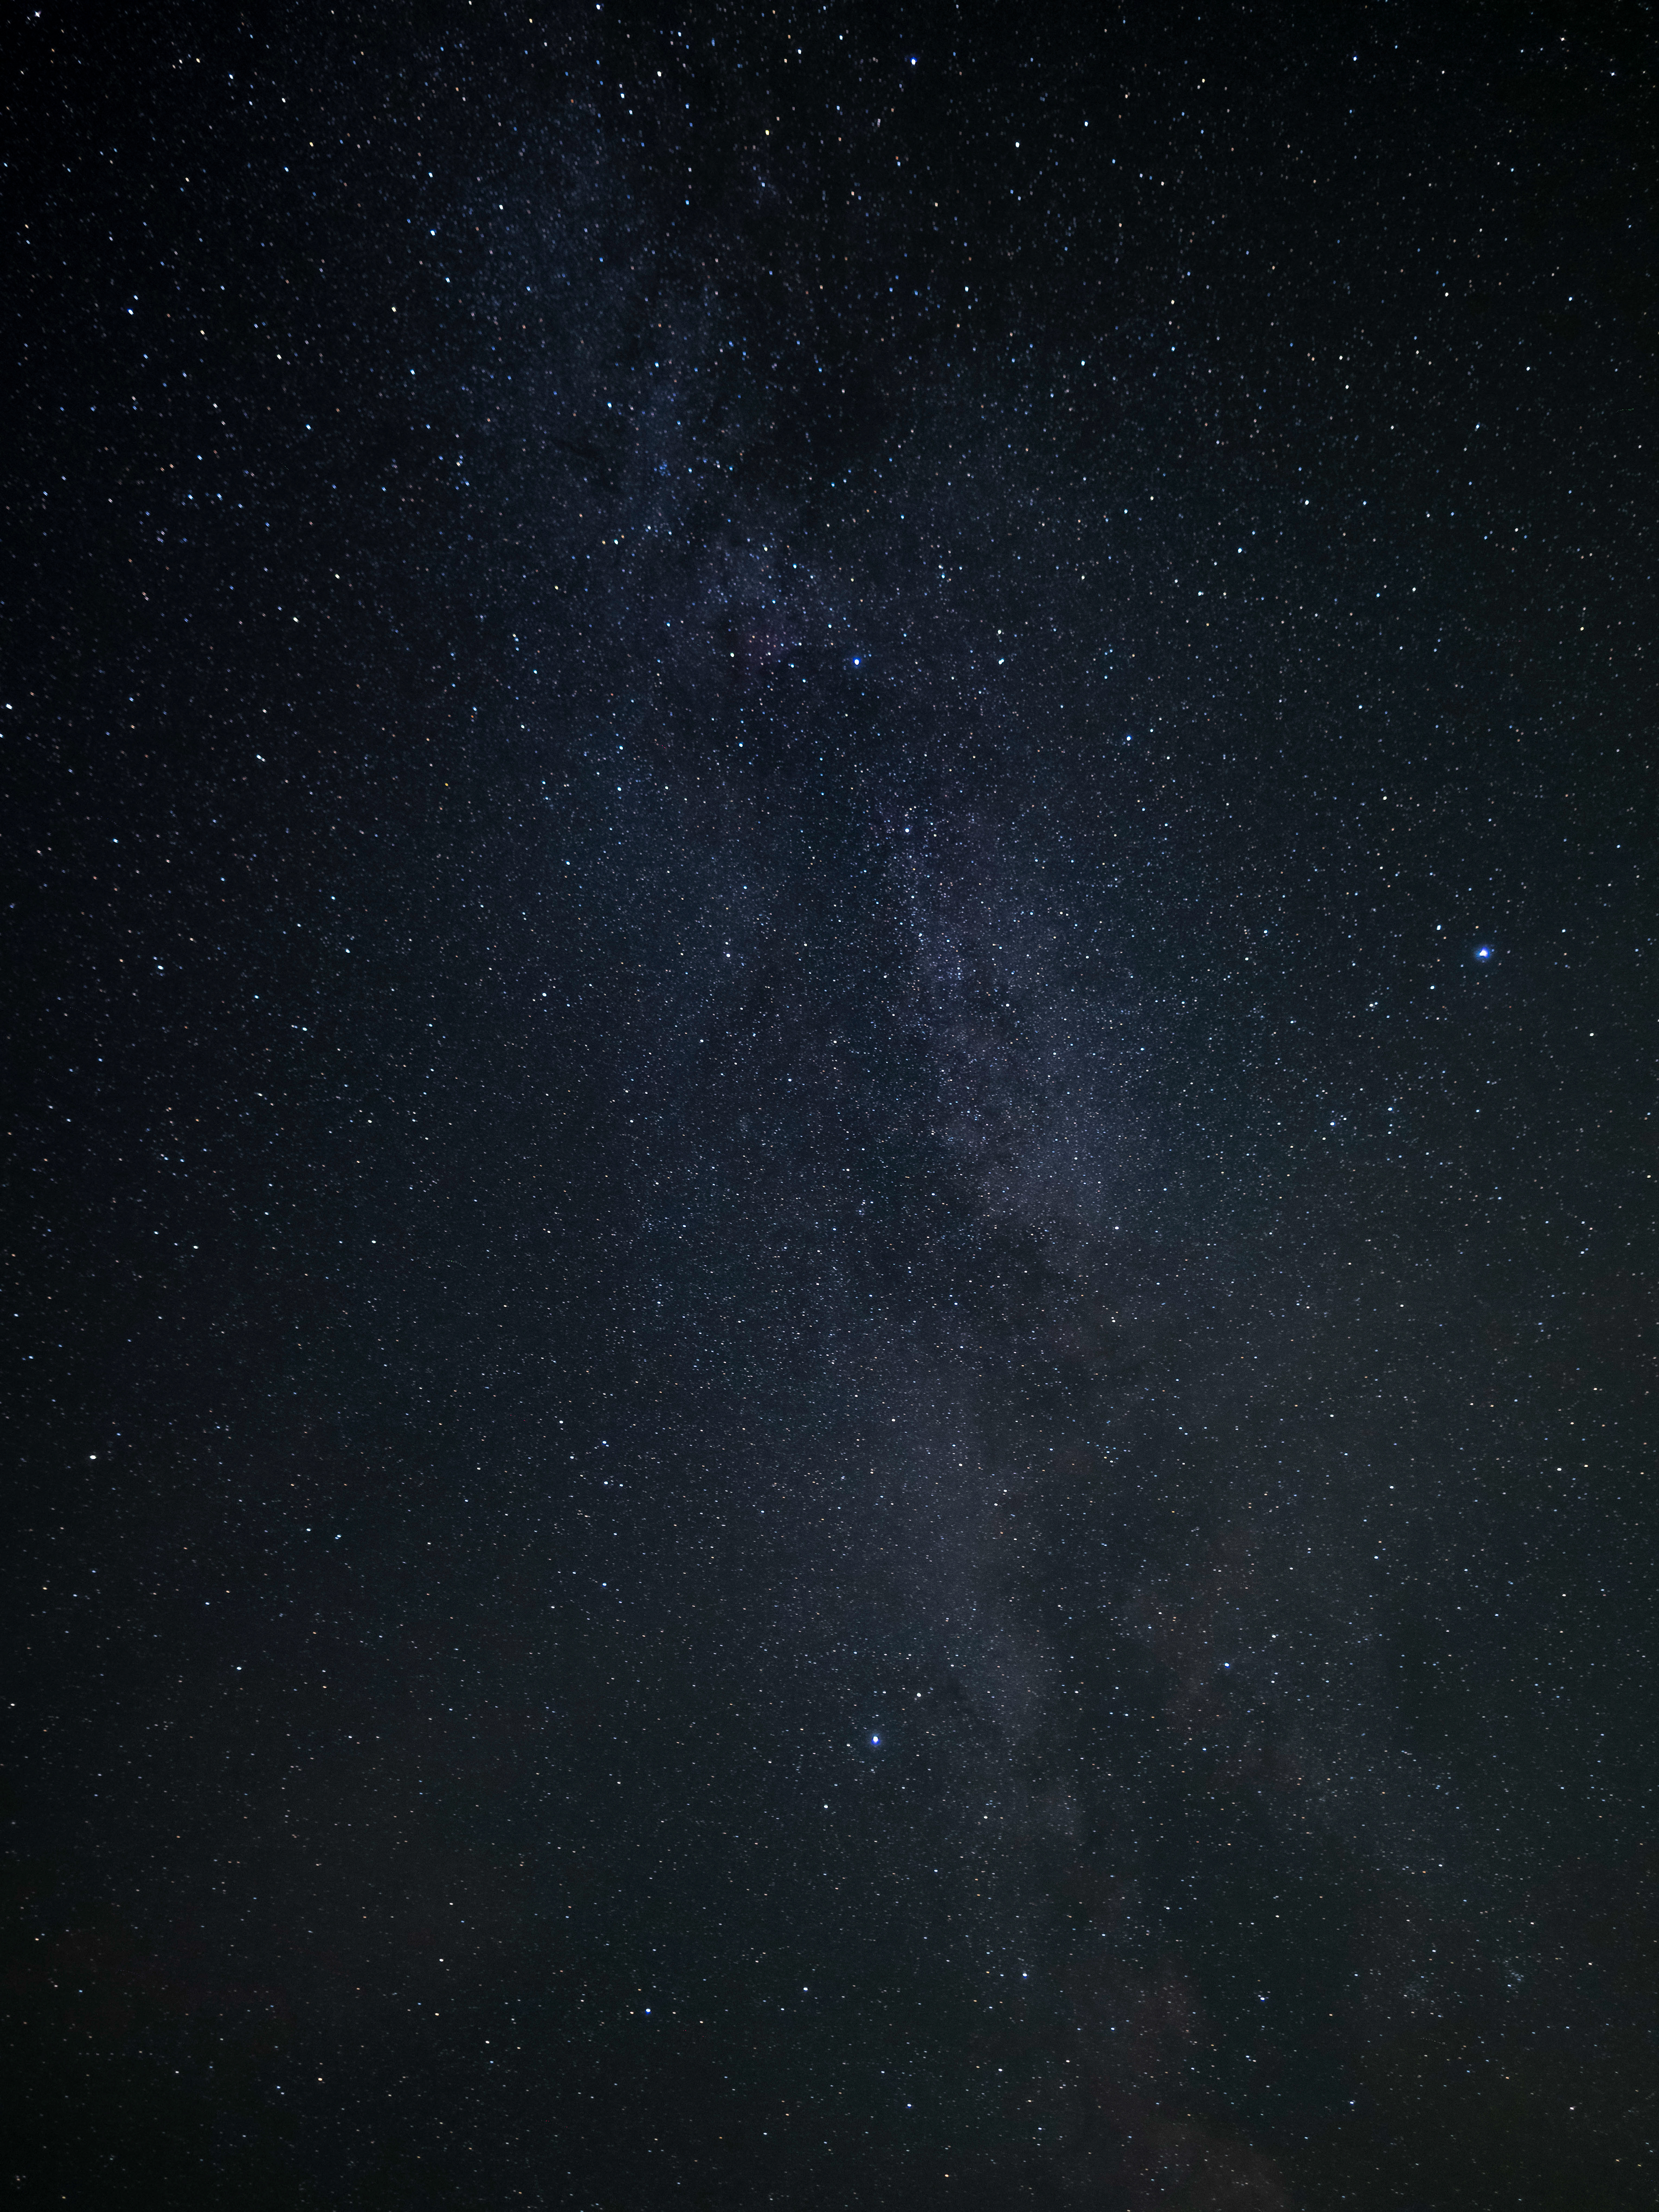
Exposure: 15 seconds at F2.0, ISO 3200, post processed in Lightroom Mobile/Classic
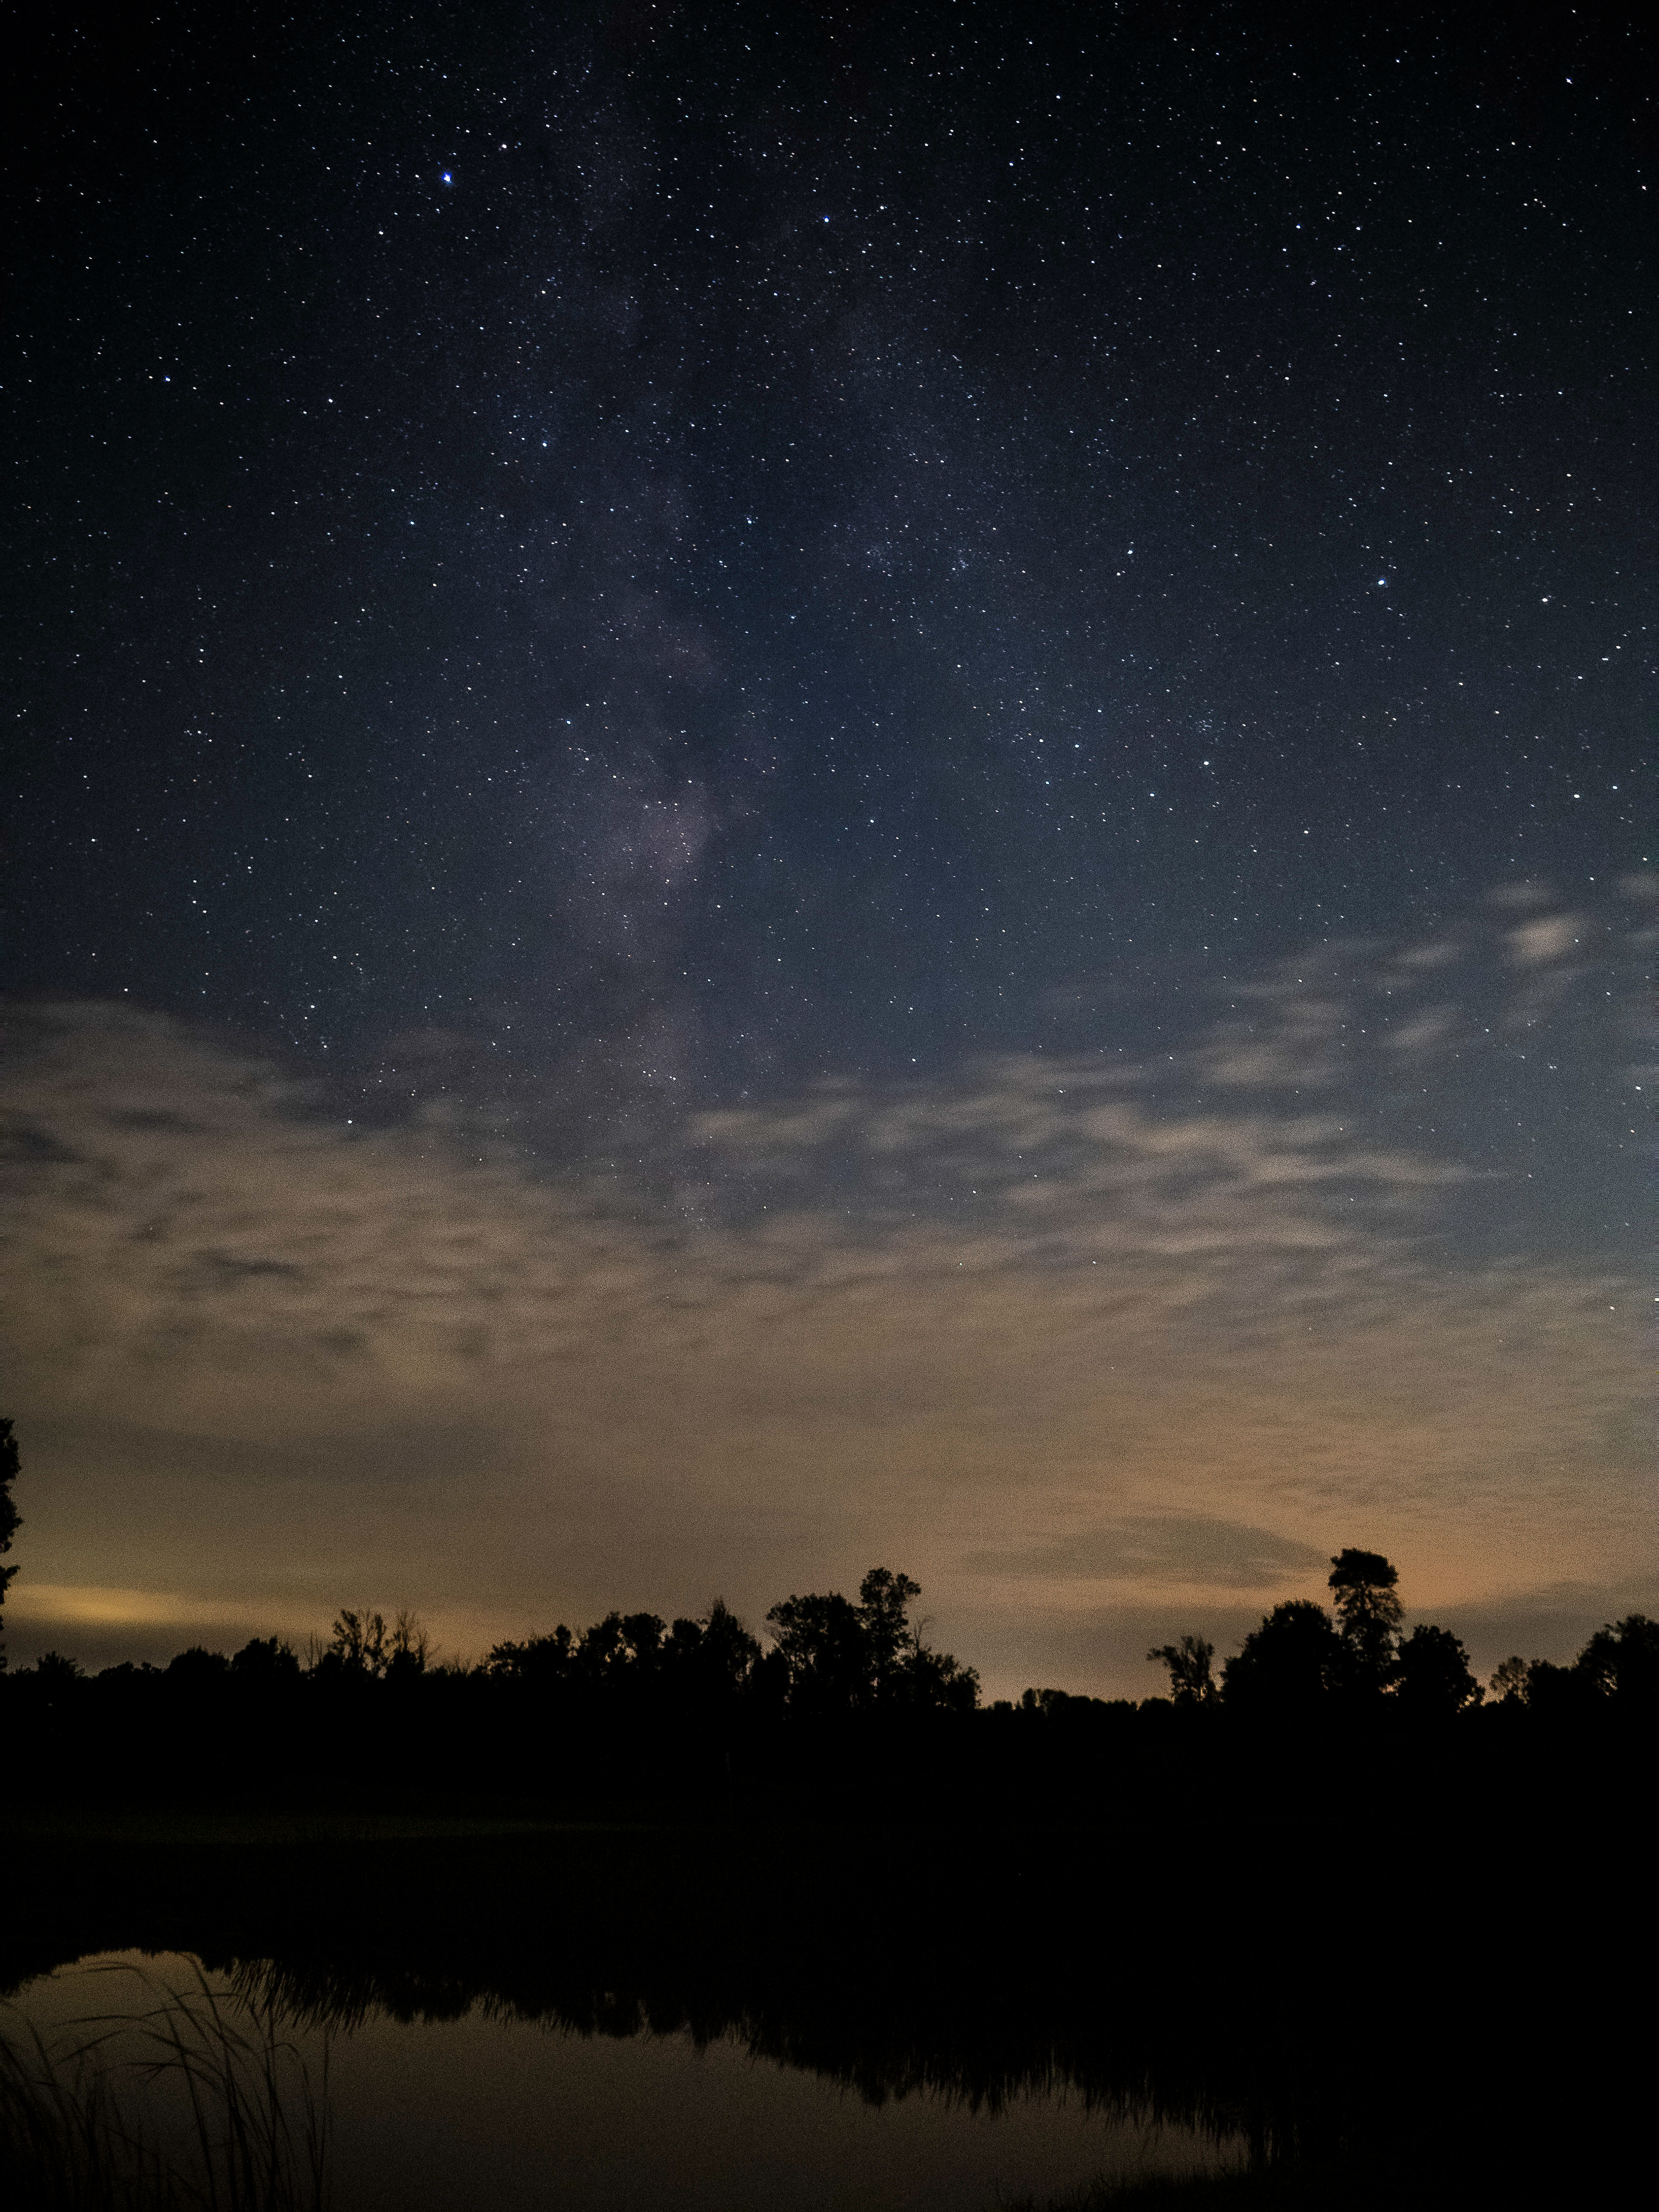
Including foreground in this type of HHHR shot can be tricky and not often successful. The foreground amount must be kept to a minimum, or HHHR will struggle to keep anything aligned. Below is a traditional, normal resolution image on the right (15 seconds) and on the right is and HHHR version, 15 seconds (x number of frames used, which I think is 16 frames. In this case, I would class the HHHR shot a failure. Not so much because of the blurred foreground, but the sharpness of the stars was also compromised.
The example below is a bit better, although the stars are not still perfectly sharp. Again, the left images is a single frame long exposure, right frame employs the HHHR technique, with less foreground. Notice the interesting blur of the clouds.
Note: To ascertain my starting point for exposure time, I used the 500 rule:
When taking an untracked photo of the night sky using a camera on a tripod, this rule guides on you how long you can expose before the stars begin to trail or blur. You take the number 500 and divide by the (full-frame equivalent) focal length of the lens. In my case, shooting with a micro 4/3 format camera, my 12 mm lens is equivalent to a 24mm lens on a full frame camera, so 500 / 24 = 20.833. I rounded down to 20 seconds. But on close inspection, that was just a bit too long of an exposure, so I decreased the exposure time to 15 seconds and that seemed to work. Of course, I had to tie all this in with the rest of the exposure triangle; aperture and ISO.
When taking an untracked photo of the night sky using a camera on a tripod, this rule guides on you how long you can expose before the stars begin to trail or blur. You take the number 500 and divide by the (full-frame equivalent) focal length of the lens. In my case, shooting with a micro 4/3 format camera, my 12 mm lens is equivalent to a 24mm lens on a full frame camera, so 500 / 24 = 20.833. I rounded down to 20 seconds. But on close inspection, that was just a bit too long of an exposure, so I decreased the exposure time to 15 seconds and that seemed to work. Of course, I had to tie all this in with the rest of the exposure triangle; aperture and ISO.
Wrap Up
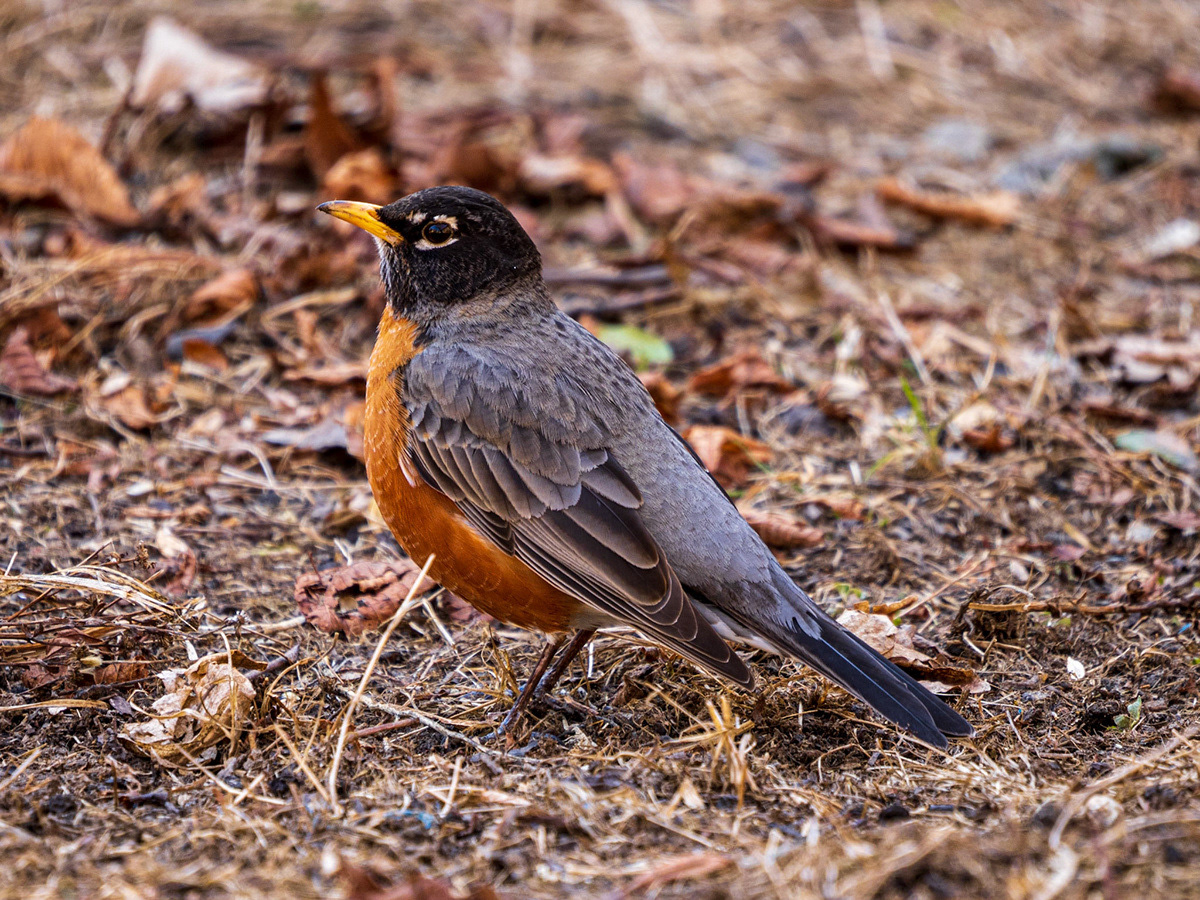
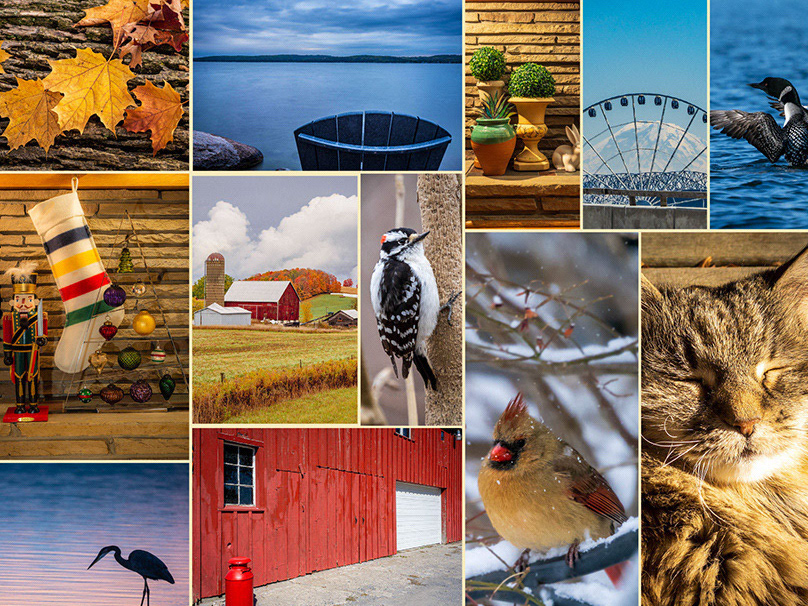
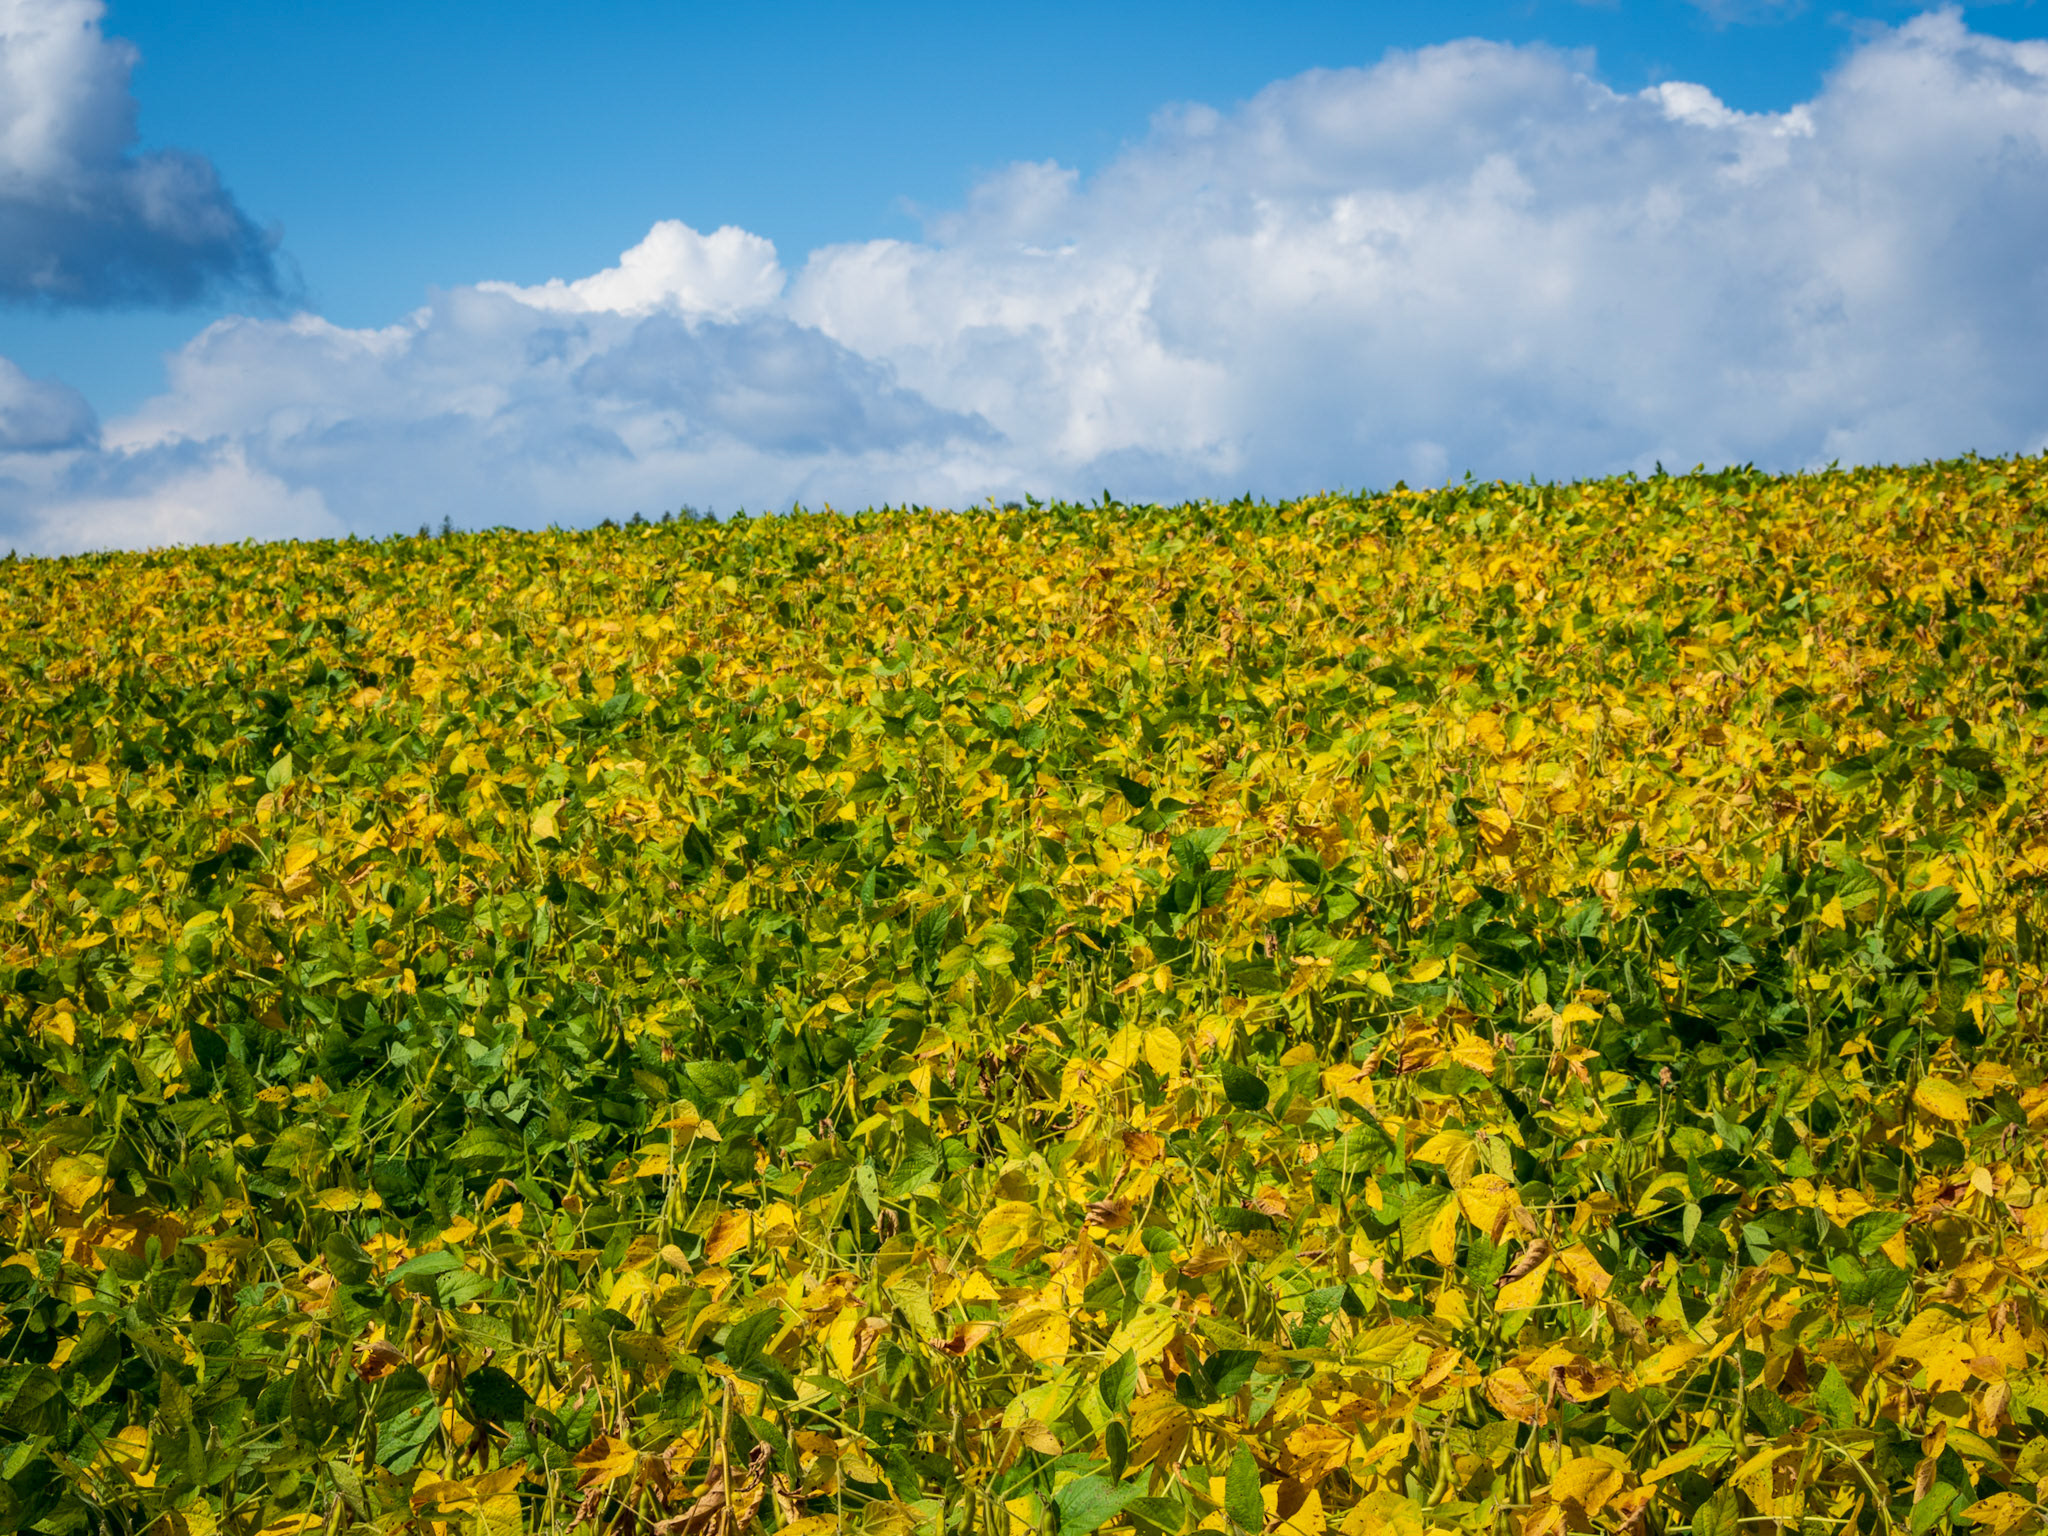
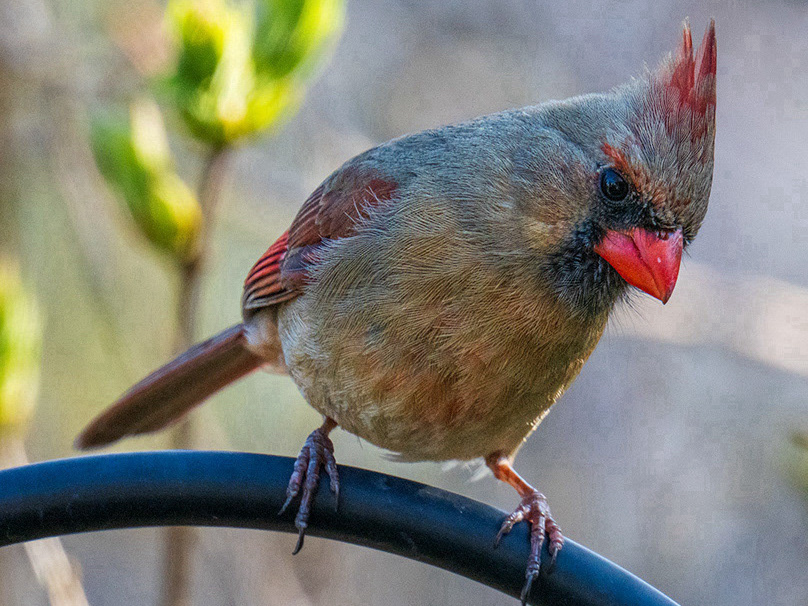
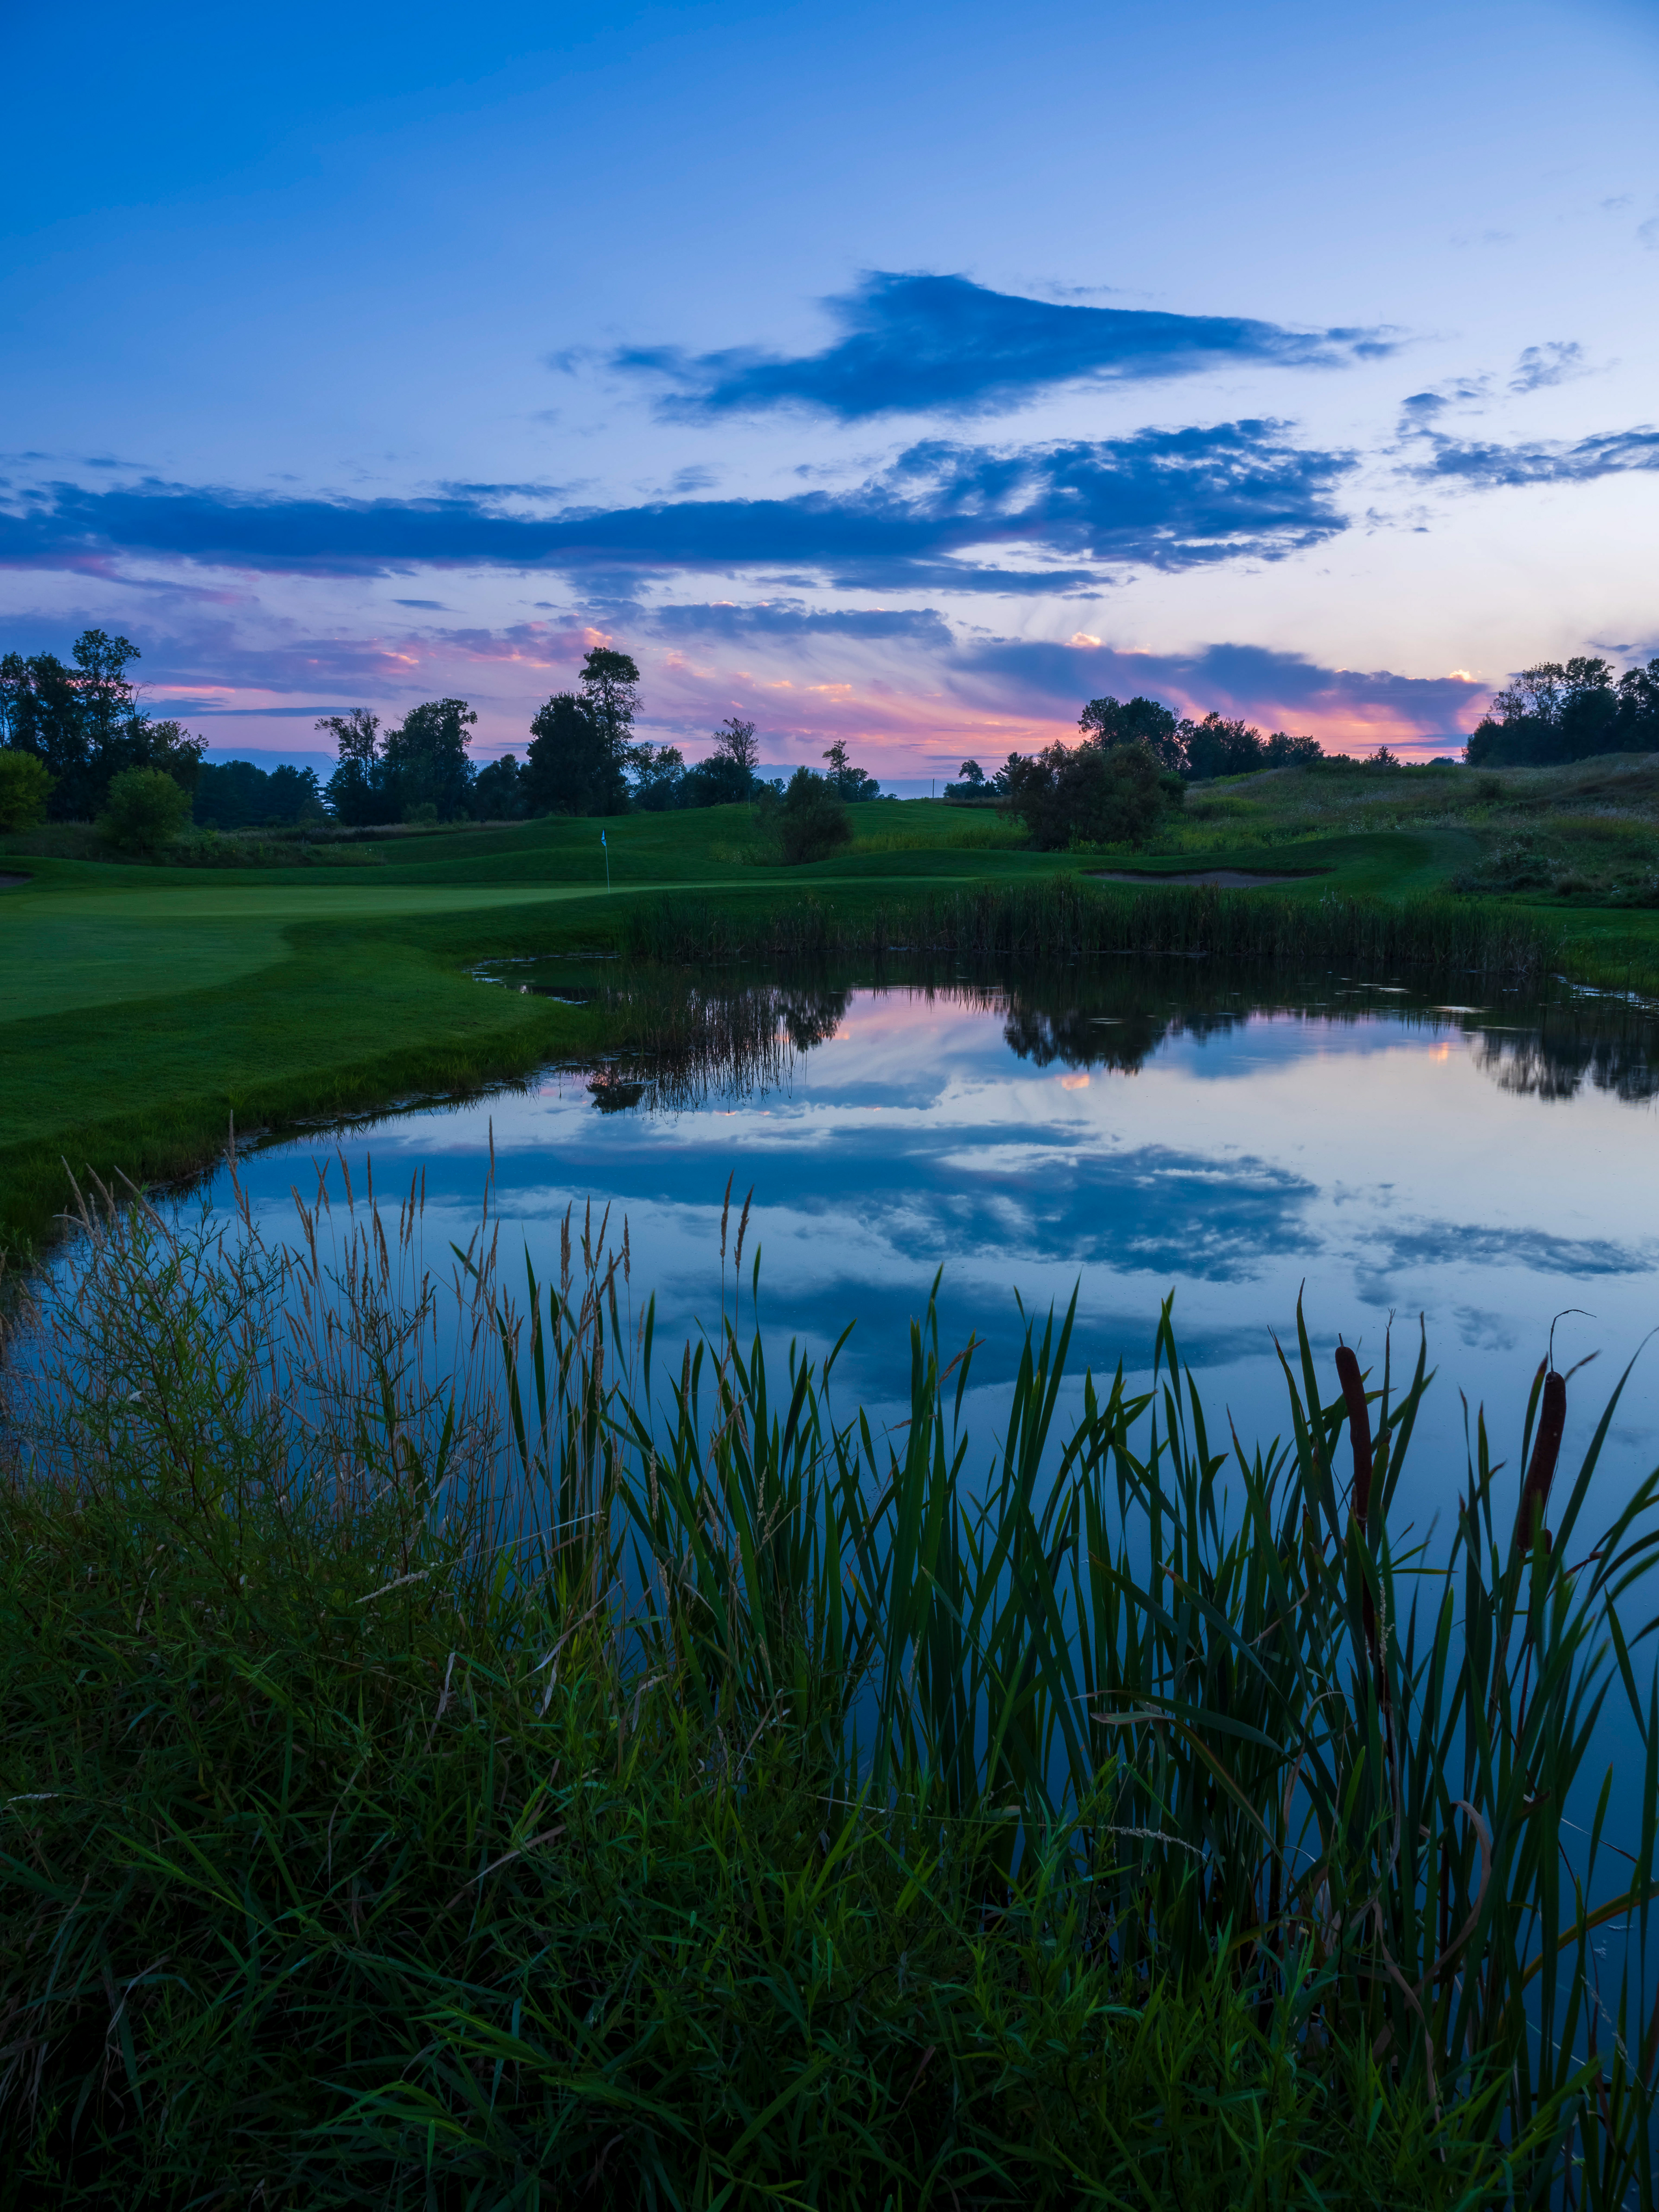
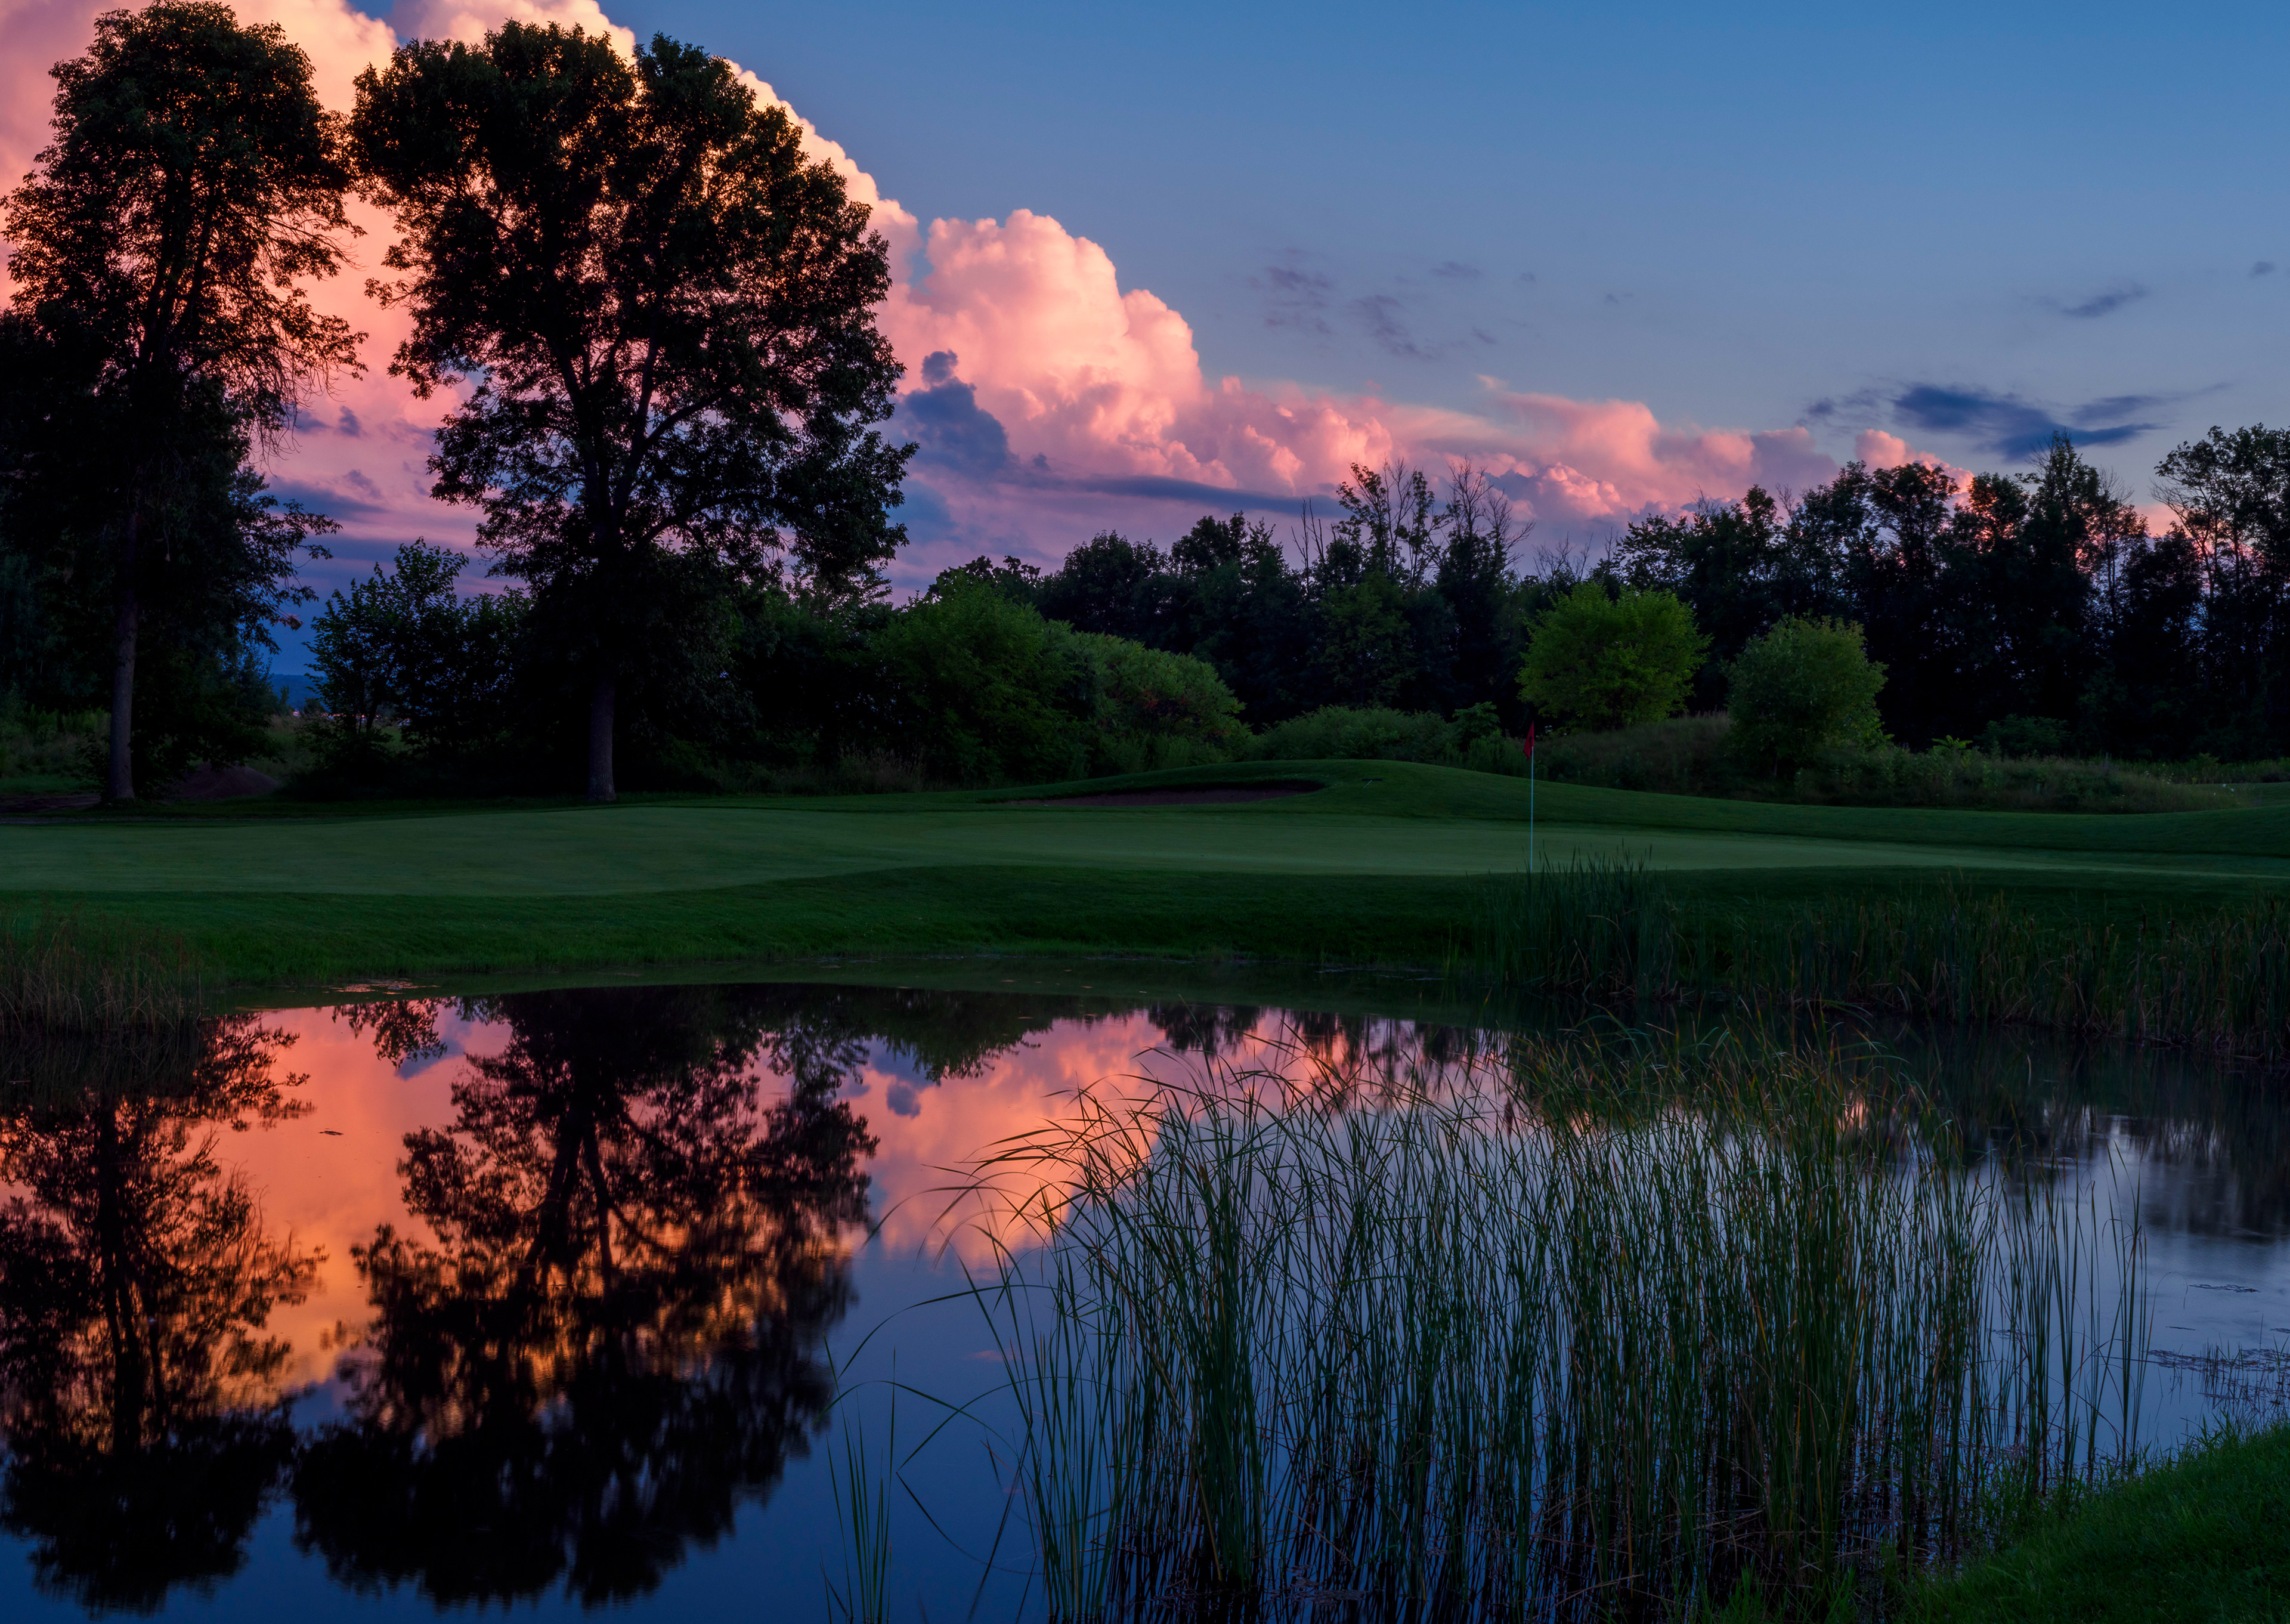
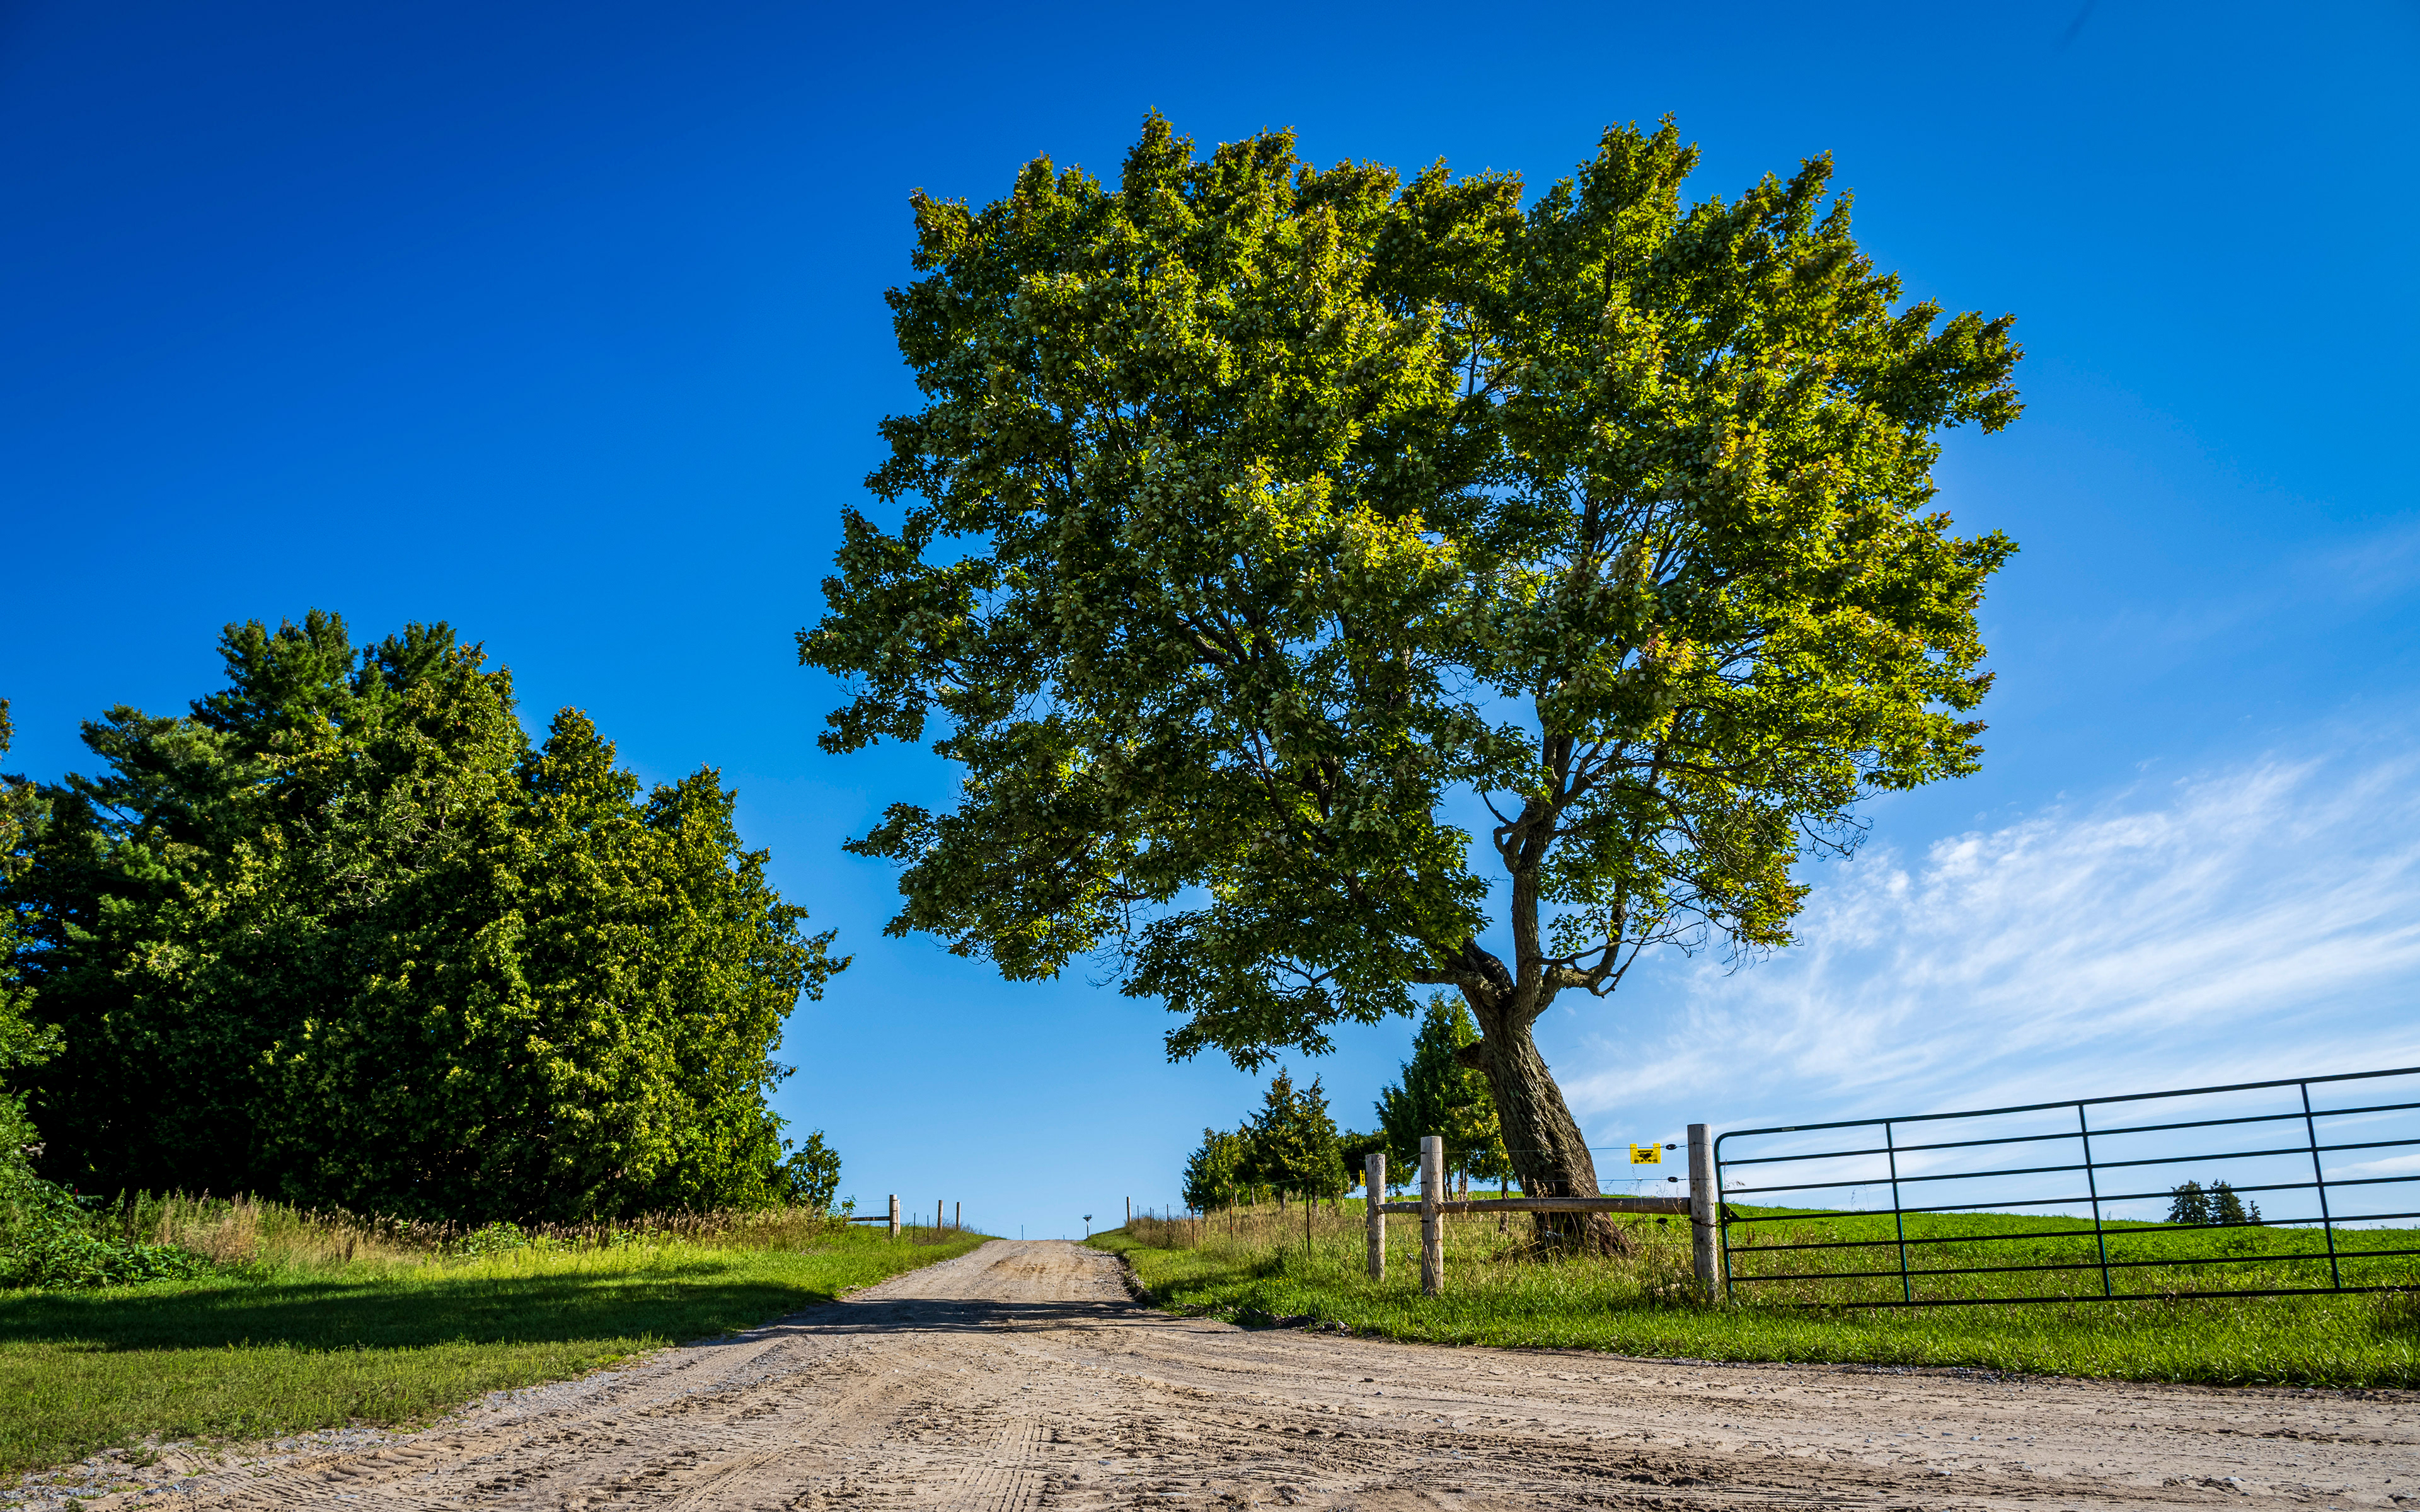
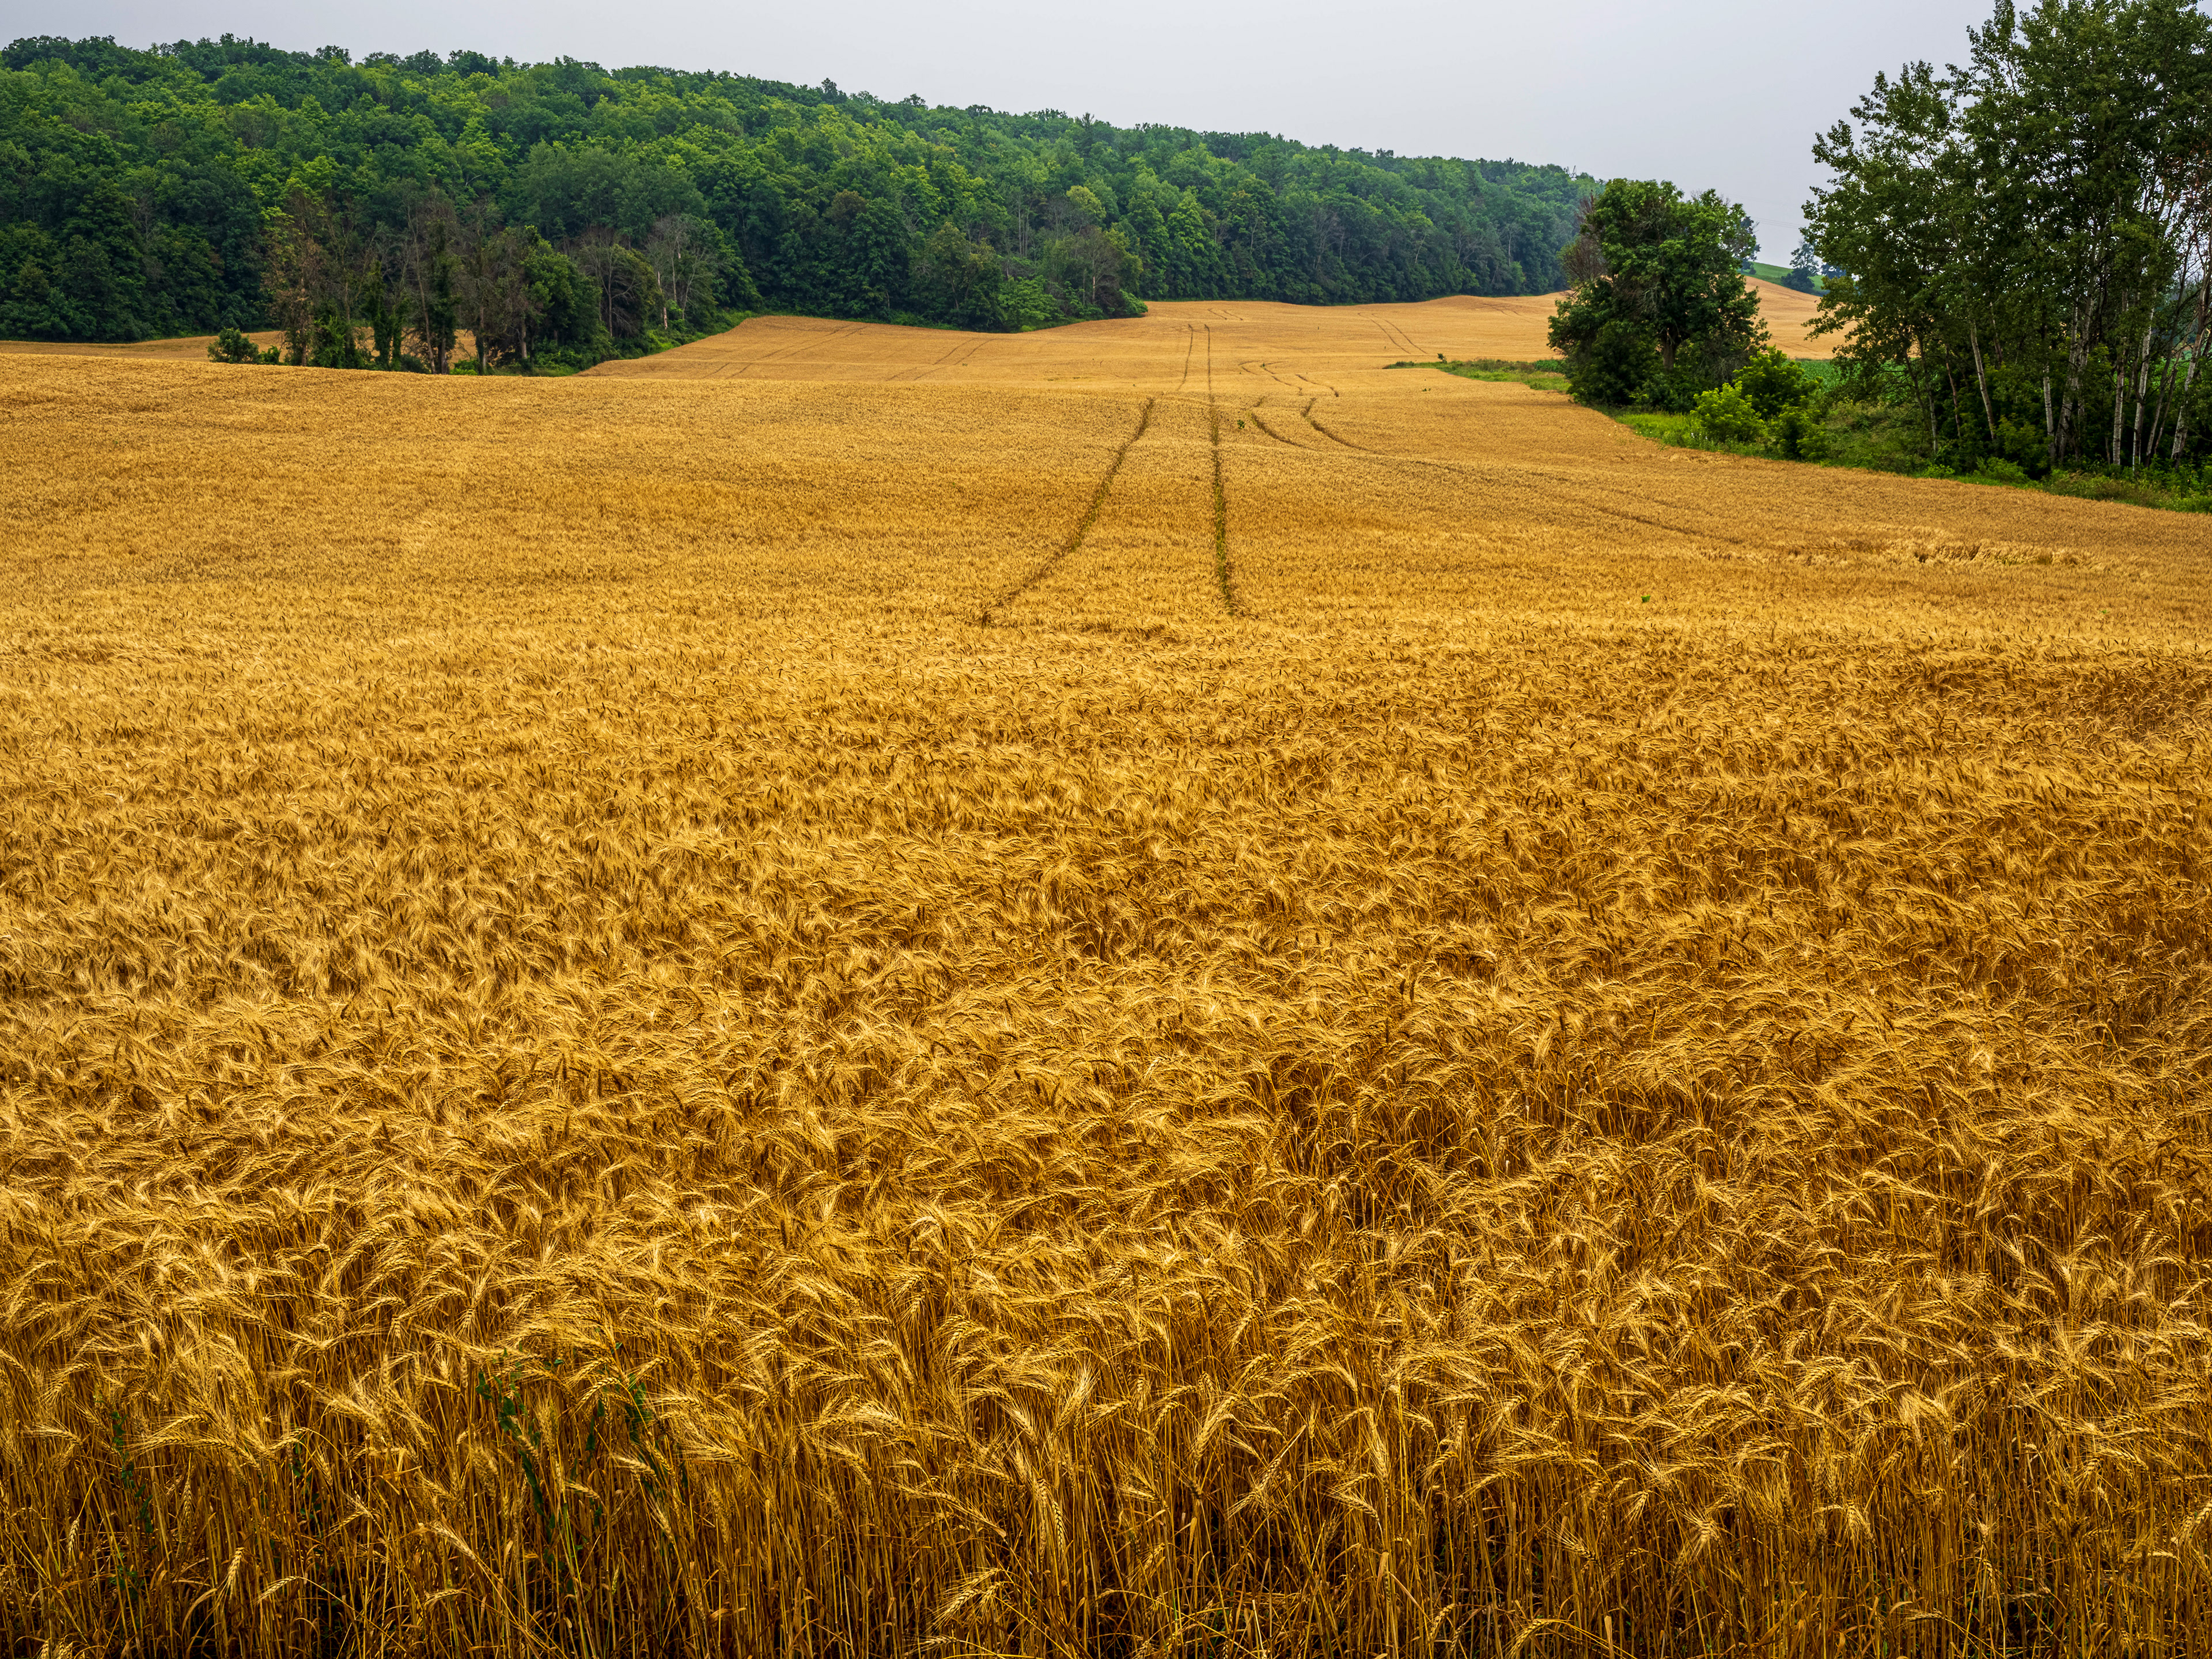
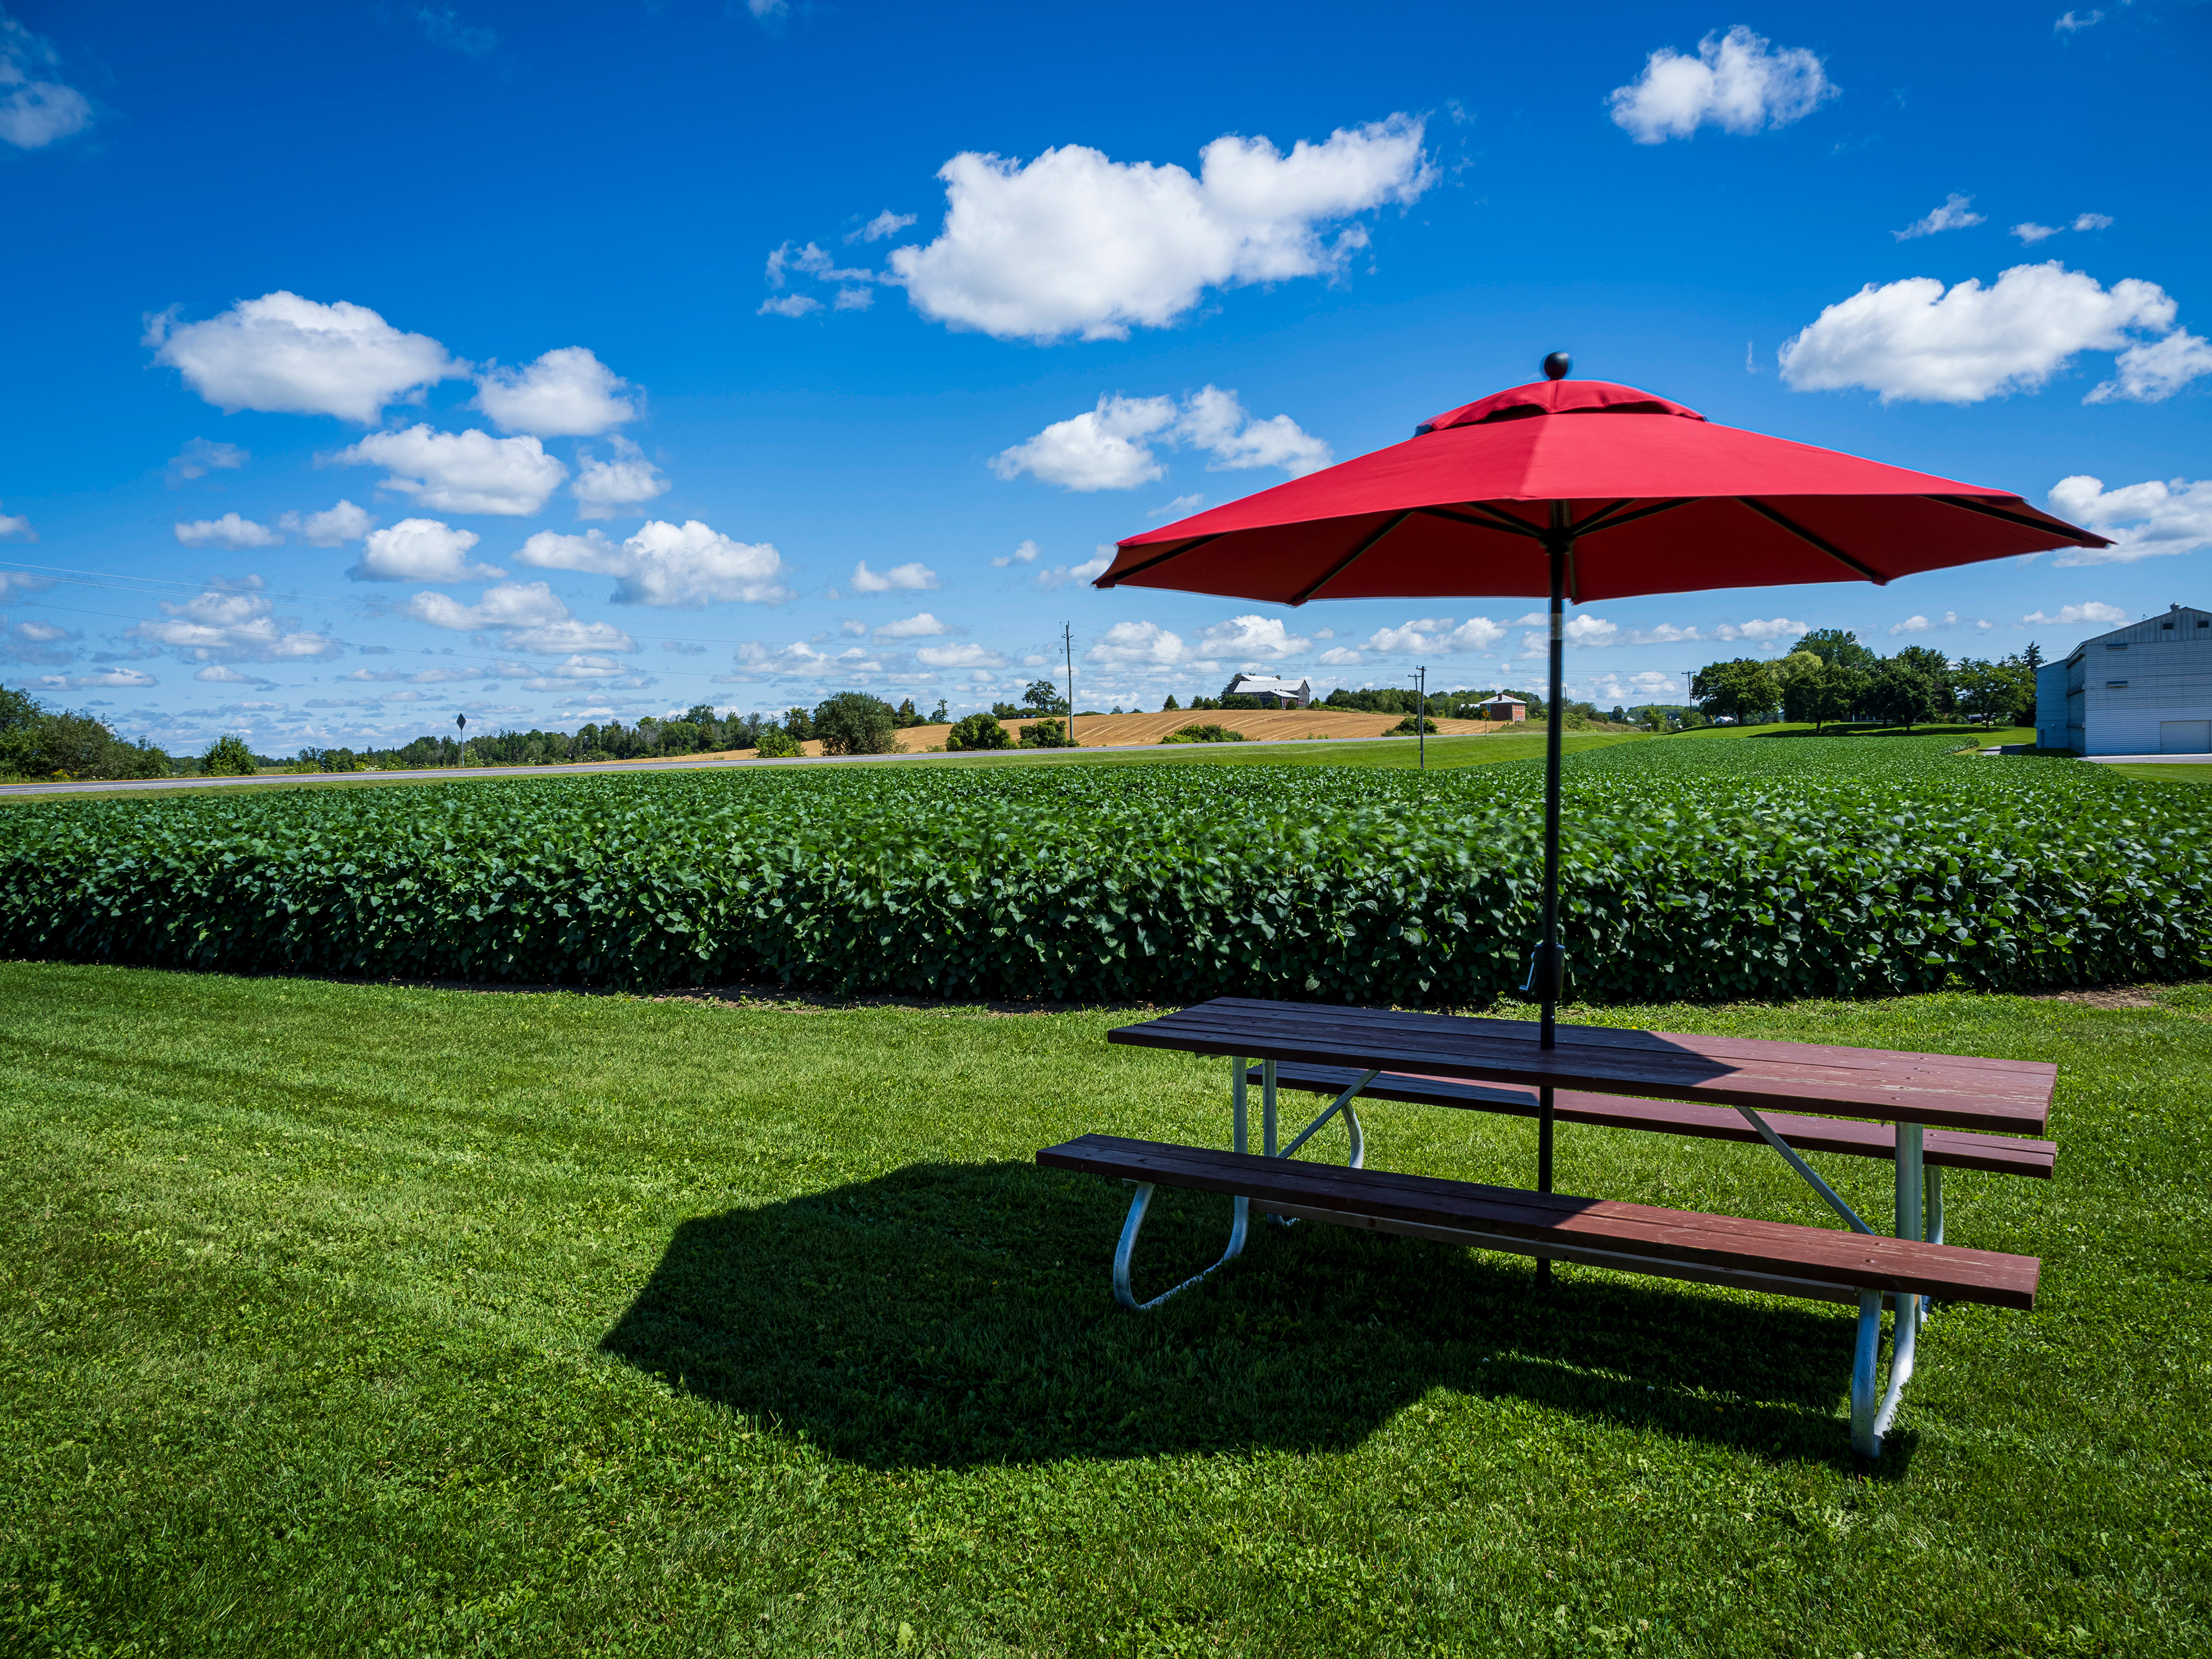
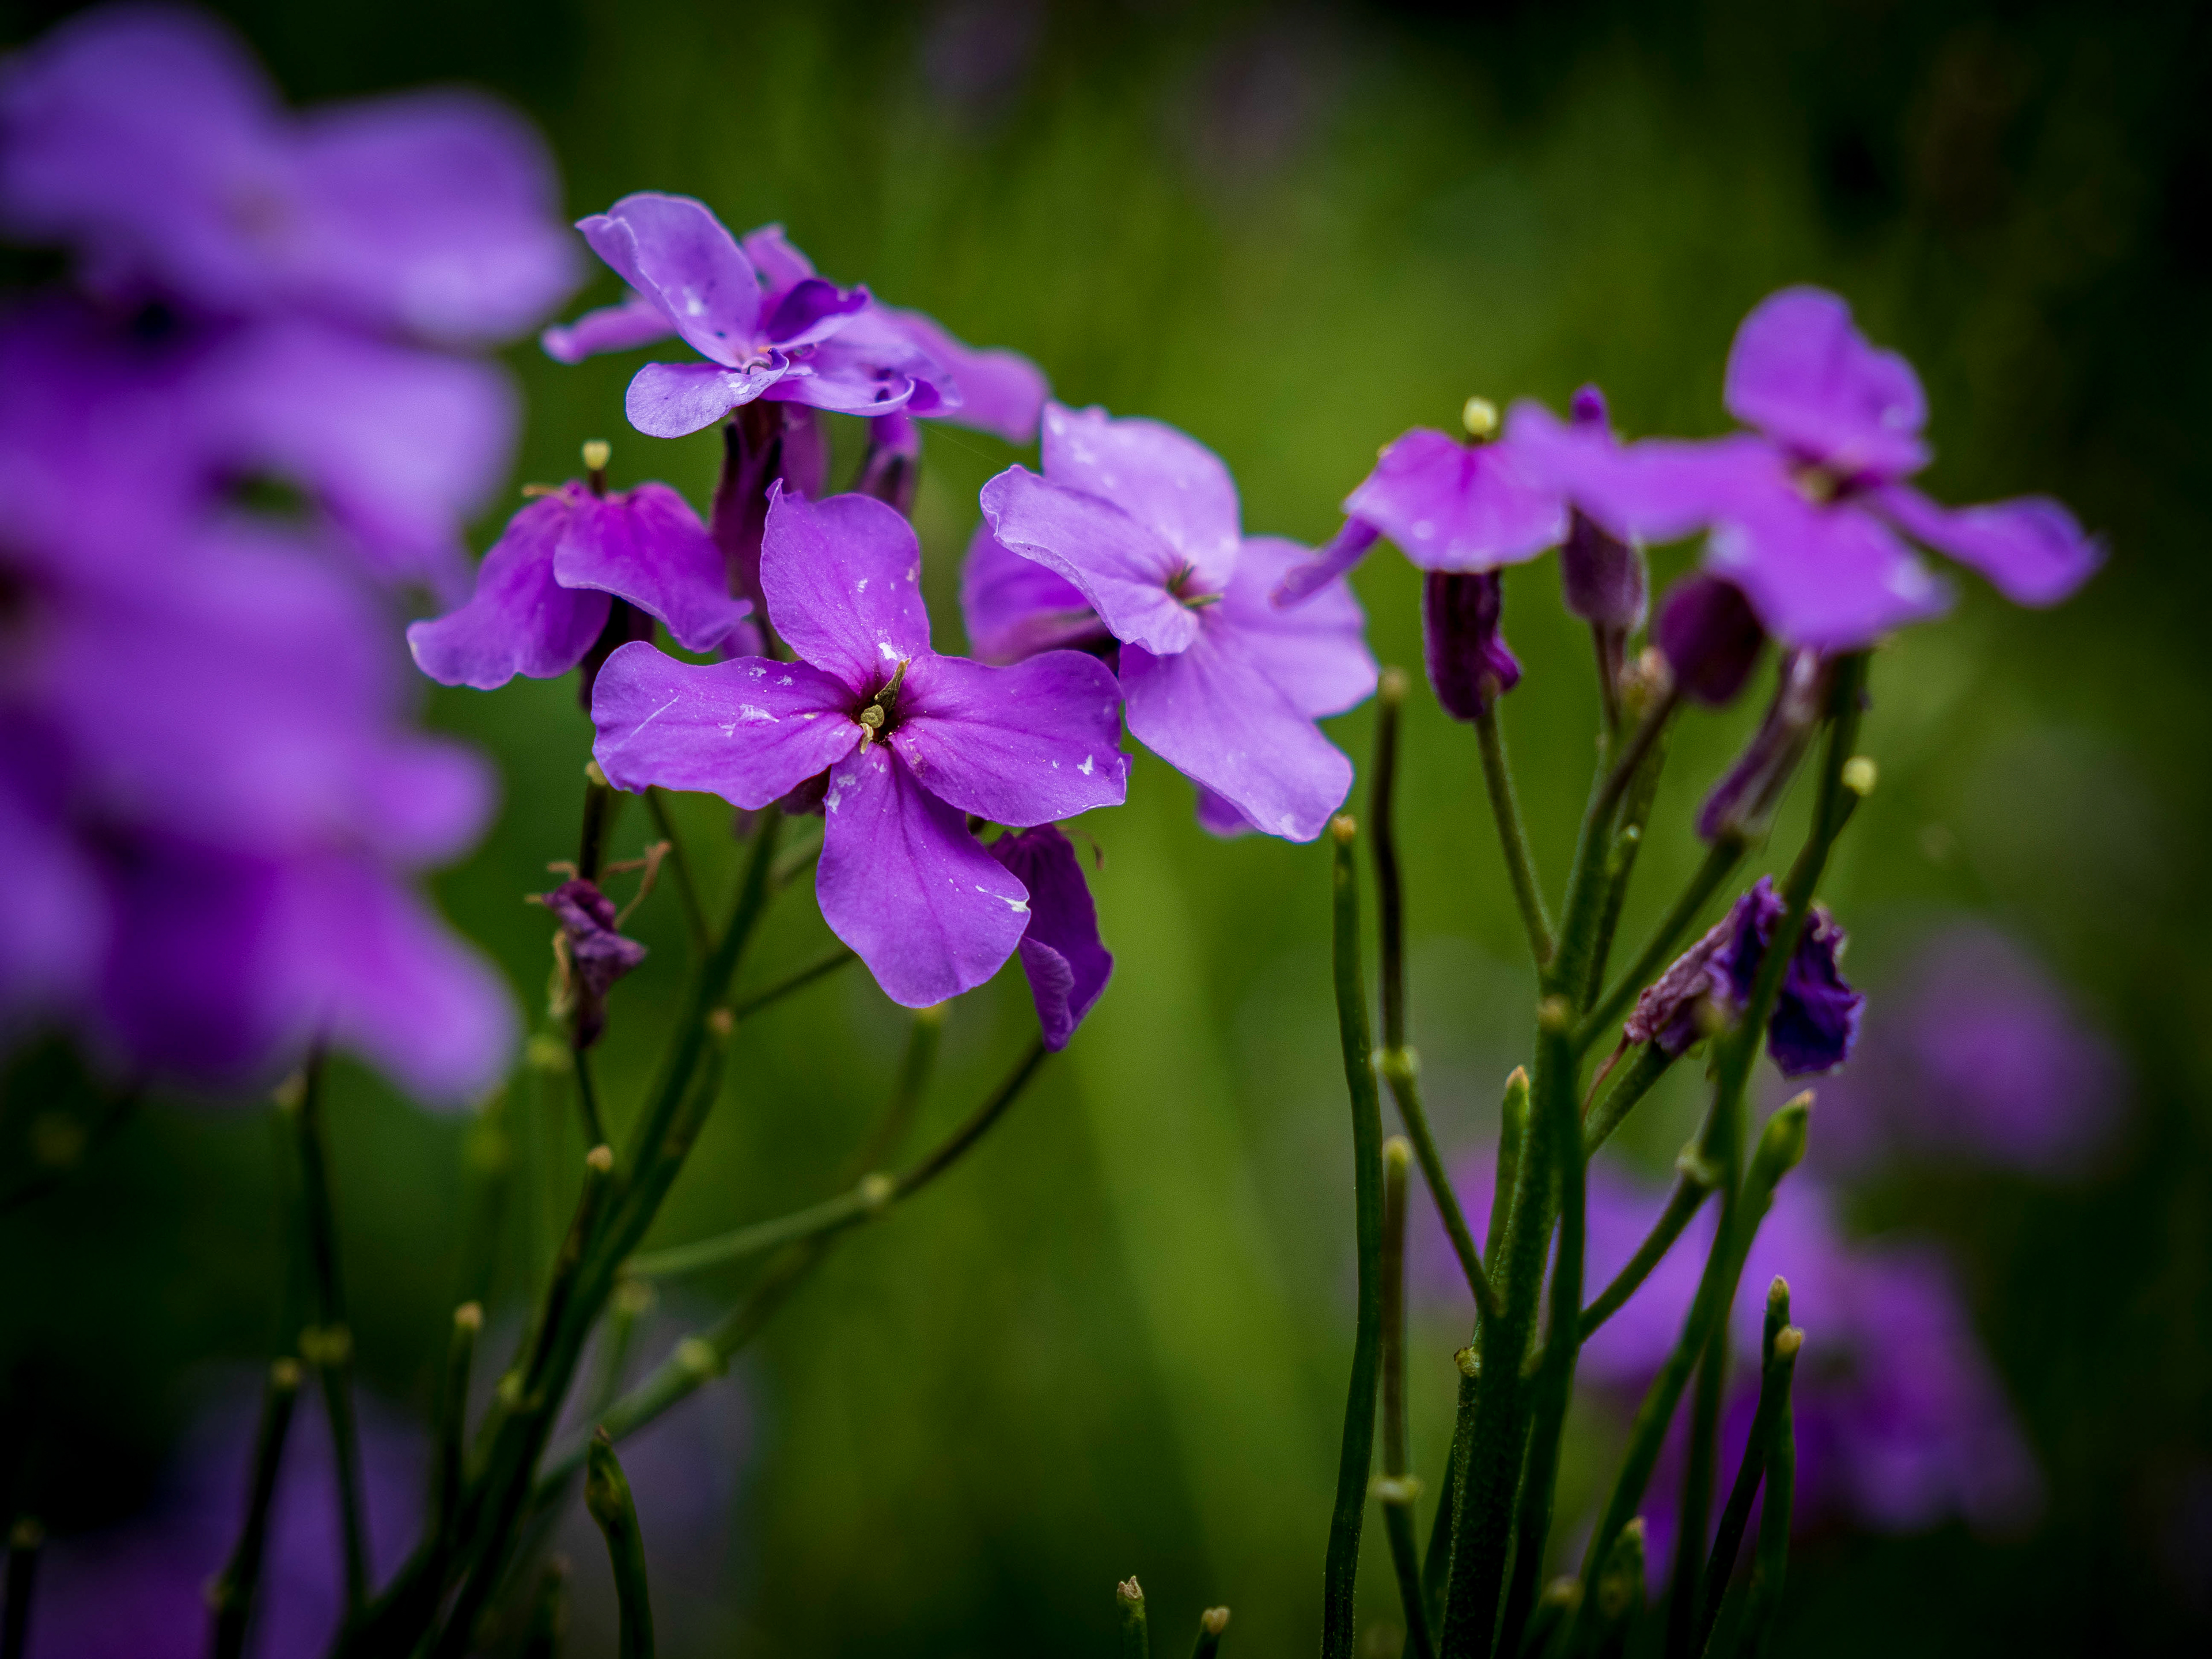
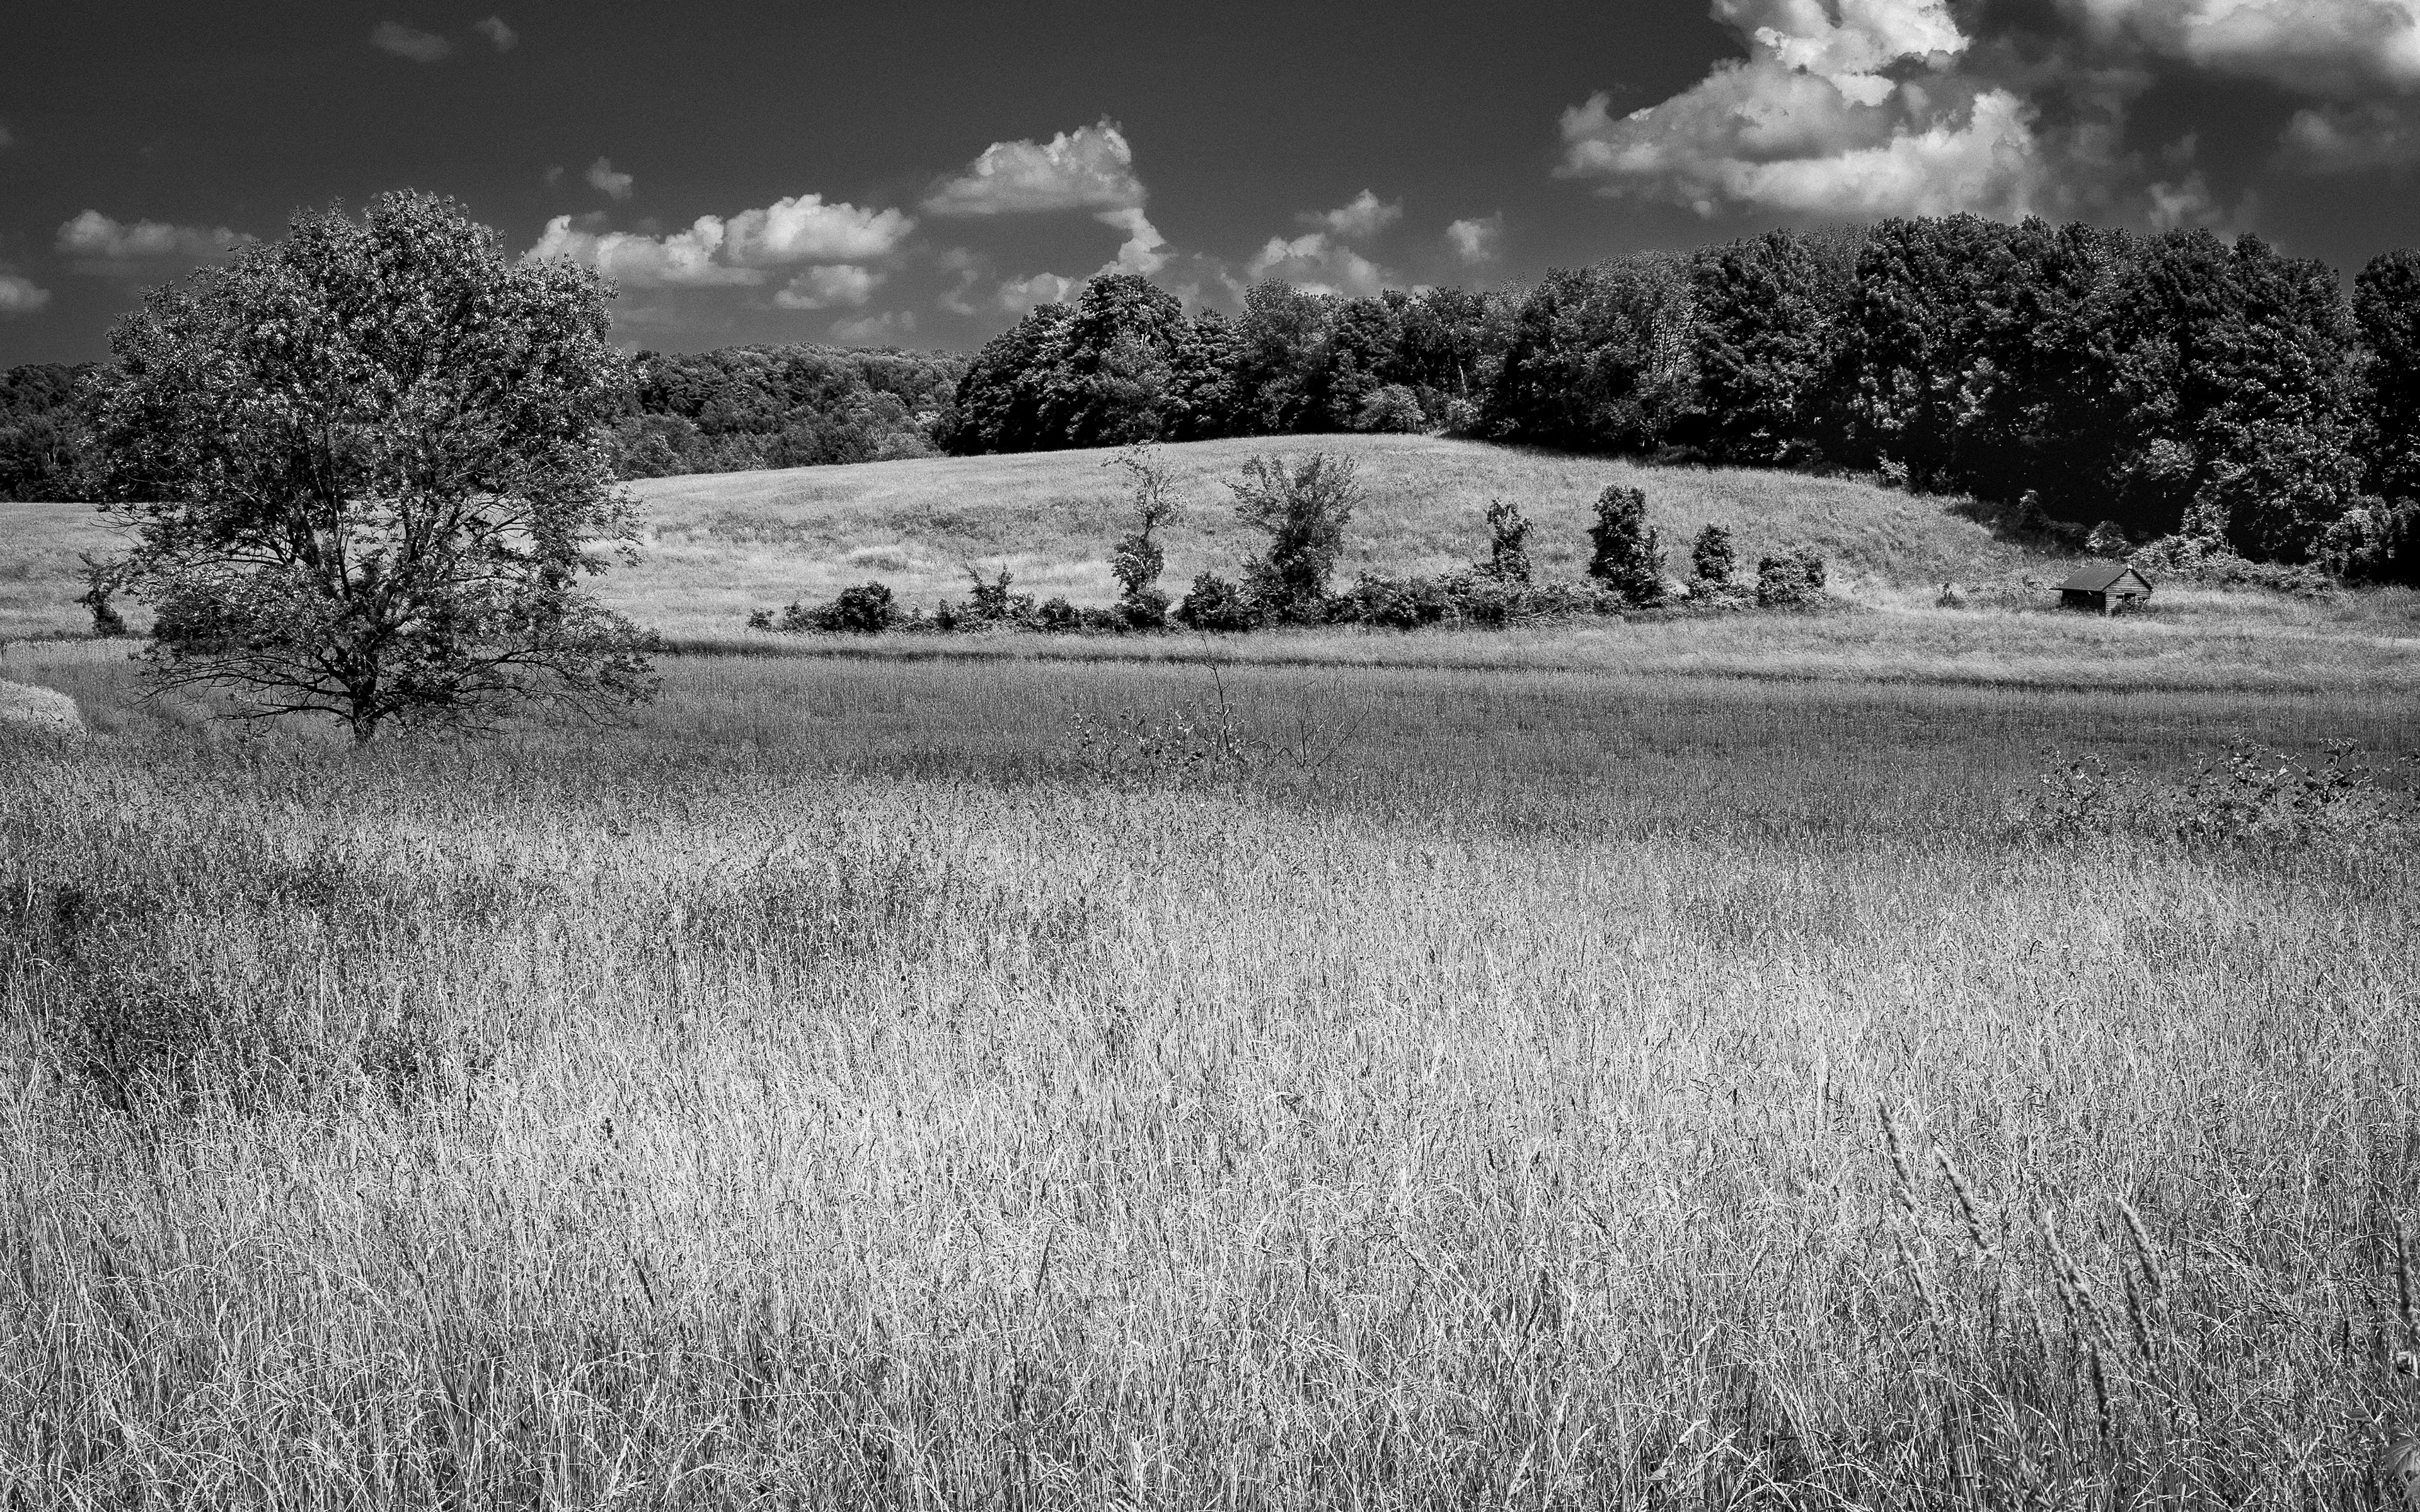
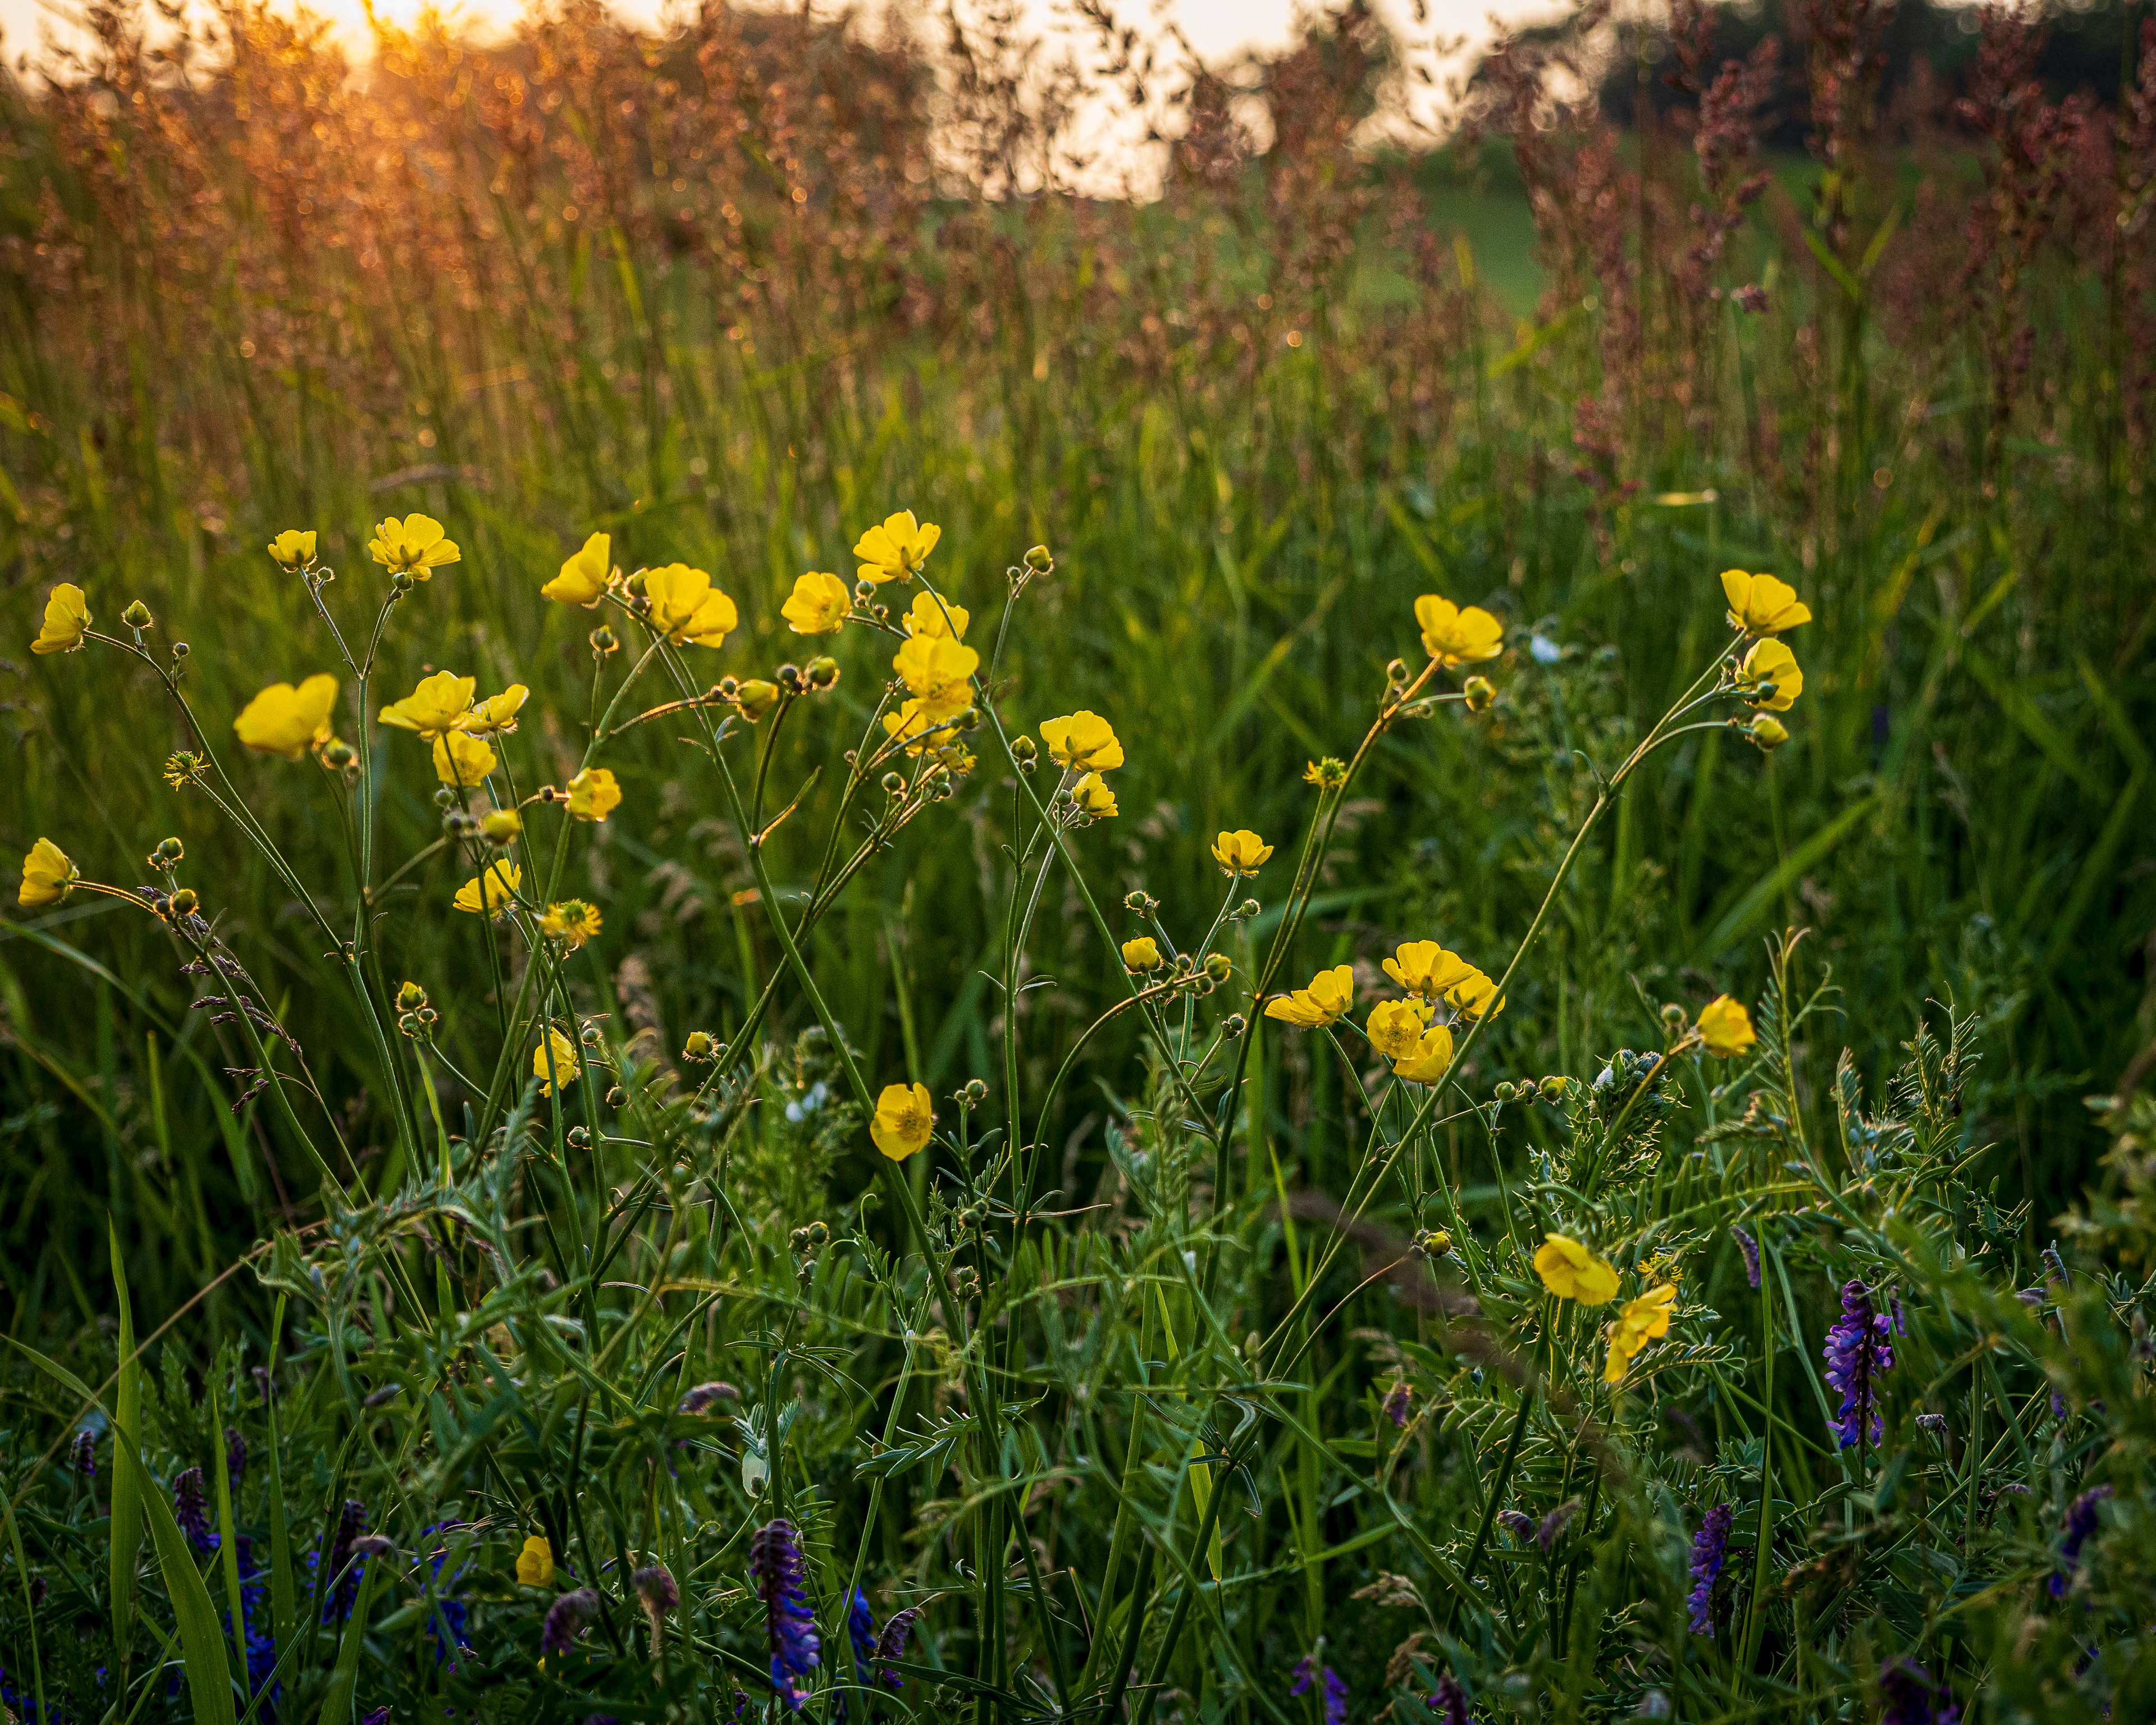
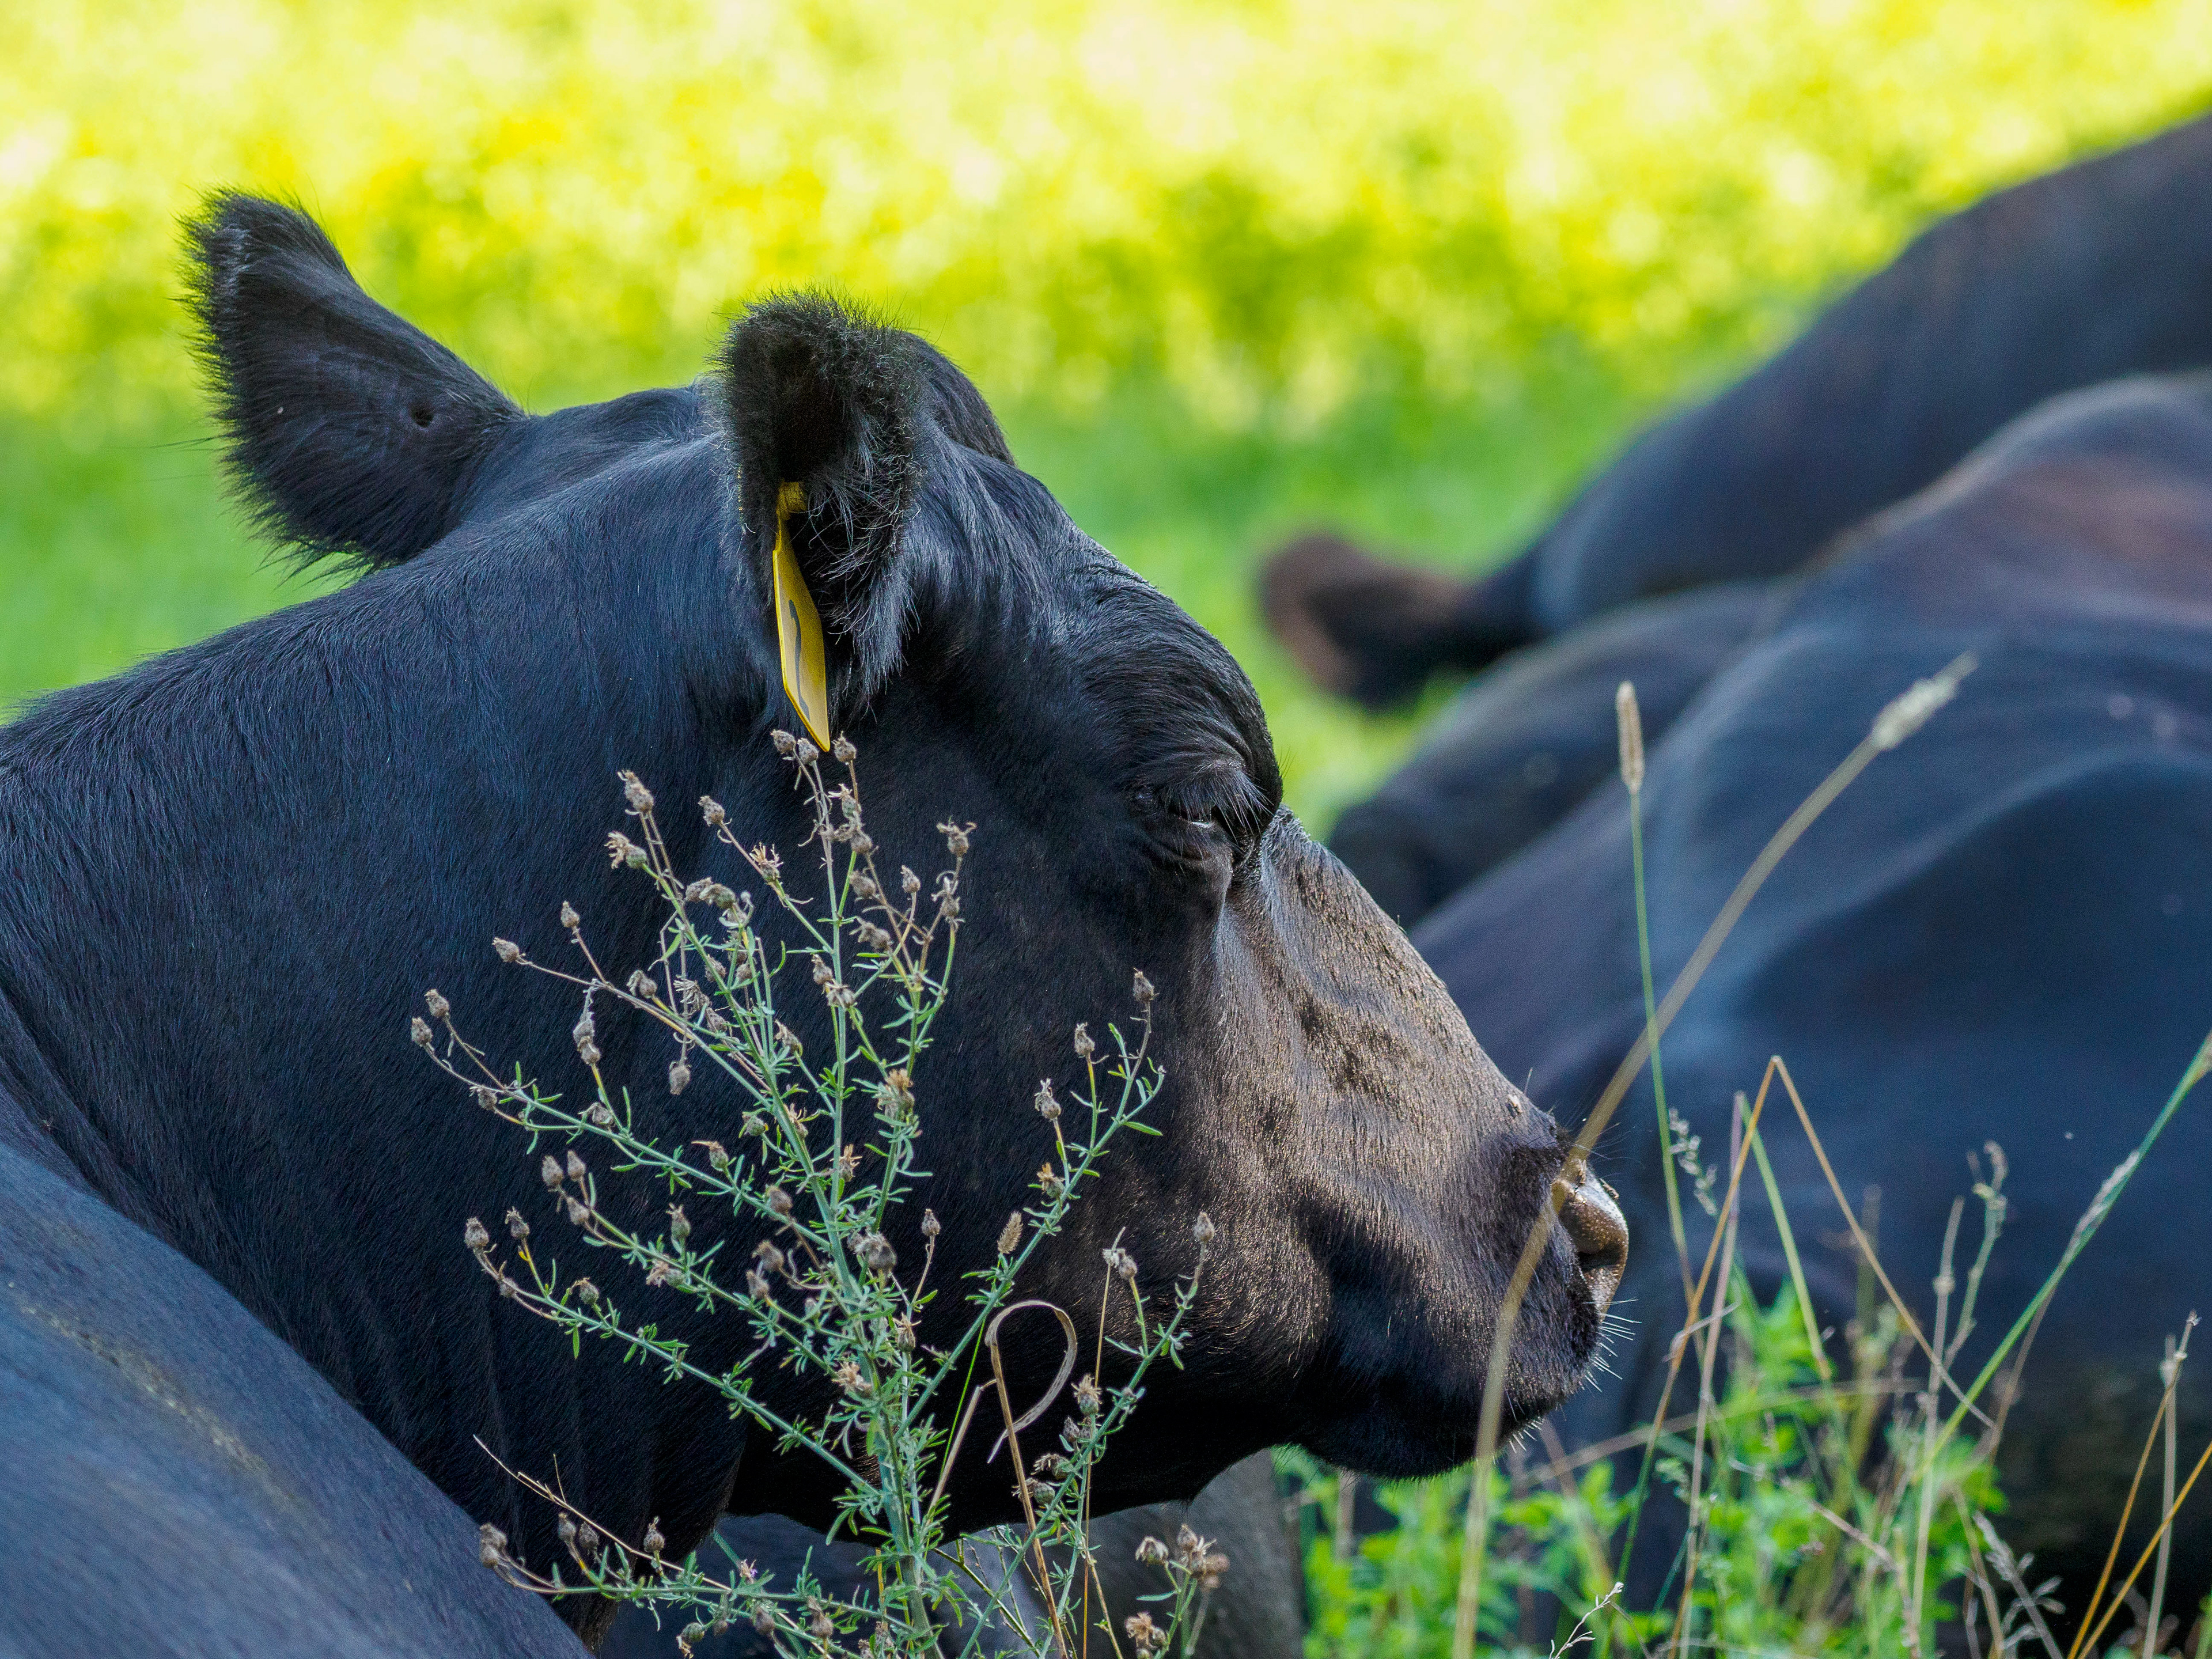
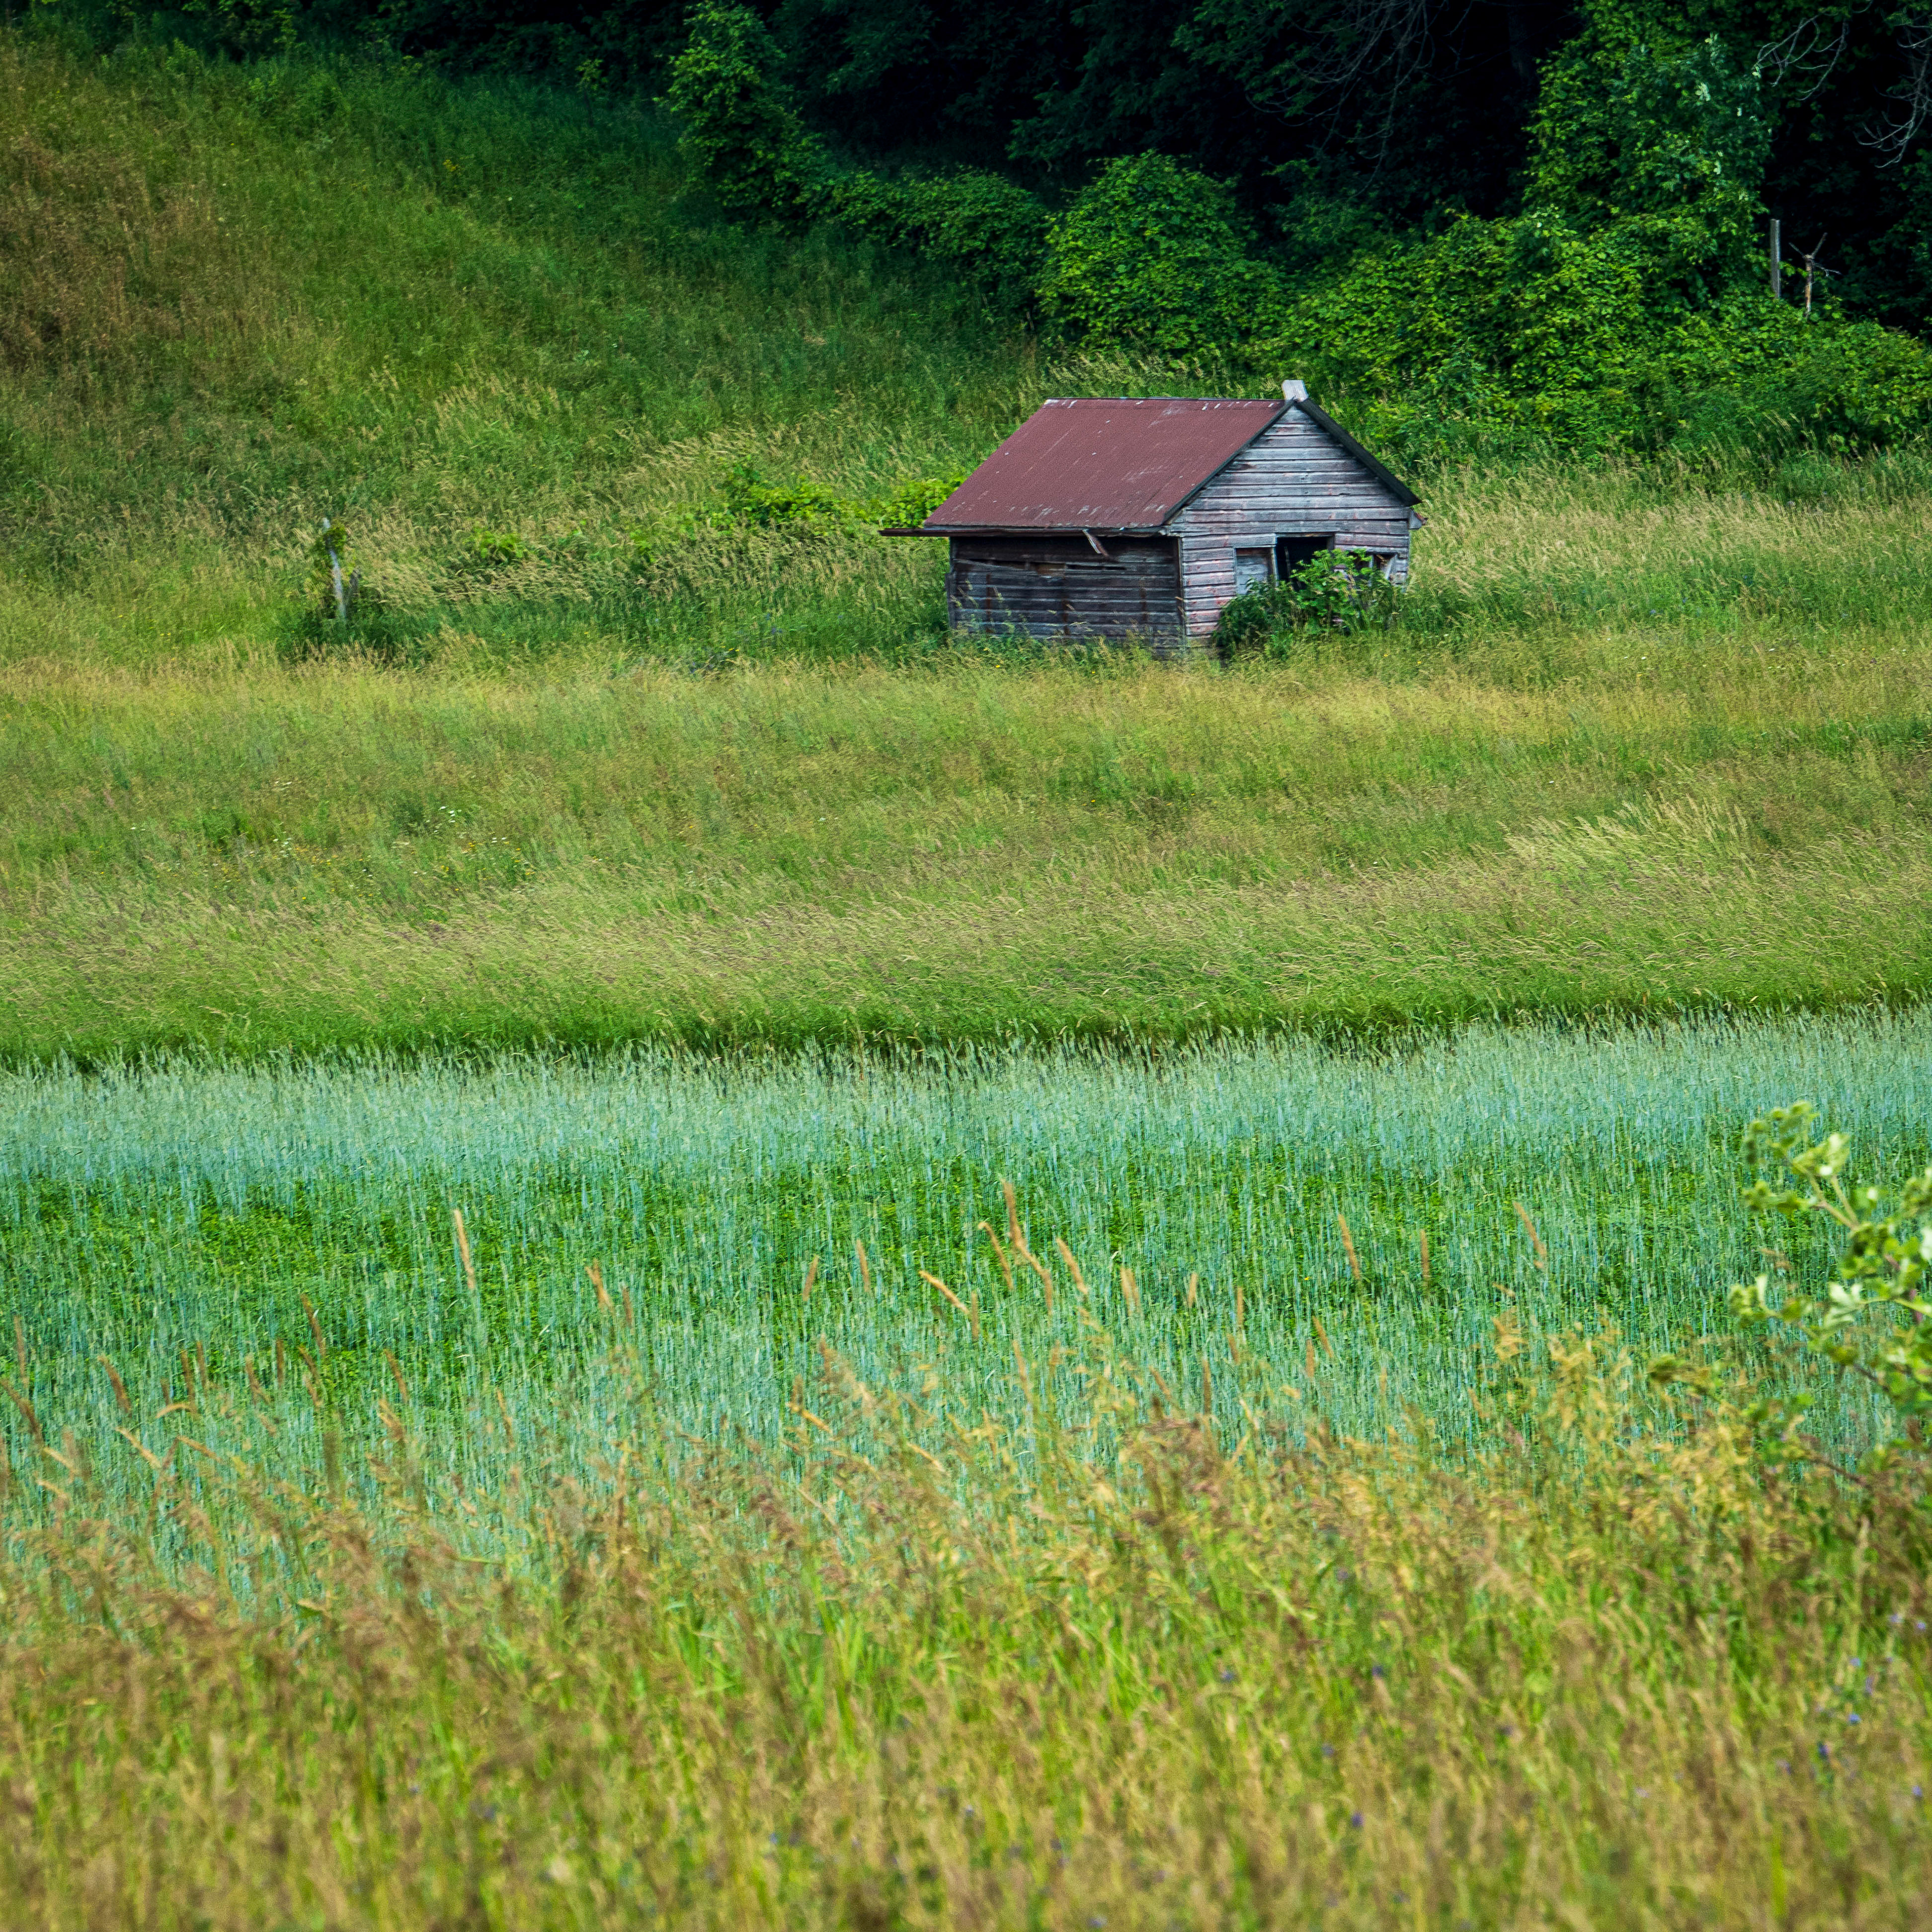
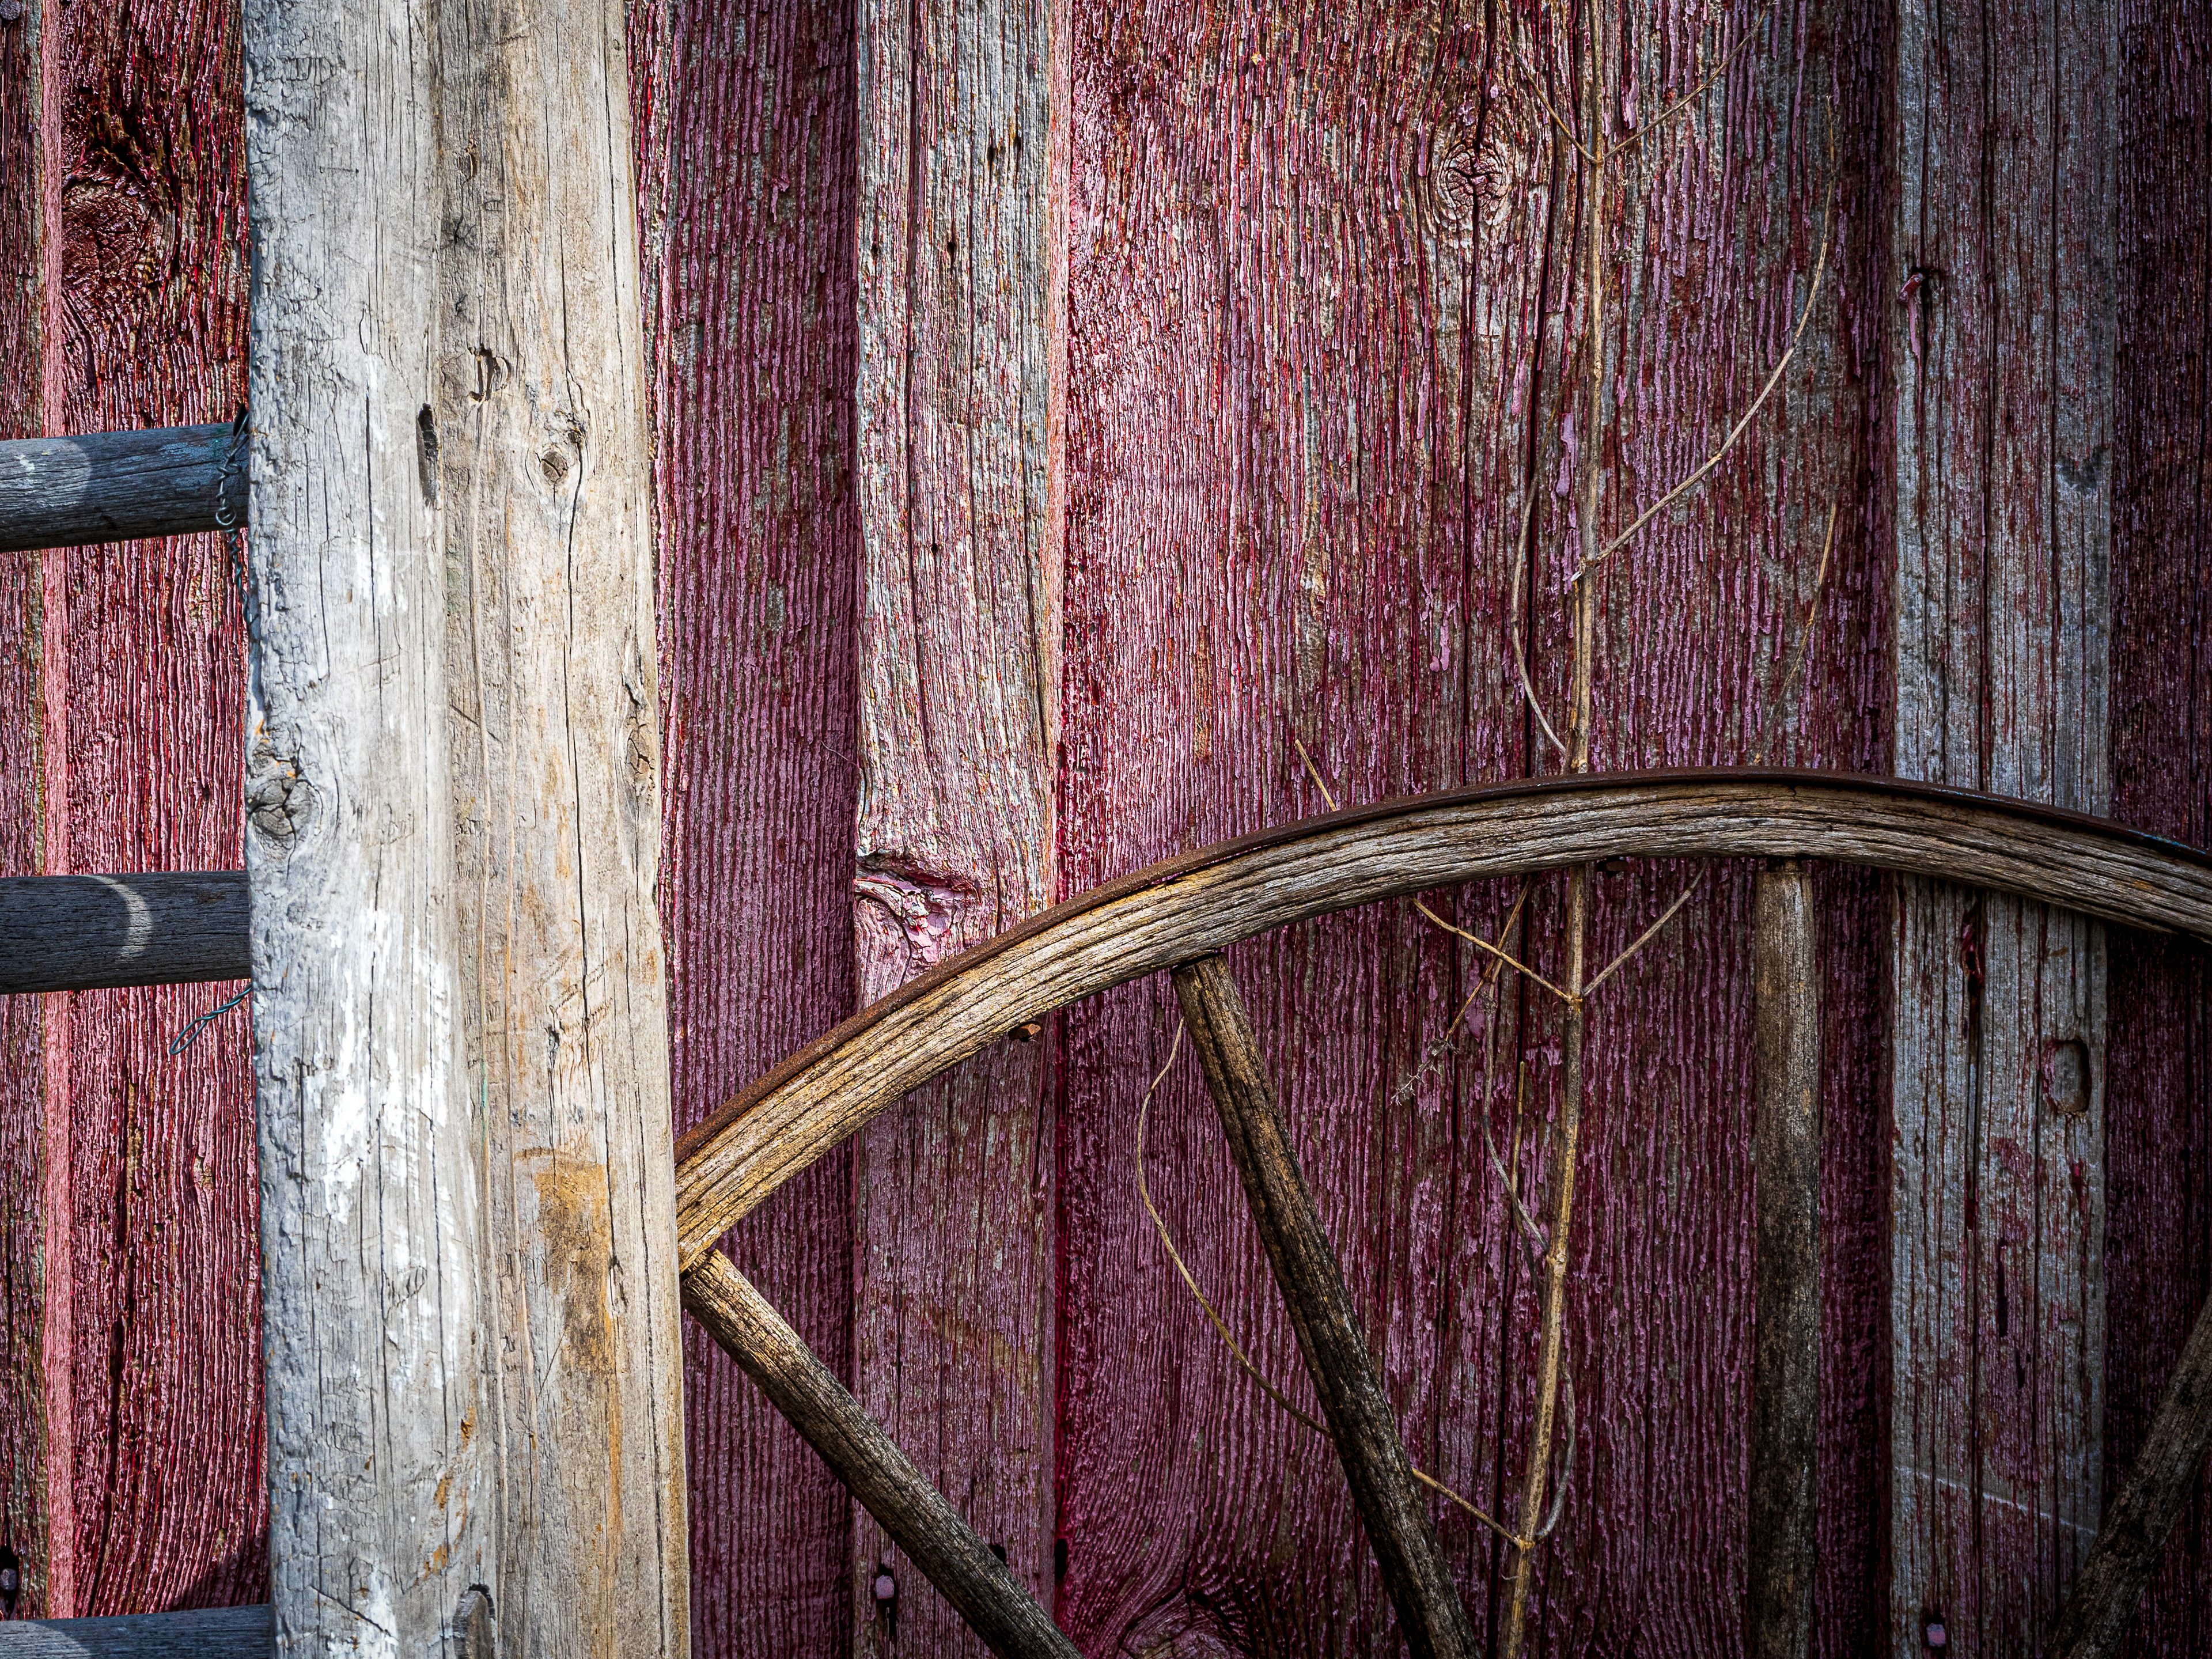
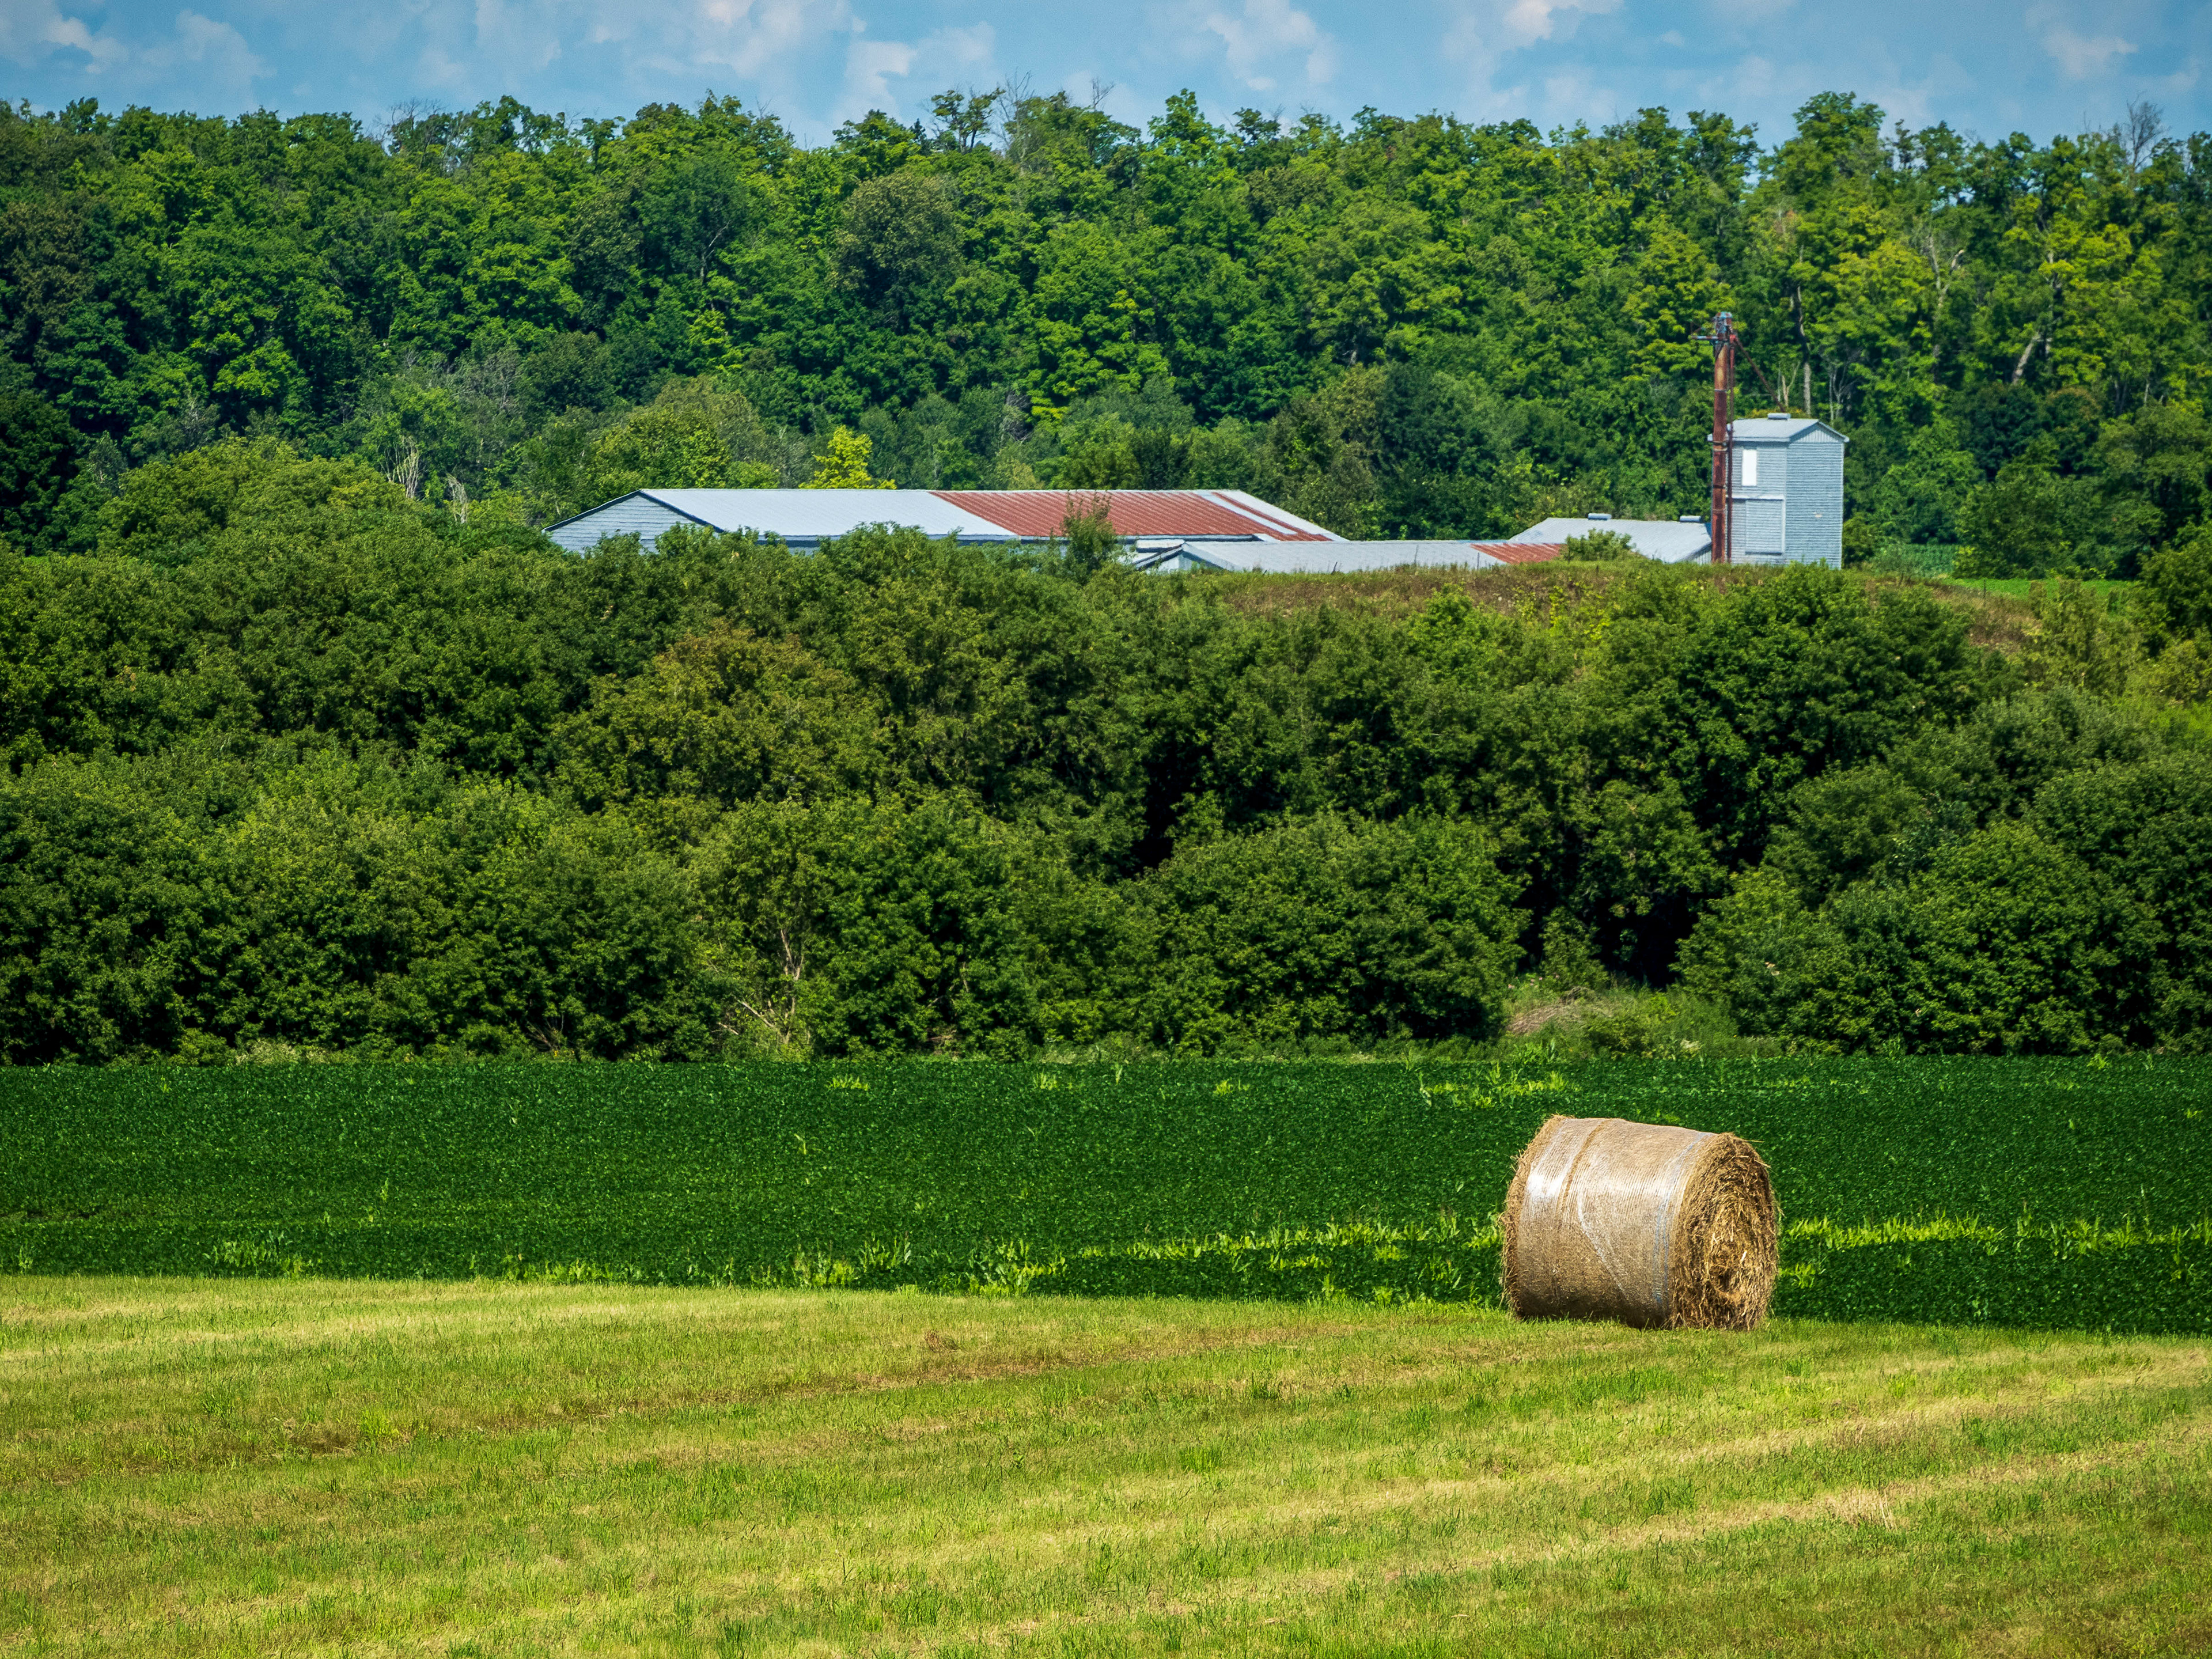
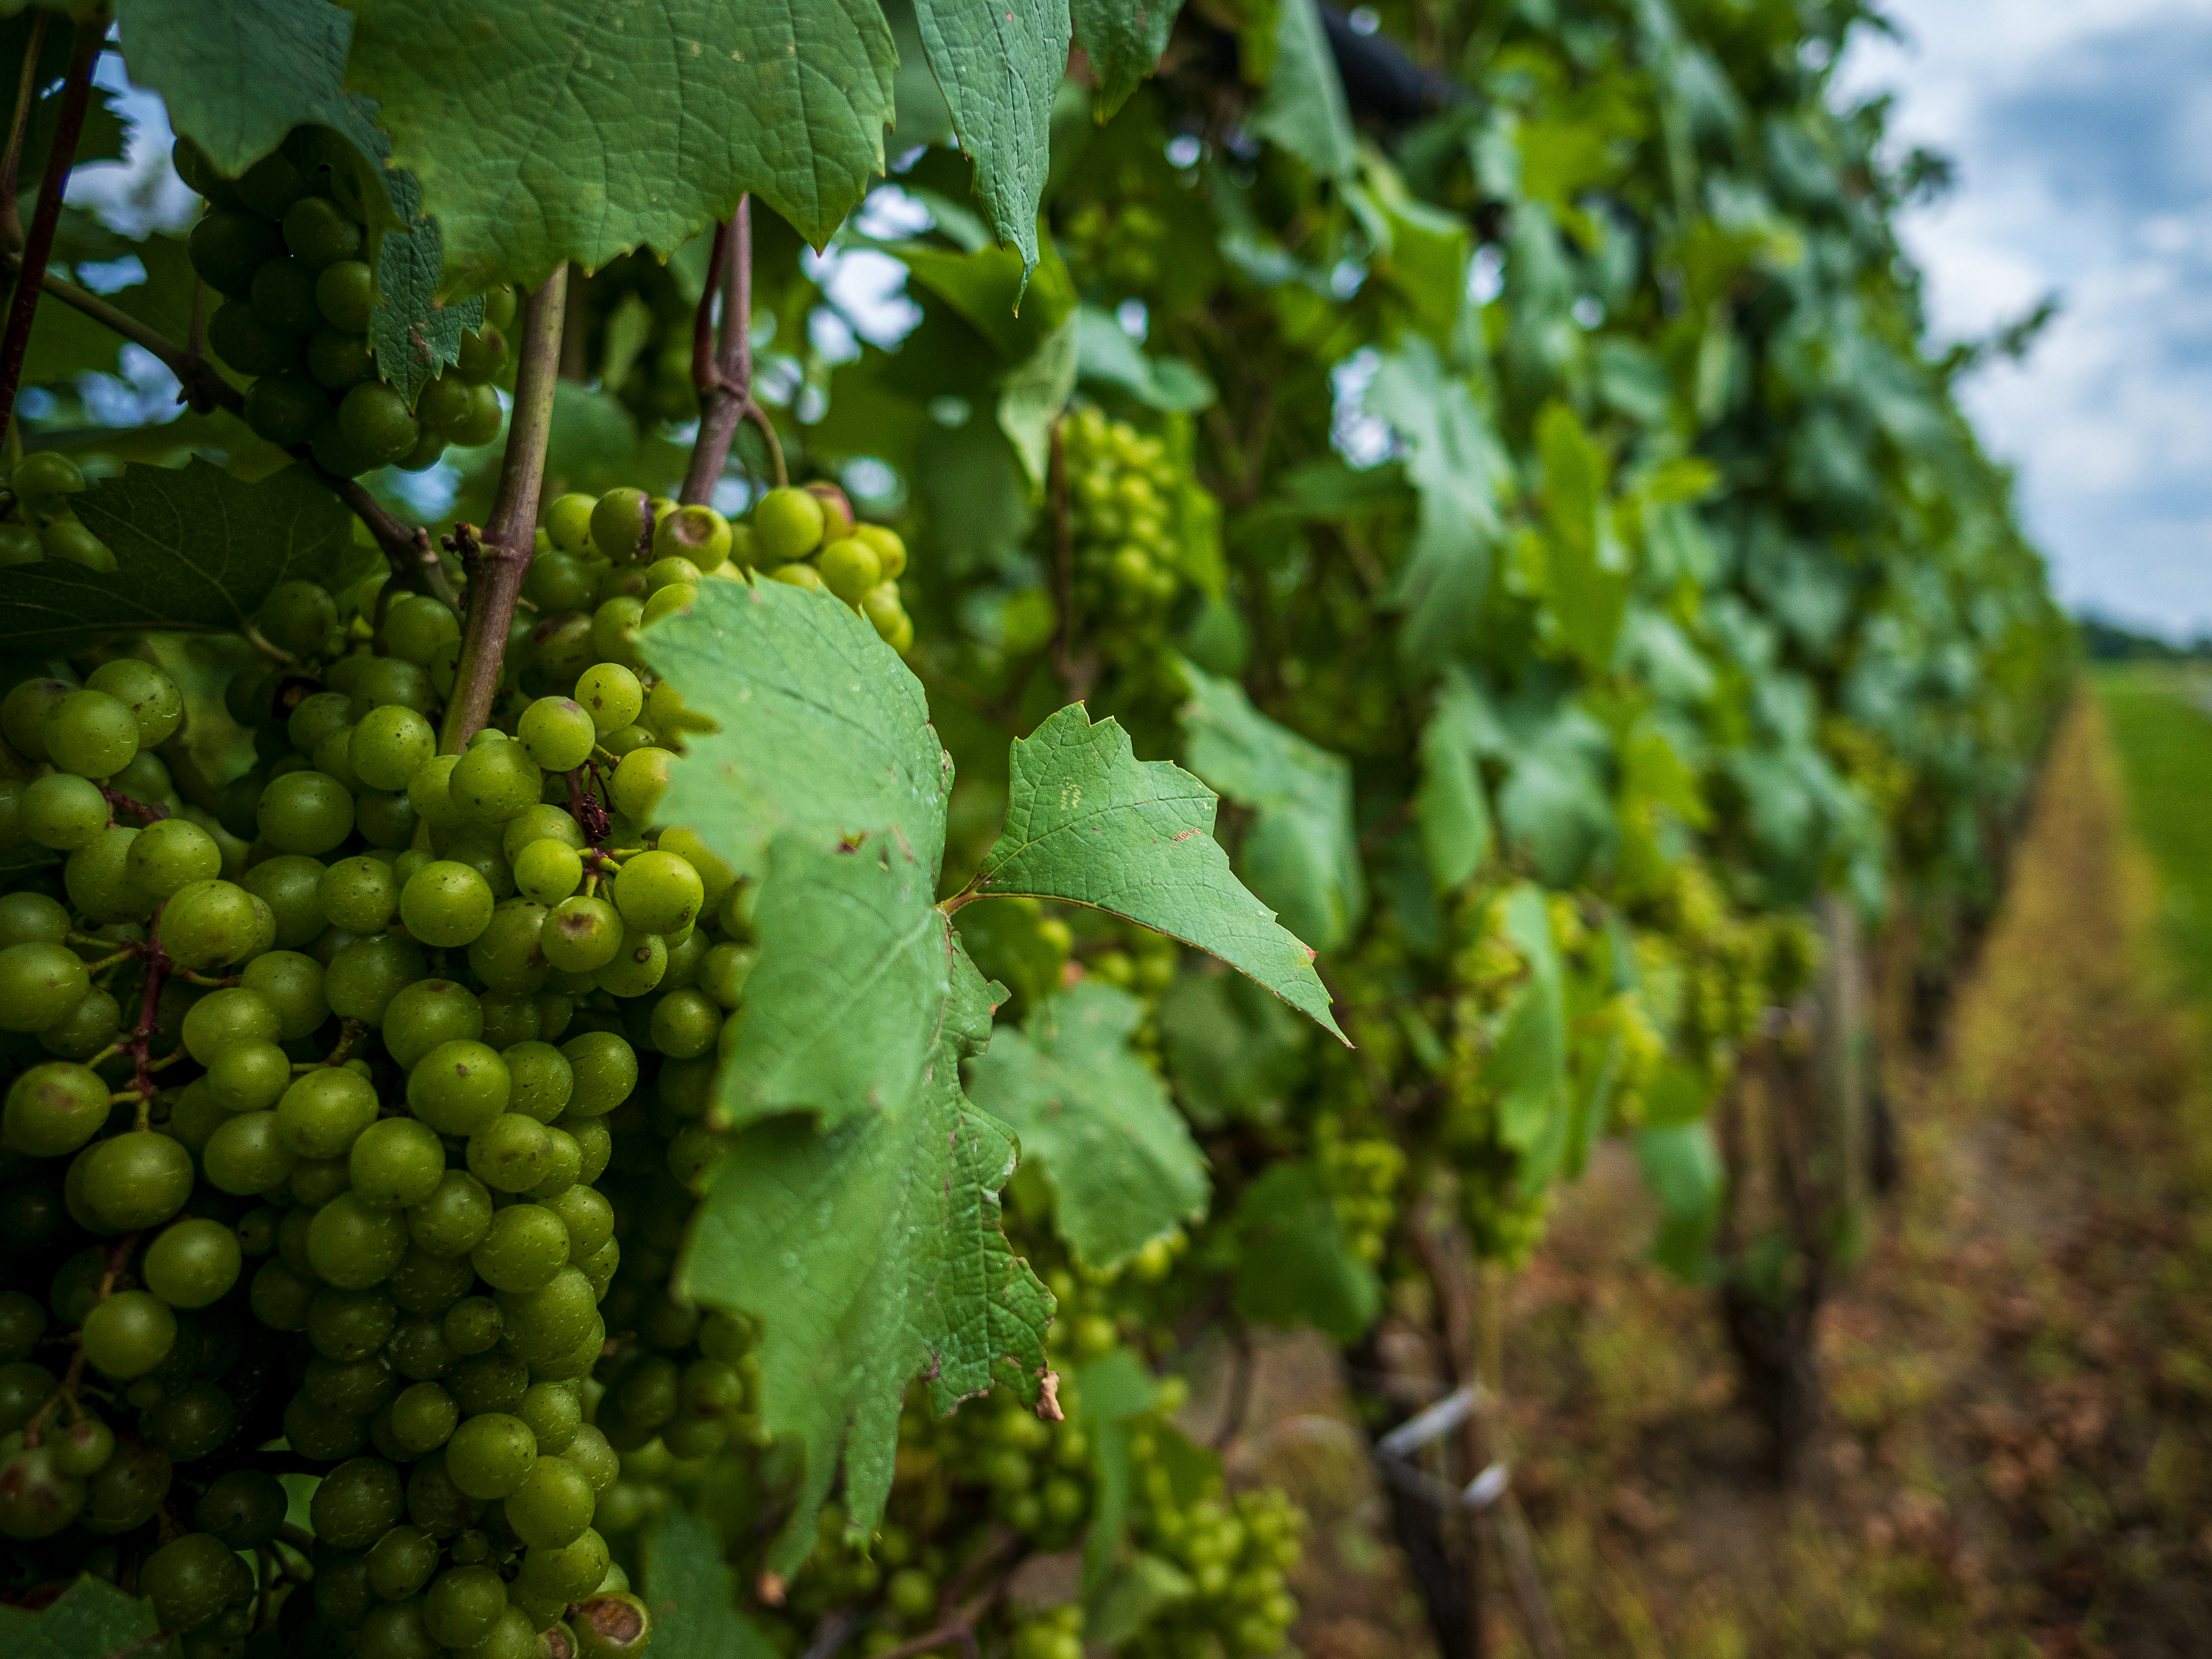
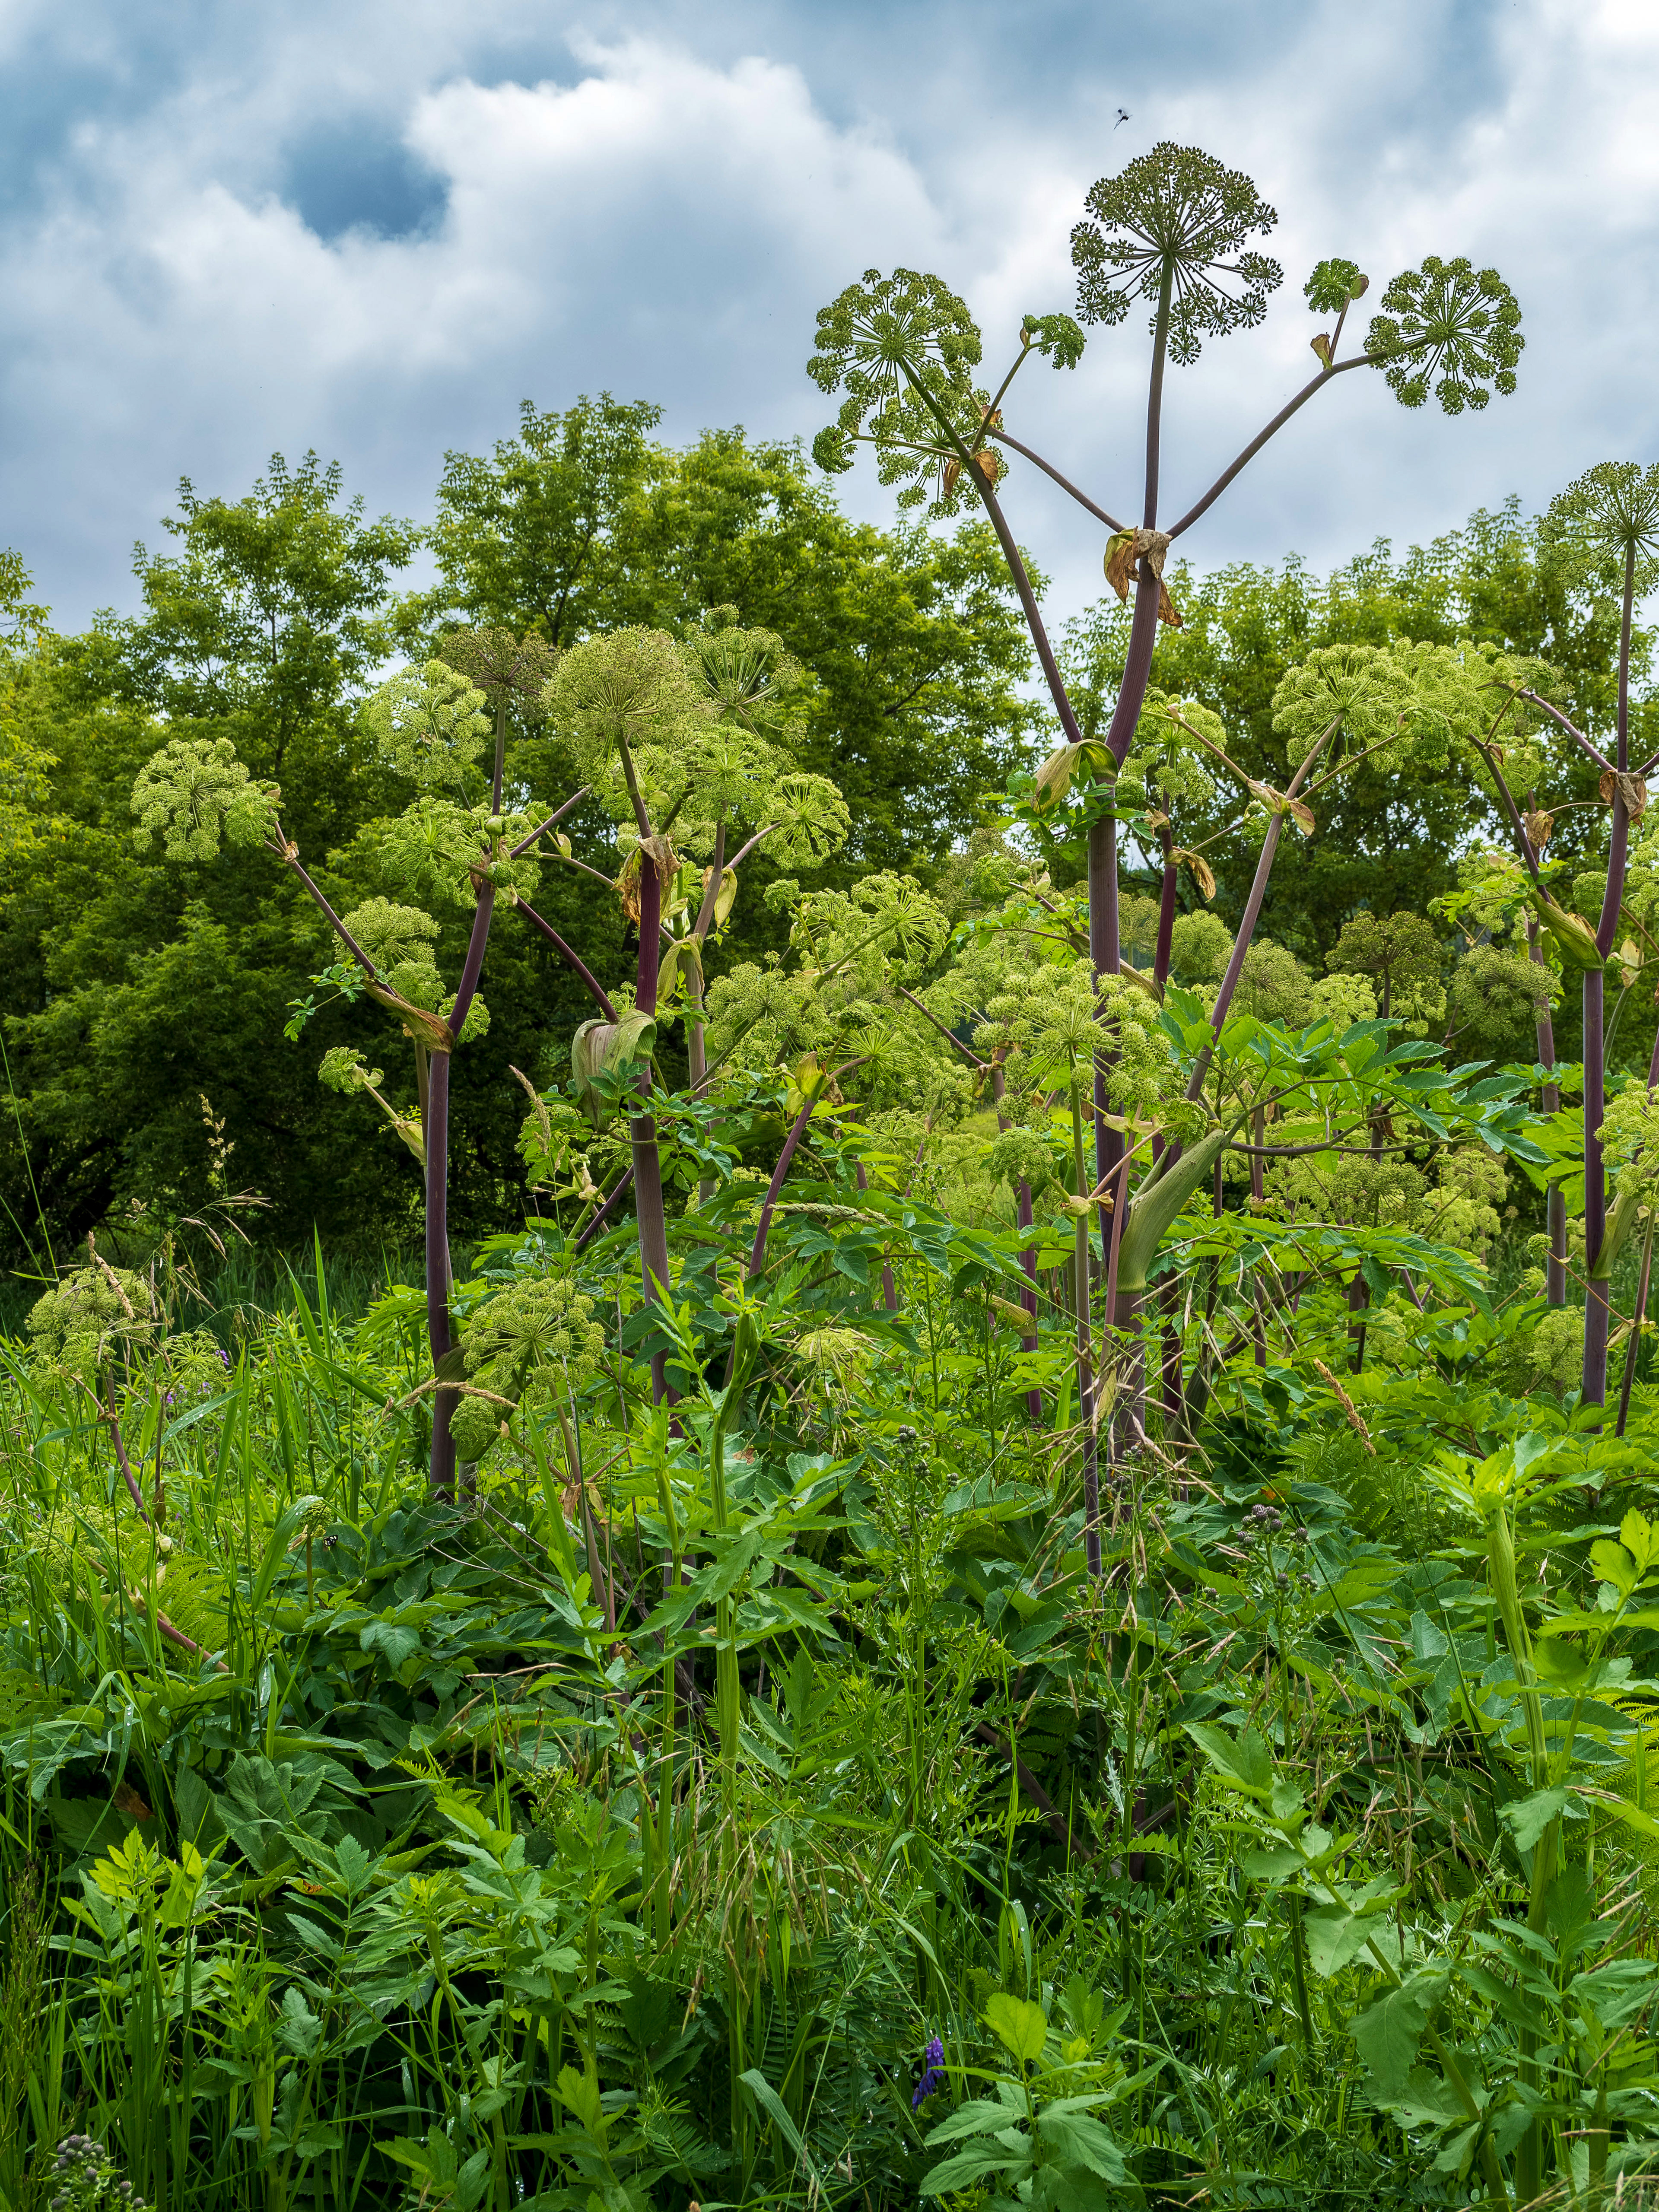
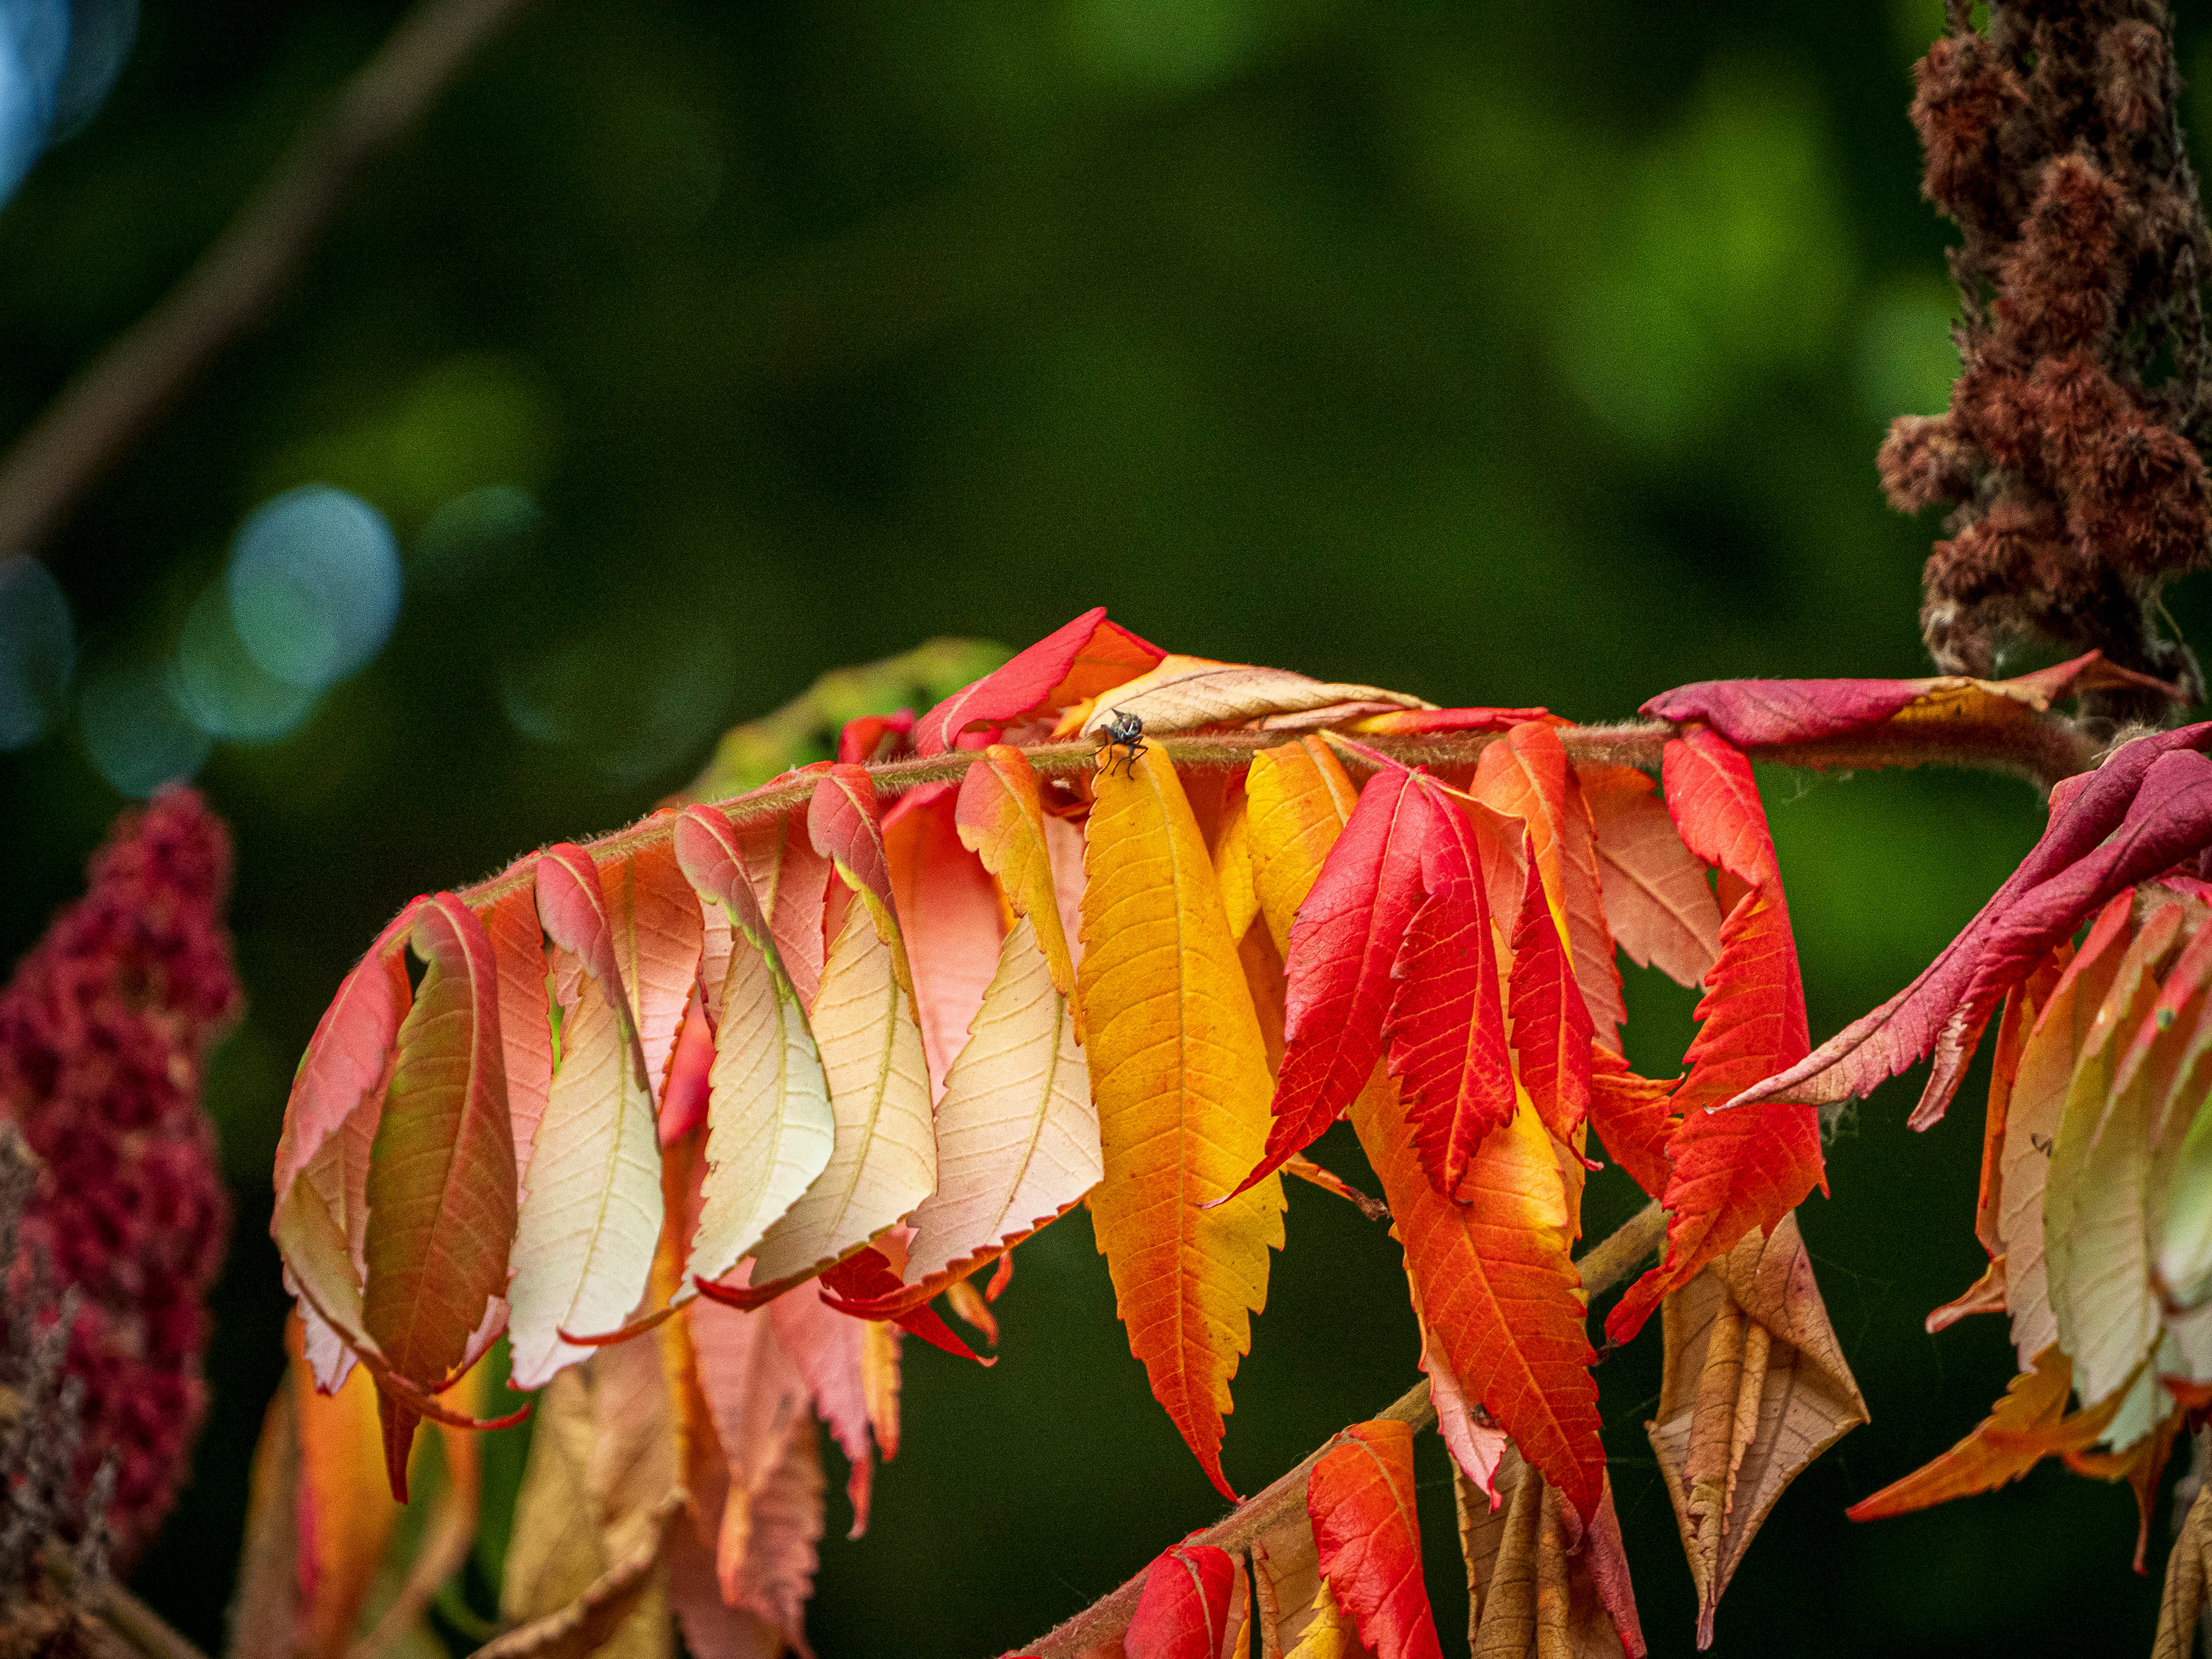
So, there you have my three favorite features of my new OM-5. Naturally, I use this camera for my everyday photography, too, some recent samples of which are below.

Learn More
If you'd like to learn more about why I have moved from my (beloved) full-frame DSLR Nikon D750, feel free to check out the following articles:
It's worth noting that "moved from" doesn't mean "gotten rid of." I still own and use my D750, although not nearly as frequently.
Until next time!