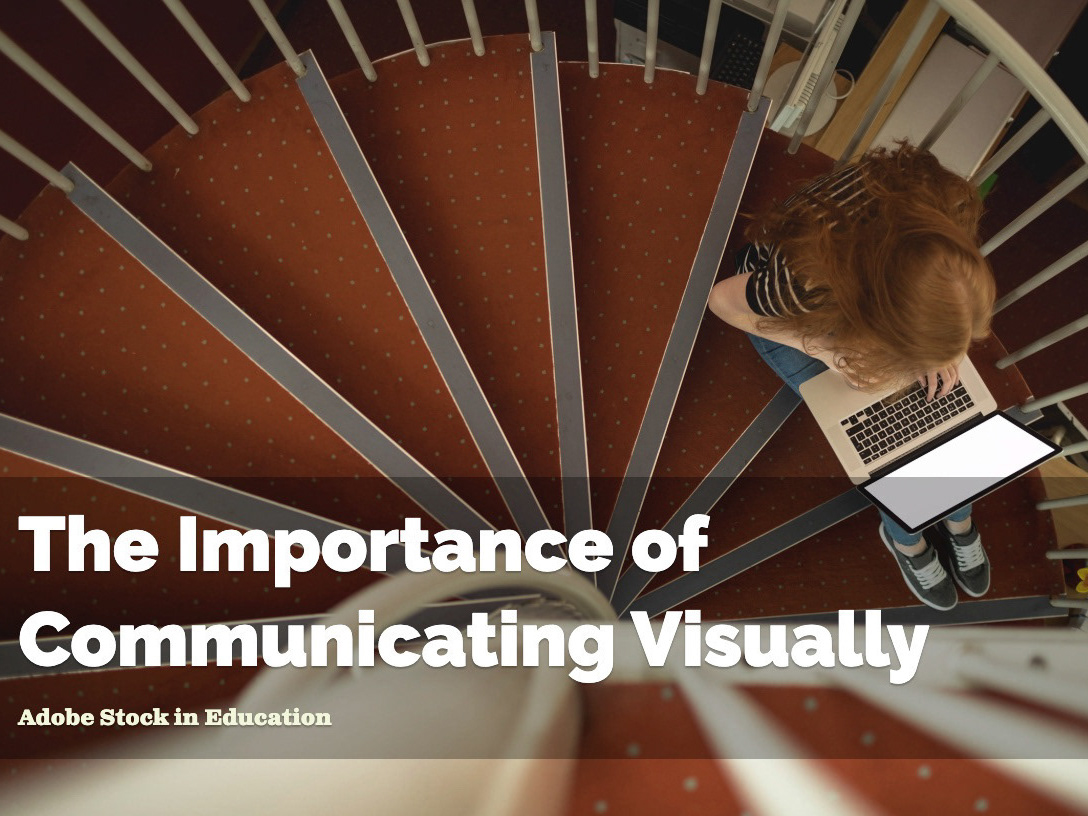
Over the past several weeks, I've had the pleasure to participate in a couple of the Pro-D courses that are available on the Adobe Education Exchange. Joining online with literally hundreds of faculty, trainers and even students from across the globe, to share and discuss and create content for such topics as Digital Creativity and (currently) Digital Imaging.
This professional development is totally free and - as I've seen by participating - can give teachers a real leg up in gaining experience with digital tools and building confidence. I was surprised and impressed at the sheer number of newcomers - those who had not really used digital tools in general along with those who had never used Adobe's tools.
It has been and continues to be fun, inspirational and educational. I've learned as much - or more - than I've shared.
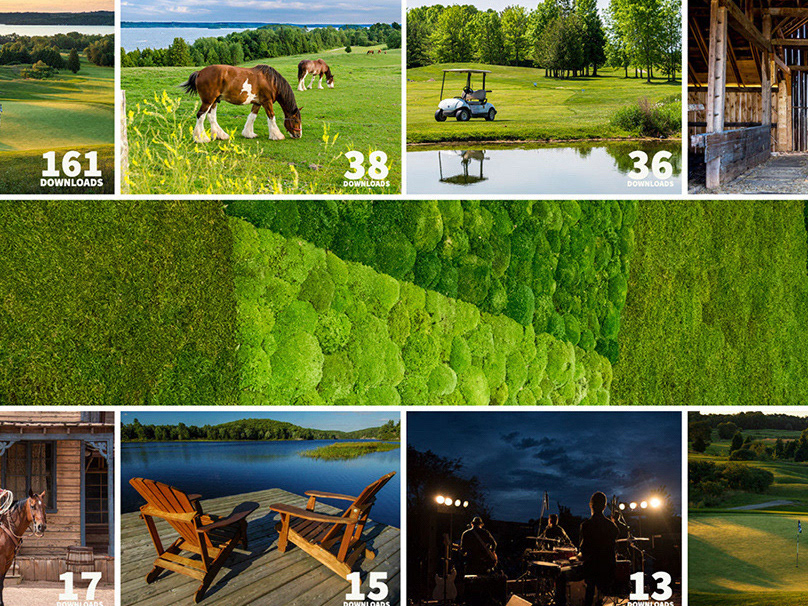
This project is dedicated to the work I created for our homework, in both the Digital Creativity course and the currently running Digital Imaging course. But I encourage you to check out and comment on all the other fantastic work created by educators from across the world, right here in Behance. Simply search for terms like EDEX or AdobeGenPro. See what these amazing teachers - teachers who may well be helping your children learn - are doing.
Digital Creativity Course
This course explored how to use varous technolgies in the classroom for creative and engaging purposes. The idea - in my mind - was to establish a comfort level for teachers and trainers with various digital skill levels.
Assignment 1 - Introductions
Use Adobe Voice or a similar product to create a short biography about yourself. Tools like Adobe Voice (a touch app currently avaialble for iPads) are very easy to use and - as a result - you focus more on telling your story rther than how to use the app.
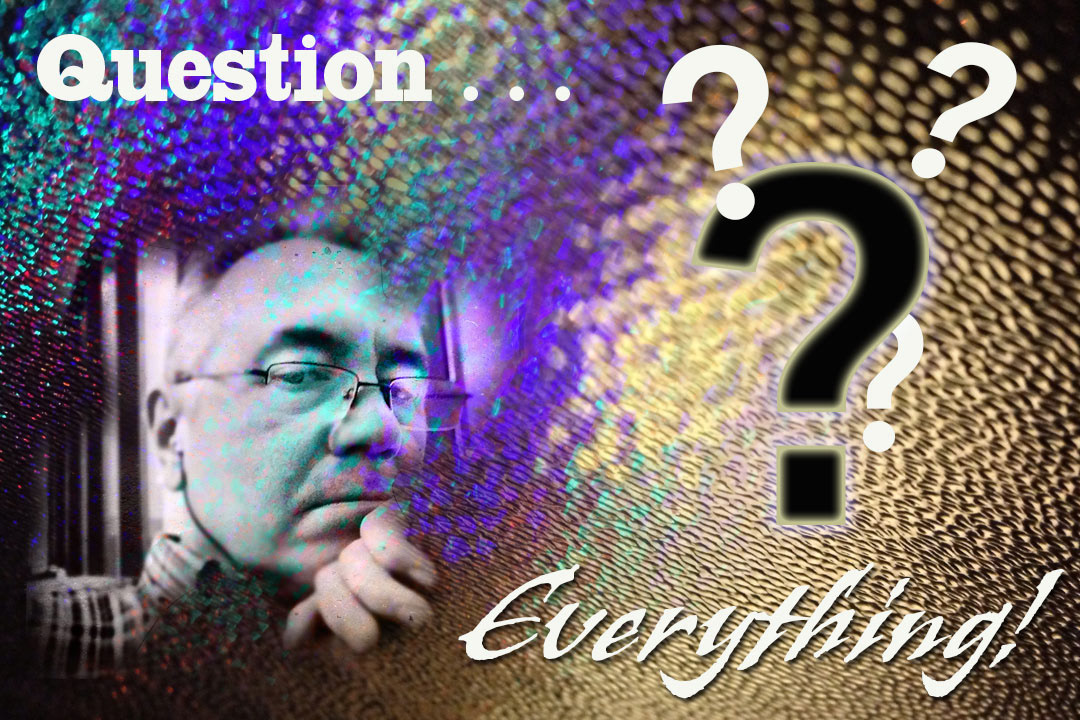
Assignment 2 - Create a Protest Poster
Using Photoshop, PS Elements or another digital imaging program, combine original images and typography to create a protest poster. In my case, I didn't have a lot to protest about, so I went with a more philisophical concept. Not my best work, but it really does bring into sharp focus that your best work is done when you have a lot of clarity and passion for the topic.
Assignment 3 - Create an Interactive PDF Poster
The goal here was to use InDesign and Photoshop to create not just a static poster, but something with more interactive than the printed page can offer. I created two versions. One version became an interactive PDF and the other a Fixed Layout ePub. I wanted to try out both methods, as they both offer some great options to engage people. Inteactive PDF's can include video, hyperlinks and even a makeshift slide show idea (the last feature I learned after the fact).
Fixed Layout ePubs take the interactive document to that next digital level of engagement. These publications can use animations, transitions, video, hyperlinks, slideshows and possibly a few other tricks I don't even know of. They give you the best of both worlds - a multipage, highly designed document (like a PDF or a print piece) with a high degree of interactivity.
Both of these publications were created within InDesign. Below are cover images for both of my publications. I may provide links to the actual files at a later time.
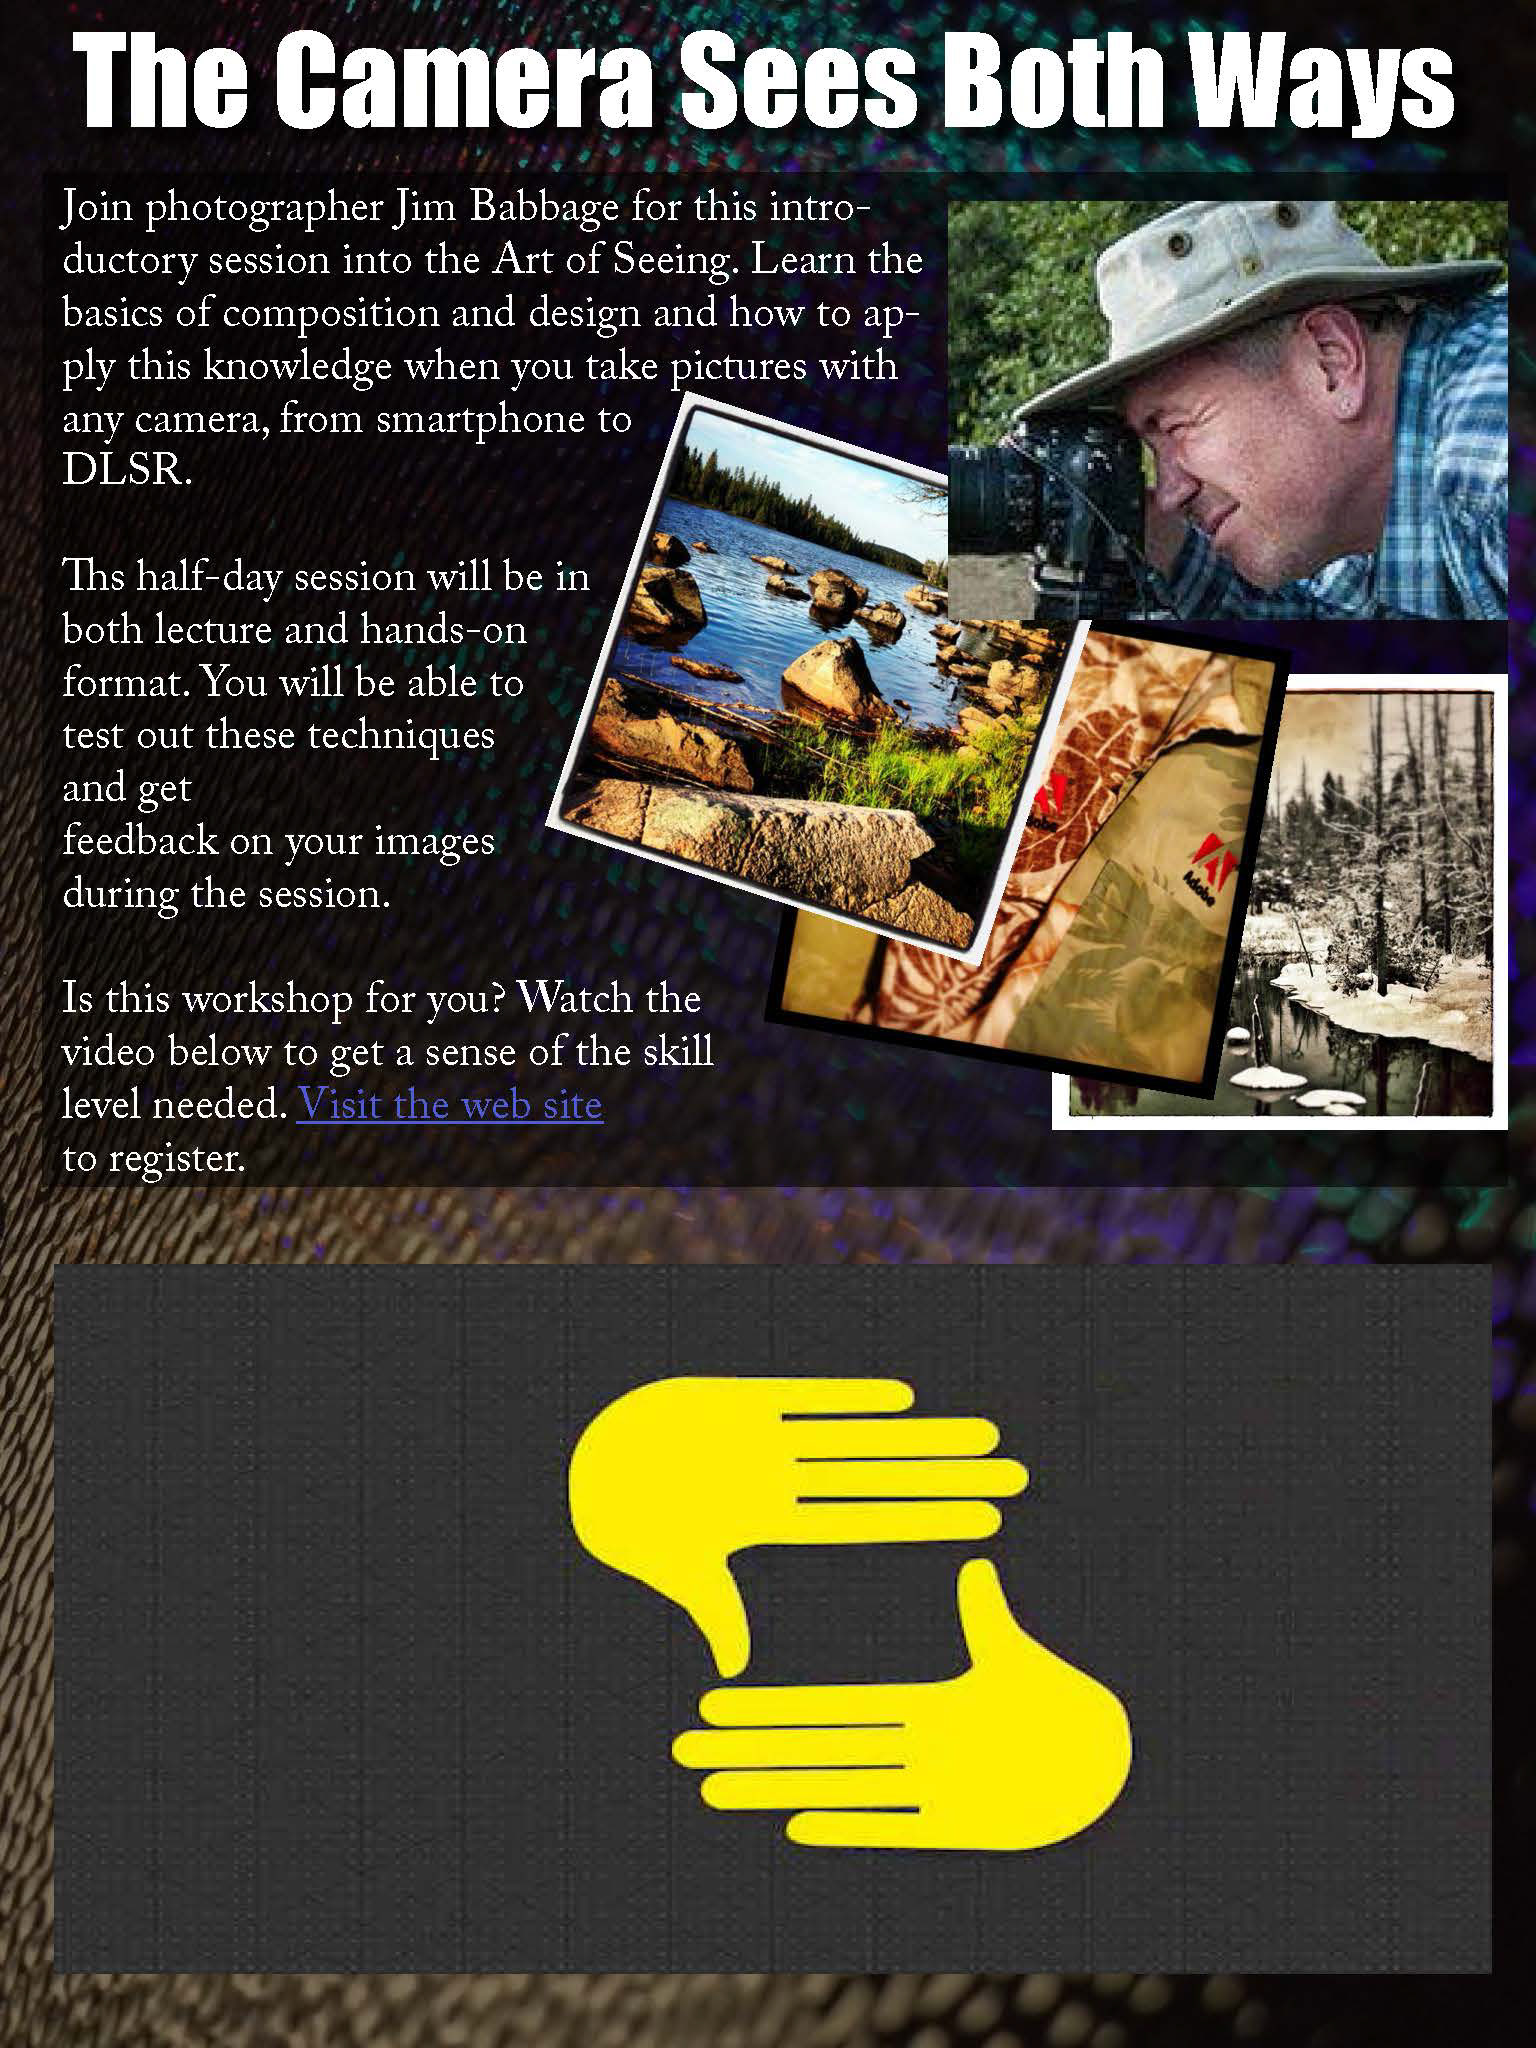
The Interactive PDF version. The layout for this version was a little more stylized as - at the time - I didn't think you could create non-Flash-based slide shows. So I wanted to be sure several images were visible. The lower half of the poster is an Adobe Voice lesson I created on cropping and framing. Adobe Voice gives you the option of saving your finished videos to your camera roll, which makes it really easy to further optimize and embed the video within your PDF.

The ePub Fixed Layout version. While the layout here is simpler, the publication does a lot more. The image in the top right corner is not simply an image; it is a multi-state object, containing several photographs. The arrows below the image are buttons and control your progression through the slideshow. The slideshow itself also fades in from 0 - 100% opacity.
The video is still a video, but rather than sitting there as a static object, it slides in from the left before playing.
If there is a downside to this version, it's that the ePub is admittedly a much larger file, even with the optimized video.
Assignment 4 - Working with Video
In this final technology-based assignment, we were tasked with creating a short video, Using Adobe Premiere, Premiere Clip or an alternative application. I admit t not creating something new in this case. Work was getting very busy and I simply did not have the time to create something from scratch. But this piece demonstrated my comprehension of Adobe Premiere, including text, transitions, sound effects and background music.
Digital Imaging Course
This course is currently running, so I don't have all my finished assignments yet, but I do have a few. The goal of this course is to gain competency and confidence using Photoshop or Photoshop Elements. While those two applications are the focus, teachers can to use what tools they have at hand if they are unable to download the Adobe tools.
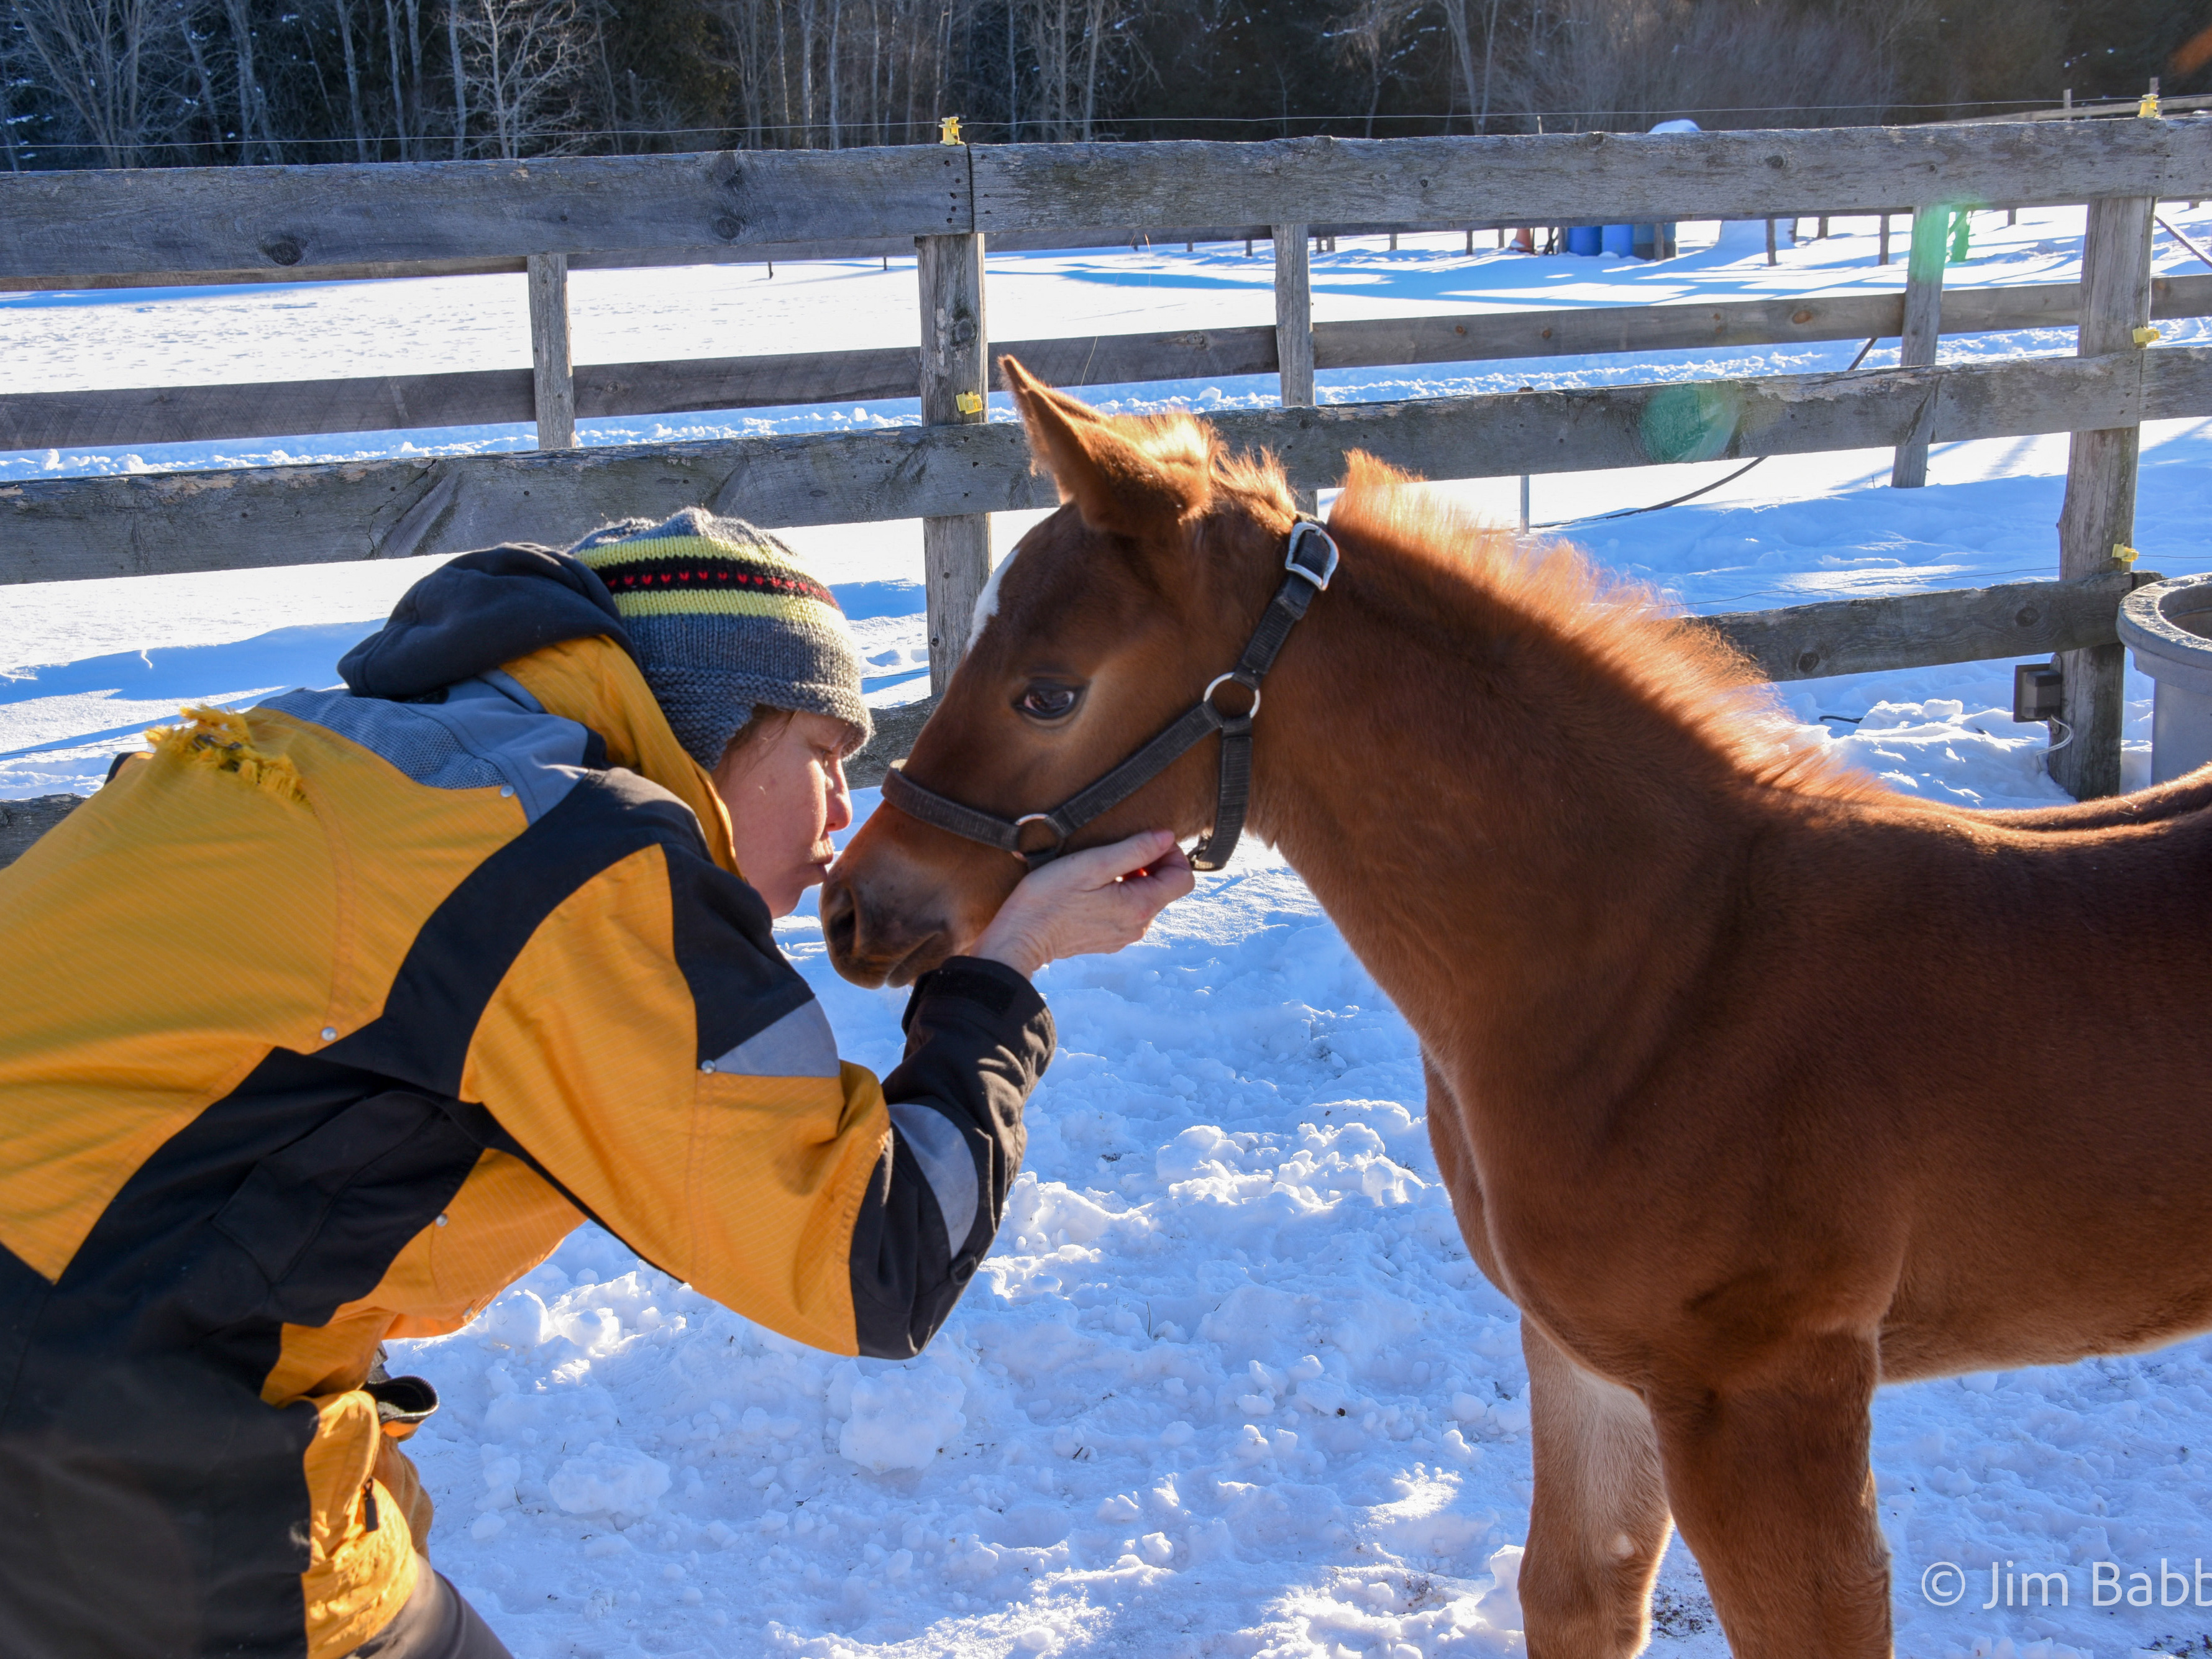
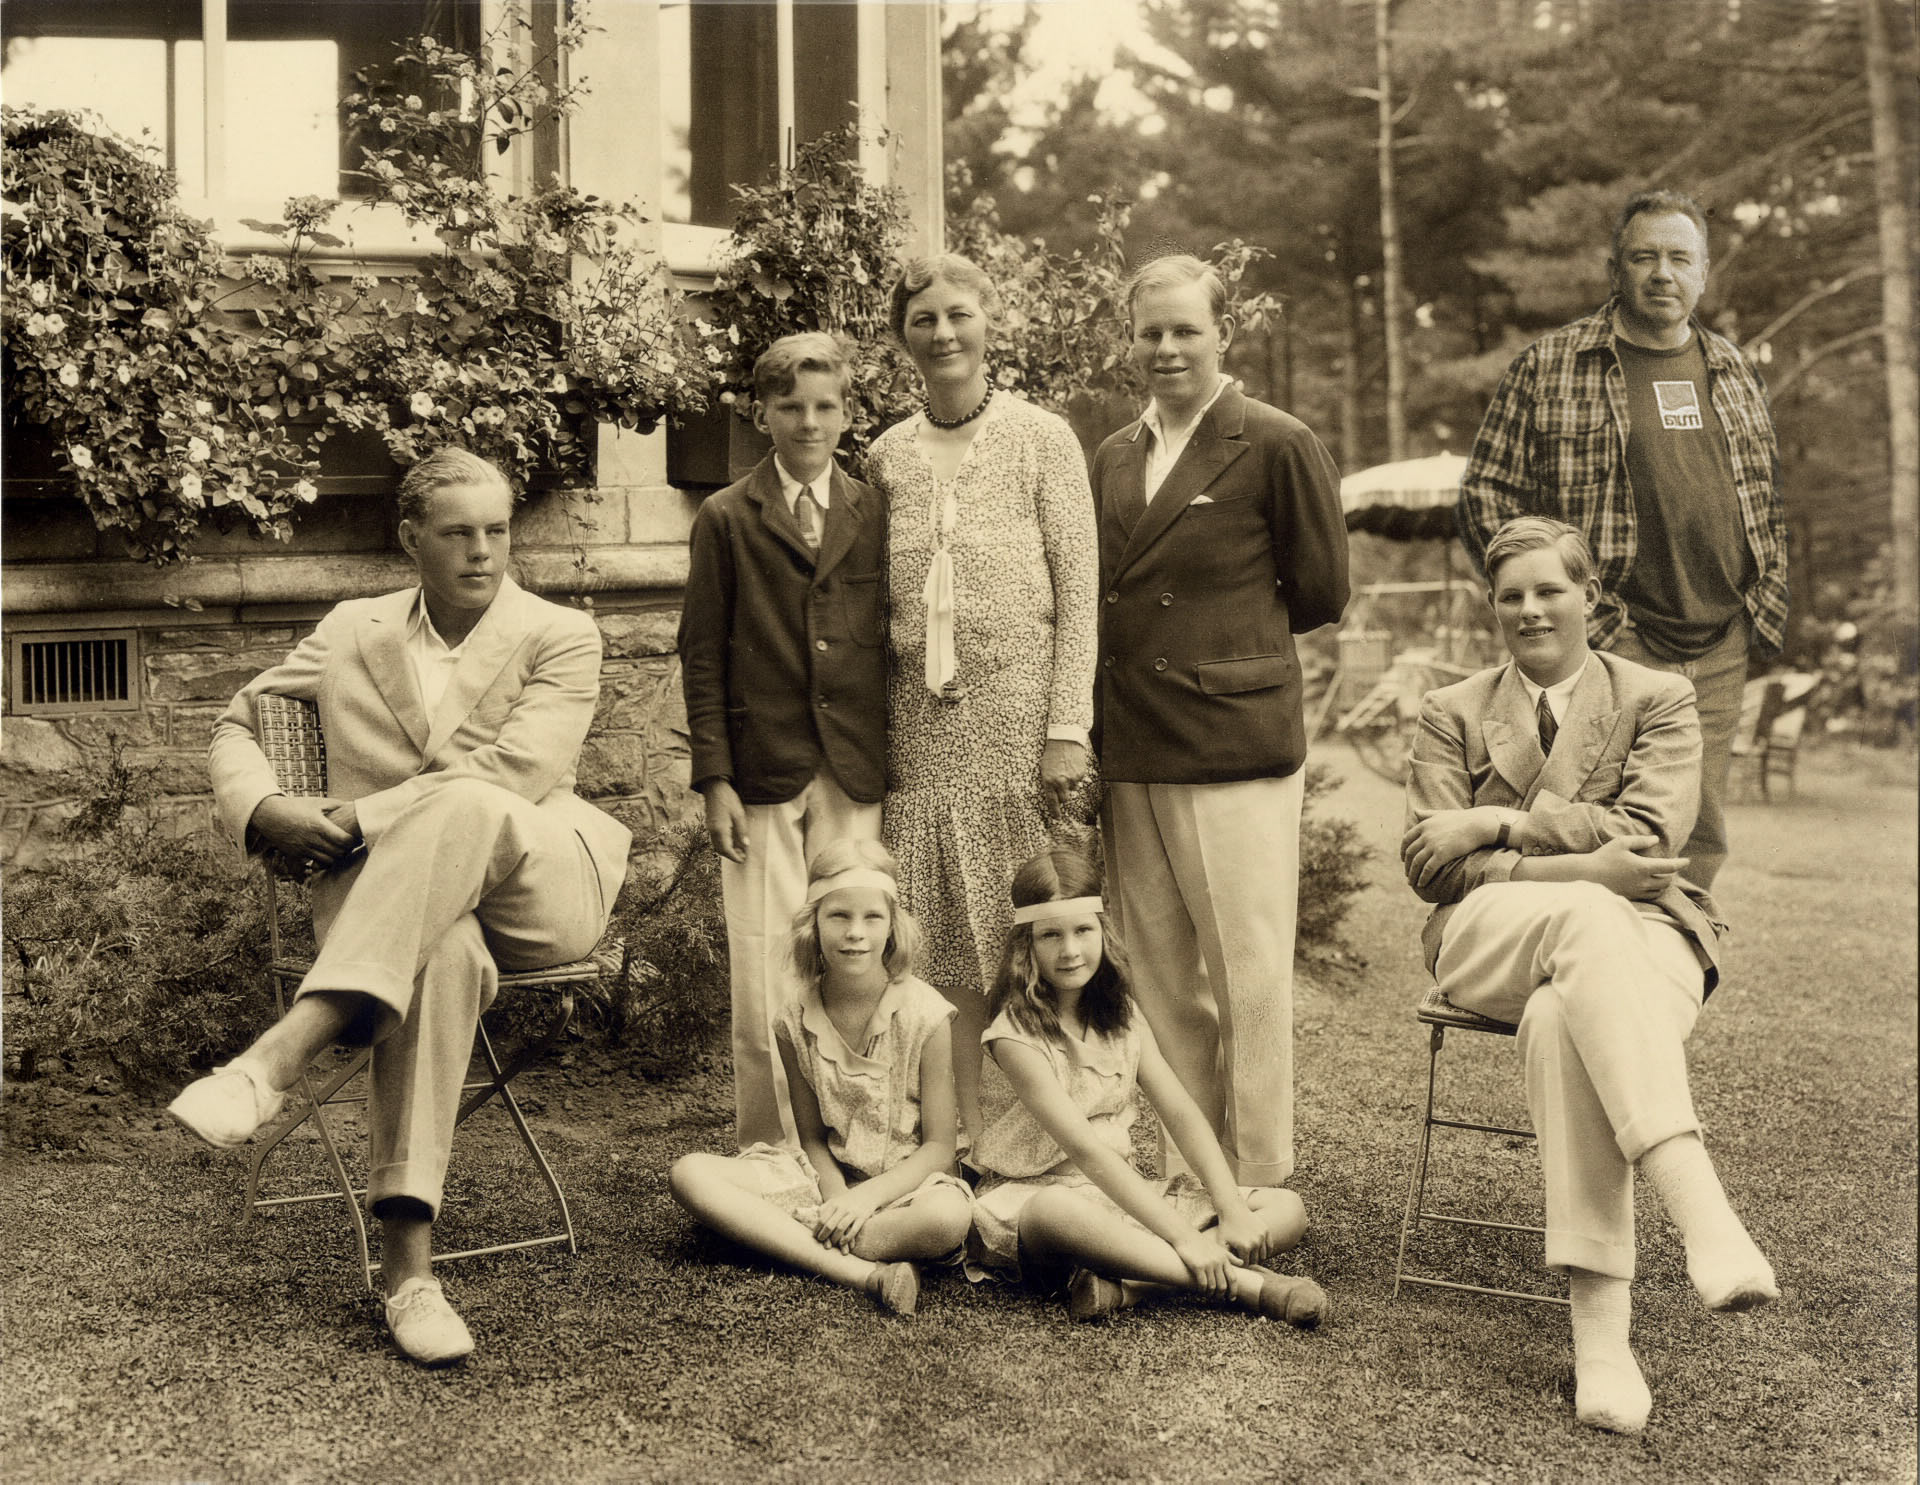
Assignment 1 - Insert Yourself
Use Photoshop to insert yourself into an interesting photo. In my case, I found an old photo of the Eaton family, vacationing in Ontario cottage country. I took an existing image of myself from one of my camping trips, and dropped myself into the background. Challenges included matching image quality, sharpness and the sepia-toned look of the target image.
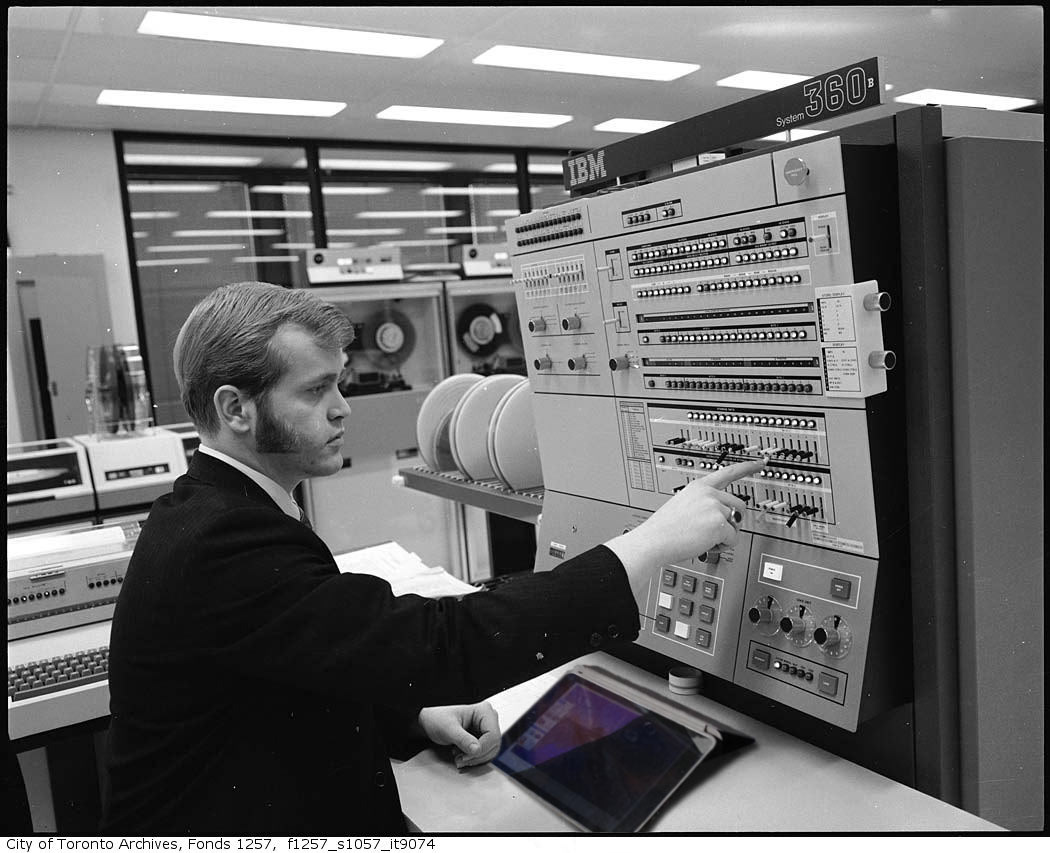
Assignment 2 - Digital Anachronism
Building on what was learned in Assignment 1 the goal of this assignment was to add something current to an historic image or even a painting. I thought it would be fun to add an iPad to this scene of a bank computer room from days gone by. Challenges for me included matching image quality, creating reflections on the surface of the tablet and creating believable shadows and perspective in the tablet. Even though I left the iPad in color (intentionally), I thought the whoel scene worked out well.
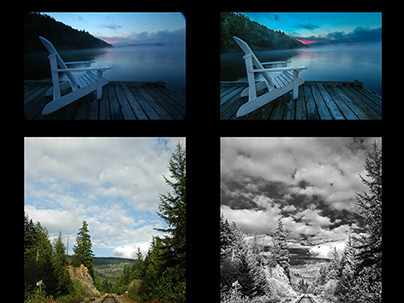
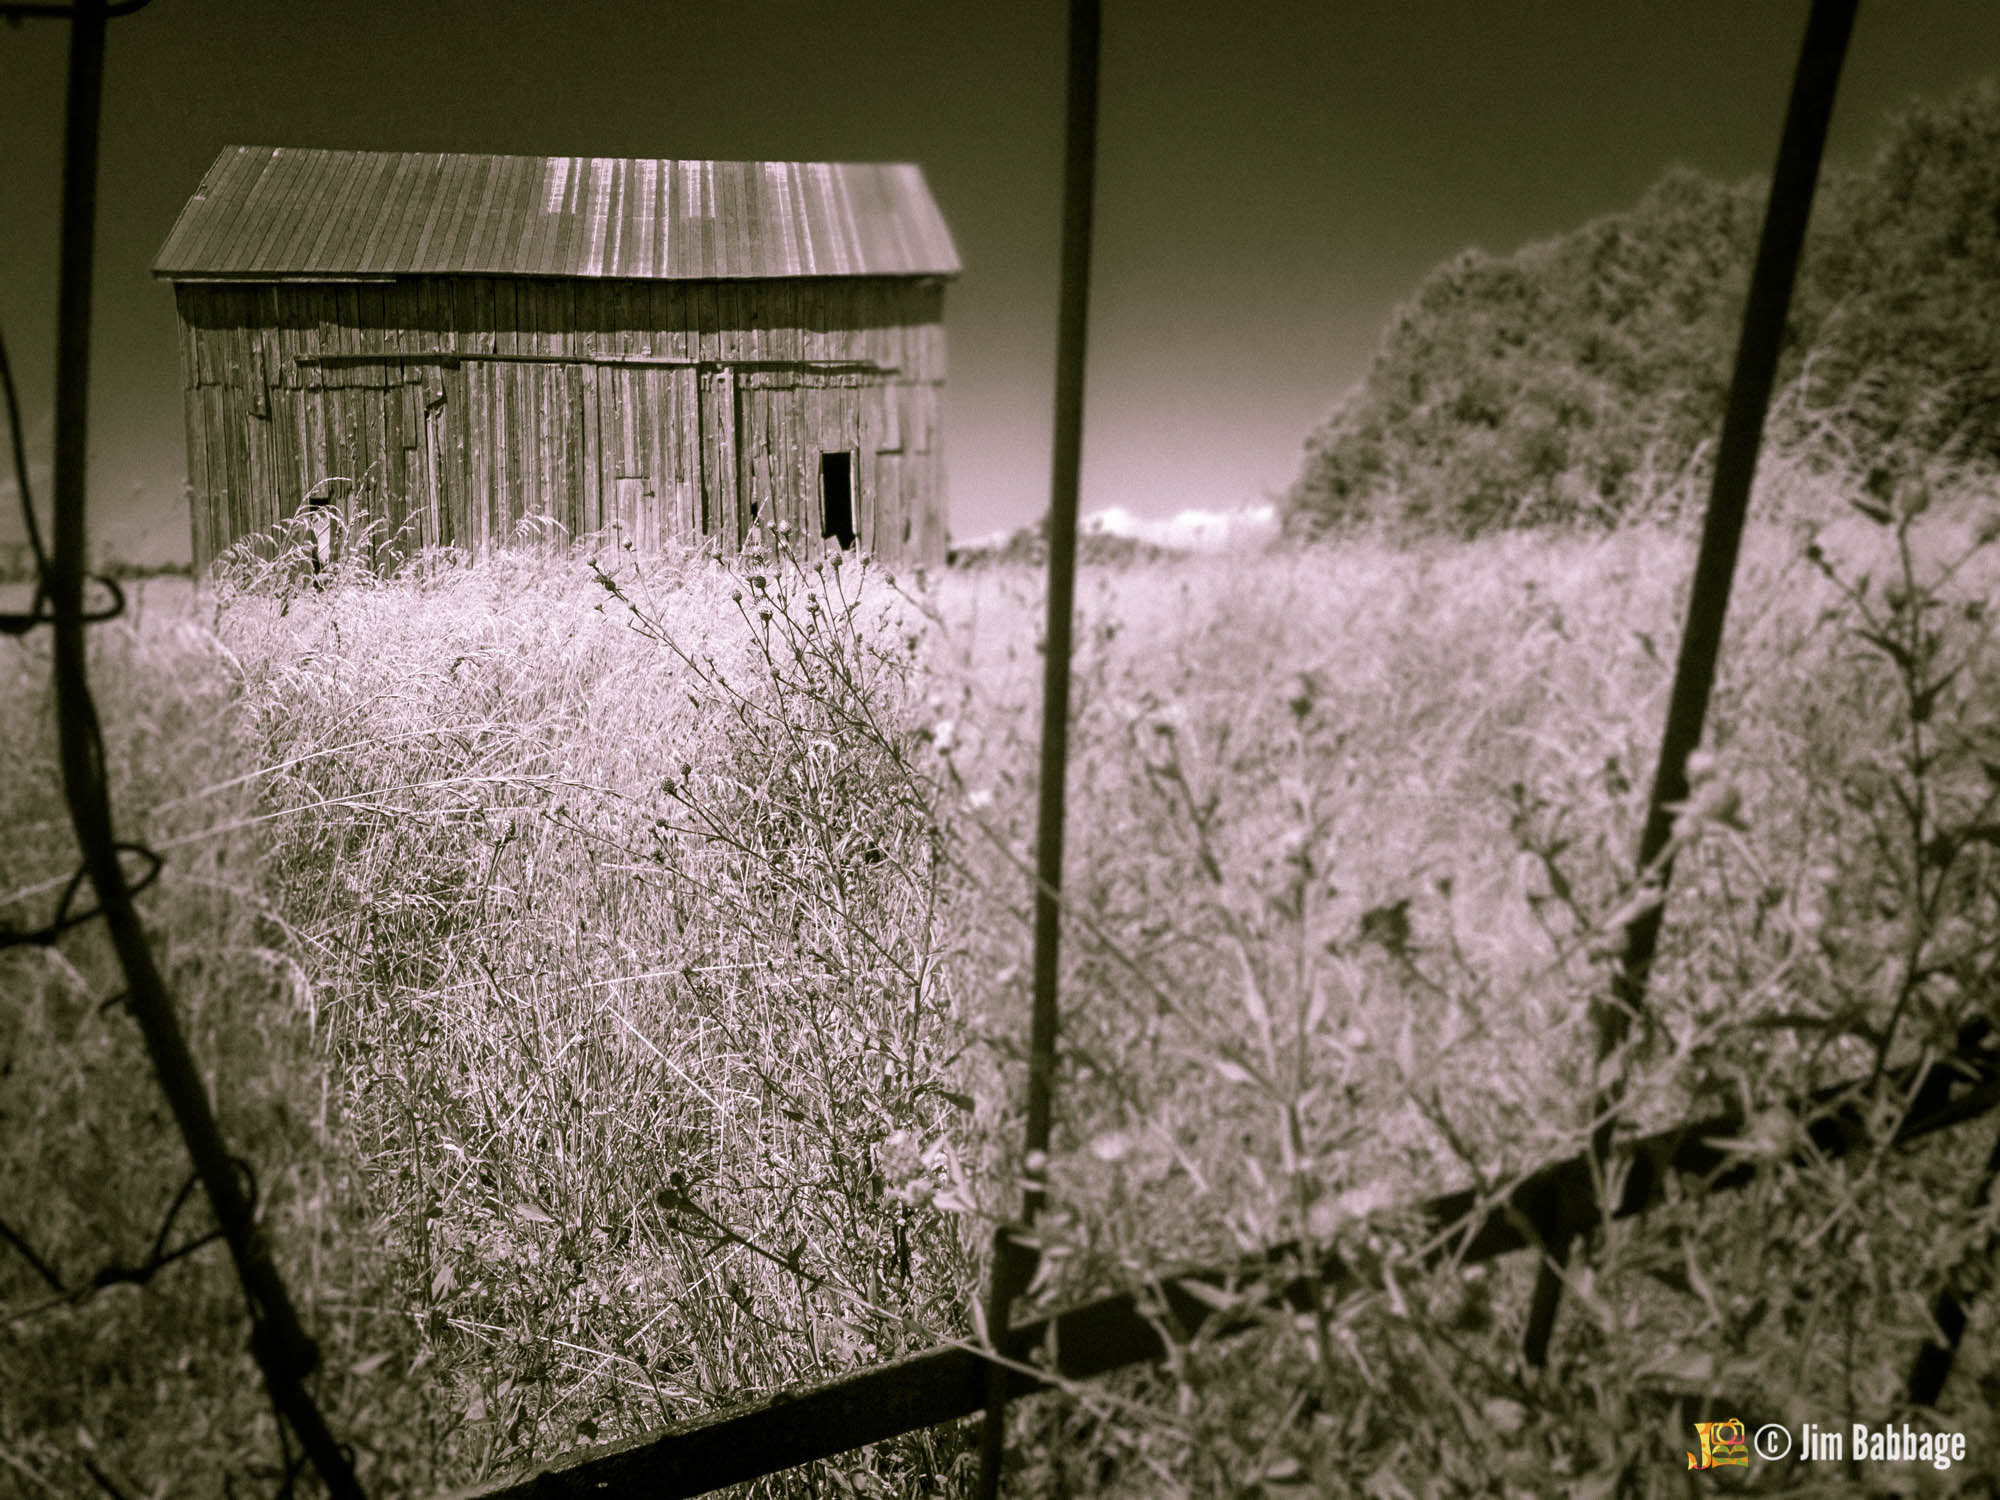
Assignment 3 - Create a Meme
As is probably obvious from my submission, I didn't really understand memes, much less how to create an effective one. But that's OK. I wasn't alone (and I thought I would be) and I learned quite a bit about what makes an effective meme by seeing what other teachers created. What I have here, is really more of a post card. The text for a meme is apparently usually more humorous and/or sarcastic.
I did do a lot though, with this image, using Adobe Lightroom, Adobe Mix, PaintCan and Photoshop to render the final image.
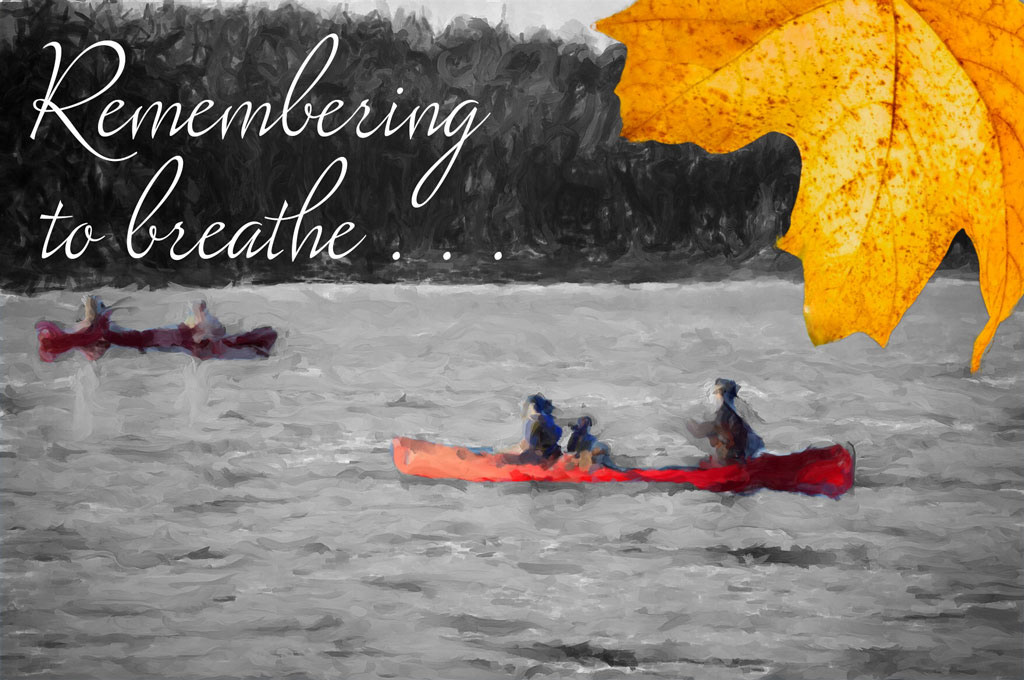
So, after viewing many memes and discussing the concept with my peers, I think I finally have a better handle on what a meme is. My latest submission is - I think - closer to the mark.

Well, that's all I have for now. As I complete more assignments in the Digital Imaging course, I'll be sure to share them. I encourage anyone who teaches, trains or simply wants to inspire someone they know (or even yourself) to use digital tools, to check out the Adobe Education Exchange Professional Development courses. The price - and the experience - are definitely worth it. All you need to get started is a free Adobe ID, and some curiosity.