Bring your Photos to Life with Adobe Firefly
Article #14 in the series, Practical Generative AI for Photographers
Does anyone remember cinemagraphs? I dabbled in that technique for a little while, where - through selective masking in Photoshop, the use of frames and a subtle looping animation - you could make a still image come alive as a short video or animated GIF. You could do it all manually in Photoshop, but there were vendors out there that would sell you a series of actions or a utility that would do the heavy lifting for you, too. I'd made them both ways, just for fun. The results could be magical, but getting there was a bit of work, especially if you ran the workflow manually. It's not a process I wanted to do on a regular basis.
Well, the game - as they say - has changed, thanks to Adobe Firefly's new Image to Video feature. By supplying a reference image (your original photo) to Firefly and a brief text prompt, you can turn that still image into a 5-second video* in no time.
Suddenly, I have a new way to create interest in my photography, or tell a story. Sharing these clips on social media is another method to engage with my audience; not to pass off the videos as real, but to add a different perspective or viewpoint, possibly (and hopefully) start up a discussion.
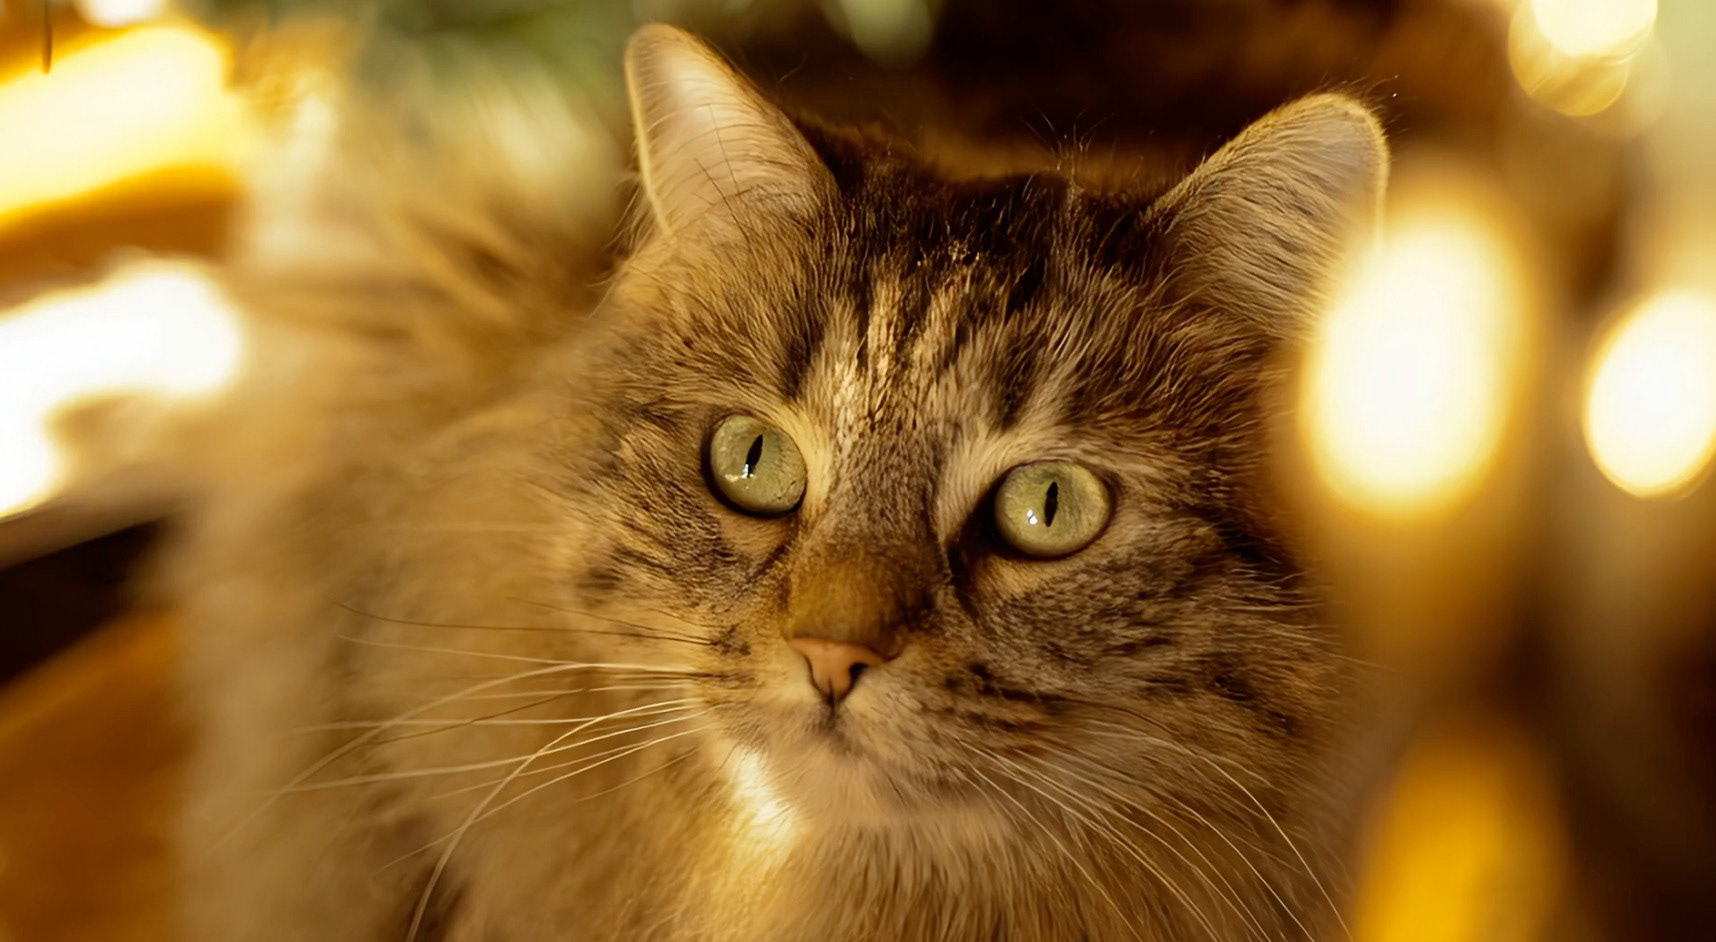
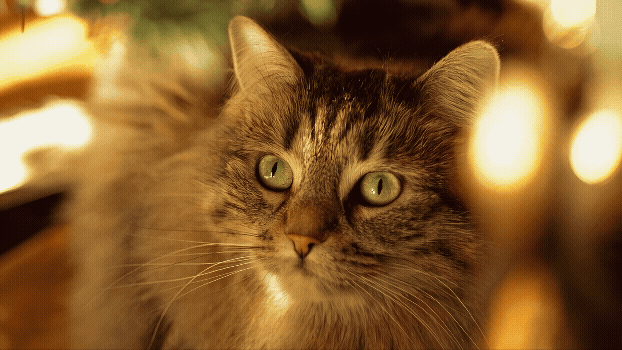
Still image on the left of my sweet girl, Hunny, who crossed the rainbow bridge some time ago. This little video, created in Firefly, makes me smile every time I watch it.
This tutorial will walk you through this very easy process and along the way I will provide a few tips on how to get a good result.
*Note: Firefly - Adobe's family of visual Generative AI models - requires generative credits to generate content. All paid subscriptions to Adobe Creative Cloud or other individual products and services include a set amount of generative credits, that automatically replenish each month. You can learn more about Generative Credits at this link.The assumption in this tutorial is that you have a paid subscription to an Adobe product in order to take advantage of Adobe Firefly.
Each of these videos started out as a single still image.
Setting up Firefly (and yourself) for success
To start the process, you need at least one good quality photograph. Assuming your goal (like mine) is realism, in my limited experimentation, I have found that images with more detail produce better videos than poor quality images or ones with little detail. A good image gives Firefly a lot of information to work with so it can focus on creating a realistic video, rather than imagining what objects should be where and how they should behave (hallucinations). Firefly has created some mighty strange content when the image lacks detail. I'll share a couple bloopers at the end of the article.
So, take the time to choose a good image and do any necessary image processing in Lightroom or Photoshop before starting the video generation process. Ideally, you want to get to an acceptable result using as few generations as possible, as generating video is expensive in terms of generative credits.
If you only have one image (as was my case), you will be using that as the starting frame reference image. More on that in a minute.
Generating your first video
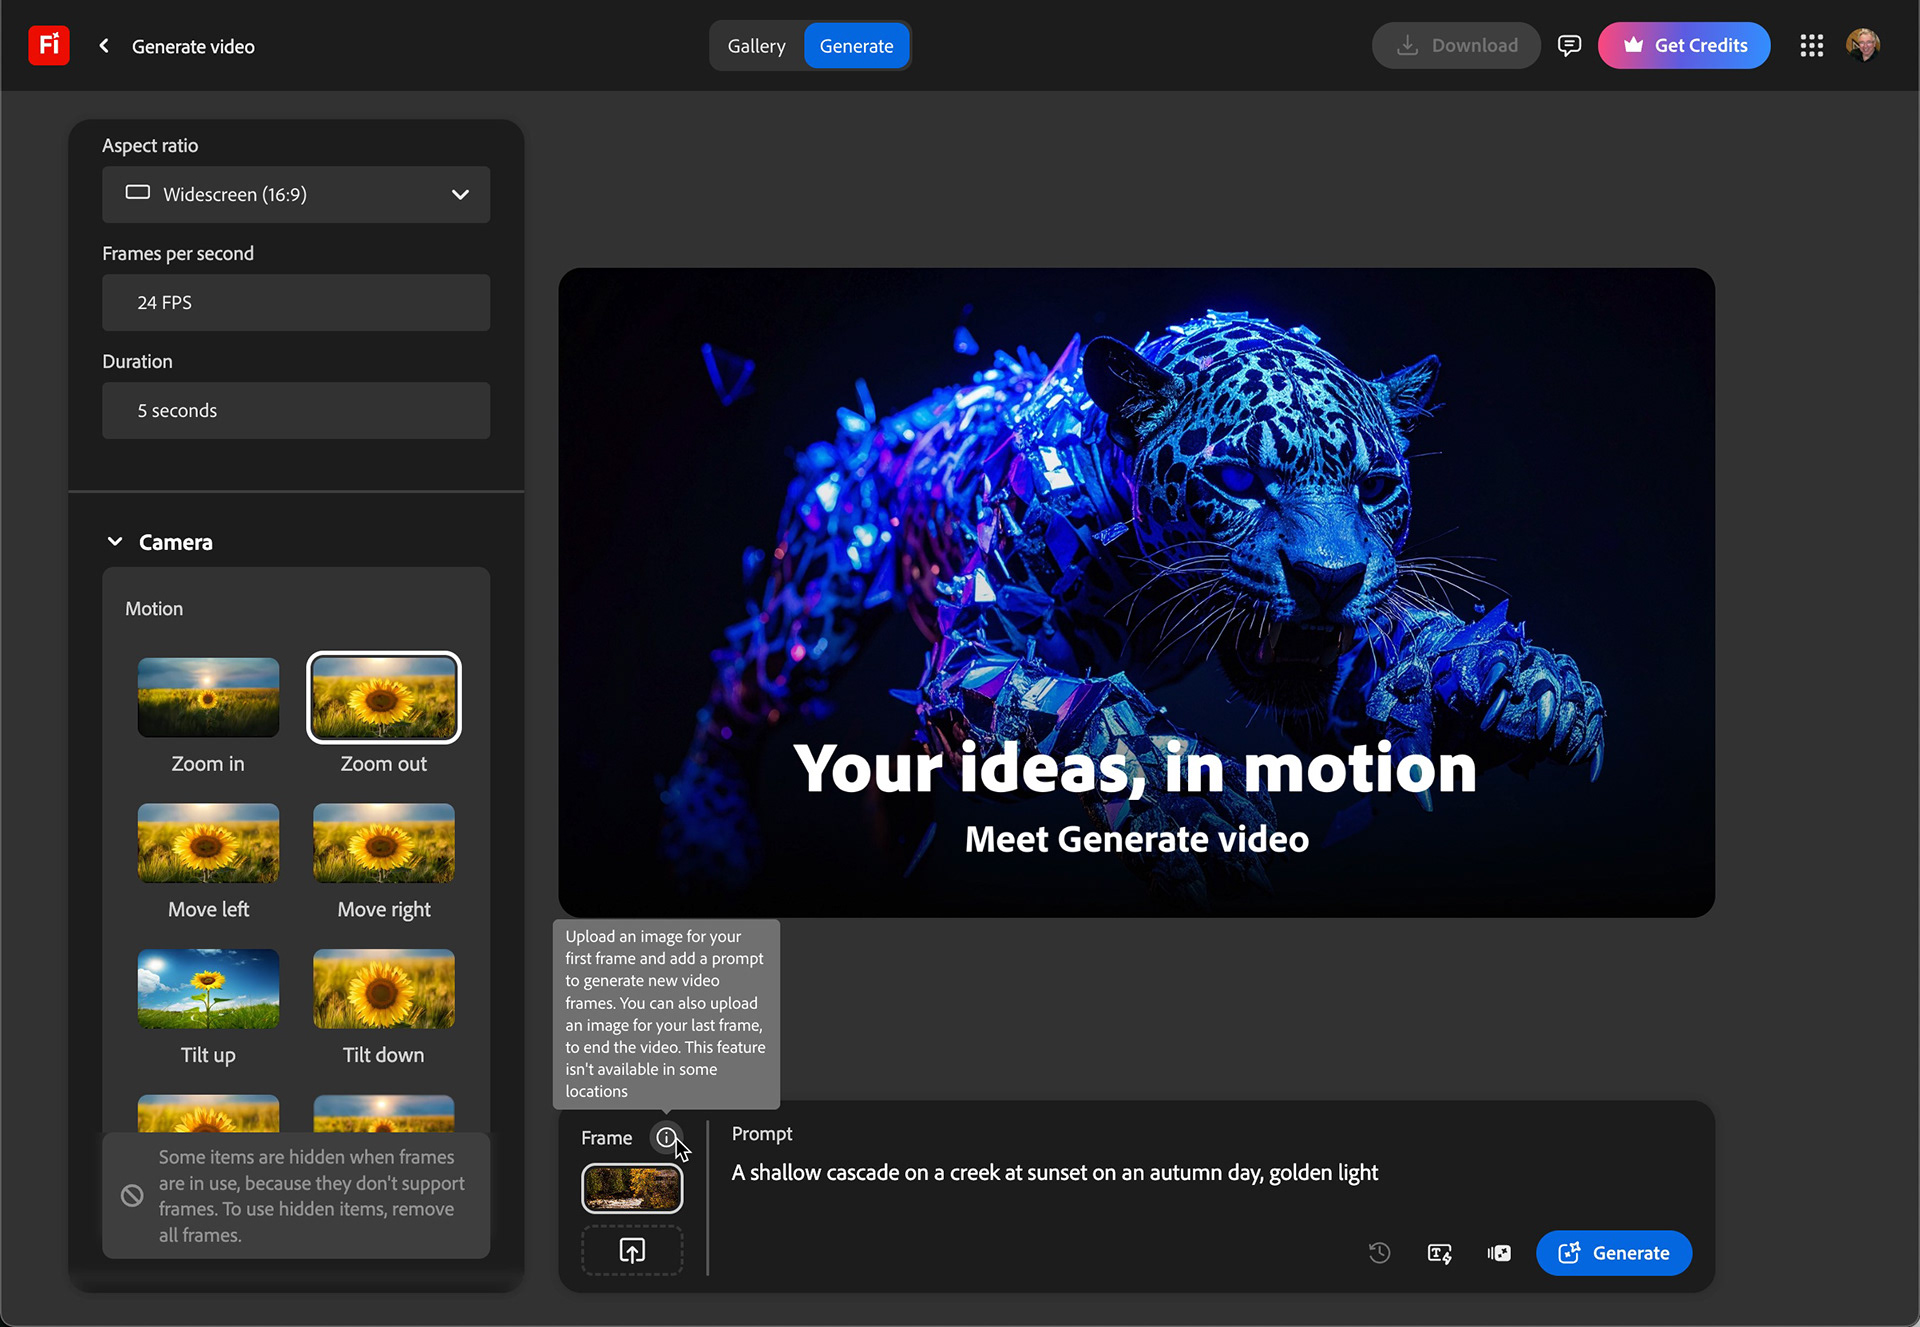
Start on the Firefly website at https://firefly.adobe.com.
On the Featured banner, choose Video, then select Image to Video.

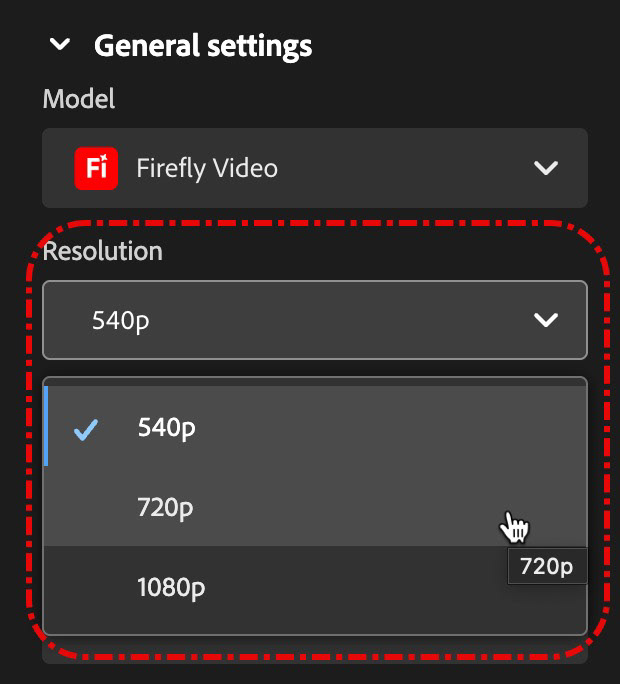
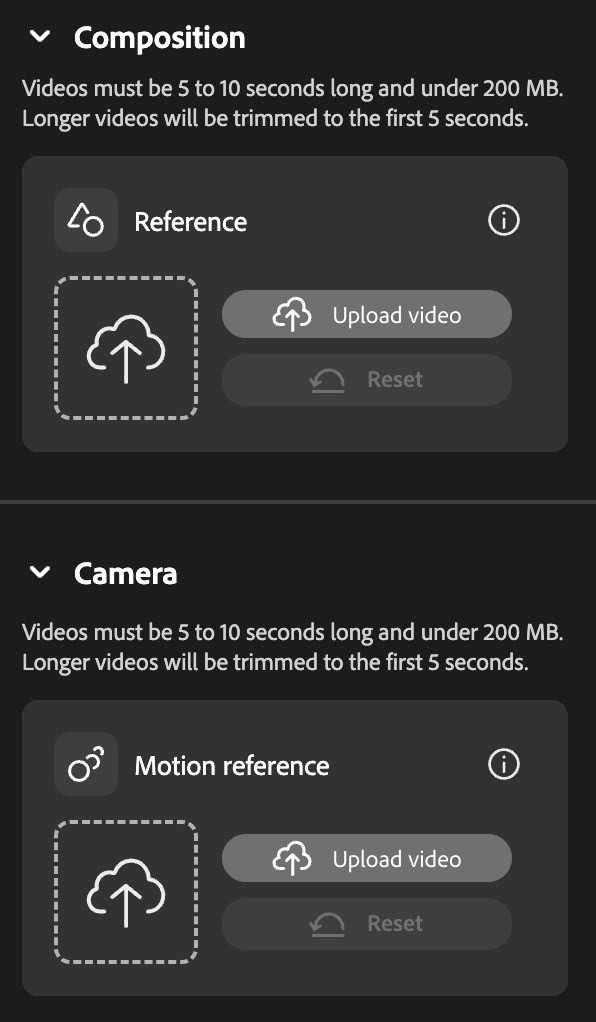
There are a variety of settings you can interact with, especially helpful if you are wanting a very different look and feel to your video, have existing video footage to match or if you are not working with an image as a reference. In our case we will focus on the resolution and the motion. The higher your resolution, the better the quality, but also the longer it will take to render and the more generative credits it can cost. If you're just starting out and playing around, keep the resolution low. If your goal is a final, high quality video, you might want to go to a higher resolution.
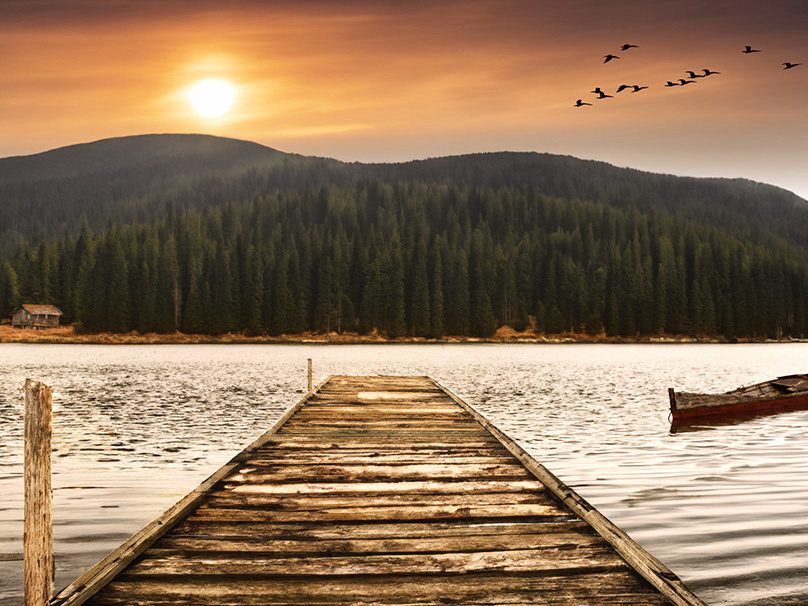
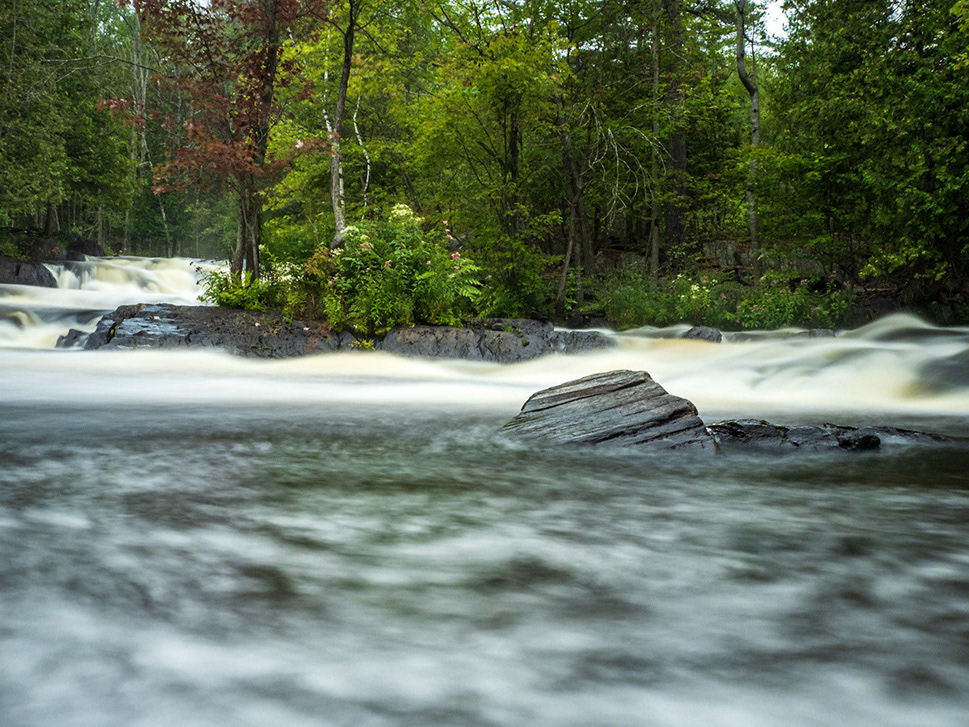
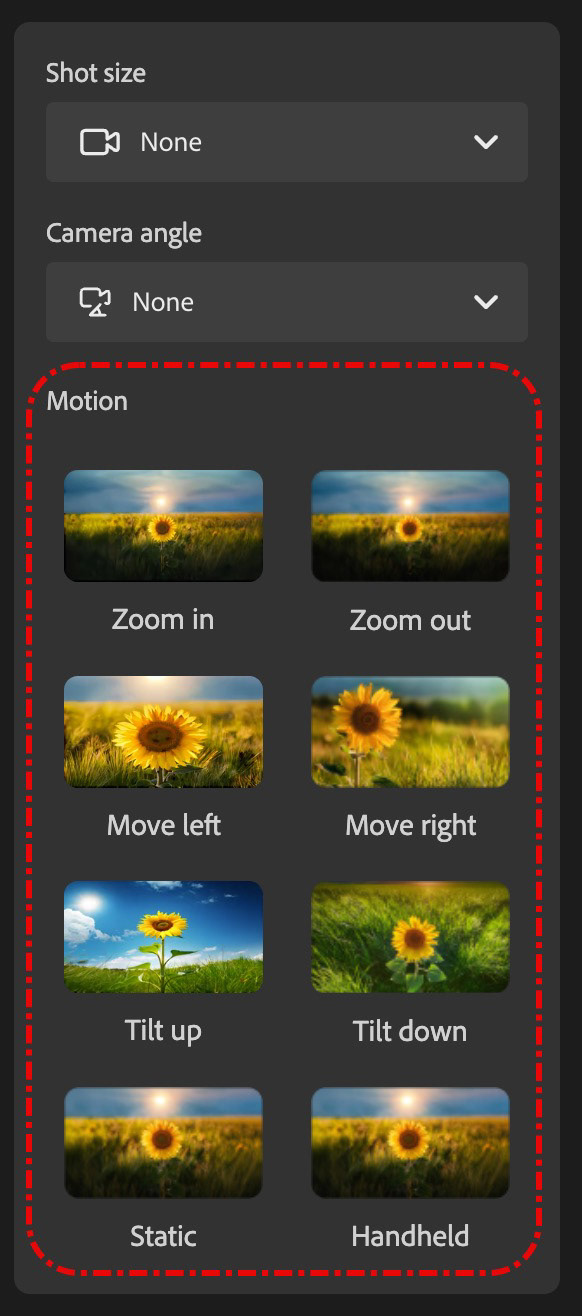
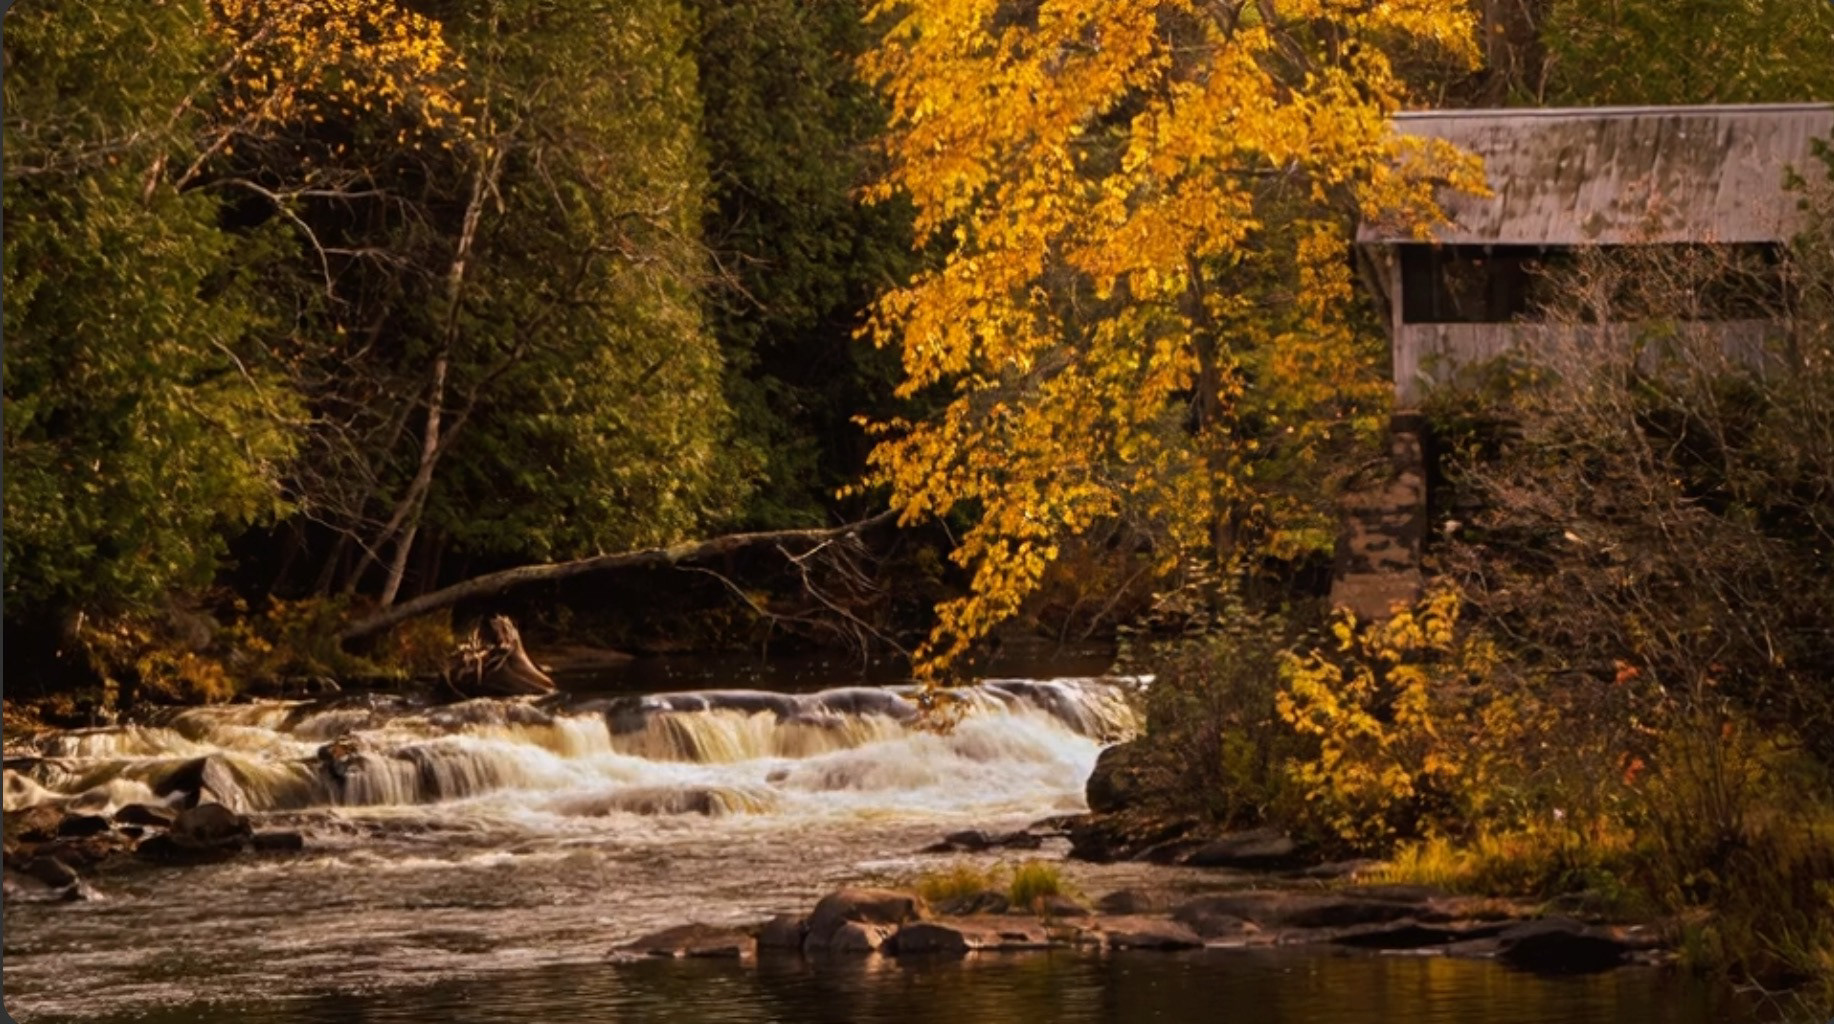
Based on your original photo (your first frame), you may have a sense of the motion you want the camera to take in the video. If so, choose from one of the 8 options. For landscapes, a zoom out or move left or right are good options. For my creek example, I chose Zoom out.
In the prompt window at the bottom of the screen, click the upload icon for the first frame. This is your reference image and will help guide Firefly to create a video based on the look of your image. If you have another image that shows how you would like the video to end up, use the upload icon for the last frame.

Once your image shows up as the first frame thumbnail, you can further augment the work Firefly has to do by adding a text prompt. I started with a simple prompt that described the scene: A shallow cascade on a creek at sunset on an autumn day, golden light.
Enhance your prompt
I opted to try the AI-powered Enhanced Prompt feature and I went from a simple sentence to a novella! Now, verbosity doesn't equal accuracy, so take time to read the new prompt carefully and make sure it describes what you want. In my case, I had to make a couple edits to the text, but it was a great start. It's telling a story, setting a scene like an author would in a novel and it's rich with details.This is also a great opportunity to learn how to craft better prompts.

As is the case with other forms of Generative AI, you never get the same result twice. I tested the Enhanced Prompt feature a couple times and got different, but similar results:
Test 1
A shallow cascade on a creek at sunset on an autumn day, with golden light filtering through the trees. The water flows genetly over smooth rocks, creating a soft, soothing sound. The creek is framed by vibrant autumn foliage, with leaves of orange and red scattered around. The sky above is a blend of warm orange and pinks, with a few clouds casting shadows on the water. The camera remains stationary, capturing the full width of the creek and the surrounding natural beauty. The overall visual style is warm and serene, emphasizing the tranquil and picturesque autumn landscape.
Test 2
A golden autumn sunset bathes a shallow creek in warm hues. The water cascades gently over partially submerged rocks, creating a soothing ripple effect. The creek is framed by lush, partially autumnal trees, their leaves a mix of green and vibrant oranges and yellows. The camera remains steady, capturing the full width of the creek from a low angle, emphasizing the interplay of light and water. The background features a blurred landscape of trees, enhancing the tranquil atmosphere. The overall visual style is naturalistic, focusing on the serene beauty of the autumnal scene.
After you click on generate it will take a few moments for the video to generate and render on screen. The amount of render time (and generative credit cost) will vary, based on your selected resolution. 540p is relatively quick, but 1080p took noticeably longer (and used more credits).
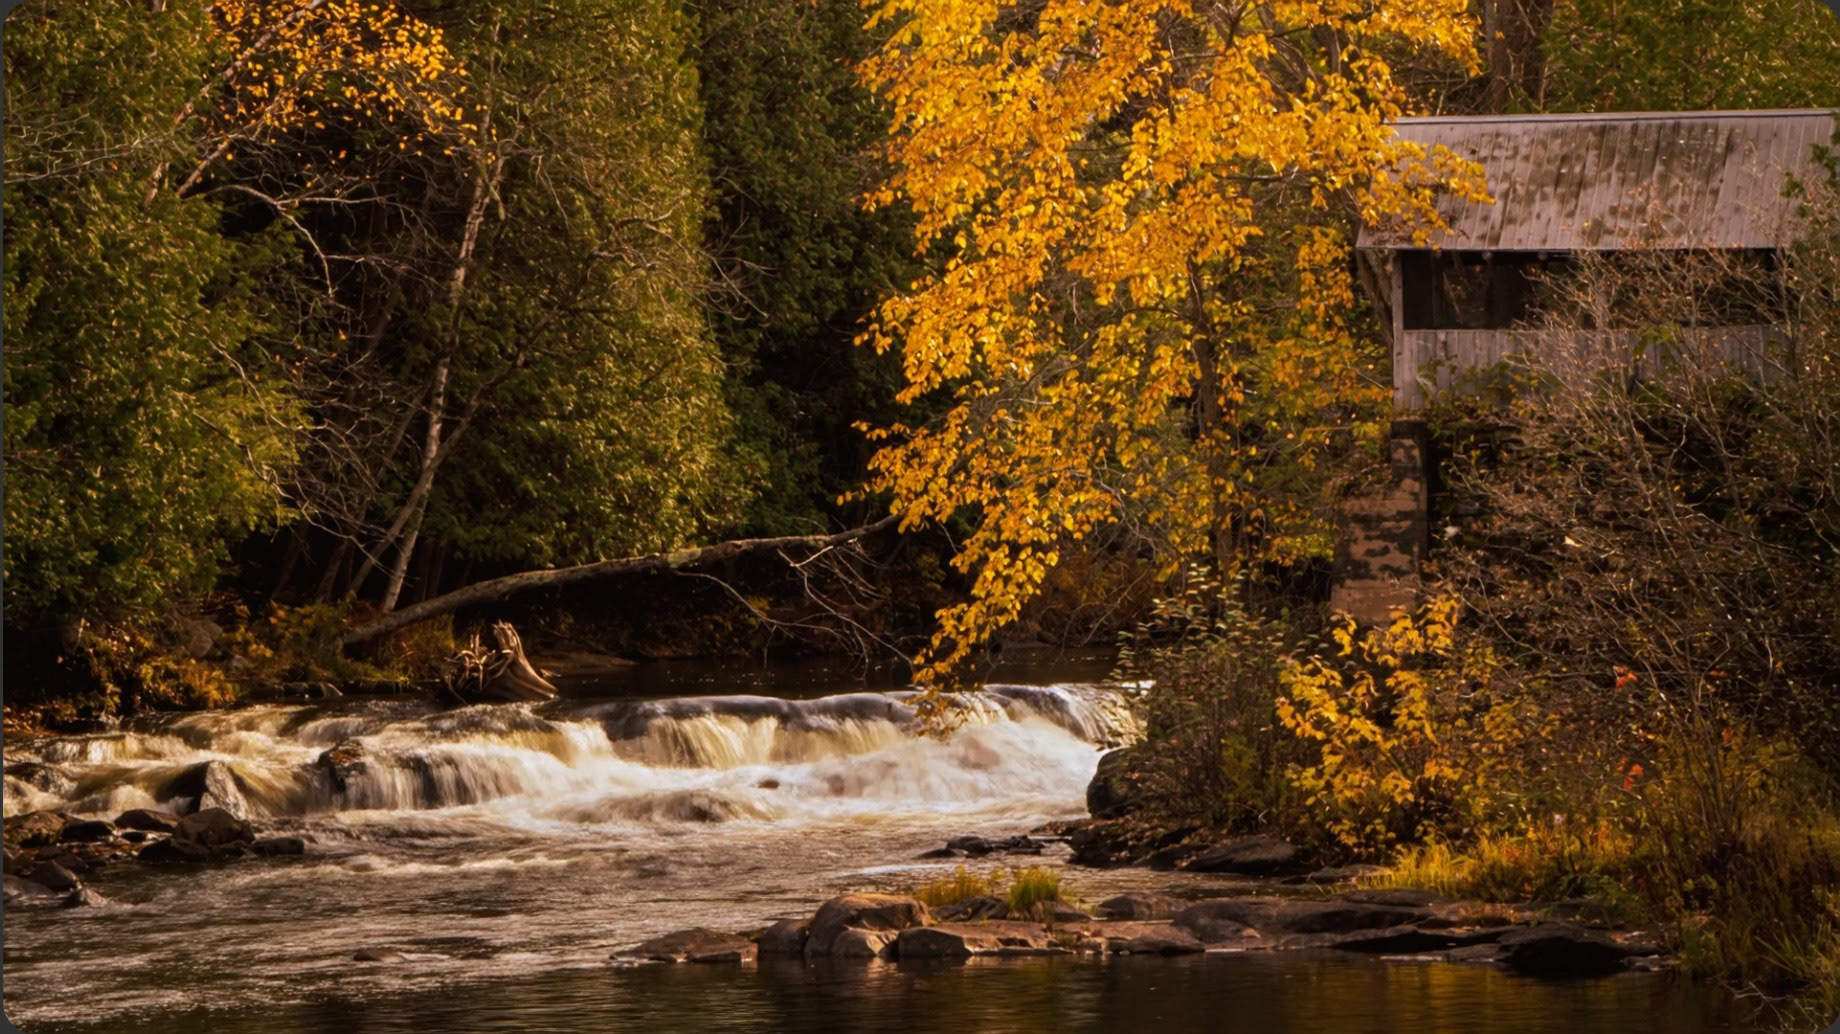
Left: 540p - fine for social media. Right: 1080p - noticeably greater detail. Compare the metal roof in each version. The texture, definition and color of the roof are much more defined in the 1080p rendition.
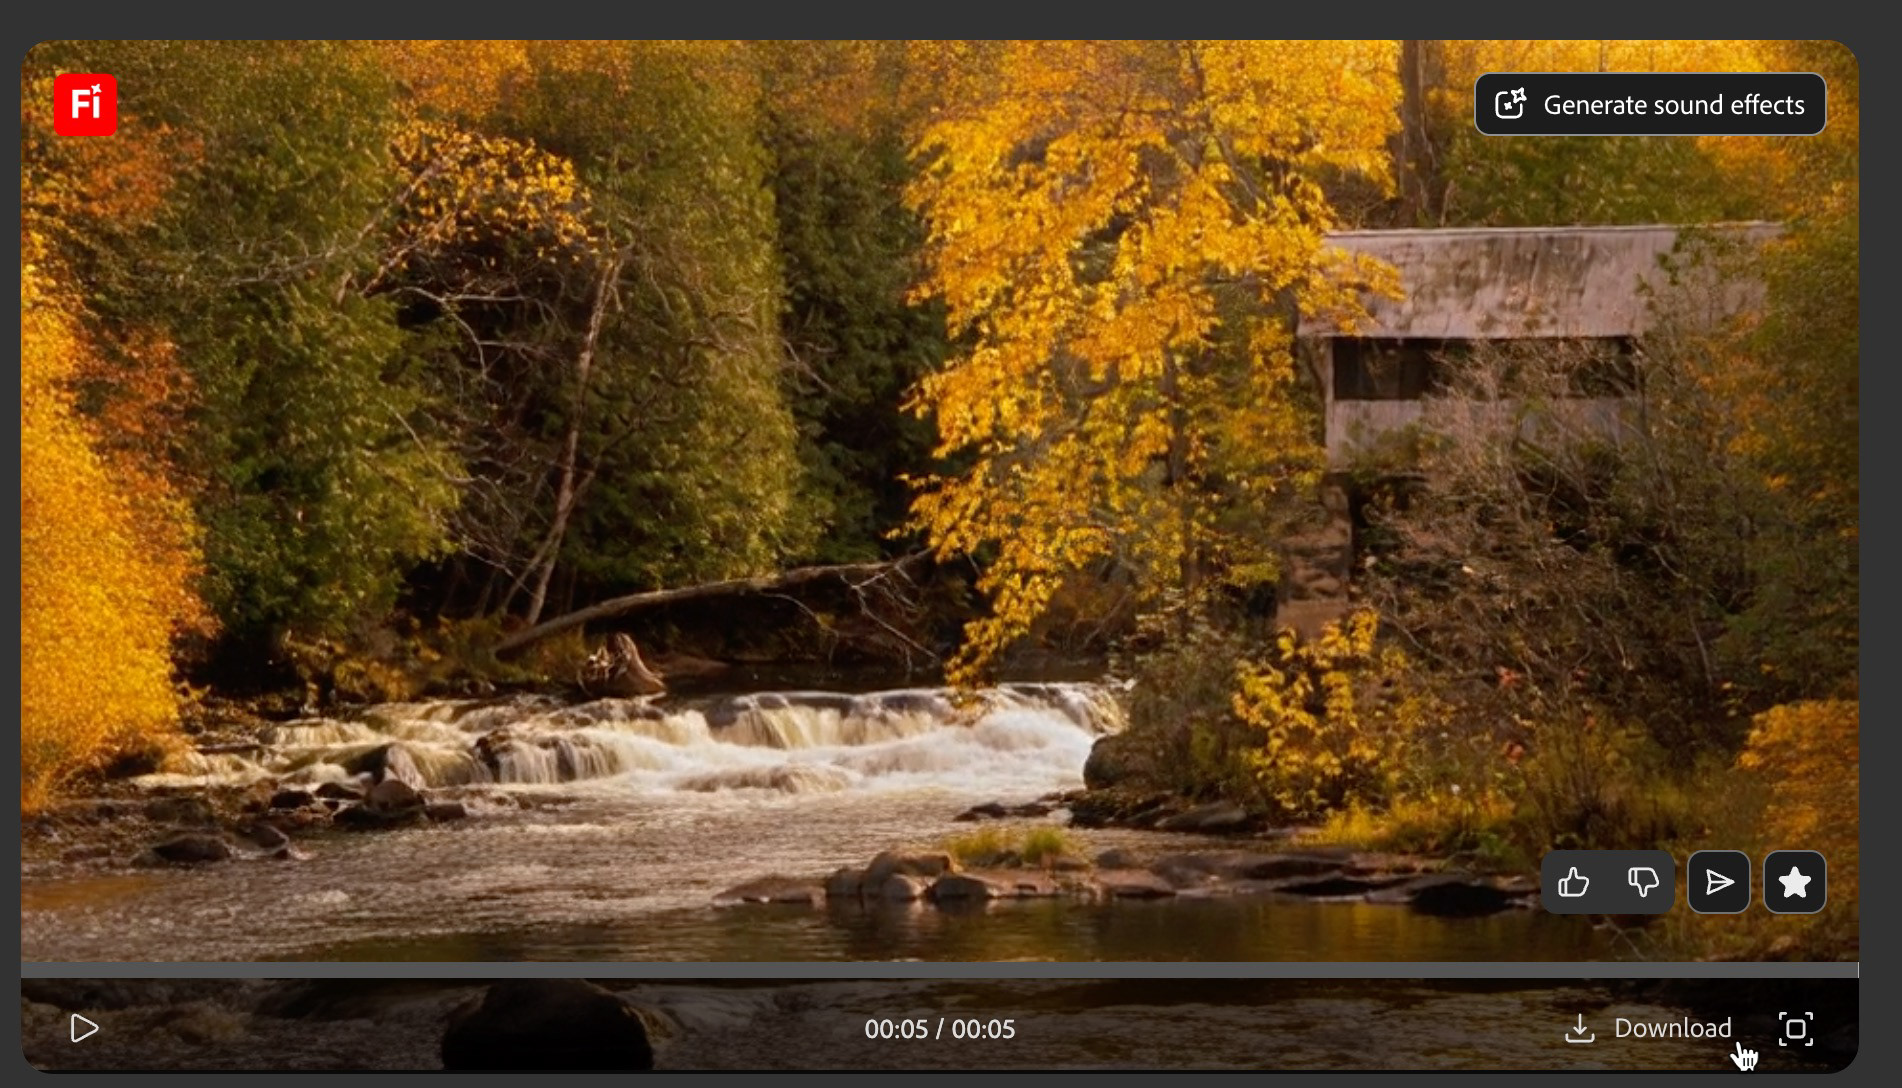
When you mouse over the video, you're given several options. You can rate the result (thumbs up or thumbs down) and then add details to support your vote; you can add the video to your favorites; you can submit it to the Firefly gallery in hopes of it being featured in the gallery for all to see an appreciate and you can download the video.
Giving Voice to your Video
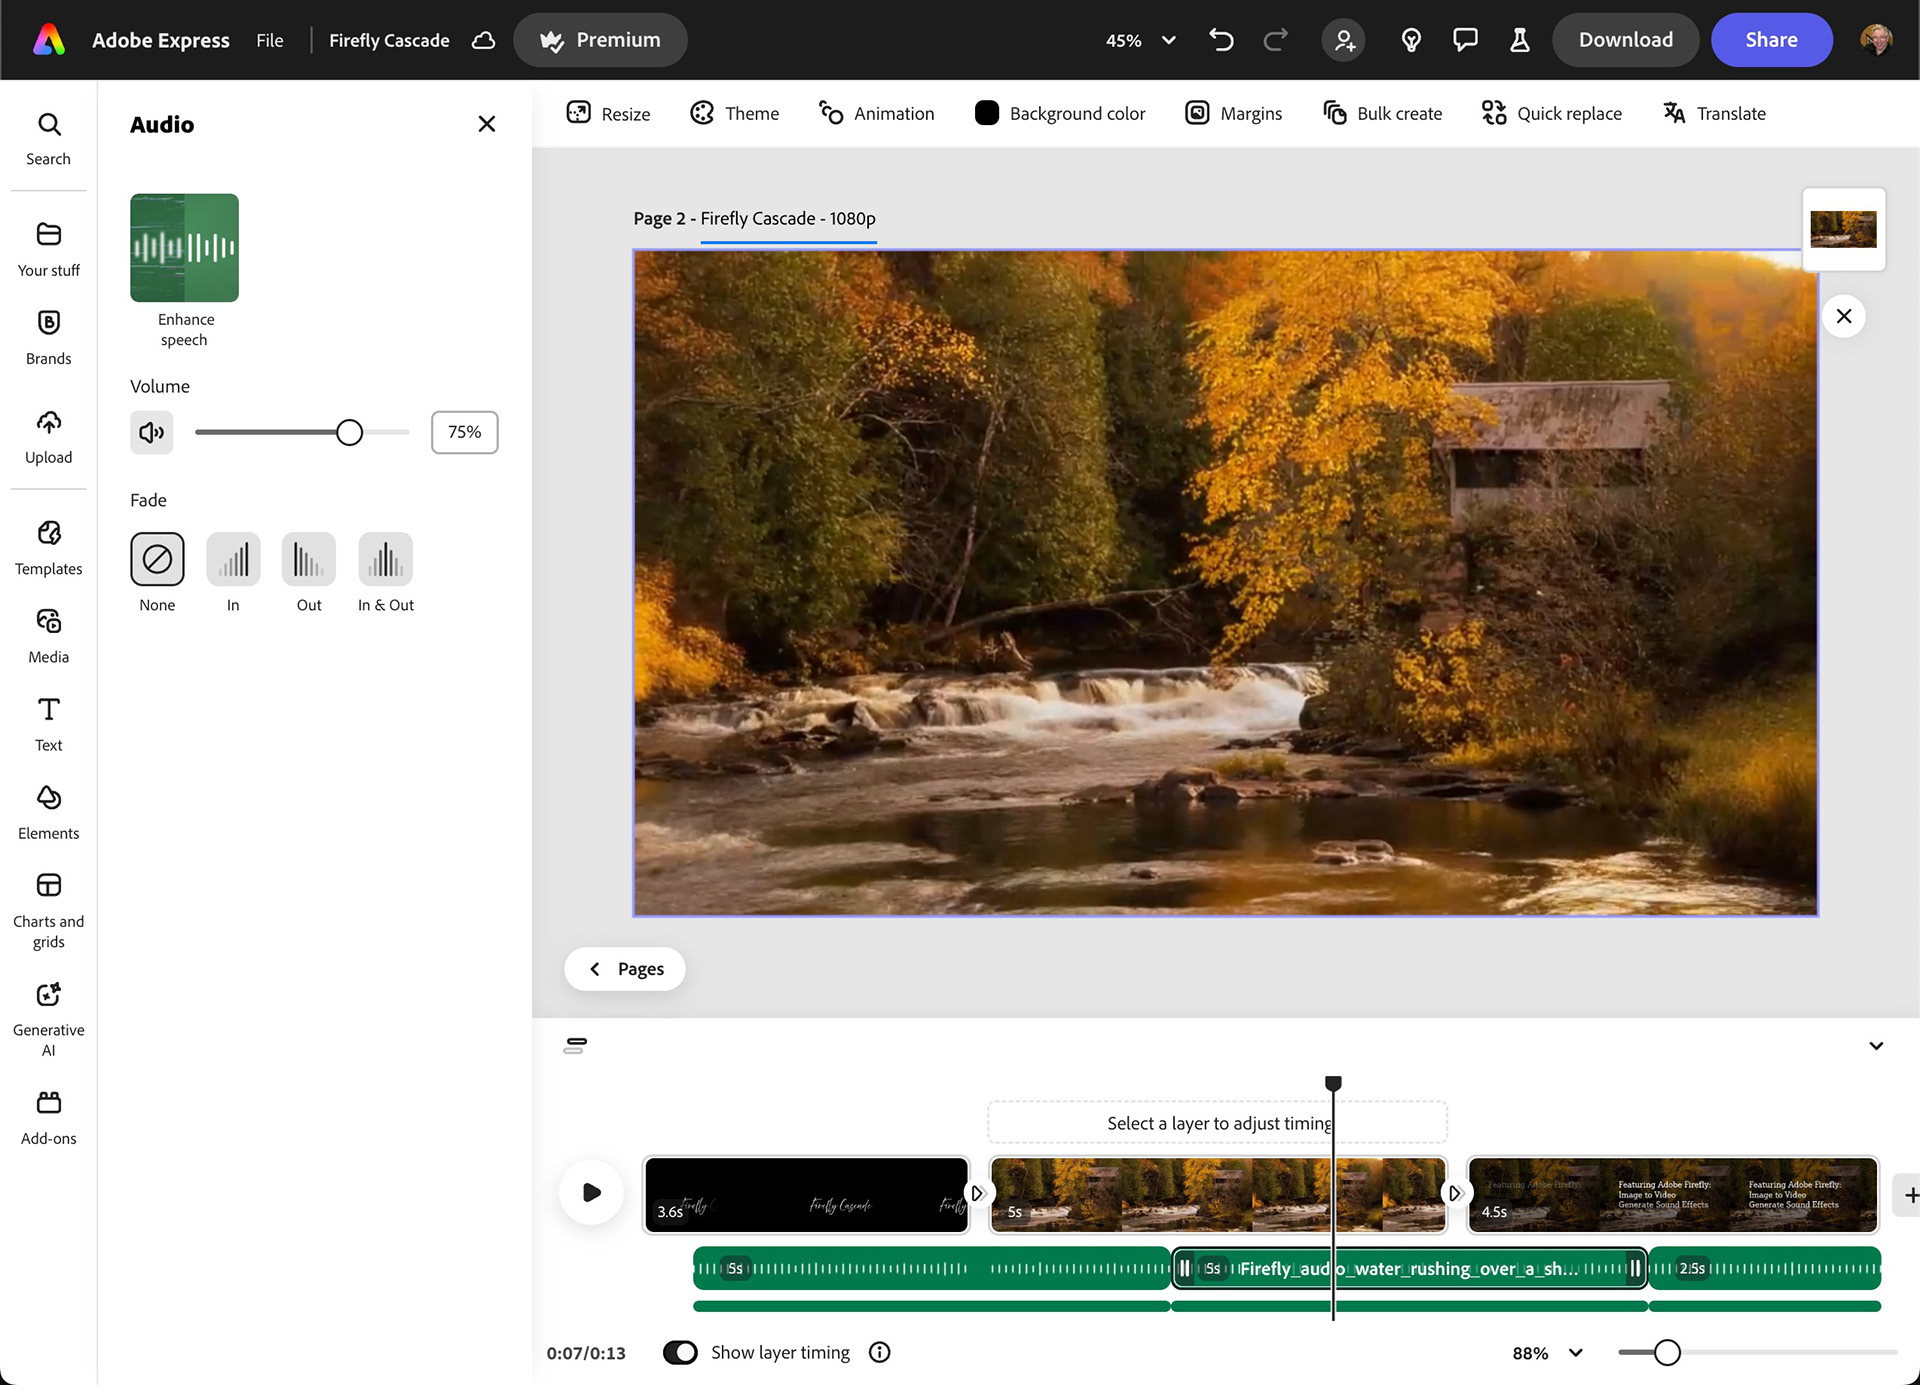
We're going to take this project up a notch, by adding sound effects, using Firefly's Generate Sound effects feature. This feature is currently in beta and it gives you the ability to add multiple sound effects tracks to a generated or existing video.
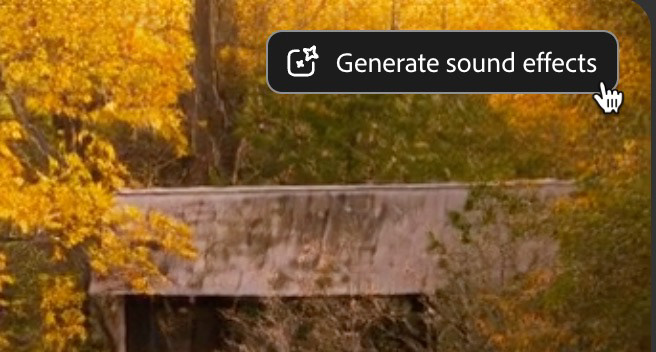
When you click on the Generate sound effects button, you're taken to a new interface. This is a beta feature. You can use text to describe the type of sound you want. You can even use your own voice to help establish a rhythm to that sound effect, timing the sound to the playback of your video.
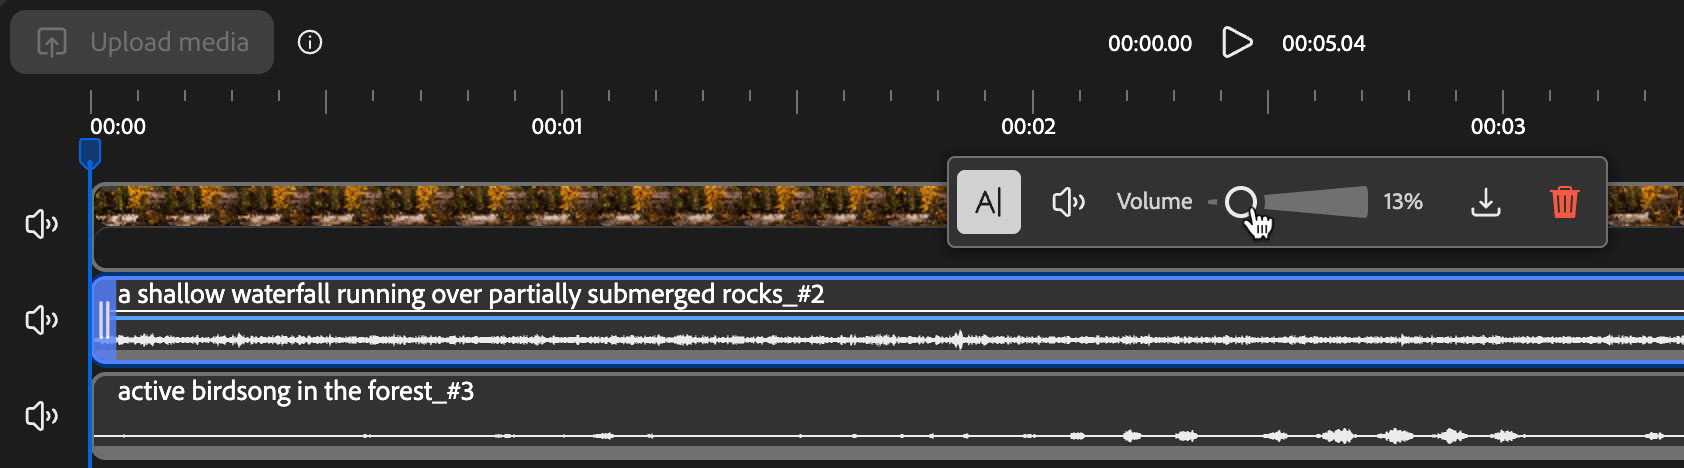
When you click Generate, Firefly will deliver 4 variations for you. You can select each track separately and play it back in sync with your video to determine which one works best. You can also add additional audio tracks in order to layer your sound effects. In my case, I started off with a gentle waterfall sound effect (prompt - a shallow waterfall running over partially submerged rocks), then on a separate track added the sound of birds singing in trees (prompt - active birdsong in the forest).
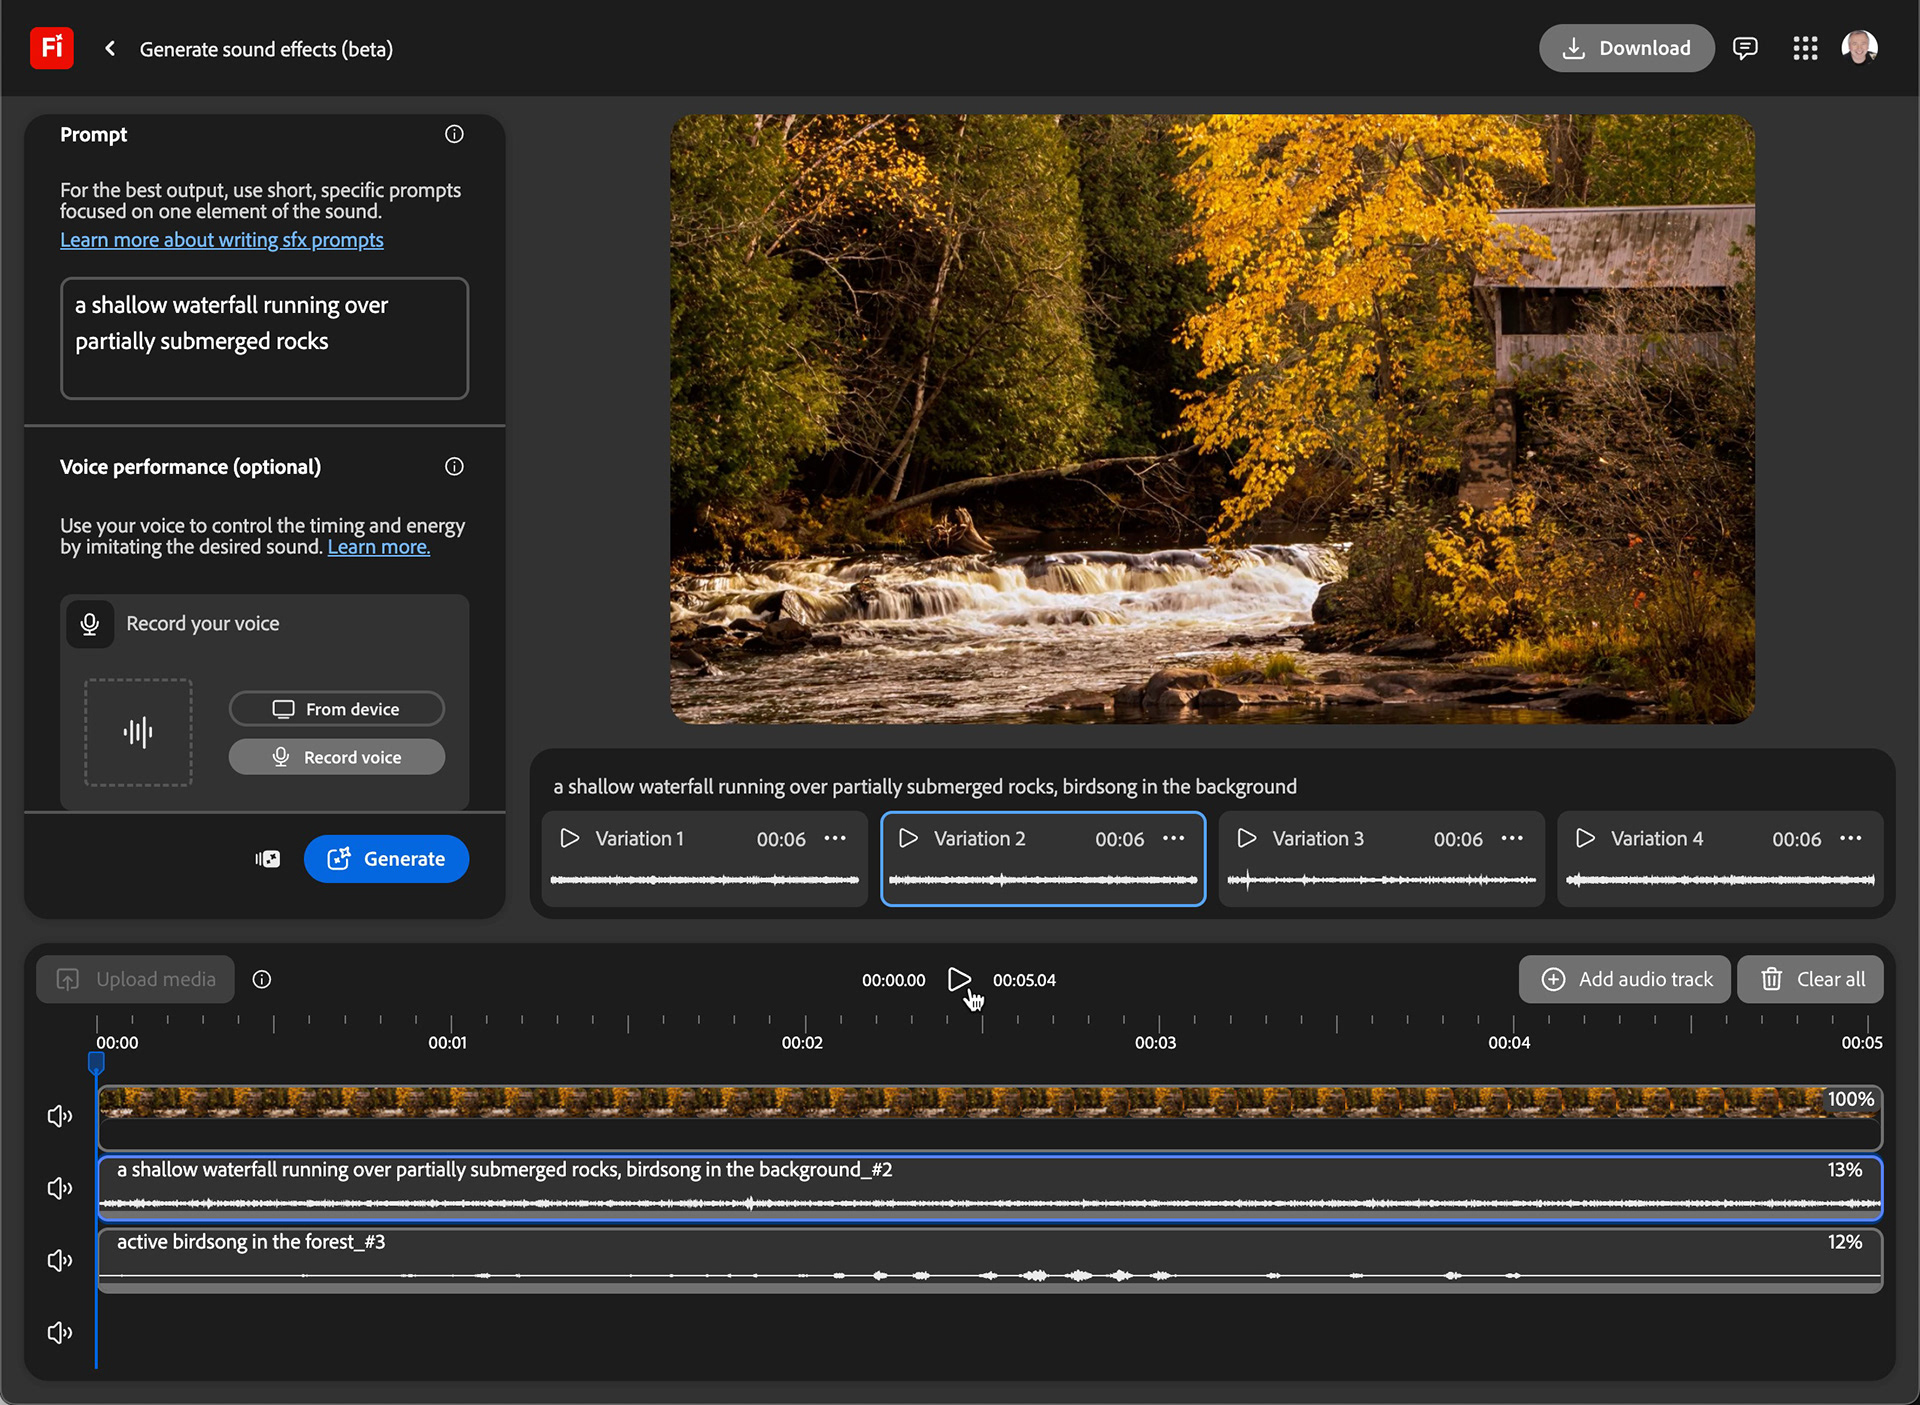
You can adjust the volume of each effect independently by clicking on each track. You can also rename the track and even download each one as a unique audio file.
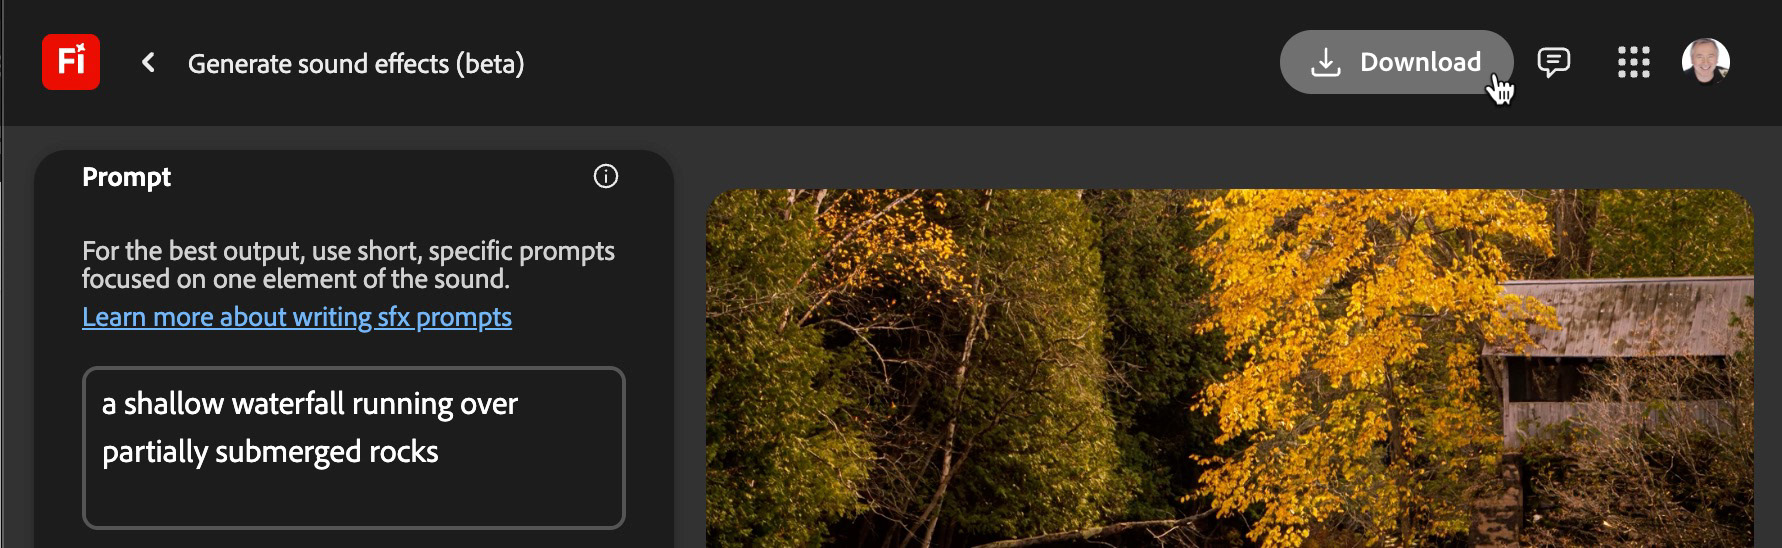
If you are happy with the sounds and the audio mix, you can download the entire video, sounds and all as an MP4 from the Download button near the top right of the screen.
Express Yourself
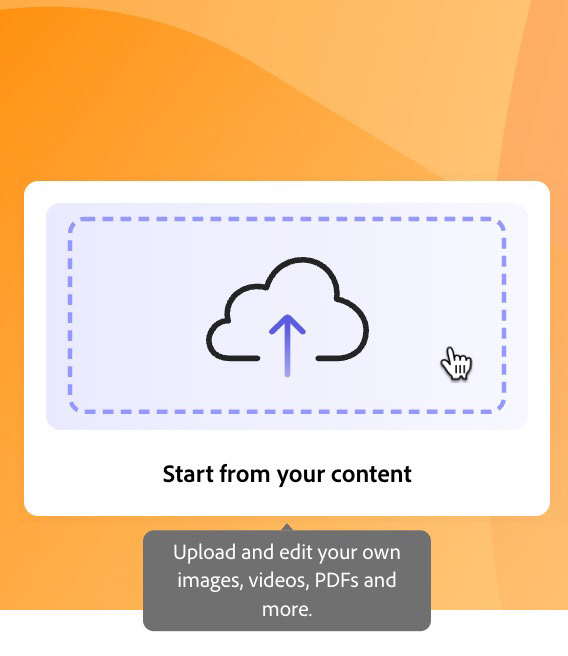
In my case. however, I wanted to do more with the video and have additional control over the timing of the sounds, so I downloaded the audio and video files separately and then jumped over to Adobe Express to create my mini movie.
Beginning with Start with your own Content on the Express home screen, I uploaded my video. Then, using basic text tools, transitions and object animations, I added title bumpers on each side of the video. You can learn more about these tools from the Learn icon found in the tools panel on the left of the screen in Express, or by clicking on this link: Getting Started with Adobe Express.
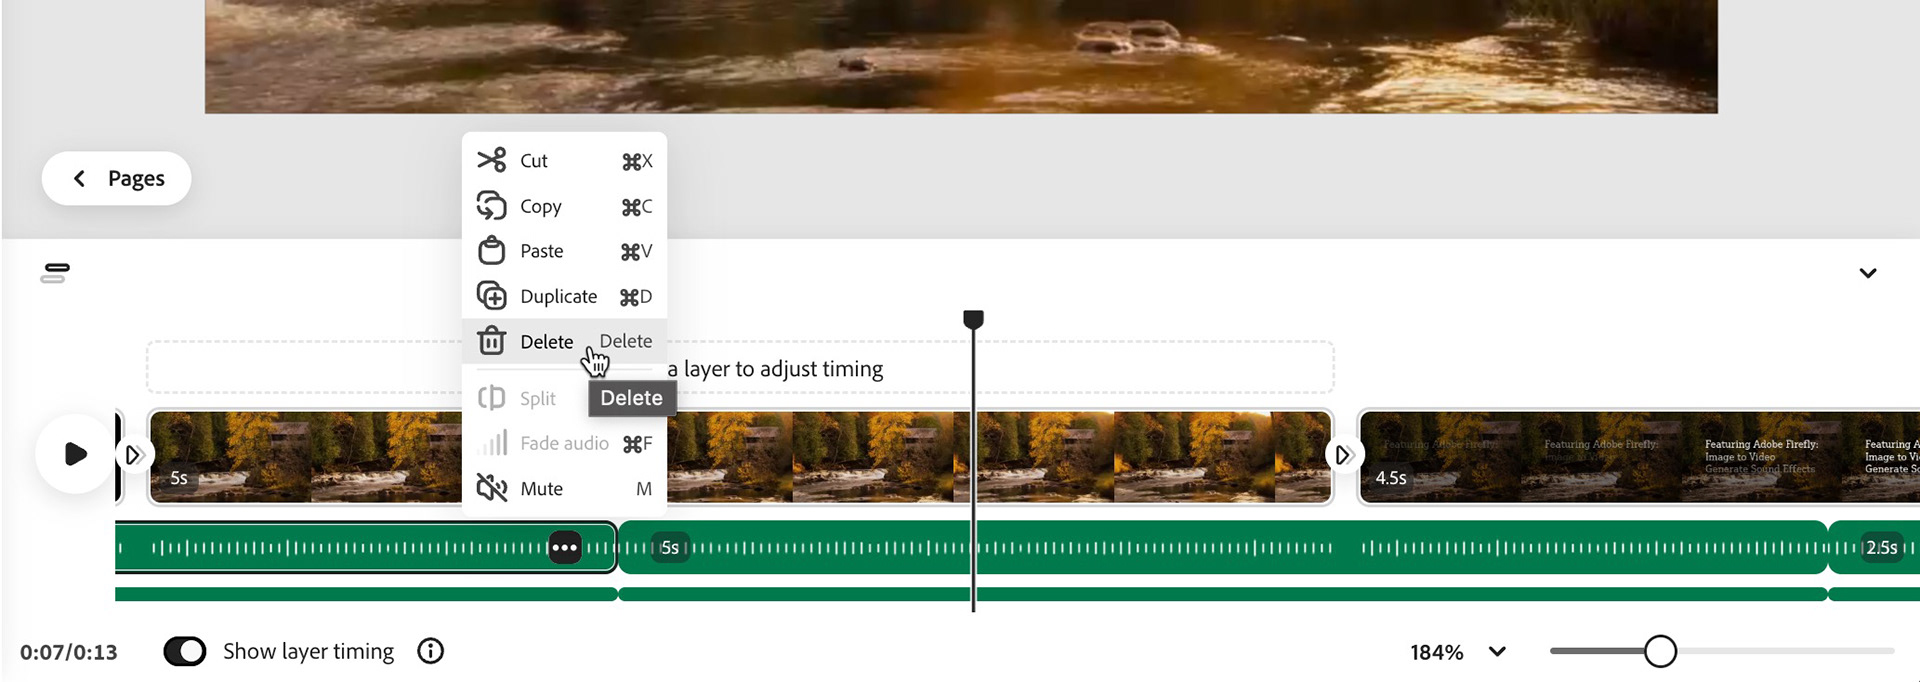
After adding my opening and closing titles, I chose Upload on the left bar to add my waterfall sound effect and duplicated it so it would extend the desired length. The effect was originally only 5 seconds, the length of my generated video, but I wanted the sounds to extend beyond the actual video clip (the sound was repetitive enough that you don't notice the clip repeating). I repeated this process to add my bird sounds. Express gives me control over adjusting audio volume and even fading the sound in and out.
Tip: To duplicate an audio clip, mouse over the clip, click on the ellipsis (3-dot menu) and choose Duplicate.
When you are happy with the edit, you can download the file from Express as an MP4, or share it to others using Share button. Below is the final version (in 1080p, no less).
But Wait, There's More...
In this last example, I extended the generated video clip of the heron using two generated clips.
I captured the last frame of the first video using a screen-capture tool.
I used that final frame image as the first frame for a new Firefly video, used the exact same text prompt and generated a new 5-second extension to the original video. The result was a nearly seamless extension of the first video.
I used the Generate sound effects for that wetland ambiance. I wrote a prompt for marshland birds and frogs and another to emulate (admittedly not the best) call of the common loon.
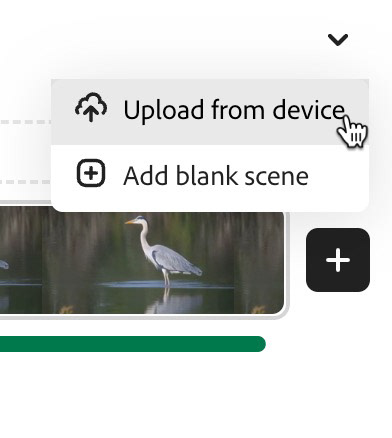
With both videos and the individual sound files downloaded, I started a new project in Express by uploading that first video (Start from your content).
I then clicked on the + sign on the video timeline and chose Upload from device to browse for the extended clip. This drops the new video at the end of the first video.
With the videos in place, it was just a matter of adding my sound effects, much like I did in the previous project.
More examples
Here are a couple other videos I generated that I was overall quite pleased with.
Bloopers
Technology is not infallible and while it is constantly improving, Firefly is no exception. I tried out a few different images when I began this video project and two photos did NOT work out. They're funny, to be sure, but not accurate. I think these silly results stem from the fact that both images either lack detail or enough quality. Another reason to test your images at low resolution; you don't want to blow a lot of credits on an image that isn't going to work as a generated video.
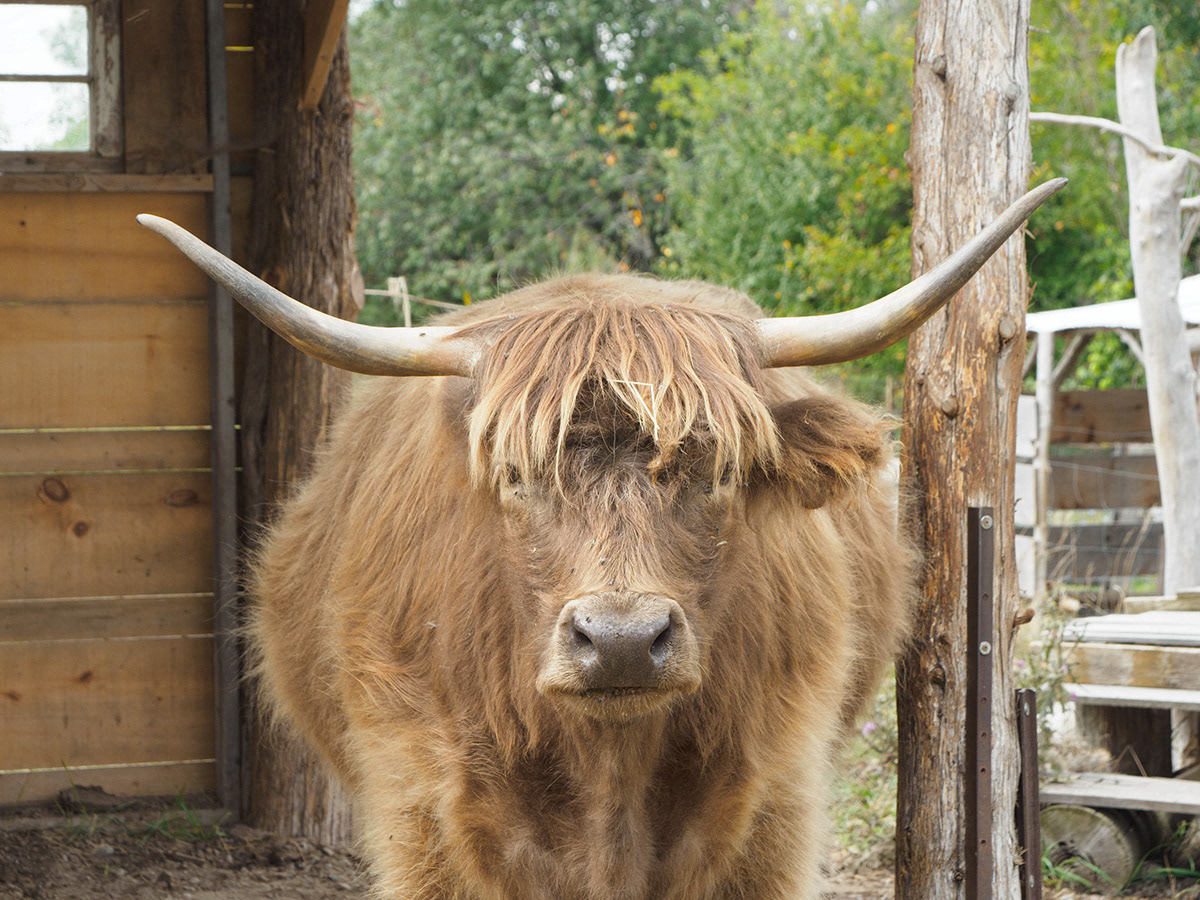
First Time's the Charm
Interestingly, my first attempts with the bison image were more successful. It was my later attempts where I tried toning down the bright horns that failed.
Wrap up
I had a lot of fun with this project, and I'm excited by the potential to offer a new way to share my photographs. I can see this technique have a huge impact on my ongoing writing project, where I've experimented with stock photos, narration, sound effects and Generative AI to deliver a more impactful story. I hope you see potential here as well, wheter you are a fellow photographer or someone who just wants to try something new.
If you found this article interesting and of value, you might want to check out the rest of the series, which is located in the Generative AI for Photographers section of my Behance site, or in the Generative AI section of this website.
Until next time...