Turn Photographs into Painterly Art Using Generative Fill
Inspired by a video tutorial from PSDesires, I thought I would try out this technique of using a reduced intensity selection from an alpha channel to turn my photographs into painterly artwork.
Caveat: Generative Fill is available in the Photoshop public beta. While the results are quite impressive, note that they may not always be as high resolution as your original. So, for now, consider this tutorial a bit of a practice run. I'm sure this will improve as the tool becomes available in the commercial version of Photoshop. On the other hand, as these are painterly renditions, actual resolution may not matter as much. Only printing will be able to confirm this.
Some of the first variations I created, blended into a short video.
Choose Your Photo
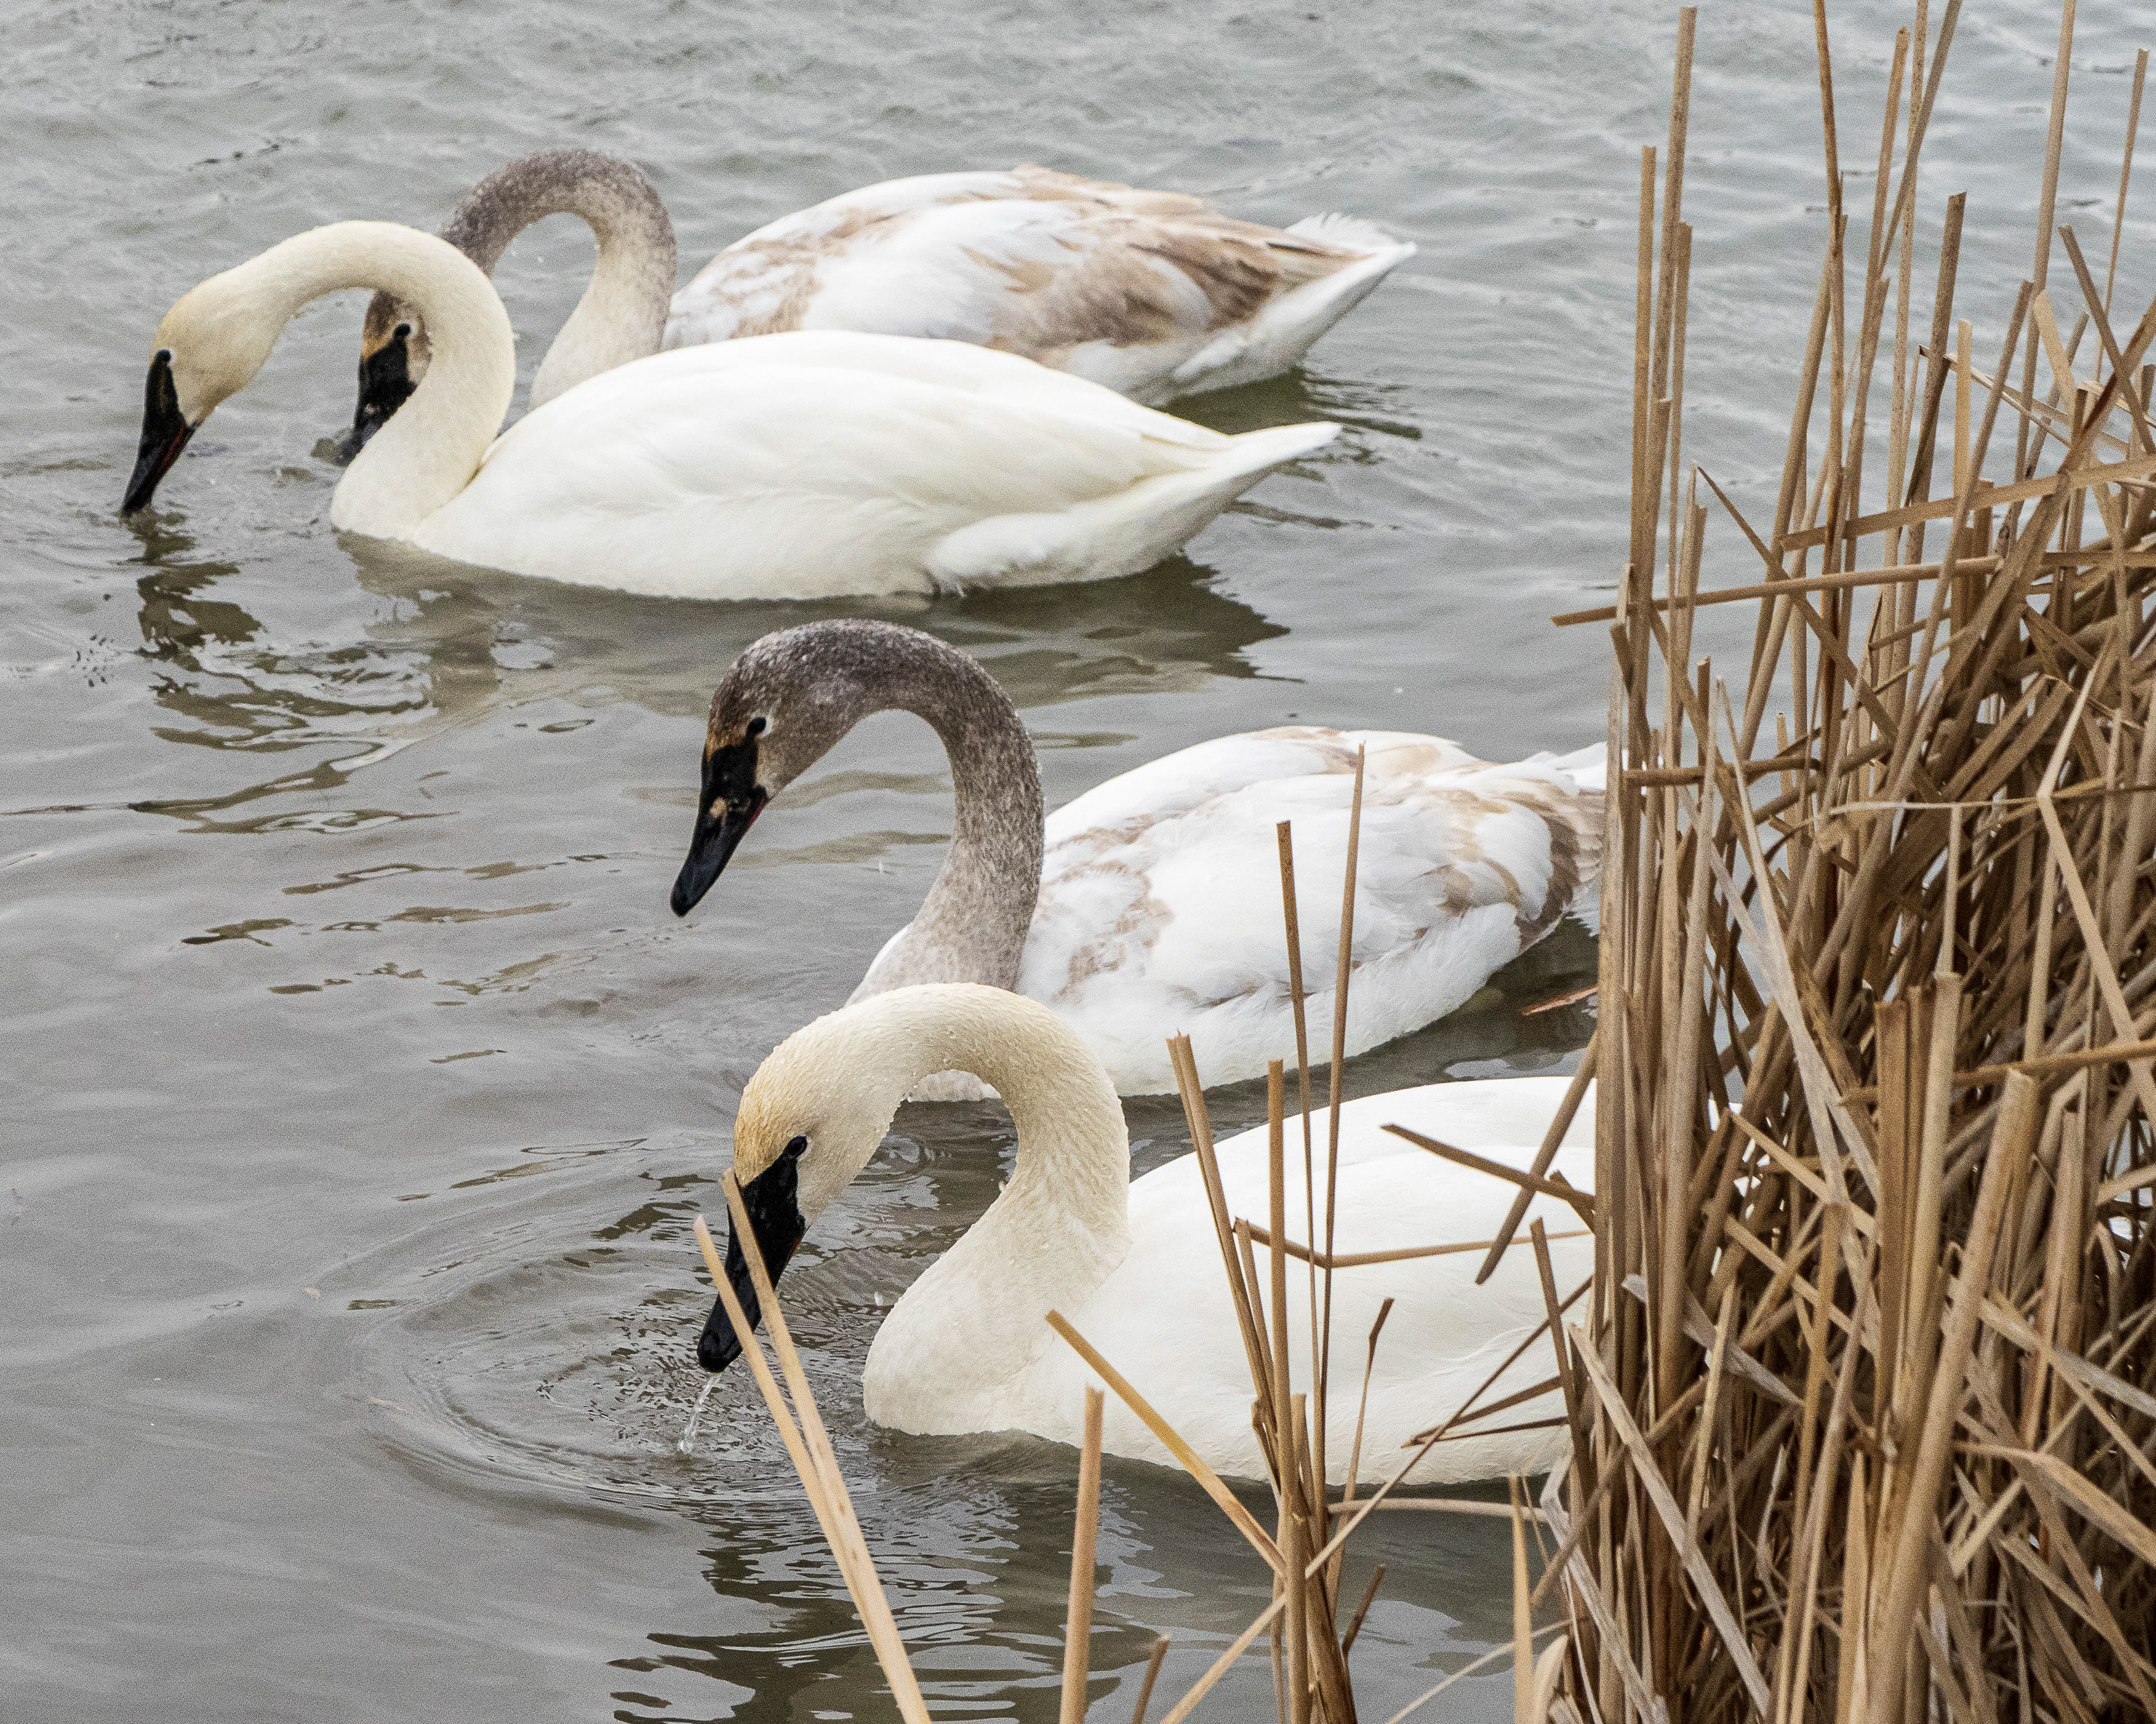
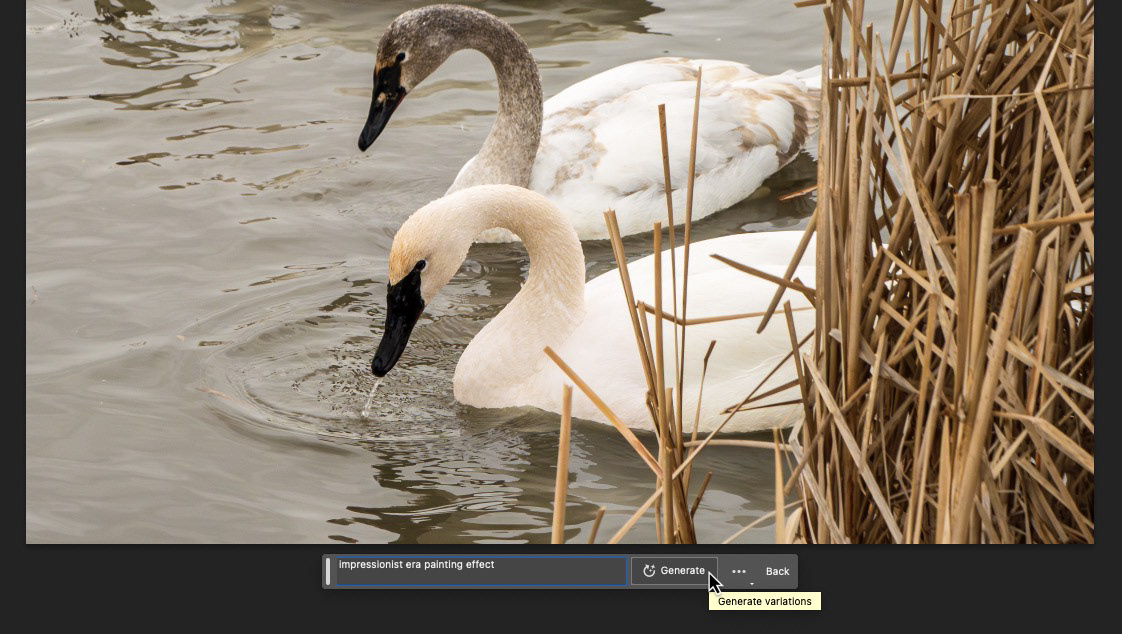
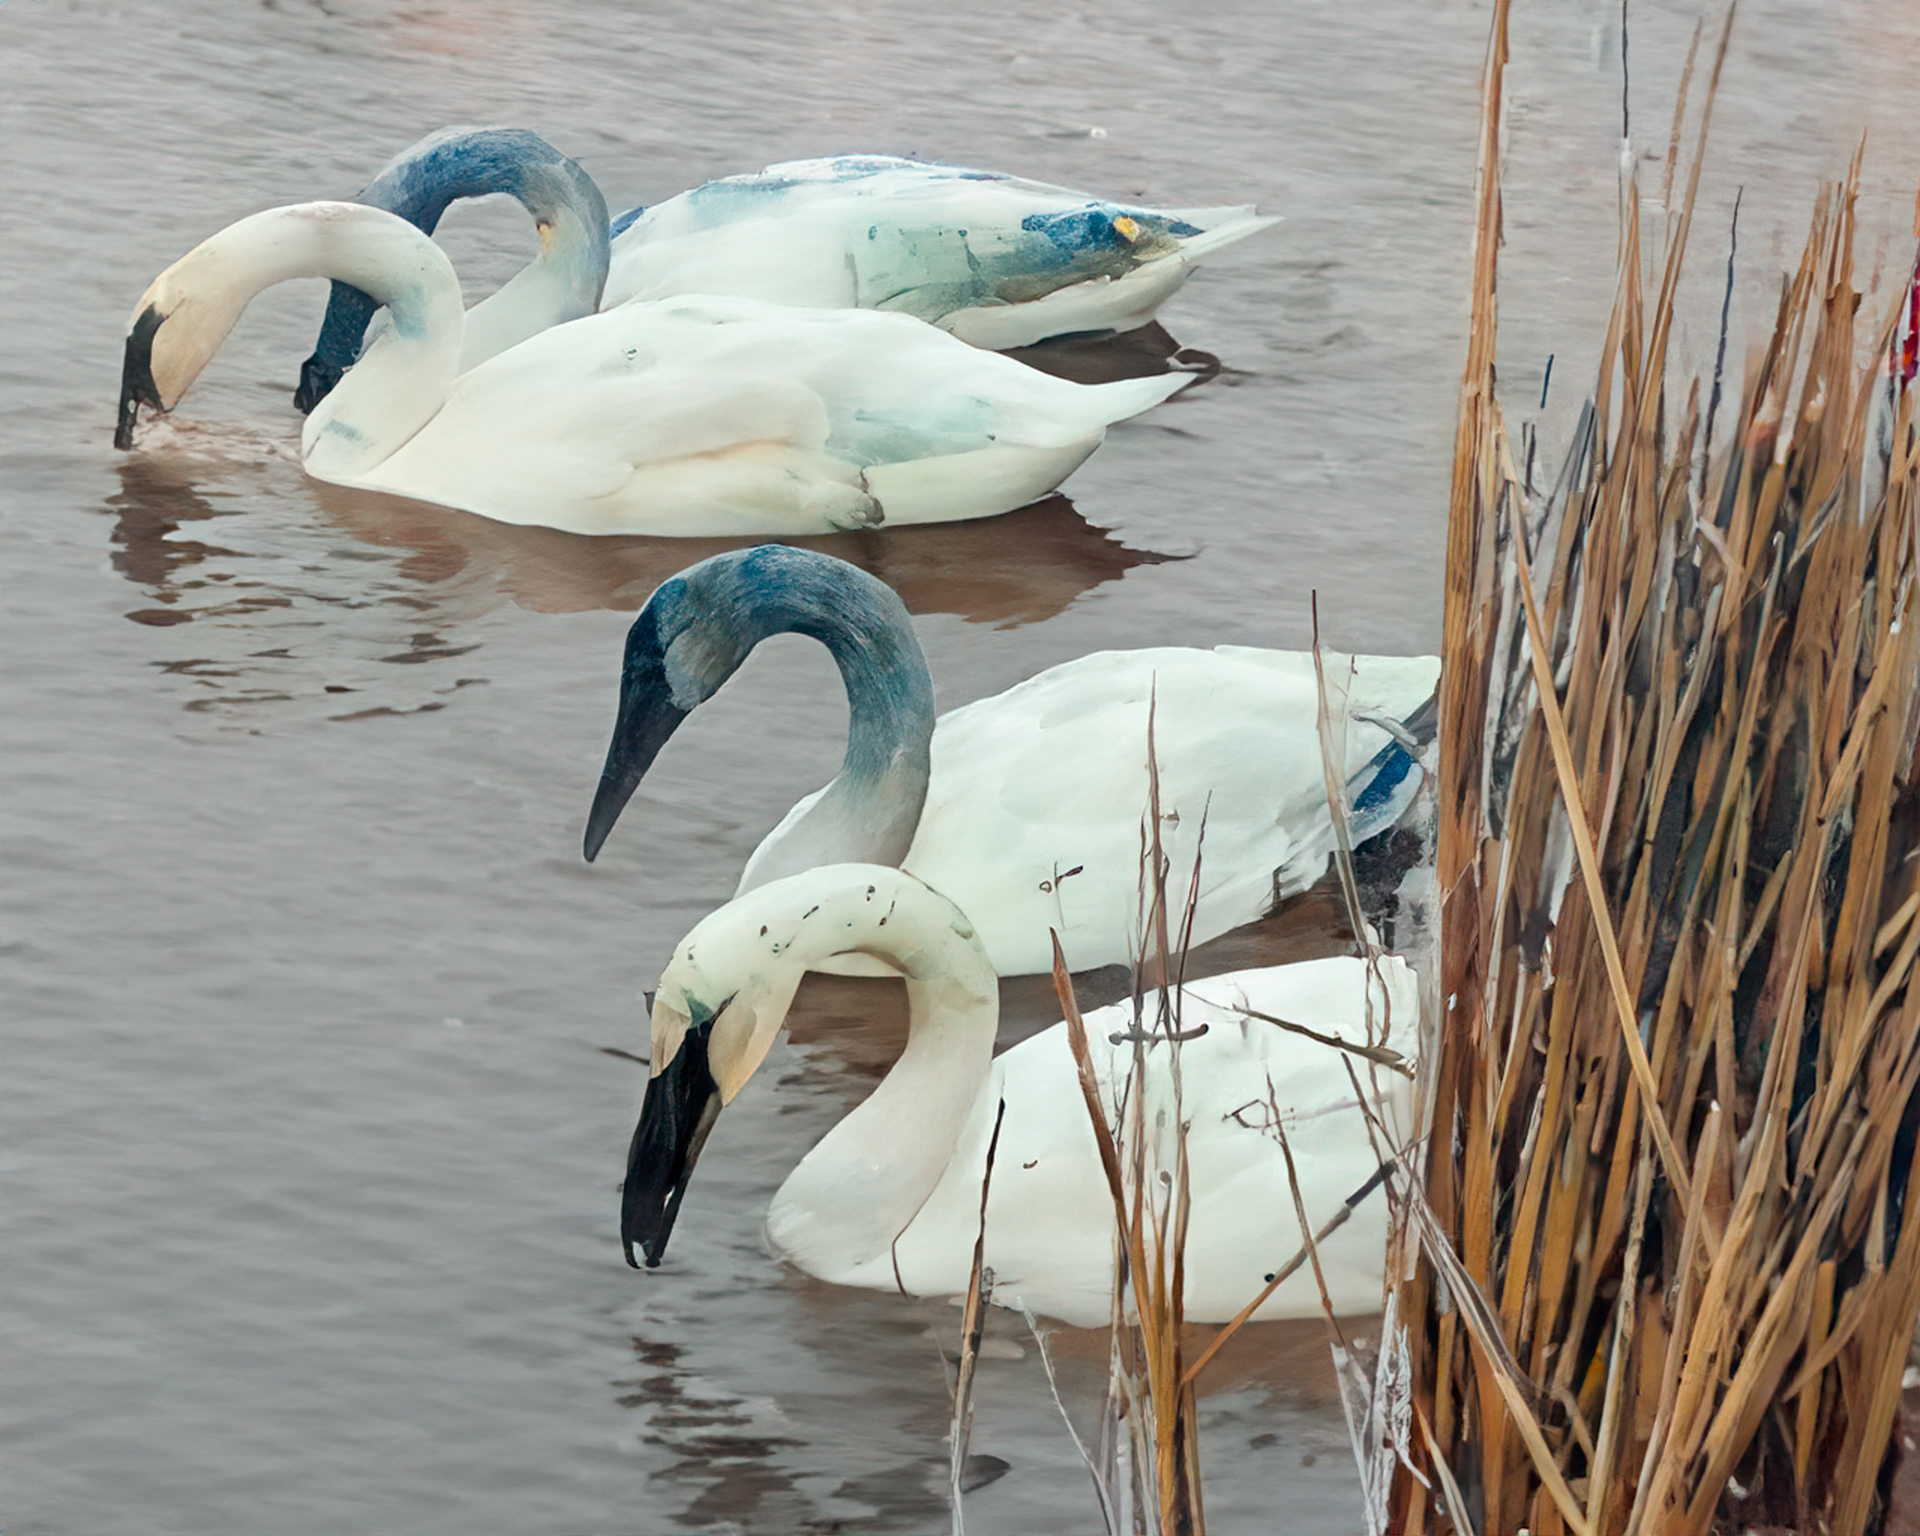
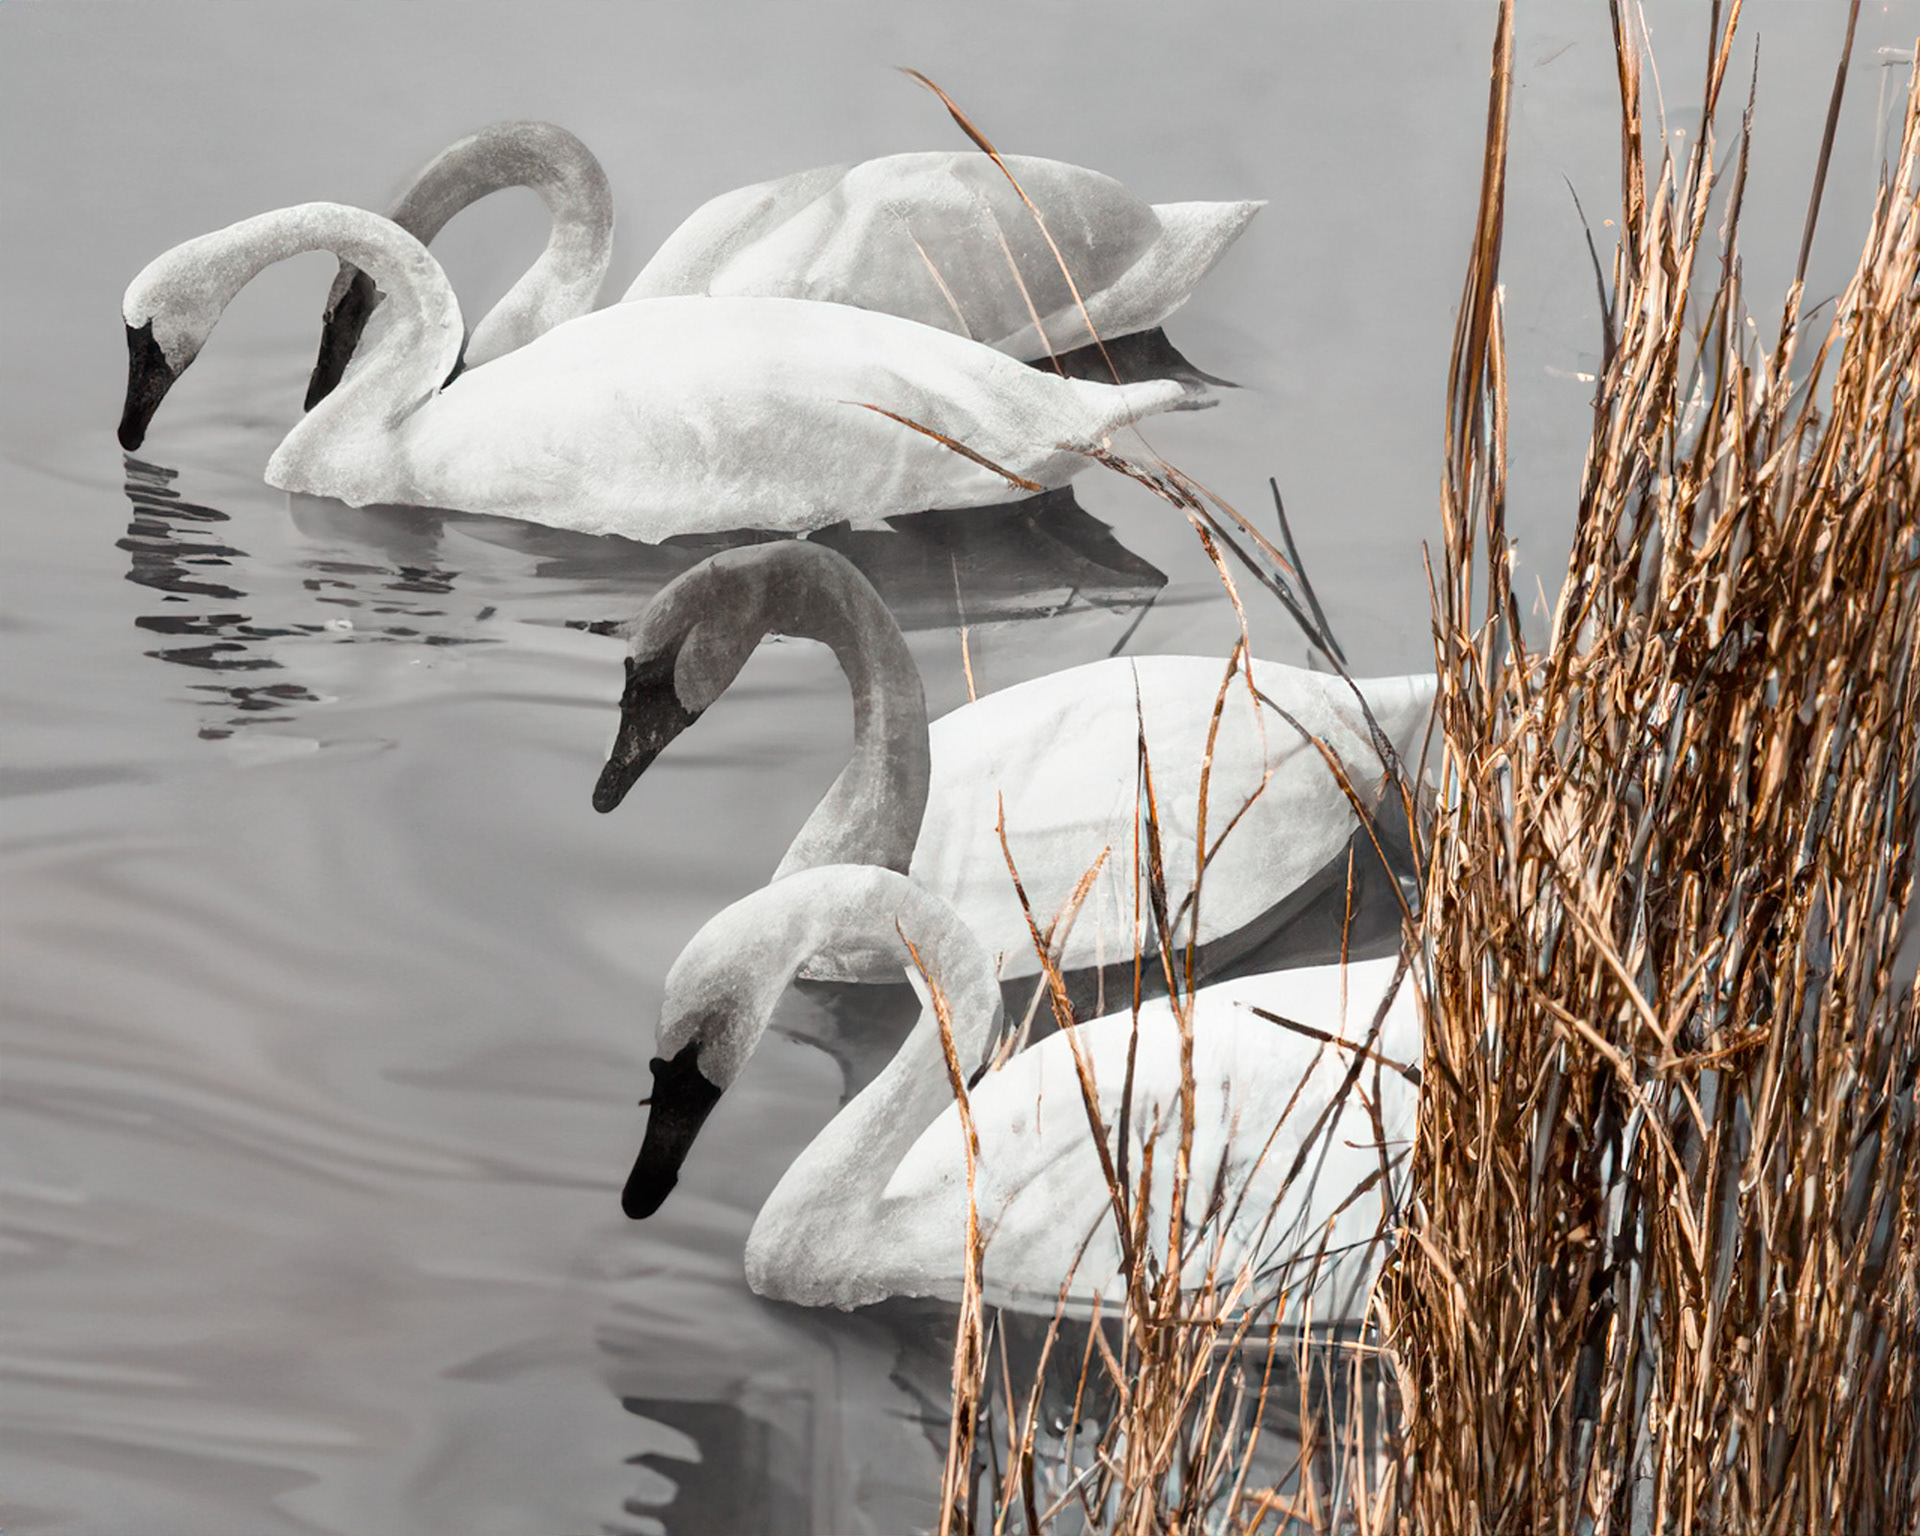
Open the image you want to work on. I used a recent photo of some swans that I felt might look quite nice as a painting.
Remove Distractions
I quite like this photo, but those two reeds in front of the swan's beak always bothered me. At the time, I made other captures, but the balance and position of the swans were best in this version.
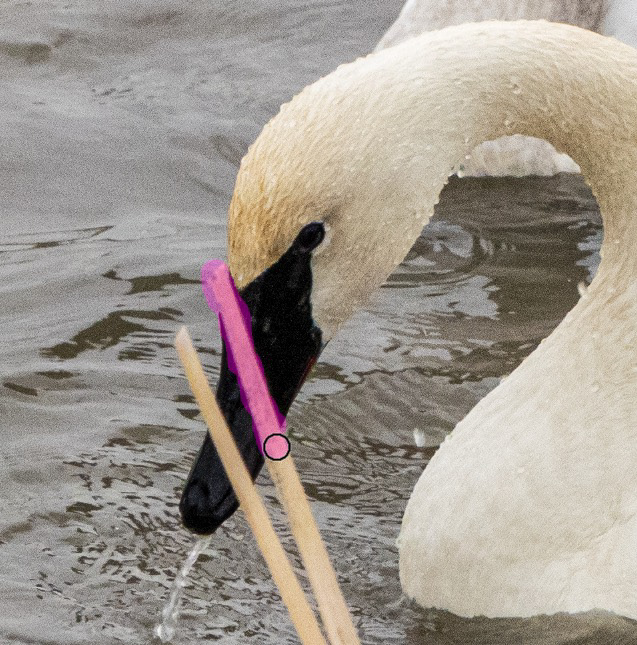
But, no worries; while Generative FIll is getting all the press these days, a new tool that is in both the beta and the commercial release of Photoshop is the Remove Tool. If the Clone Stamp and the Healing Brush had a baby, it would be the Remove Tool. This is a an example of localized AI right inside of Photoshop. It's easy to use and often does an excellent job without the wait of pushing your file to the cloud for AI processing. Simply select the Remove tool, adjust the brush size accordingly and then paint over the area you want to remove. A few quick strokes and it was like the reeds were never there.
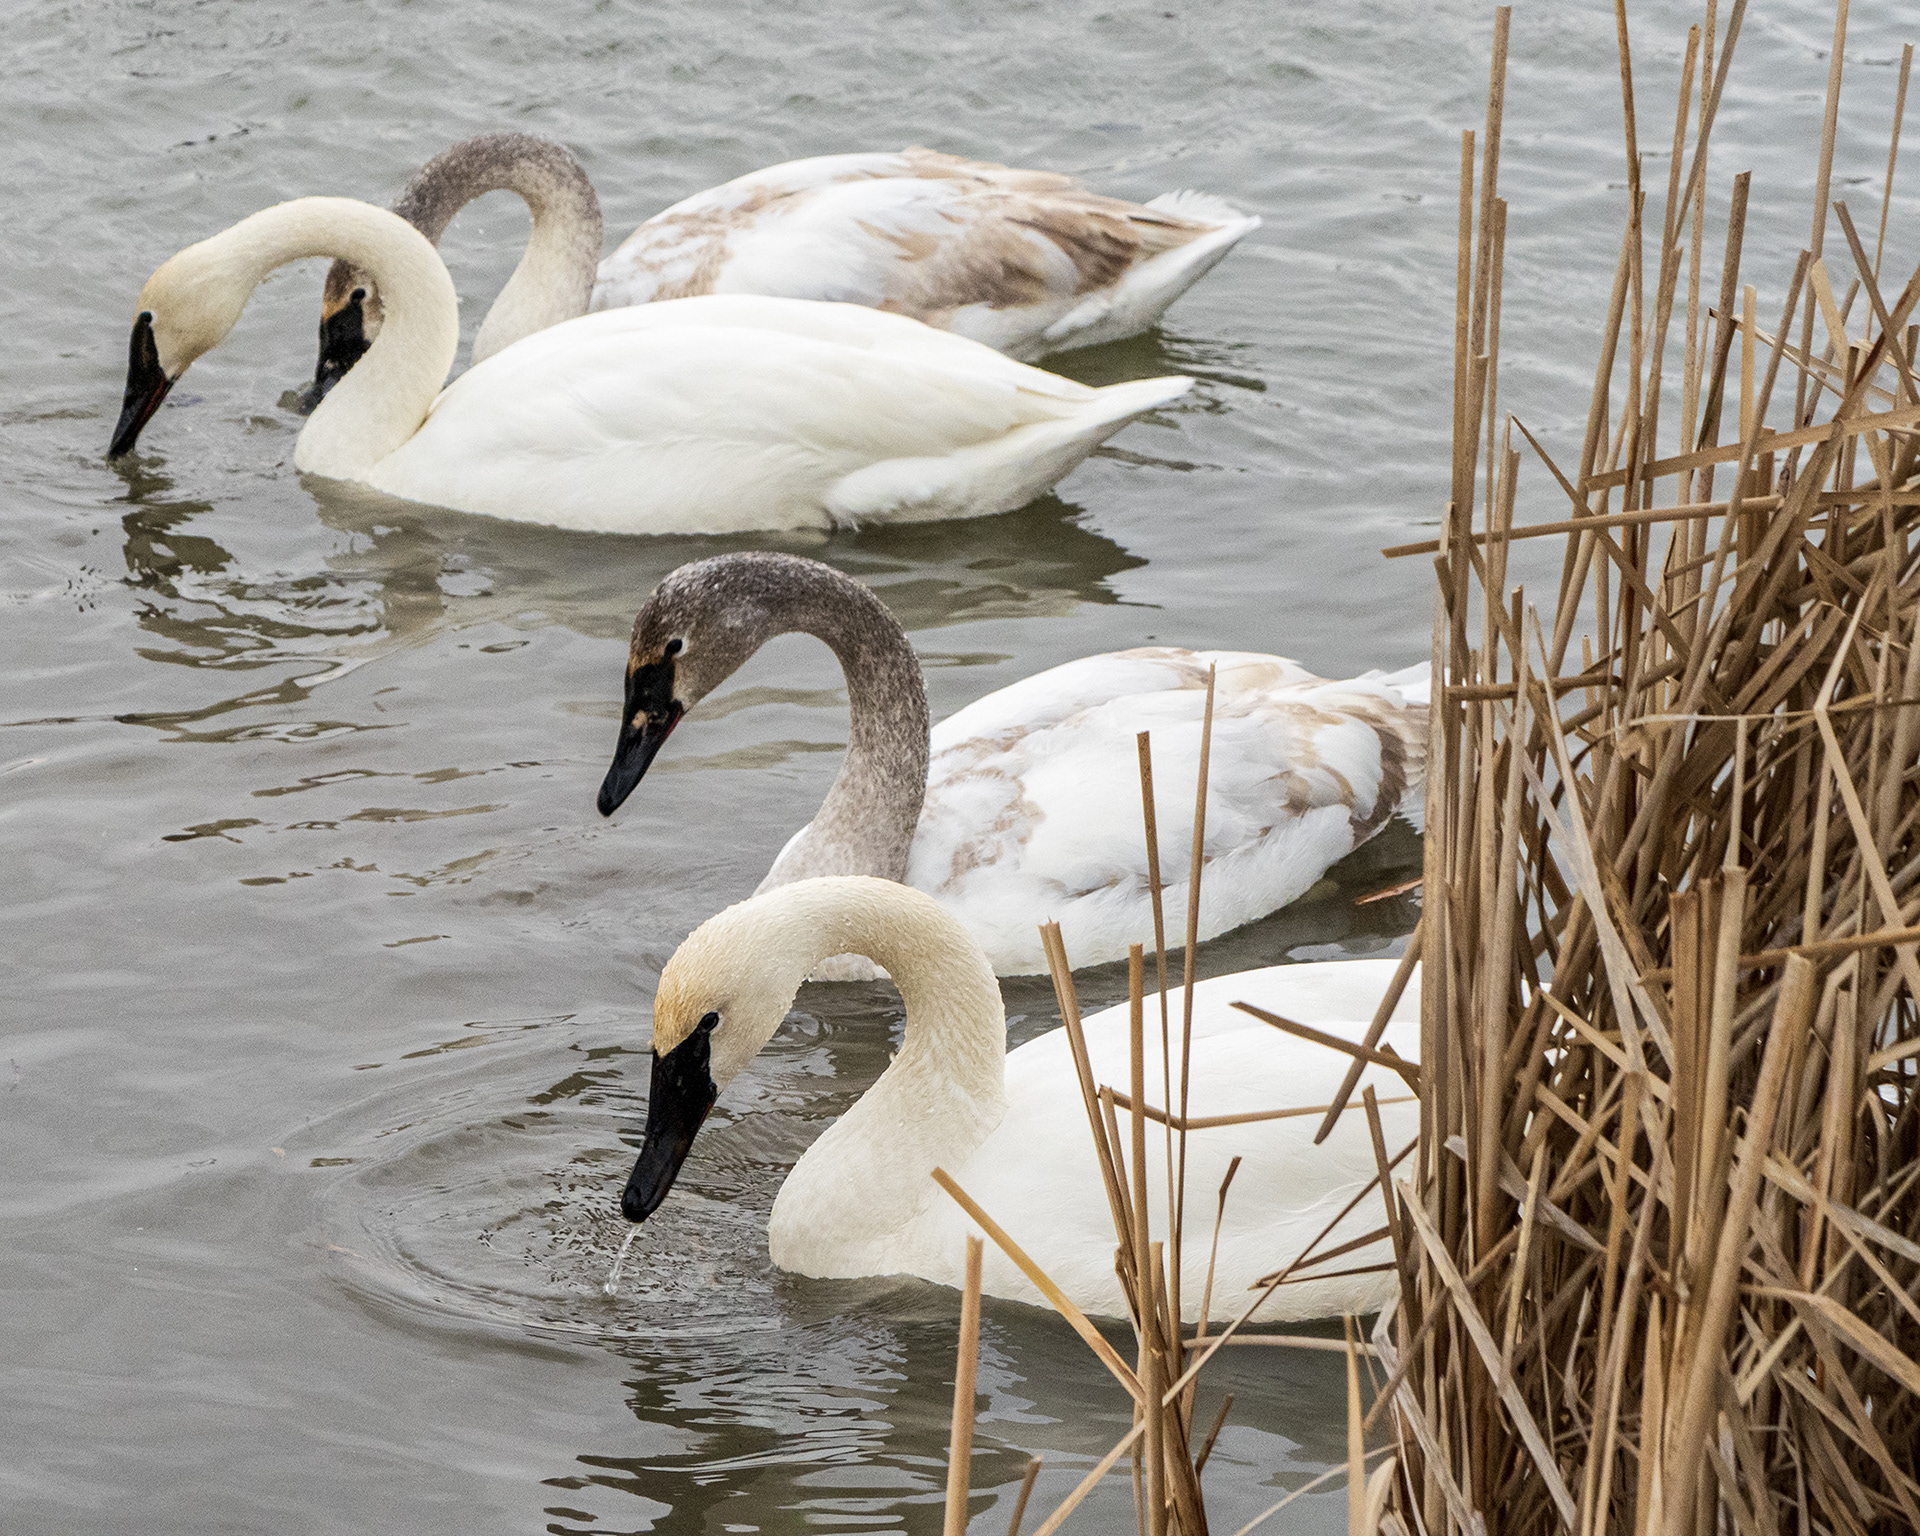
Not only did the Remove Tool do a great job on the reeds (below) an added bonus was no loss of resolution like you might have with Generative Fill (for now).
With that minor touch up out of the way, it was time to turn this photo into a painting.
Create an Alpha Channel
Hold on; don't run away because you read the words "alpha channel." The masks you may already take for granted are actually stored in alpha channels. Both masks and channels are greyscale images, which means you can edit them with various bitmaps tools. (More on masks and channels here.) There's nothing to get intimated about, even if you've never (knowingly) created an alpha channel.
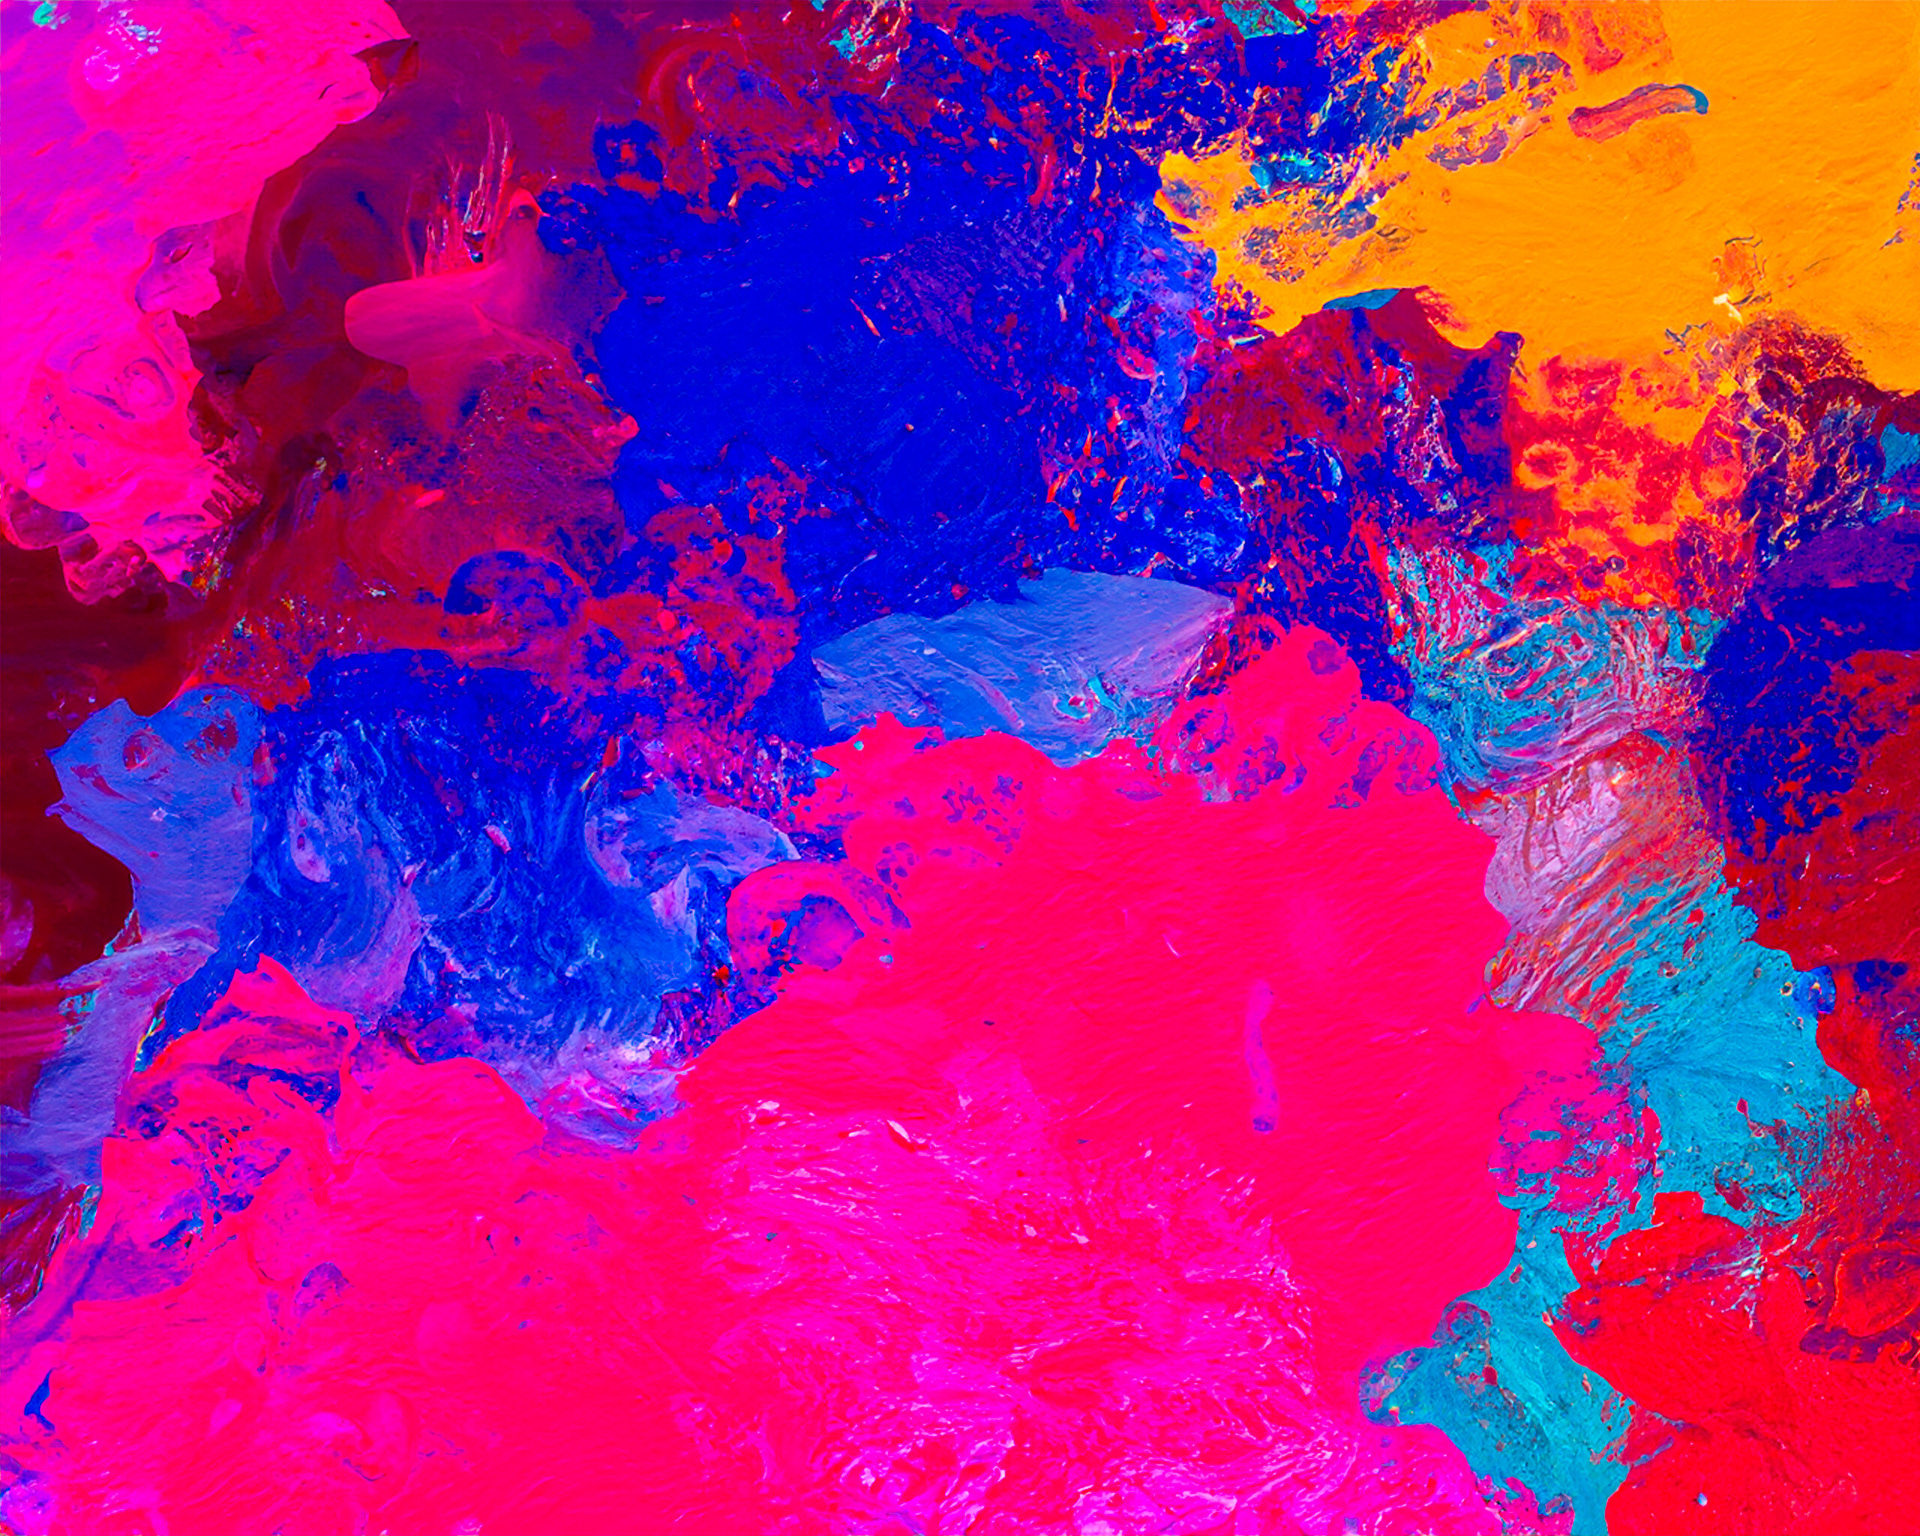
Why are we creating this alpha channel? Well, we need to apply the Gen-Fill effect to the entire canvas, without eliminating the original image. If we just selected the entire image (Ctrl/Command+A) and used Generative Fill with a prompt like "abstract oil painting," the entire photo would be replaced based on that prompt. My swans would be gone! One result is below. It's certainly an abstract oil painting, but there is not a bird to be seen. I suspect fowl play...Sorry, couldn't resist.
57 Channels and Nothin' On...
Not the case, here, my friends!
By creating an alpha channel at 40% brightness, we can make a selection that only selects a percentage of the pixels in the image, letting our original image become part of the Gen-Fill effect. Seeing is believing, so follow along.
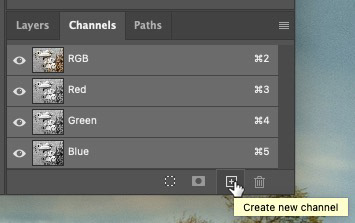
1- Select the Channels panel. It's usually part of the same group as the Layers panel.
2 - Click the New Channel icon at the bottom of the panel.
Adjust the Fill of the Alpha Channel
3 - Select the entire canvas area by pressing Crtl/Command+A
4 - Choose Edit > Fill and choose Color for the Contents.
5 - Set the Brightness to 40%. Because we're in a greyscale channel, the actual color is irrelevant.
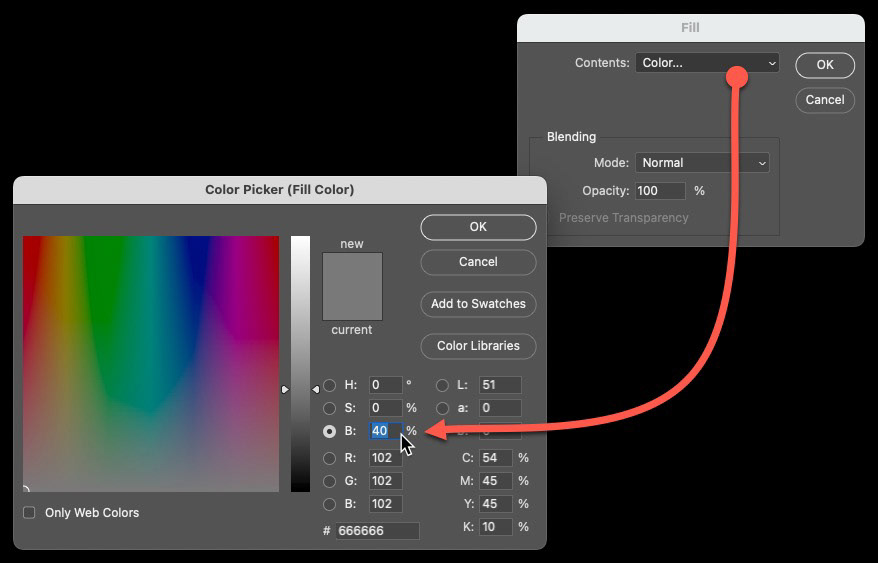
6 - Click OK, then Ok again. Your black alpha channel is now filled with 40% grey.
Create a Selection
Now we want to create a selection from the alpha channel.
7 - Hold down the Ctrl key (Windows) or the Command key (Mac) and click on the alpha channel thumbnail. A warning dialog box will appear. This is to be expected. Just click OK to dismiss the dialog.
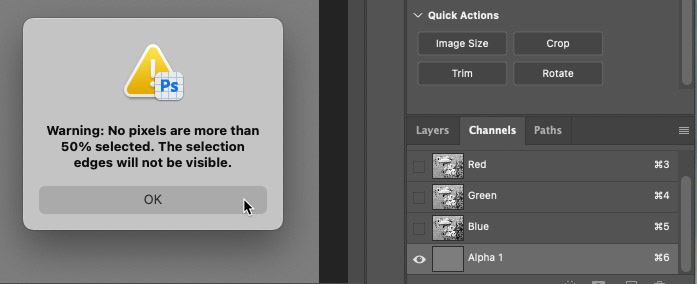
8 - With the selection created (you won't see the marching ants because less than 50% of the pixels are selected), click on the RGB channel.
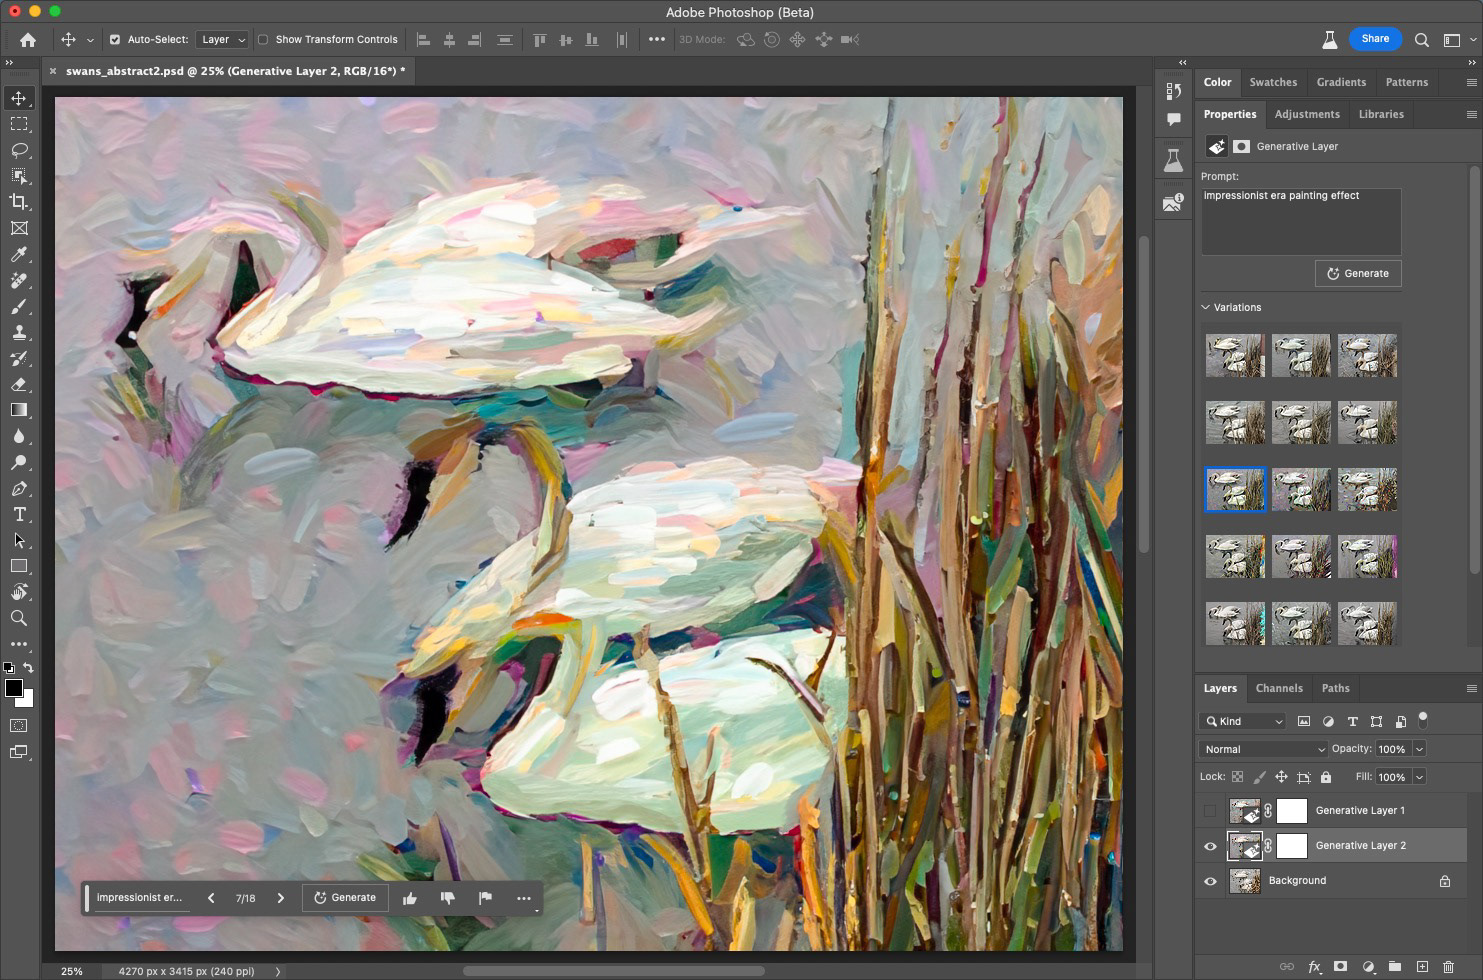
Generate Some Magic with Generative Fill
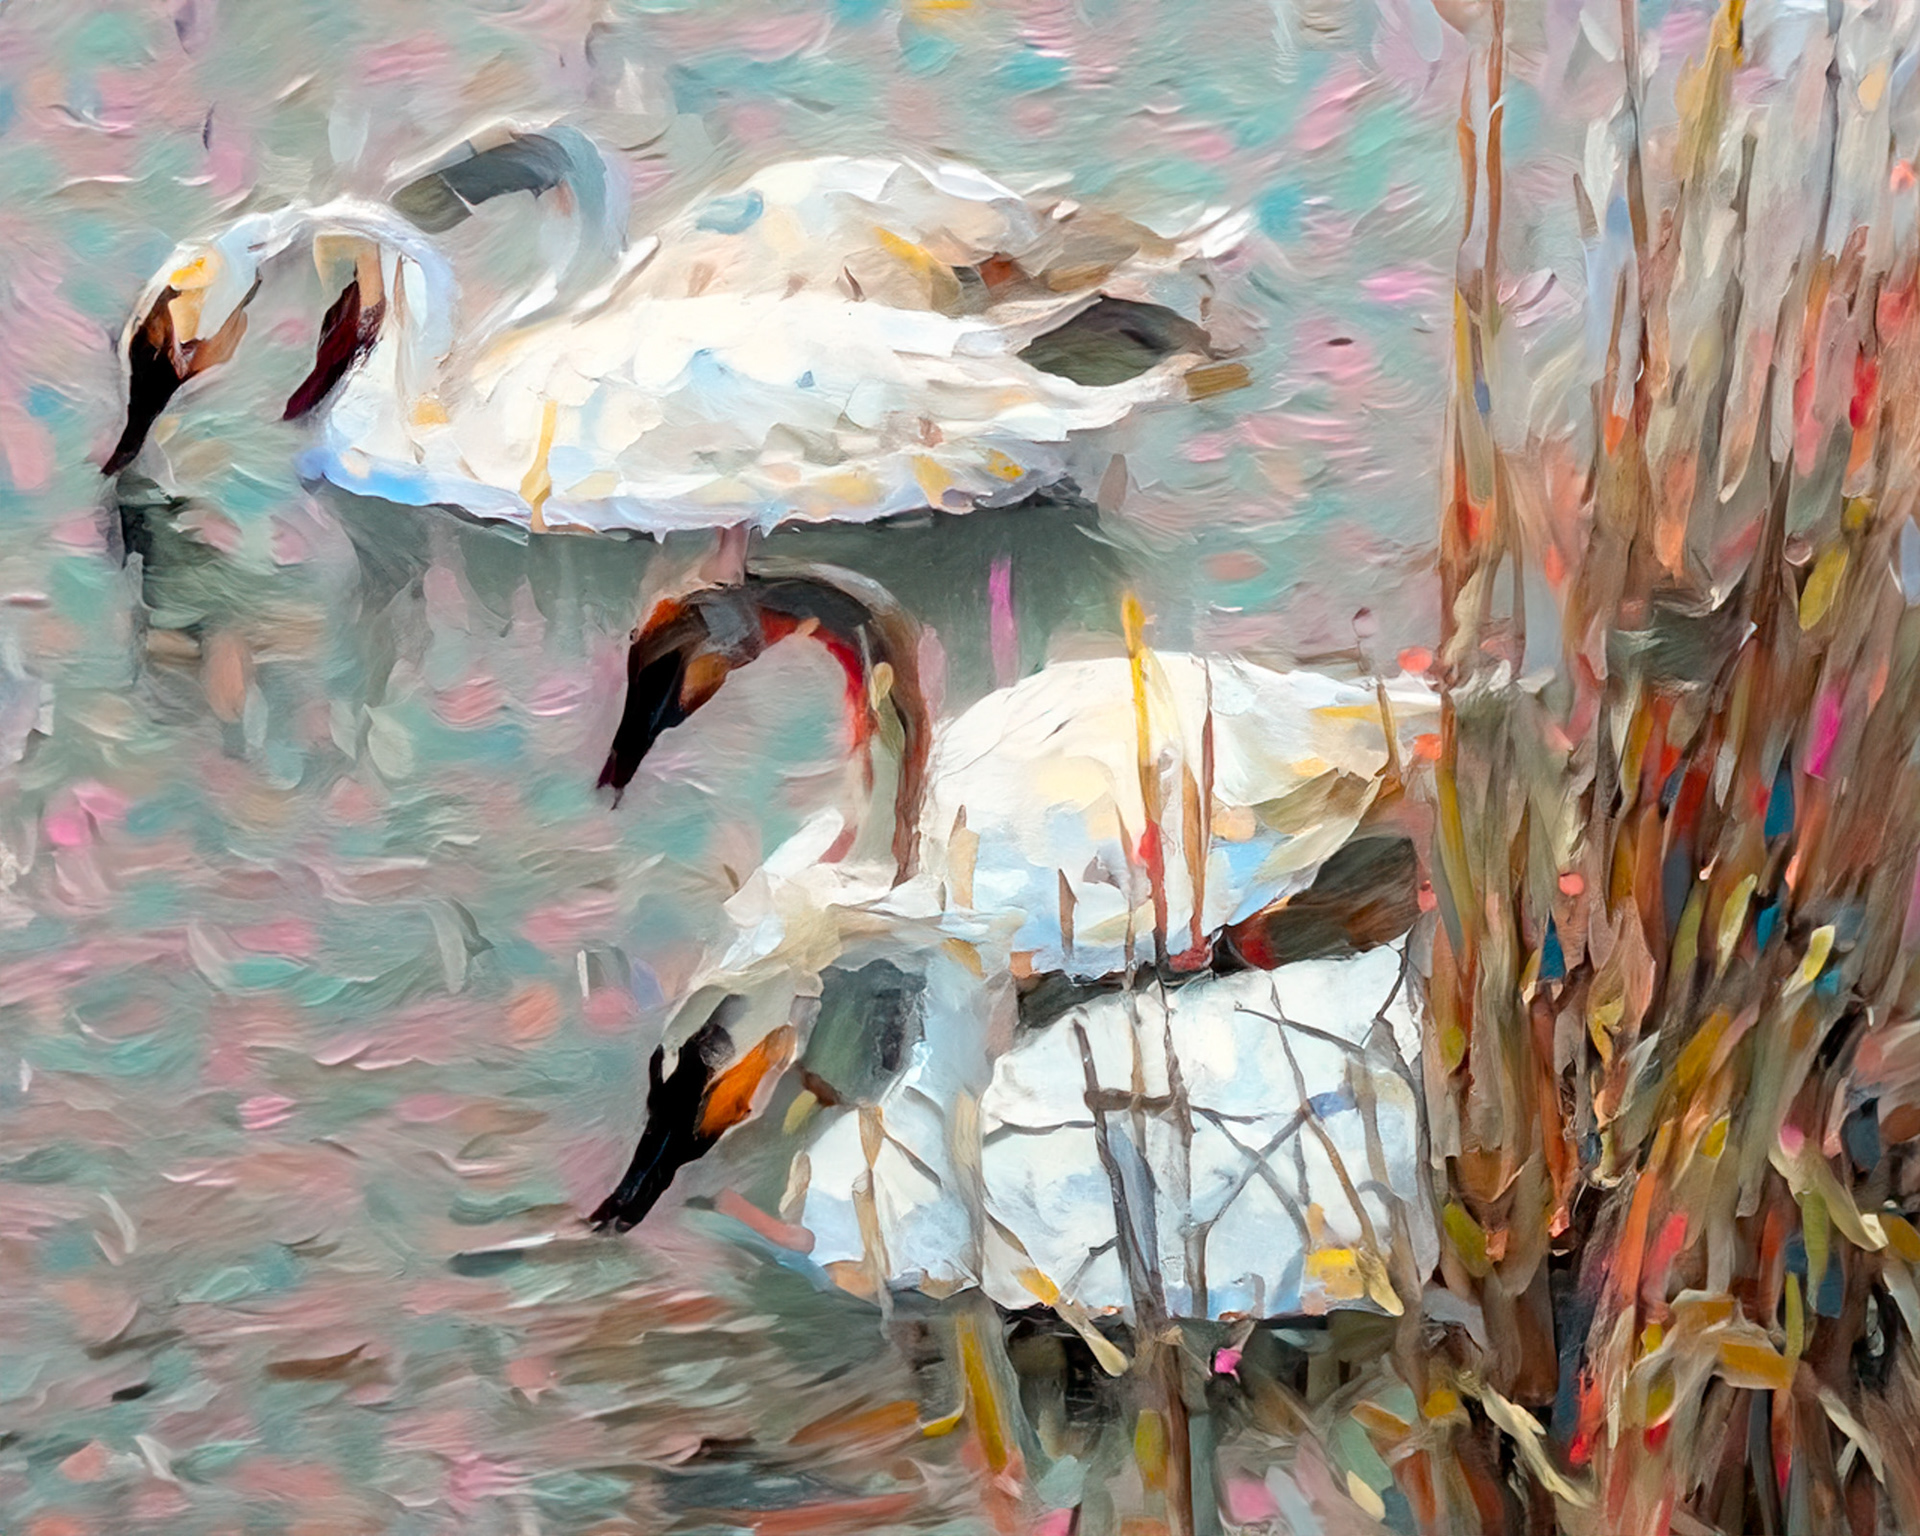
9 - Click inside the Generative Fill box in the new Contextual Task Bar, and key in "impression era painting effect," and wait a few seconds for the magic.
TADA!!!
Please hold your applause; I'm merely the text-entry device. Well, that's not true. Photoshop didn't devise the text prompts; it just helped me realize my creative vision.

One of three generations using the prompt, Impressionist era painting effect.
You can create as many variations as you want. Just remember, your file size also gets exponentially larger, as well.
These are more of my favourites. Click on any thumbnail to enlarge.
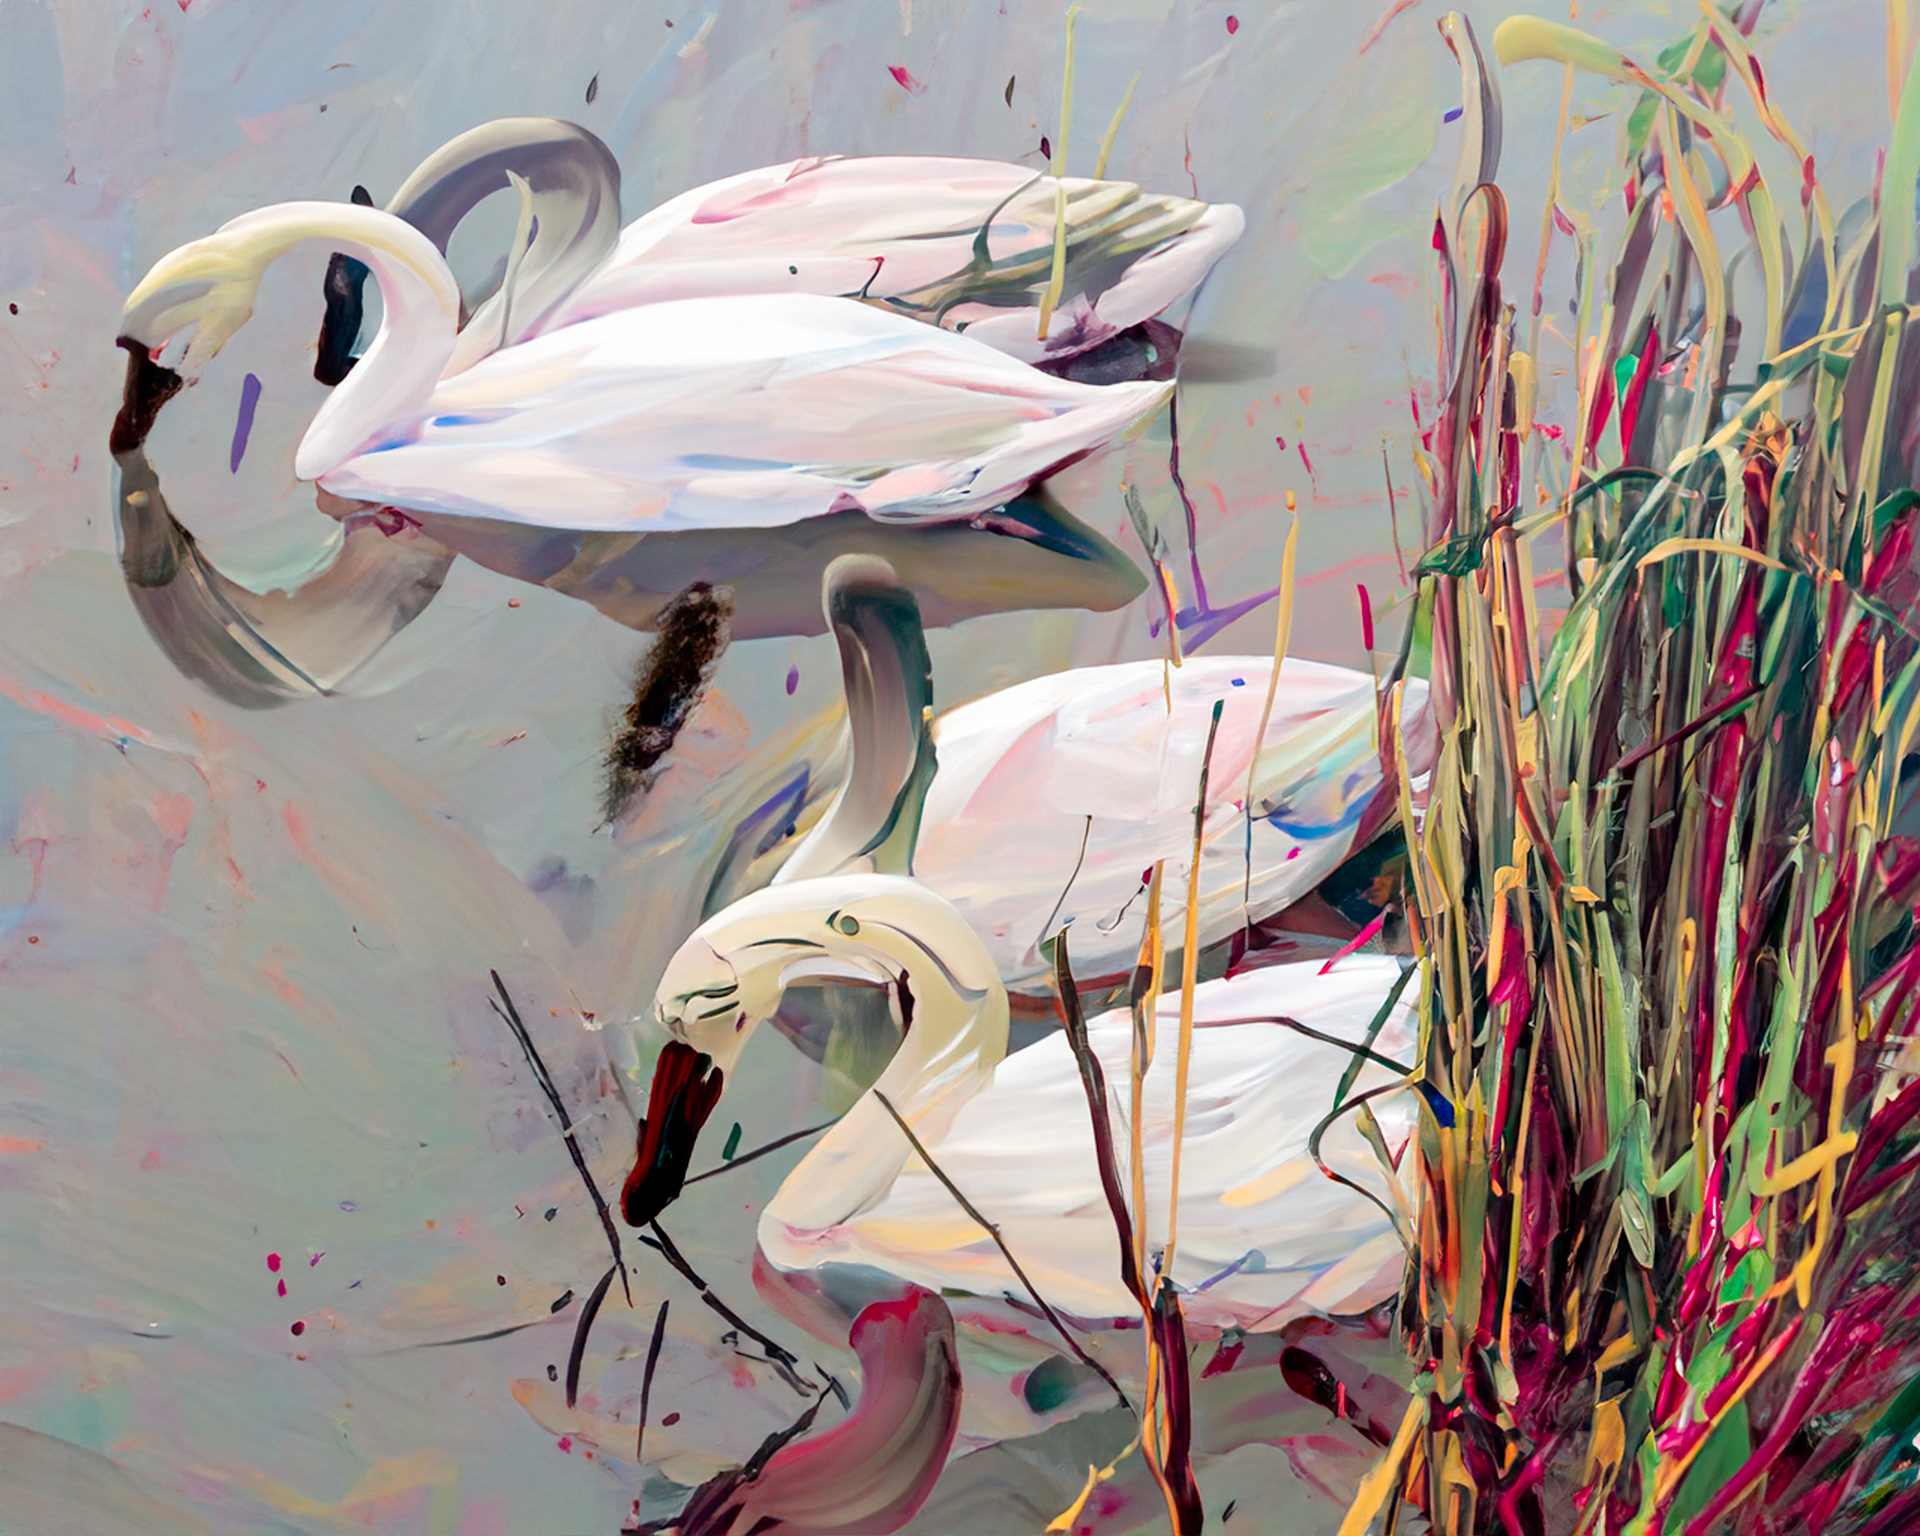
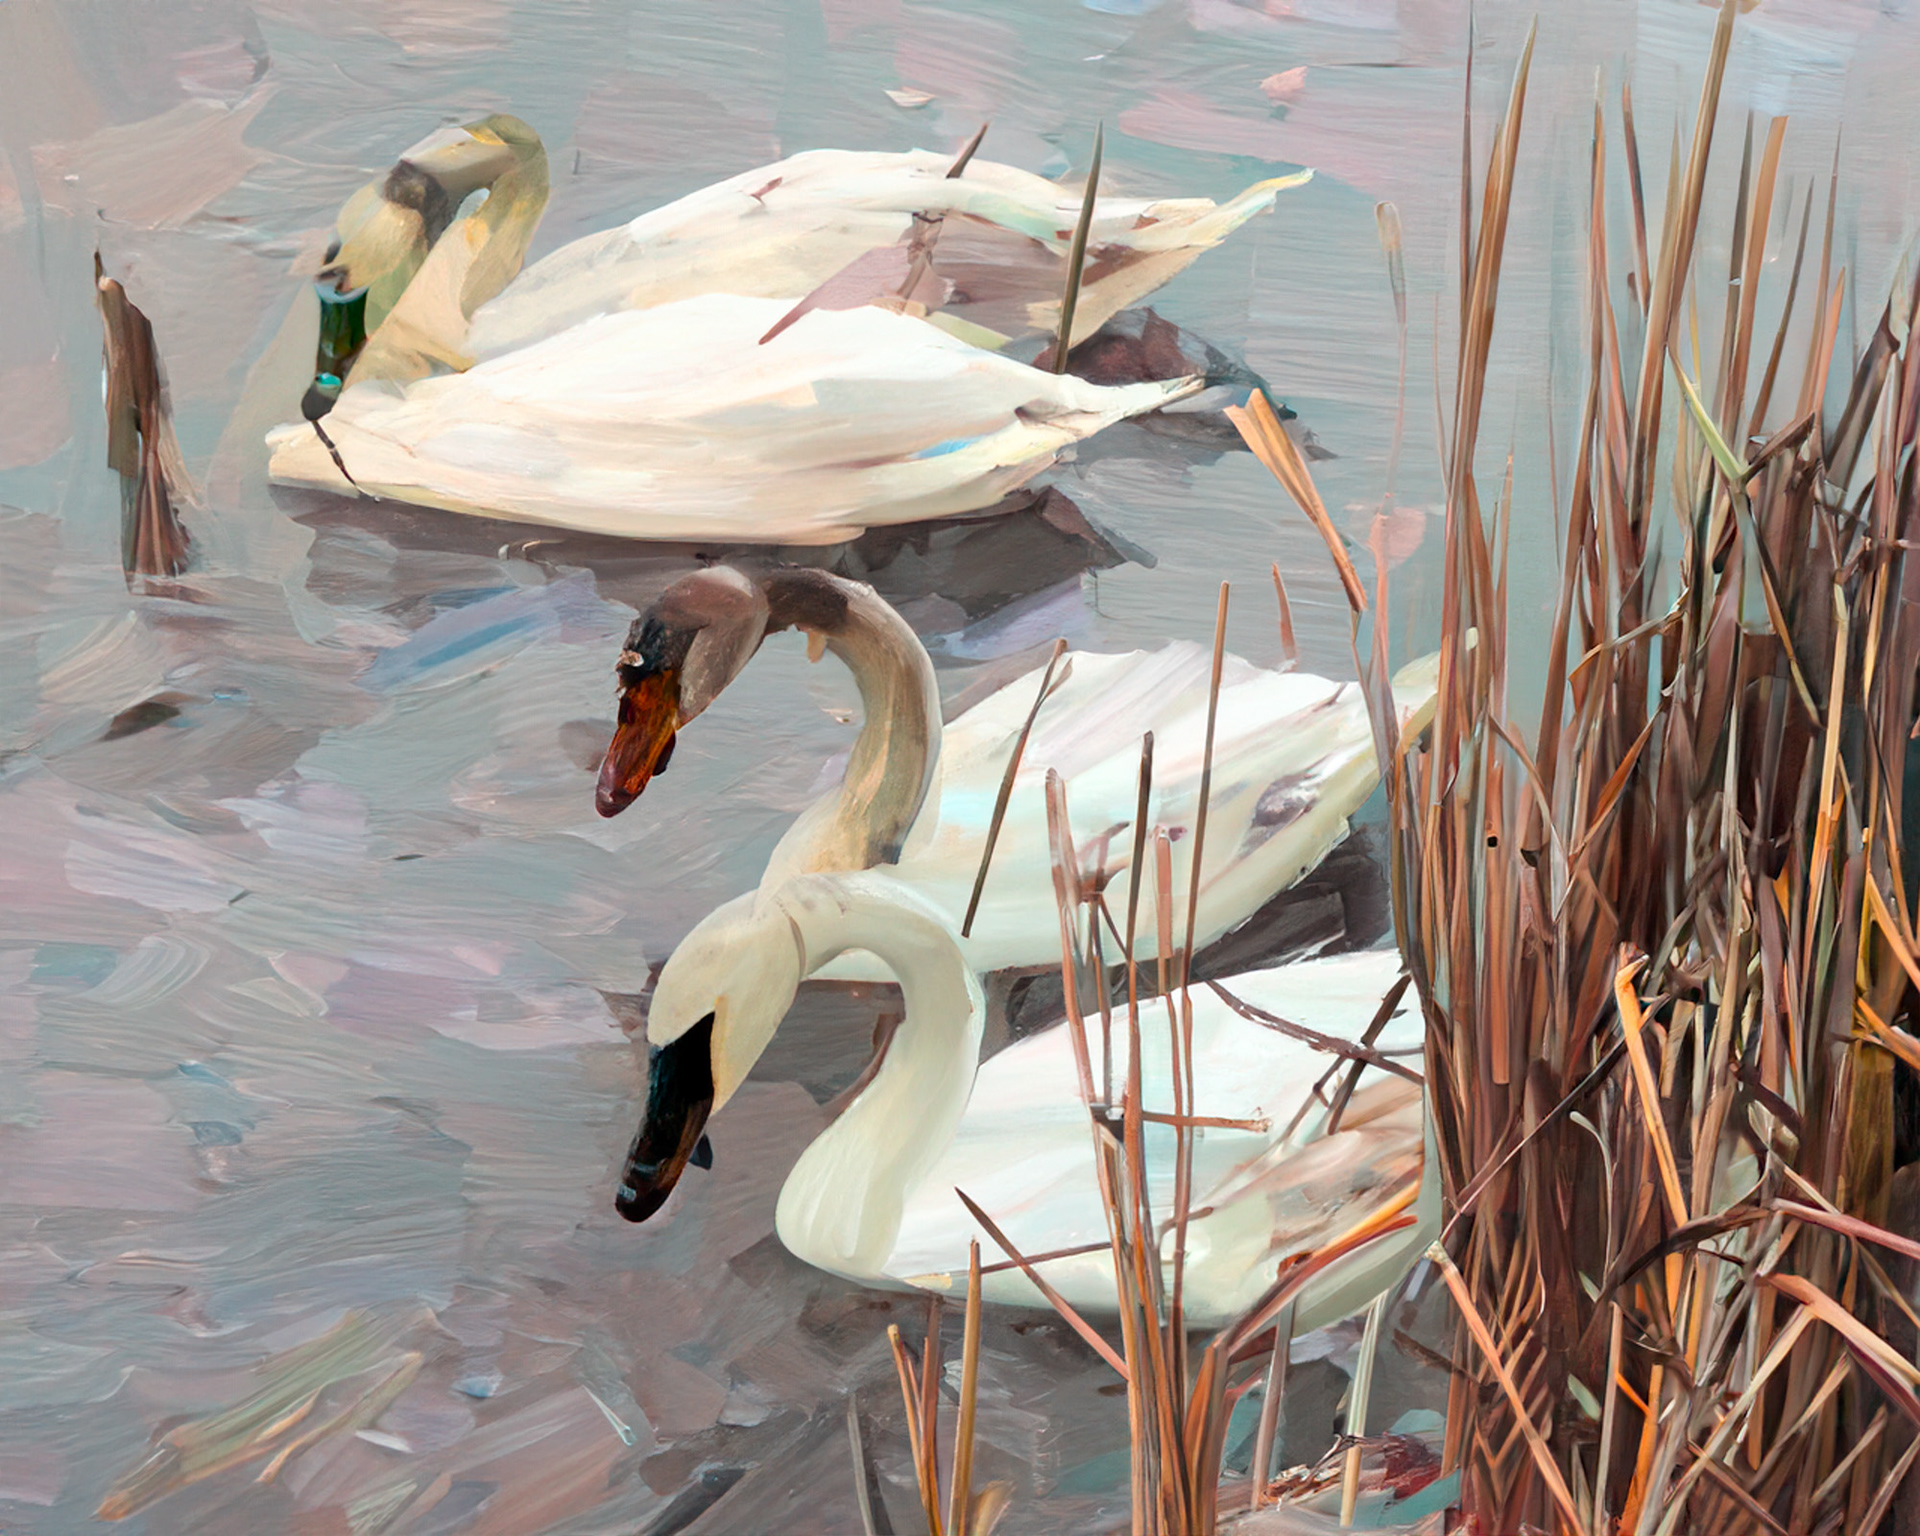
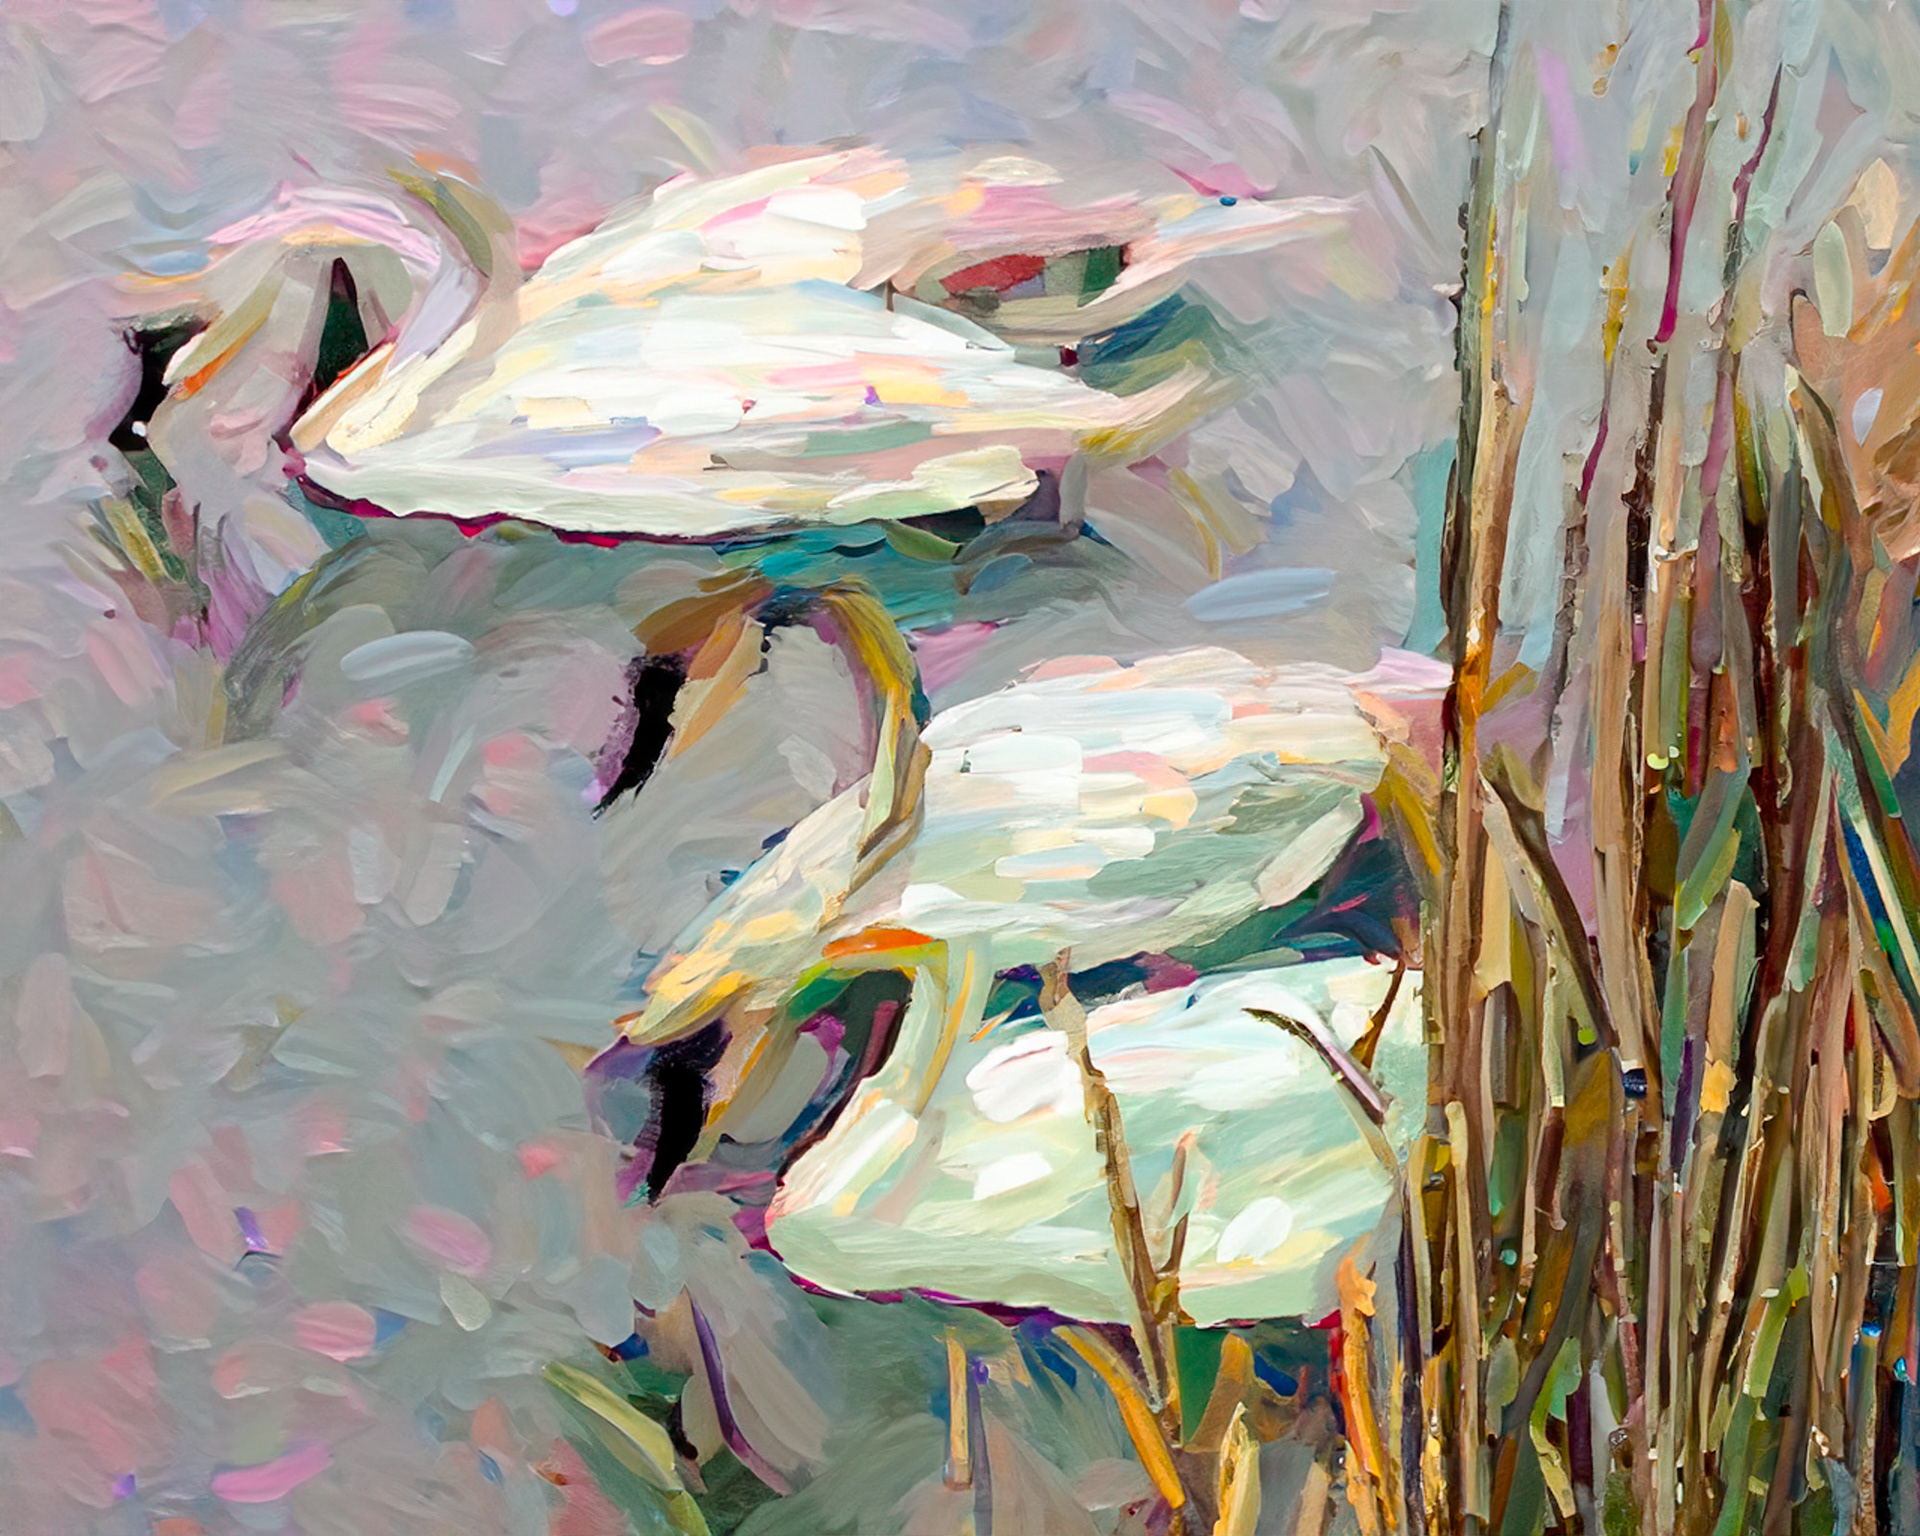
I found myself liking several versions of this painterly swan scene. I expect I might print one to a small canvas...
The Possibilities are Endless
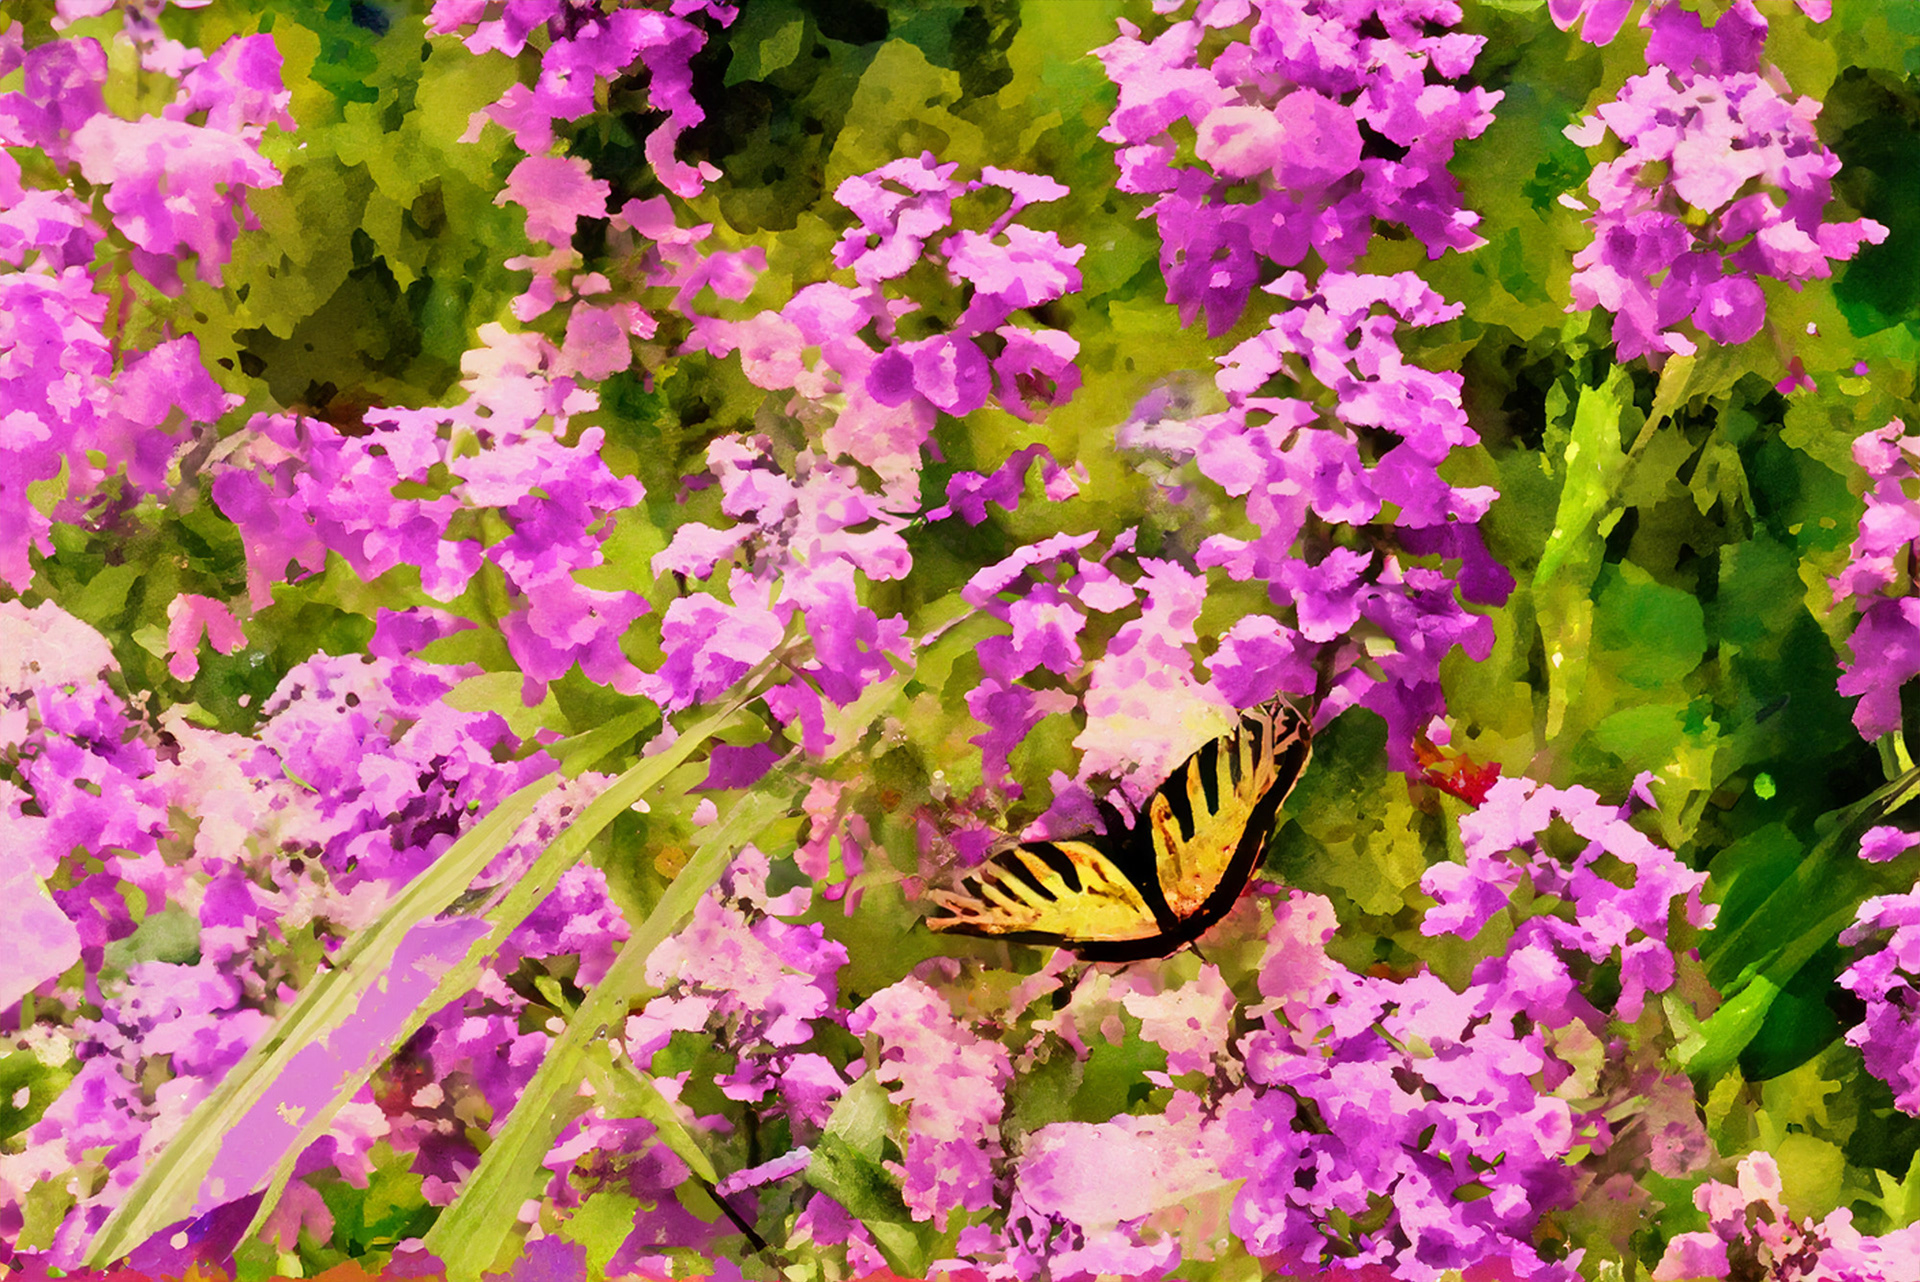
I could literally spend all day playing with this technique, but I reigned myself in and chose only one more photo of this tiger swallowtail butterfly, feeding on the wild phlox at the cottage.

Suggestions
Experiment with a variety of text prompts. Here's my list:
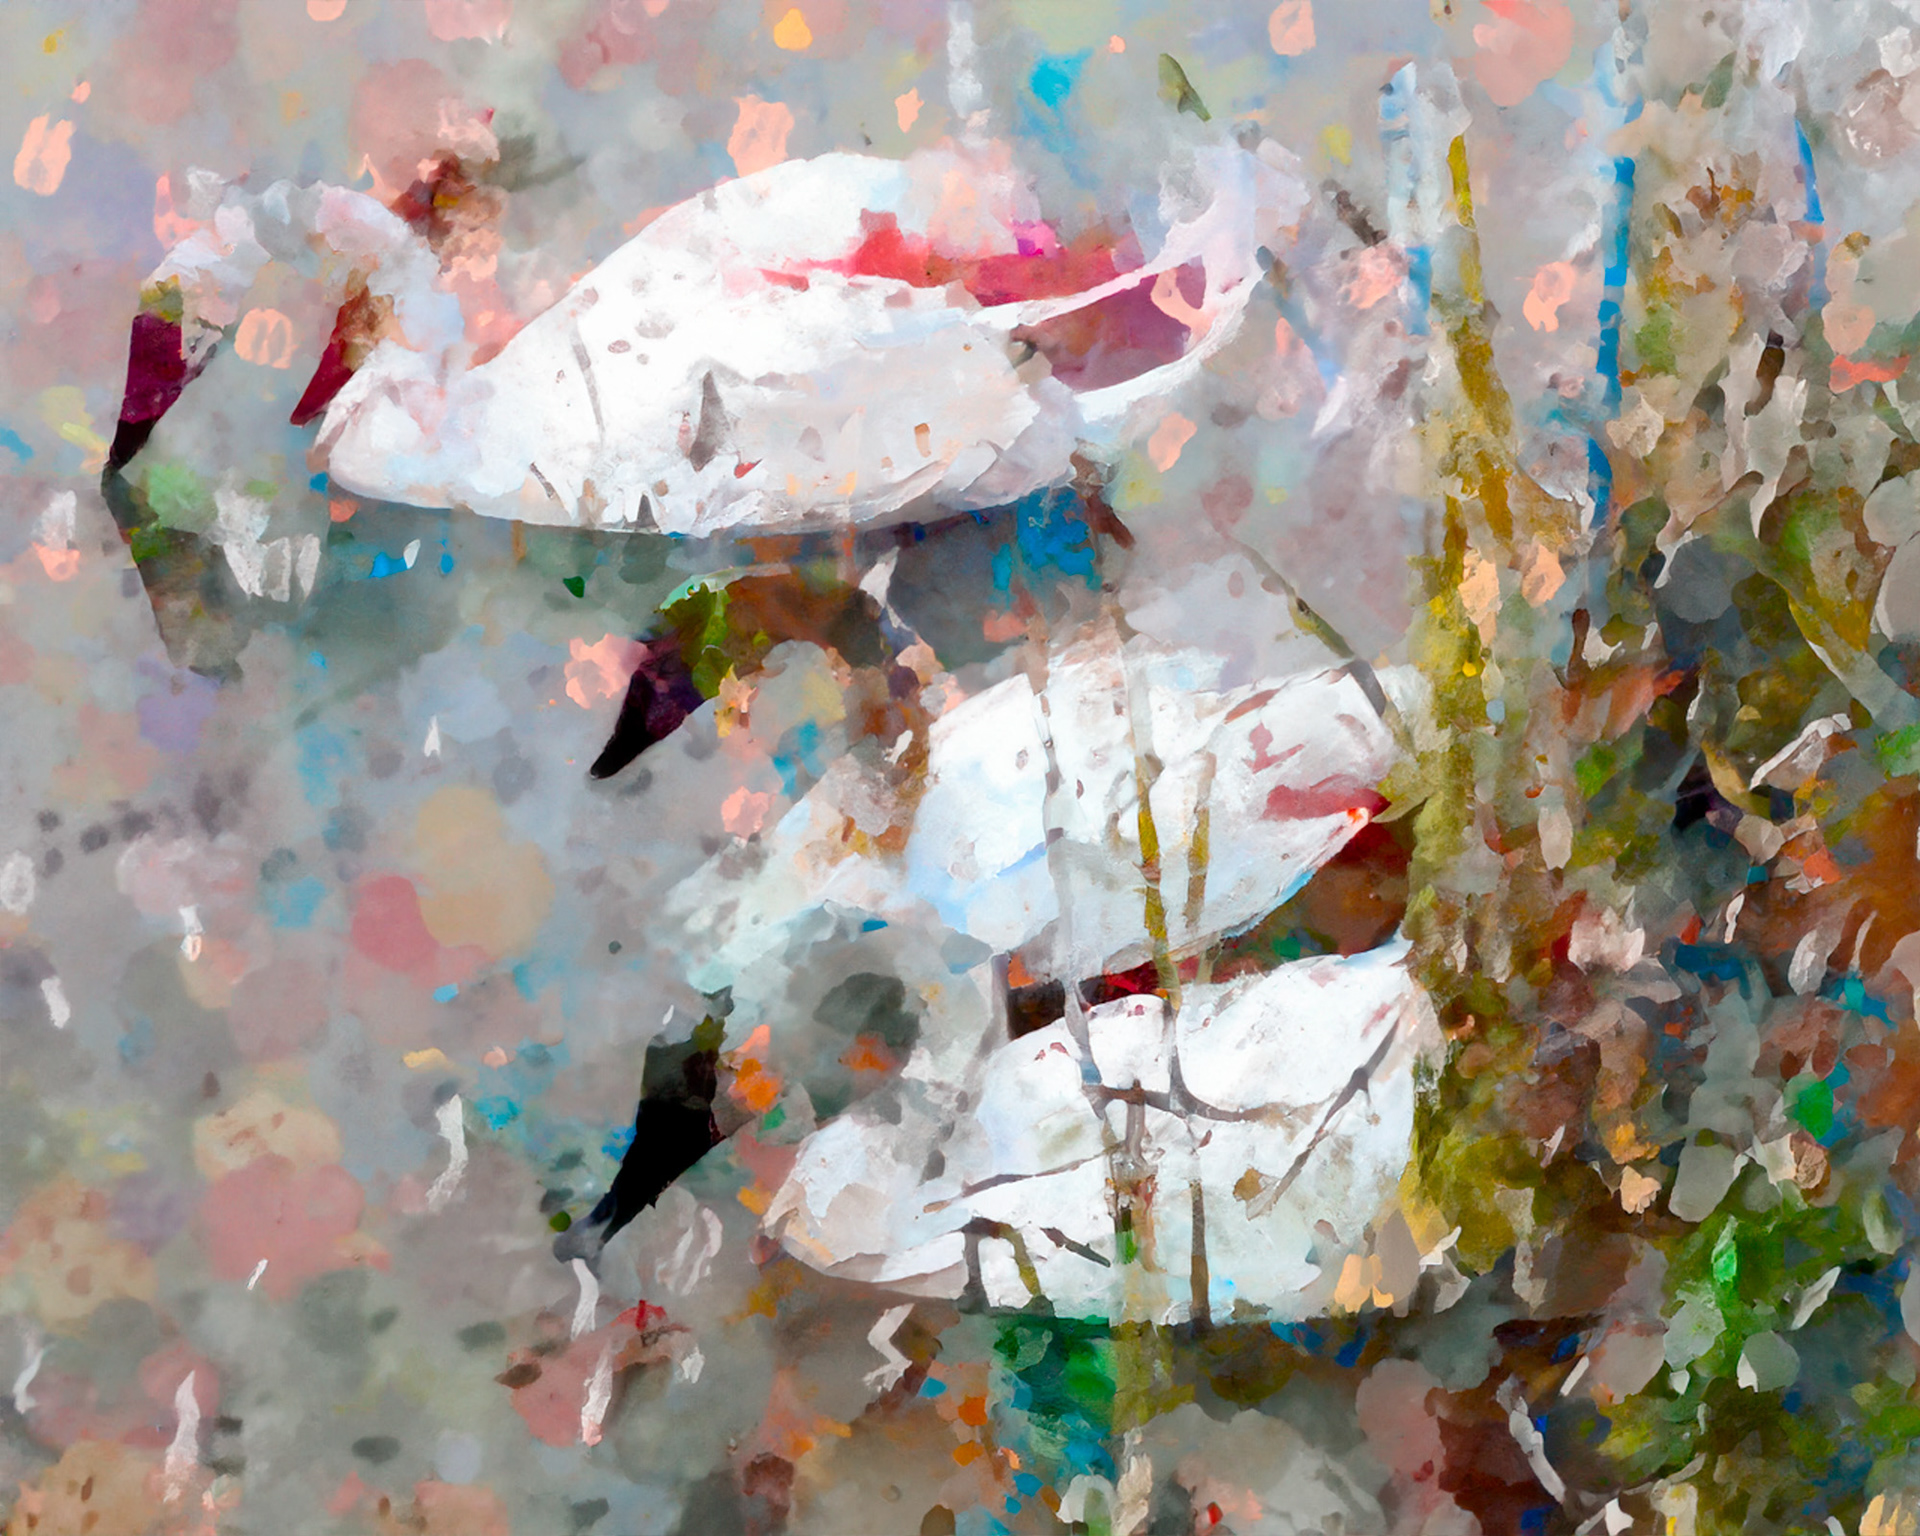
watercolour painting effect
watercolour painting effect
impressionist watercolour painting effect
abstract watercolour painting effect
abstract pastel chalk effect
abstract acrylic painting effect
impressionist era painting effect
wet brush painting effect
dry brush painting effect
abstract oil painting effect
What would you add? Let me know in the comments section.
Try different brightness values in the alpha channel. Changing the alpha values of the mask will adjust how similar the generation is to the original image. The lower brightness, the more like a photo your results will be.
If you feather the selection it will help you generate fire, rainbow, smoke, fog or other soft/ethereal elements.
Negative prompts are also supported. For example, if your photo is a portrait, you can type things like ‘face, no beard, without glasses’ to adjust the results.
Combine mask intensities. Jesús Ramirez of the Photoshop Training Channel has a great example of how to mix the opacities of a mask. Definitely worth checking out.
Wrapping Up
I hope you enjoyed this quick tutorial. If you haven't checked out the Photoshop beta and Generative Fill, you're really missing out. If nothing else, it's loads of fun. Give yourself a break and play a little.
Until next time!