One aspect of digital photography that I've grown to love is how quickly and easily I can access pictures I made over a decade ago. Beats digging through negatives or hauling out slide carousels!
Lately, I've been revisiting older images I shot and processed, some from years ago. The inspiration for this was reading some articles and tutorials online. I quickly discovered that this was a valid exercise; my post-processing skills have improved over the years, most notably in the past two years. Images I processed a mere year or two ago, that I felt were good at the time, might just benefit from a second look and some additional experimentation or application of techniques I've learned.
Case in point is the first image series below. A shot I took at Lake Louise in Banff, Alberta in 2012. The original image was over exposed and hazy.
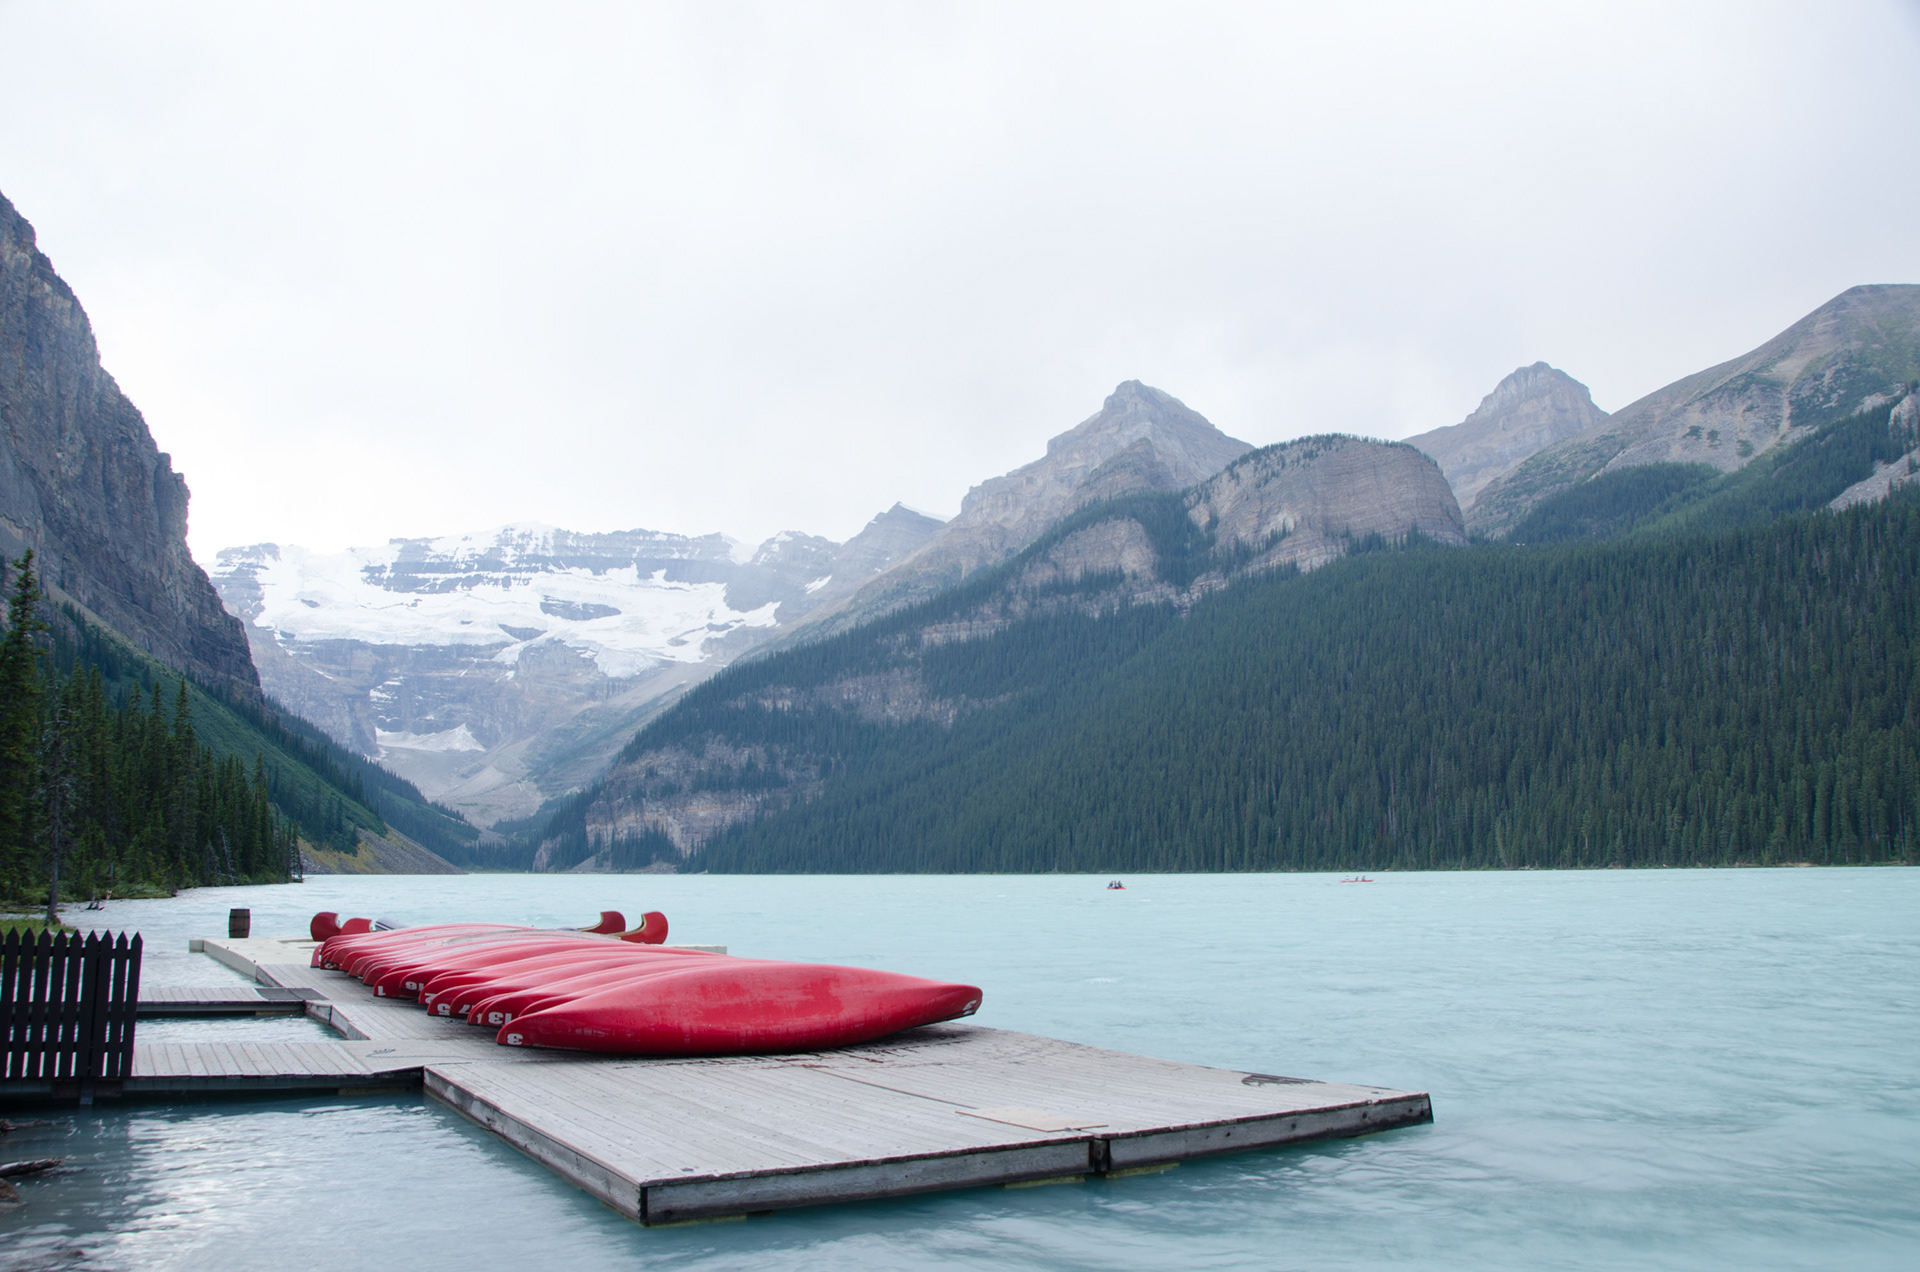
Original exposure, shot fairly quickly as dark storm clouds were coming in. From this image though, you wouldn't know that.
My first attempt - 2 years ago - at adjusting the image resulted in the version below. Reducing overall Exposure, and Highlights values, increasing Contrast, Shadows and Clarity, gave me an image that was closer to the original scene. Not a lot of drama, but a bit more accurate.

My second attempt focused more on creating drama, bringing out details and setting a mood. More representative of how I felt when I was making the picture in the first place. And this was only possible because I continued to practice my craft, read, experiment and not be afraid to make mistakes.
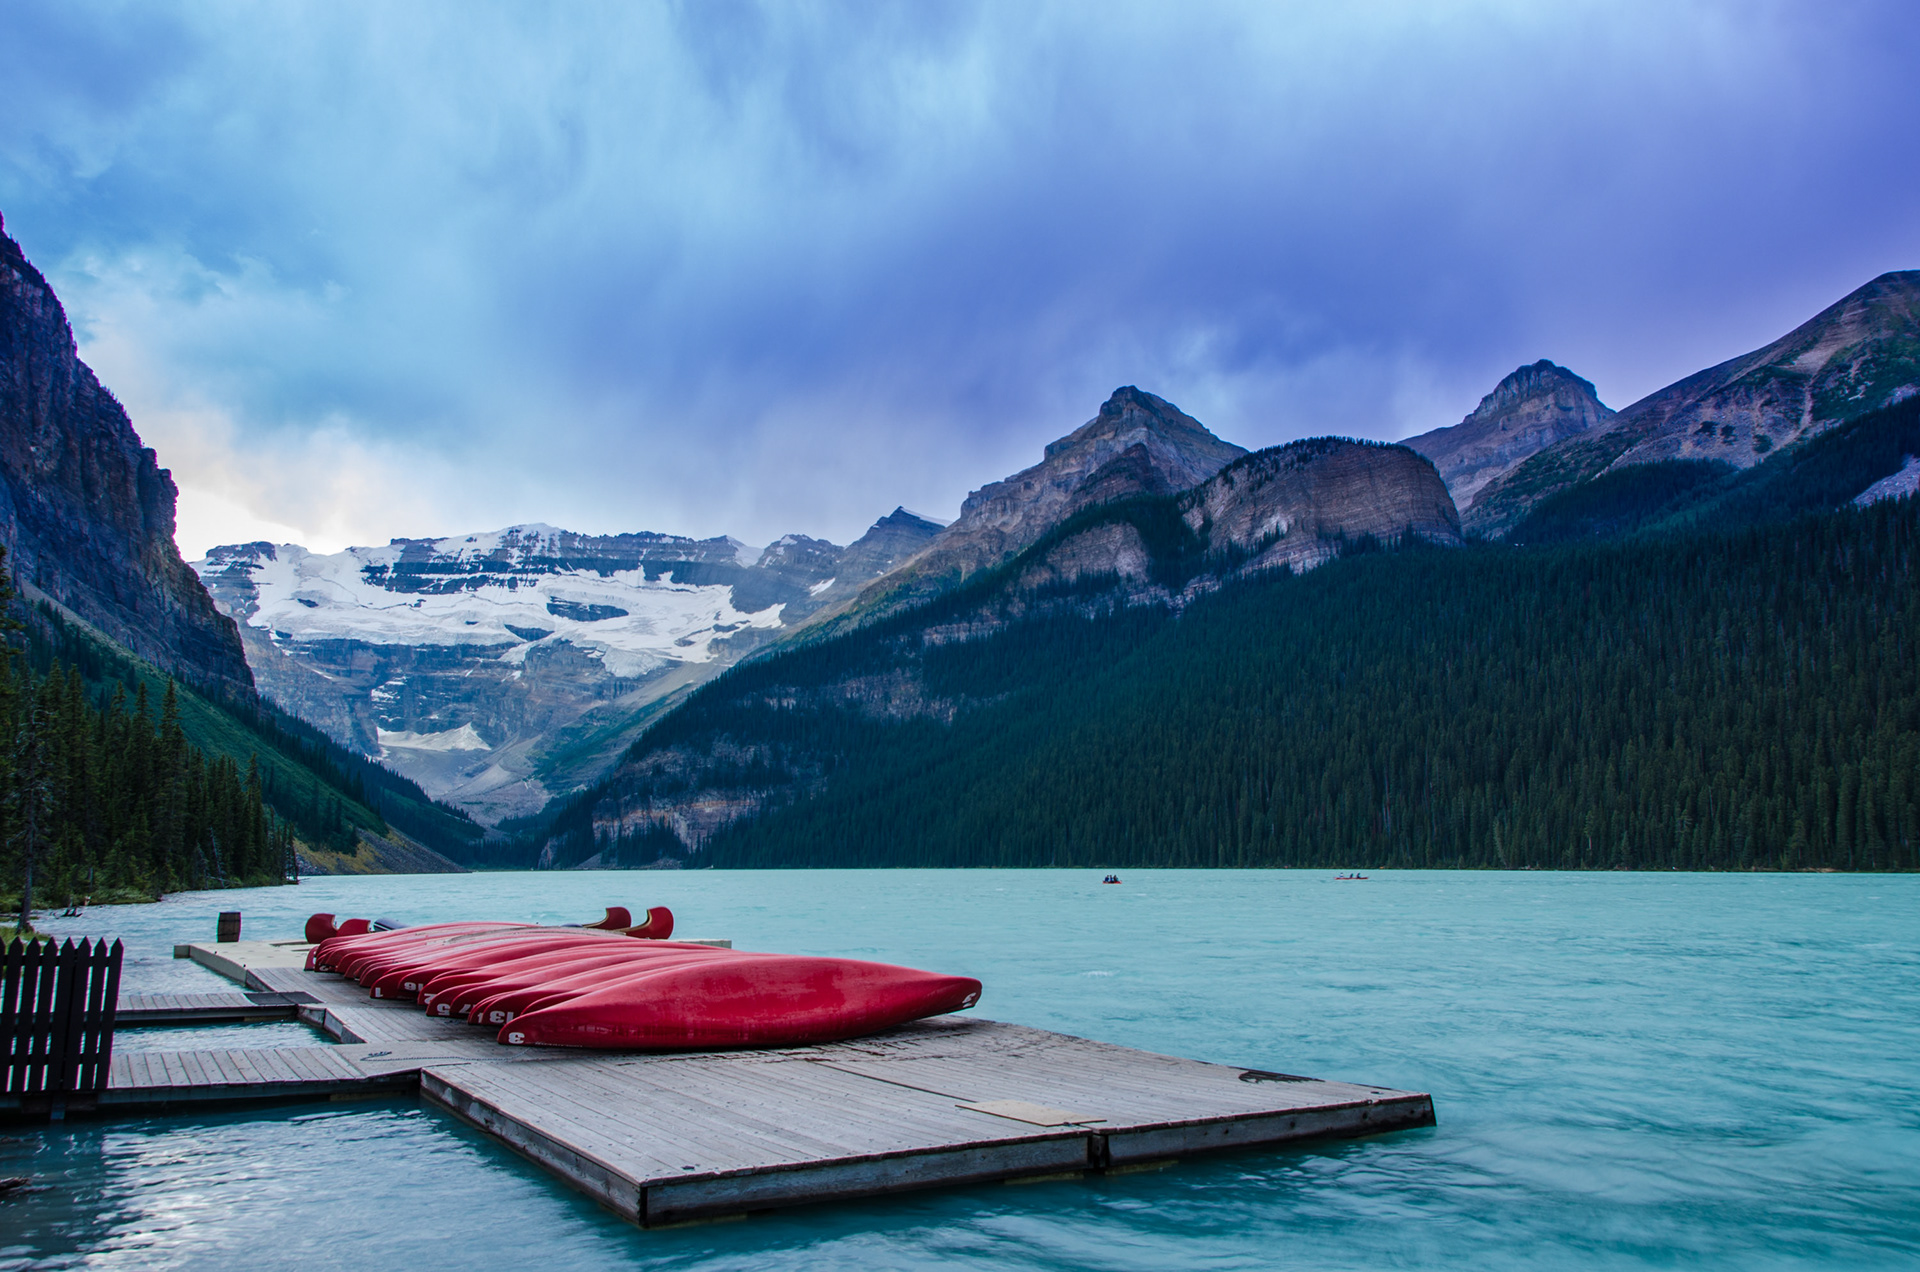
By using a combination of graduated filters, local adjustments and a heavier hand in the global adjustments, I've gone from an overexposed, flat, lack-lustre original to something that truly pops and gives that feeling of an impending storm.
Another example, from just a year ago, was from my first foray into starfield photography. On close inspection, it's obvious I still had much to learn about this type of photography, but hey - you don't learn unless you try, right? I was - at the time - pleased with my initial attempts, even the unprocessed image made the Milky Way somewhat visible.
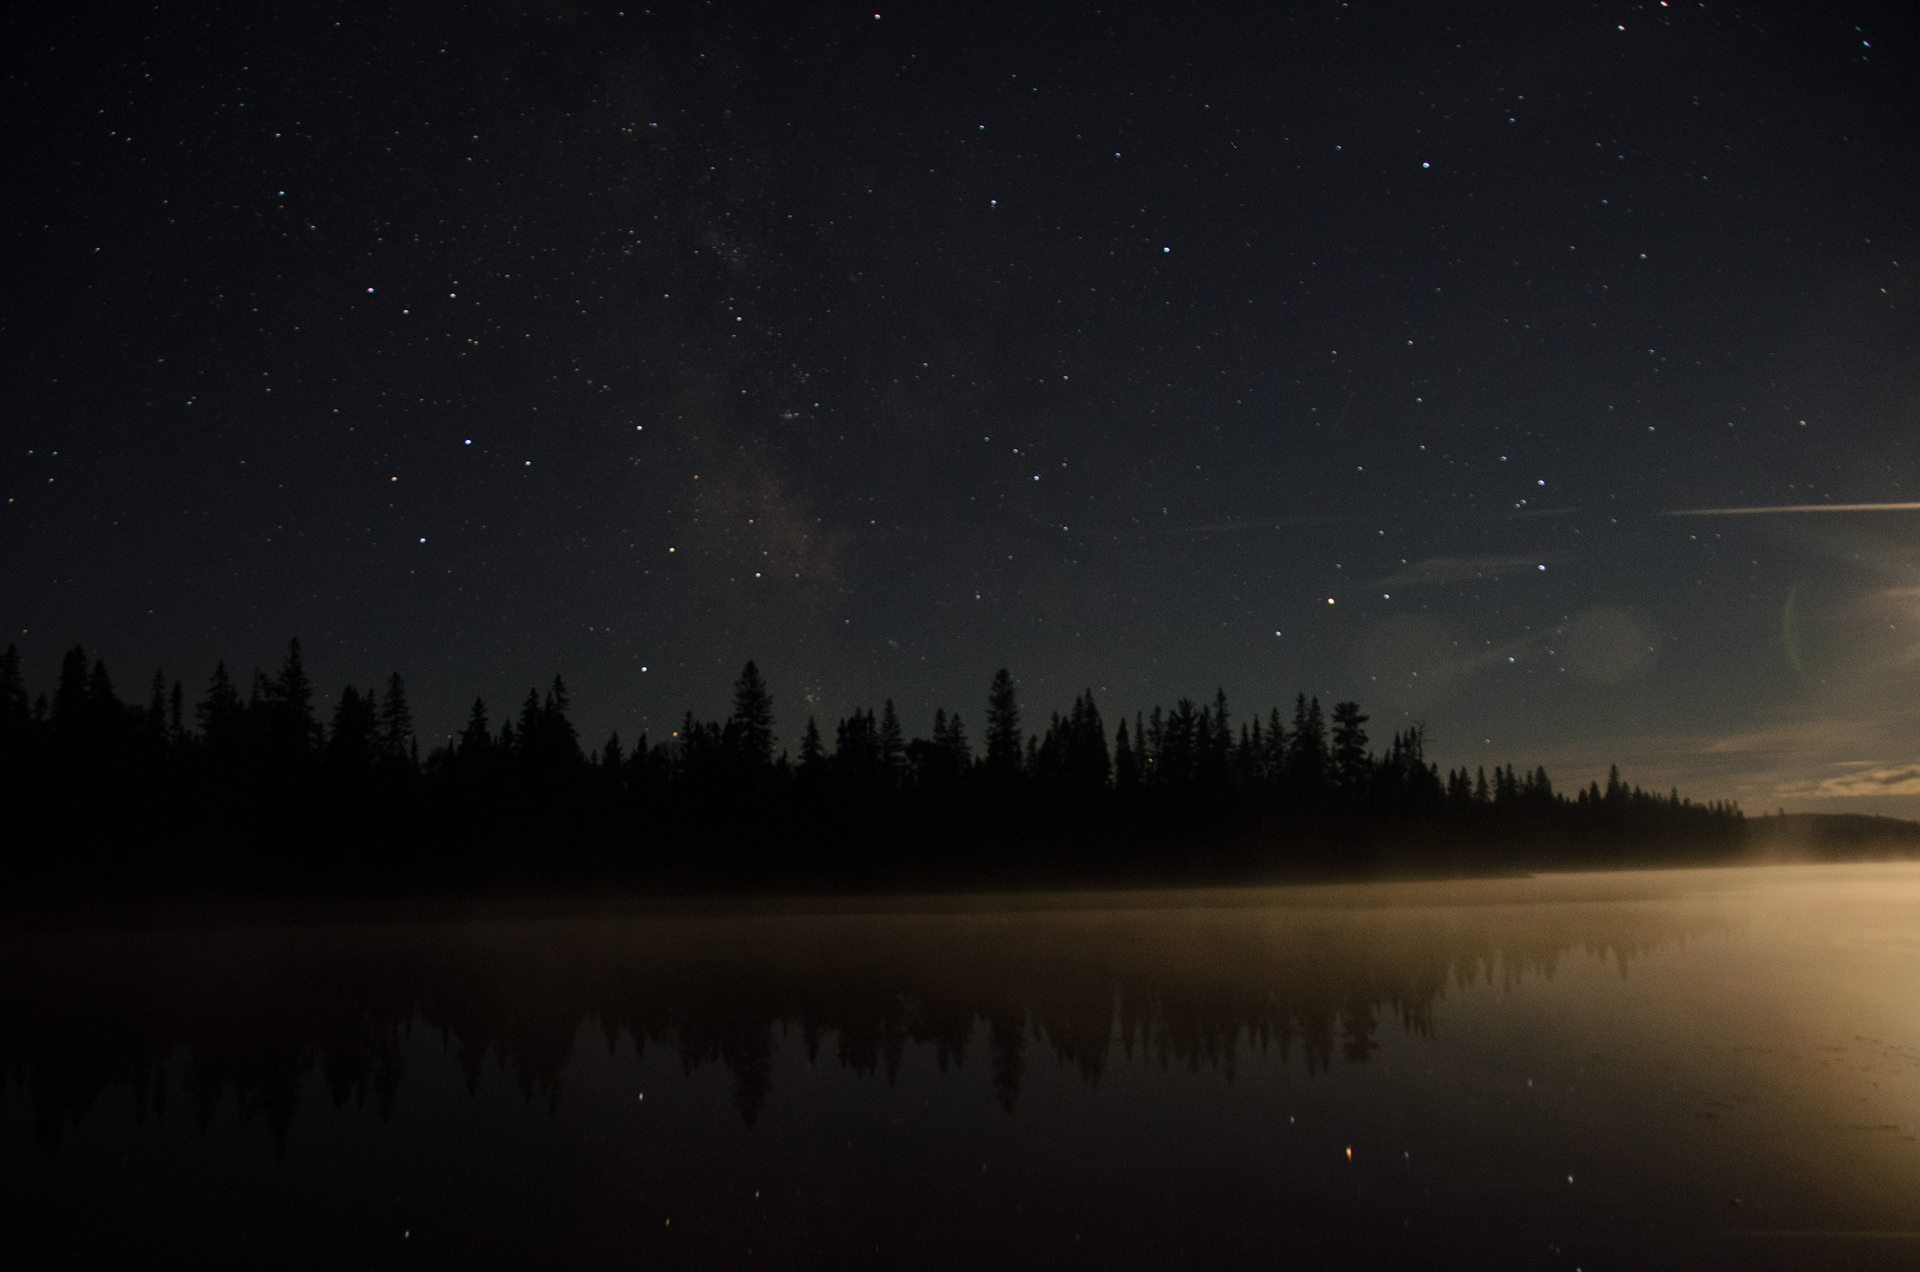
Original unprocessed image. The bright area to the right of the image was a huge, almost full moon, lighting up the sky. An exposure challenge in itself.
My first processing of the image made small but noticeable changes to the image and - again - a year ago, I was happy with this result. But after watching so many tutorials on astrophotography and studying the phenomenal
images of others, I asked myself if even this image could be further improved.
images of others, I asked myself if even this image could be further improved.

The new version, below, is significantly different and I believe far better. The color balance is more appropriate, noise and sharpness issues have been addressed and, by using a linear gradient I was able to balance out the brightness on the right side of the image so it's more natural (IMO). A local adjustment to the just the Milky Way allowed me to add a bit more emphasis to this part of the scene, without looking over processed.
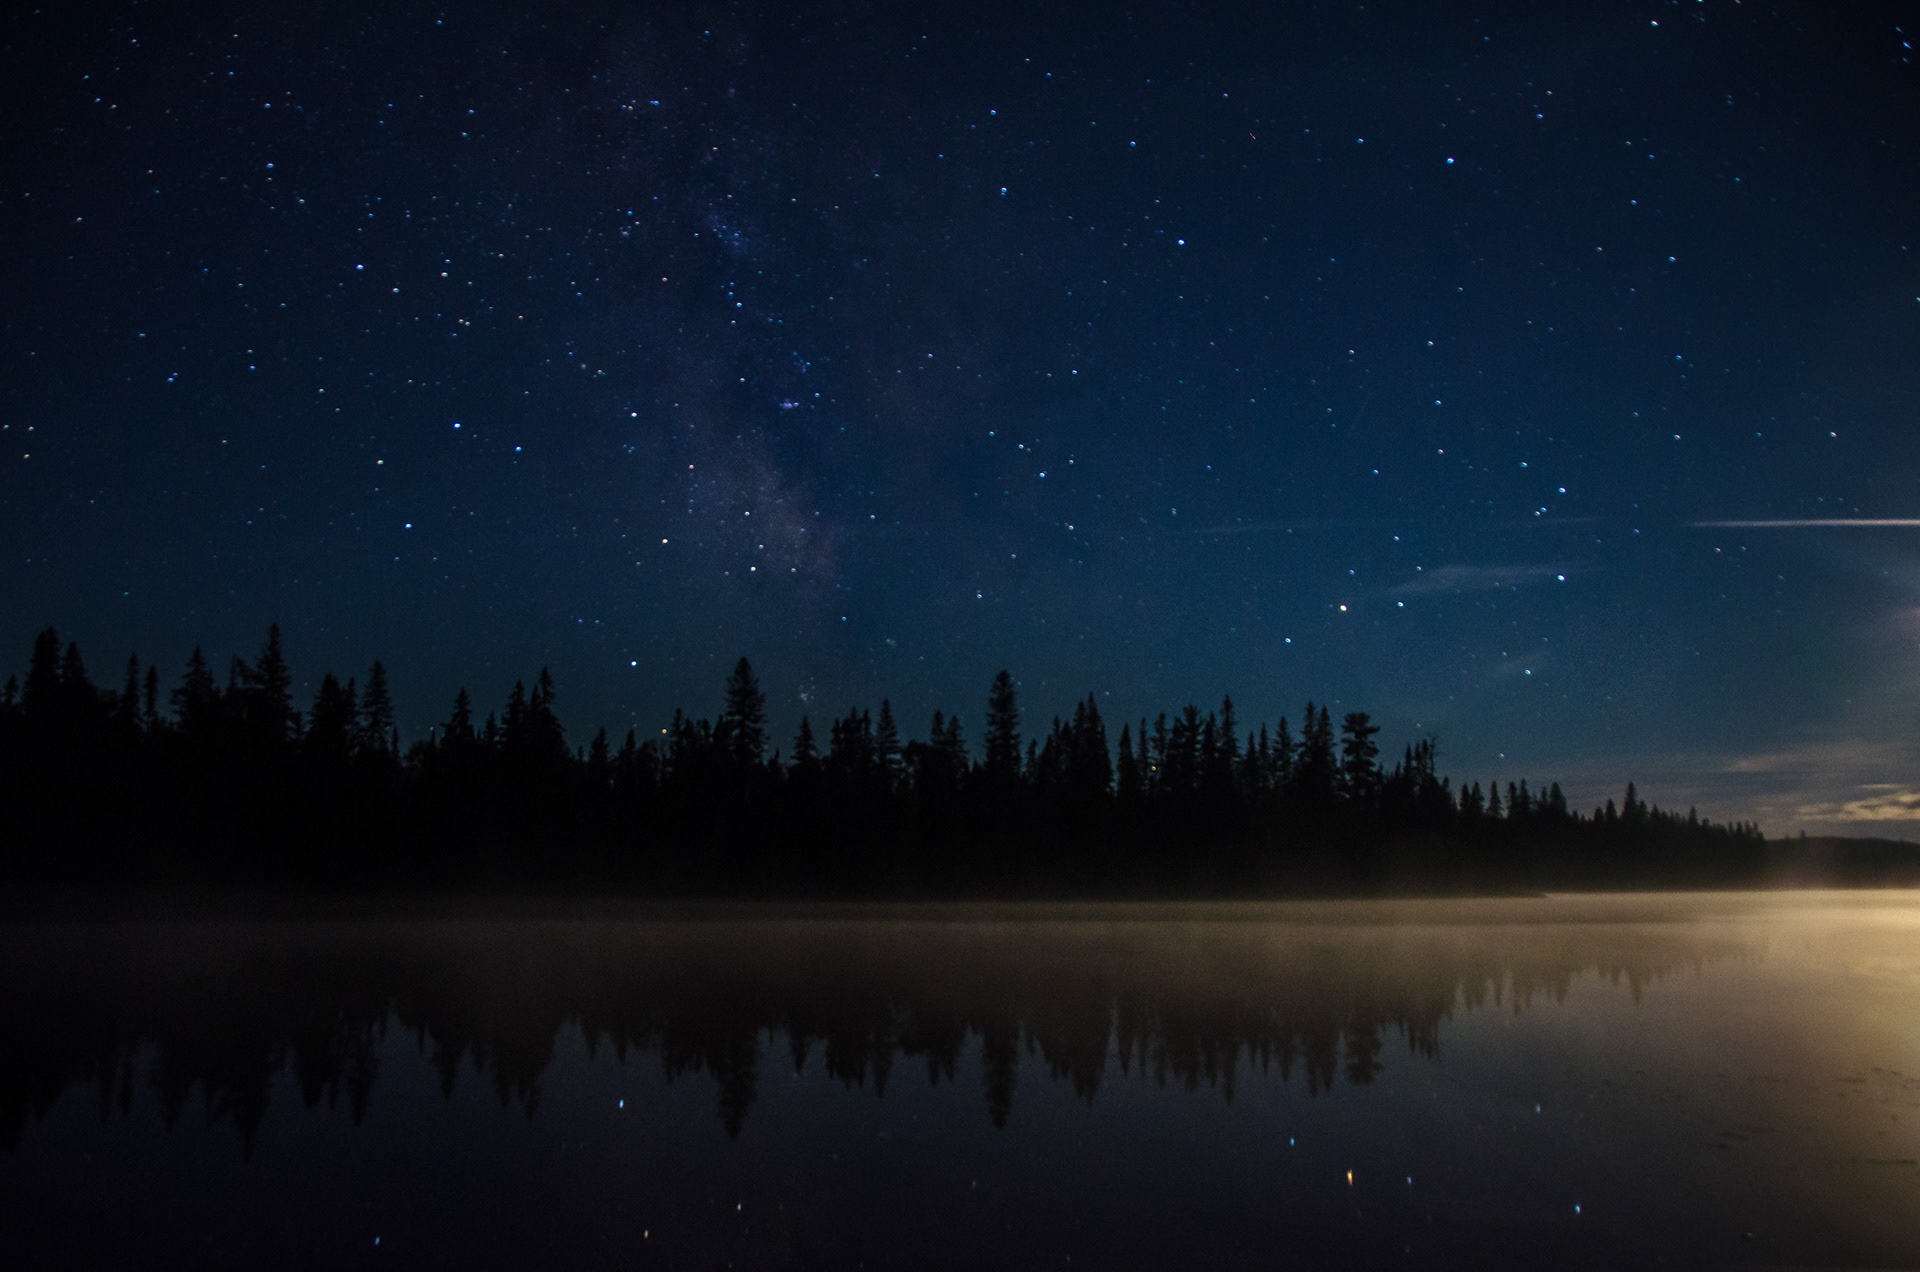
After reprocessing this image an accidental side benefit was the improvement to the detail in the reflection on the lake.
Other Examples
Below, I've included three more example sets that show how - in my mind - revisting your images from past shoots can reap huge benefits in the display and quality of your work.
Before
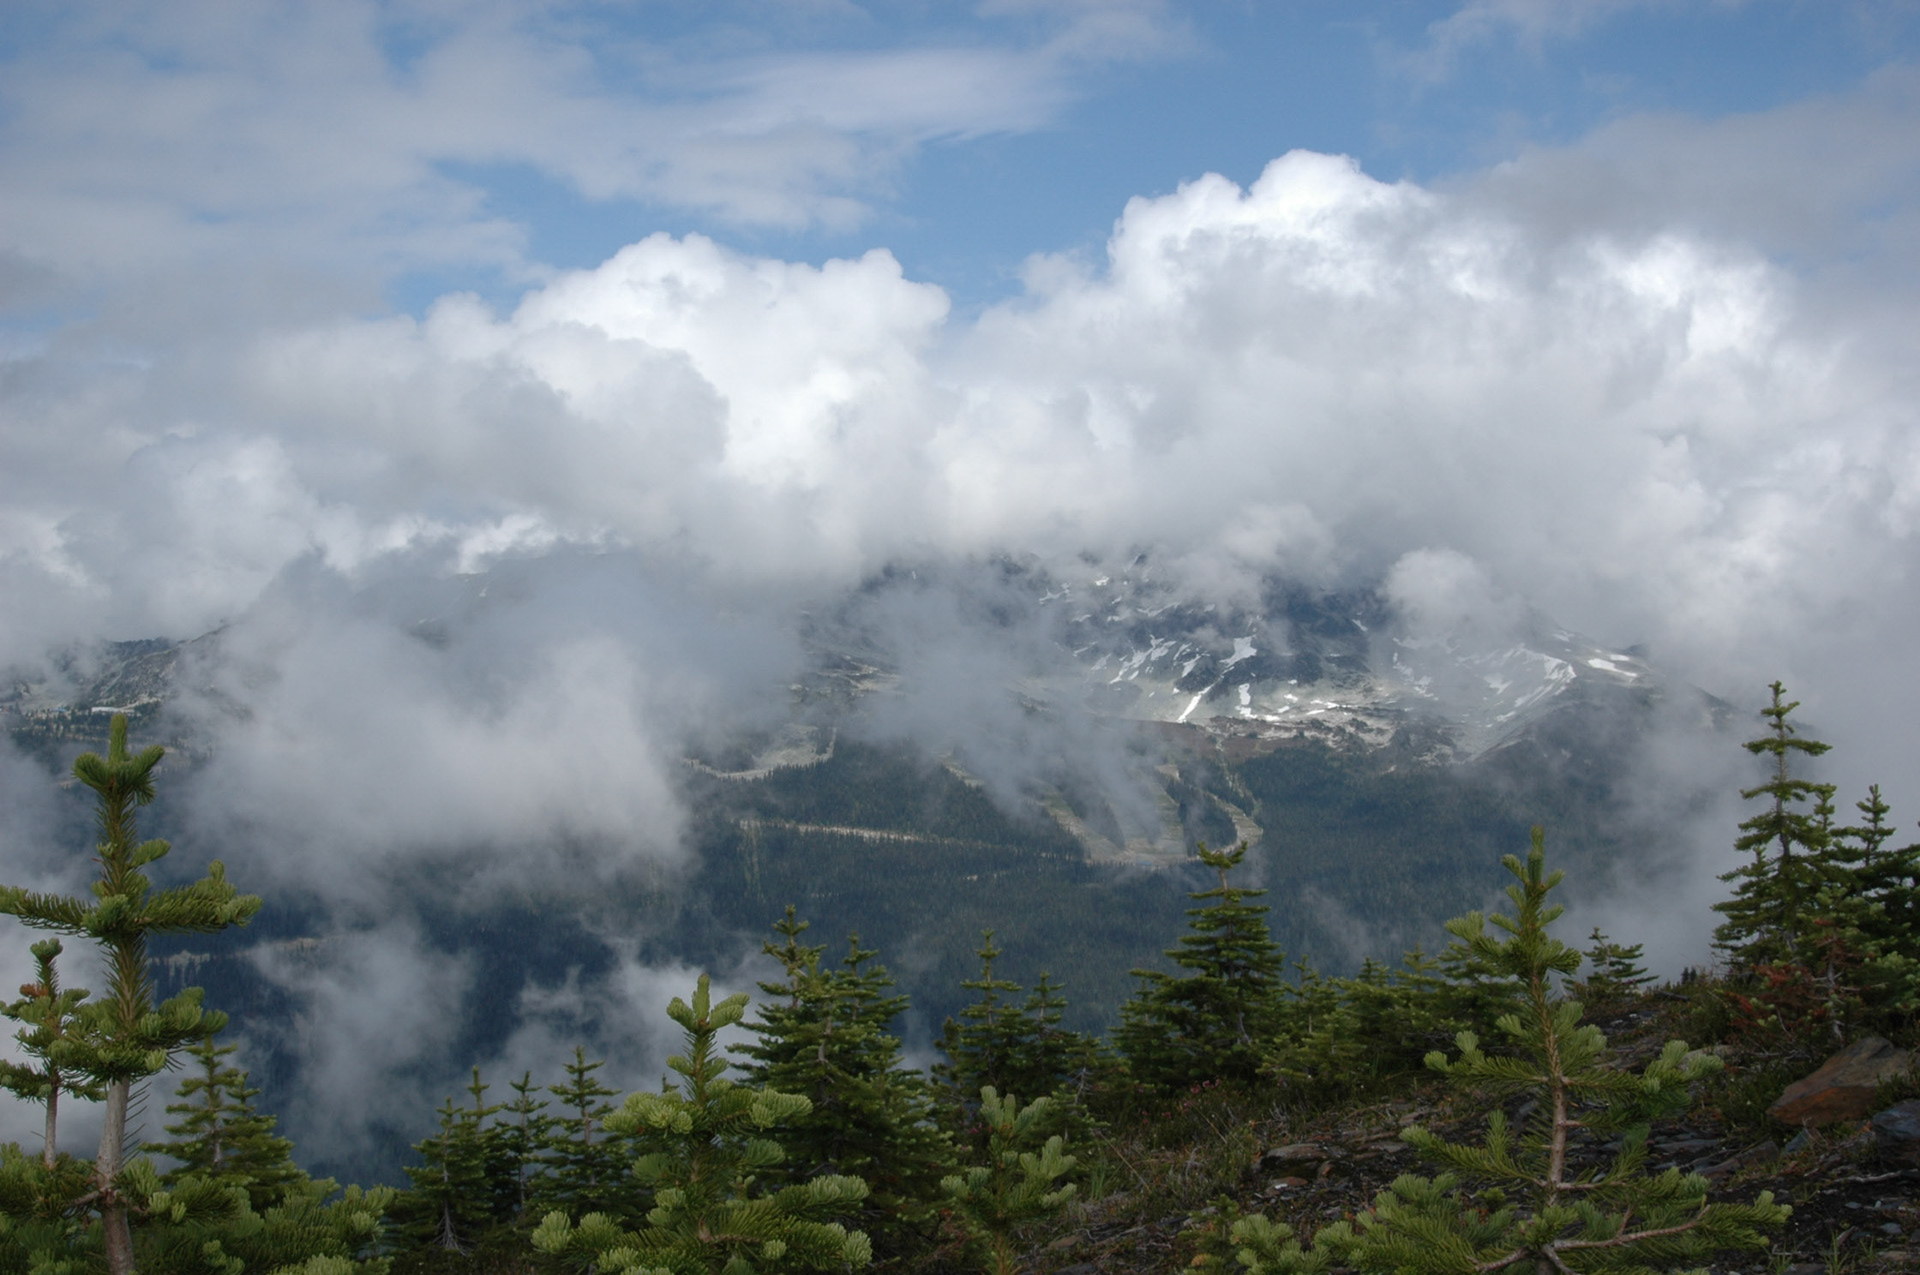
Whistler BC, July 2004. Back when I knew very little about the RAW format and only owned a couple low capacity memory cards, I shot almost everything in JPEG. But even a JPEG can benefit from a skilled hand (if I do say so myself) in Lightroom.
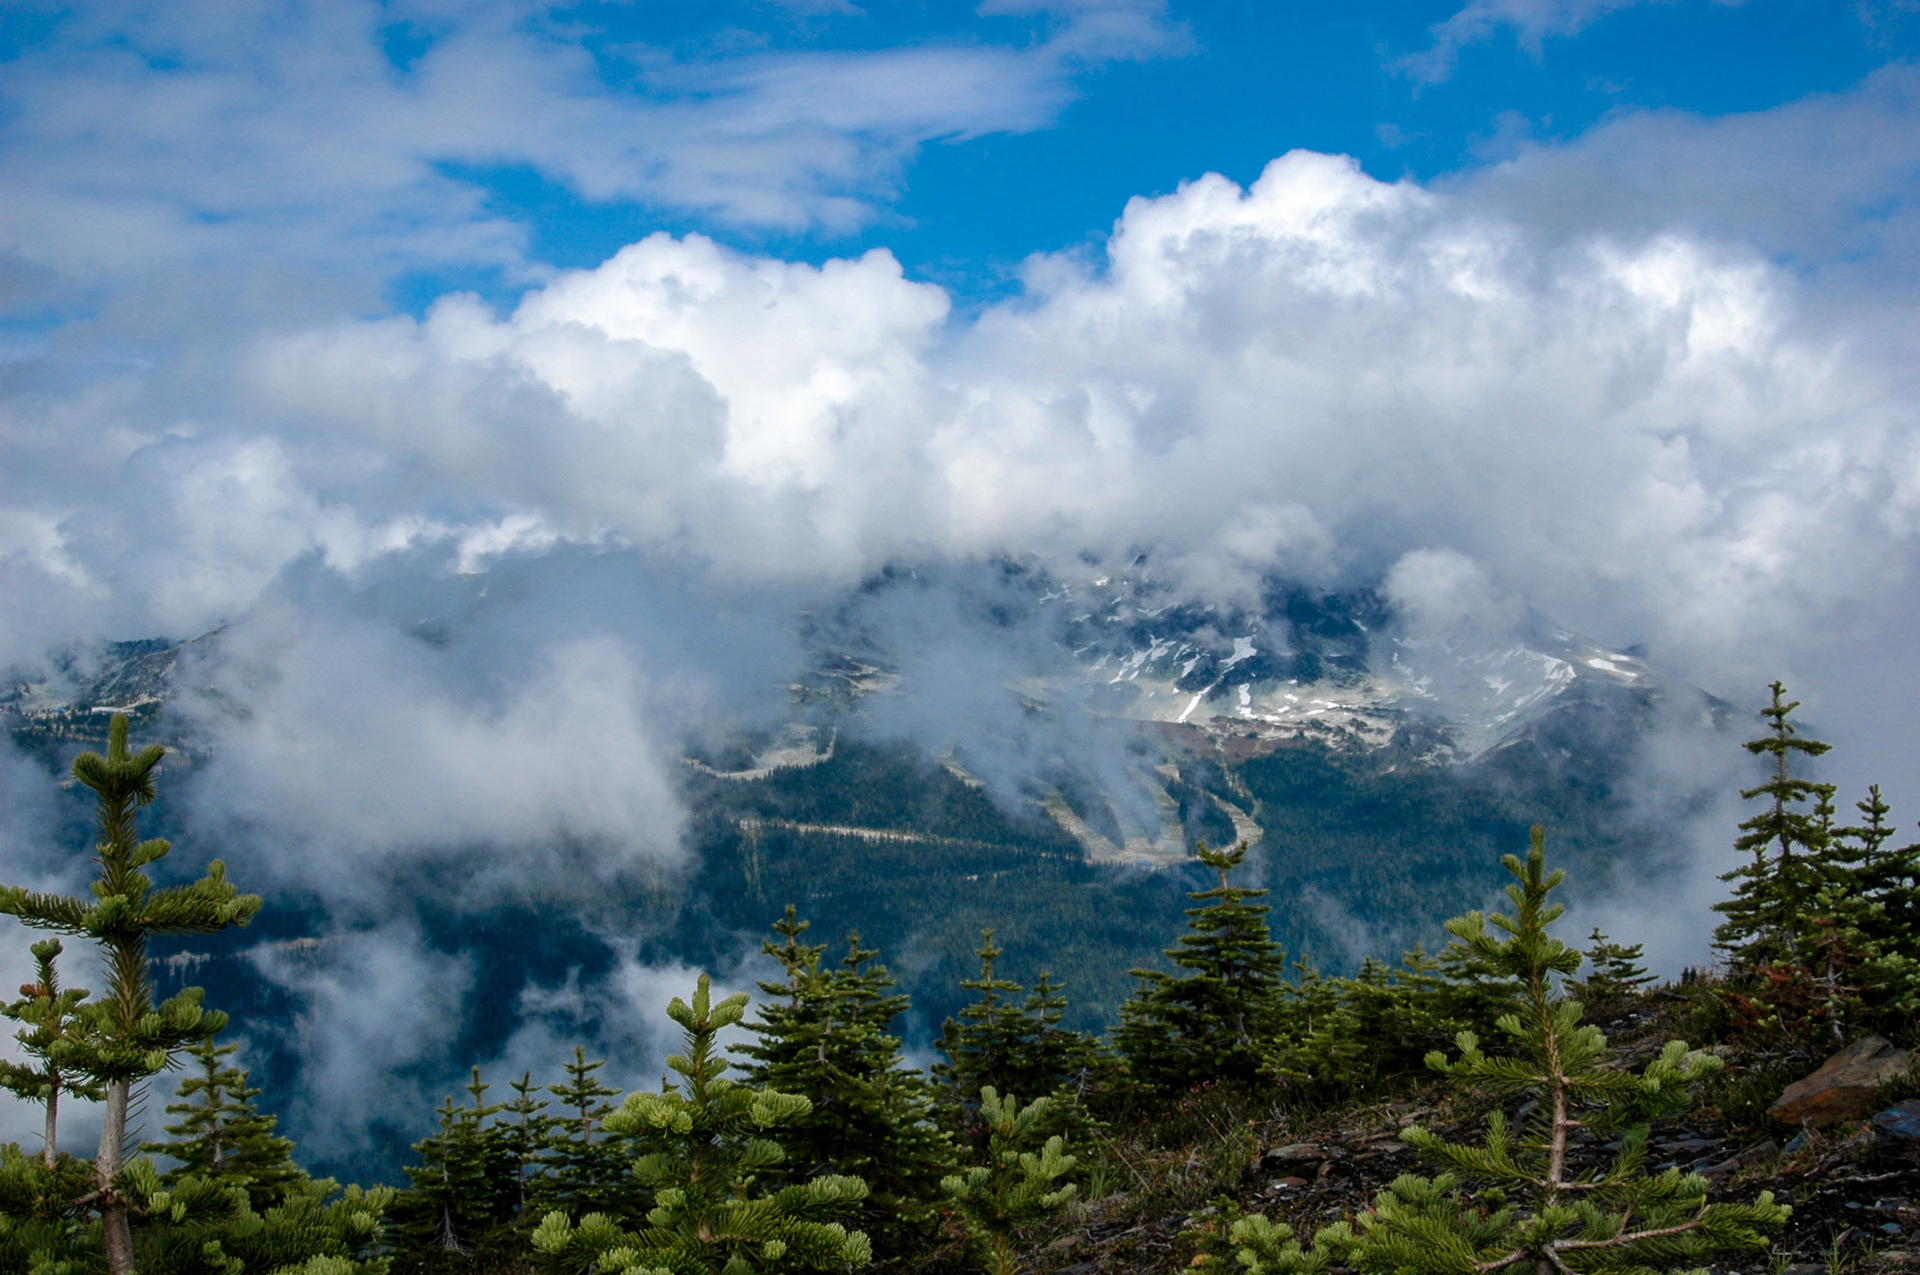
After
The differences are night and day!

Before
Somewhere near Whistler, BC. In this example, I liked the color image well enough, but on revisiting the image, I wanted to see how it would look as a black and white image.
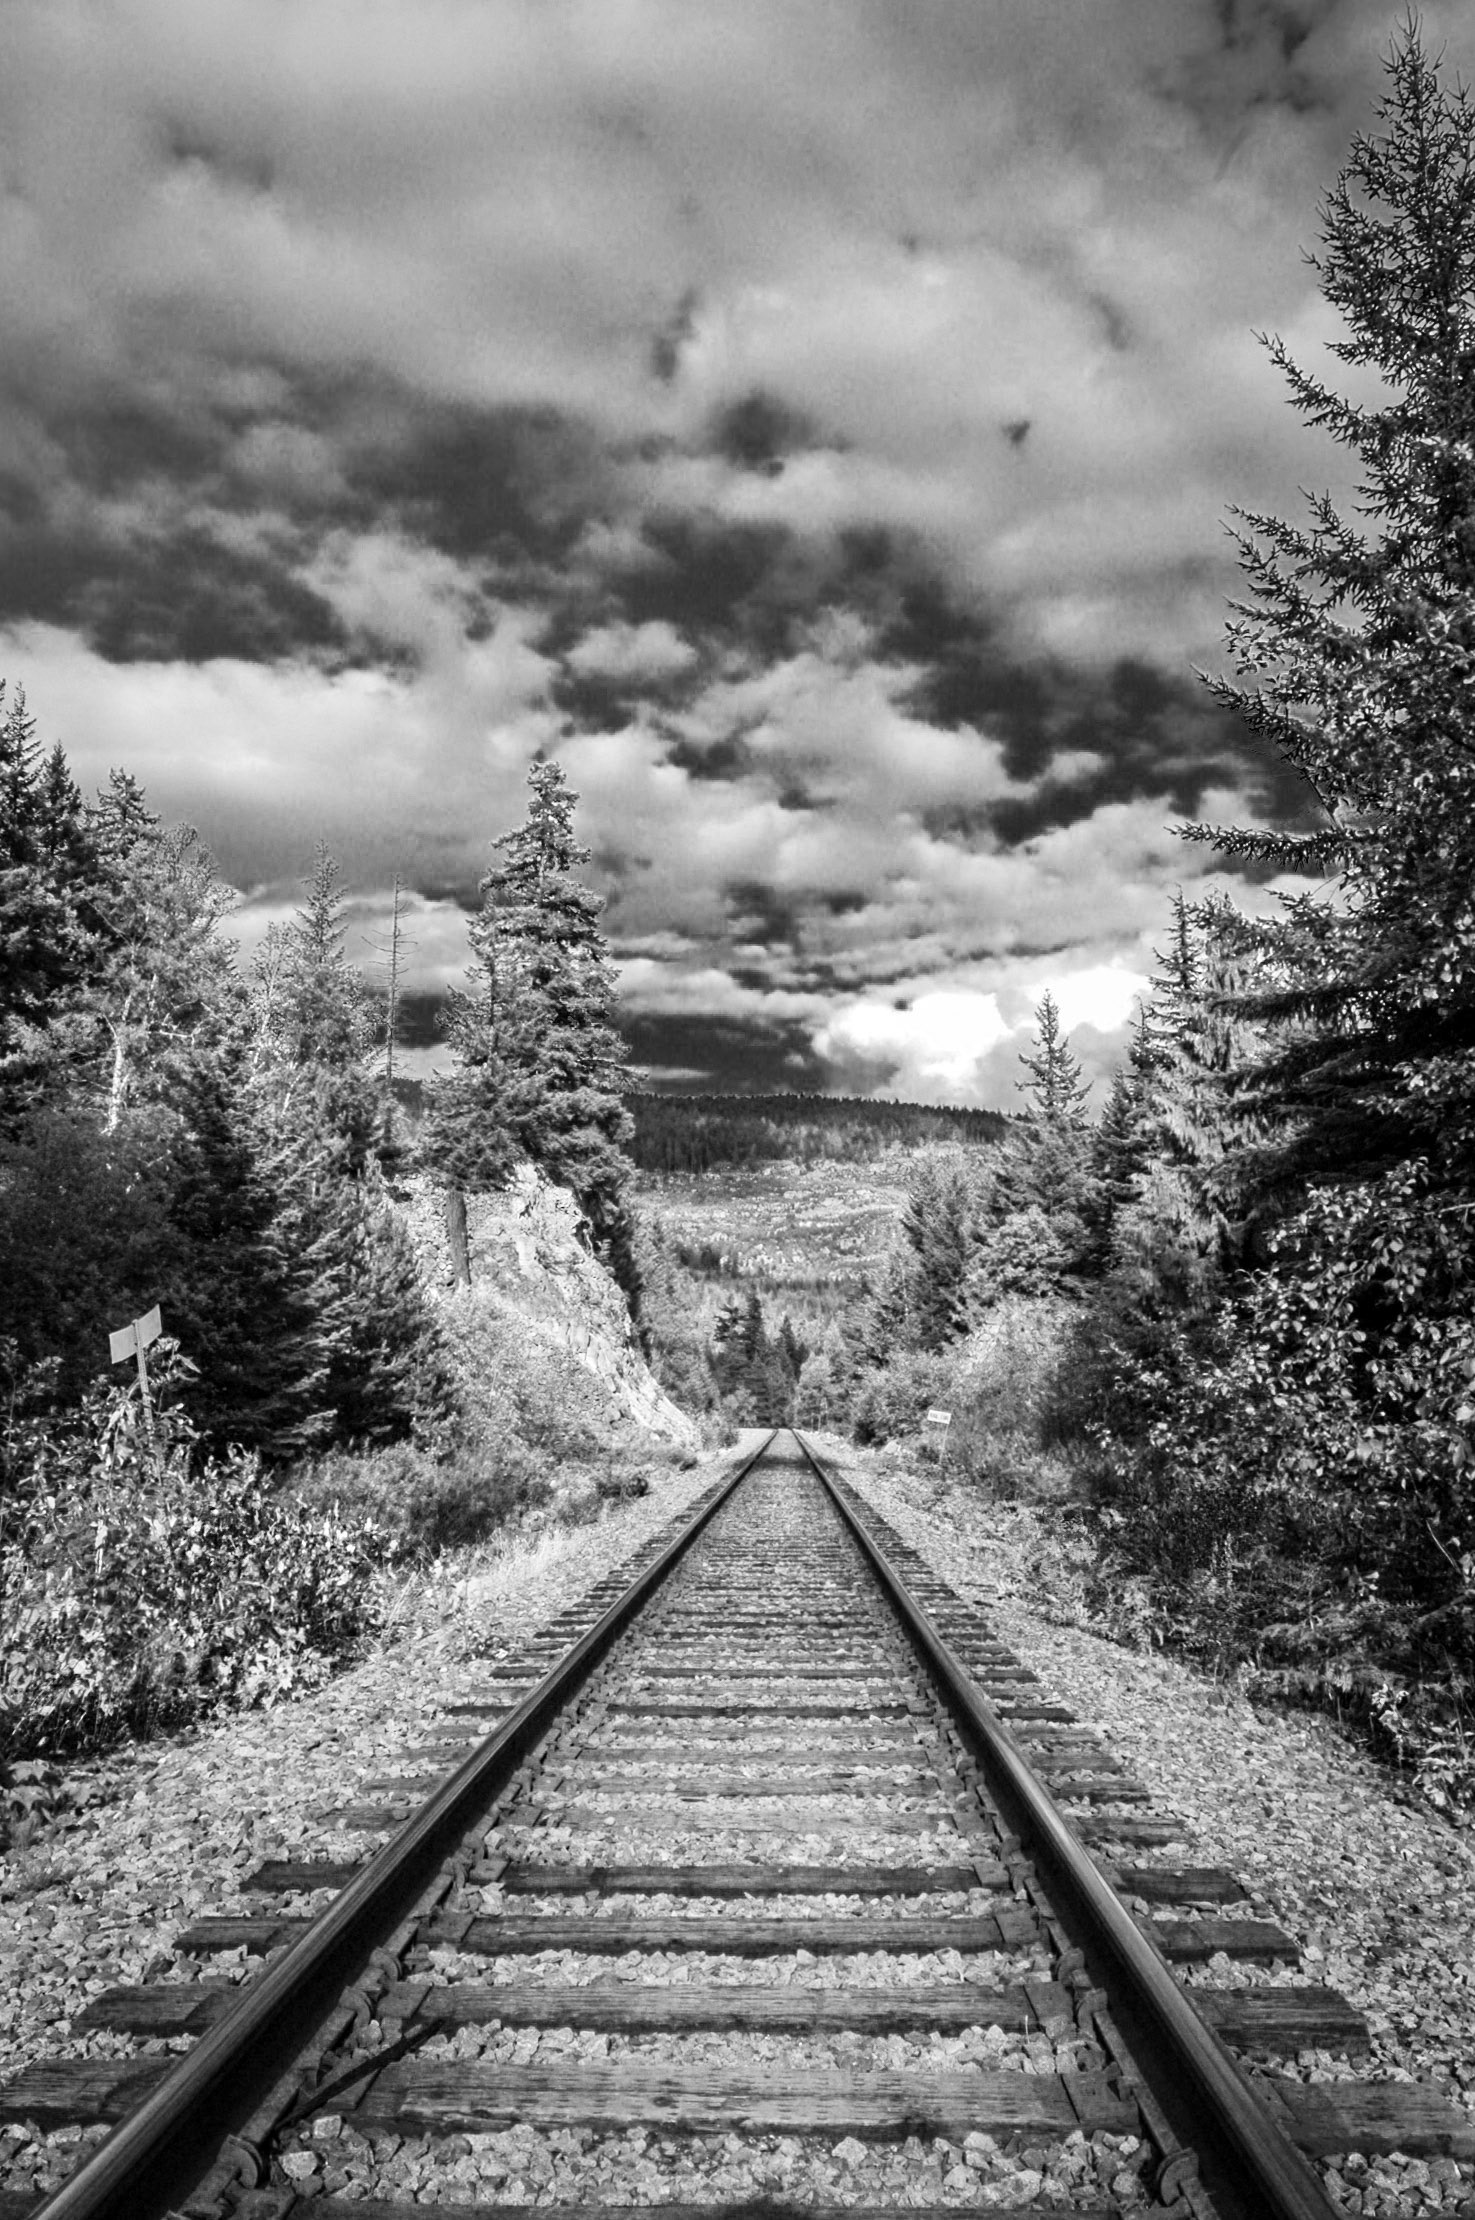
After
I really love this rendition!
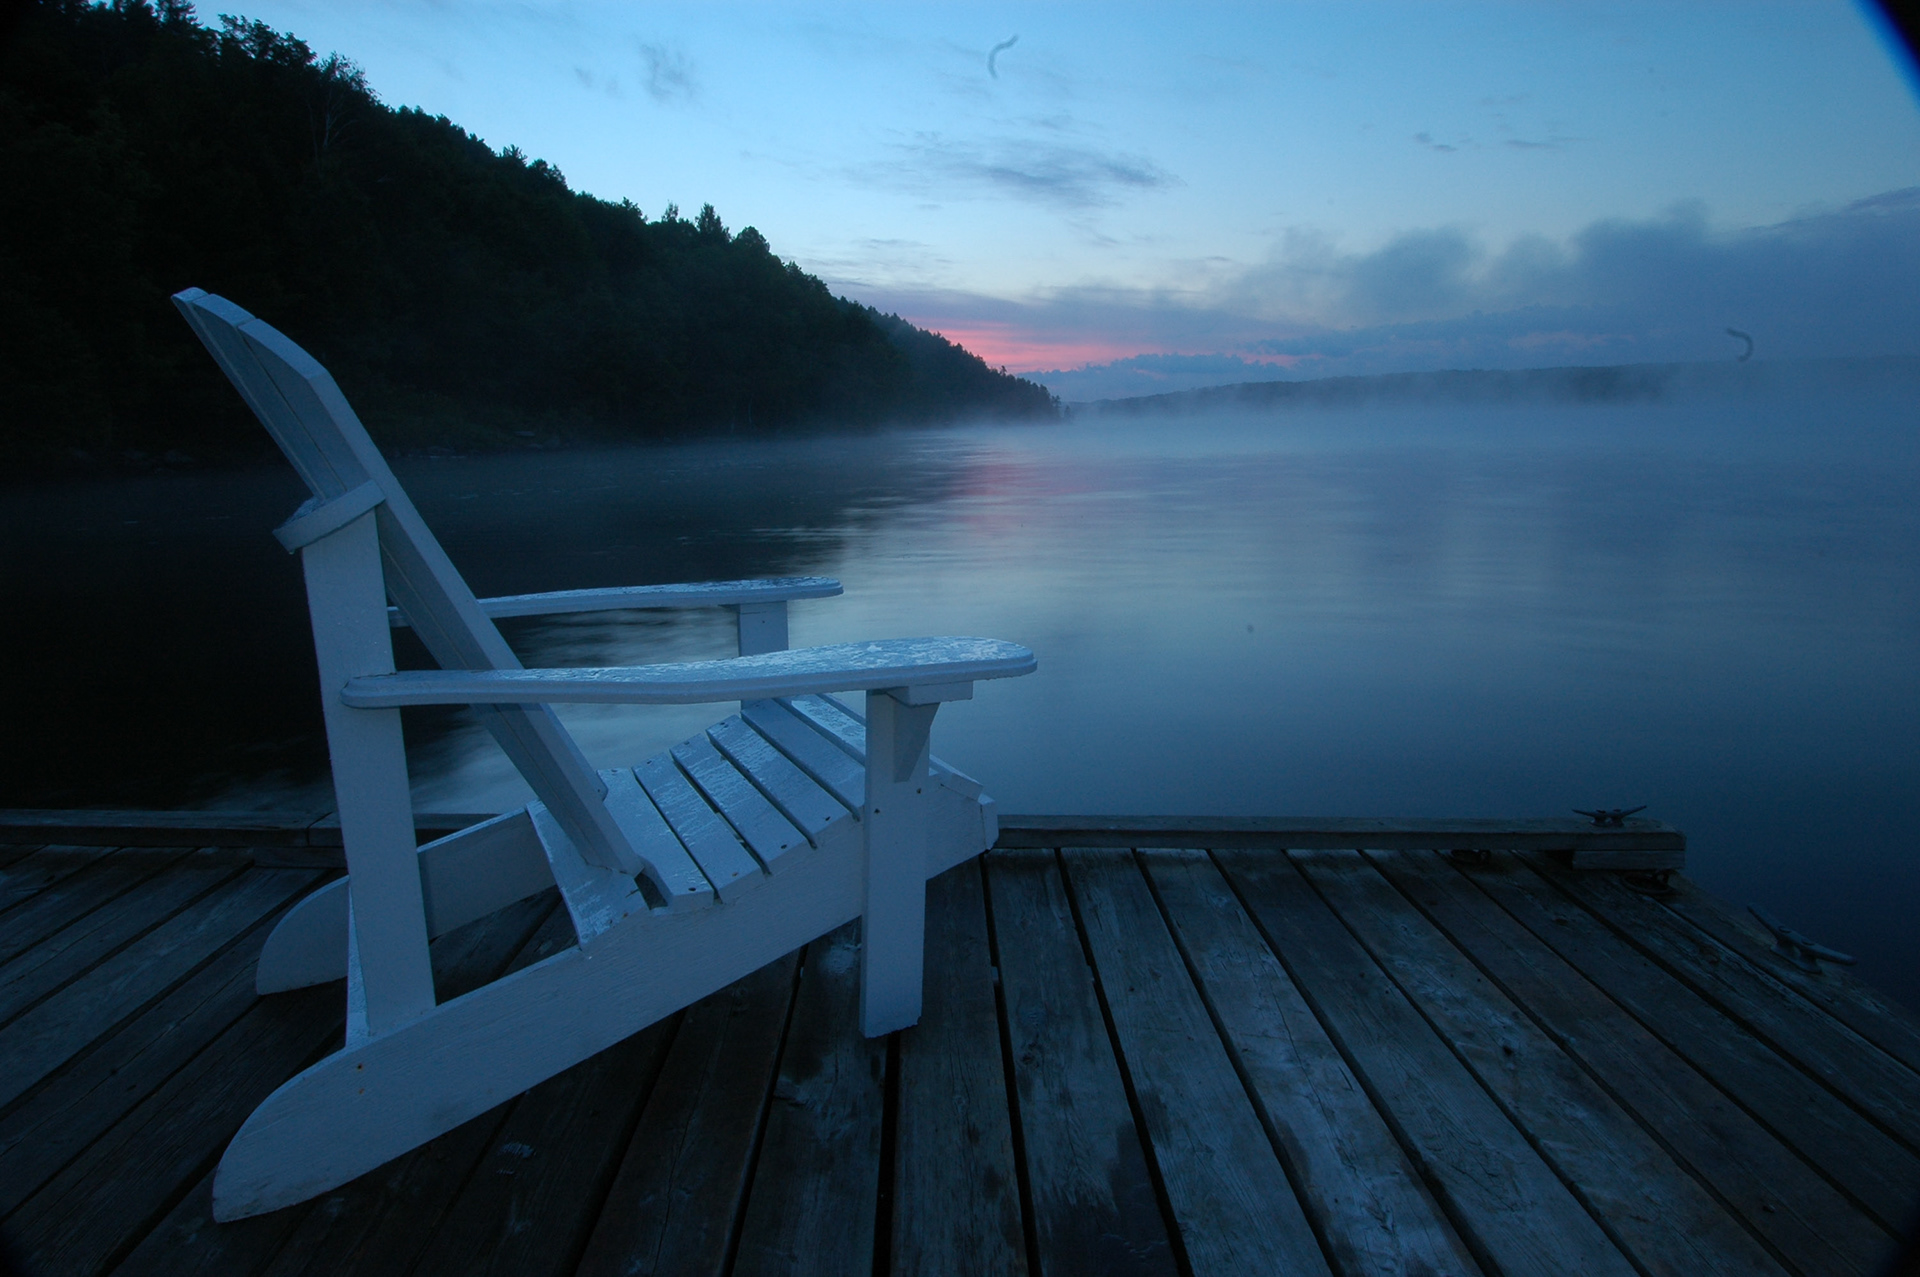
Before
This image had already been processed somewhat, to enhance the sunrise. But again, I was pretty timid in my experimentation.
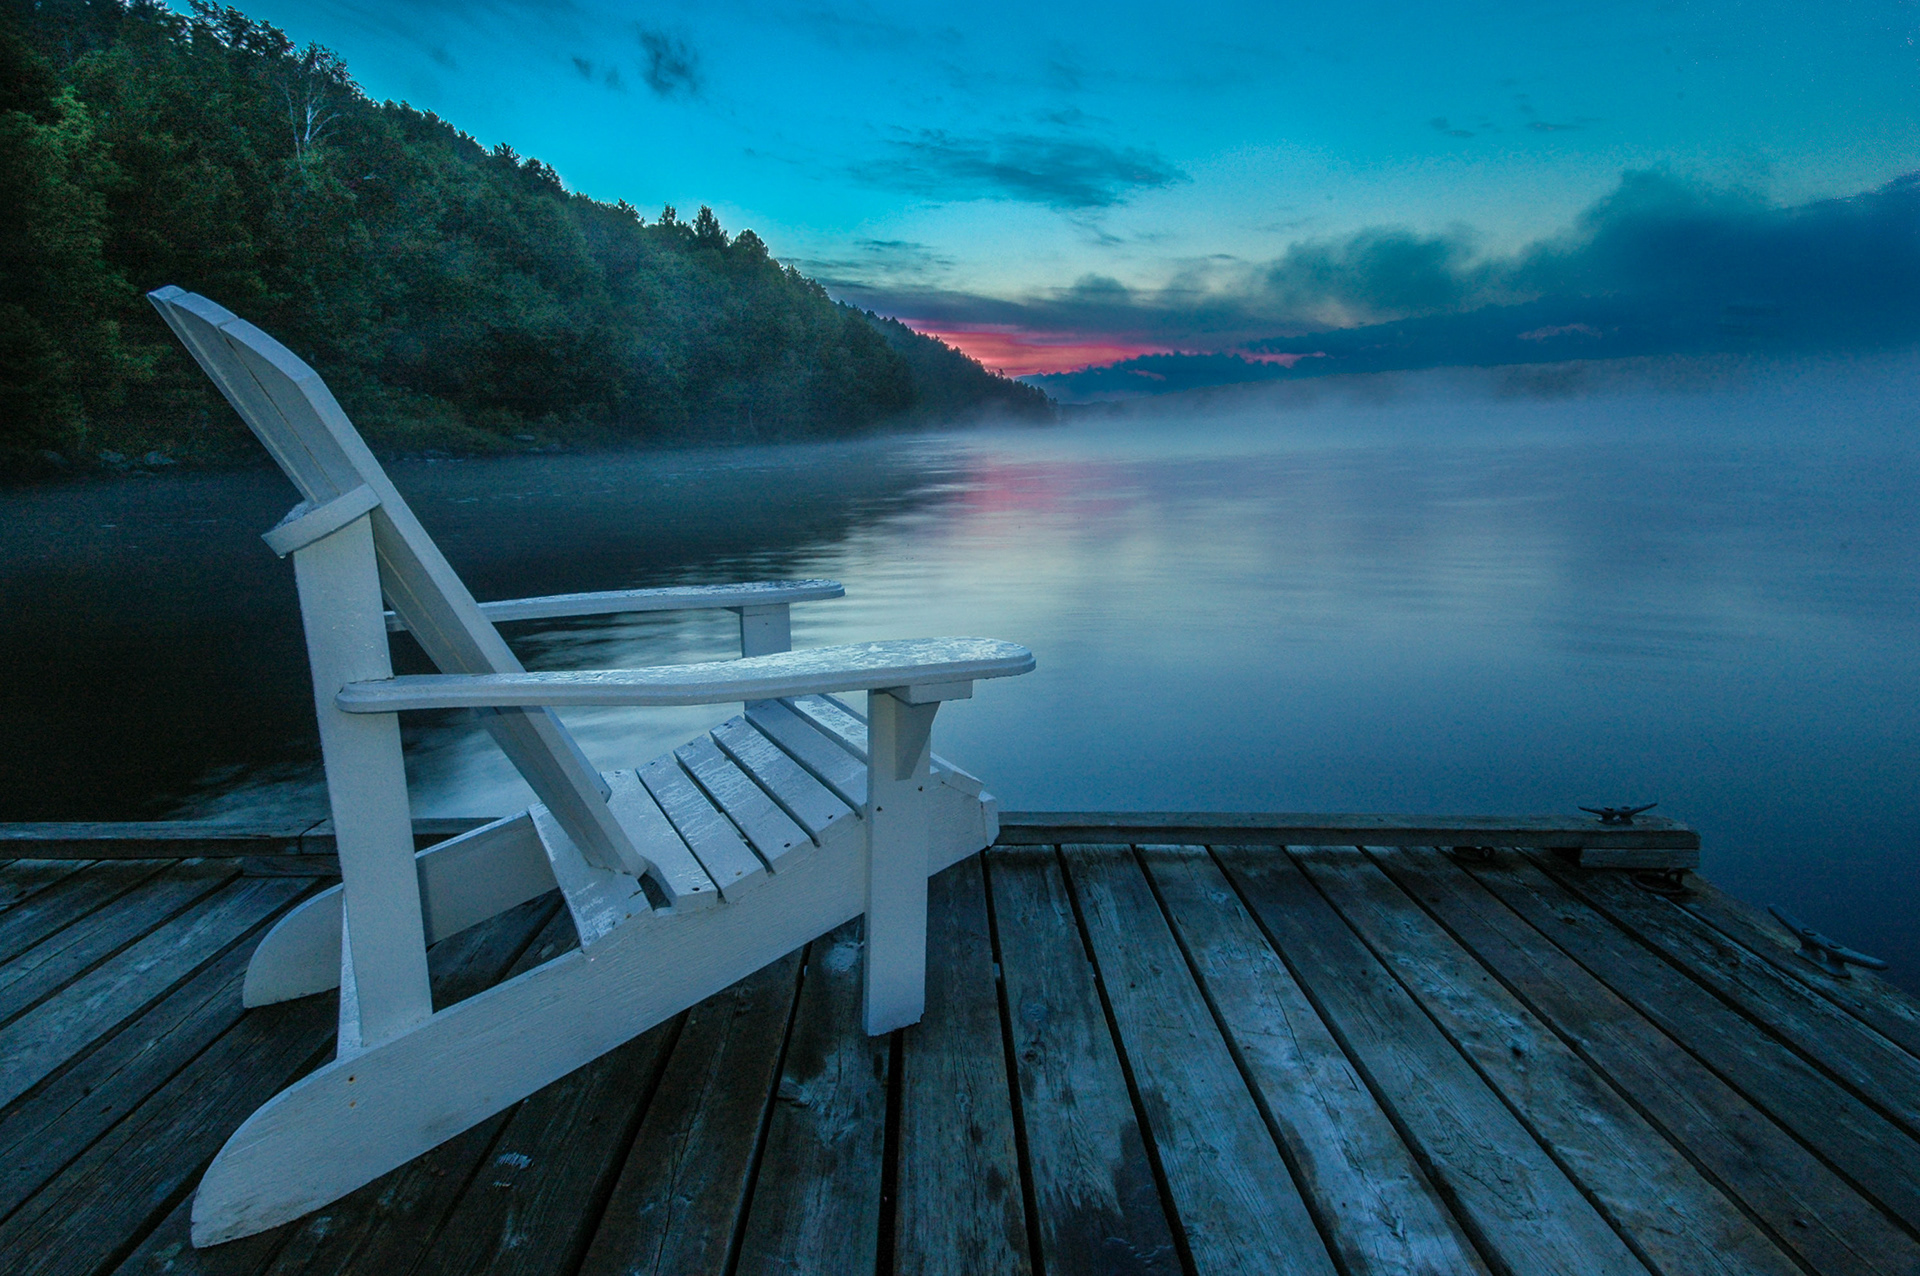
After
On recently reviewing the image (which overall I really did love) I found I wanted three things: to further enhance the sunrise, retain the cool dawn color overall while toning down the blue cast in the chair, and bring up shadow detail in the trees.
By first making some new global adjustments for exposure, highlights, shadows, clarity and vibrance, and then applying only three Adjustment brushes to the image, I achieved the look and feel I wanted.
I hope I've inspired you to take a second (or third) look at your previous shoots. And maybe give some of them some new attention.